Fukinoto miso

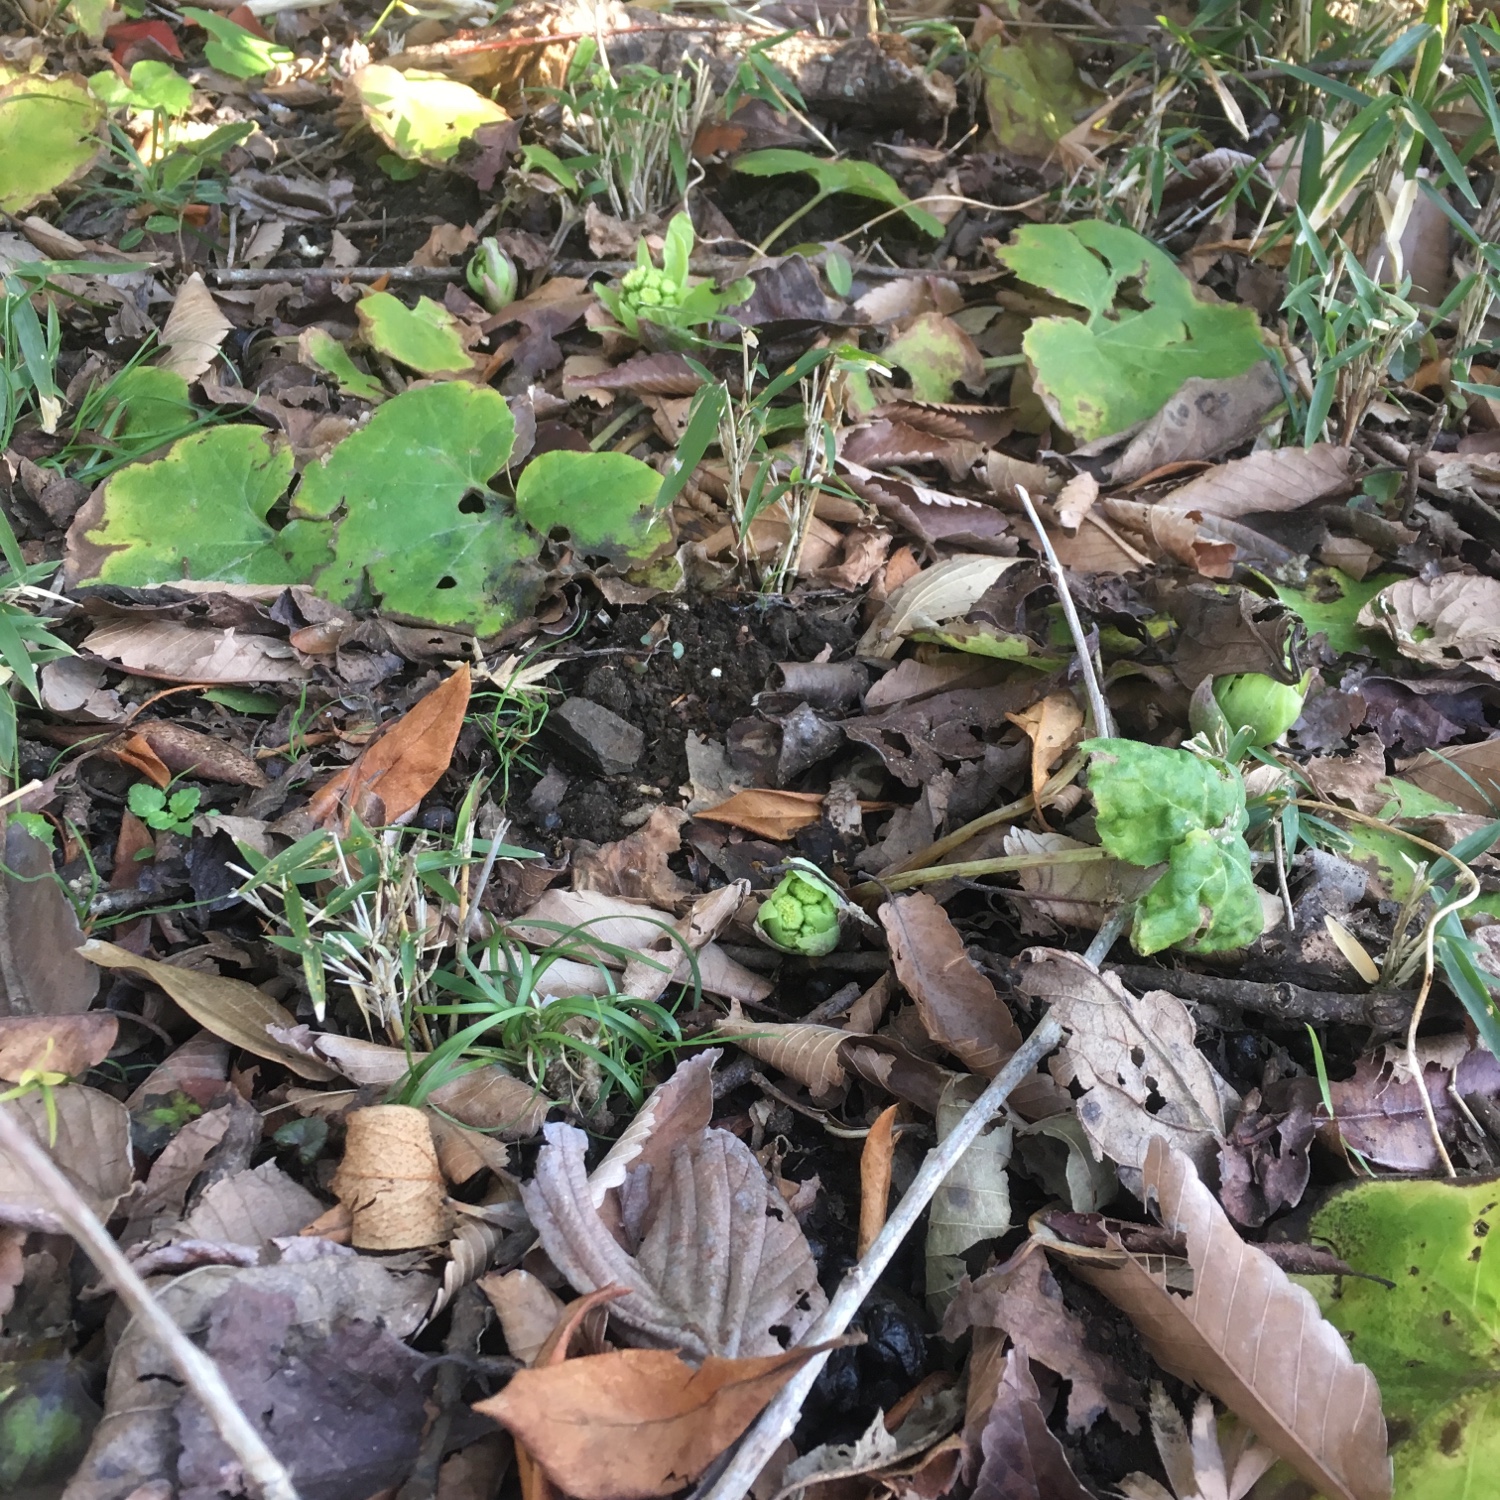
I harvested a few fukinoto very early in January, but now is the pick season in Isumi. We have quite a lot growing in the garden, so I just have to walk around where the fuki grow and search under the fallen leaves for the little yellow-green buds. Can you spot them in the below picture???

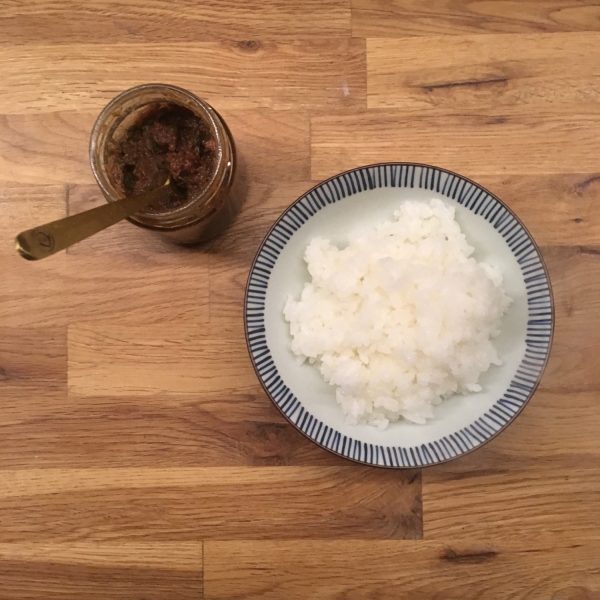
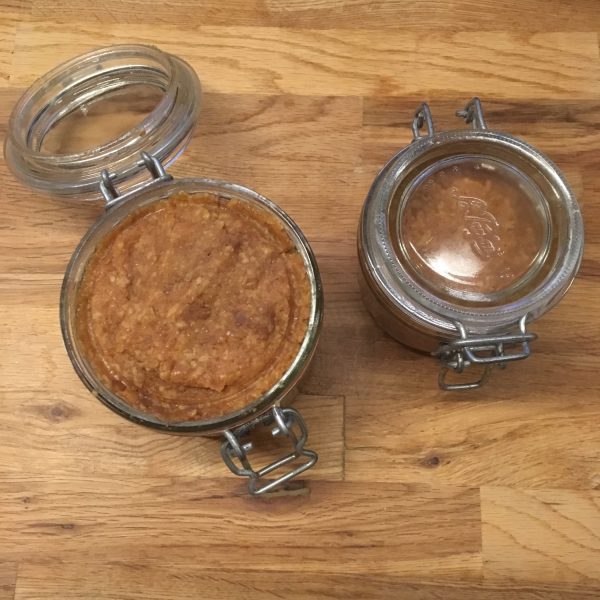
I usually prepare them in miso soup, but this year There were really many so I decided to prepare some fukinoto miso, a way to keep them for a week or two. Fukinoto miso is delicious with plain Japanese rice, tofu or with grilled pork.

Here is my recipe.

Fukinoto miso (makes a small bin)

– 50-70g of fresh fukinoto

– 6tbs of miso

– 1tsp of sugar

– 1tbs of oil

Wash gently the fukinoto to remove earth and fallen leaves pieces. Chop them in 5-10mm pieces.

In a heated pan with the oil, add the fukinoto and stir gently at medium heat. When all are shiny in oil add the miso and the sugar. Cook at medium low heat for 5min while stirring. Put in a sterilized jar and close with the lid. Eat when cold. Keep refrigerated for 1-2weeks.

Spring chrysanthemums – 春菊

When you can feel that winter is still here but you slowly get tired of the cold winds… the plum trees start blooming and the spring vegetables are arriving. I harvested already some time ago the first wild spring vegetables: fukinoto and canola will arrive soon, but today I want to talk about a winter vegetable which name says it all: Shungiku, that I like to translate literally by “spring chrysanthemum” (which made its entry in the glossary page) and I like to eat in the end of winter, is actually known more as “crown daisy”. Eaten in Japan in the winter until very early spring it has a very strong flavor, very characteristic of chrysanthemum hence probably the name, though it belongs to the daisy family. Usually used for nabe and rather thick and stiff, it is actually not easy to find smaller tender ones. The soft ones are much nicer and easier to prepare in more inventive recipes. And for some reasons, I find them more easily in the late season. I personally like to use them in replacement of spinach or as herbs.

I tried two different preparations that were both simple and in which the strong flavor was perfectly balanced by the other ingredients.

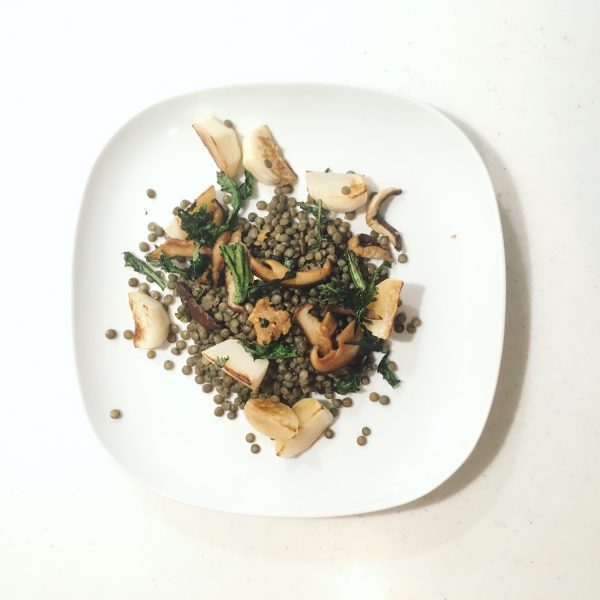
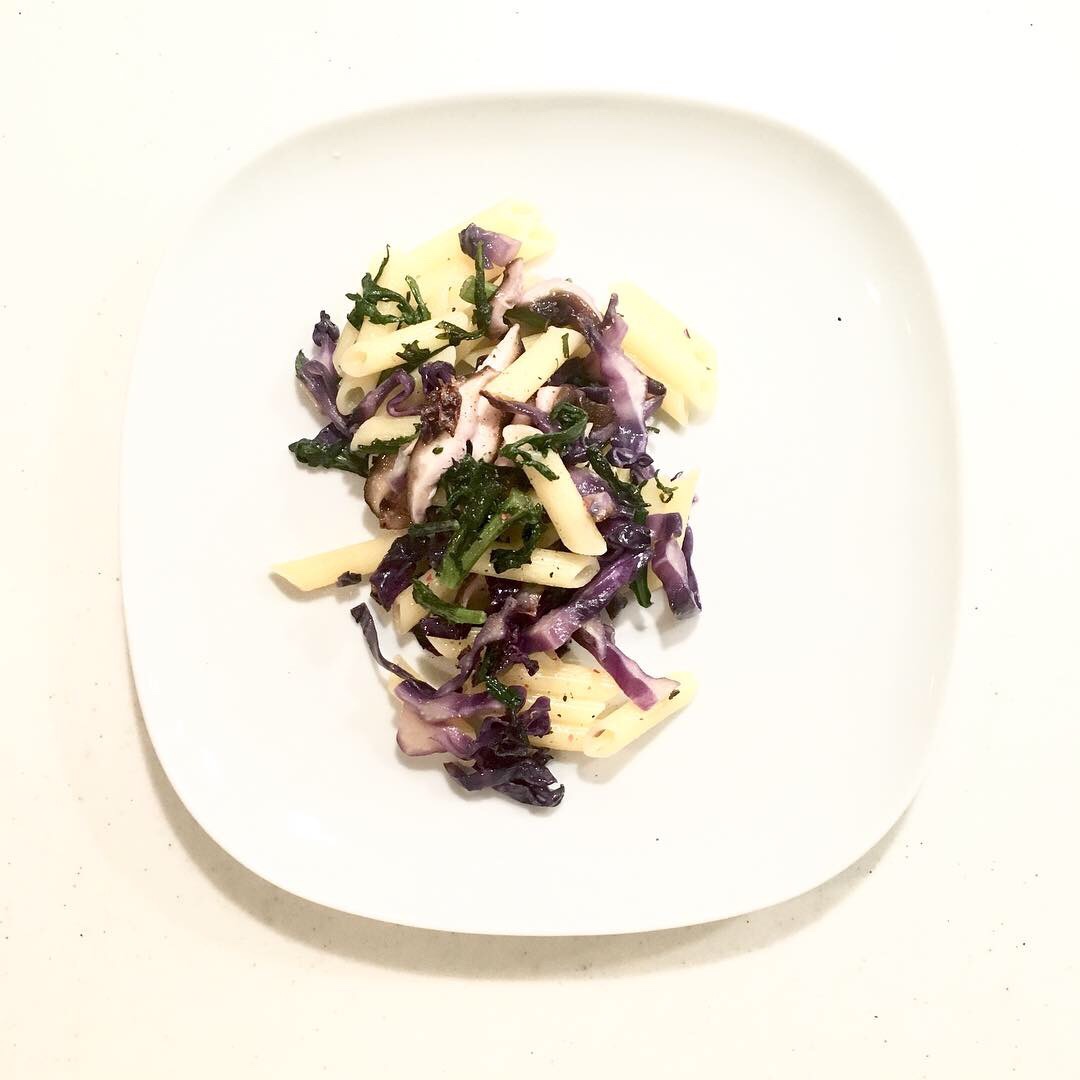
The first recipe is with lentils, turnip and shiitake; the second recipe is with red cabbage and penne. How do you like to cook your crown daisies???

Lentil and crown daisies

– 120g of lentils (green or brown)

– 2 shiitake

– 3 turnips

– a handful of crown daisies

– 1tbs if miso

Boil the lentils. Wash the vegetables, slice the shiitake and cut the turnips in small bites, chop in 2cm long the crown daisies. In a greases frypan at medium to high heat, cook first the shiitake, then add the turnips, when almost golden add the crown daisies, stir well, add the miso and 1tbs of water, stir gently while cooking for 2min. Serve the lentil, add the vegetables. That’s it!

Red cabbage and crown daisies (2 servings)

– 1/2 red cabbage

– 2 handfuls of crown daisies

– 125g of penne

– olive oil, salt and pepper

Boil the penne. Wash the crown daisies. Chop the red cabbage. In a large frypan greased with olive olive oil start by cooking the red cabbage. The add the crown daisies, finally add the boiled pasta.

Stir well until the vegetables are soft. Add salt and pepper and serve… well that’s it!
Lentil curry

Well well well, it’s getting cold and gloomy today in Tokyo and rain and snow are on the forecast for tonight after weeks of dry and sunny weather… I guess that’s it… every year is basically the same… after the brilliant days of January cold, the gloomier days arrive, colder even… To warm the mind and the body, there is nothing nicer than a hot plate of slightly spicy curry with plenty of vegetables, and to make it a little fancier, replace the rice by lentils. So I made a big pot of it, and used the leftovers for another version with even more vegetables inside and a brighter note of anis seeds. Here are both recipes. Enjoy and keep warm!!!

Lentil curry (2 servings+leftovers for the next recipe )

– 150-200g of brown or green lentils

– 1/3 cabbage

– 2-3 carrots

– 1.5tsp of curry powder

– 3 pieces of thin aburage

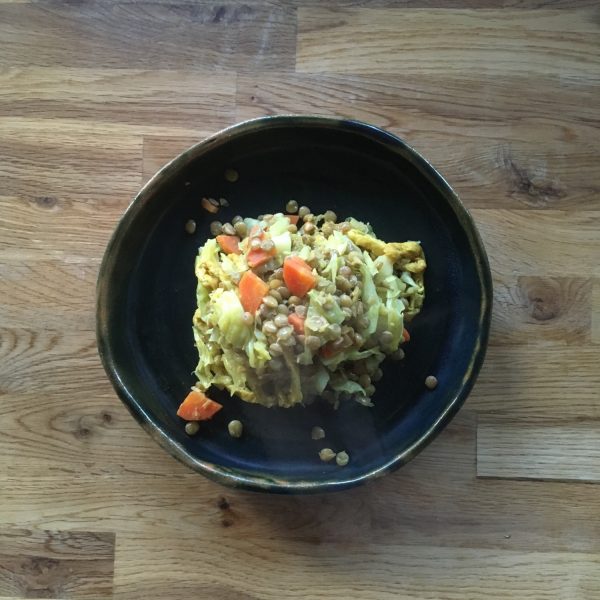
Boil the lentils until just soft, but not too much. Drain them. Wash and chop the cabbage and the carrots. Chop the aburage. In a frypan greased slightly and heated start cooking the vegetables. Stir regularly. Add 2cup of water and cook at high heat. When half of the water has evaporated add the curry powder, stir well, and add the aburage. When the water is almost all gone add the lentils, a bit of salt and stir. Serve and eat immediately.

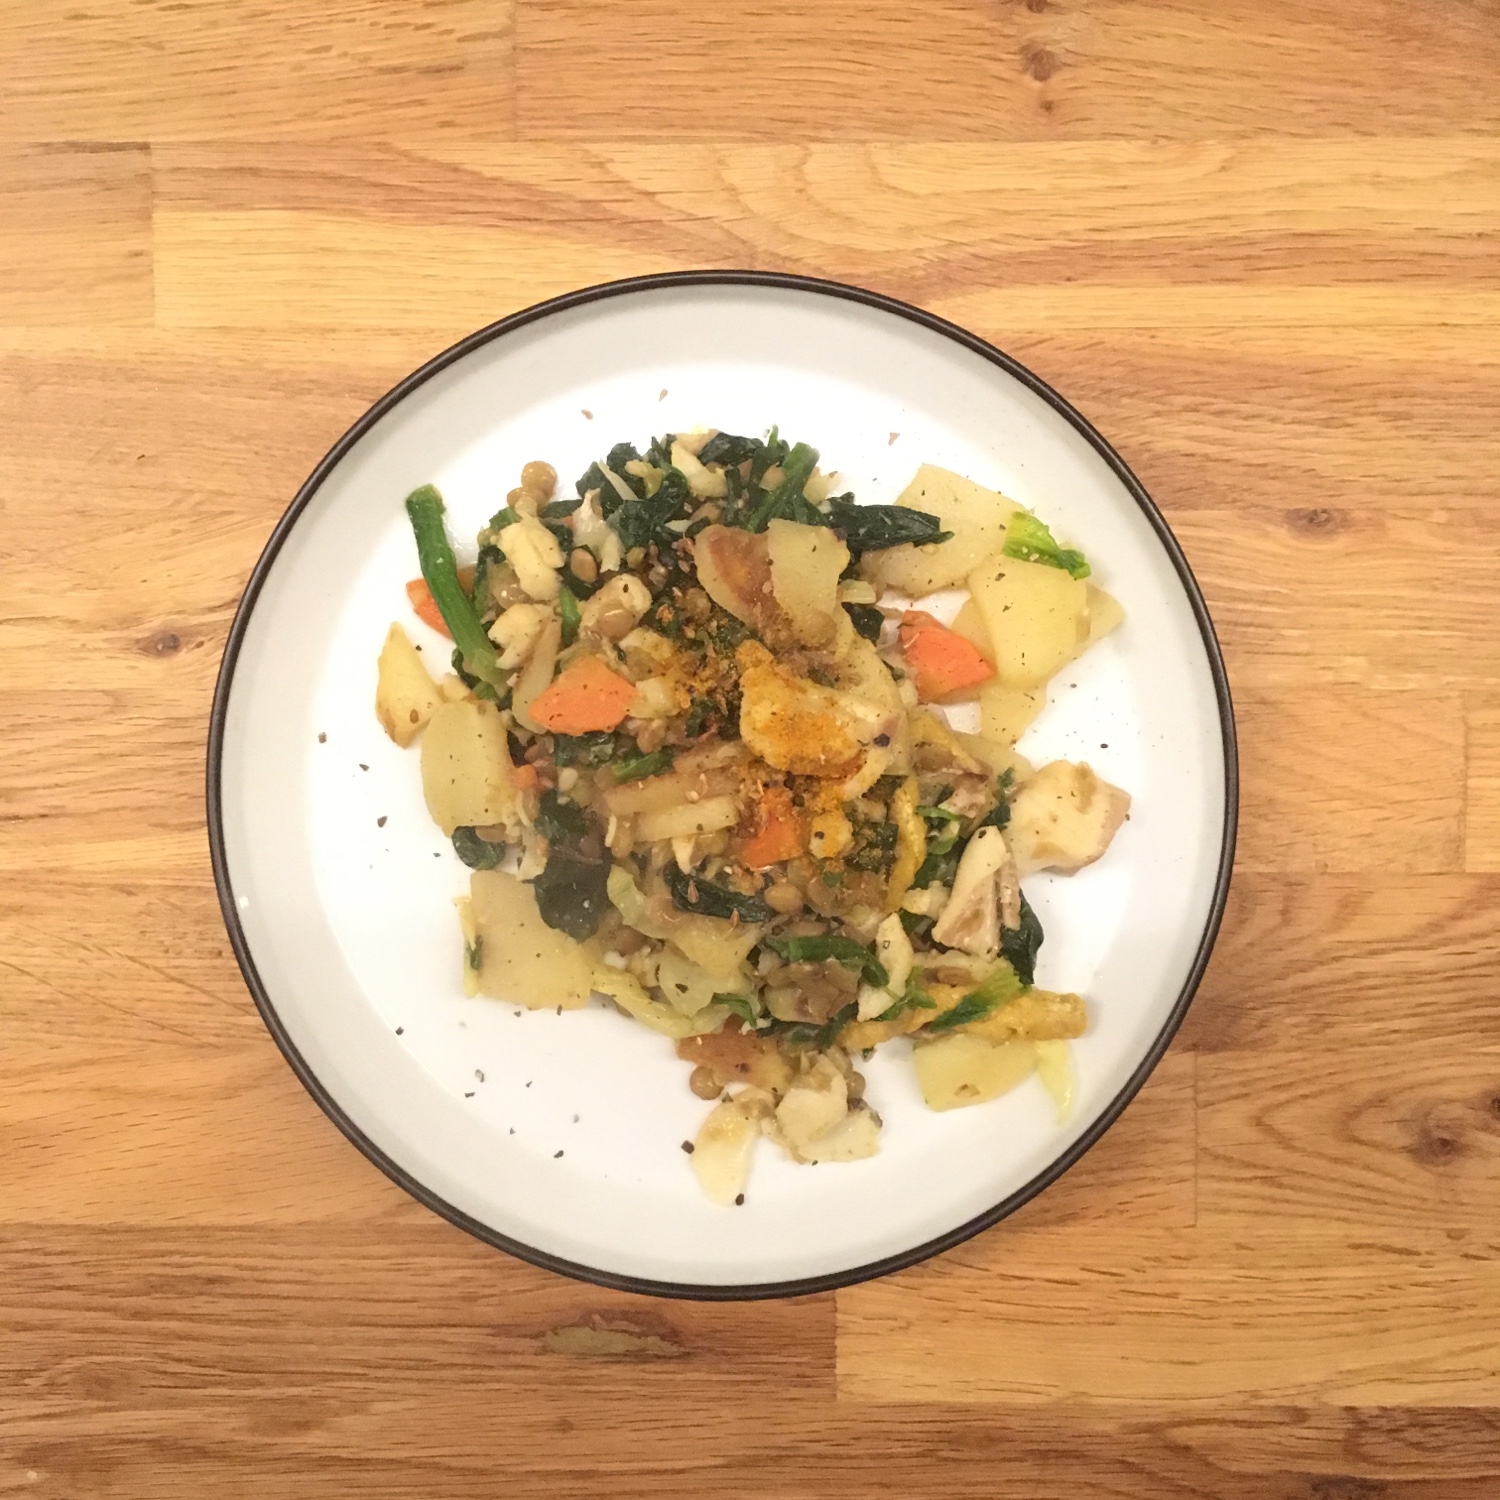
Spinach and potato curry (2 servings)

– leftovers of the above recipe

– 2 potatoes

– a small bundle of spinach

– 1tsp of curry powder

– 1tsp of anis seeds

– 2 pieces of fresh cod (optional)

Peel the potatoes and slice them. Wash and chop the spinach. Chop the cod in bite size and remove bones and skin if any.

In a grease wok or large pan star by cooking the potatoes. When they start to golden add the fish and the lentil curry leftovers. Stir well. Add 1/2 cup of water, the curry powder, the anis seeds, the spinach. Cook at medium to high heat until most of the water is gone. Serve and eat immediately.

A soup version is also possible by adding more water and stopping when the water level is just at the vegetables level.

When I fail… 🚮

Once in a while I make a cooking failure… recently it hasn’t happened much because I master better my kitchen and the products I cook, and I have gained in skills a lot. But when it happens it is always very sad… and last night was one of this saddening moment when you have to face that what you have made with patience and love should end in the trash and nowhere else…

As often of Sunday evening I wanted to bake a quiche. Something I master but it was without counting on one ingredient… I had spinach and kabocha and wanted to use both. I thought that with this cold outside, a warming chestnut flour pie crust would be perfect. So I reached for the bin in the fridge in which I store chestnut flour. I keep most of my flours in the fridge and more particularly this fragile flour that is sensitive to pest infestation and that I cannot find easily in Japan. I usually get my chestnut flour from my parents when they travel to Corsica, or to the country house in the Cevennes.

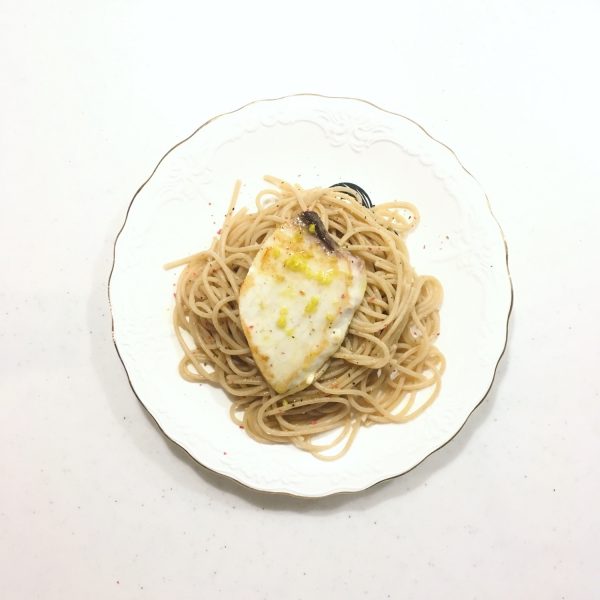
I was a bit startled by the smell when I opened the bin, but I was just thinking it’s been a while I haven’t smelled chestnut flour and it smells strong… while preparing the dough with olive oil and love things were doing good, the dough was smooth and easy to roll, perfect! I prepared the vegetables and put everything in the oven… and then only I really understood what I feared… the flour was rancid… I didn’t know it could happen but there was no doubt and a quick check on the internet confirmed my diagnosis. I waited until the whole quiche was baked to taste the pie crust. No doubt. The rancid flavor stay in the mouth long, almost disgusting. A. was also trying and same conclusion. Now what… would we die eating rancid baked chestnut flour? Probably not… would we get sick? Maybe… for sure taste wise it was bad. I first decided to save the vegetables and remove the pie crust but the task was tedious, and the result not conclusive. So I had to take this horrible decision to trash the whole thing. I was sad after. All these nice products, the effort to prepare it, and the expected pleasure of eating it once back to Tokyo… and instead we had a very quickly fixed dinner made of whole-wheat spaghetti with grilled swordfish and lemon zest and olive oil dressing. Hopefully there are still a few lemons in the garden and I harvested some before going and I had bought some nice local swordfish Saturday…

I simply grilled the fish in a frypan without any fat, then added the zest of 1/2 lemon topped with olive oil. Boiled the whole wheat spaghetti and served the whole together.

White miso for the winter

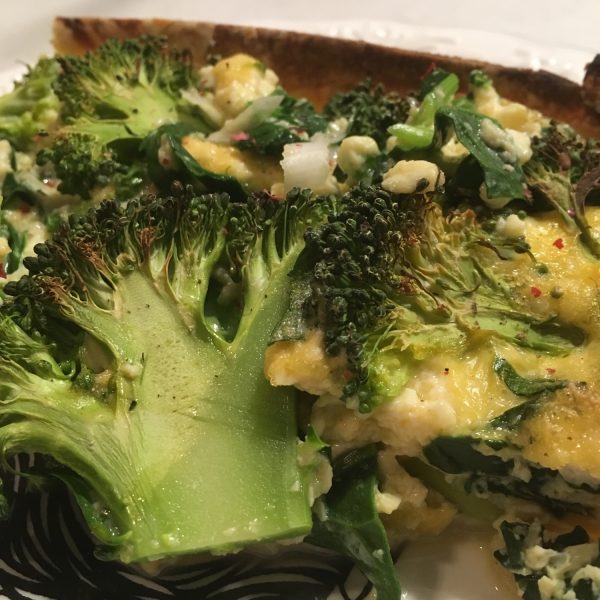
There exists miso for each season and if red miso is for the summer, white miso is the one for the winter. I learned that at my cha-kaiseki cuisine classes a few years ago. And in an attempt to make some vegan pie crust I was tempted to replace butter by the creamy white miso, with a little addition of vegetal oil. The color is unchanged since the miso has almost the color of butter. The kneading is very easy, the rolling too, though it is more like olive oil base pie crust, it breaks easily, but it is easy to repair too!! I was worried it would be salty but it wasn’t (opening to not only savory quiches, but sweet pies and tart too) and it bakes in a very crispy manner. So the vegan pie crust with miso was perfect. Something I will use again for sure as it is sometimes easier to find miso than butter in Japan and the taste of miso was very mild rather that of olive oil.

As for the filling I used leek, spinach and broccoli with tofu and eggs. I haven’t found something to replace the eggs in the quiche yet… If you have ideas, I’ll be happy to try…

Miso pie crust (for a 20cm, thin crust)

– 150g of flour

– 5tbs of white miso

– 1tbs of vegetal oil

– 1tbs of water

Mix all the ingredients together. Roll and bake or fill and bake… that’s it!!!

Miso

Remember last March? I made miso with our friends… and I had to wait about a year before being able to try it… actually our friends came home the other day and we talked miso, and they said that their miso was ready and 9month were sufficient… so I couldn’t wait to open my bucket and check what was under the big stone and the bamboo leaves… I totally didn’t sneak peek in during the whole time, worried that could prevent it from fermenting correctly.

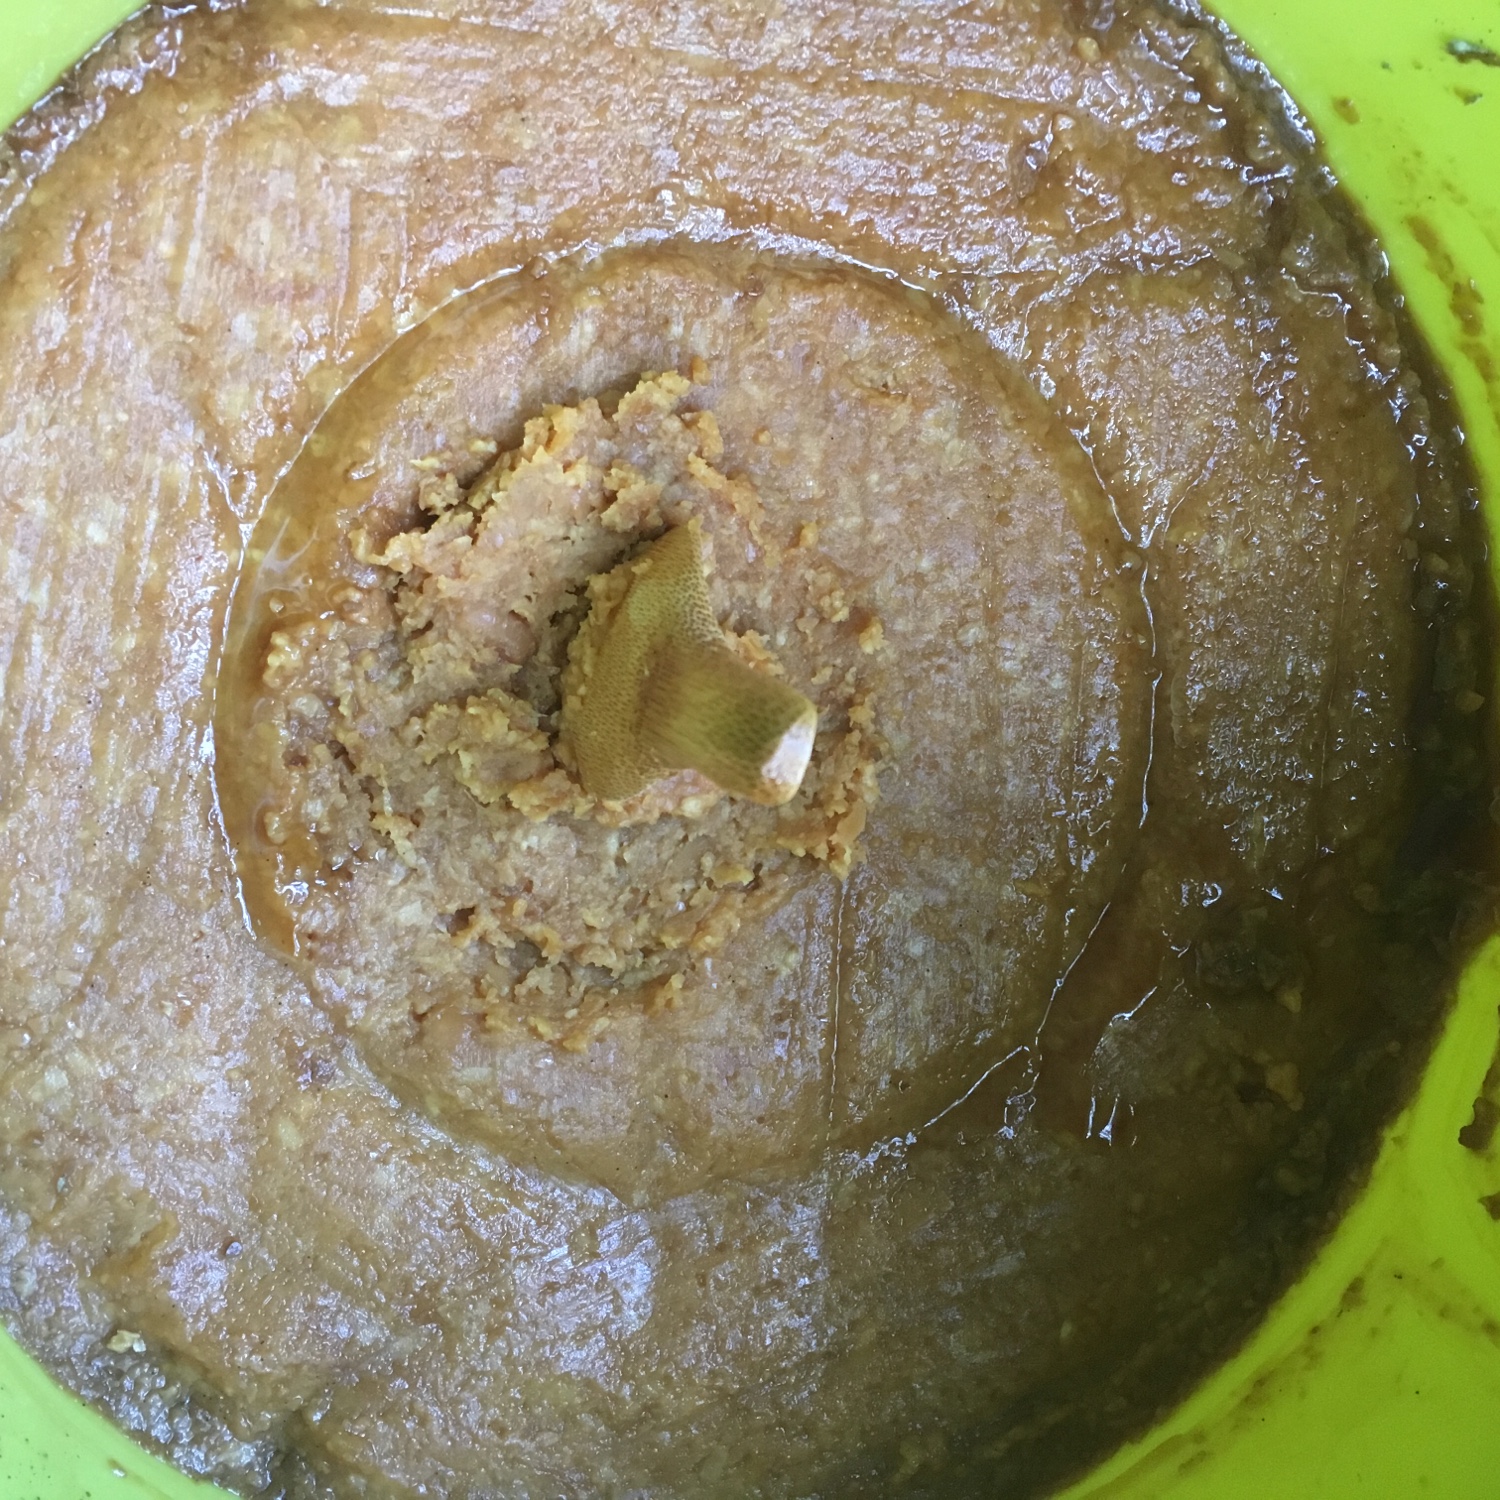
First there was a bit of beautiful blue mold on the edges of the bamboo leaves, but that is normal. Under the bamboo leaves there was a beautiful, clean and fresh miso waiting!!!

Just uncovered miso

Without any delay I moved the miso from the plastic jar (I like better the old pottery for pickles… but mine was too small…) into bins and started using it right away. First of all with daikon and carrot sticks. It’s always the best way to test the real raw taste of miso. Then of course in miso soup, and with spinach and finally a simple recipe with chickpeas, spinach, and an egg. The miso I made is really nice. It has a texture where you can easily see the crushed beans and I love this texture for classic miso. Of course you don’t find this in white and red miso, which are much creamier. I found it a bit salty when I first tasted it, but now I don’t feel that anymore. I will definitely make miso again this year!!!

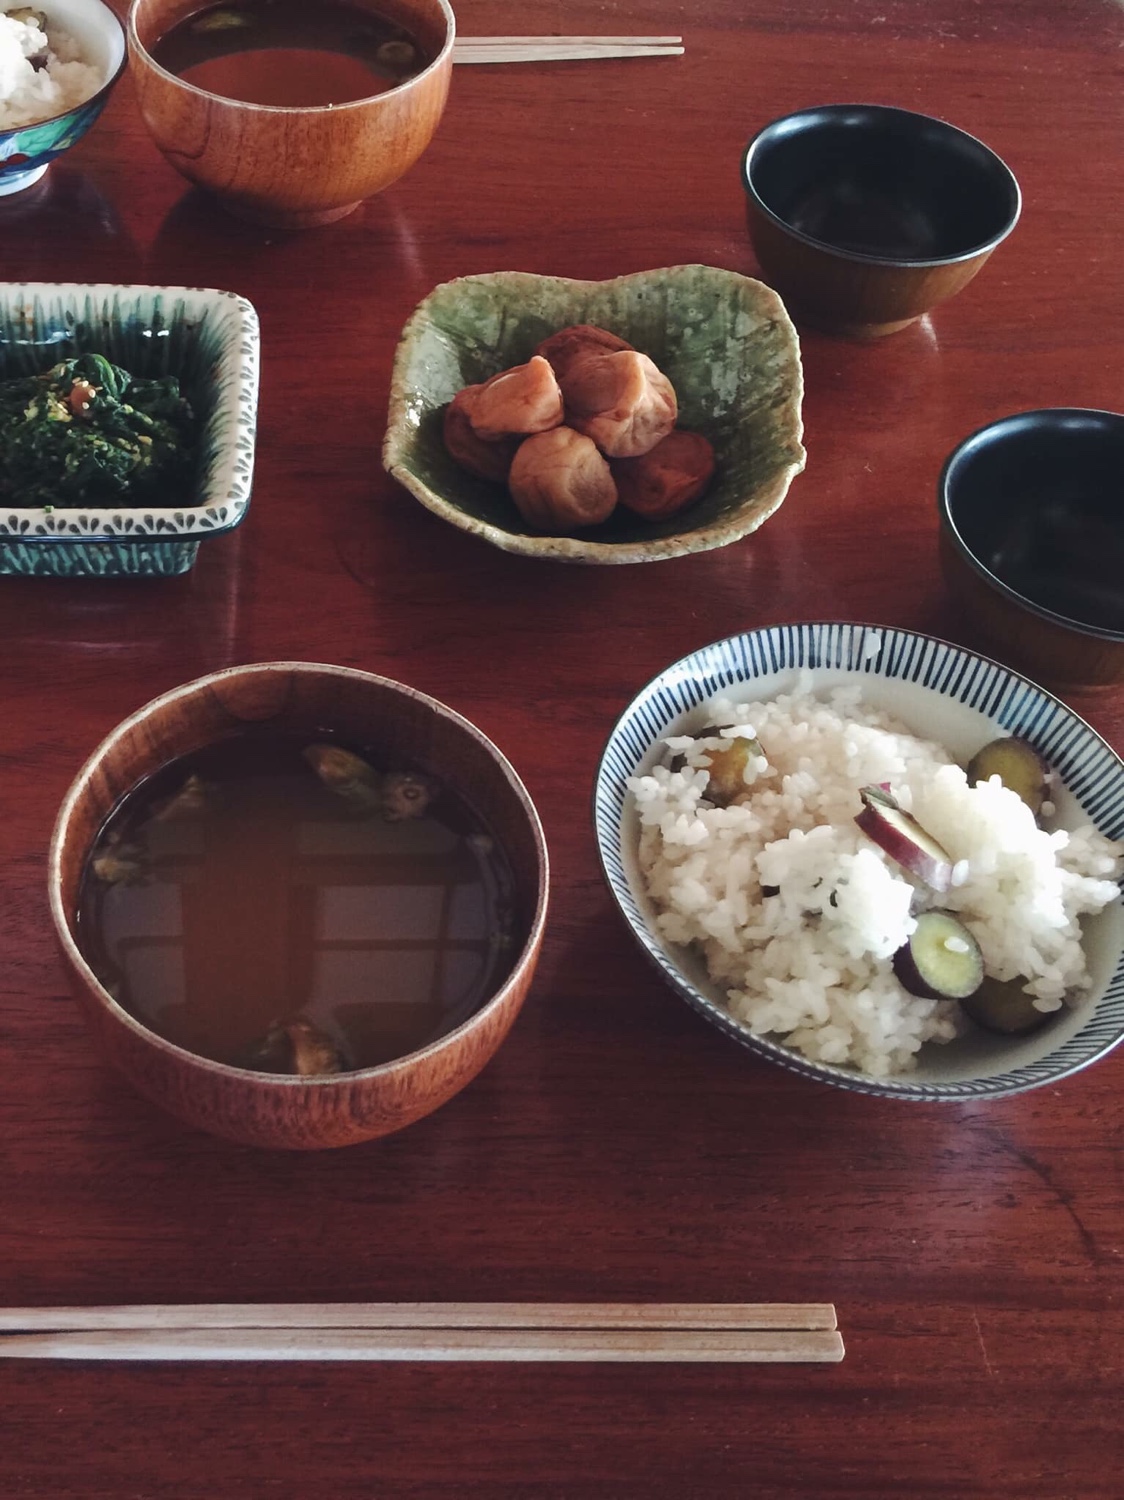
Miso soup and spinach with miso for our friends visiting. Picture from @Chinoshot

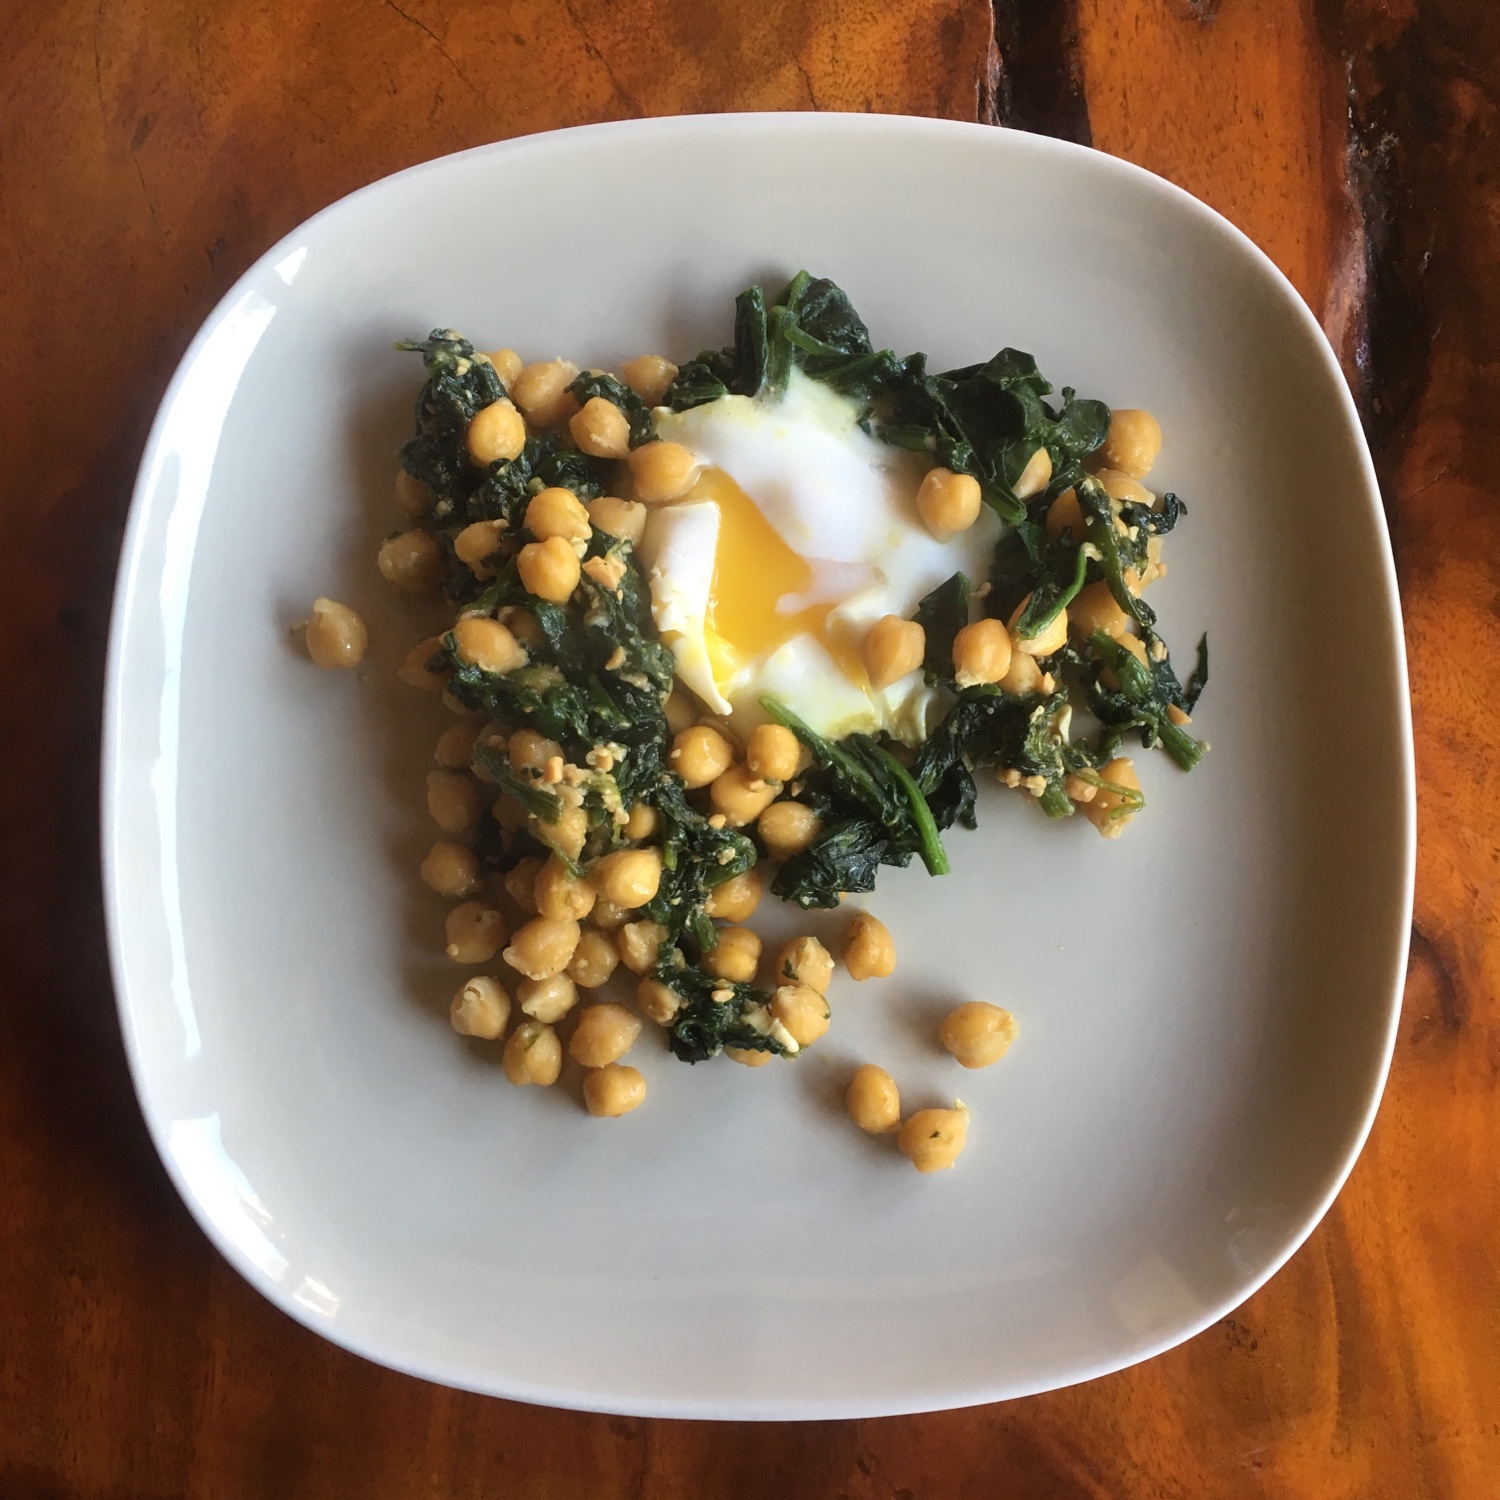
Chickpeas, spinach and miso

– 150g of boiled chickpeas

– 1 bundle of spinach

– 2tbs of miso

– 2 eggs (optional)

Wash and chop the spinach. Blanche them in very little water. Drain them. In a slightly olive oil greased pan put the chickpeas, the spinach and stir well, when the chickpeas are warm, in a small bowl dilute the miso in 2tbs of water and add to the pan and stir well. Cook a sunny side egg if you want. Serve the chickpeas and top (or not) with the egg. Enjoy and stay warm!!!

Ravioli with Japanese flavors

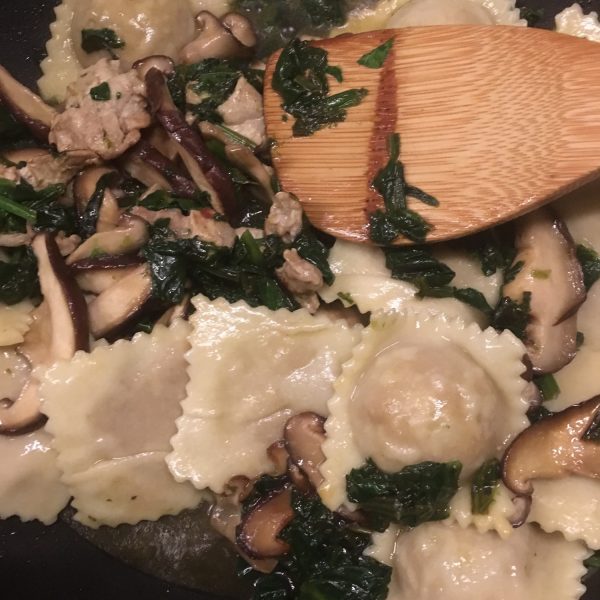
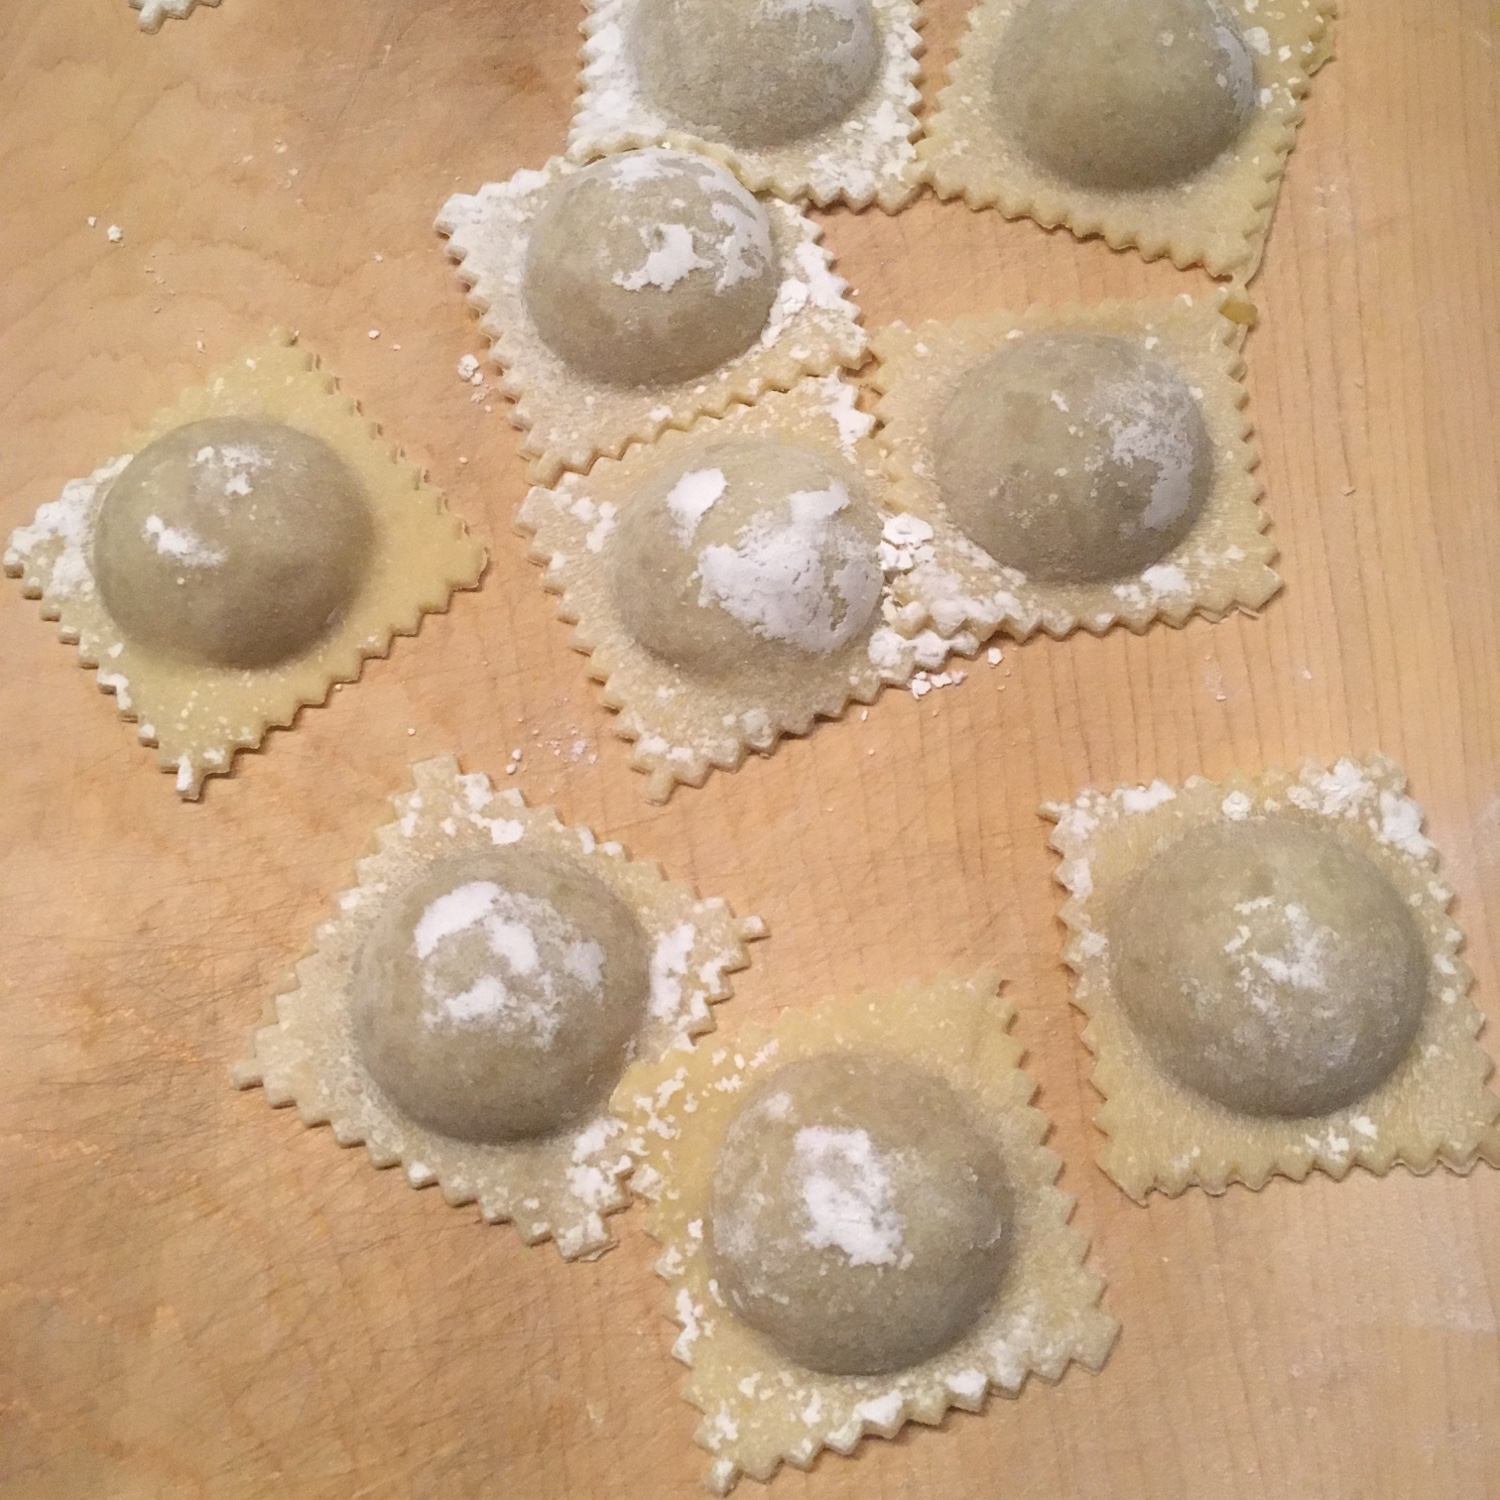
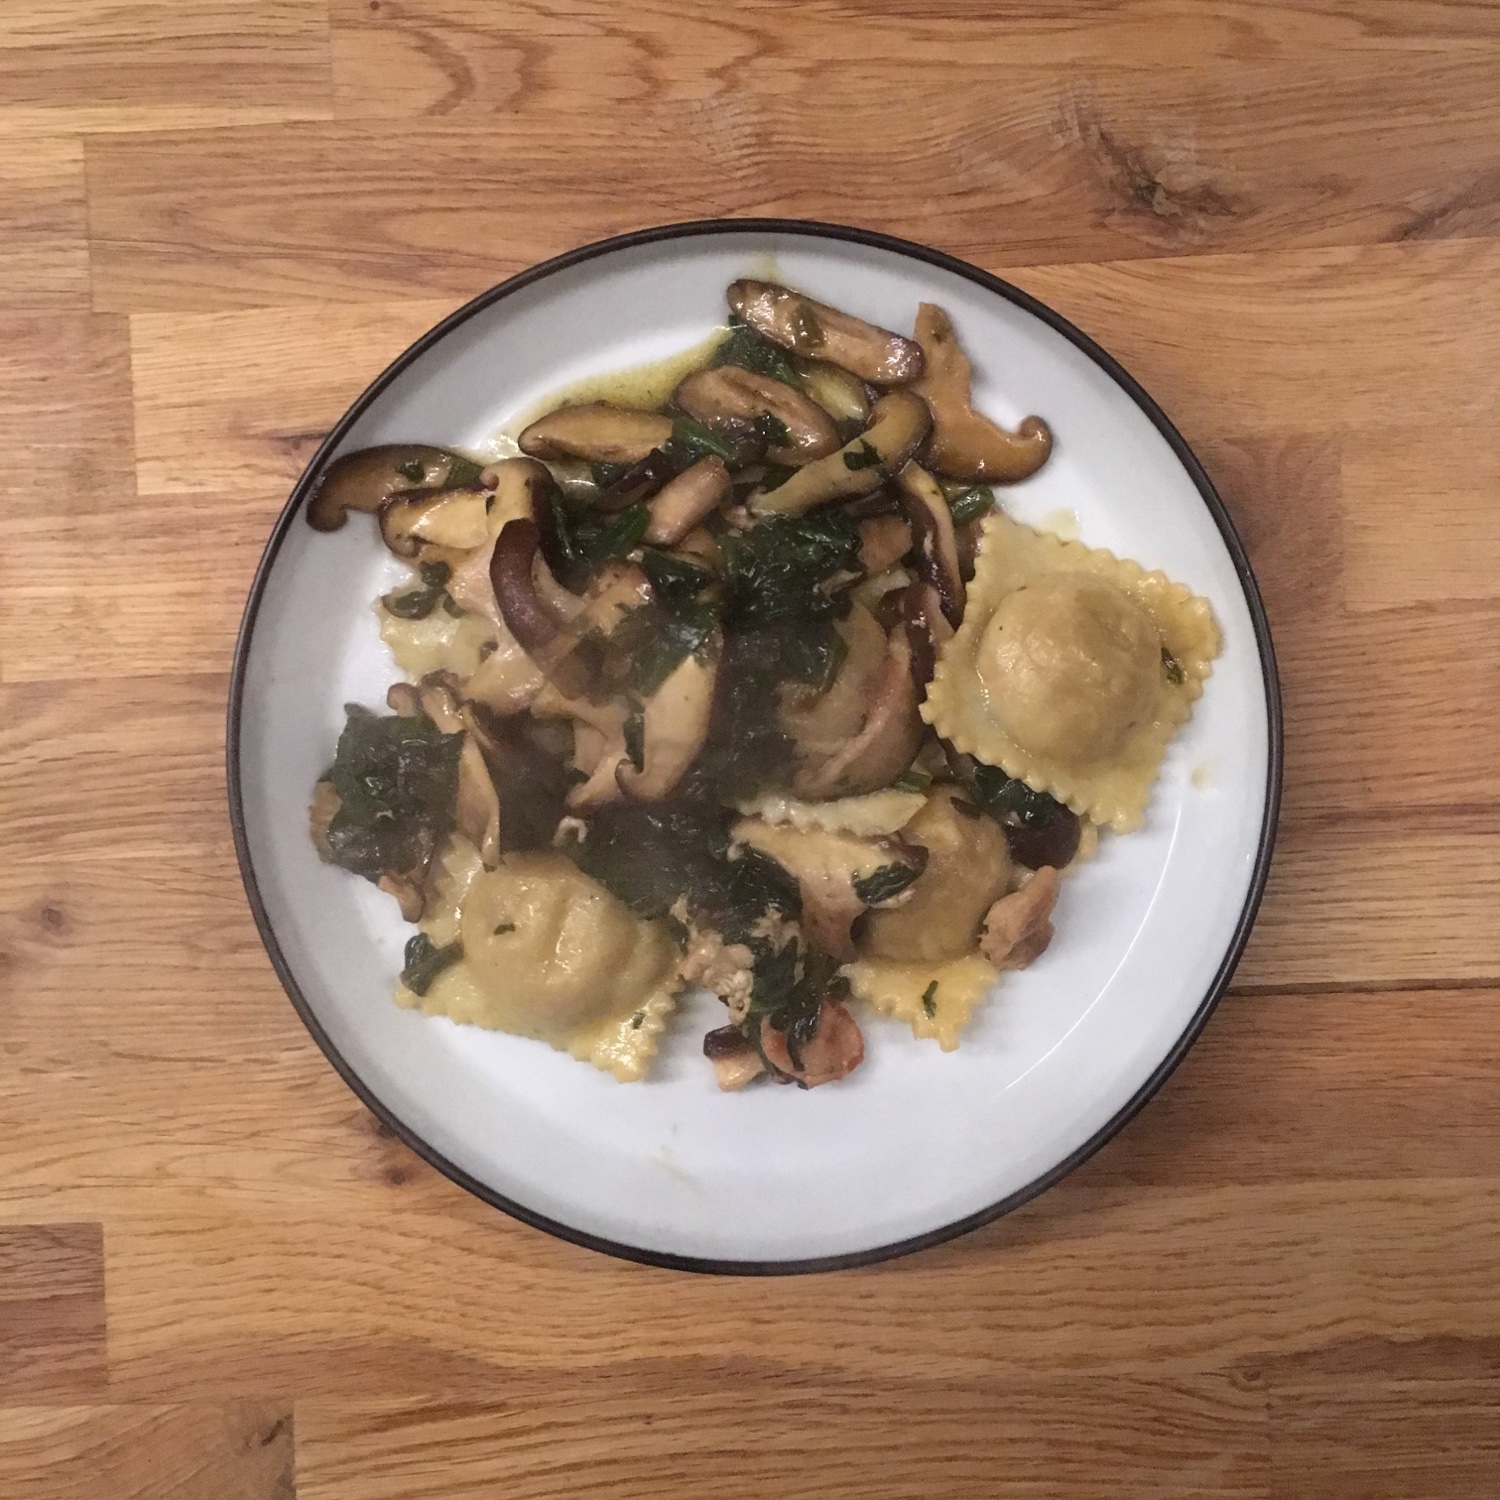
By now you must know that I love ravioli, that I love both making and eating them. With the end of year/new year holidays in Japan, most of the farmers market were off until today, so I had to buy some long lasting vegetables that would last 7-10 days and enough for having friends at home and unscheduled meals to cook, just in case… so I packed on shiitake, spinach, sweet potatoes, daikon, cabbages and carrots mainly. So when I wanted to make ravioli I was a bit falling short of options at first… but then I decided to use the ravioli recipe I learned in Florence last year: a base of potato and a sauce with mushrooms. I just twisted the recipe enough to make it Japanese style: filling of Japanese sweet potato and soya sauce, and the sauce with shiitake, spinach and a bit of grilled pork for those who like it. The result was really up to my expectations, even though I could have added a little more soya sauce. But each vegetable flavor and texture was remarkable and I and A. were both very happy with the result. So here is my recipe:

Sweet potato ravioli (2-4 servings depending on serving size, for it was 4)

For the pasta as usual:

– 100g of flour

– 1egg

– a bit of olive oil, a bit of salt

Mix all and knead until soft. Wrap and leave to rest for 30-90min.

For the filling:

– 2 medium sweet potatoes

– 2tbs of soya sauce

Boil them, when soft, drain, peel, and mash. Add a bit of water if too dry.

For the sauce:

– 1 bundle of spinach

– 4-6 large shiitake

– olive oil to your liking

– thin slices of pork if you like

Wash the vegetables, chop the spinach and slice the shiitake. In a heated pan with olive oil cook the vegetables, add the pork if you want. Add a bit of water if too dry. Keep.

Roll the dough and fill the ravioli. I used a 12-ravioli rack which has fairly large size ravioli (the dough quantities make for two racks: 24 ravioli). Mezze lune are also easy to make as in the recipe here. Fill them and boil them. Once they come to the surface take them out and add to the sauce. It doesn’t matter if a bit of cooking water comes too, on the contrary. Stir gently to cover the ravioli with the sauce and serve to eat right away.

Hand making

I’ve always loved making things with my hands… whether it’s been cooking, or small crafts, or drawing, but with a grand mother professional knitter, a mother and elder sister that know sewing, as the smallest one I didn’t really get a chance to learn any on these. Knitting I would probably be able to catch up, I did a little knitting when I was a child, but sewing… except for making squared pillow cases and the like, I really know nothing, and cutting is even worse, ask A. about my attempt of making a cylindrical pillow case… so when my old neighbor asked me if I wanted to learn how to make a traditional Japanese quilted jacket, I knew it would please her to spend some time with me chitchatting, I just couldn’t say no! I love learning new things to do with my hands. She told me what to buy and I prepared everything to be ready when the making day would come. She told me: “you’ll see it’s very easy” I understood “it will take one afternoon or one evening and you’ll have a new overcoat”… it was underestimating the skills needed and my total lack of them!!! It took me one evening just to cut and prepare the basic shape and she was guiding me all along, one other evening to add the filling and do the preparation sewing, and one evening to finally finish the hand sewing! But I did it!!! I am very proud of my first real piece of clothing! Hand sewing is yes time consuming but the cutting and mounting part were really interesting to learn!!! Learning how to make the best of the piece of fabric you have, how to avoid useless cutting and sewing, and how to optimize ease of mounting the whole thing together was really eye opening on knowhow and craftsmanship. I will definitely try again. The thing I found the best of all was that rather than watching an online tutorials I found that having someone experienced to show me was crucial in succeeding and in making the whole experience engaging and fun. Because not only did I learned how to make the jacket but also how to make small consistent knots, to use a supporter to make straight and regular stitches… and one million other things about Japan 70 years ago!!!

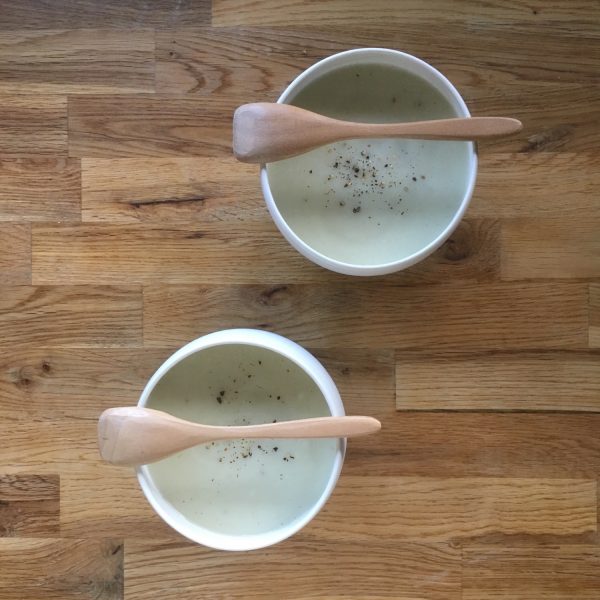
That said, you can understand that I had fewer time for cooking, so it was always simple. And with the chilly evenings, a warm soup was always welcome. I made a sweet potato and cauliflower soup. It’s so easy and requires so little work that it was perfect for me.

Sweet potato and cauliflower soup (2 large servings)

– 1 small cauliflower

– 2 small Japanese sweet potatoes (or 1/2 if it’s only big ones you can find)

– 200ml of milk

– salt and pepper

Boil the vegetables after washing/peeling and cutting them. When tender, move the vegetables in a blender, add the milk salt and pepper and mix. If too thick add a bit of the cooking water. Serve immediately and eat hot!

Lemon cake

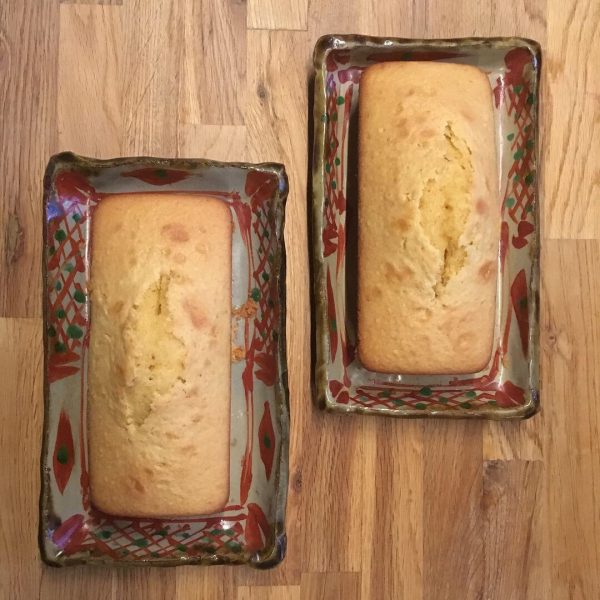
For my birthday for the past 6 or 7 years, when possible, A. bakes me a birthday cake of my choice. The season is such that it involves often lemon or apple. This year the tradition went on and he prepared on my request a lemon cake. With the lemon just harvested in the garden. These lemons I have seen slowly growing and are totally free of pesticides, wax and other things that make you think twice before using the zest. The cake he made was super delicious, on of the best I have had! I wonder why he doesn’t bake more often!! And because he used the recipe he found online and didn’t want to halve the quantities, we obtained 2 cakes of perfect size for tea and breakfast for two. I slightly ask him to modify the recipe to be less buttery, so here is the actual recipe he used:

Lemon cake

– 200g of flour

– 120g of brown sugar

– 80g of butter

– 4eggs

– 1tbs of baking powder

– 1 lemon (free of chemical)

Melt the butter. Wash the lemon and extract both the zests and the juice.

In a bowl, mix the flour, the baking powder, the sugar, add the eggs, the butter and end with the lemon juice and the zest. Pour in a cake dish (one 30cm or two 20 or less).

Bake in a pre-heated oven at 180deg for 35min to 45min

When ready eat right away or once is has cooled down.

Have a beautiful end of 2018!!

Proudly powered by WordPress | Theme: Baskerville 2 by Anders Noren.

Up ↑

Verified by MonsterInsights