Artichokes are not common in Japan. You would never see fresh ones in a supermarket unless you go to the expat supermarkets in Hiroo or Azabu. And there, they are imported from who knows where and super expensive, while not very good…
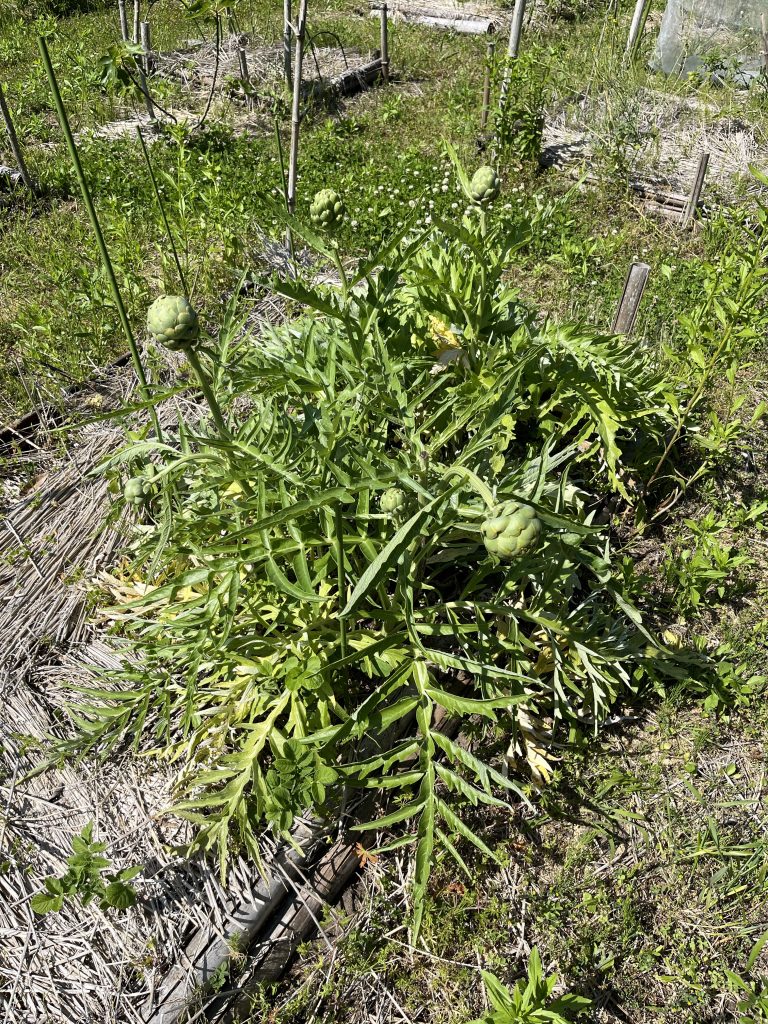
So a few years ago I decided to plant some in the kitchen garden. The first year was only leaves… the second year I harvested three tiny artichokes, and this year, the third, I finally start to have a decent supply of two artichokes per week!! They are not as big and creamy as I expected but they are tasteful. And I love that they grow year after year without having to be replanted.
My artichokes in the garden
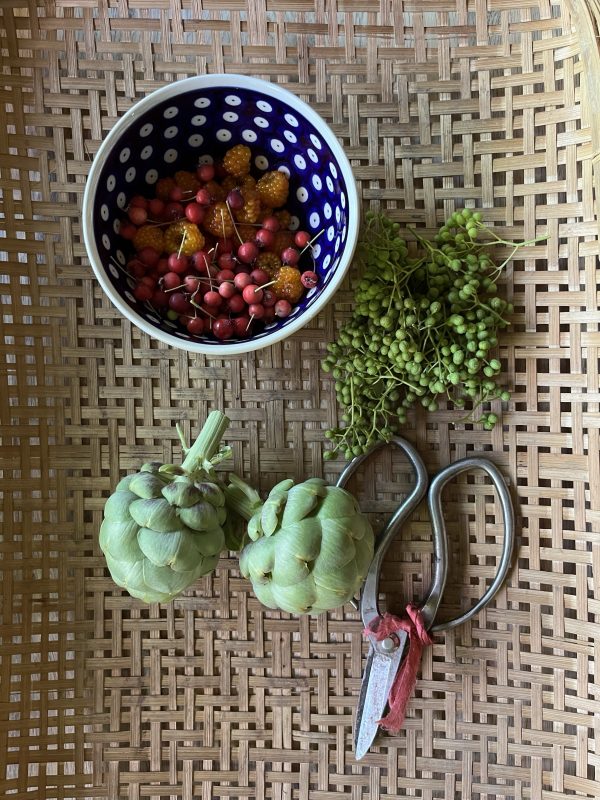
Now with this constant little supply I needed to come up with some recipe, and with the last lemons on the tree, I came up with this recipe of neither barigoule, neither greek style, but my style lemon artichokes. It is super easy and so delicious, the perfect side dish for grilled tuna, swordfish or just with a slice of sourdough bread.
Lemon artichokes (2 servings)
4 artichokes
1/2 lemon
2 large onions
Olive oil
Salt, pepper and red pepper
Remove the bottom leaves of the artichokes, cut the top and cut in four. Remove the hair.
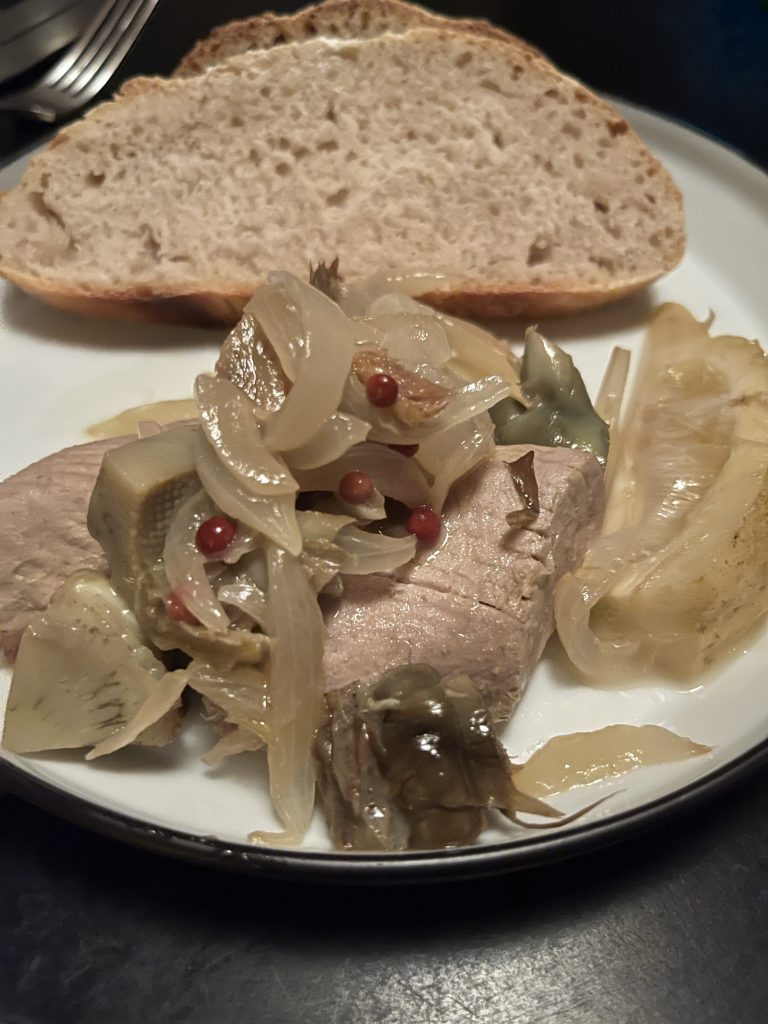
In a pan heat some olive oil, add the onions chopped very coarsely. Stir until they have softened. Add the artichokes, the lemon cut in four, salt, pepper and red pepper, cover with water and let simmer at medium heat until the liquid is almost gone.
It’s ready and delicious hot or at room temperature.
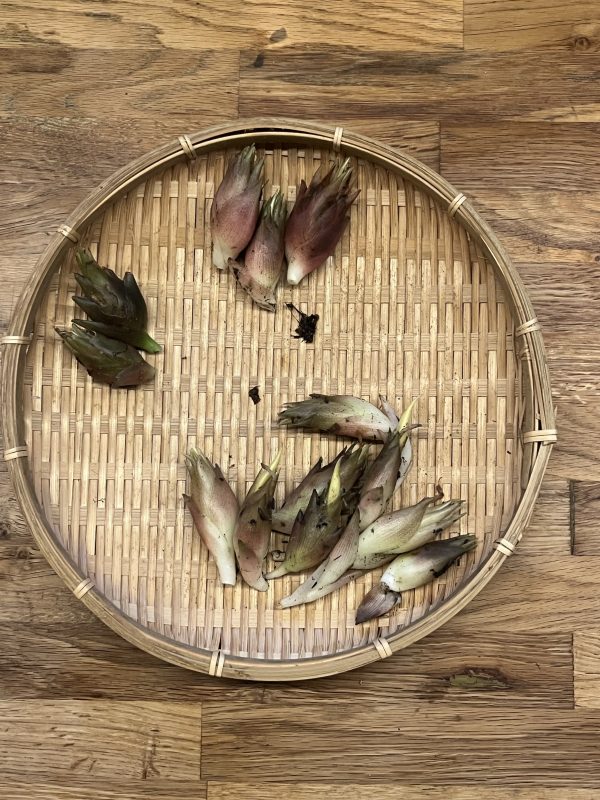
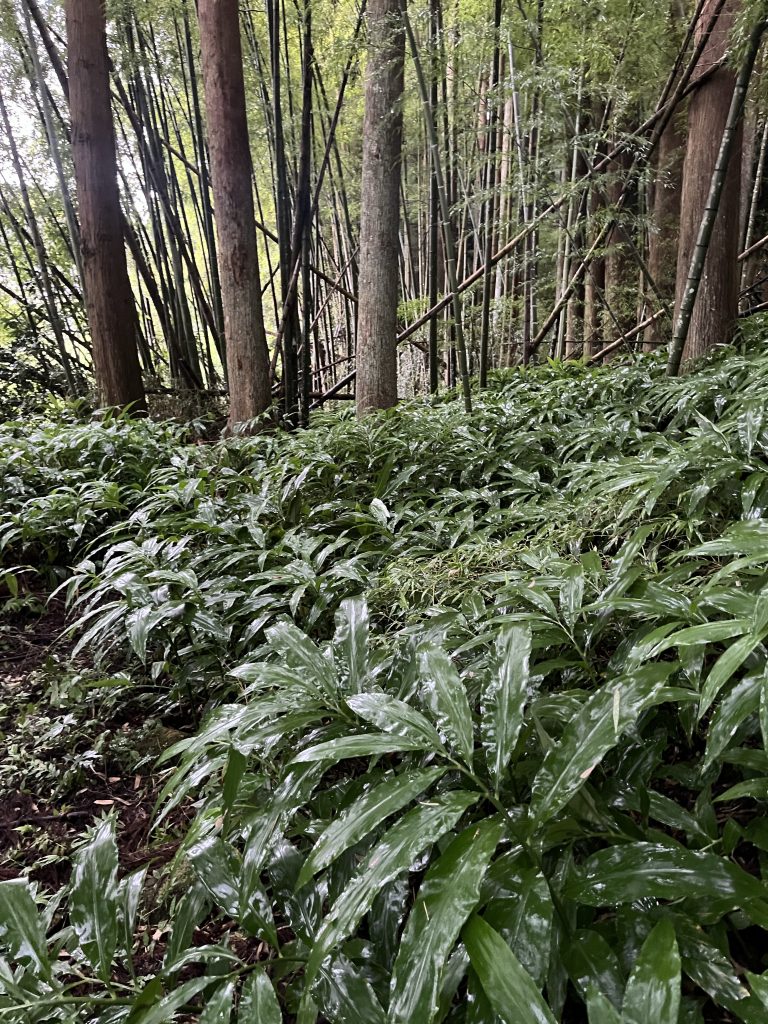
Not cooking for a week and enjoying some delicious food in a variety of places have boost my creativity and my willingness to cook. One of the things that I enjoyed particularly was chilled soup as a starter for dinner. So I have been testing a few ideas. But my favorite is definitely a kind of vichyssoise, with Japanese flavors. Since it’s the season for myoga we went to our myoga forest to forage some.
Myoga field in our forest
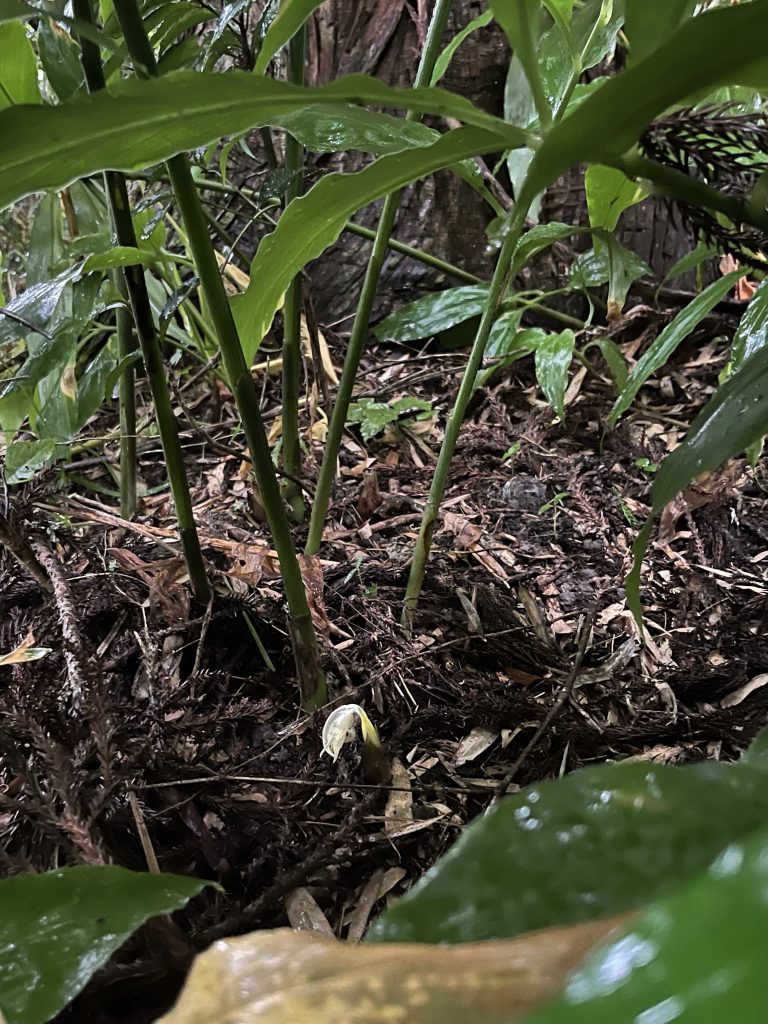
Myoga is not easy to find in the forest as the buds are often hidden below the fallen leaves. But we got pretty lucky and found plenty.
A myoga bud with an already opened flower
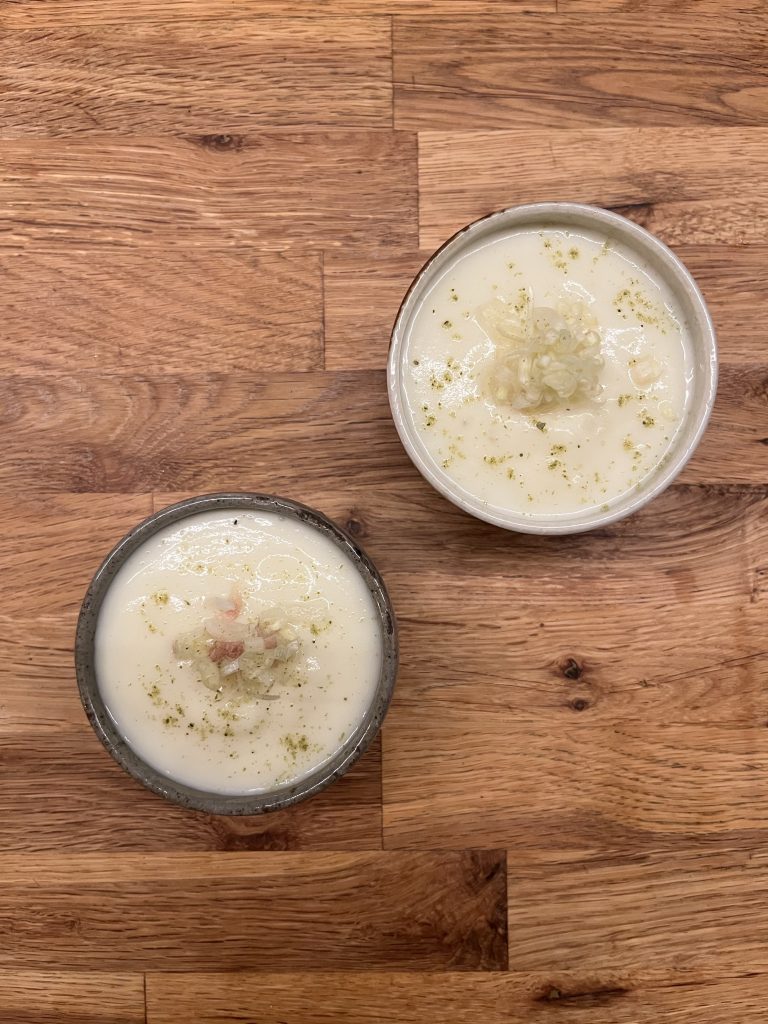
That, and some powdered seaweed I got in Okinoshima, it inspired me this new recipe. It is so delicious that I want to keep that recipe and I am happy to share it with you. I hope you’ll like it. Oh! And it is very simple!
Vichyssoise my way (2 servings)
1 large potato
Milk, fresh cream, water (I used milk and water)
1 fresh myoga
1/2 tsp of powdered seaweed (if you can’t find use salted konbu instead)
Steam the potato. Once soft, let it cool completely and peel it. In a blender, set the potato chopped in chunks, a bit of water. Blend until pureed. Add milk or cream until the texture is almost liquid, but not too much. Add the powdered seaweed. Serve in the final plates/bowls, and keep refrigerated until serving.
Wash and thinly chop the myoga. Top the soup with some. Add a bit of powdered seaweed for the color, or dried salted konbu.
Enjoy!
PS: you can probably add onion or leek to make it more of a vichyssoise, but I decided to keep it simple.
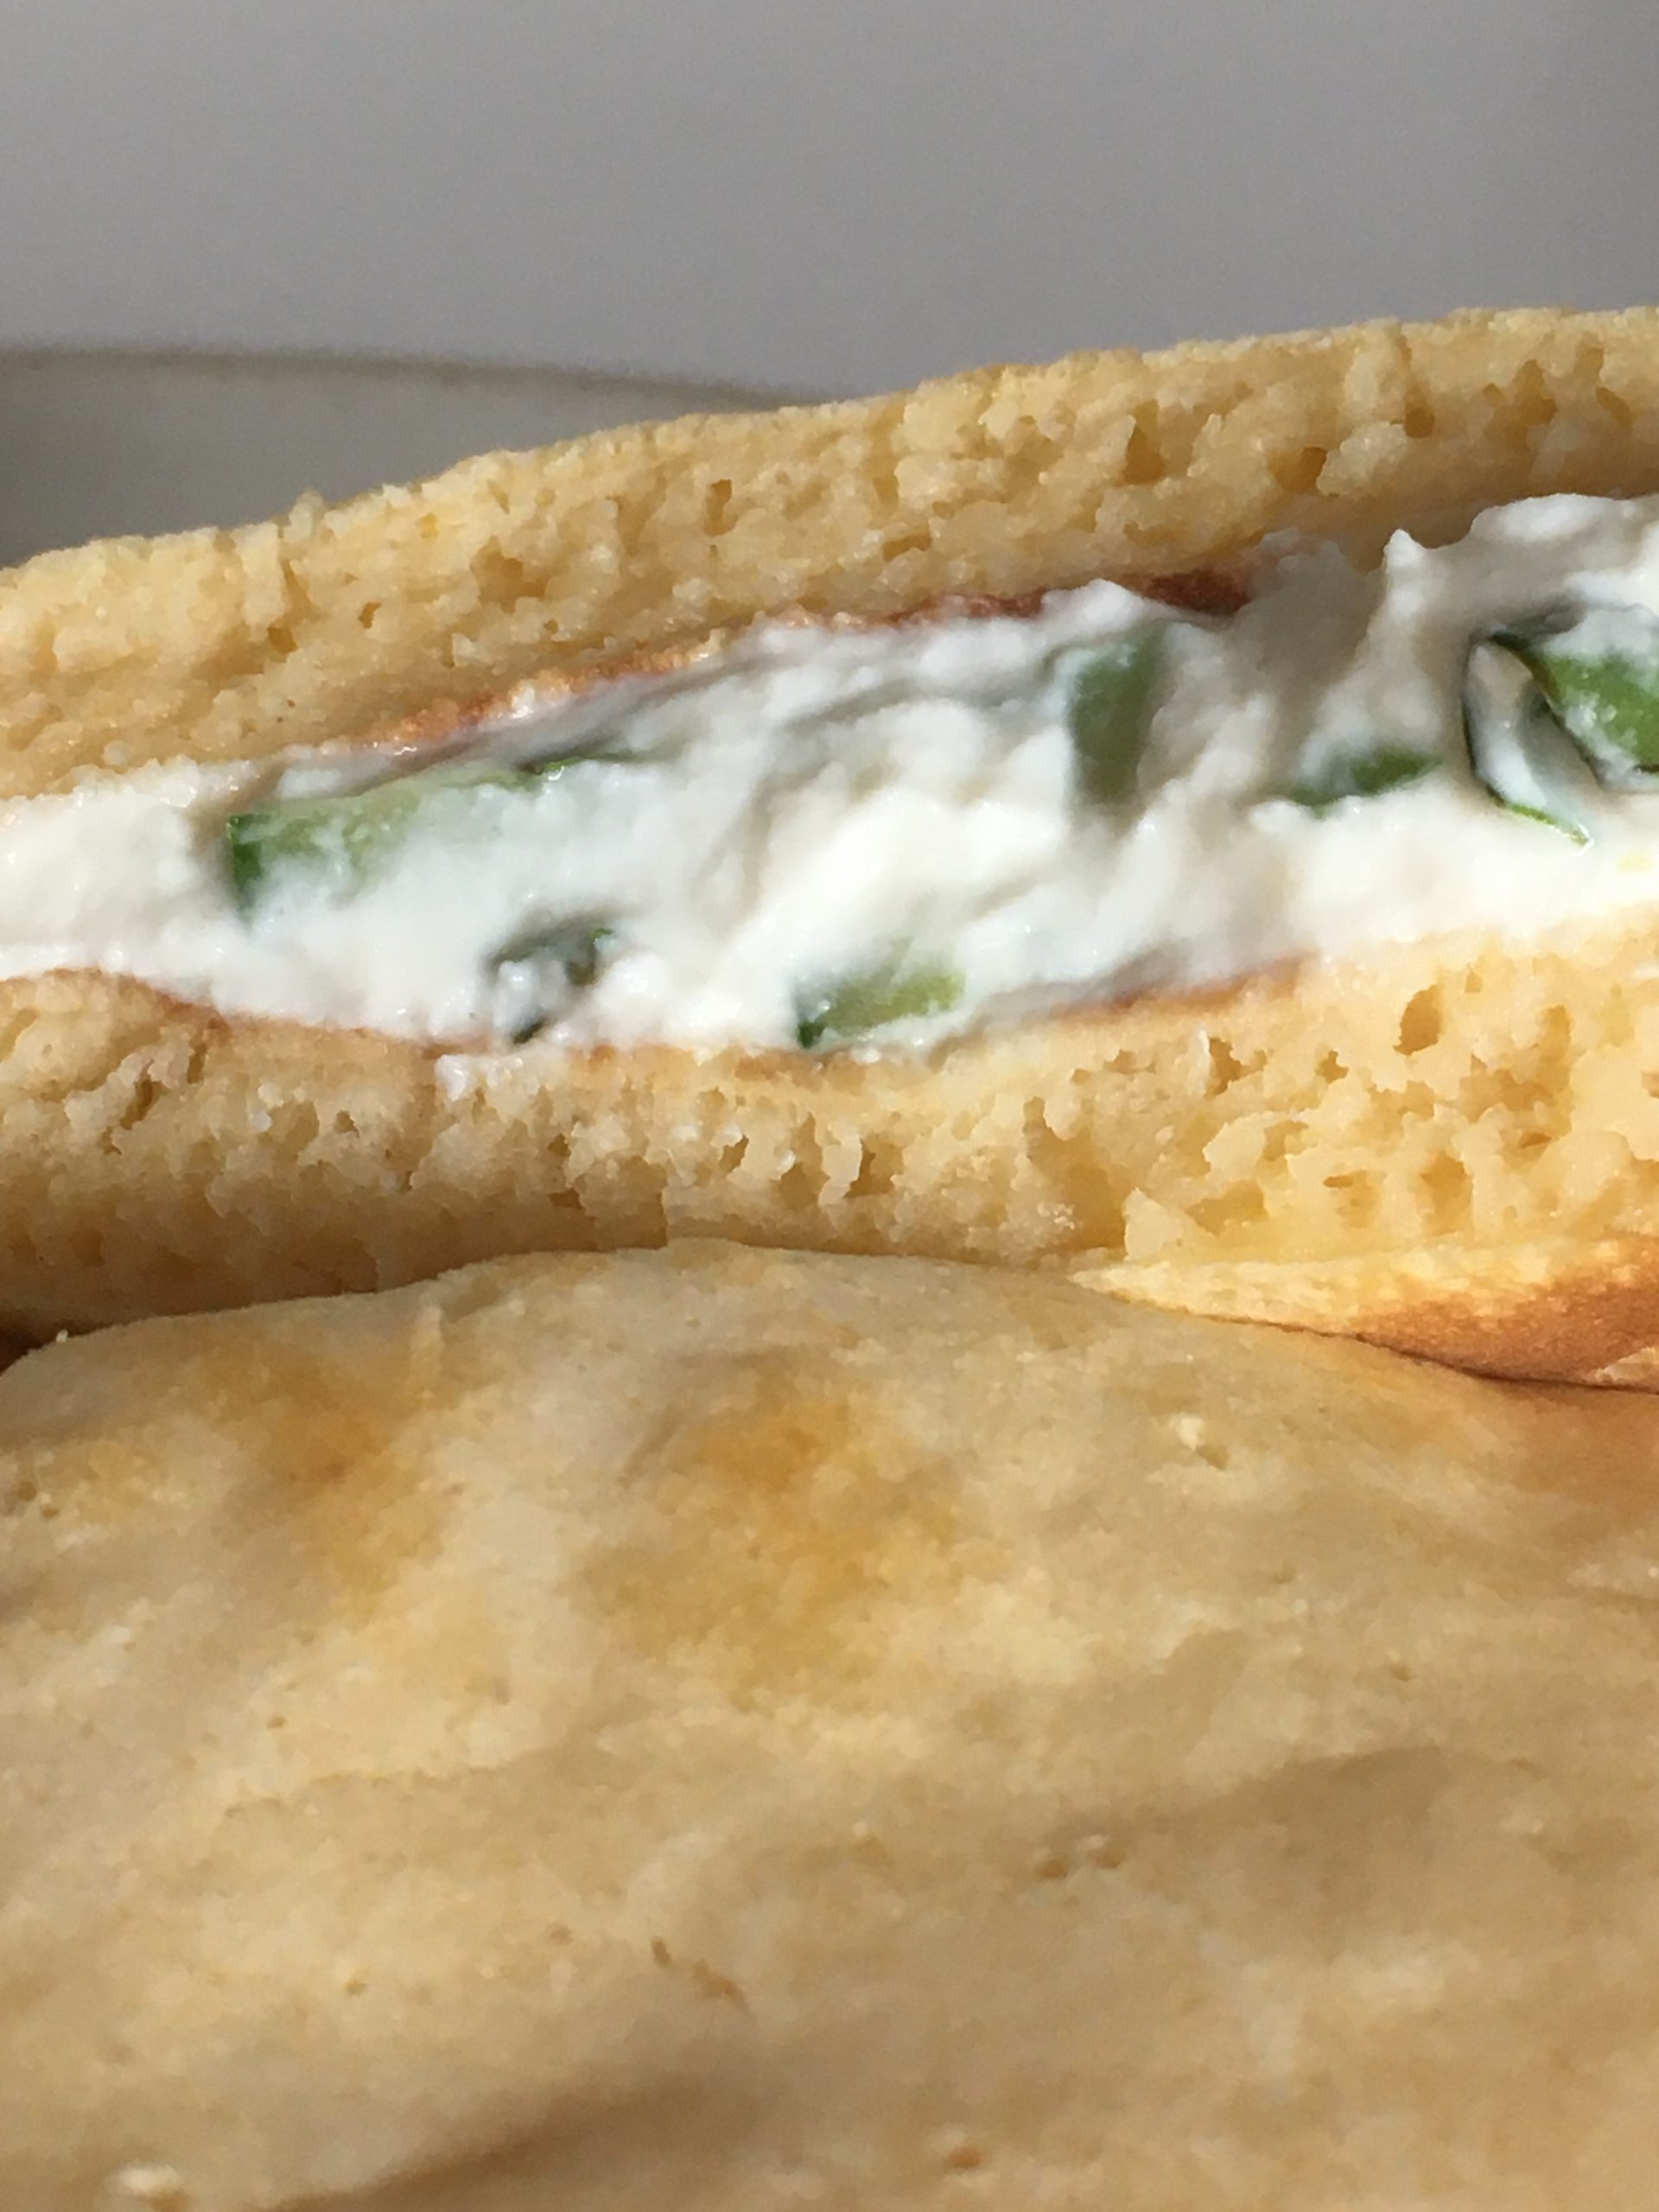
If you have been to Japan or a Japanese grocery store, you probably came across a very popular sweet: dorayaki どら焼き. This traditional Japanese sweet consists of two stacked fluffy and soft pancakes and in between a spoonful of sweet red beans paste. It’s a very nourishing treat that many loves. There’s also some variations, add a steamed chestnut in the fall, a ball of soft mochi, a macha filling and whatever can come to mind to make a sweet.
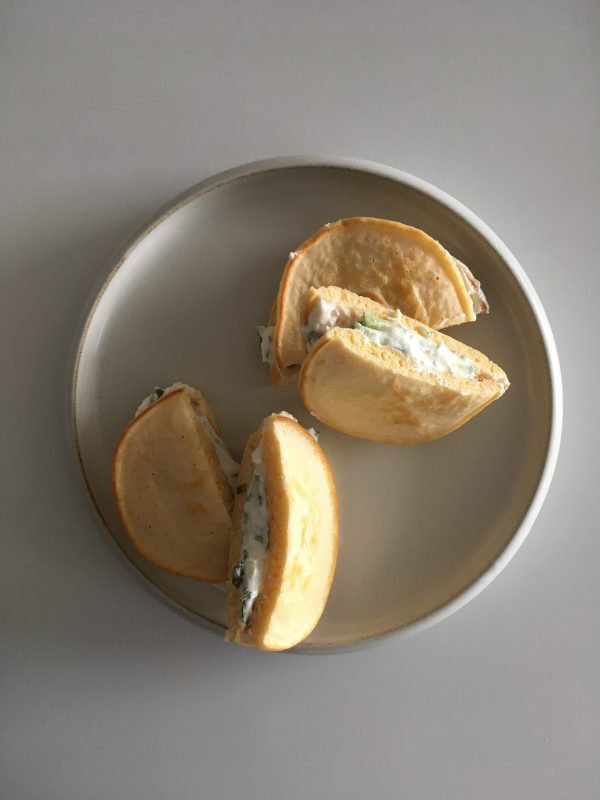
I like dorayaki, but I found them a little too nourishing. The other day though, I was thinking about a quick fix for lunch and got inspired by dorayaki. Except that instead of the red bean paste I prepared a savory and fresh mix of ricotta and cucumber. It worked sublimely, so I am please to share my original recipe with you. It’s so super simple to make I hope you’ll enjoy it!
Savory summer dorayaki (2 pieces)
1 egg
150g of flour
1tsp of baking powder
1 pinch of salt
Milk or water
1/2 Japanese cucumber
100g of fresh ricotta
Herbs you like: I used fresh basil I grow at home
Salt and pepper
In a bowl, mix the flour, egg, baking powder and pinch of salt. Add milk or water little by little until obtaining a neither thick nor liquid dough.
Cook 10cm diameter pancakes in a non sticky pan or a greased pan. It’s ok to have one side slightly under cooked. You should make 4 pancakes.
In the meantime, wash and slice finely the cucumber, mix with the ricotta, salt pepper and herbs chopped.
Take two pancakes, on the less cooked side of one set a large spoonful of the ricotta mix. Top with the other pancake. And your all set!
This year, after many ideas and discussions of places we could go for the holidays and my birthday, we opted for a short road trip to the coast of Kanagawa and Shizuoka. Plenty of blue ocean and blue skies and views of Mount Fuji from every single angles (we ended up making a 360 around it).
Our trip was more or less planned, we usually like improvisation, but more and more places, since the pandemic, operate on a reservation-only, so it is best to schedule a little if you want a good lunch, a visit to a must-see museum… but luckily there are still many places that welcome visitors on the spot too.
Our trip took us to Kamakura, Oiso, Atami and Fujinomiya.
In Kamakura, we always use the bike share service Hello cycling. There are many stations all over from Kamakura, to further down the coast. Beware that more than often the batteries of the electric bicycles are not charged enough so they will let you down at some point!!! Not funny given that the bicycles are twice or thrice the weight of regular ones and it can be pretty hilly…
In Kamakura we really like the museum of modern art. (We also love the one in Hayama too) It’s located right on the left side of Hachimangu. It’s a small uncrowded museum, with exhibitions that are usually very well curated and would take about one hour to visit.
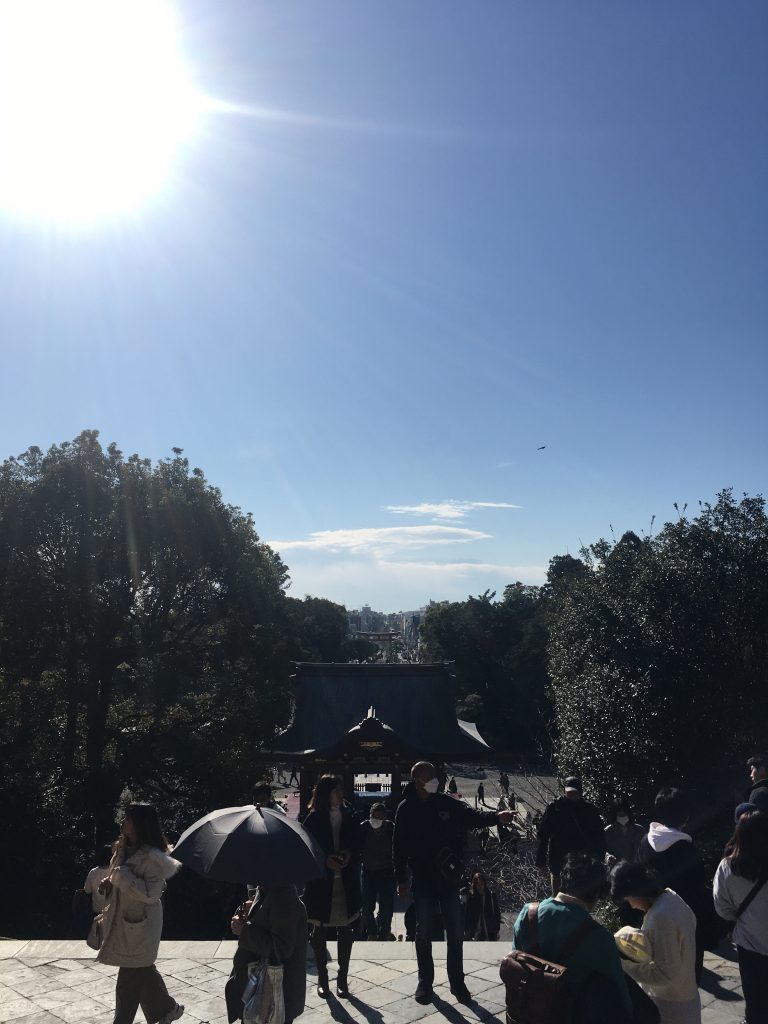
Kamakura Hachimangu
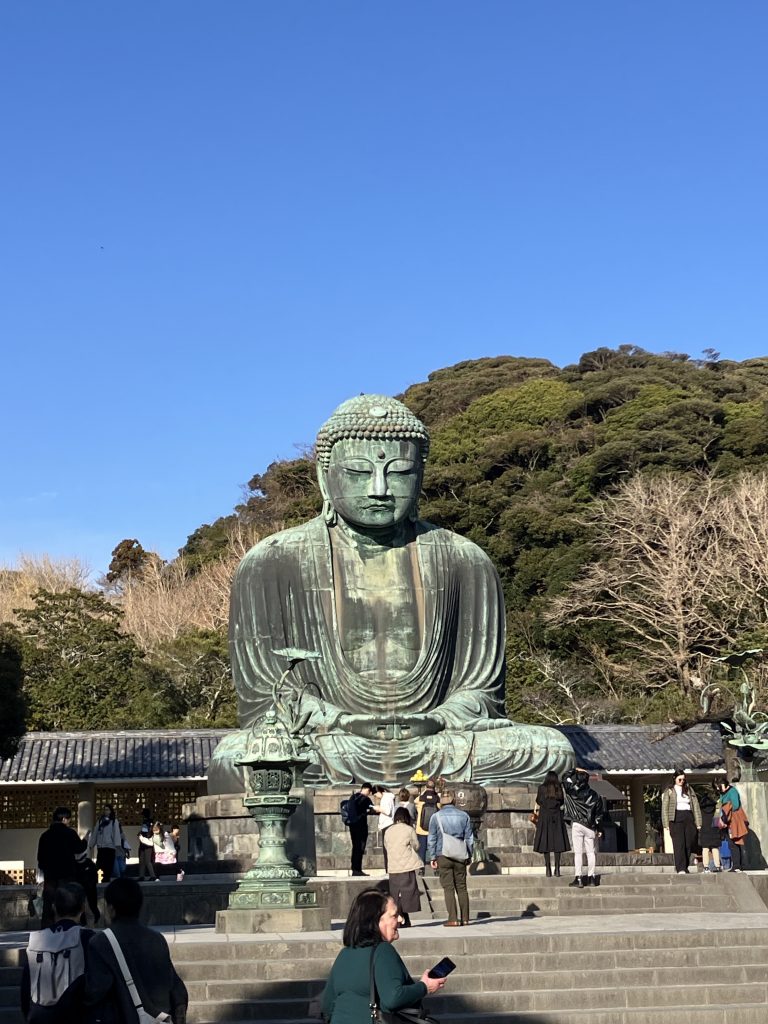
If you want to get lost in crowds, climb up to Hachimangu, you’ll get to mingle in big crowds, and honestly I’ve never understood why people come to visit. In its present form, this not the kind of sanctuary that I personally enjoy. However, the Great Buddha is always worth a visit. It is crowded but it’s so majestic that it invites for peace and quietness.
Going down the coast, in Oiso we visited former prime minister Yoshida’s residence. The garden is quite old and features a few beautiful plum trees. The house is rather recent, with some beautiful material. If you like history of Japan it also has some interest. And the view of Mount Fuji is beautiful.
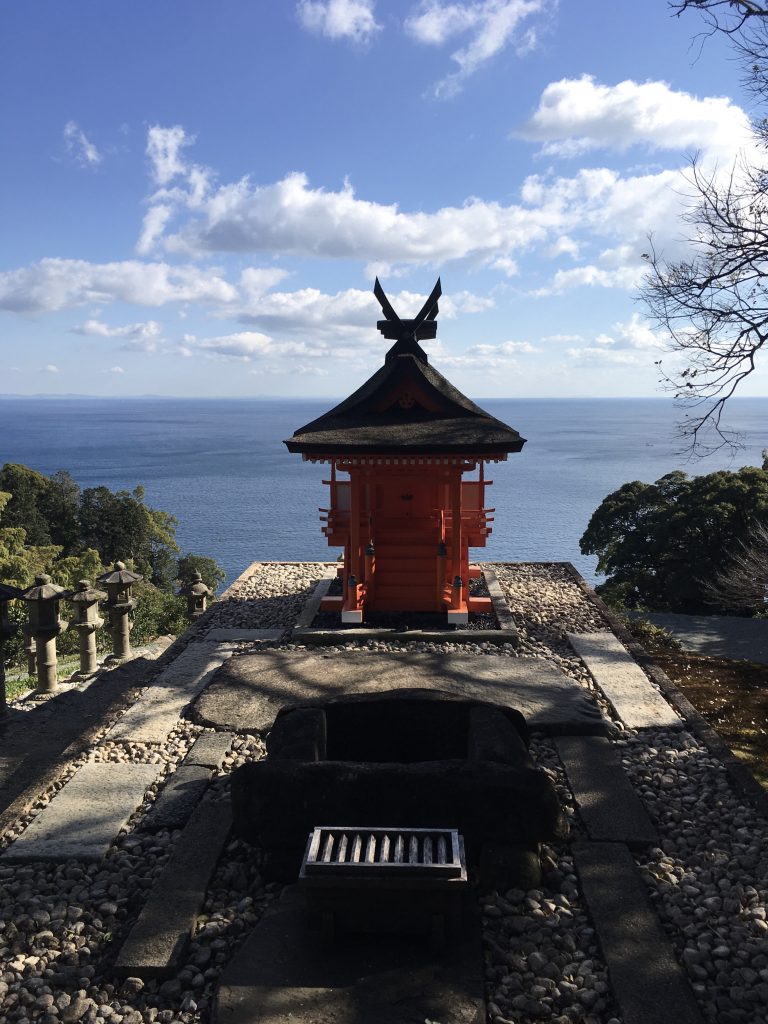
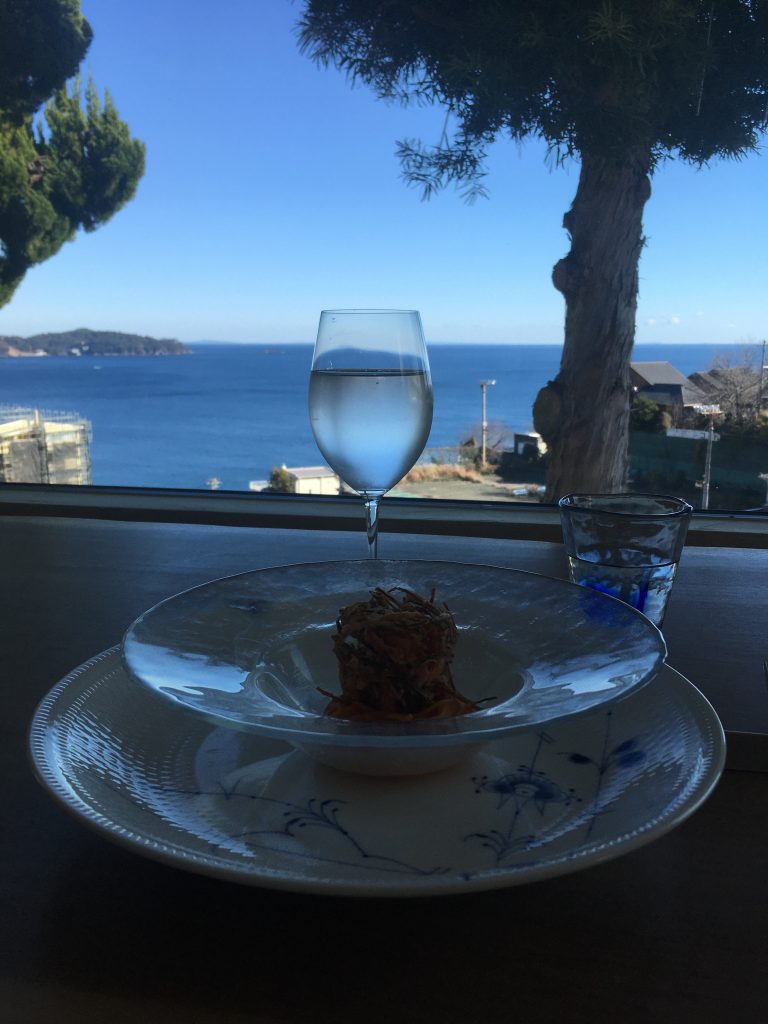
Down further south, advanced reservation only, is the Enoura observatory. It was in my list of places to visit since it opened in 2017 but never managed to be in the program… we haven’t been much in the area in the past 10 years. On a good weather day it is a dramatic place to visit with stunning views and some stones collection (yes you read well) and sculptures exhibited outdoors. And you navigate in a citrus grove, typical of the area. On a bad weather day, I am less sure it would be worth going though… same in a very hot summer day.
The place kind of made me think about the “Contempt” villa. The blue sea and sky, the parallelepiped roof top… but in more contemporary version.
We also went to visit Odawara castle ground, with pines that could make me cry, so beautiful, so old. And in Atami the museum of art MOA, but I am not sure I would recommend it. Contrarily to the name could suggest, it’s a private museum. We had an awkward feeling while visiting it, in the way the exhibition was curated, and then realized that the founder was the guru of a sect, and we then understood the awkwardness…
Now let’s talk food.
While on a trip we would have a mix of simple food taken at the hotel (I am a master of hotel room minimal cooking) and restaurants. For once we had a rough plan and booked ahead a few restaurants worth the trip, and with stunning views on the ocean, so best for lunches.
Aroma mare アロママーレ in Atami was a great experience for Mediterranean cuisine and delicious homemade pizza in a small beautiful space. While a booking may not be necessary, they get full rapidly so if you want to secure a table…
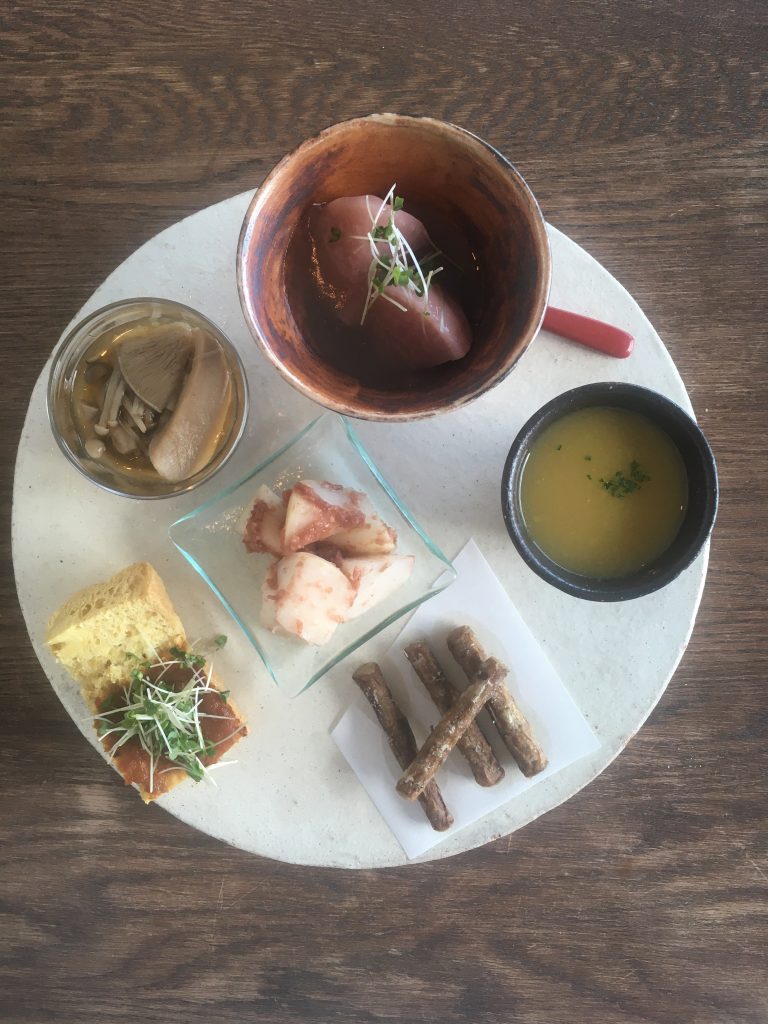
Girino in Ninomiya for Italian x Japanese food, course menu only, reservation only, also small restaurant with a do it all chef and beautiful wares.
Amalfi della serra in Kamakura, has been our favorite place for dinner outdoors, we usually go there in early evening spring or summer when in Kamakura. You don’t go there for the food, though the pizza is good, but for the chill. After climbing up the narrow stairs behind the Enoshima line, up the hill, the terrace is just breathtaking. You travel to the Amalfi coast in a climb!
Figaro in Fujinomiya has something special to me, not only it’s a beautiful cafe at the foot of Mount Fuji, it’s owned and run by the Mine’s and they are also the parents of Fujinosuke and Kintaro, to of Pablo’s kitten we saved 7 years ago. Opened just recently, we thought we ought to visit for a sweet treat for my birthday, even though it wasn’t in the plan to go to Fujinomiya. Good jazz music, beautiful space, delicious sweets (very sweet!!!) and good coffee and macha latte. Fujinomiya looked like a sleeping city but the cafe was very busy! Yet we could have a good chat about food and gardening with A.. We couldn’t stay for a proper dinner, but A.’s cuisine is delicious (we had the chance to have lunch at her place once) and highly recommended.
For casual Japanese food we also tried Hayase no himono in Odawara and chiffon cake for breakfast from the nearby Grit, where I had a nice chat with the owner-chef about the importance of cooking in copper pans.
I love the Japanese name for peanuts: 落花生, it fits so well the way peanuts actually grow! But before living in Japan I never really considered peanuts as a food or a cooking ingredient. I am not into peanut butter either. But when a friend told me why they were called 落花生 and how they grow, I got intrigued, and even more, knowing that Chiba is famous for its peanuts!
So I decided to grow some in the garden, and see by myself how they grow. Loved it! And so cooking peanuts needed to start. Of course salted boiled is my way to go, but instead of just eating them as snack, today I got creative and came up with a new super simple recipe, that was also super delicious.
Stuffed eggplants (1 serving)
3 small eggplant or one large
100g of cottage cheese
80g of boiled peanuts
Salt and pepper
Wash the eggplants, cut in two in the long edge and grill until soft.
Shell the peanuts and chop roughly with a knife, stir in with the cottage cheese.
Spread the mix on the eggplants. Grill again for a few minutes until it starts getting golden. Serve, top with salt and pepper. Enjoy!!
You may be very much used to miso soup as a warm bouillon served either with just a few things in: a slice of shiitake, a peel of yuzu, a few leaves of mitsuba, or with rather plenty of small mushrooms, daikon…
But with the summer heat, a chilled soup is very much welcome and a chilled miso soup version is also possible and it’s delicious!
It just requires to prepare a little ahead so that the bouillon can cool down. This recipe is inspired by a soup we were served for lunch at a small vegan cafe we went for lunch to on our way back from Hoki Museum (by the way, well worth the visit).
My recipe features somen, the Japanese vermicelli, but you can do without.
Chilled miso soup (2 servings)
1 dry shiitake
1 small eggplant
2 tsp of miso
1 small cucumber
4-6 leaves of fresh green shiso
Optional: 100g of somen
Optional: 1 fresh myoga
In a pan boil 1l of water, add the dry shiitake to make a shiitake dashi. Let it boil for a few minutes, when the color goes brownish, turn off the heat and leave it to rest.
Cut the eggplant in bites and bake it or cook it in a frypan until soft.
Wash and slice very thinly the cucumber and the shiso, and the myoga of you use any.
Boil the somen and keep them in cool water.
In the serving bowls, serve one spoon of miso each, top with the drained somen, add the eggplant, the cucumber and eventually myoga, finish with bouillon that covers almost everything, and add the shiso.
For extra chill effect, add a few ice cubes and enjoy!
Last week we went out for dinner to try Cimi Restorant, a restorative kitchen that proposes an interesting concept, with only 10 guests all sitting at one table, in an old house, redesigned for the restaurant, in a mix of old and new. Most dishes are plant based. All the dishes they served were very simple, using a few ingredients very carefully chosen, from farms producing organic, biodynamic or in permaculture. Though I was a bit confused that they do not use more local ingredients as part of reducing the environmental footprint and being furthermore restorative.
One of the plant based on the course menu was a cold cucumber soup. And it was obvious after the very first spoon that it was not just cucumber, there was also some green bell pepper and a few other vegetables. It was refreshing and very tasteful.
Perfect timing, last Sunday we got some cucumber from a lady with whom we played tennis, and I had just bought green bell pepper. So I decided to try a simpler version if that soup at home. The result was way over my expectations at first try! So here is my recipe.
Summer green chilled soup (2 servings)
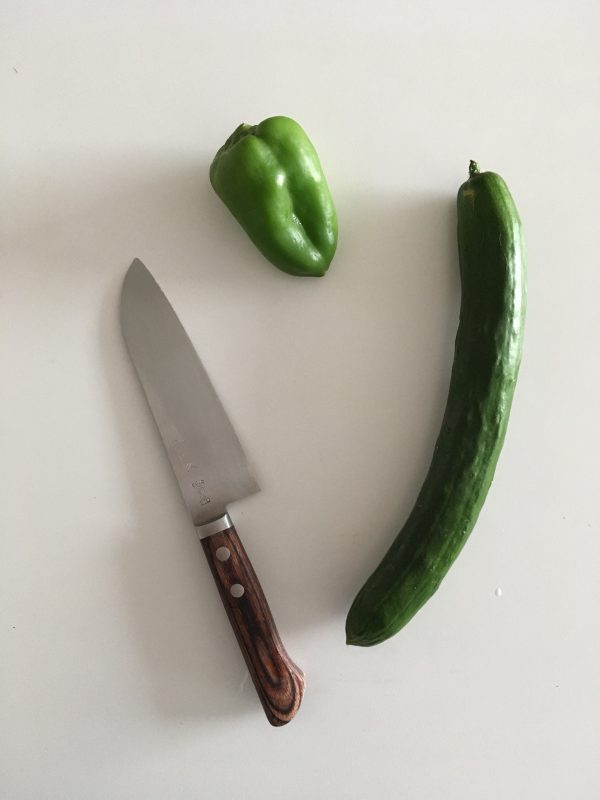
2 Japanese cucumbers (or one European)
2 green bell peppers
1/2 cup of vegetables consommé
Salt and pepper
Optional: olive oil and a slice of sourdough bread
Prepare the vegetables consommé and let it chill.
Wash the vegetables. Cut the stems and remove the seeds of the bell peppers, and of the cucumber if it feels like that (not necessary with Japanese cucumbers).
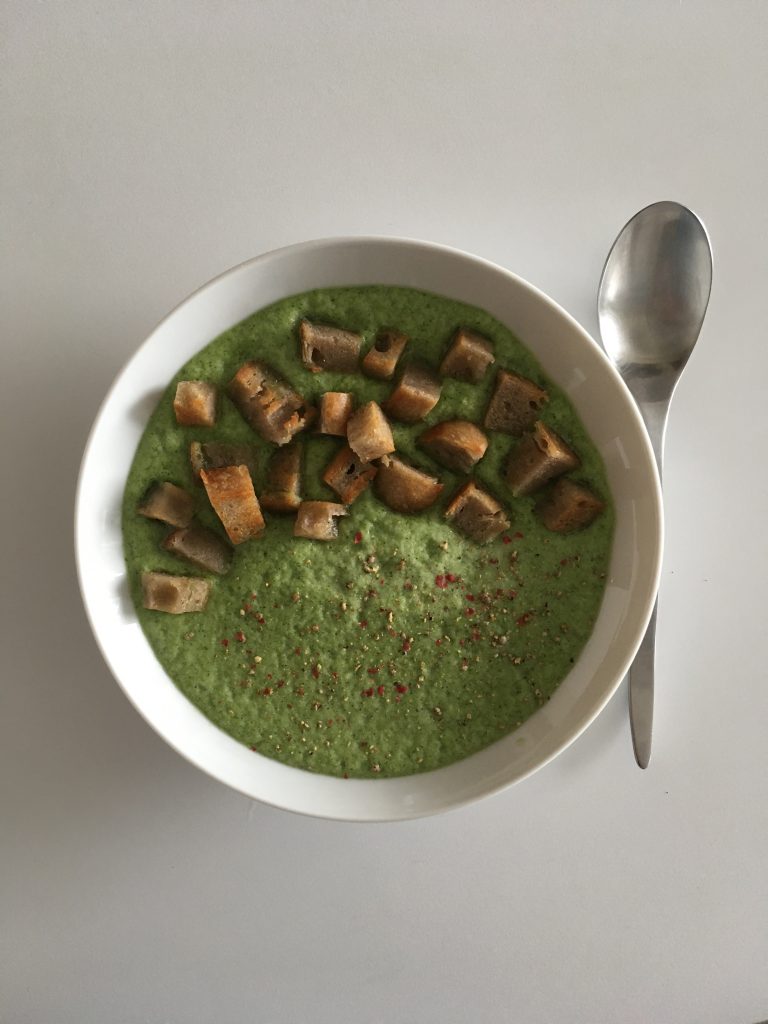
Put the vegetables and the consommé in a blender and liquify. Dress in adequate plates or bowls. Top with z pinch of salt and freshly ground pepper (I used a mix of pink and white peppers).
If you feel like it add a drizzle of olive oil. Or cut the slice oc sourdough bread in bite size and roast them in a bit of olive oil in a pan. Top the soup.
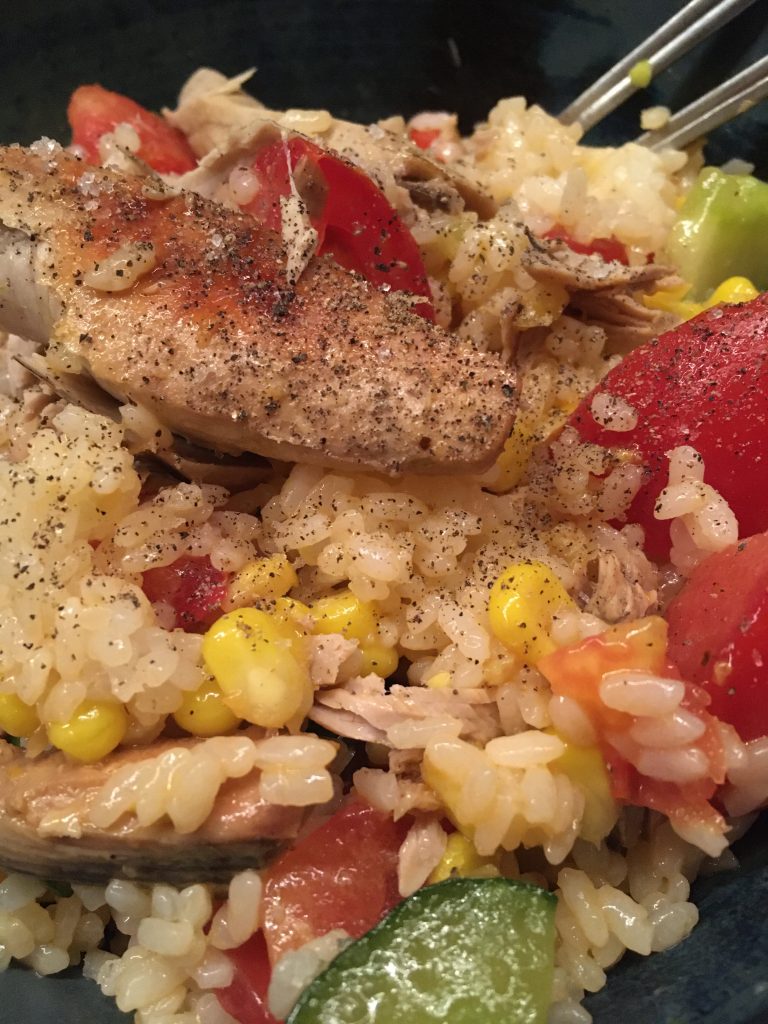
In France, the early summer is the end of the school year, and more than often children go on day trips. In which case parents should provide a lunch box. I have no idea what today’s lunch boxes look like, but when I was a child (saying that feels like I 80 years old or something!!!!), one very popular recipe for the lunch box was “rice salad”. There were two main versions: the cheese and ham one, usually with mayonnaise dressing, and the tuna one either with mayonnaise or olive oil. I personally liked the later best. With a piece of fresh local bonito, some cooked rice, and summer vegetables plenty, the menu for dinner tonight was all set: it would be a classic rice salad. Of course rice is a key ingredient in the recipe and I wasn’t sure it would work well with Koshihikari rice, but it is truly perfect.
For the other ingredients, that would be normally can-ready food: corn, tuna… but I don’t by much canned food, and it is the season for delicious local corn now. And it makes a much much better meal. Almost fancy!
Here is my recipe.
Rice salad (2 servings, one dish meal)
1/2 cup of rice
1/2 fresh corn
1/2 filet of fresh bonito
1 tomato
1/2 cucumber
Olive oil
Salt and pepper
1 leave of laurel
First, cook the rice, and boil the corn.
In a pan set the bonito filet, some olive oil and salt, pepper, laurel add a little of water and cook slowly under cover.
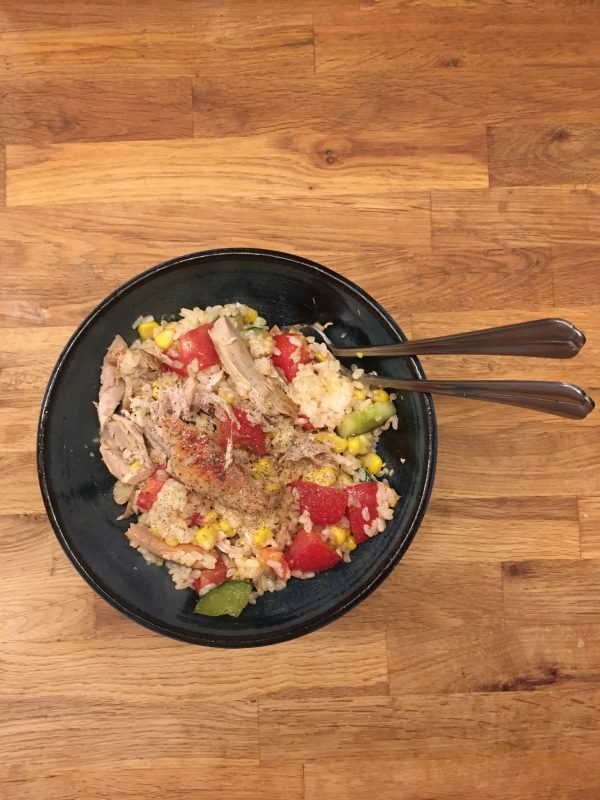
Dice the tomato and the cucumber.
In a large bowl, set the rice (much better if it has had time to cool down. Generously splash olive oil and stir. Add the tomato and the cucumber. Stir again. Once the corn is cooked and had cooled down, add the husked corn, pull the bonito, like you would do with pork and add too. Stir, add salt and pepper if you feel it’s needed. Enjoy at room temperature or chilled.
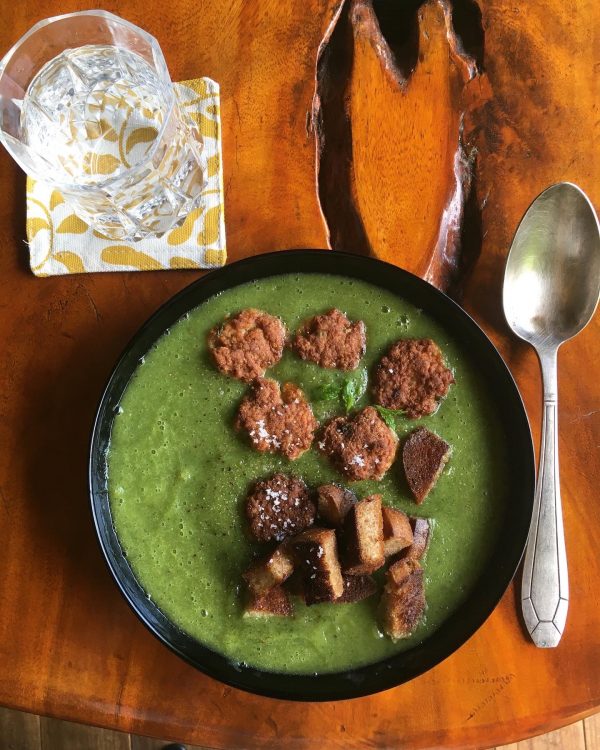
It’s been a long time since I last wrote here. I’ve been cooking as usual of course, but nothing that deserved a special entry. Until today. Inspired by a giant zucchini I bought for 100JPY at the farmers market, I decided to use it for a soup. I love mint and zucchini soup, and the mint is spreading at a very fast pace in the kitchen garden, so I was all set, until I realized that “just” a zucchini soup won’t make the trick for an active day, and we needed a little more.
But what…
I just had pork meat and opted for pork mint croquettes, and with a piece of bread left over a couple of croutons. Something that could be largely inspired by Italian meatball soup, but my way.
And it was damn delicious, so much that I really want to keep the recipe and do it again and again!!!
Zucchini meatball soup (2 servings)
1 extra large zucchini or 2 normal size
Fresh mint (10 leaves)
100g of ground pork
23bs of panko
1 egg
More fresh mint (10 leaves)
A piece of left over bread
A bit of oil for cooking
Salt and pepper
Wash and cut the zucchini, steam it until soft. In a blender, put the steamed zucchini, and 10 leaves of fresh mint rinsed. Blend until liquid. The soup is ready. Keep at room temperature.
In a bowl, chop 10 leaves of fresh mint, add salt and pepper, the ground meat, the egg, the panko. Stir well.
Heat a pan, add some oil for cooking, make bite size patties and cook them on both sides until golden.
Cut the bread in small bite size and toss them in the pan, turn until golden.
Serve the soup, add the meat balls and croutons and enjoy!