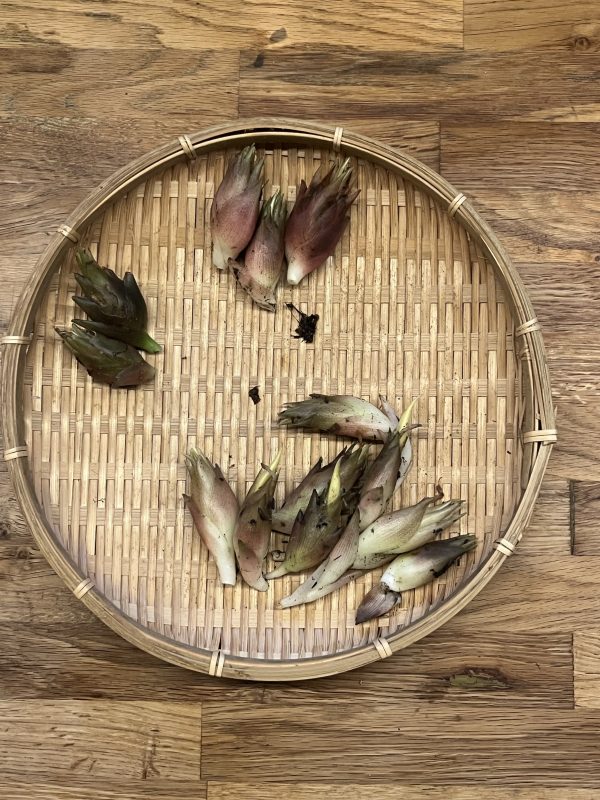
Not cooking for a week and enjoying some delicious food in a variety of places have boost my creativity and my willingness to cook. One of the things that I enjoyed particularly was chilled soup as a starter for dinner. So I have been testing a few ideas. But my favorite is definitely a kind of vichyssoise, with Japanese flavors. Since it’s the season for myoga we went to our myoga forest to forage some.
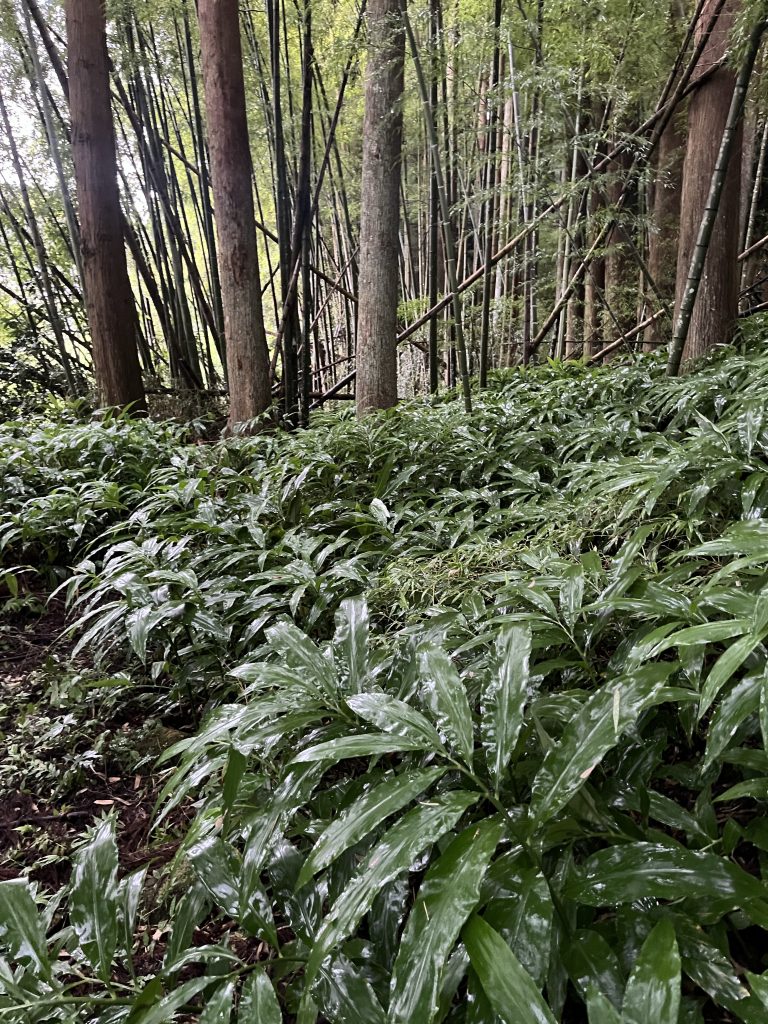
Myoga field in our forest
Myoga is not easy to find in the forest as the buds are often hidden below the fallen leaves. But we got pretty lucky and found plenty.
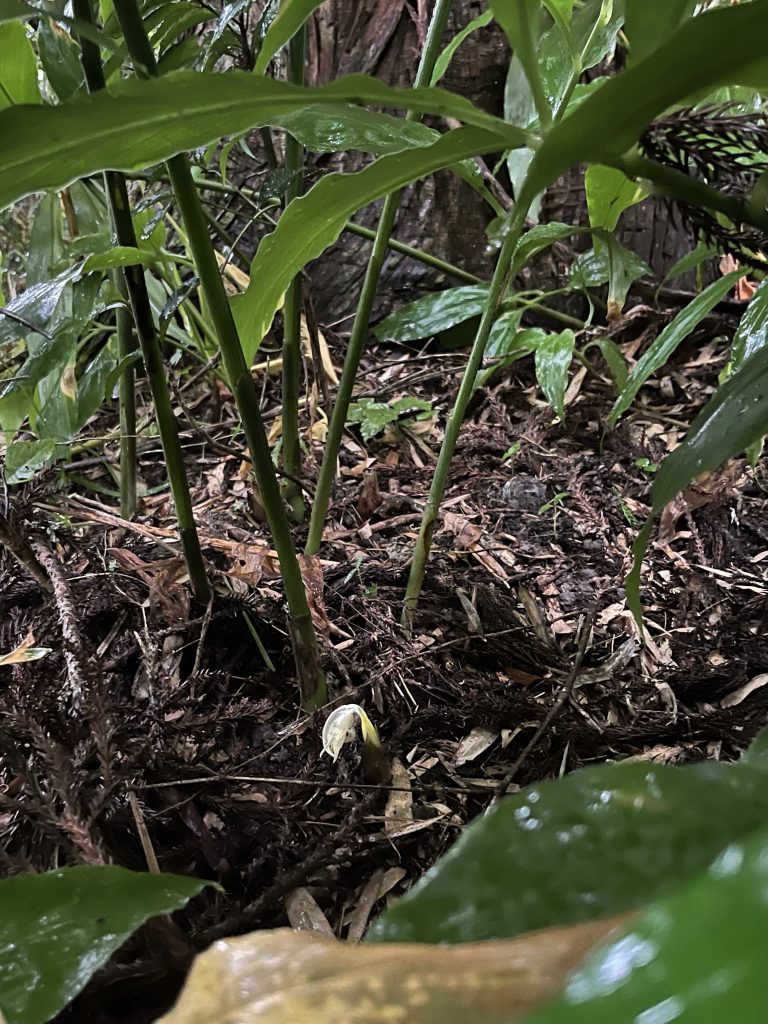
A myoga bud with an already opened flower
That, and some powdered seaweed I got in Okinoshima, it inspired me this new recipe. It is so delicious that I want to keep that recipe and I am happy to share it with you. I hope you’ll like it. Oh! And it is very simple!
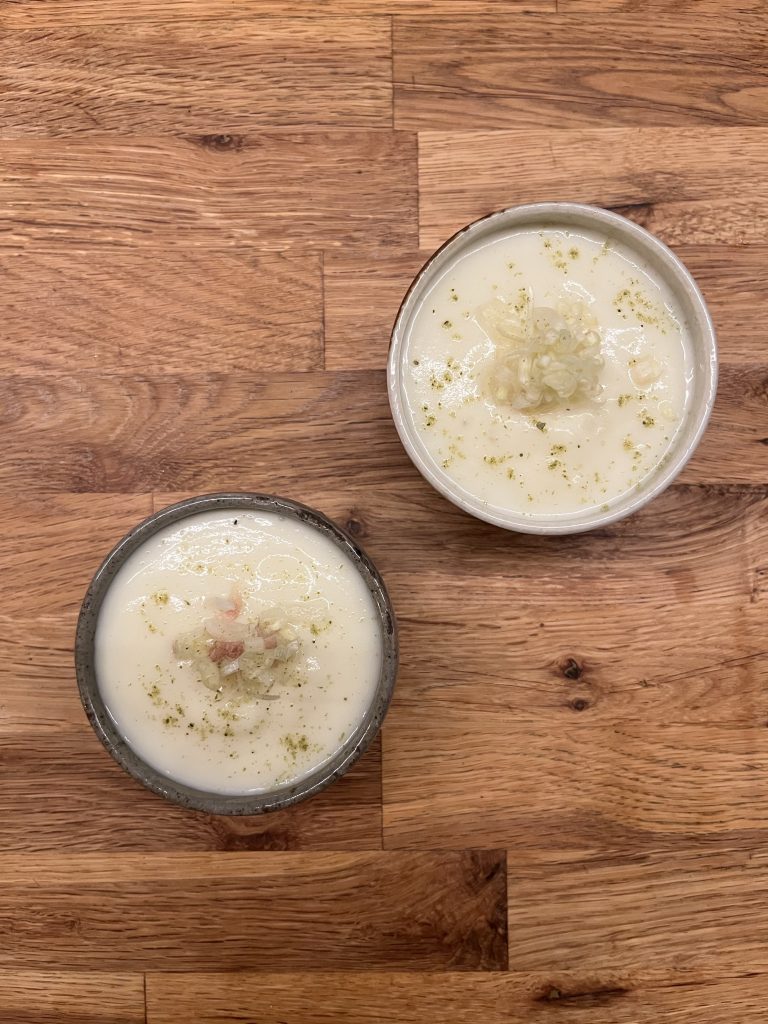
Vichyssoise my way (2 servings)
1 large potato
Milk, fresh cream, water (I used milk and water)
1 fresh myoga
1/2 tsp of powdered seaweed (if you can’t find use salted konbu instead)
Steam the potato. Once soft, let it cool completely and peel it. In a blender, set the potato chopped in chunks, a bit of water. Blend until pureed. Add milk or cream until the texture is almost liquid, but not too much. Add the powdered seaweed. Serve in the final plates/bowls, and keep refrigerated until serving.
Wash and thinly chop the myoga. Top the soup with some. Add a bit of powdered seaweed for the color, or dried salted konbu.
Enjoy!
PS: you can probably add onion or leek to make it more of a vichyssoise, but I decided to keep it simple.
You may be very much used to miso soup as a warm bouillon served either with just a few things in: a slice of shiitake, a peel of yuzu, a few leaves of mitsuba, or with rather plenty of small mushrooms, daikon…
But with the summer heat, a chilled soup is very much welcome and a chilled miso soup version is also possible and it’s delicious!
It just requires to prepare a little ahead so that the bouillon can cool down. This recipe is inspired by a soup we were served for lunch at a small vegan cafe we went for lunch to on our way back from Hoki Museum (by the way, well worth the visit).
My recipe features somen, the Japanese vermicelli, but you can do without.
Chilled miso soup (2 servings)
1 dry shiitake
1 small eggplant
2 tsp of miso
1 small cucumber
4-6 leaves of fresh green shiso
Optional: 100g of somen
Optional: 1 fresh myoga
In a pan boil 1l of water, add the dry shiitake to make a shiitake dashi. Let it boil for a few minutes, when the color goes brownish, turn off the heat and leave it to rest.
Cut the eggplant in bites and bake it or cook it in a frypan until soft.
Wash and slice very thinly the cucumber and the shiso, and the myoga of you use any.
Boil the somen and keep them in cool water.
In the serving bowls, serve one spoon of miso each, top with the drained somen, add the eggplant, the cucumber and eventually myoga, finish with bouillon that covers almost everything, and add the shiso.
For extra chill effect, add a few ice cubes and enjoy!
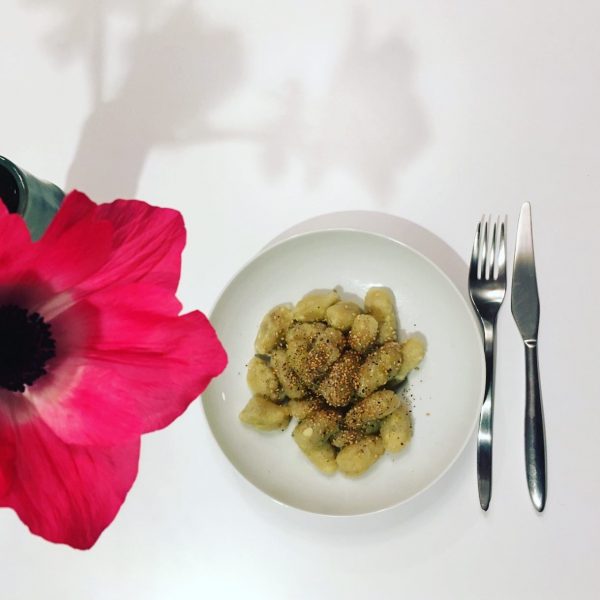
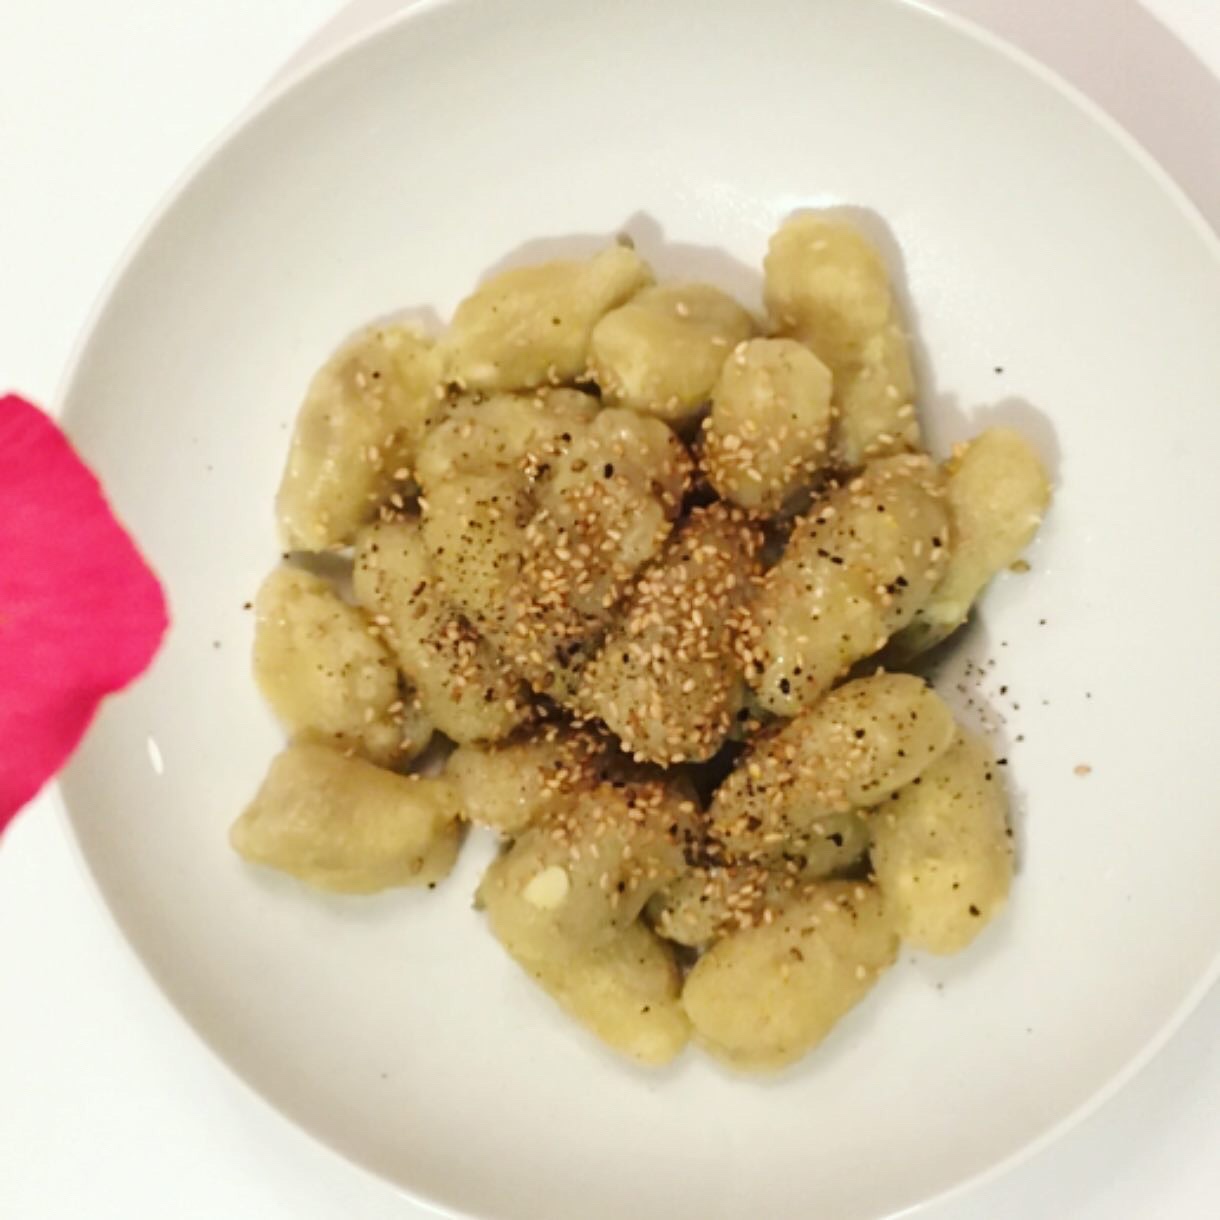
While A. is on business trip while my days at work are super busy, I’m oscillating between experimenting new recipes and easy to prepare but very satisfying food such as cheesy toasts and ochazuke… In my experiments, the sweet potatoes gnocchi with a 100% sesame pairing was definitely a huge hit! It mixes perfectly a traditional Italian recipe with Japanese flavors. A must try if you love sweet potatoes and sesame. Bonus, it is one of the easiest recipe ever… and here it is!!!
Sweet potato gnocchi and sesame (two servings)
1 large sweet potato
Flour
1tbs of sesame seeds
1tbs os sesame oil
Salt and pepper
Steam the sweet potato. When tender let it cool down. Peel it and mash it. Add flour little by little to obtain an almost non sticky dough. Shape the gnocchi. In a pan boil 1-2L of water and poach the gnocchi. Drain and serve in plates, top with a bit of sesame oil and sesame seeds, add salt and pepper. Eat immediately.
Here we are, Christmas is passed and new year not yet there, and it’s exactly the time for my birthday.
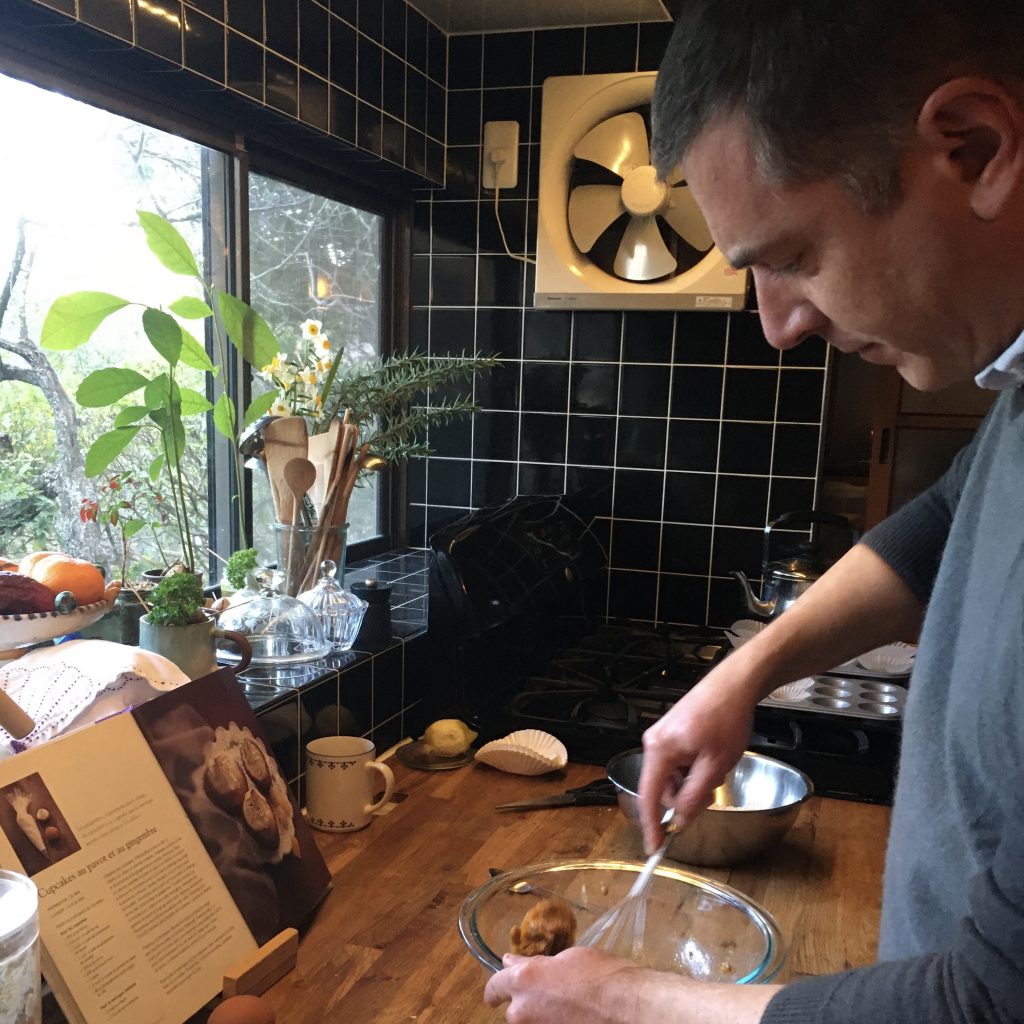
Almost as a tradition, A. went horse riding with me, which is a big challenge for him who feels a little uncomfortable on the back of a horse. And then he baked me a cake!
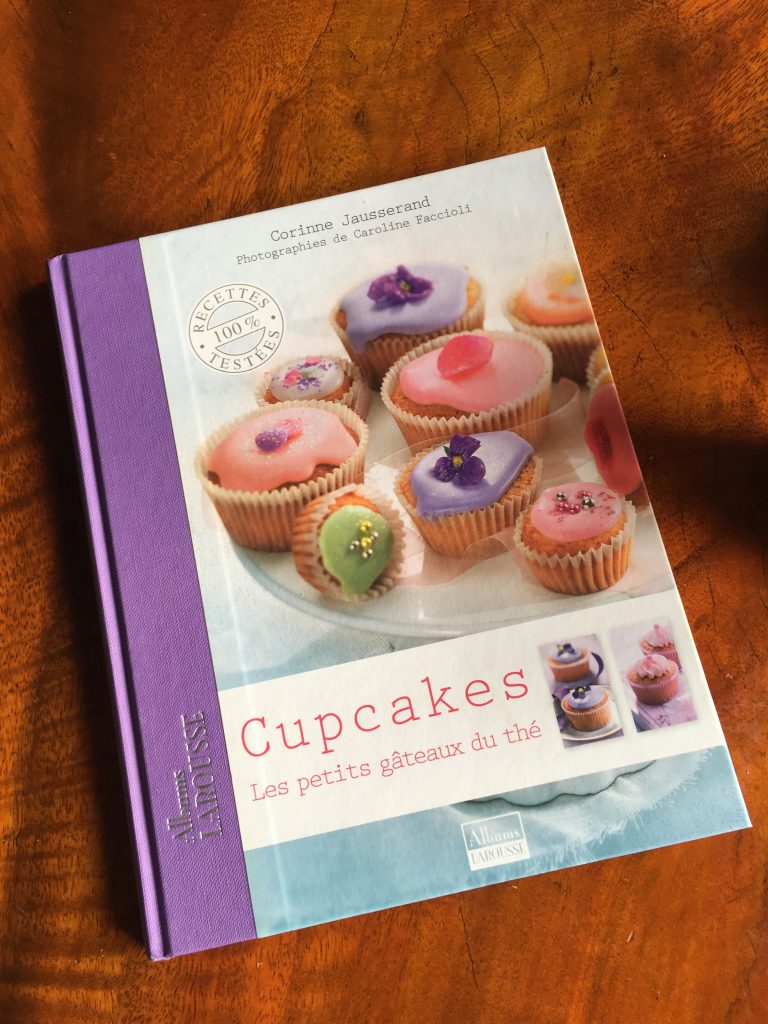
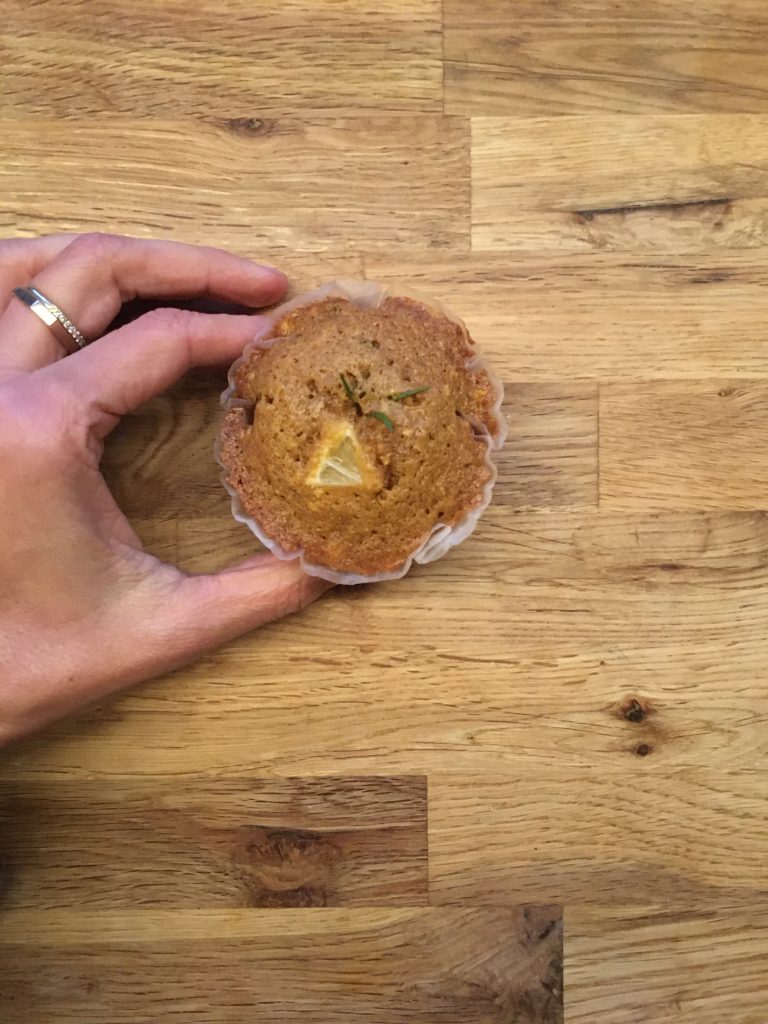
It’s the seasonal for citrus fruits and I love citrus cakes, and for a few months we have patiently and lovingly followed the growth of a single lemon on our tree. Our lemon tree, planted 5 years ago is struggling to adjust and we have very very little fruits if none, so one, wasn’t so bad. And on my birthday we picked it for a lemon cake recipe. As we have explored over the years many recipes with lemons for my birthday, it was hard to decide which recipe to choose (A. agrees to cook if there is a solid recipe to follow by the letter). With our rosemaries growing wildly and needing a trim, I decided that it would be rosemary and lemon cake, and we opted for a cupcake base. A long time ago my mother in law offered me a book about cupcakes and it’s been years I didn’t opened it, but I immediately thought about it to find a recipe for A..
I used the poppy and ginger recipe, replaced the ginger by lemon zest and poppy by rosemary, I also added a pinch of baking powder in the dough when A. was not looking, I was worried that the baking soda wouldn’t give fluff enough…
The result was damn good! I must admit that if I were to do the recipe I would have used a little less butter, but A. followed the recipe and it was great!! So here is our recipe. Oh… we didn’t do any glazing but lemon glazing could have worked well too.
Lemon and rosemary cupcakes (makes 6)
100g of flour
100g of sugar
100g of butter
2 eggs
1/2 tsp of baking soda
1/4 tsp of salt
a pinch of baking powder
1 lemon (zest only, unless you do the glazing, for which you will want the juice)
1 branch of rosemary
Preheat the oven to 180deg.
In one bowl mix the flour, the salt, the baking soda and the baking powder. Add the lemon zest and chop the rosemary leaves. Stir well.
In another bowl mix together the butter and the sugar (using your hands is the best tool). Add one egg and stir well with a whisk, add the second egg and stir again to obtain a creamy mixture. Add in the flour mix through a sifter, little by little while stirring. The lemon zest and rosemary may get stuck, so don’t forget them in the sifter!!! Add them too to the mix and stir.
Prepare 6 medium size muffin or cupcake papers and fill to 2/3 with the mix. We added a little branch of rosemary and a tiny pieces of lemon on top but that is optional.
Bake in the oven until perfectly cooked (clean pick comes out when picked). It took 25min for us.
If you want to glaze them prepare a mix of lemon juice and icing sugar. Otherwise enjoy just as they are. I served them with hot lemon using up the rest of the lemon.
18 years ago today we arrived in Tokyo with not much of a plan, I would be working at the University of Tokyo for 2 years, and A. would see how the job market is for him. Not speaking a word of Japanese, but with a few good friends in Tokyo, Japanese and French.
18 years later we are still there… still discovering, still learning.
I took this opportunity to browse the website we created when we moved in 2004. A journal where we shared our life day after day more or less, with pictures and movies (you will see two soon at the end of this post, but not today because my phone doesn’t want to save them…). We never called it a blog because we never used any such platform, rather, A. developed for us a custom site I could easily use to upload posts, images and recipes, because even back then I was sharing recipes!!!
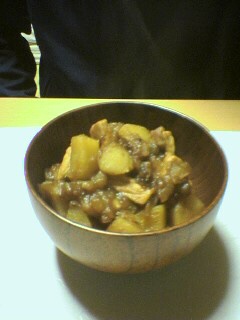
The very first one I shared may have been nikku jagga, if not shiitake and chicken takikomi gohan. The pictures were bad… really… not that they are much better now 😉 but I have made some progresses and digital cameras and screens resolution have improved a lot. Those pictures back then were supposed to be seen in tiny size, we compressed them a lot to have enough space on our server!!! Judge by yourself below, if you can ever guess what is in the bowl.
My very first nikku-jagga in 2004
I’m a forward looking person, so I will spare you a review of these 18 years. They are what they are, and I am happy like that. But sure things are that those bowls are still in use, and today, incidentally I ironed with the cordless iron I bought when we moved in, with the same ironing table you will see in the movie…
No recipe today but I may dig one from my old website…
P.S.: the top picture is a 2004 picture of Shinobazu ike, of the now gone Novotel. A beautiful pagoda-like construction, now replaced by an ugly insipid common tower mansion.
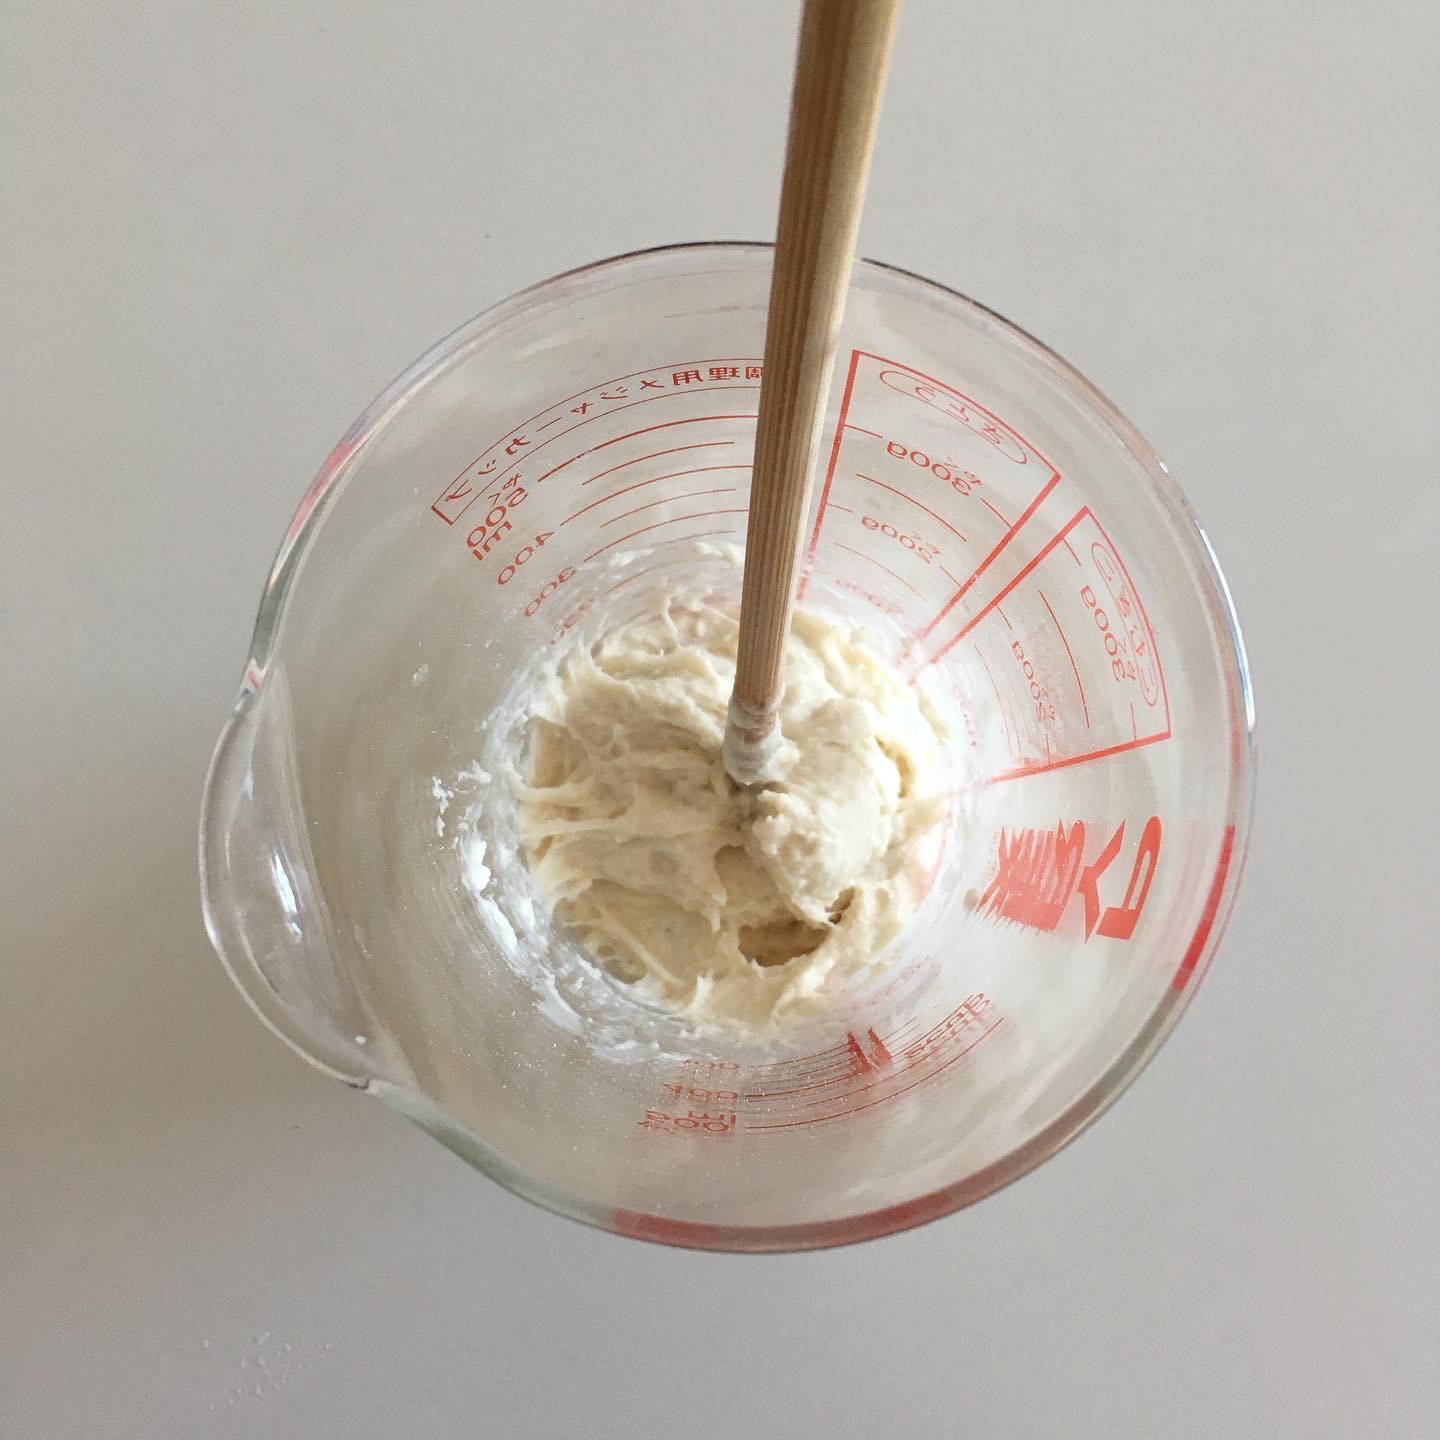
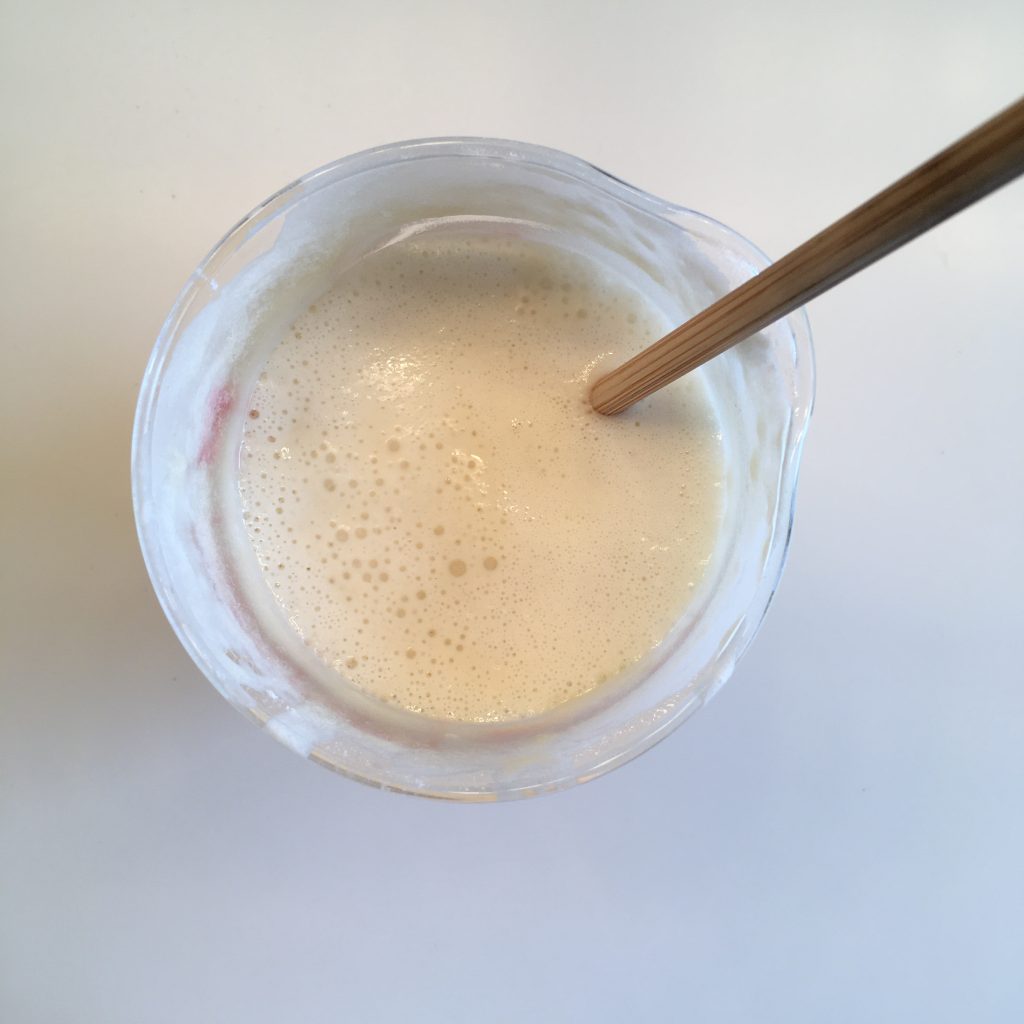
It has been two years since I made Lois, my sourdough, and even though we had our ups and downs, overall, Lois was a great fun to use and taught me a lot. It even survived quietly our absence during our trip to France. So what happened? Why did suddenly things got strange… a few weeks ago my bread started to not rise as much as it would. I naively thought that my rising time was not adequate… and then last week when I was about to feed Lois it was all strange, and I spotted mold on the side of the bottle. I did a rescue operation, which seemed to work. Baked a beautiful brioche, and hopeful that everything was back to normal. But then, Lois died. I didn’t even think that would happen. All a sudden it became liquid, stinky and covered in a white… it was over.
So I had no other choice but start a new one. So here I am back at it… starting again.
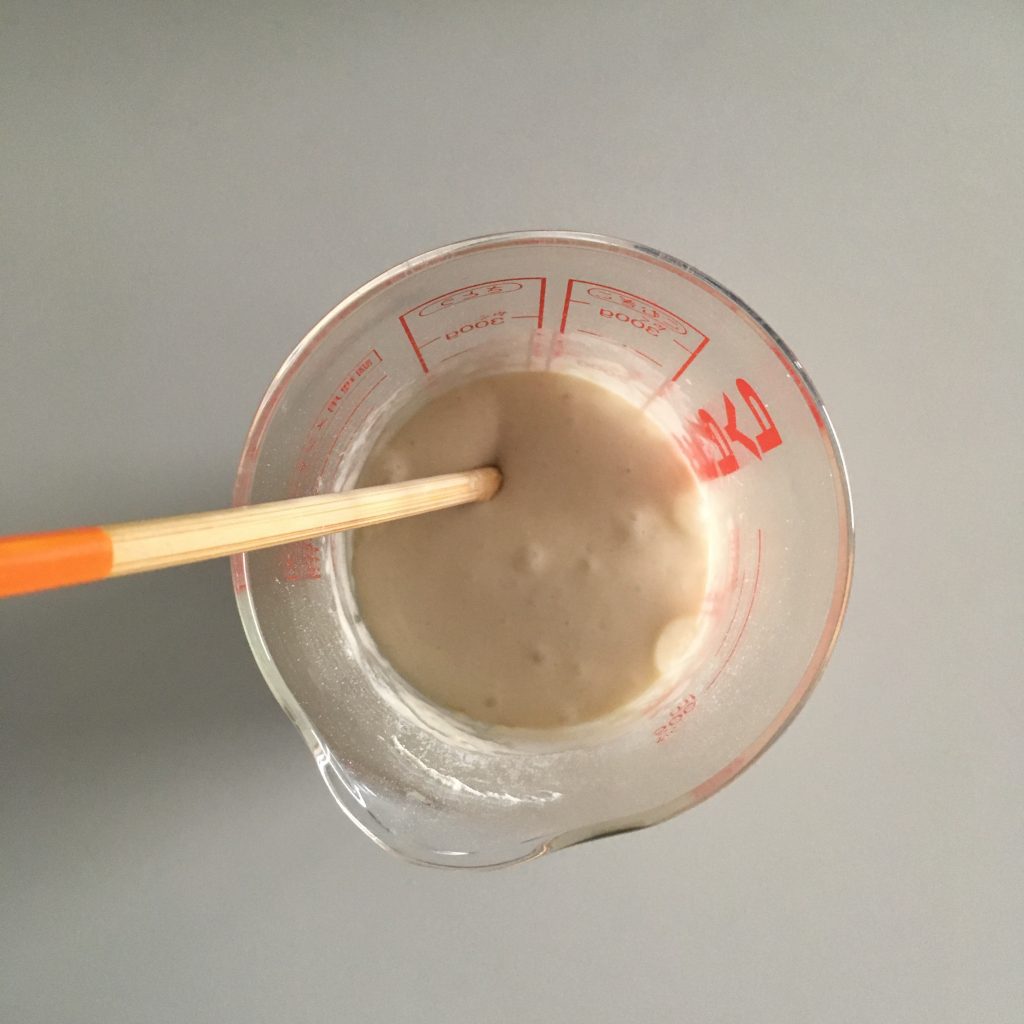
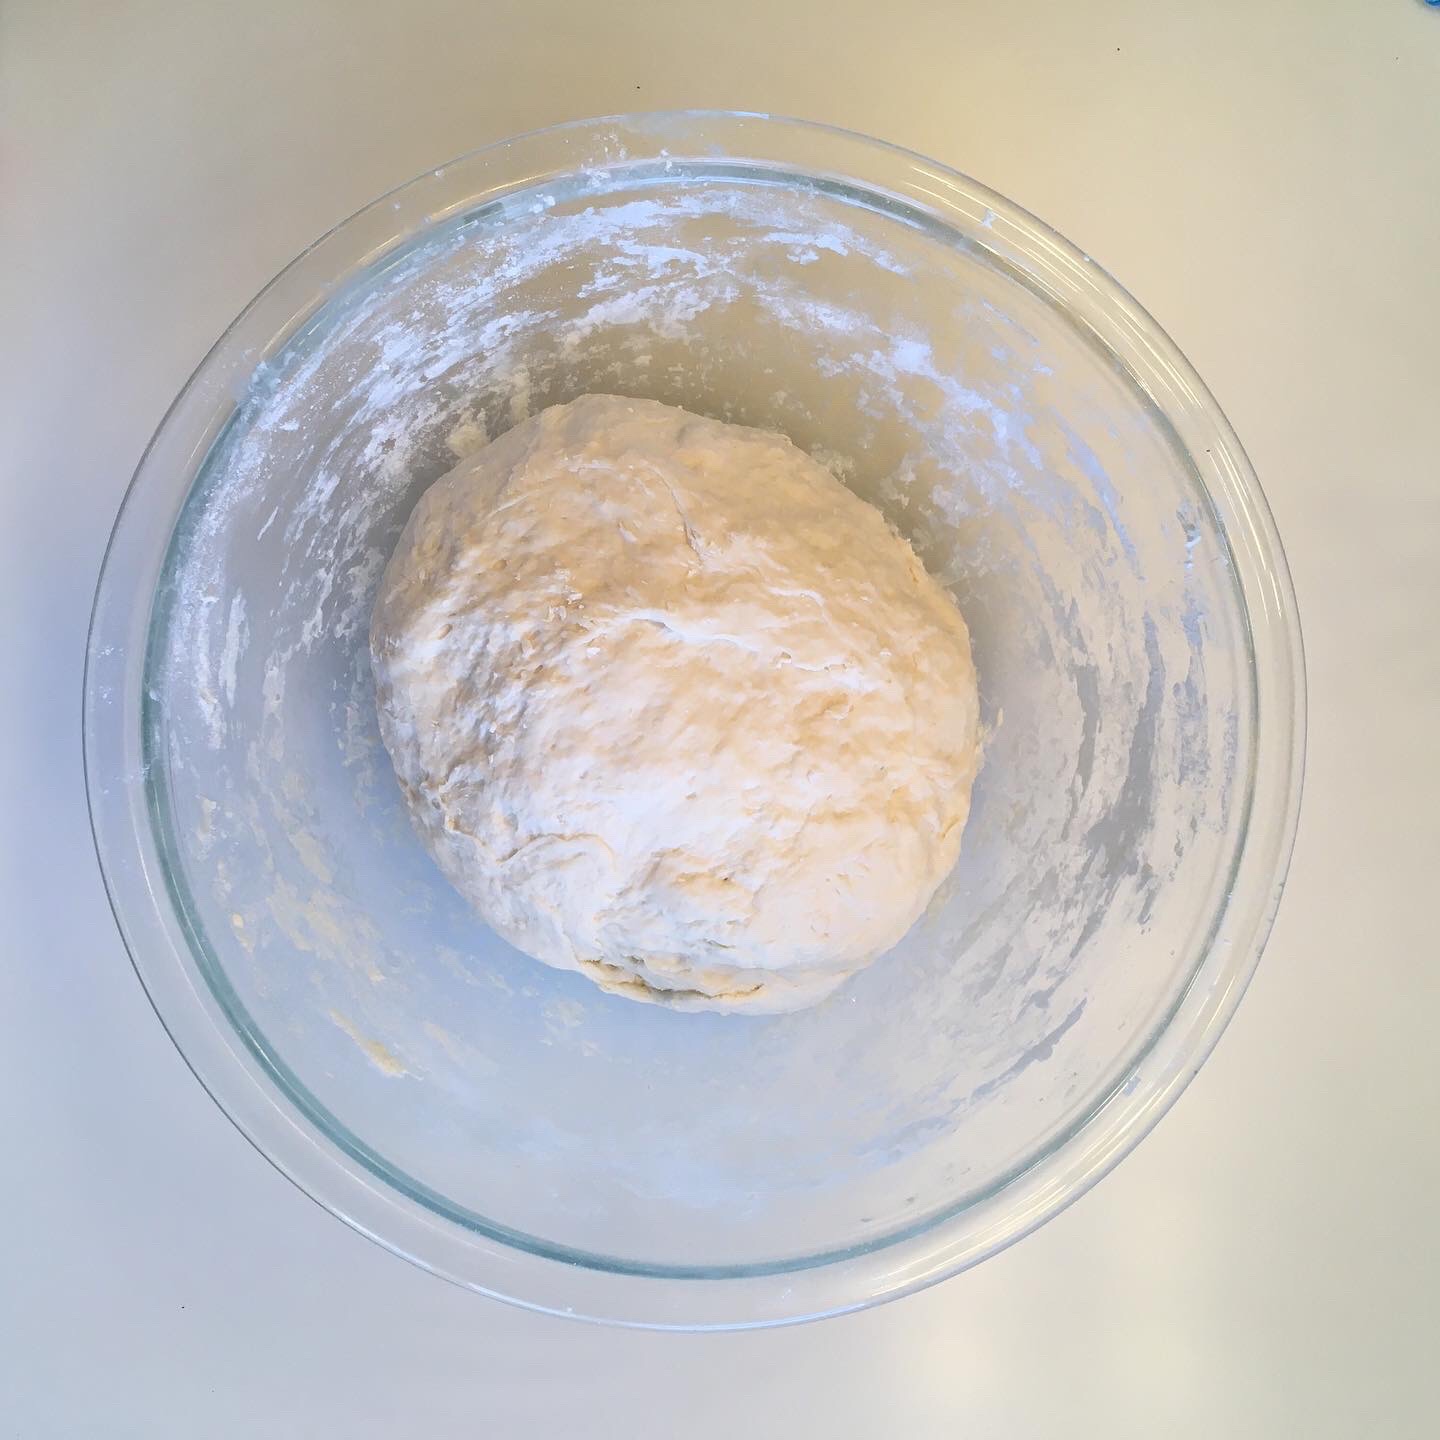
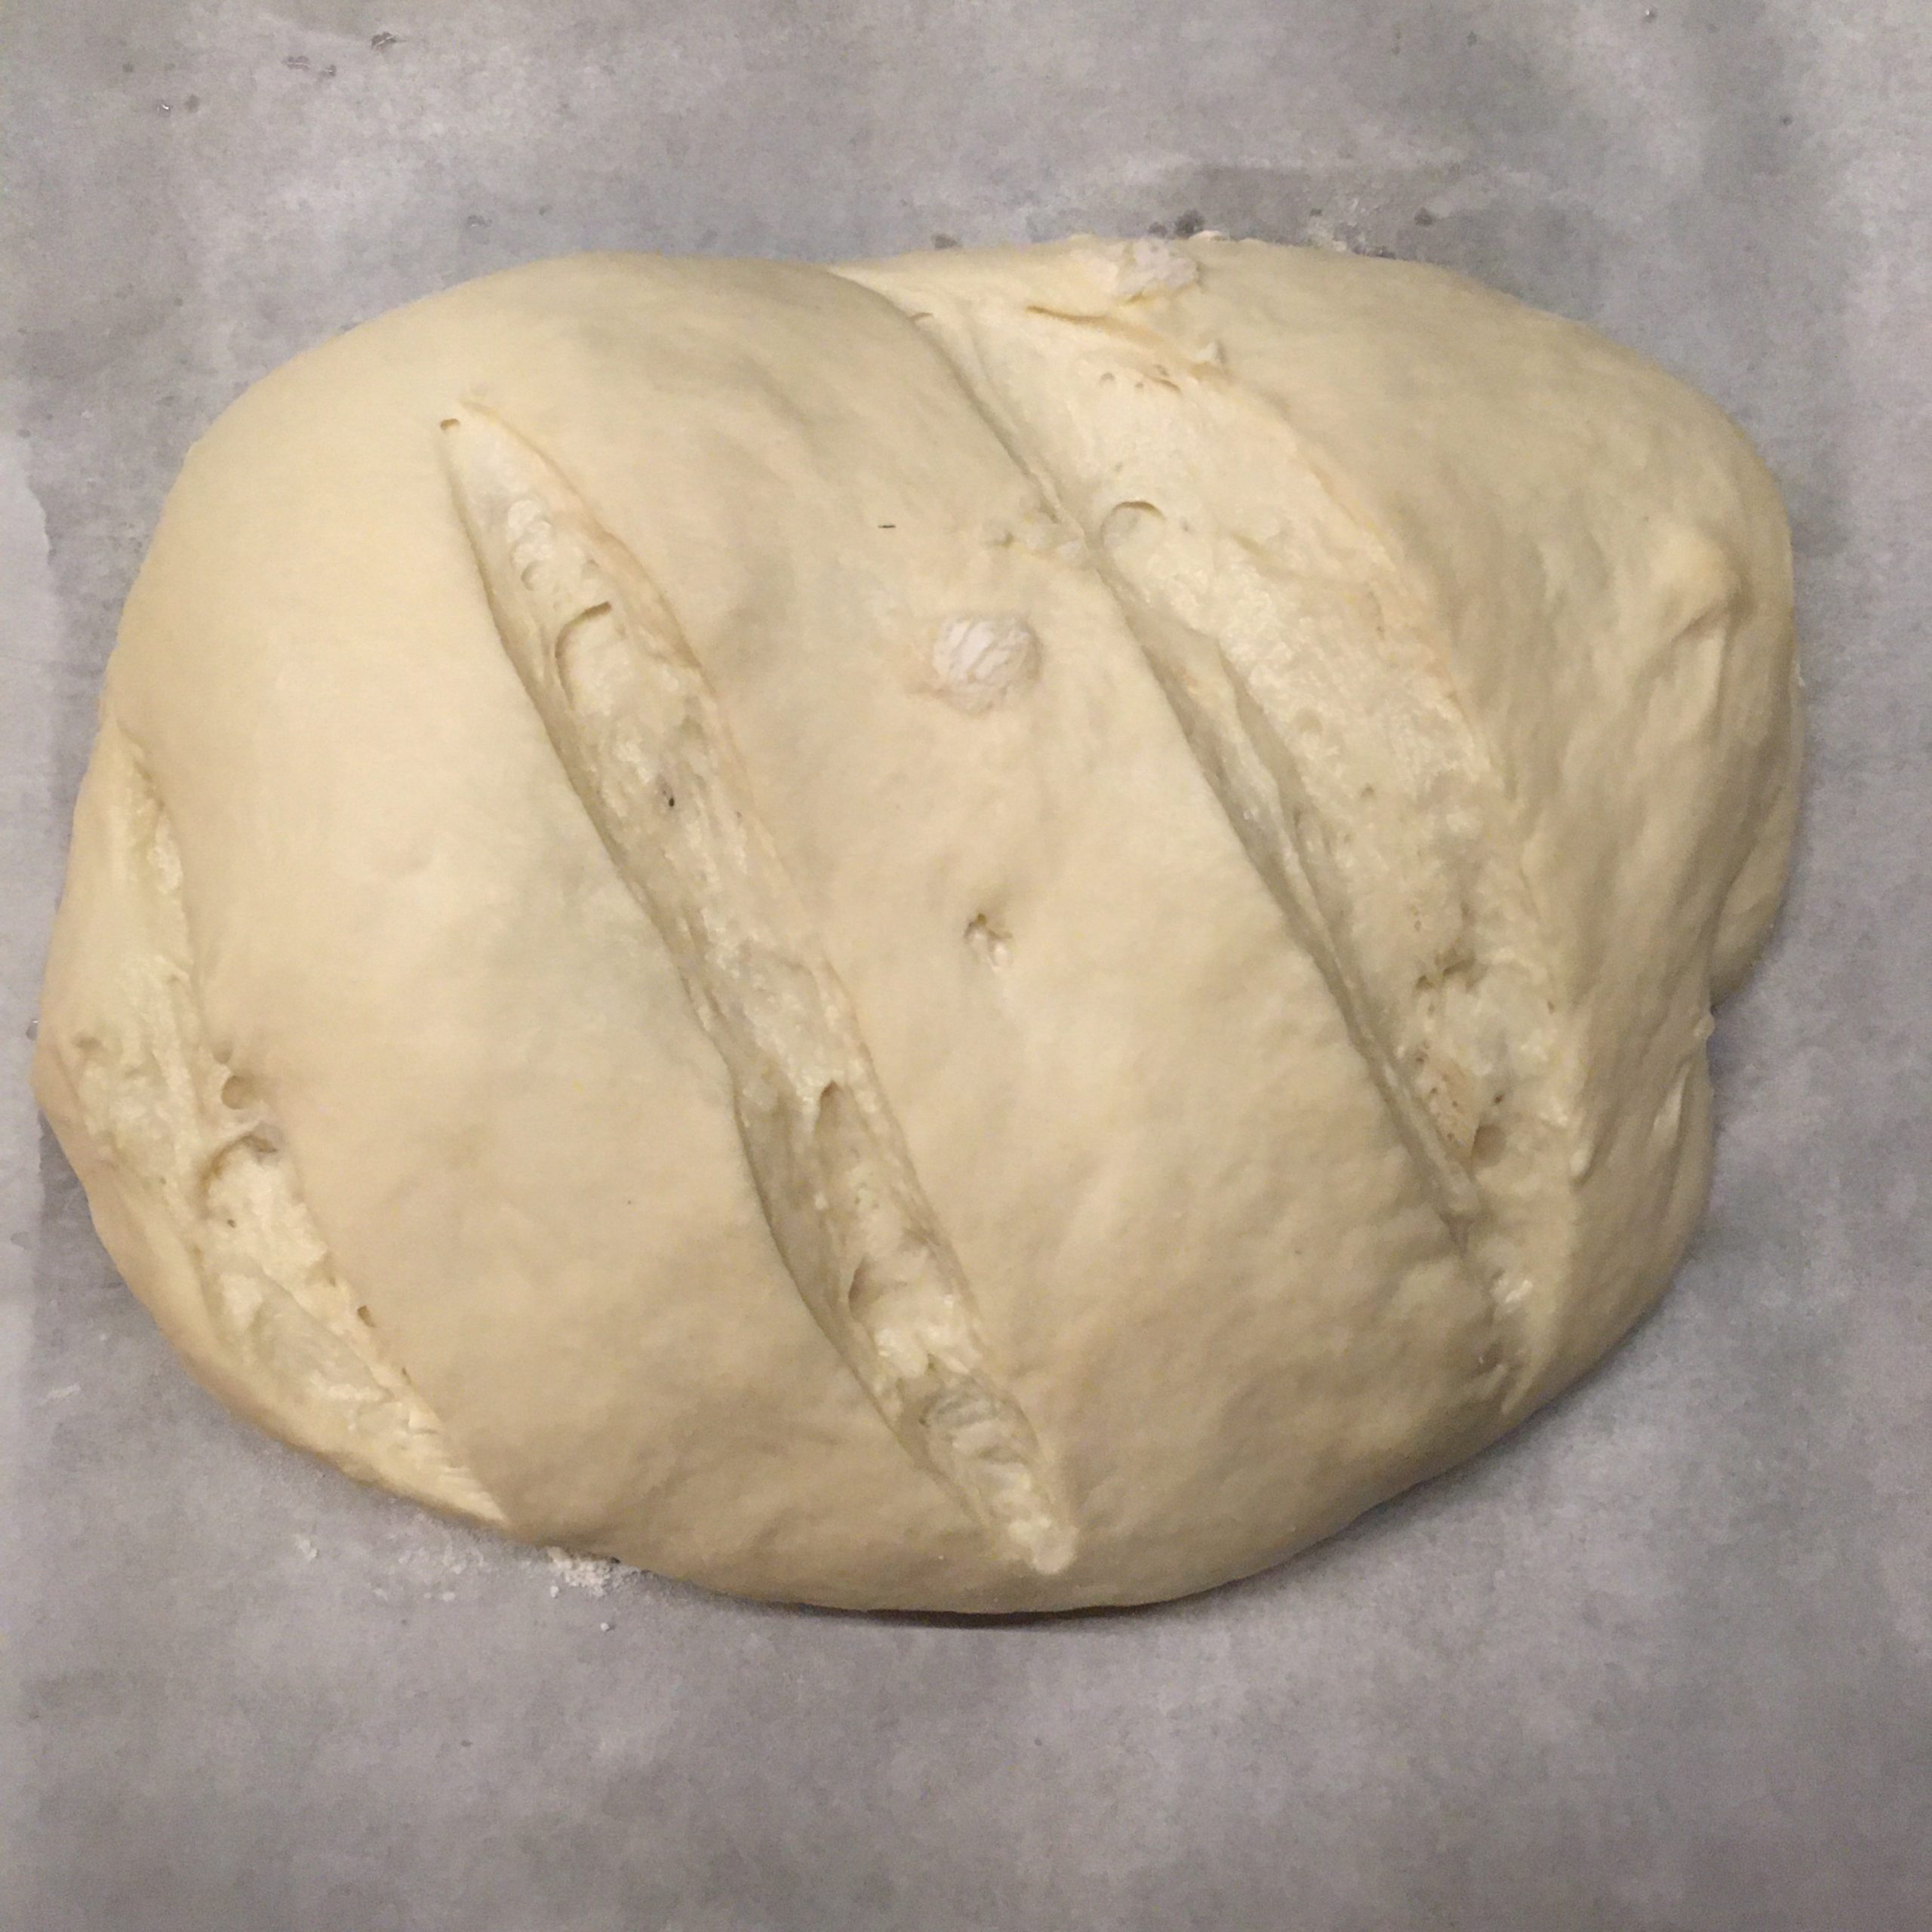
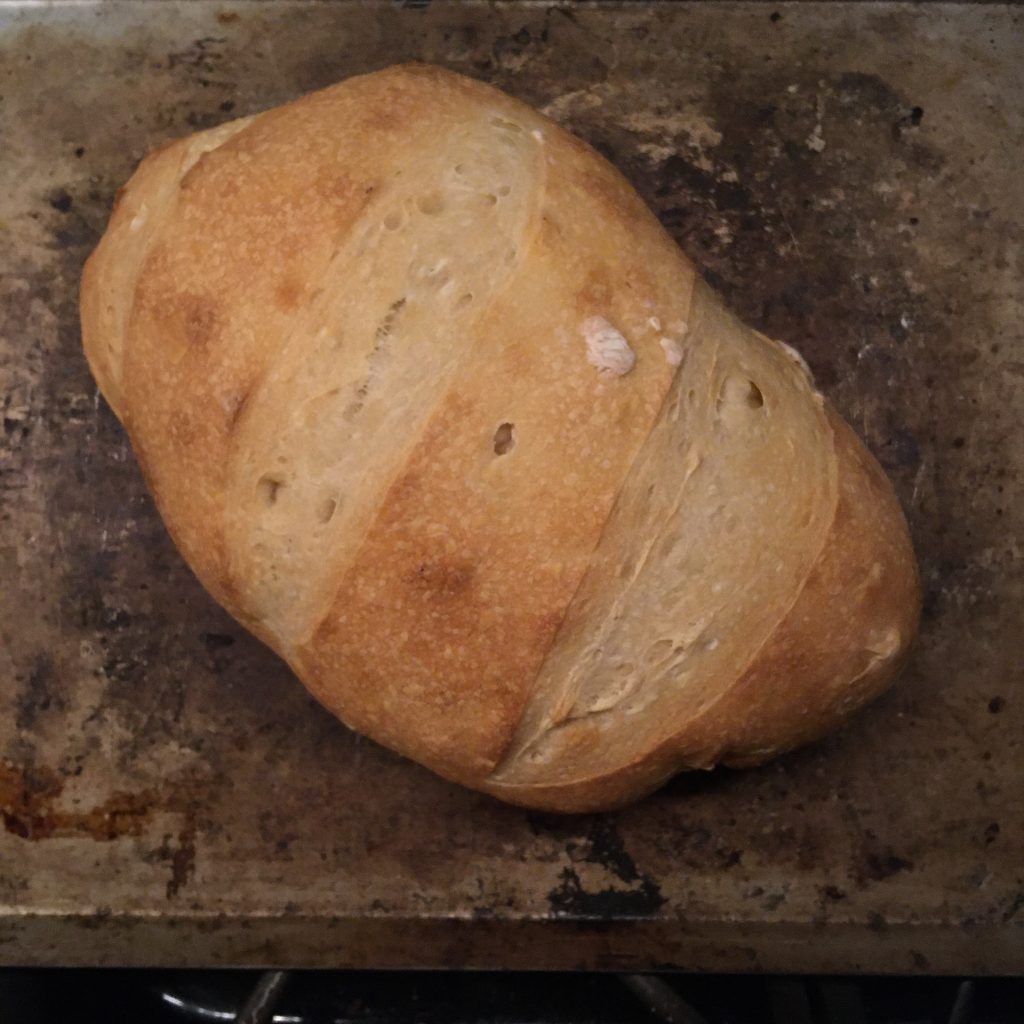
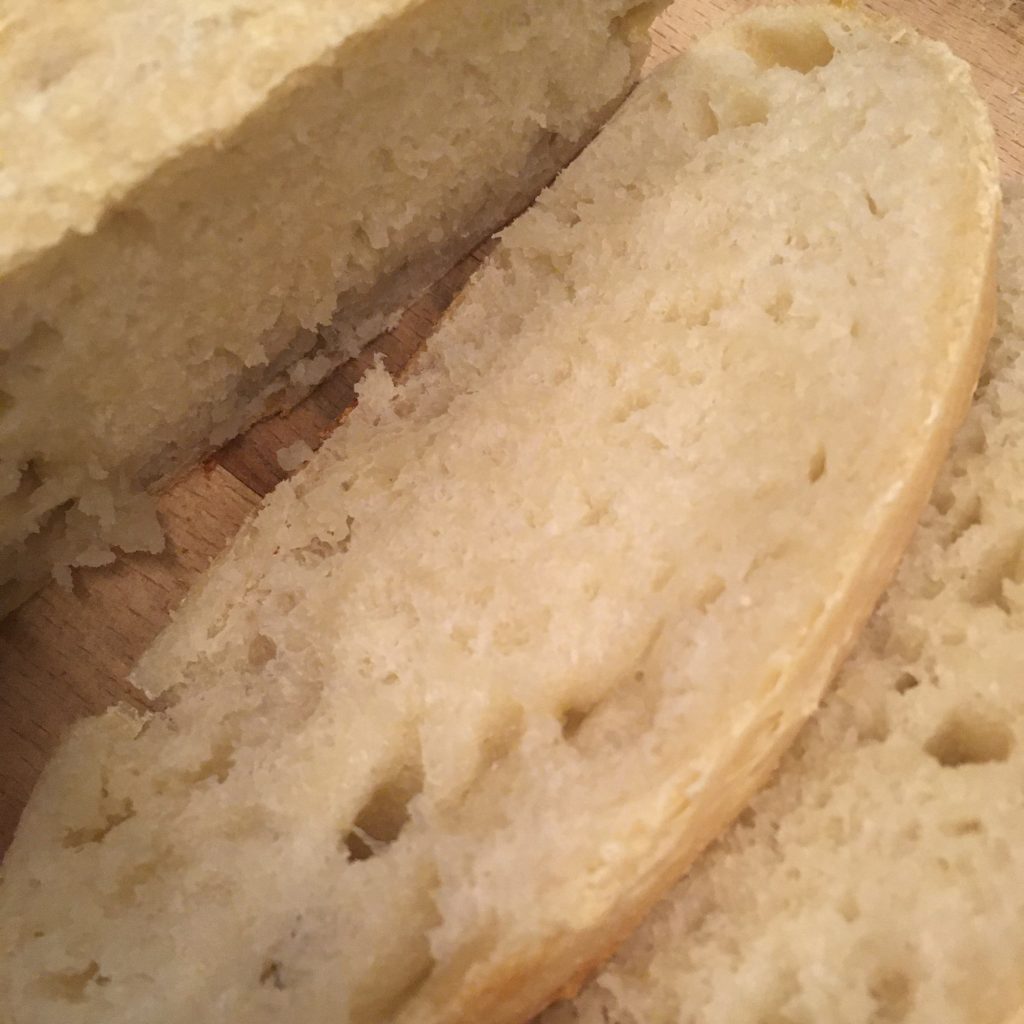
But maybe it’s the two years with Lois, the perfect weather, it’s been working like magic and Baden is born in no time, smelling divine. Very active compared to Lois, who has never been a super active kind, and which smell was so so. And after 3 days I made my first bread with it. Smooth and easy!
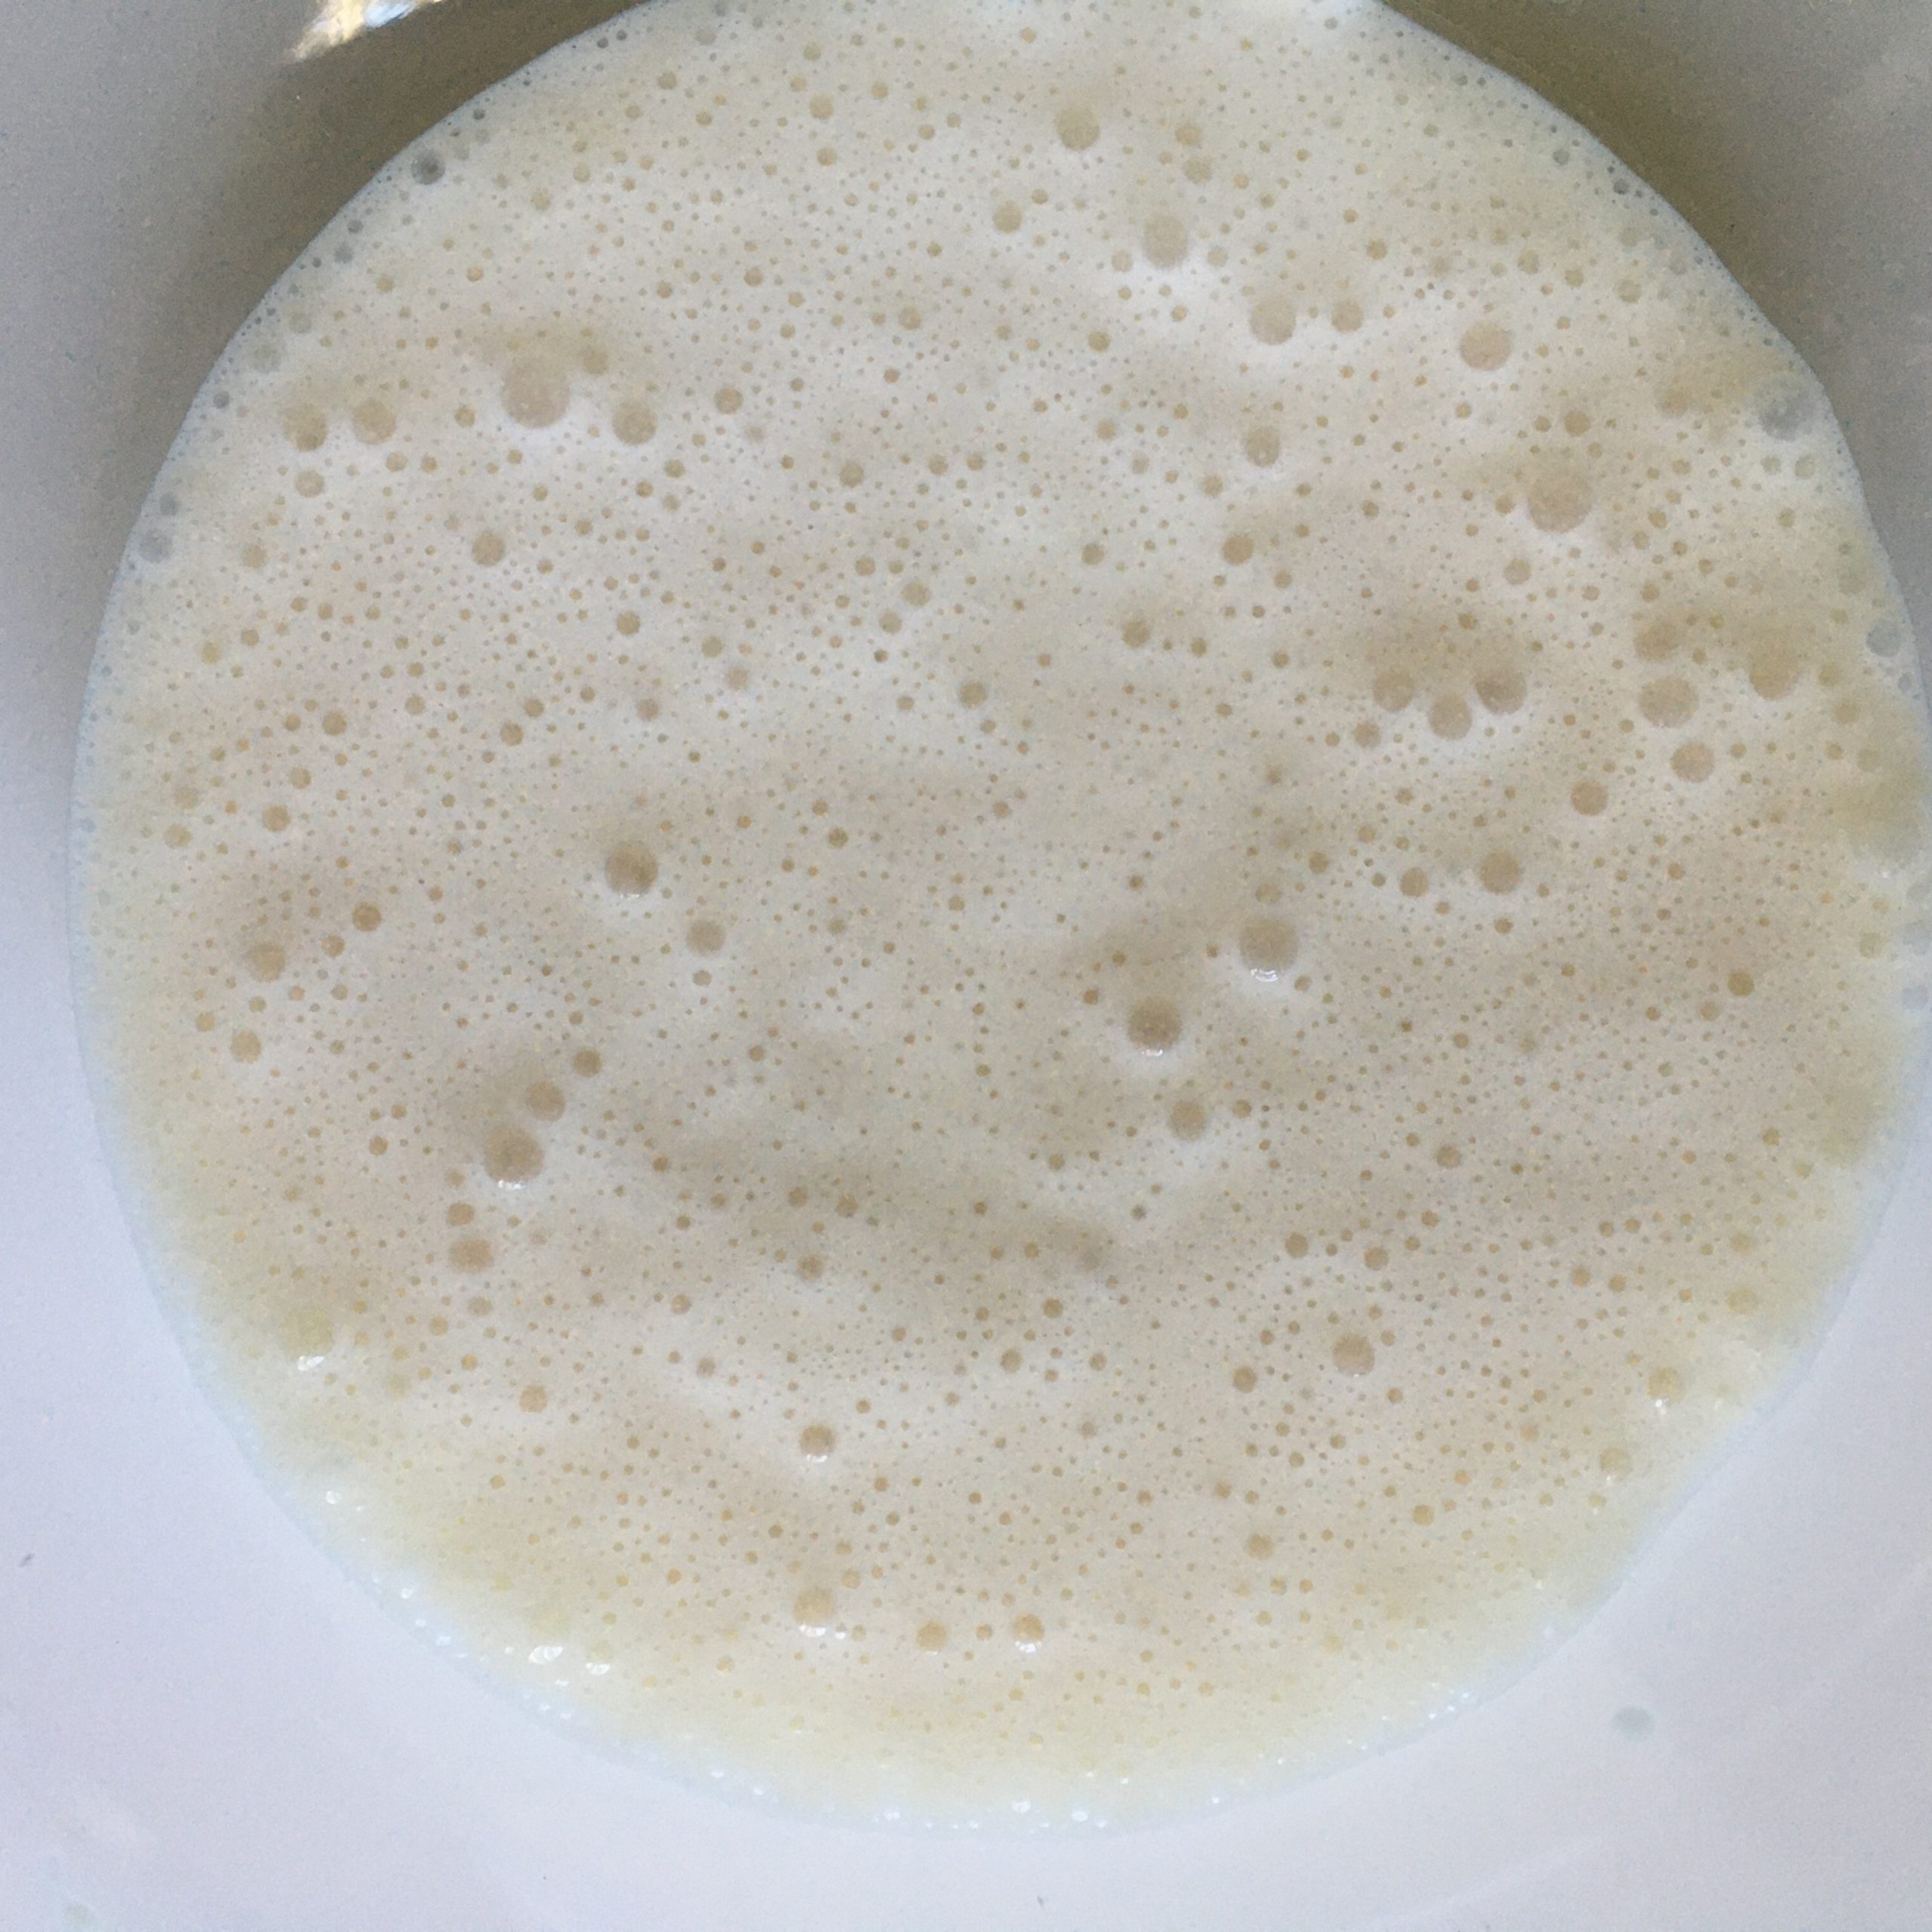
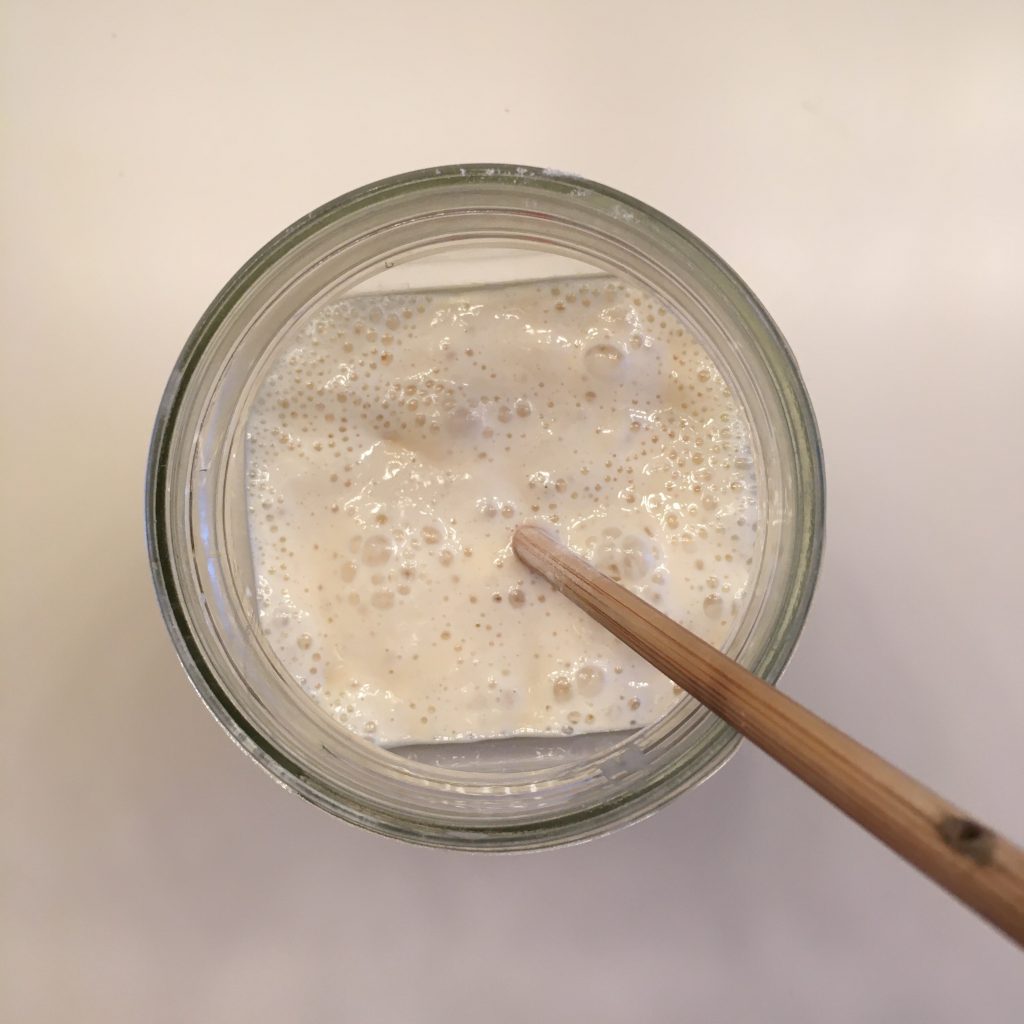
Day 1
Day 2
Day 3
Day 4
Day 5
I hope Baden will be living for a long time and we will have many breads together!!!
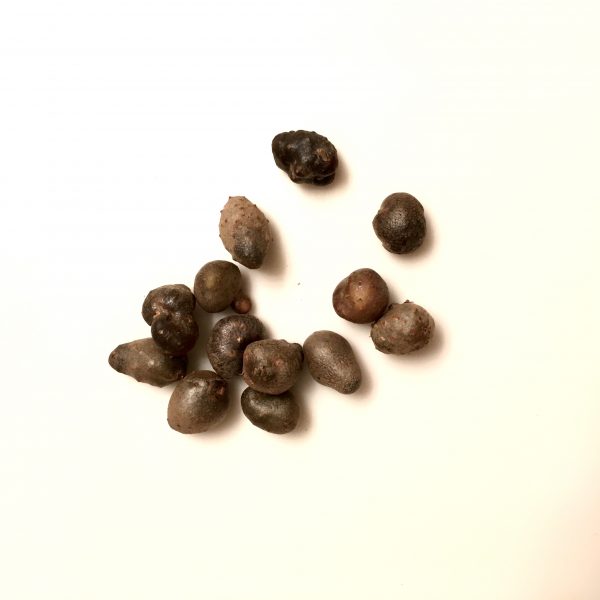
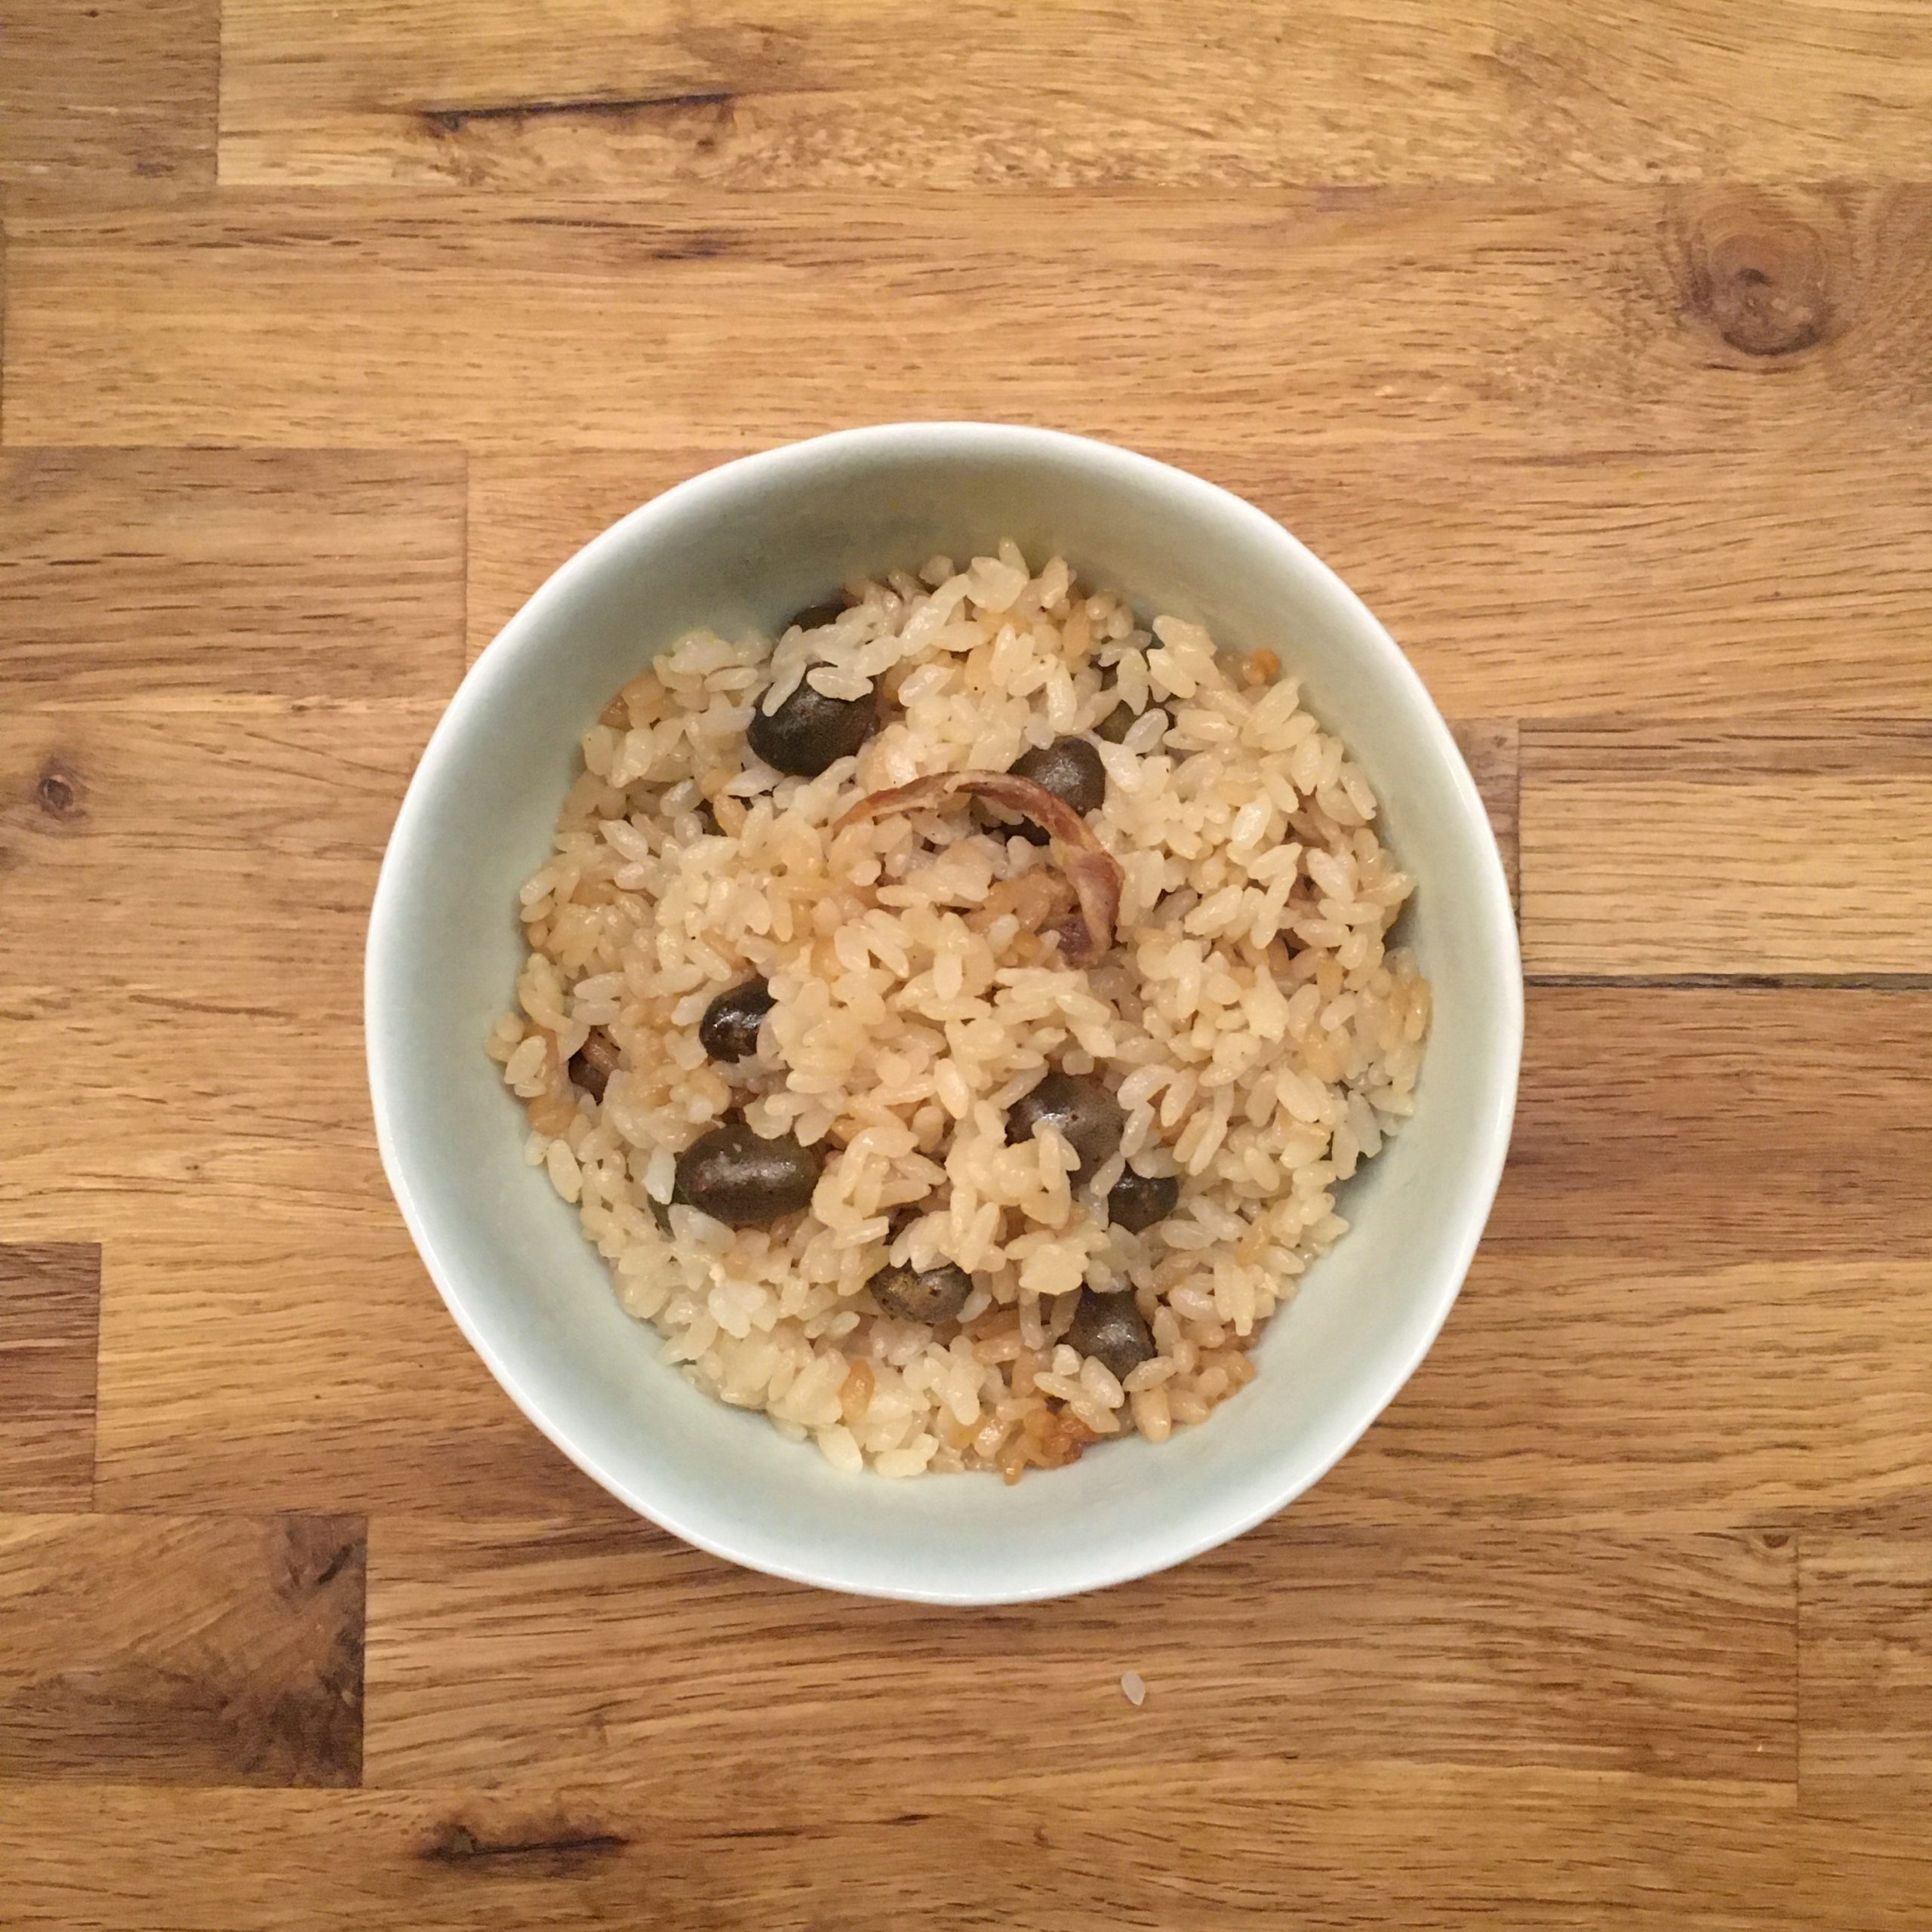
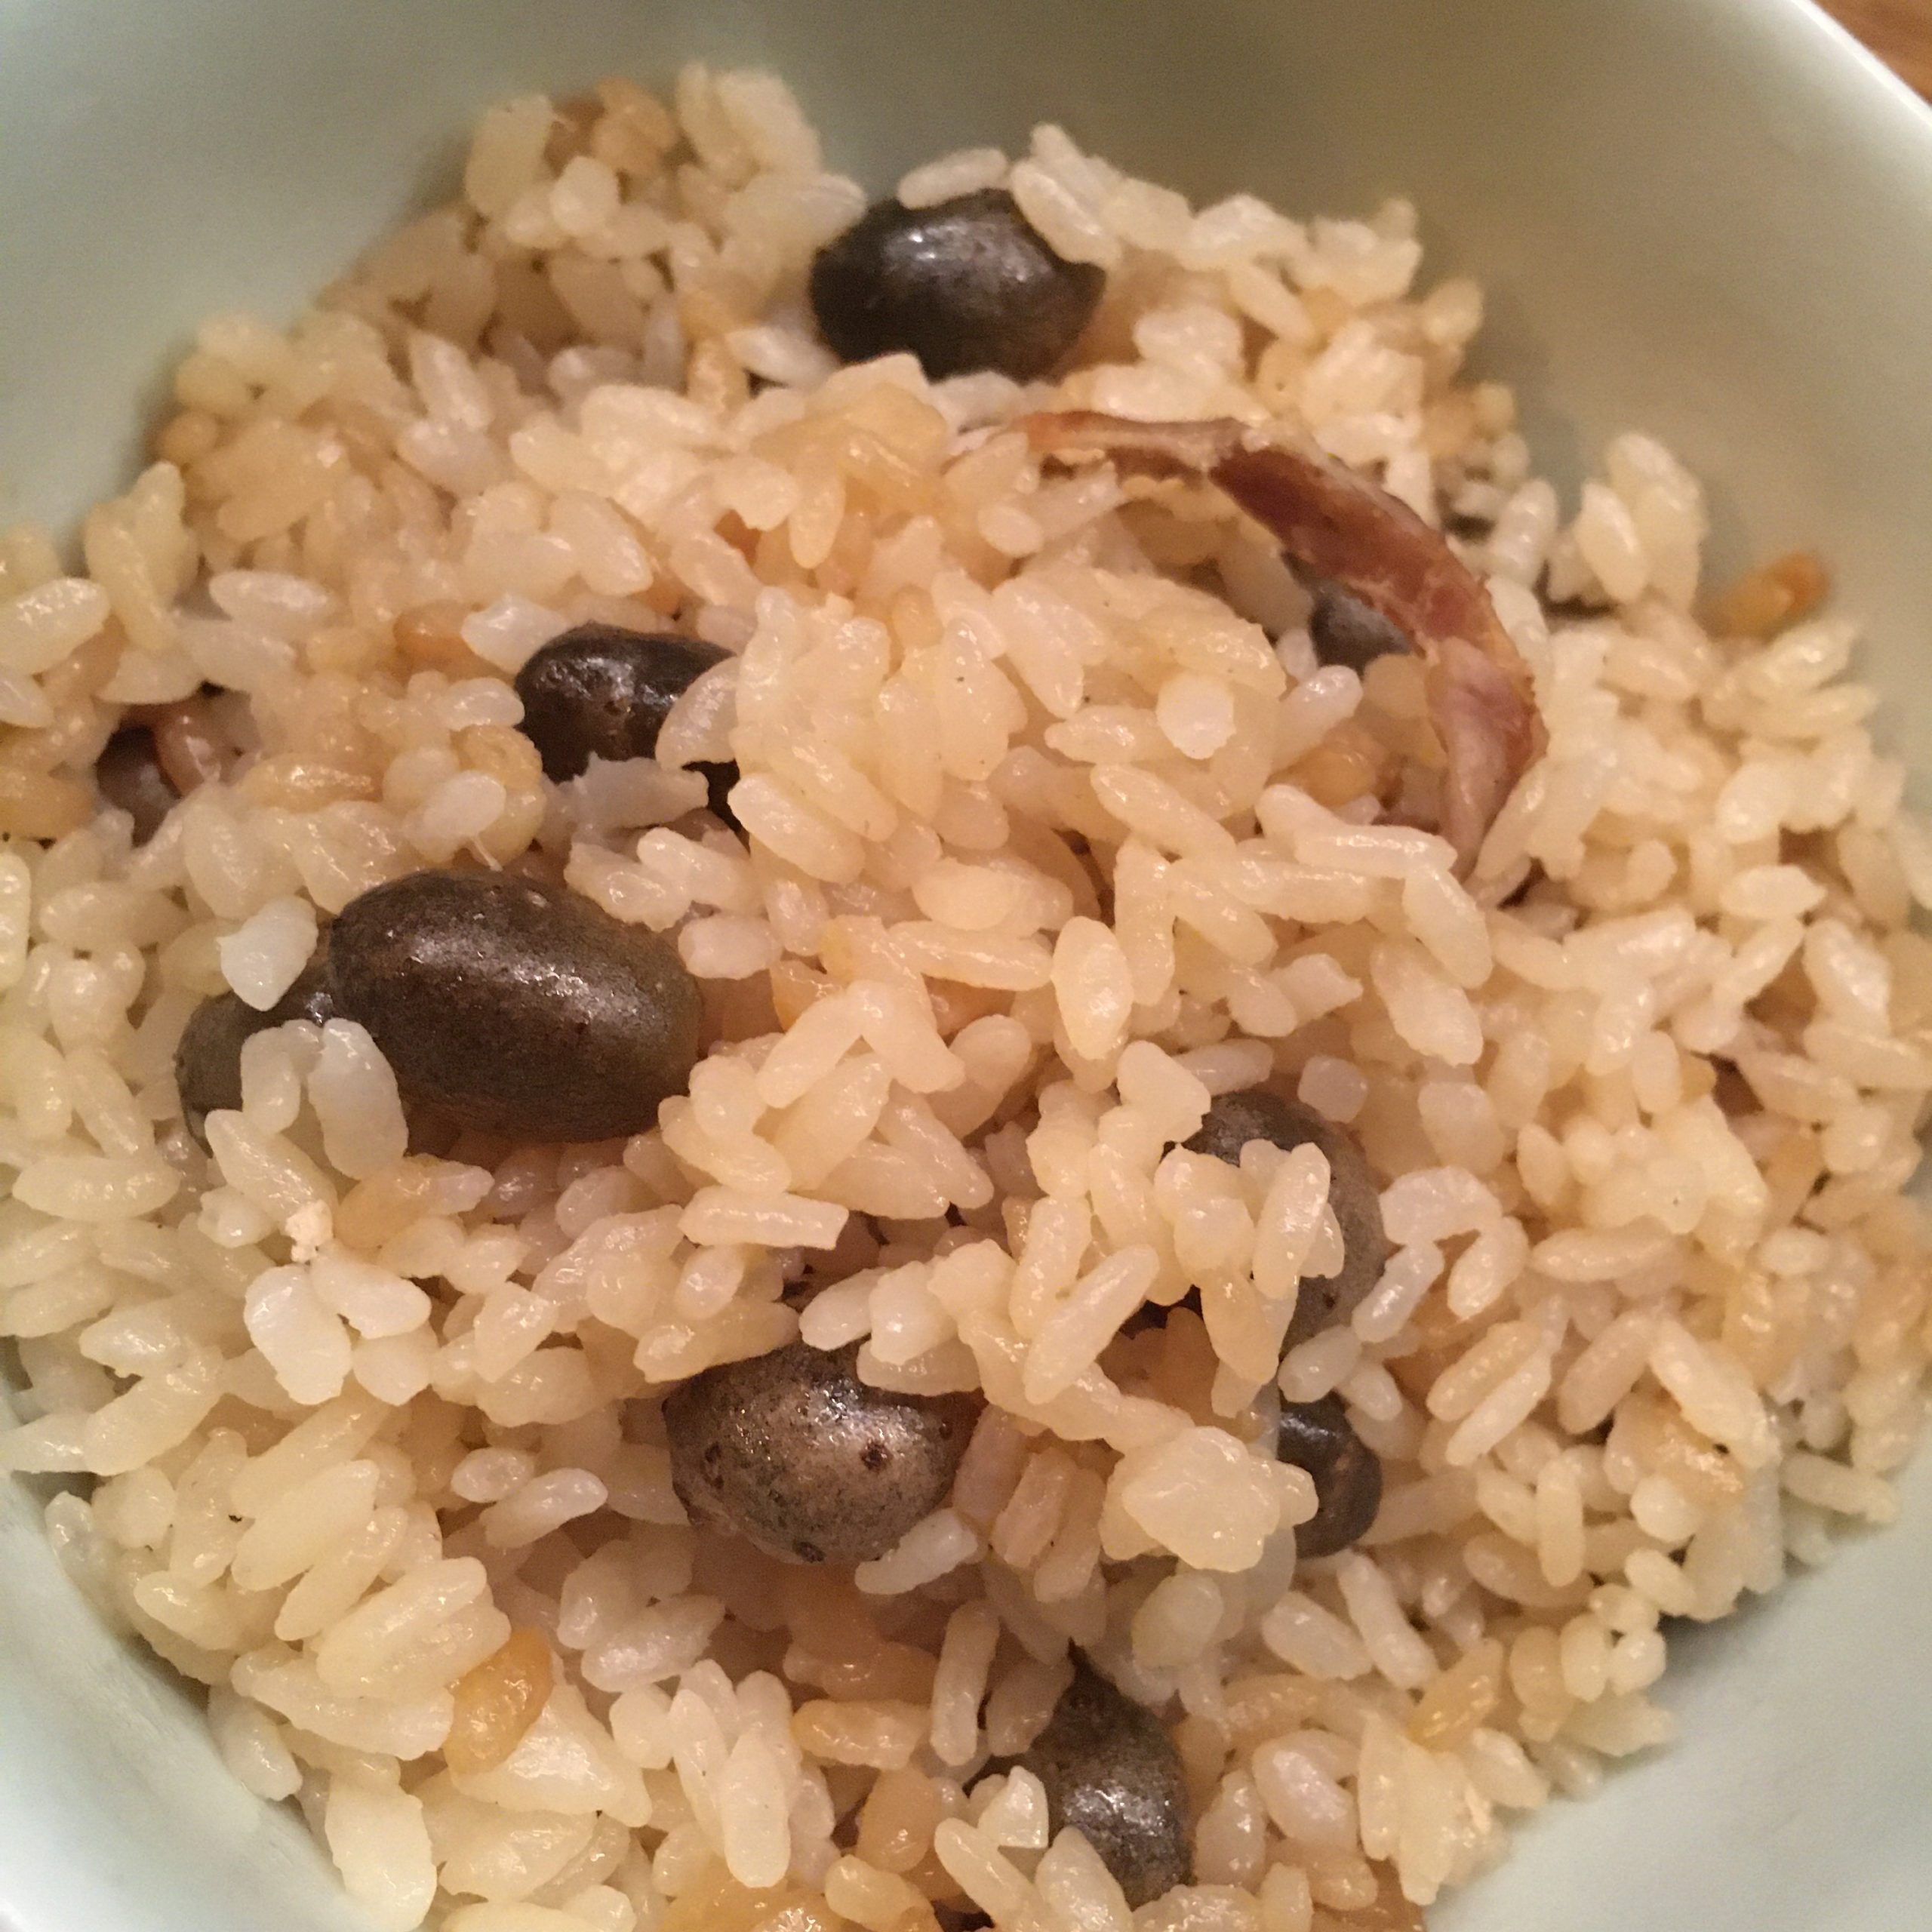
So…if you have read my previous post you may have read that in Kanazawa I bought some mysterious food (I don’t know if we can call it fruit or vegetable…): propagule-ムカゴ-mukago. It looks like a tiny potato with a darker skin. It’s the “fruit” of the Japanese mountain yam-山芋-yamaimo. It wasn’t the first time I saw some but never ventured in trying cooking them before and they are local in Kanazawa, so it made sense for me to try there.
As many of the food in Japan, the first recipe that comes to mind is to cook with rice. Mukago are no exception. I was recommended to cook them with rice and a piece of bacon. That seemed simple enough to try right away. However, recently I have been having a hard time finding good local bacon, the pork is usually imported-輸入-yunyu, and that I don’t buy… so instead I decided to buy fresh pork belly, and cook it with salt and pepper, not exactly the same thing as bacon but close enough and at least it is easy to find local fresh pork.
Mukago rice was a huge hit with A., much more than I expected!! Actually mukago are amazingly delicious. They have a very nice complex texture, a very subtle flavor with violet and flowery notes, very sophisticated. I instantly loved them!
I need some thinking and testing to understand in what kind of preparation they could be good. I tried in vegetables stew, but found that their flavors was suffocated by the other vegetables. It could be that rice is their best friend!! I’ll more investigations… in the meantime here is the mukago rice recipe. Enjoy!
Mukago rice ムカゴご飯 (4 servings)
300g (2合-gou)of Japanese rice (I exclusively use Koshihikari from Isumi or Onjuku, but any Japanese rice is ok)
200g of bacon (slice or block)
1cup of mukago
Rinse the mukago.
Wash the rice.
In a large and thick pan or in a rice cooker bowl put all the ingredients. Add 400ml of water and cook. If you use a rice cooker chose the takikomi-炊き込み option if you have one. If you cook in a pan, start at medium heat until the first boil. Then cover and cook at low heat for 30min (check eventually that it’s not too quick nor too slow, and adjust timing, but don’t stir…) then stop heating but let rest for 5more minutes before serving.
After a very tough week for me starting literally with a lower back pain that was so excruciating that A. had to drove me to the doc as I couldn’t even walk. Seating was a torture and lying was not better, I was happy I survived it and could finally walk, bend and move almost normally. But the doc said that my muscles needed a good week of rest so I followed the orders. No tennis, no bodyboarding and no gardening. I only allowed myself a 30min ocean swim on Saturday and Sunday. That left me with a loooooot of time… to cook of course!
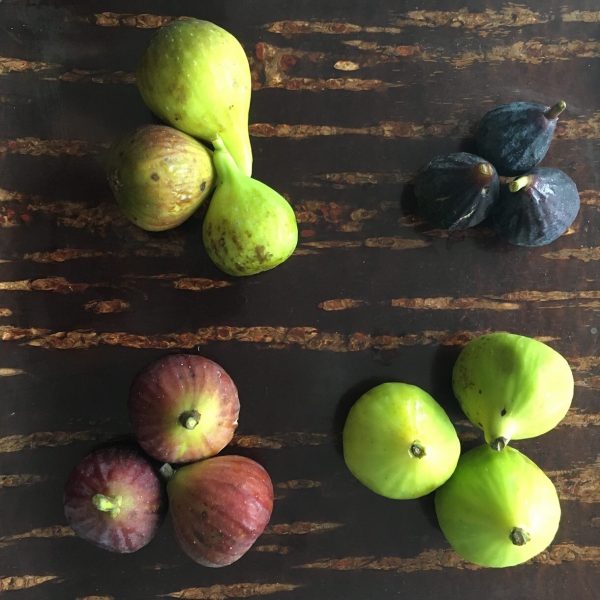
And with the summer slowly going towards the Indian summer, there is a slow change on fruits and vegetables available. Plenty of fruits with grape, nashi, passion fruits and figs. Yes! Figs! I love figs and usually would cook them in sweet recipes as A. is not a huge fan of sweet and savory mixes.
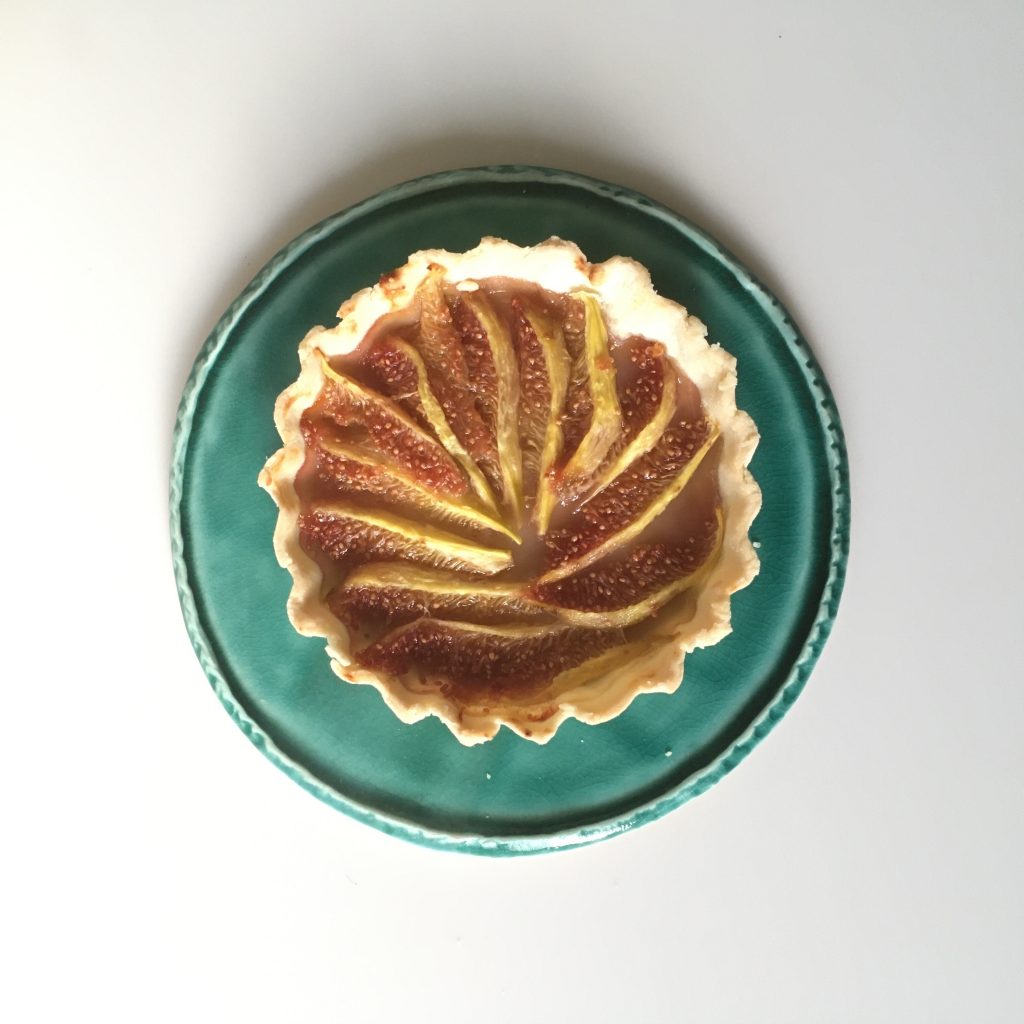
I baked honey fig tarts to start with. And because our friend Y. also had a lower back pain I made extra for them and replace half of the wheat flour in the dough by rice flour. And then the magic of IG worked its charms… A friend who grows figs in a large fig plantation at the foot of mount Fuji saw the picture of the tarts and sent me a big parcel full of figs of different varieties, all with distinct texture, color and flavor.
Having so many figs at once to eat I decided that I could do a few savory recipes too, though to be honest they were so good, I didn’t want to make complex things, and eating them just like that for breakfast was so perfect!
So I browse a bit the internet, but no recipe satisfied me. Most had goat cheese, a total no go for A. and anyway finding good goat cheese in Japan is still not easy…
So I came up with too recipes, the first is a total improvisation, the second is inspired by Israeli cuisine, from one of Yossam Ottolenghi’s book.
So three recipes today, all with figs. One sweet, one savory and one up to you!! Enjoy!!
Fig tartelettes (4~6 servings)
6-8 large fresh figs
100g of rice flour
100g of wheat flour
50g of butter or olive oil
4tsp of honey
A bit of water
In a bowl mix the flours, the butter (or olive oil), add water little by little while kneading until obtaining a smooth dough.
Pre-heat your oven to 200deg. Roll the dough and put it in a pie dish (I used individual ones). Peel the figs and slice them, arrange them nicely, add the honey. Bake for about 20min, or until the crust is baked.
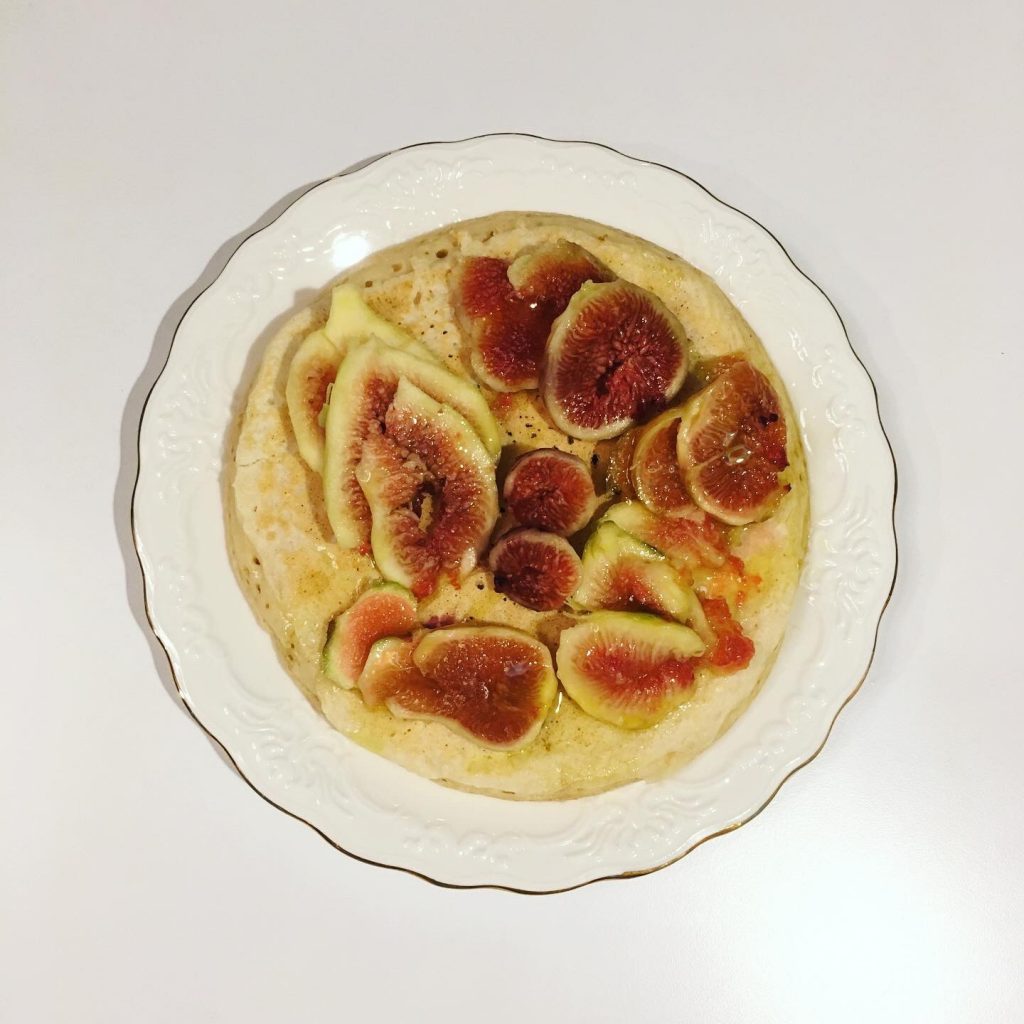
Chickpea pancakes with figs (2 servings)
8-10 fresh figs
100g of chickpea flour
1tsp of baking powder
1tbs of cottage cheese (optional)
Water or milk
Salt and pepper or honey (savory or sweet)
Olive oil
In a bowl mix the chickpea flour, the baking powder, the cottage cheese (if you use some), and the water and/or milk until obtaining a pancake dough (not too liquid, but not hard).
In a greased pan cook the pancakes. I used a 15cm pan to have one large and fluffy pancake per person.
While the pancakes are cooking, peel the figs and slice them. When the pancakes are ready top with the figs, a drizzle of olive oil salt and pepper, or honey. Ready!!
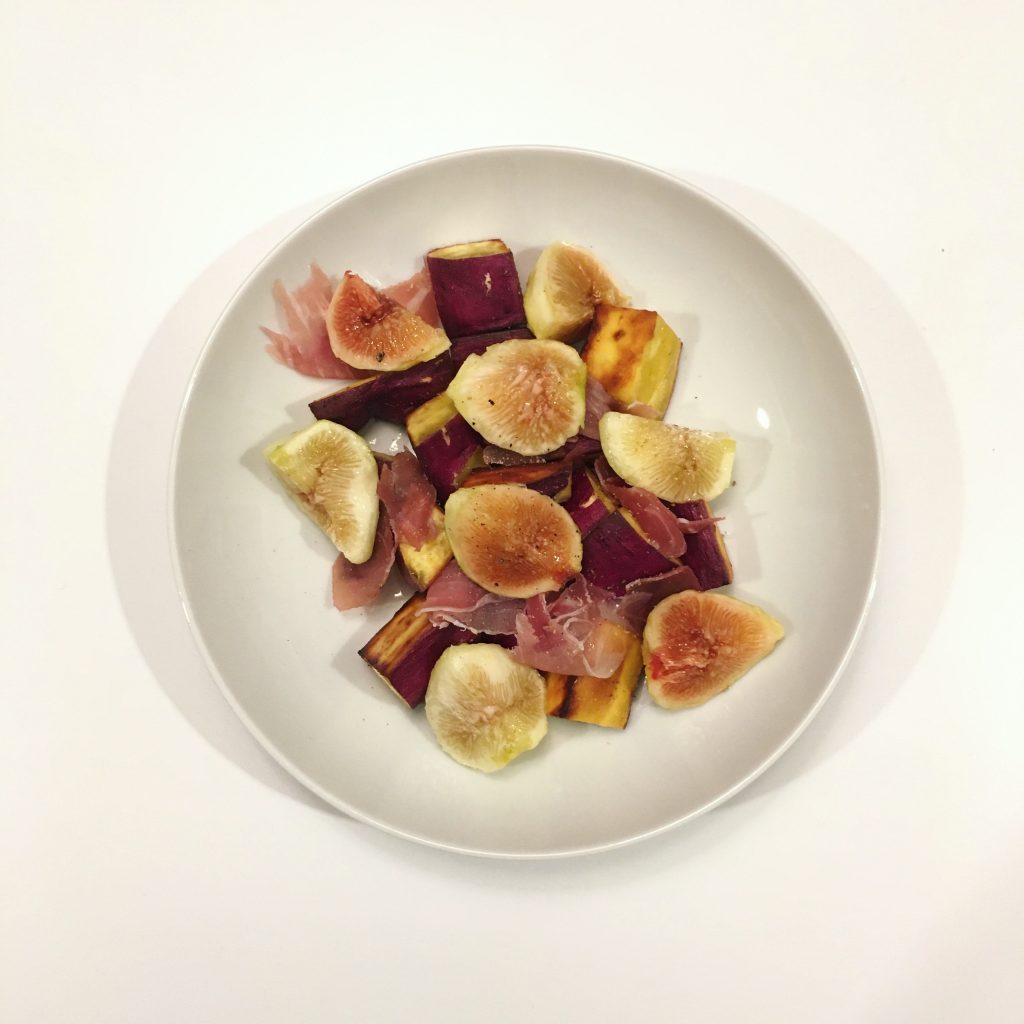
Sweet potatoes and figs (2 servings)
1 sweet potato
6-8 fresh figs
1tsp of oil
1/2tsp of vinegar
Salt and pepper
3 slices of prosciutto (optional)
Wash the sweet potato and cut it in bite size. In s pan greased with the oil cook the sweet potato at medium heat until soft.
Peel the figs and cut in quarters. Serve the sweet potato in the plates, add the vinegar, salt and pepper, the figs and the prosciutto. That’s it!Really simple isn’t it?
Well there are so many things I don’t know about… that I am never surprised to discover a new name or a new recipe. As simple as it can be.
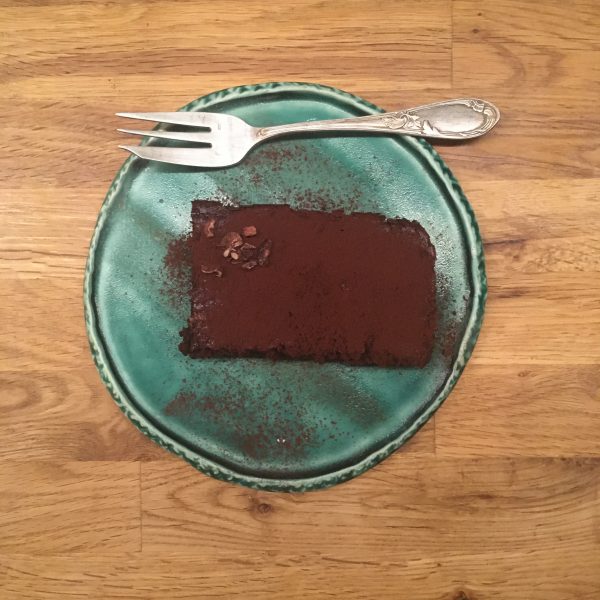
A. had a bottle of Balthus 2019 to drink (we could have kept it though… but why wait…) and after a short search, it seemed that chocolate would be a good pairing. Fine… but what chocolate patisserie could I prepare… so I browsed a little bit more searching for recipes that use cocoa powder, as it is the only thing I had. And I came across the “millasson”, a name I’ve never heard of before and a recipe I had never seen before. But its simplicity and the few ingredients needed immediately attracted me. It is basically something in between a flan and a clafoutis, but with egg whites beaten to get fluffiness (but honestly I wonder if that is really necessary).
So all you need is flour, sugar, cocoa powder, eggs and milk. And I can even guess that it could be baked in a pan if you don’t have an oven.
My millasson was good, rich in cocoa flavor, as I like, but I think I slightly overcook it, so I think I’ll try again this weekend, just be sure I have it right!!! 😋 and because it is really good!!!
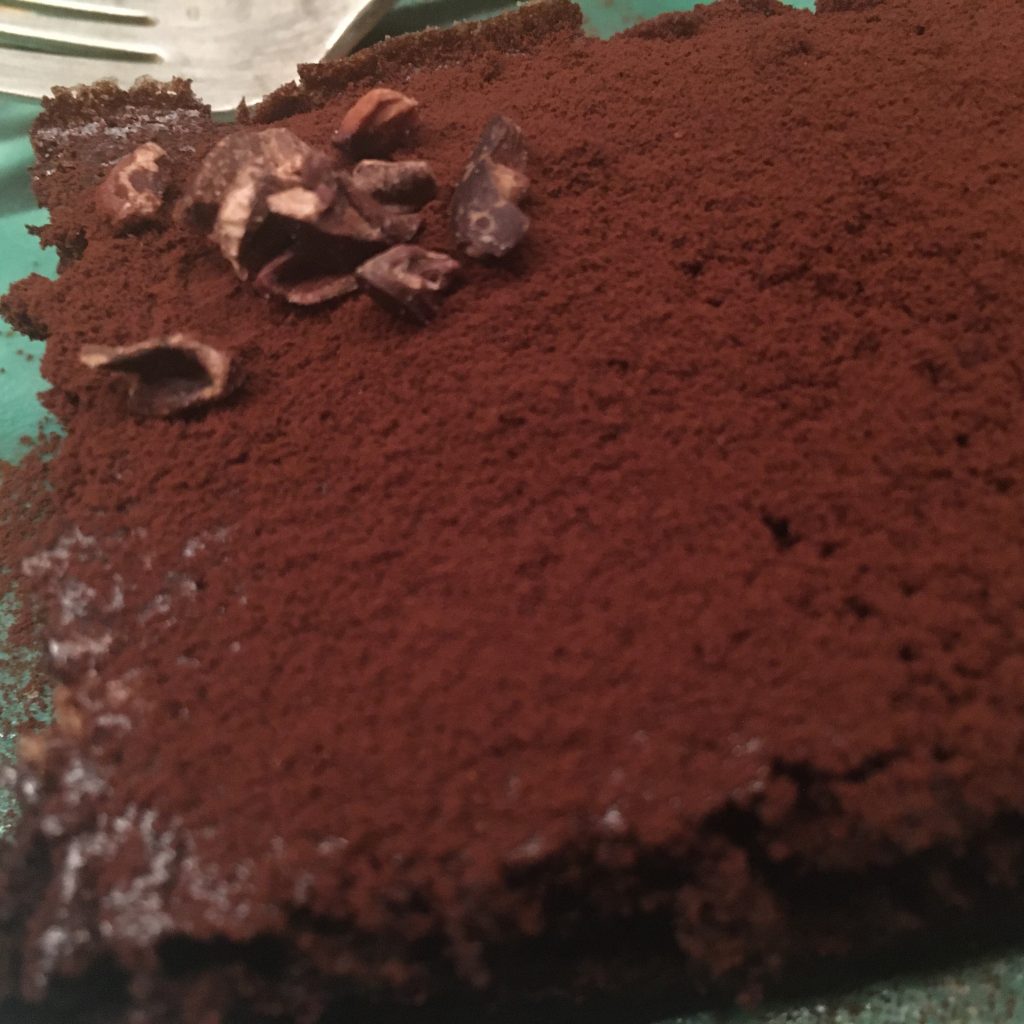
I topped my millasson with cocoa powder and cocoa nibs.