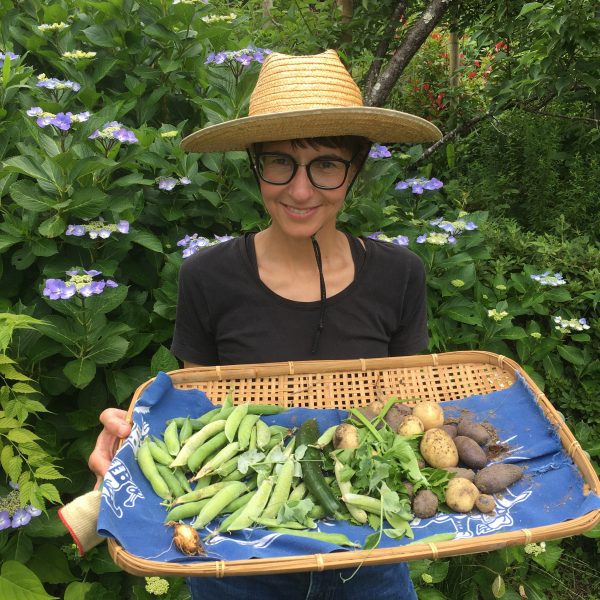
I have tried many things in the kitchen garden during the past 10 years. Eggplants, cucumbers, snap peas, tomatoes, cabbages etc… most of which were total failures, eaten by the kions, or the snails, or whoever was around. My most successful crop, by far, has been potatoes for a few years now. Except for this year, I tried green peas and that was a big hit… My specialty is actually purple potatoes: vitelottes. I like to grow them and harvest them and I love the color they bring to the plate. And those potatoes are absolutely impossible to find if you don’t grow them (at least for now), so this is why I keep growing some.
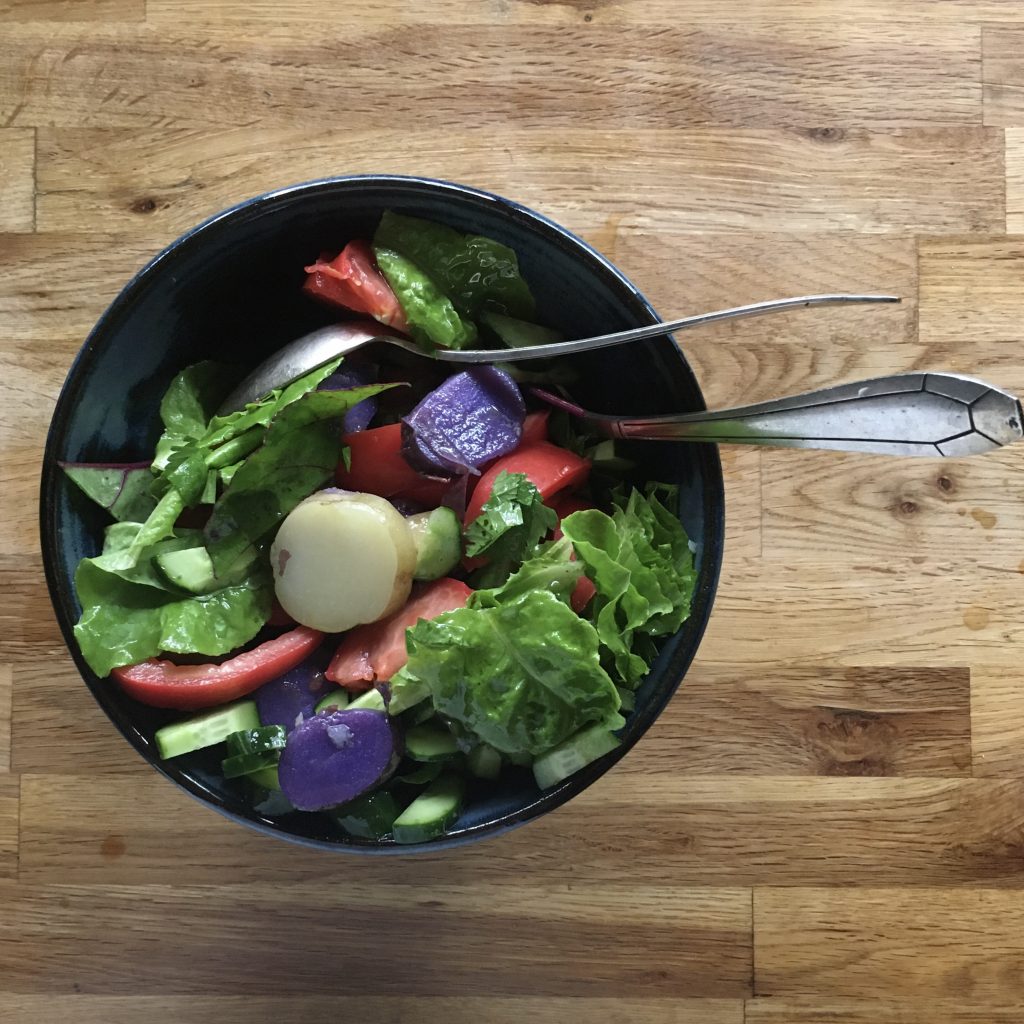
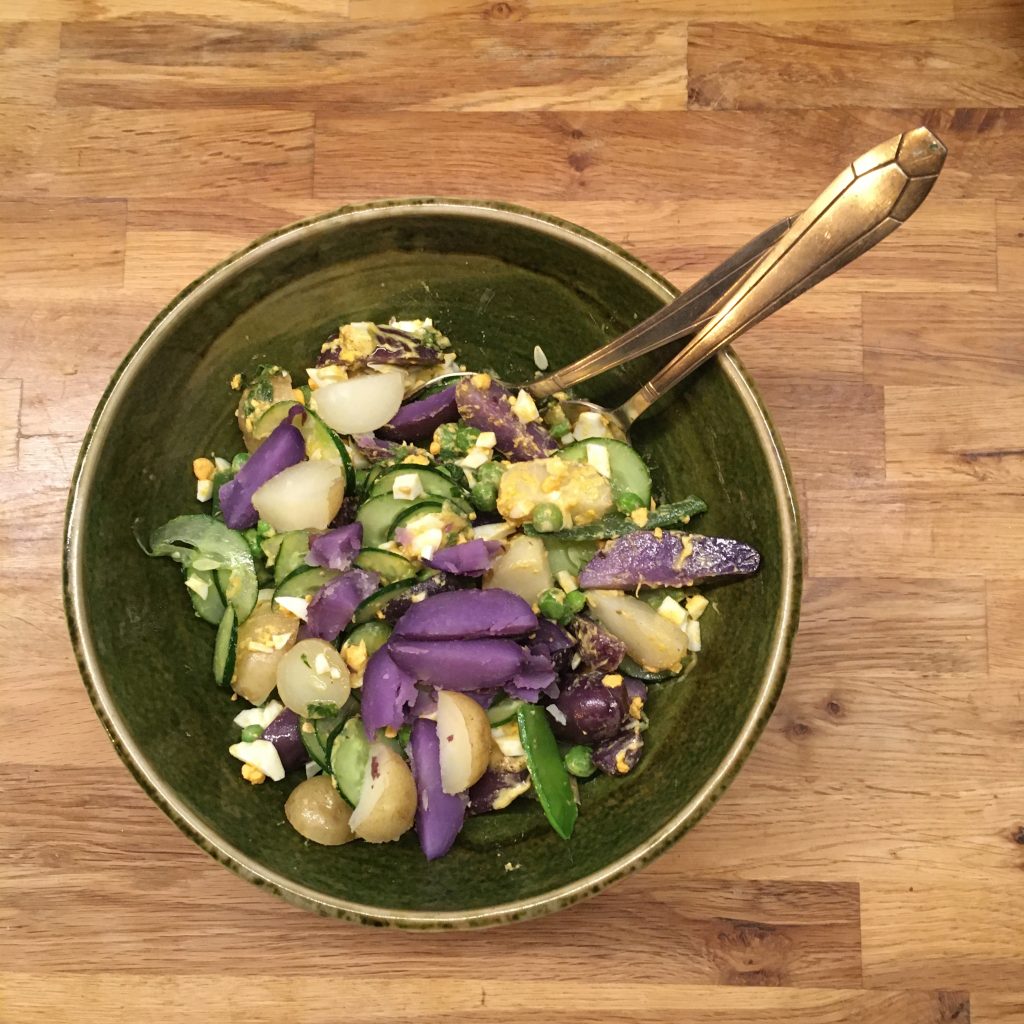
This year I grew them in the new kitchen garden. The soil is still under making so the harvest was not as good as I expected, even though I expanded the surface by two, but there were quite enough to make several meals and enjoy their bright color. The way I like to cook them best is simply washed and boiled, then sliced and eaten with other colorful ingredients. Perfect with eggs and cucumbers, dressed with plenty if mustard and olive oil for a classic potato salad, or simply fresh green leaves and tomatoes with olive oil for a fresh and lighter version.
I am quite proud to say that, except the tomatoes and the eggs, all the vegetables and herbs come from the garden. I cannot say that we’re successful with cucumbers but by far the best harvest we’ve ever had, and salad leaves, celery and herbs are doing rather well. The regular potatoes come also from our garden, from a few old potatoes that started growing in the fridge and I decided to plant. I don’t know how you love your potatoes but I’m sure it’s delicious!!!
OK… after a little time struggling with WordPress I’m back!!!
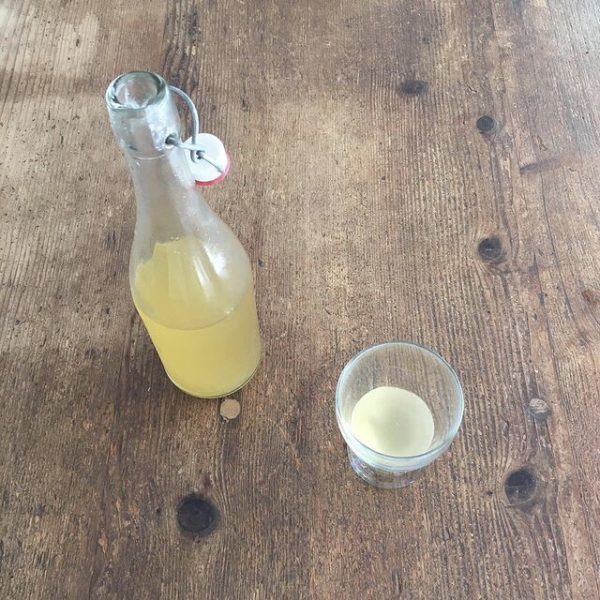
When I was living with my parents, a long long time ago, my mother always had some kind of homemade preparations such as yogurts, that I was very reluctant to try, and I am still for some reasons not to much tempted by. But when we were at my parents’ place last month, I had a chance to try my mother water kefir. At first I was just wondering what this drink may taste like, and when she told me she only put water, lemon and dry figs in it, and has been drinking every morning for the past few years… I was thinking that I may not die from trying and nothing in it could justify I don’t try. And to be honest I really loved it, and even A. did. So instead of packing tones of tasty cheeses from France I packed a bin of water kefir grains that I smuggled in Japan. (Honestly I don’t know if this is a prohibited product or not… information about water kefir grains are just as scarce as mystic…)
And since we came back, I have been making some every two day or so and we’ve been drinking some every day. I follow strictly my mother recipe but the process of making water kefir is still new to me, and I have been having a lot of questions about it that have been mainly unanswered. This is incredible really to see that such an ancient practice is so little documented, and even the scientific research papers on it are just too little.
The first question that popped to my mind when I was making my first batch was what happens if by mistake I release a kefir grain in the drain and it goes to the river that goes to the ocean… would there be at some point (and kefir grows really quickly) a giant kefir blob on the beach? Am I going to create inadvertently an ecological catastrophe like many have been created. Don’t you know about the terrible taxifolia algae in the Mediterranean sea, escaped from the Monaco aquarium? Or some kind of strange animal like ninja turtles… apparently my mother asked herself the same thing… we couldn’t find any answer… but assuming that water kefir exists for a very long time, if that were to happen, wouldn’t it had happened already?
The second question was, what happens if I drink the liquid and the fermentation is not over. Would that be poisonous? And if by mistake I ingest a grain? Same here, I couldn’t find a clear answer.
But one thing that I learned trying to find information about water kefir according to one paper, is that making water kefir drink industrially seems very difficult. So water kefir can only be made on small batches! Isn’t that amazing? And the other thing is that the kefir grain composition varies from one place to another. Not totally surprising but interesting… which means probably, like with sourdough, that each one produces a drink with a signature taste!
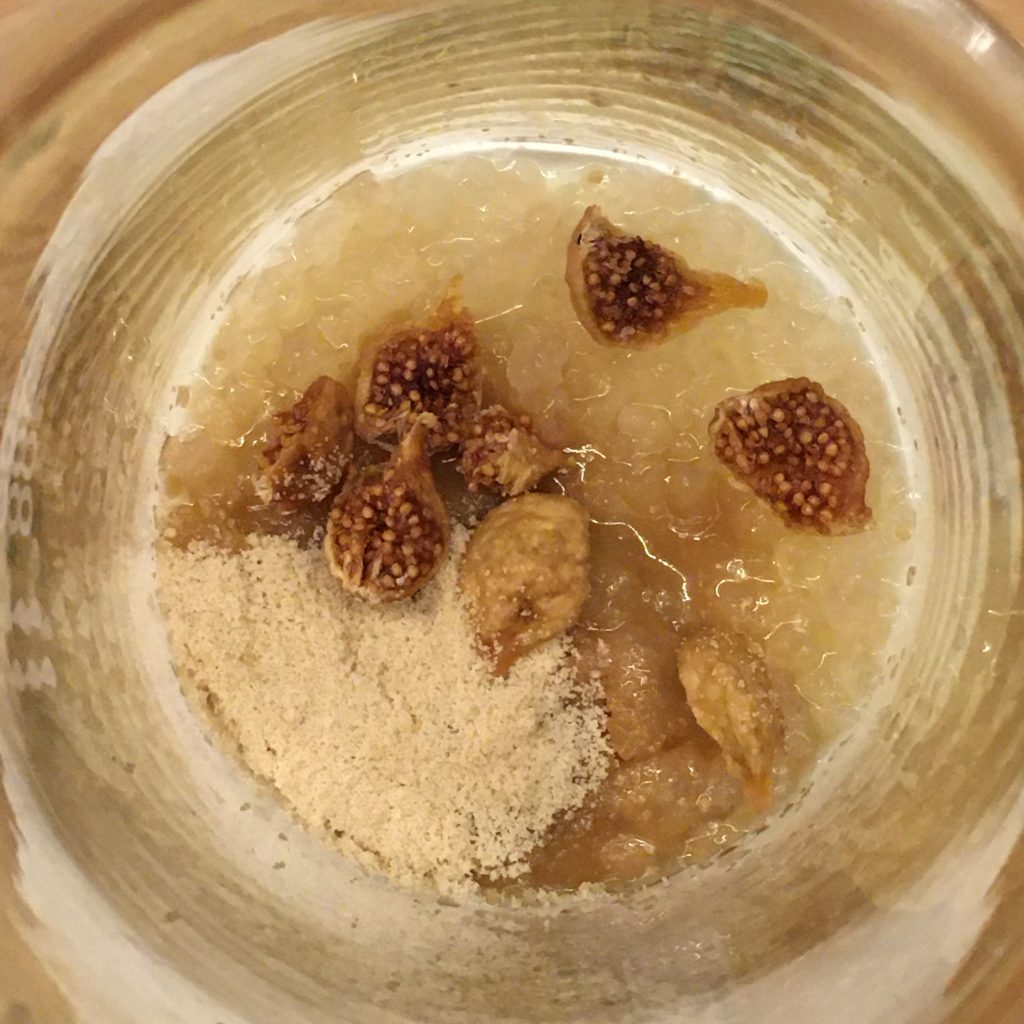
Mine is very mild and I like it’s refreshing taste and very slightly sparkling. I do not store it in an hermetic bottle to make it more sparkling, nor add any other flavoring such as fruits during the second phase. We just drink it like it is, after the first phase I just filter it. And I prepare it solely with dry fig and lemon, and a bit of sugar, but not too much either, may be that’s why the sparkling is very subtle.
I’m still learning and searching for solid info on kefir, so if you have good resources…
Making kefir: dry figs, lemon slices, a bit of brown sugar, kefir grains
When on travel, eating out for every meal has always been a problem for me. Too much food, too rich, too many ingredients, too much preparation, too far… not enough simple food, not enough traceability… there are so many reasons why I love homemade food… I have been used now for a long long time to making my own food even with the simplest ustensiles and in the most rudimentary kitchens, but for long stays cooking with a kettle, a plate and a knife used for eating, that would be a little too constraining. So when we decided to travel to Paris I had one strong requirement: our hotel room should have a kitchen. We found a place that checked all the boxes finally: the Majestic hotel. The kitchen wasn’t even tiny, with a great opening on the terrace, but minimally equipped: a frypan and a pan. I bought a kitchen knife, a wooden spoon and a bottle of olive oil, and I was ready to cook for 10 days. I need nothing more than that.
The farmers market down the street on President Wilson Avenue on Wednesdays and Saturdays provided us with all the basic, local and seasonal ingredients we would need. The fish mongers, the cheeses and the organic stalls are really great. For breads there is also a nice stall. You can also find there beautiful flowers, kitchen knives, and a few Italian food stalls, perfect for ravioli and others stuffed pasta. We didn’t test the meat stalls, as I barely cook meat, but there are a few with a nice selection.
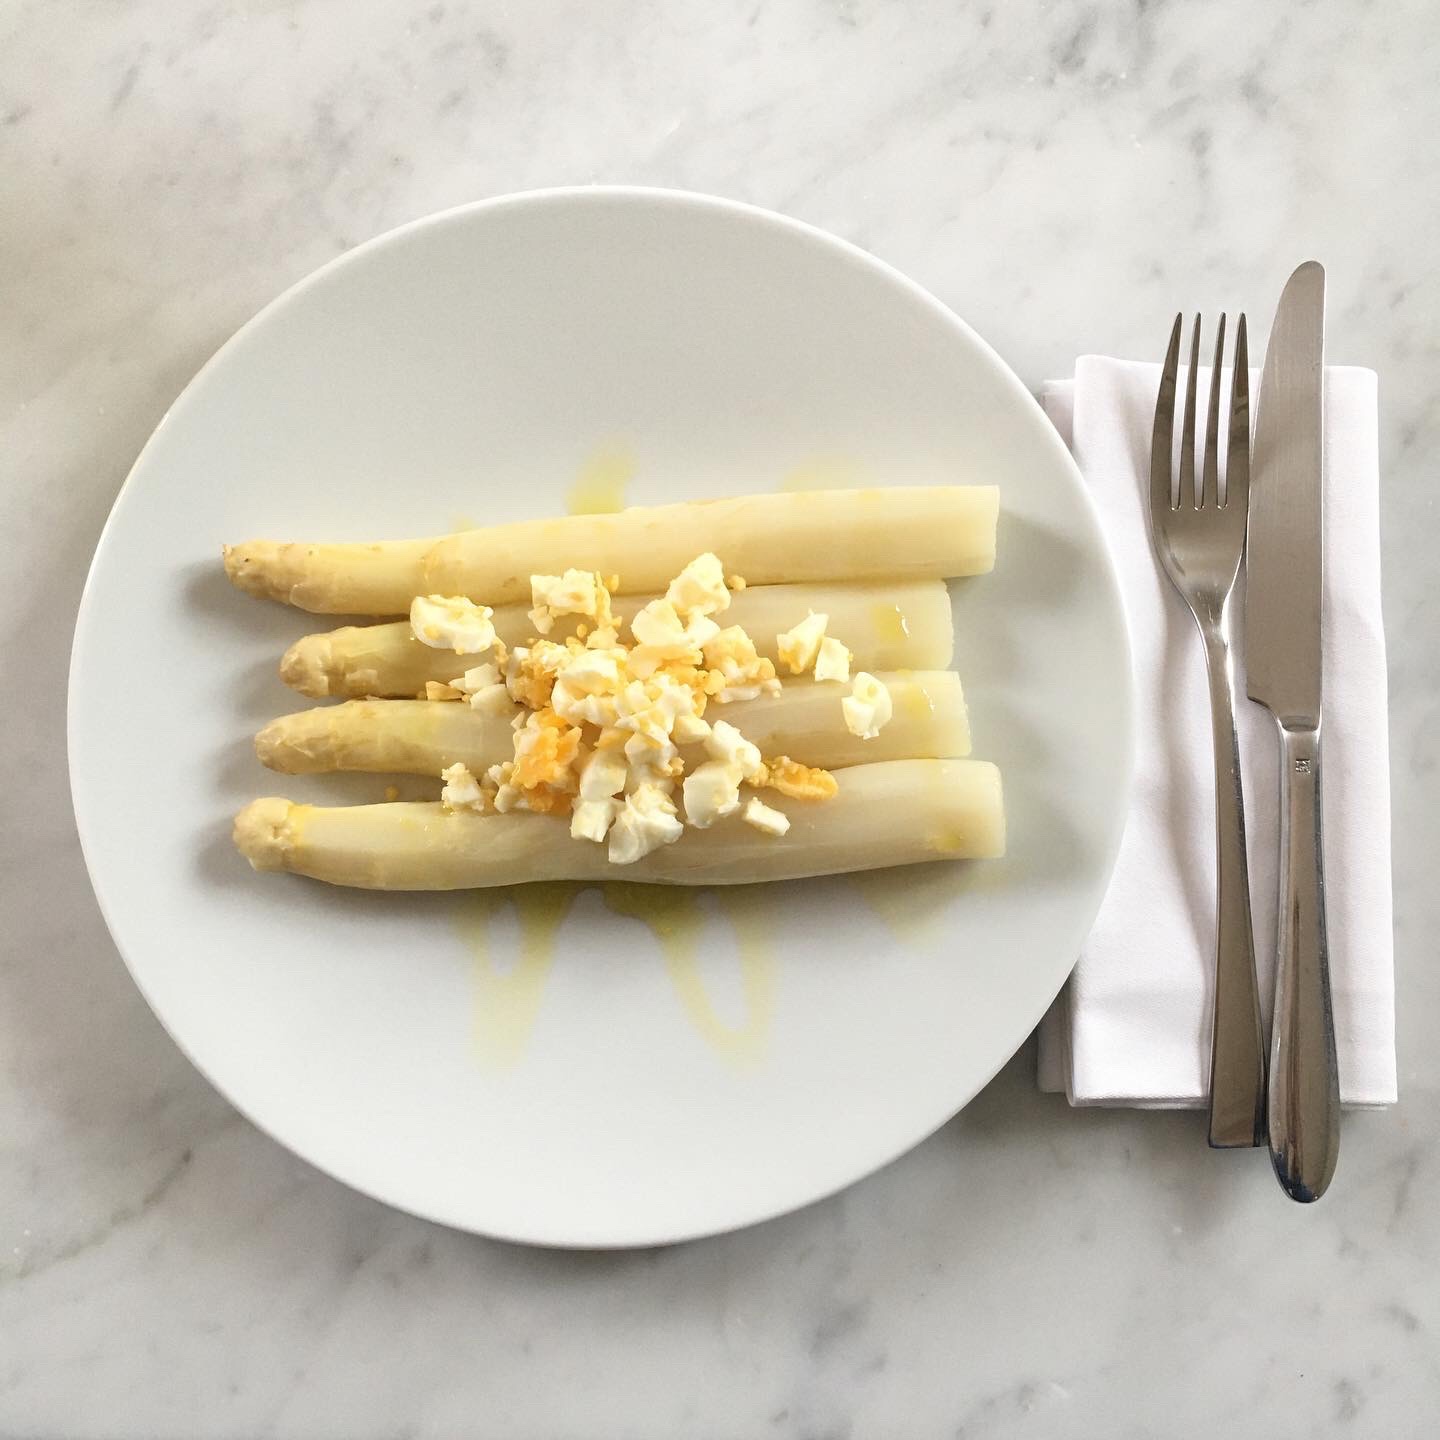
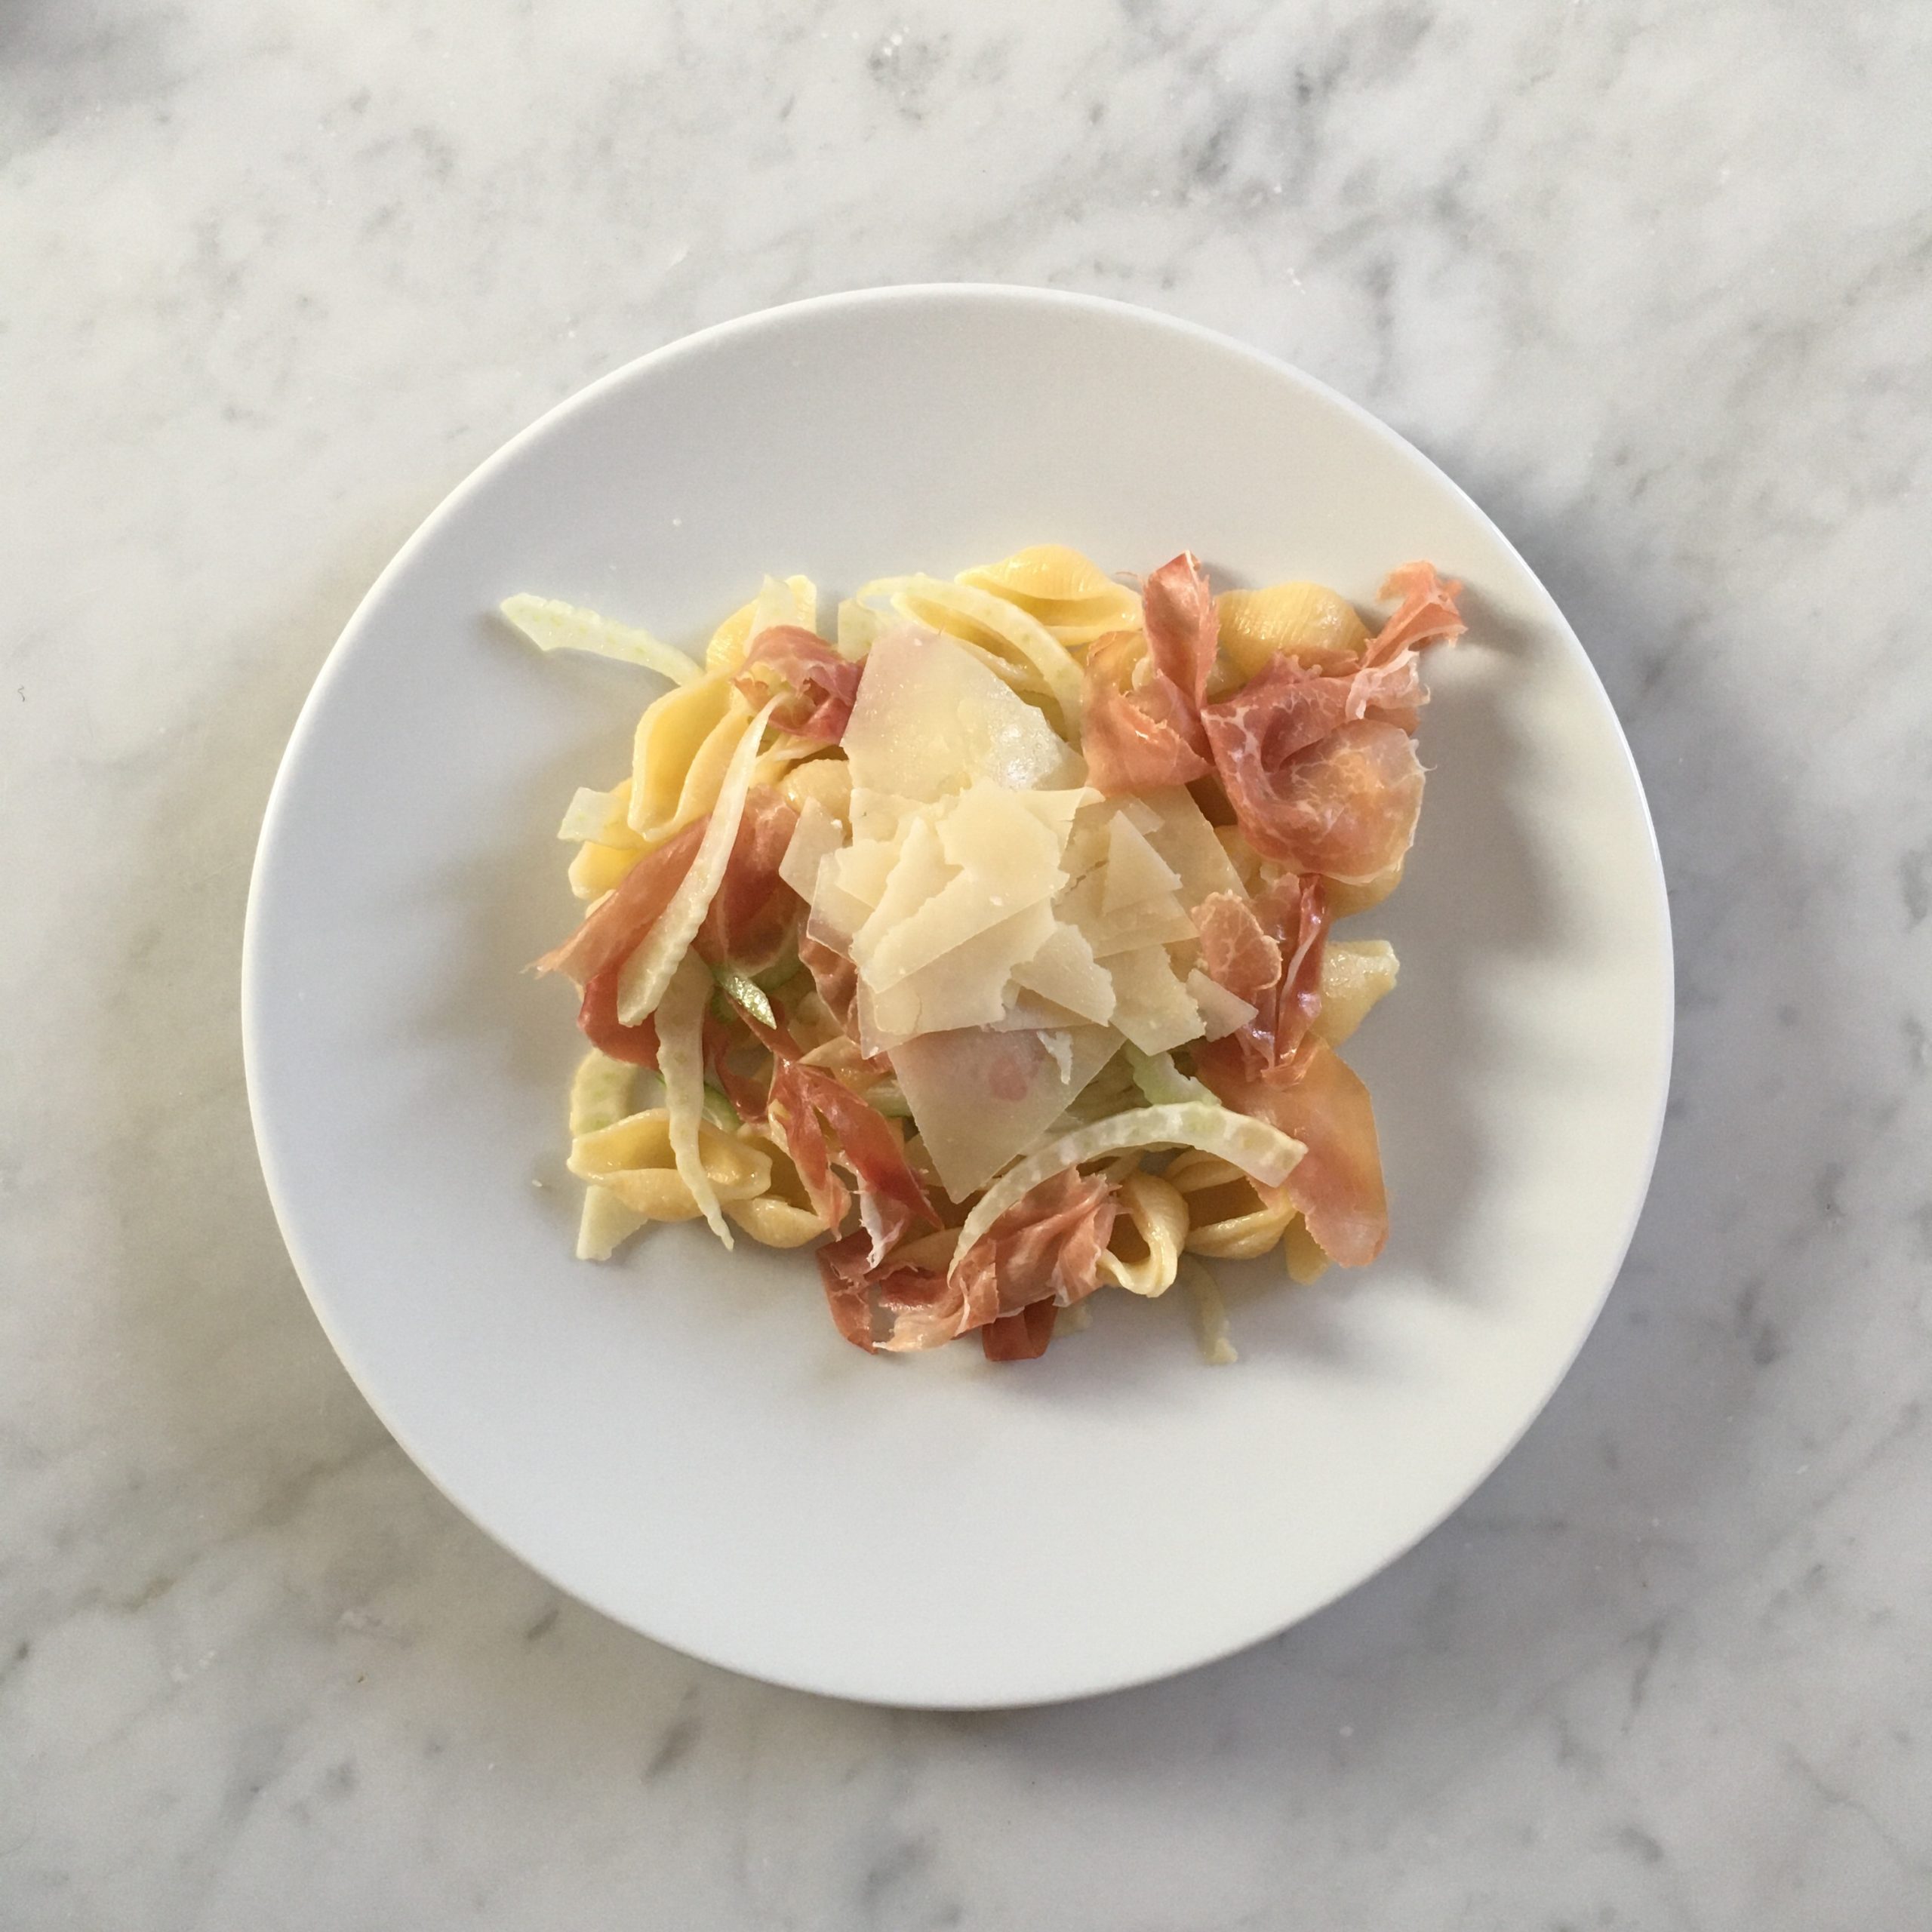
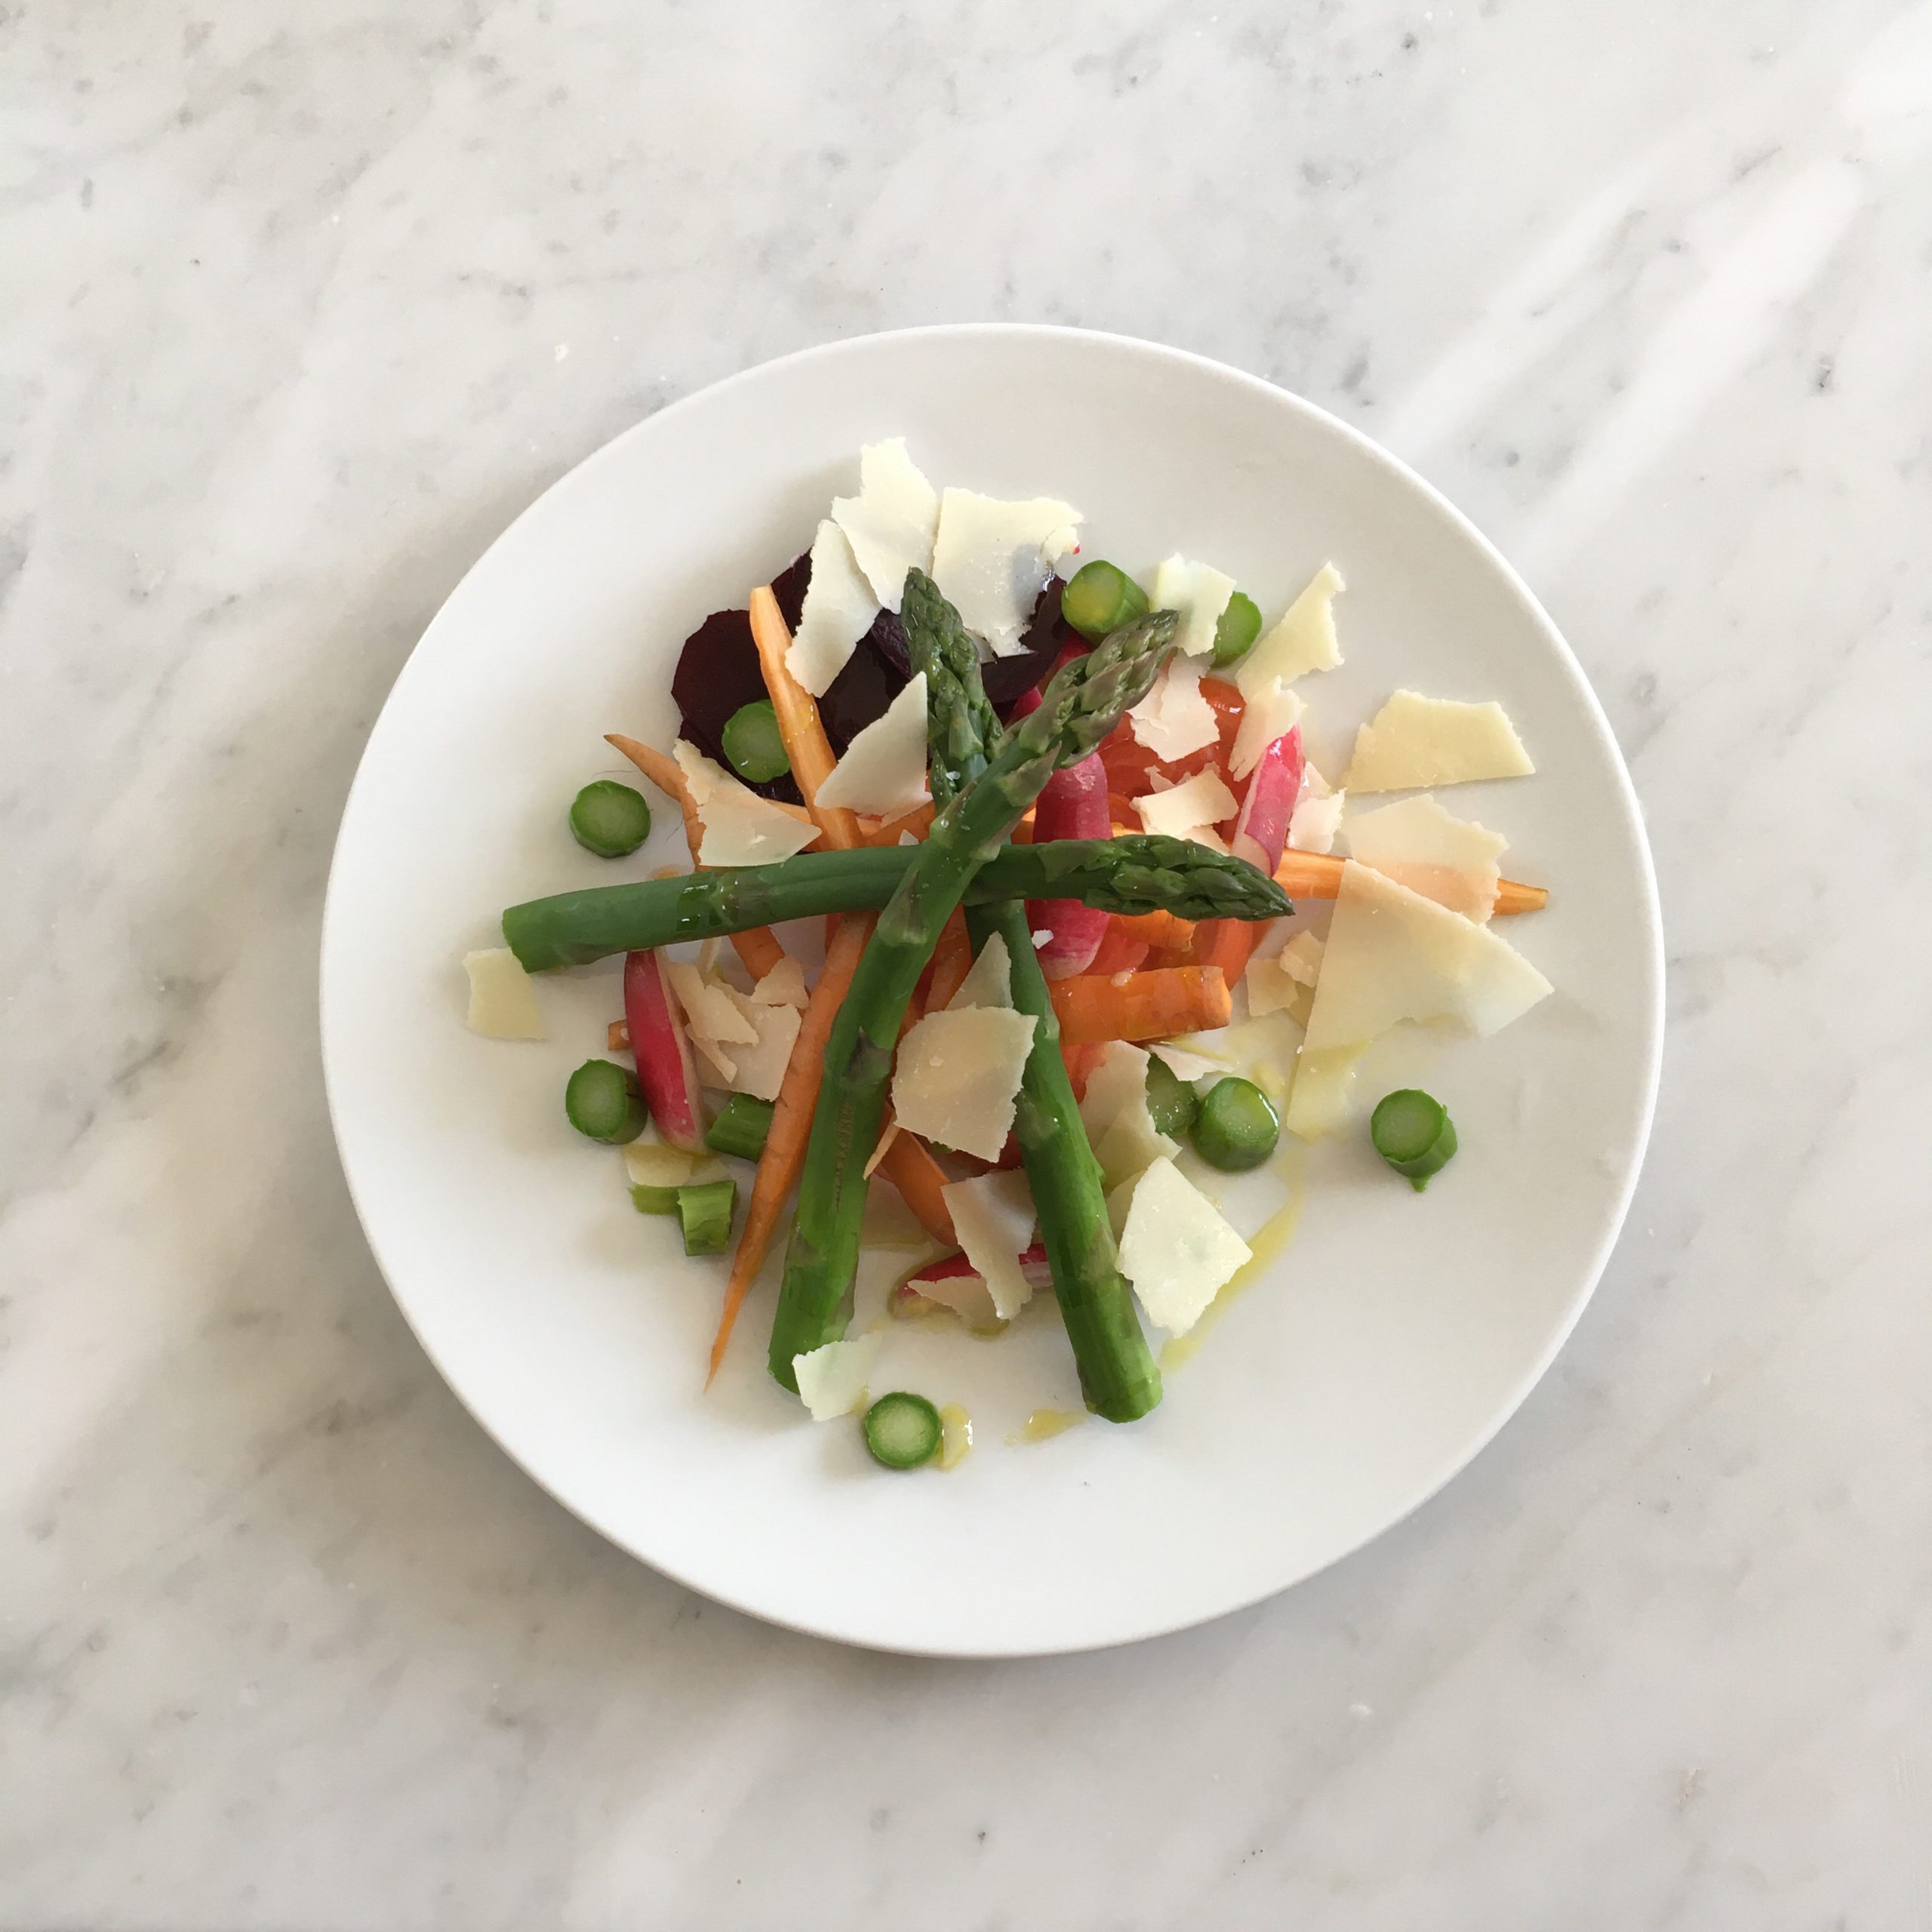
May in France is the season for strawberries, the very first cherries, green peas, asparagus, artichokes, new potatoes, new carrots etc… I focused my shopping on products I would usually not eat in Japan. Artichokes and white asparagus definitely were on the top of my list.
Nearby you can also find one of the trending patissier-boulanger shop: Cyril Lignac, which is the first one to open in the area: 7:00AM. With the jet-lag it’s almost too late, but we could manage to postpone breakfast until then and eat fresh pastries for breakfast. I would particularly recommend their pain aux raisins. Extremely delicious.
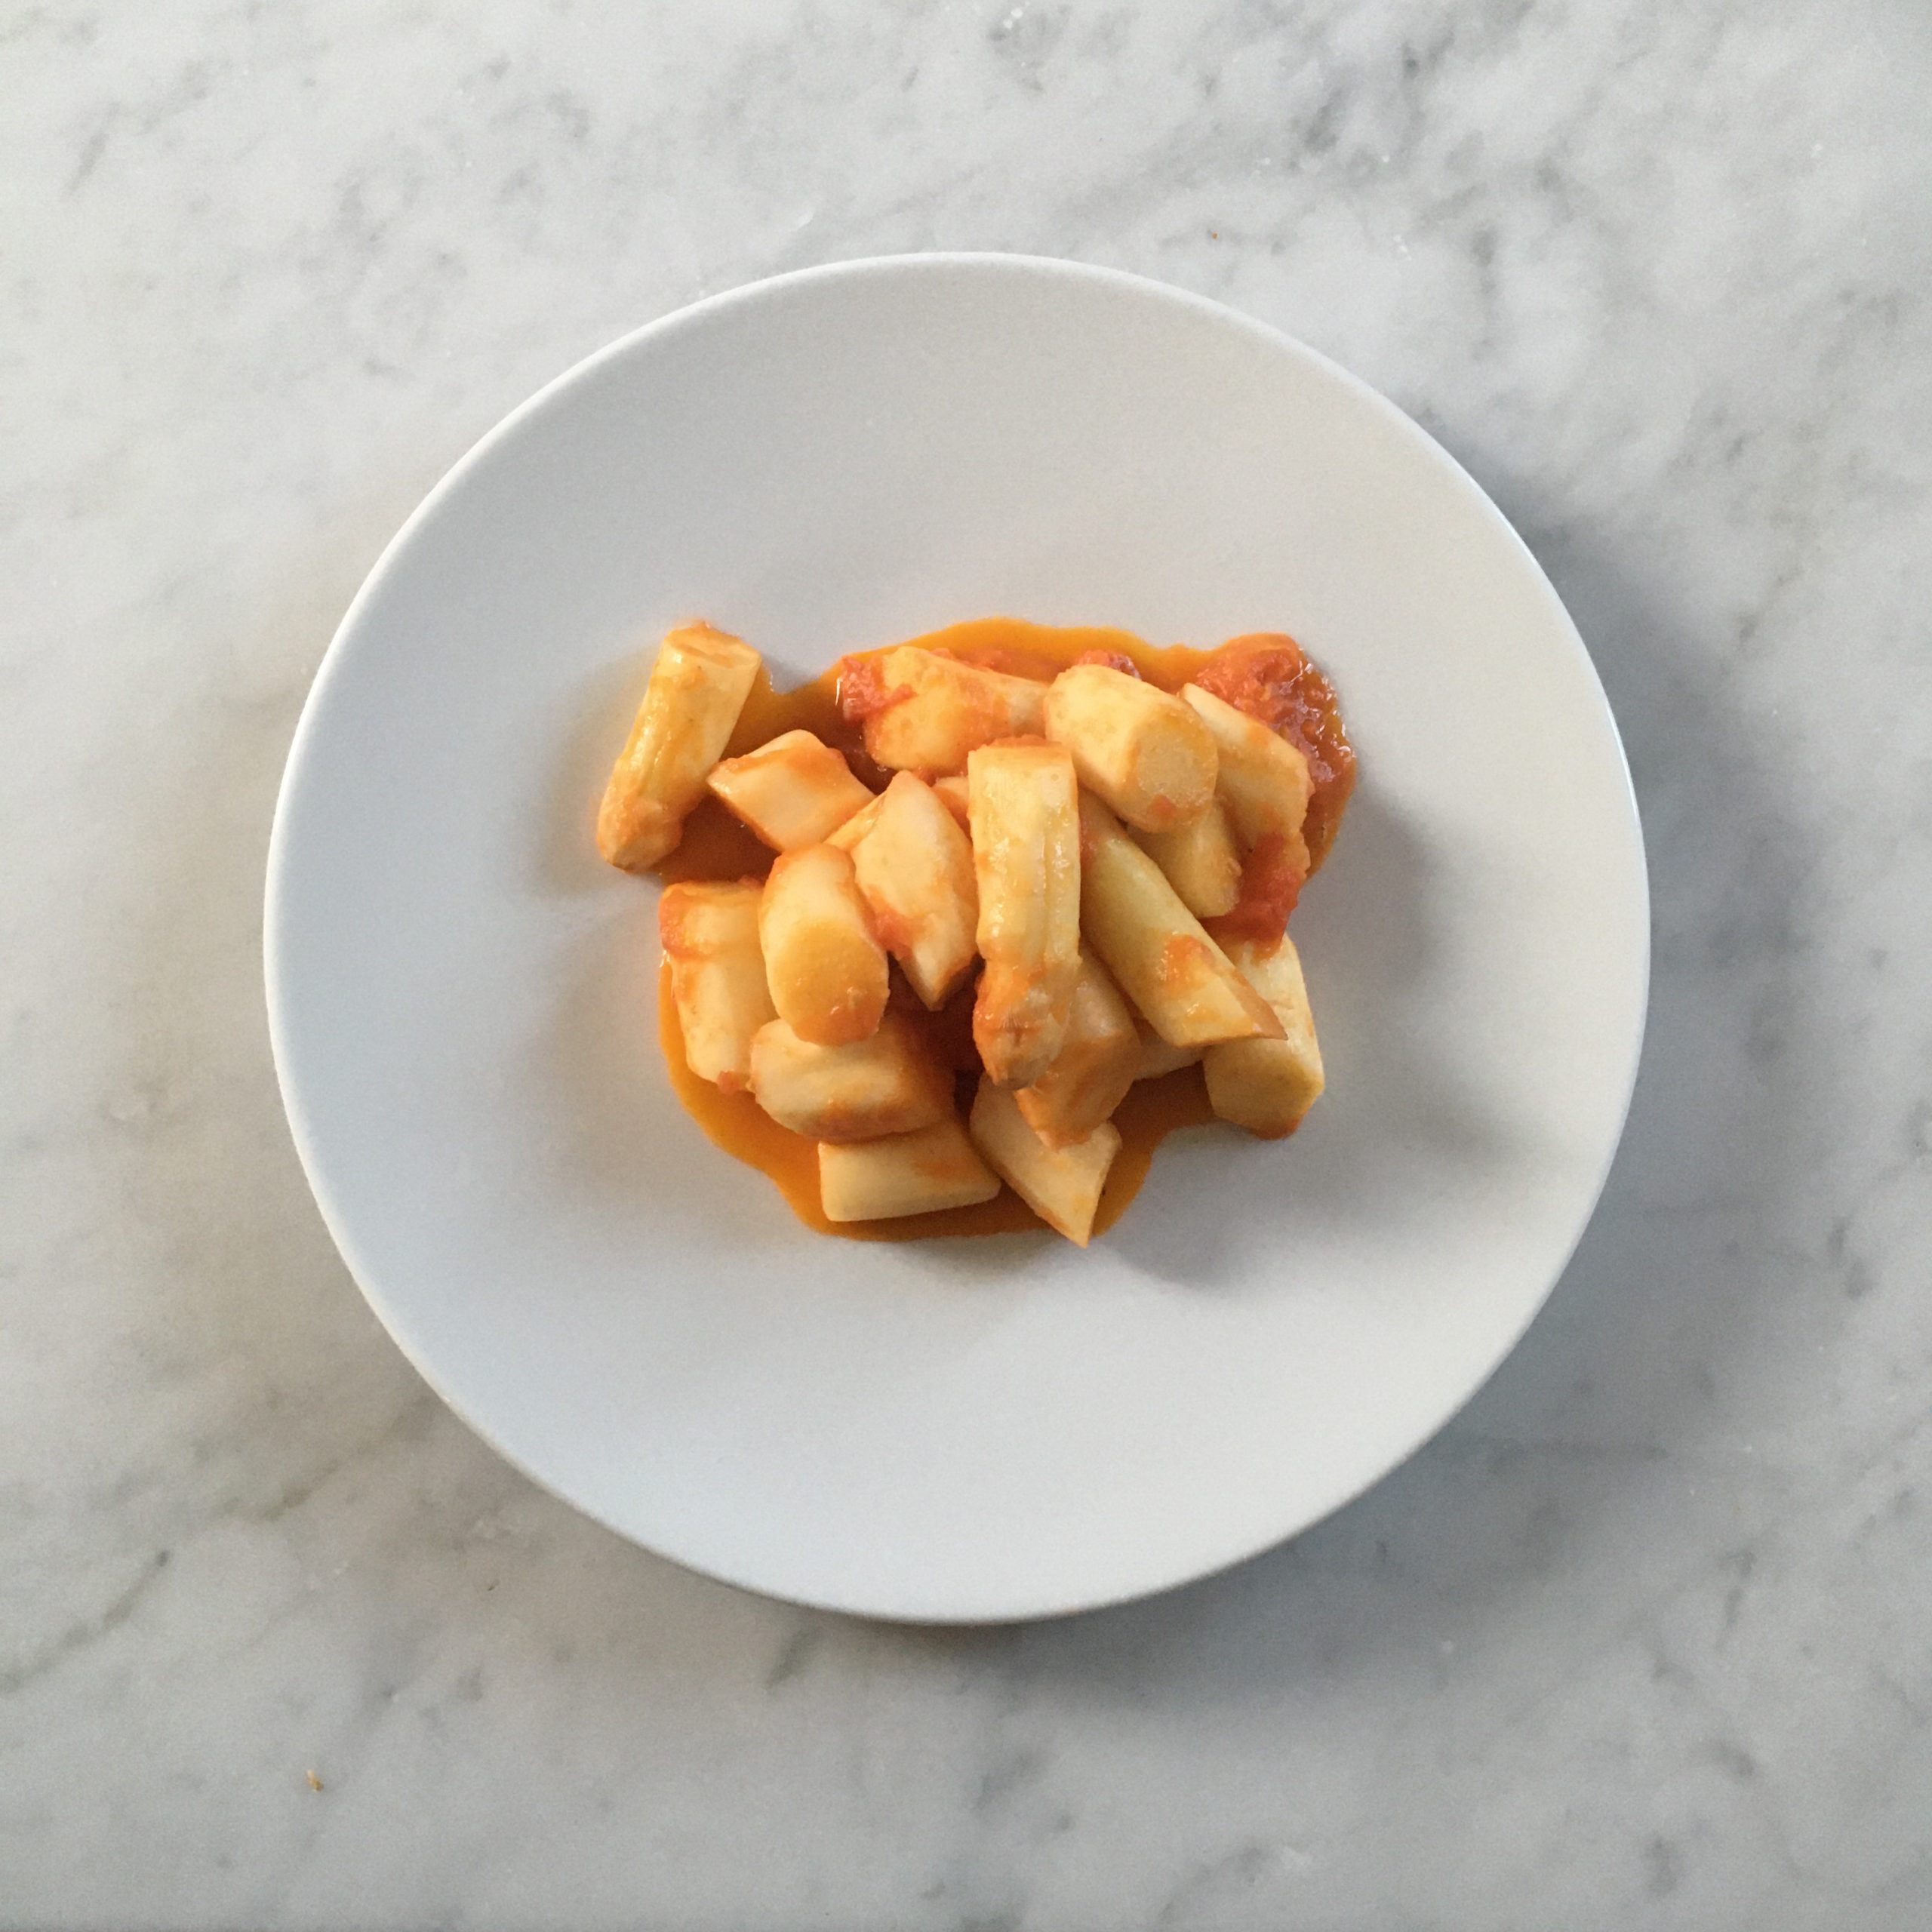
As a result, I tested some classic recipes and also created a super simple white asparagus recipe that I’d like to share with you.
White asparagus in tomato sauce
5 white asparagus/person
2 ripe and large tomatoes/person
1tbs of olive oil
A pinch of salt and pepper
Wash and peel the asparagus. Cut in 3cm long chunks. Blanche them. Drain, let cool down and pat dry. In a pan add the olive oil and the diced tomatoes. Cook until it has reduced enough and it becomes a thick tomato sauce. add the cooked asparagus. Stir well and serve. That’s it!!!
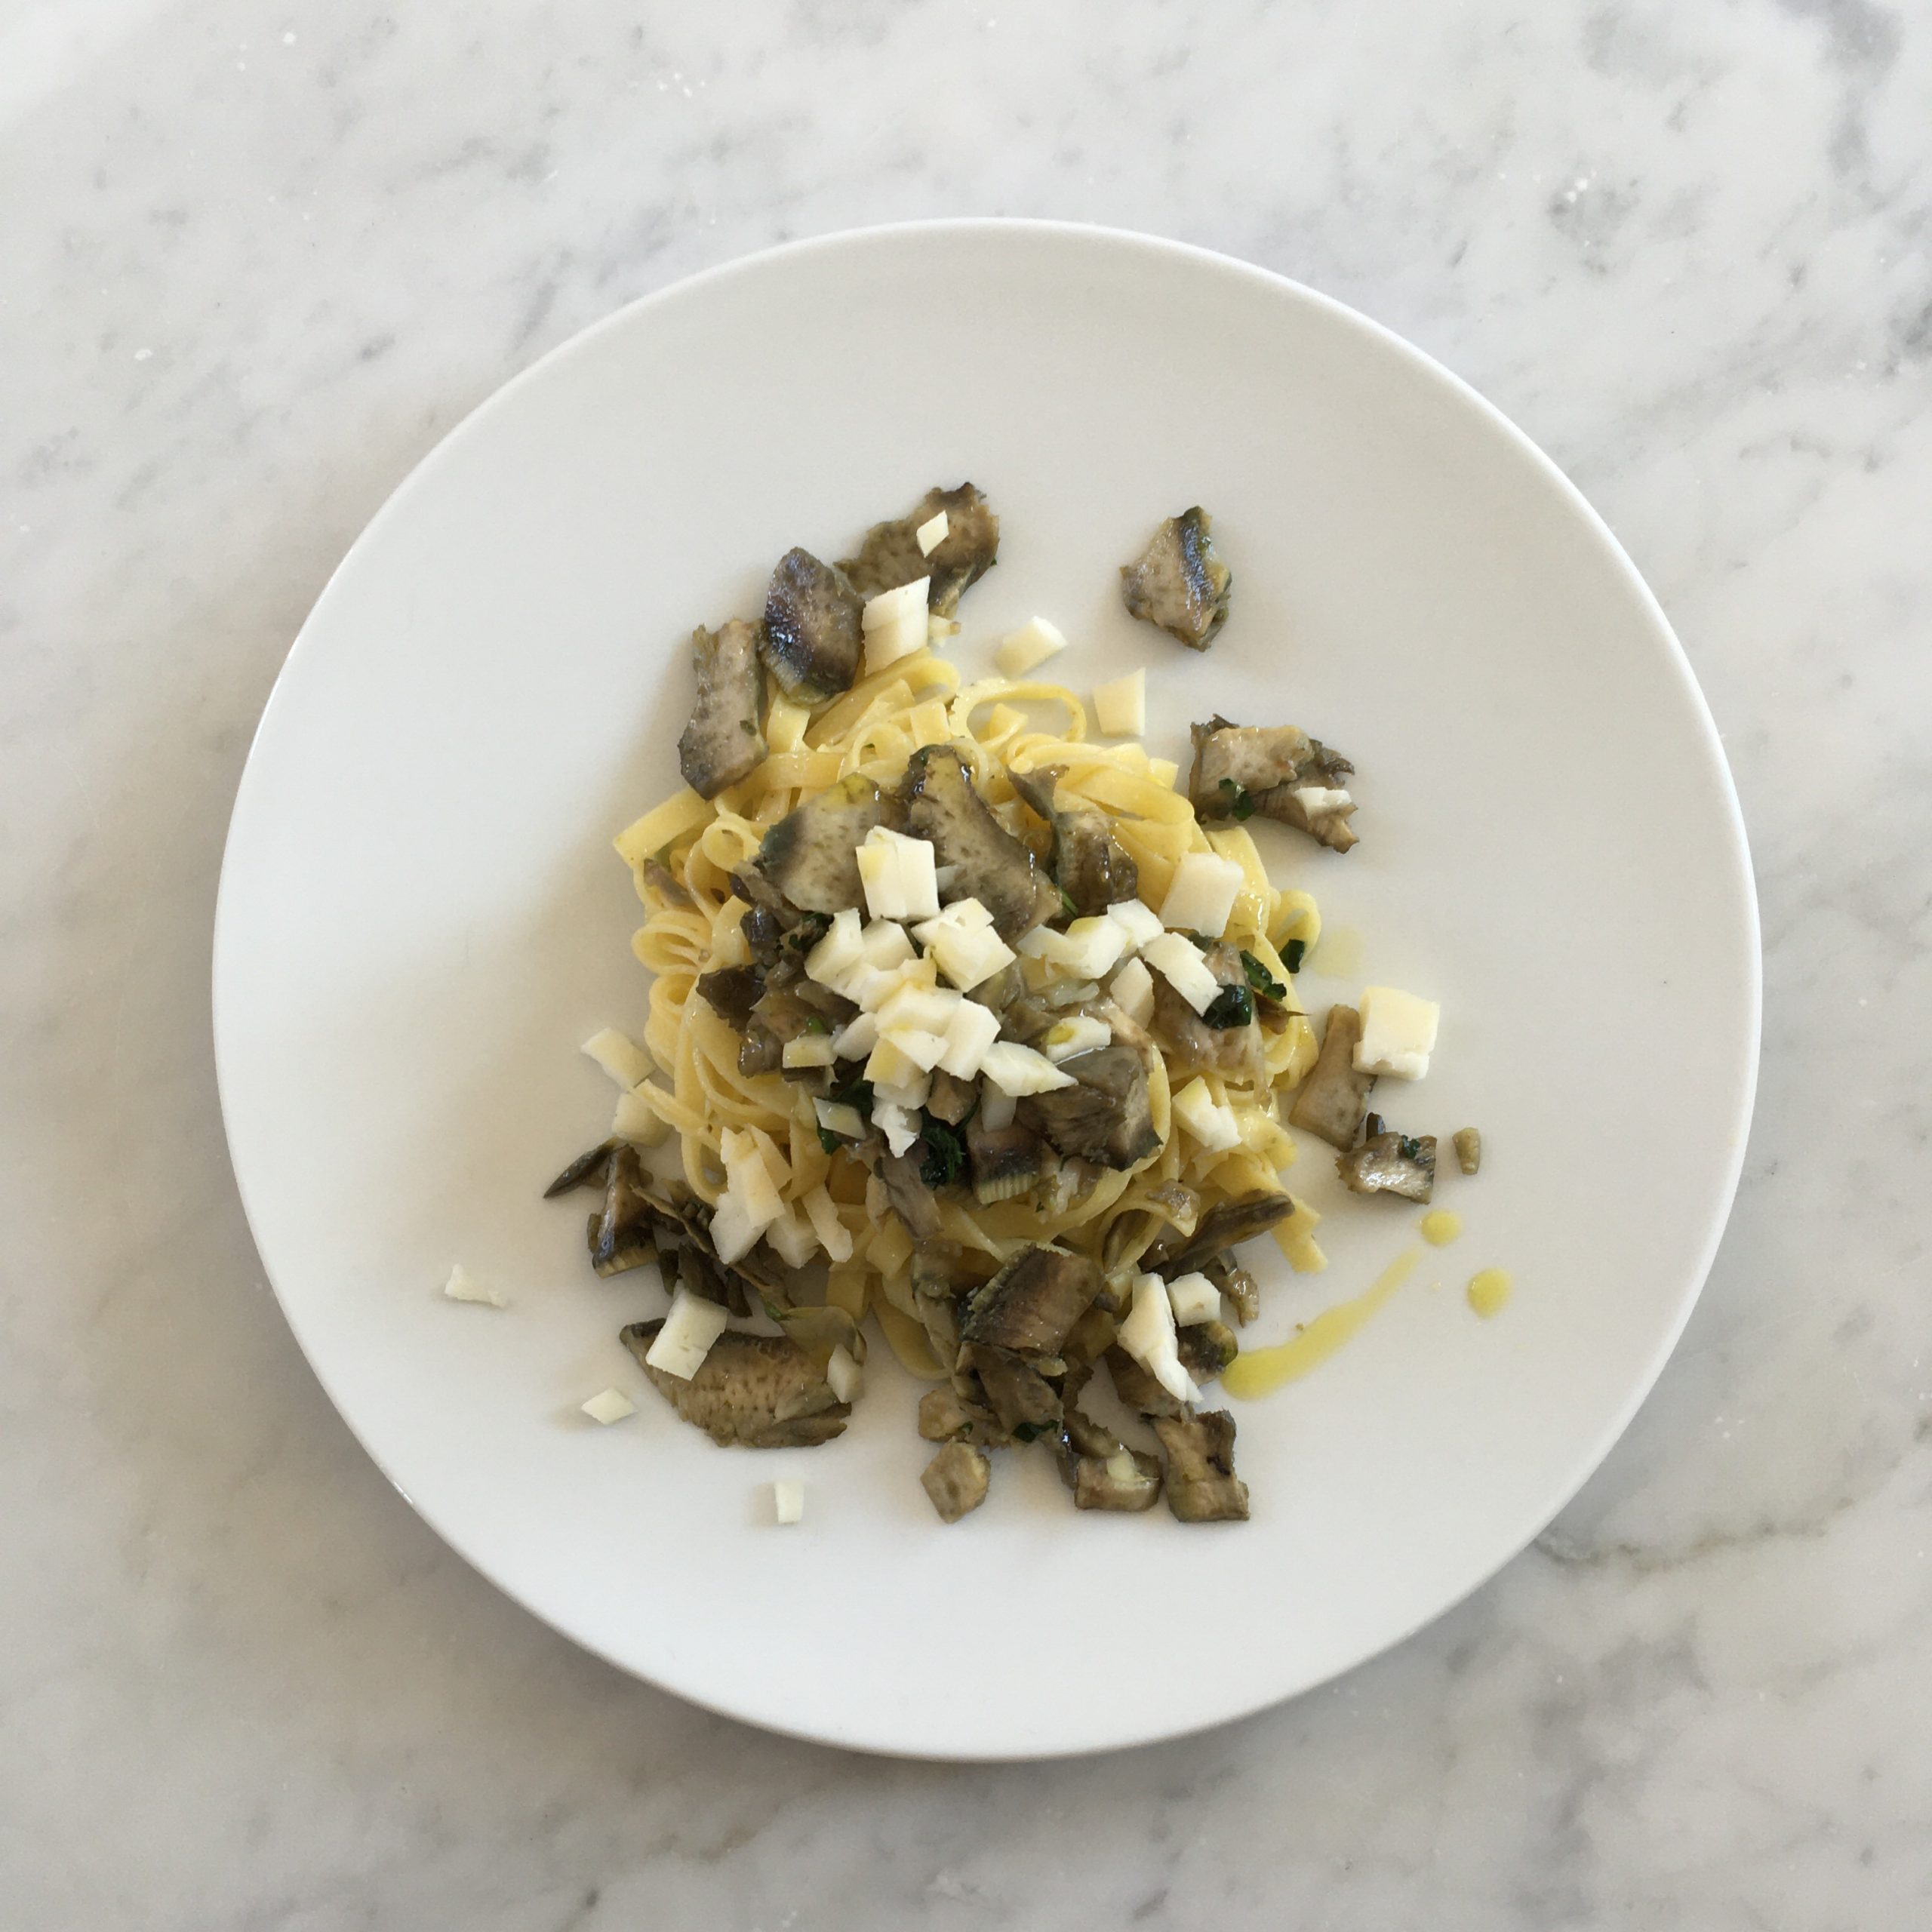
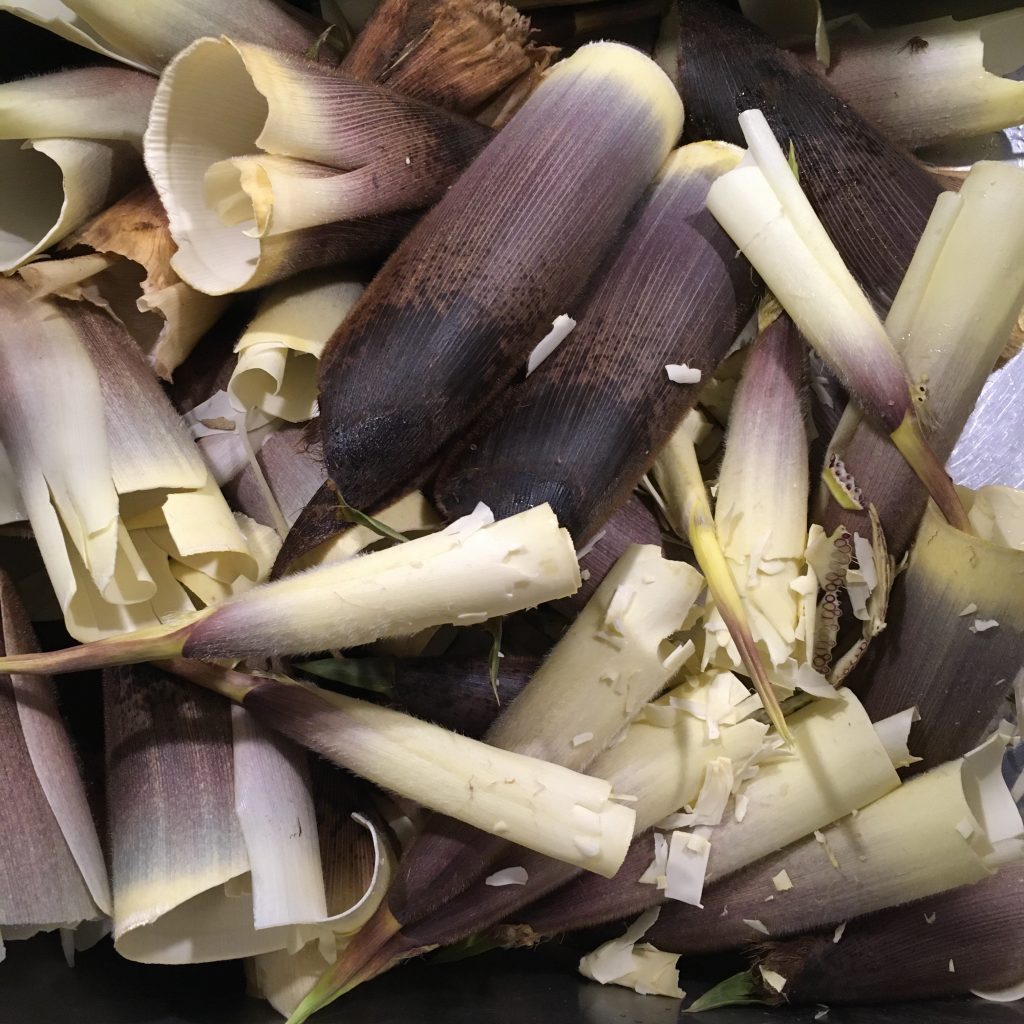
The season for bamboo shoots in Chiba has started just a few weeks ago… juggling between bad weather, and cold days, we went once to search for some with our neighbors but were not lucky enough to find any. Too early for that side of the area. Probably a few wild boar were also quick enough to come before us and dig to pick their own. But it doesn’t matter, we have friends who have friends who have bamboo shoots. And so I ended up with 2 beautiful shoots. I didn’t have time to prepare them in The country, so I took them with us to Tokyo. What a mess to prepare them in my pocket kitchen! But what a reward to eat them!!! I never regret!
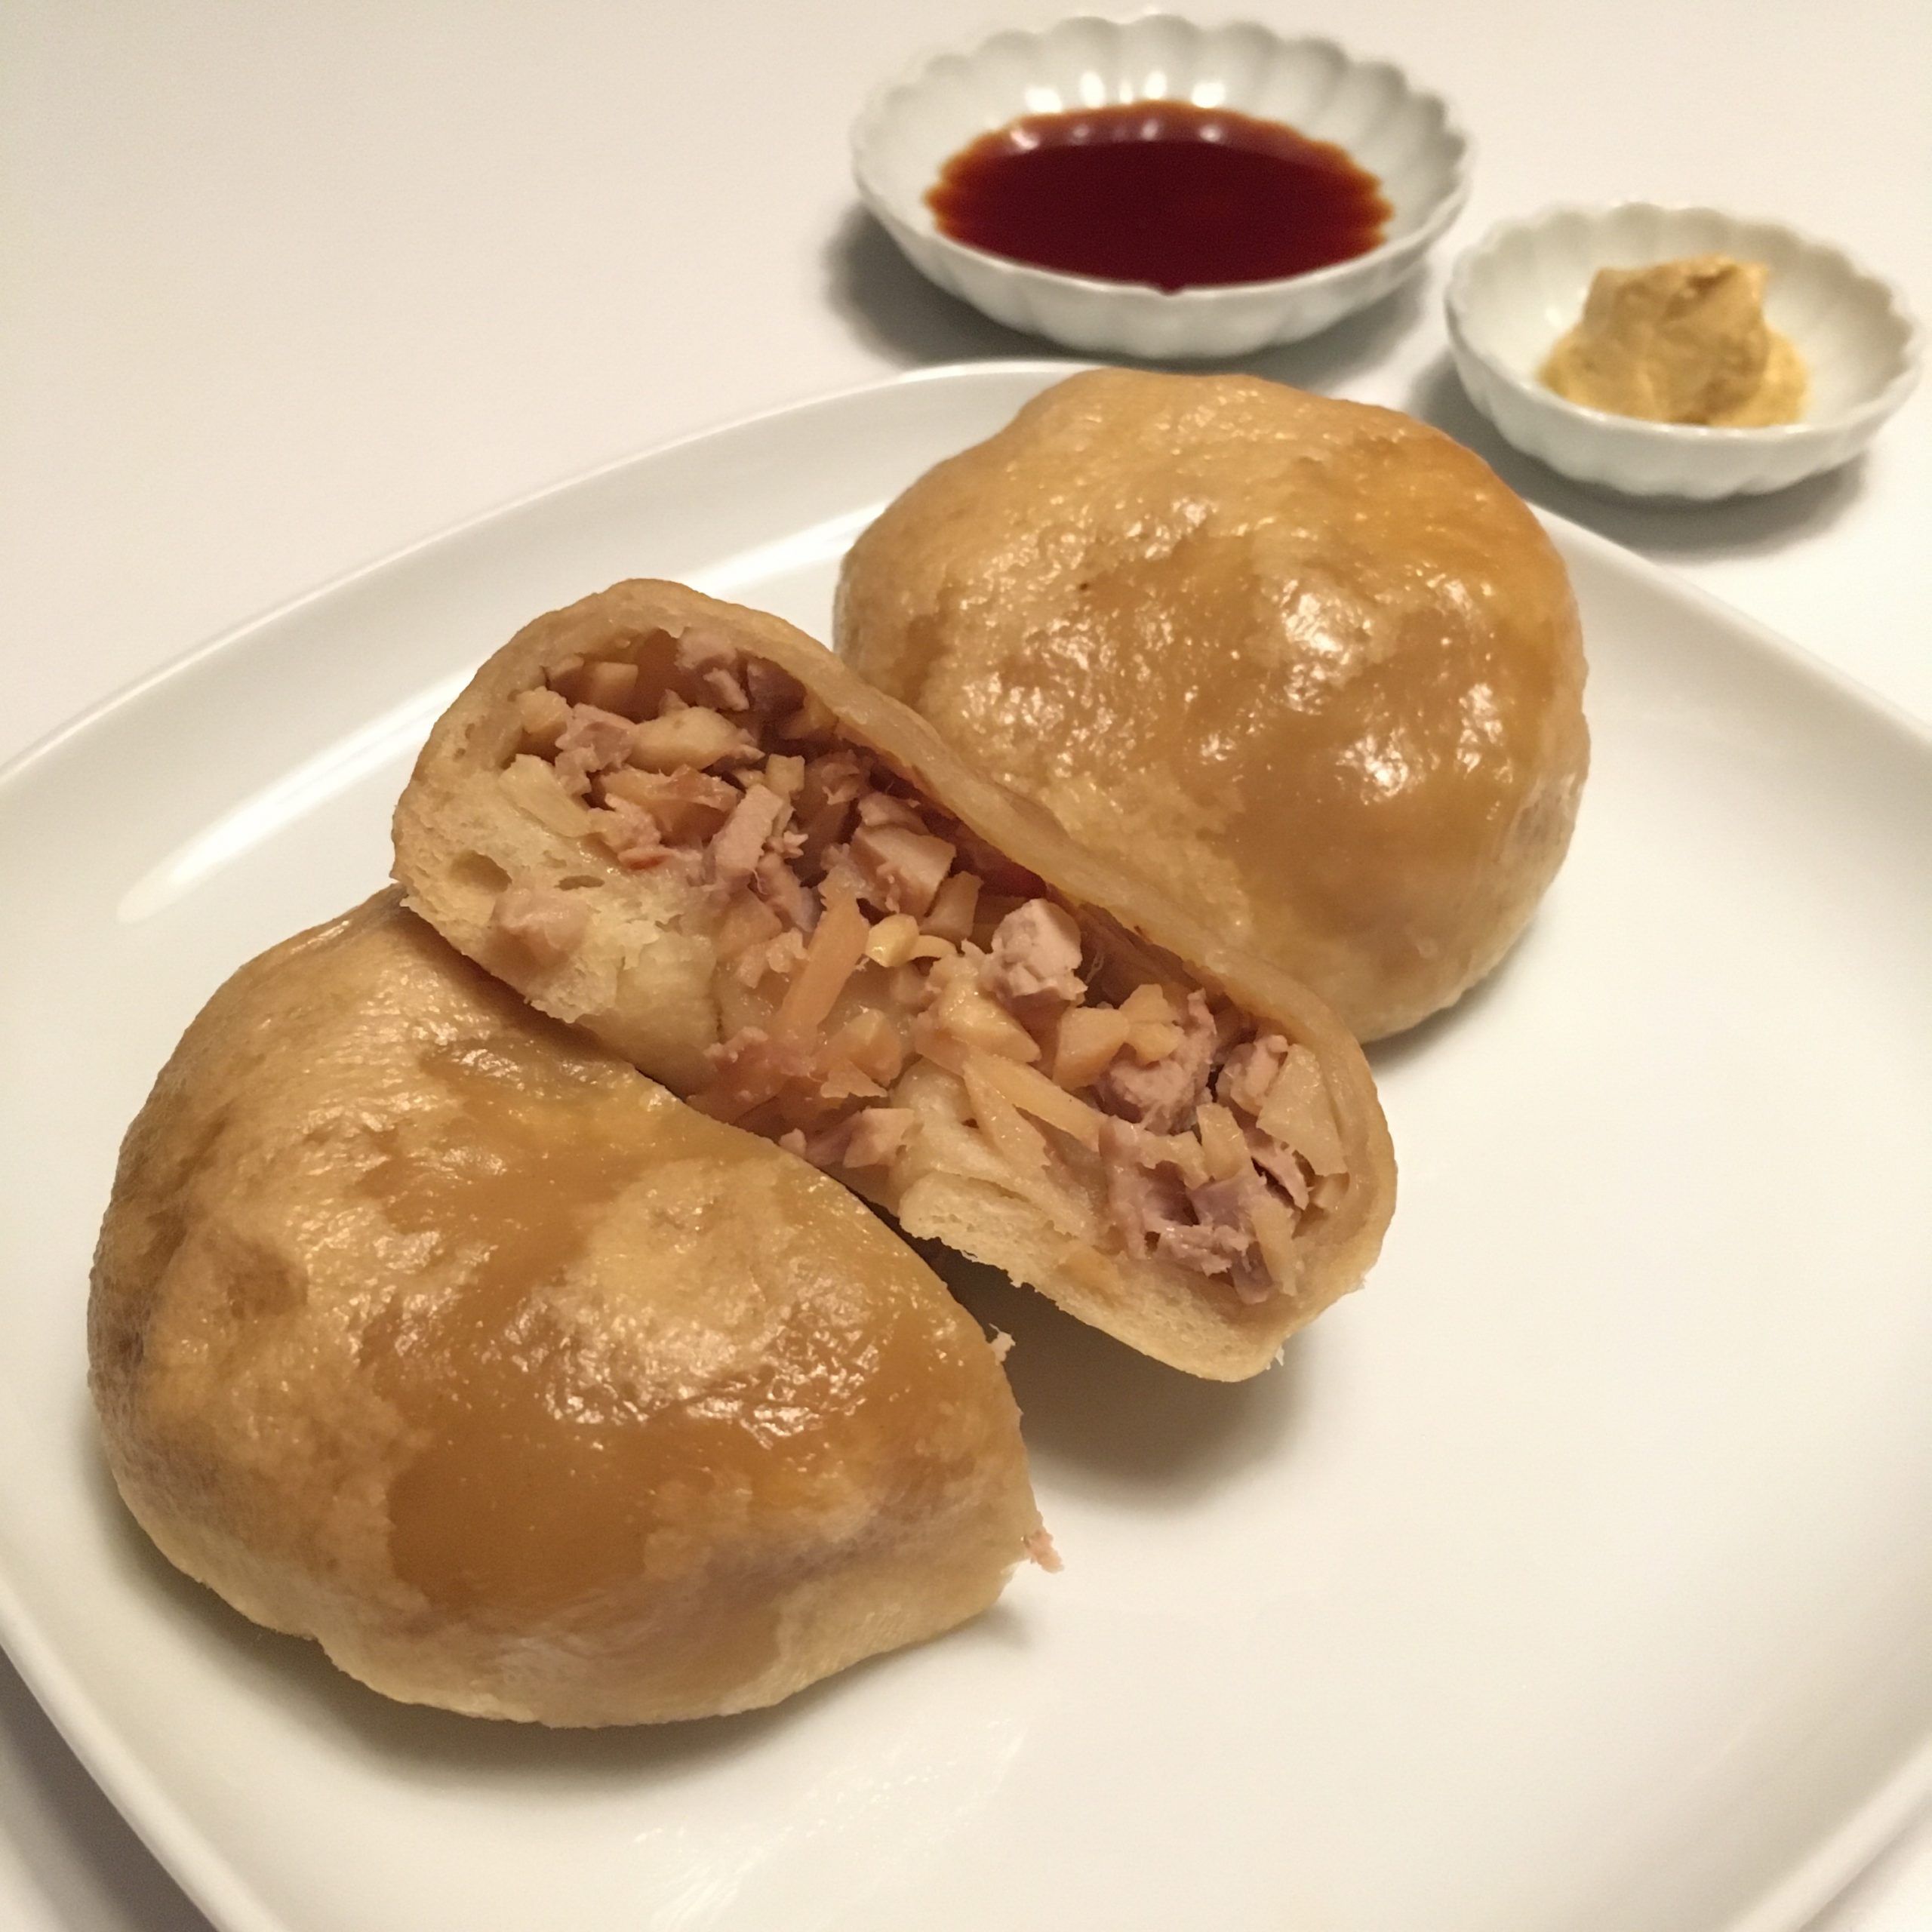
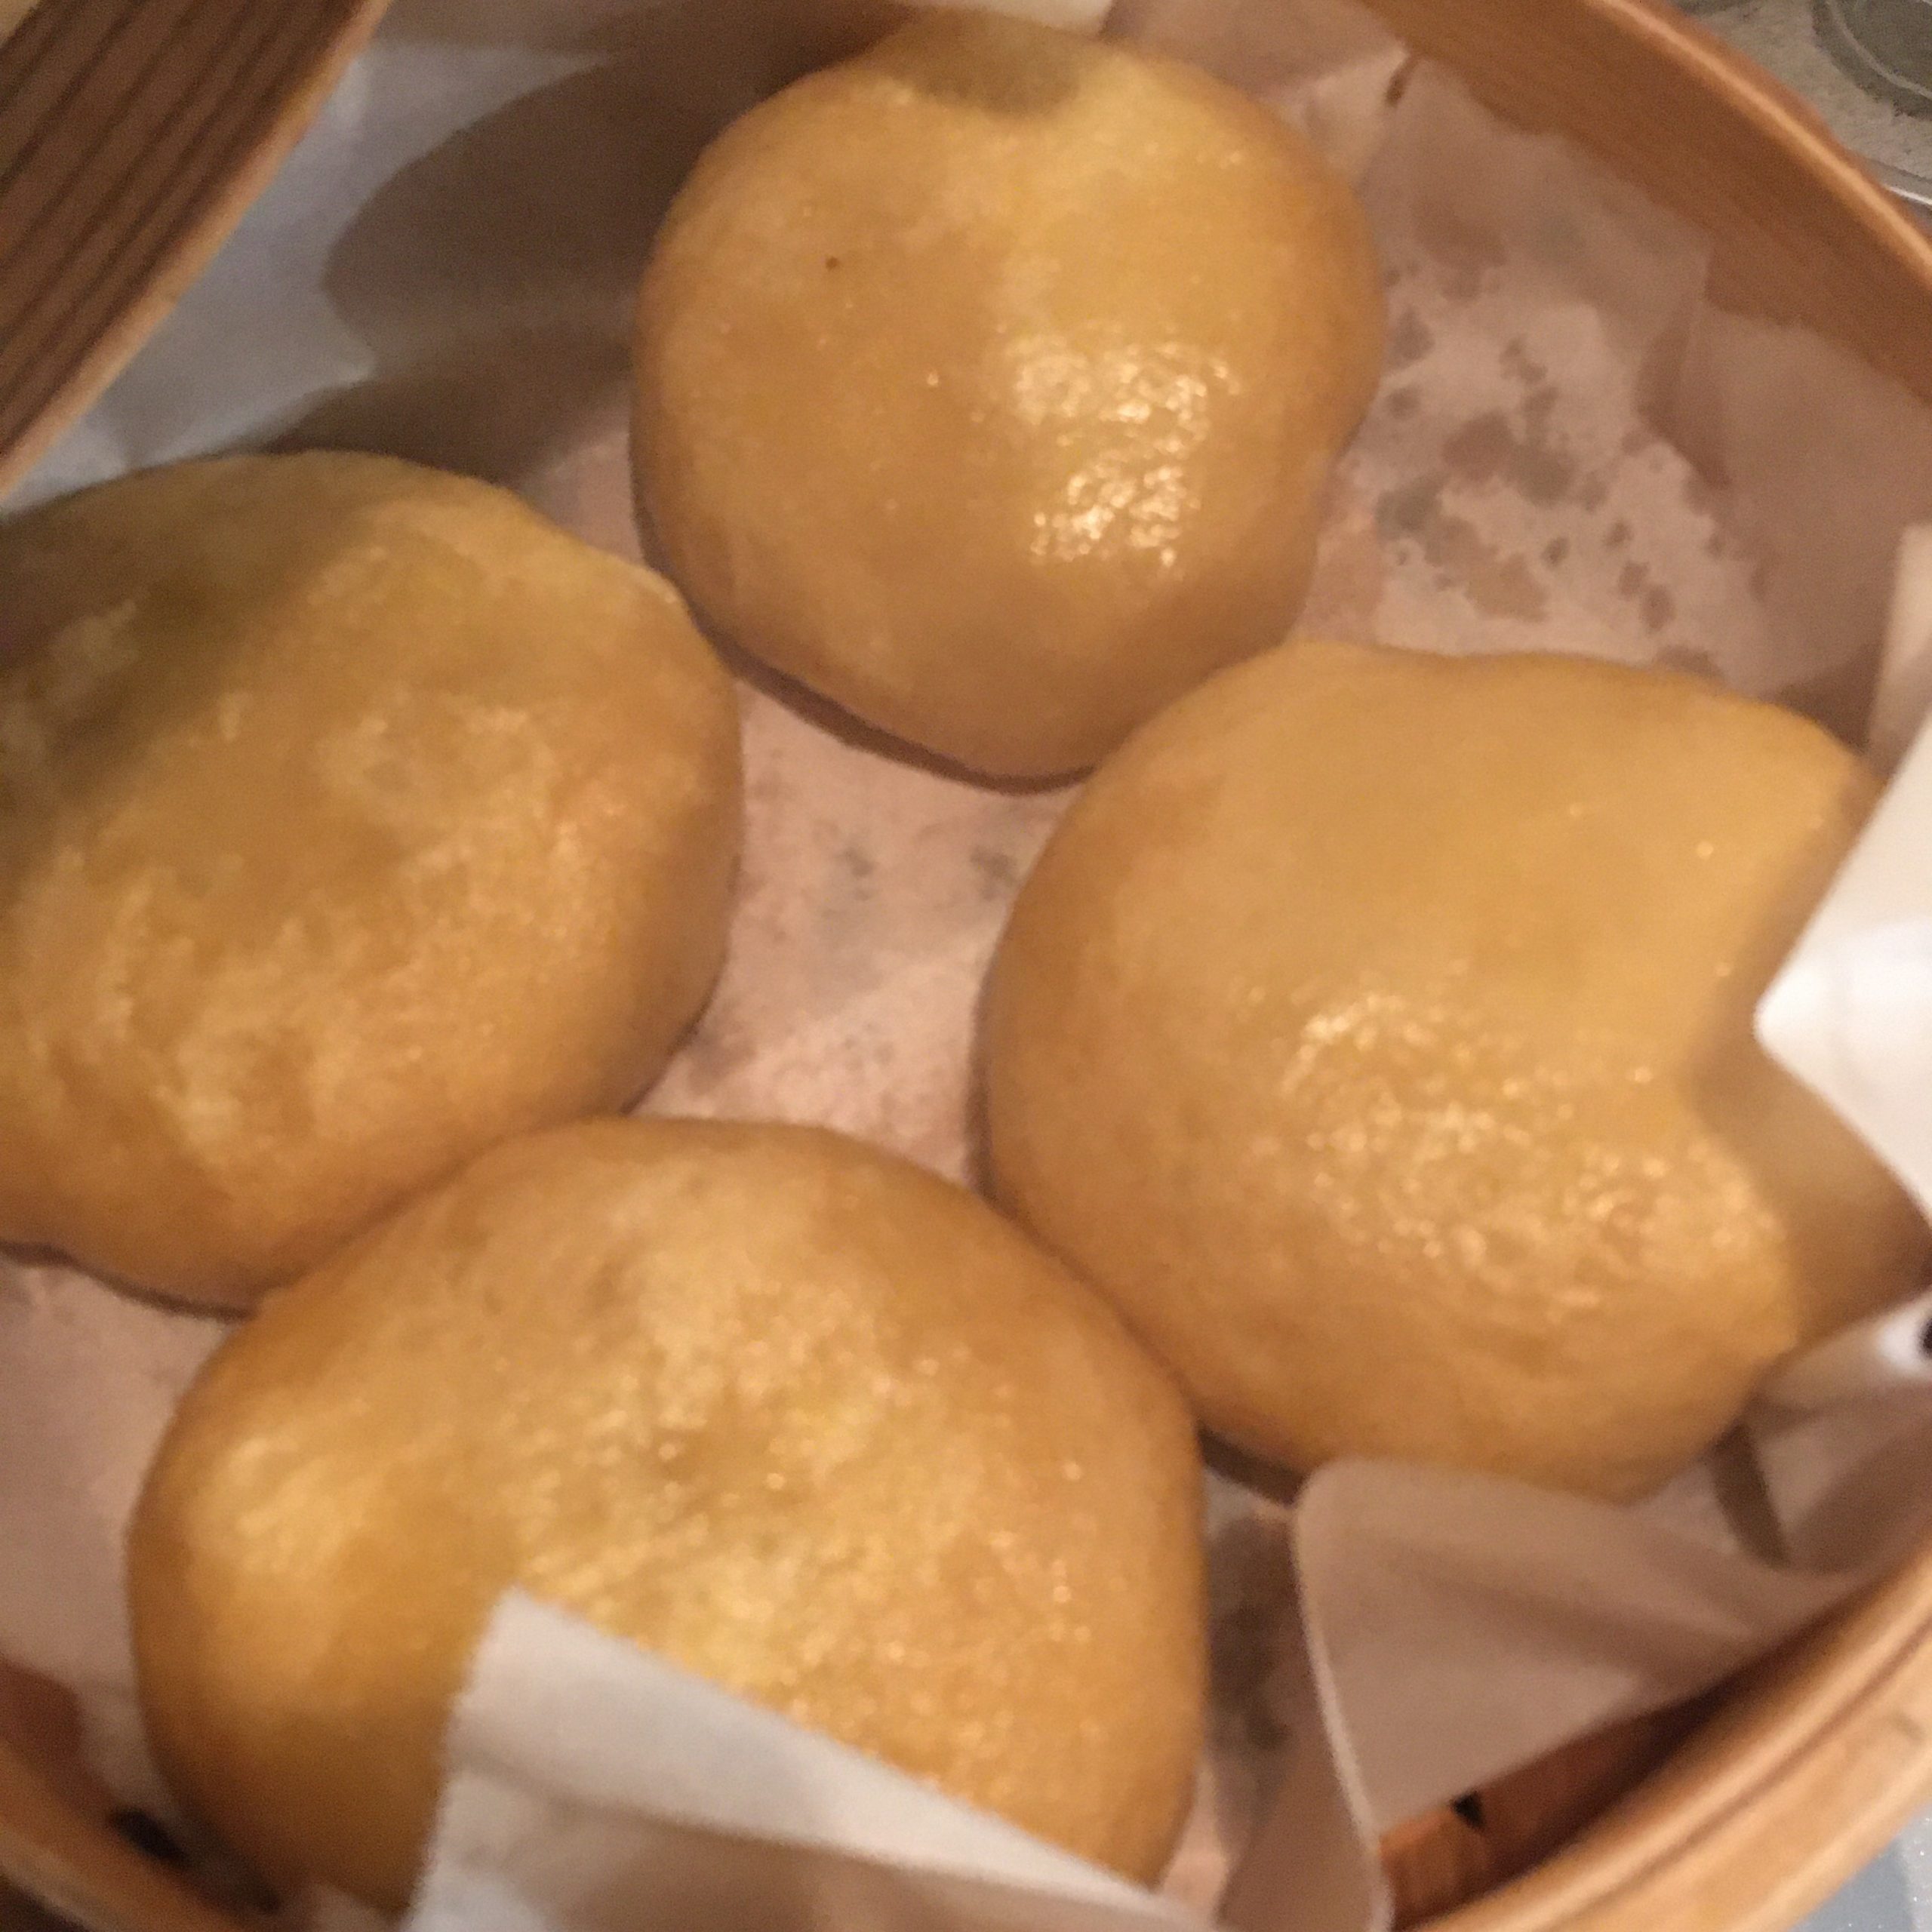
This year, after a classic bamboo shoots rice, back then when my parents were visiting, I decided to go with a few different and more creative recipes. I prepared two different recipes. One is a simple sautéed version. So delicious I had to do a second batch! The second is a recipe of steamed buns. Last year I made eagle fern and bamboos shoot ones, but as I am getting better at making buns, I felt it is worth sharing this one!
Both recipes assume that you have a parboiled bamboo shoot. For picking and parboiling look at my earlier post here.
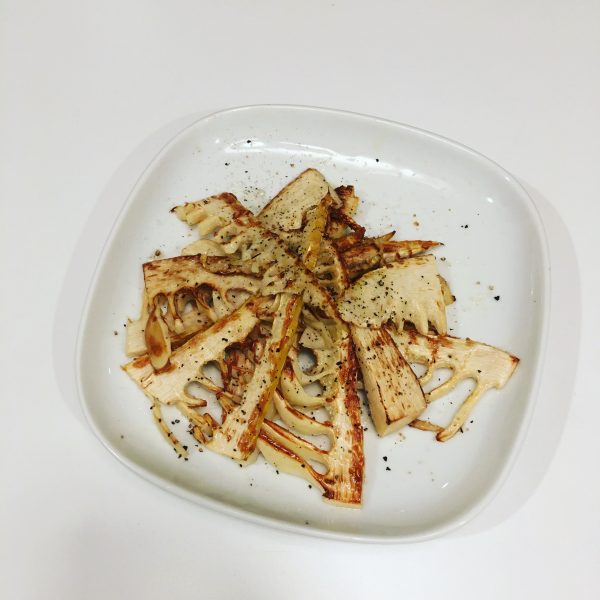
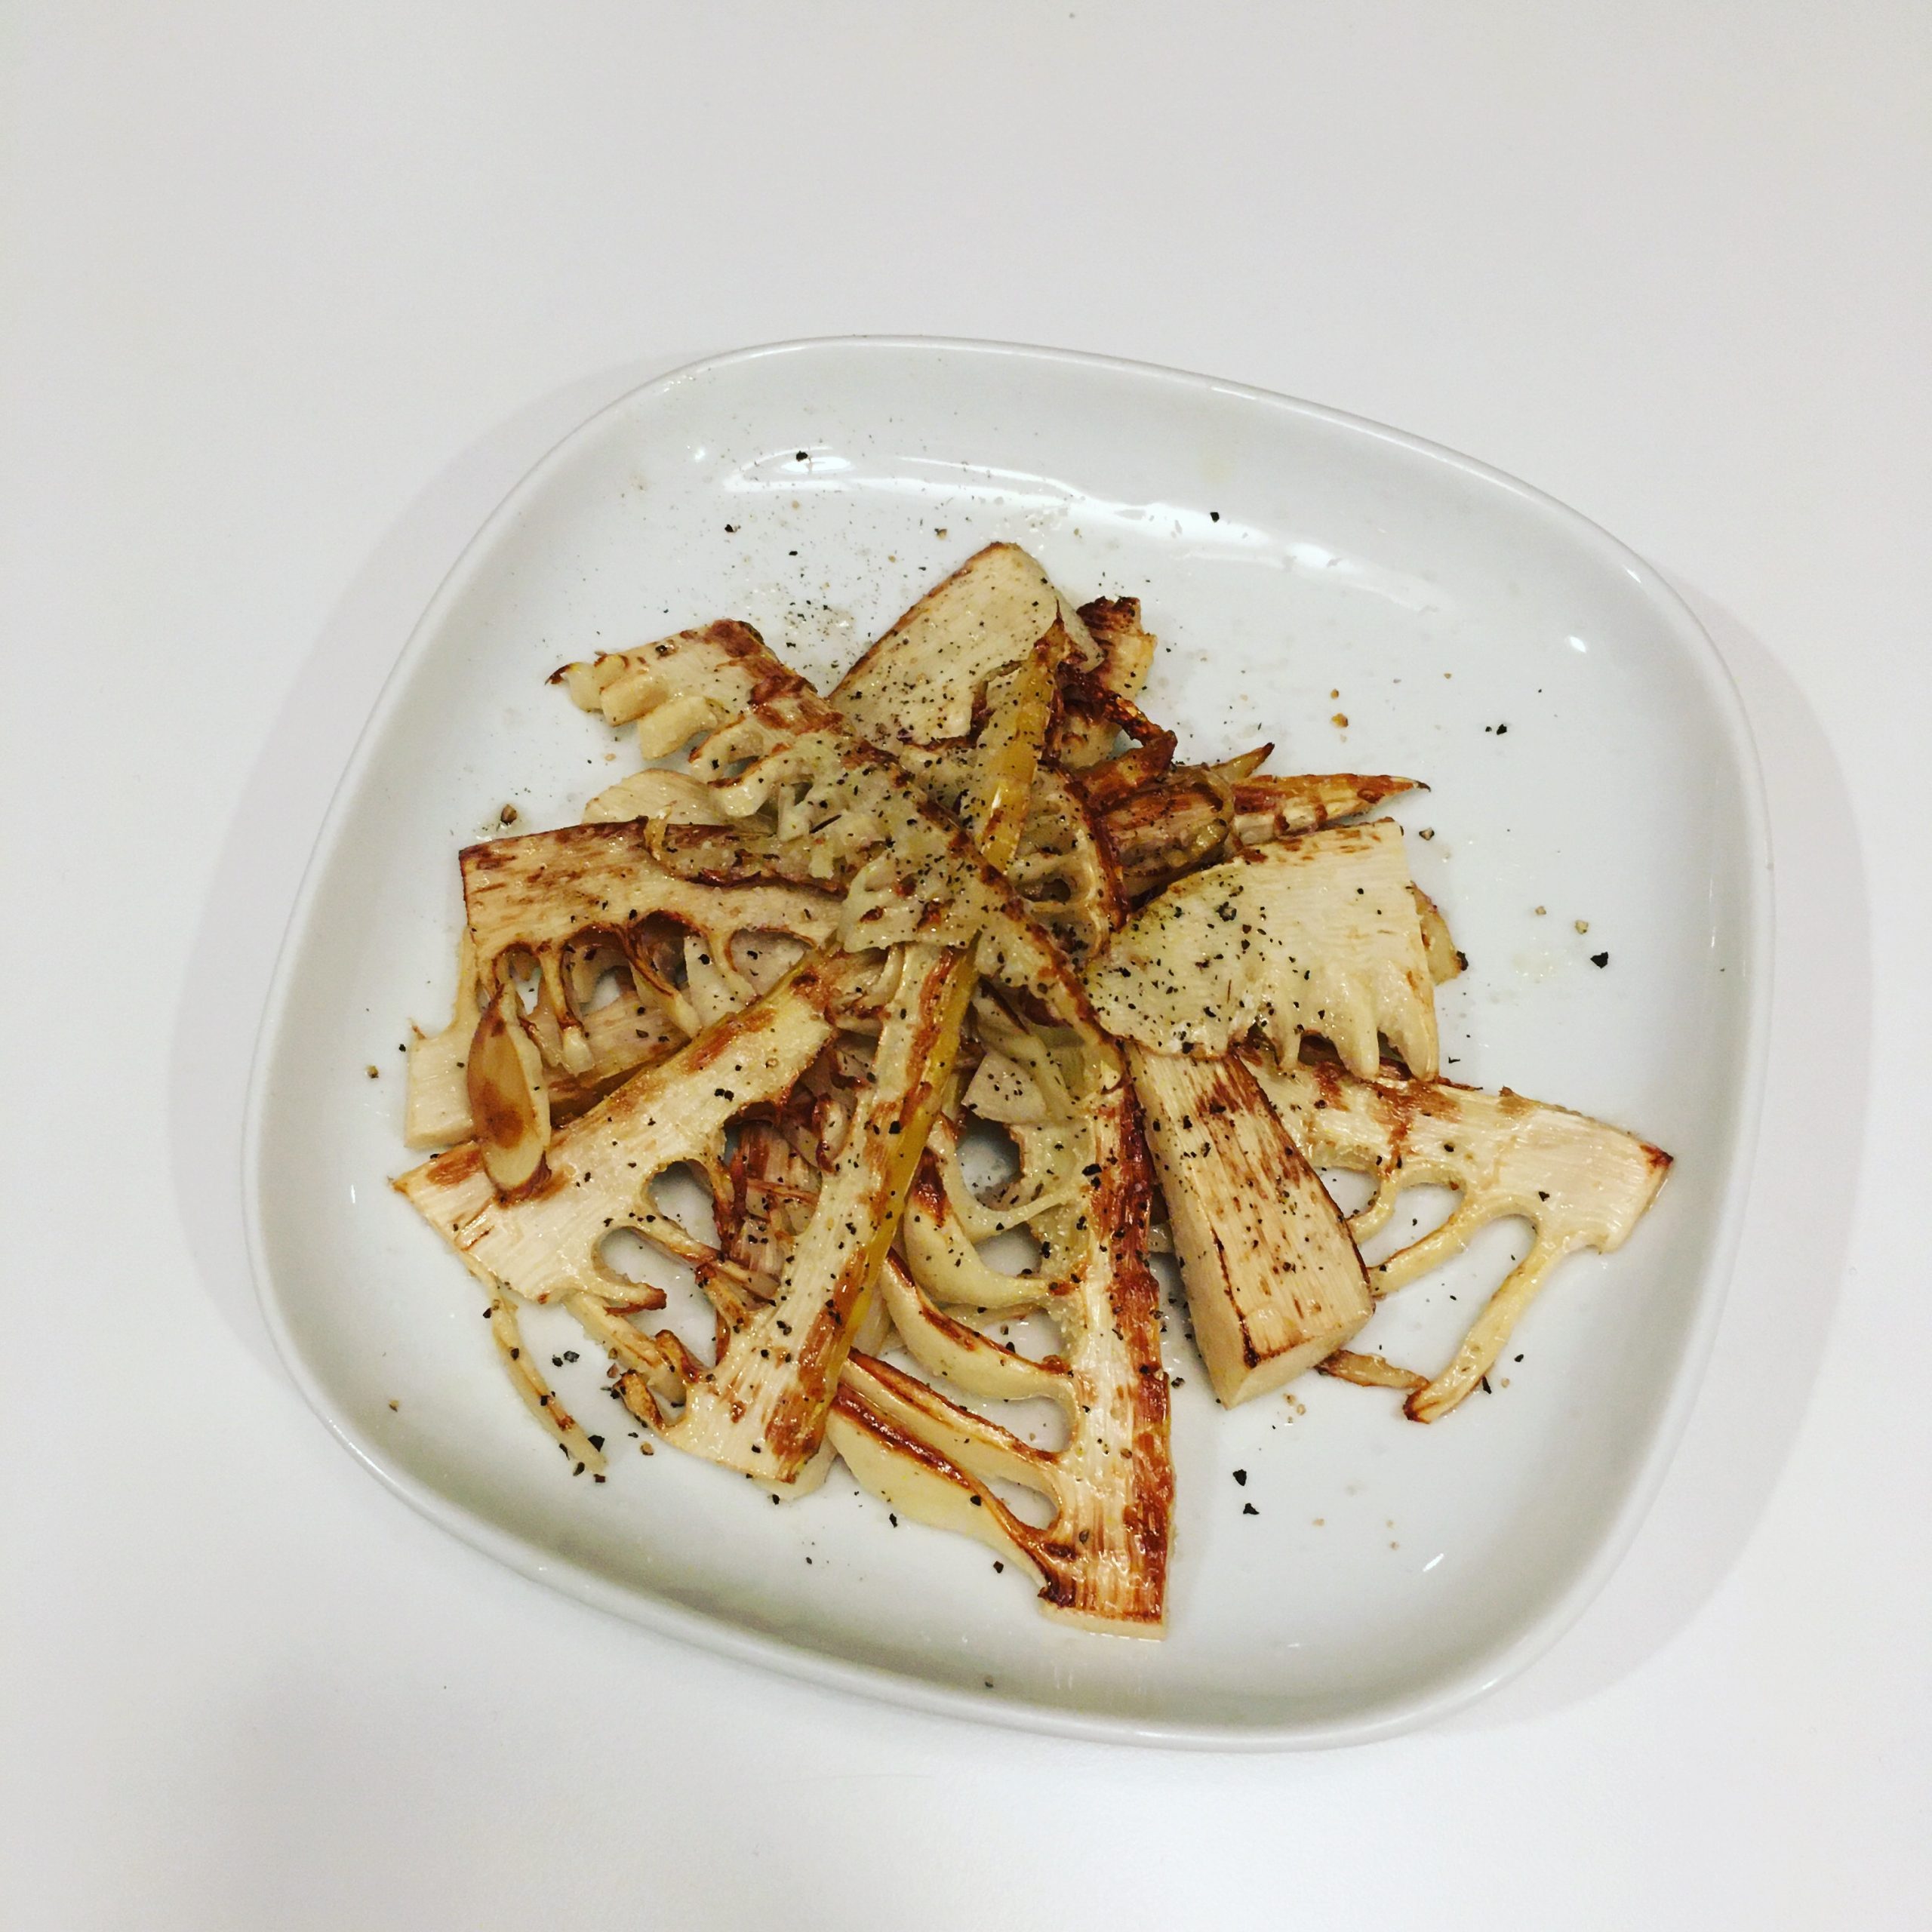
Sautéed bamboo shoots
1 bamboo shoot fresh and parboiled
1tsp of cooking oil
salt and pepper as you like
Cut the bamboo shoot in 4 vertically. Slice each quarter. In a fry pan heat the oil. The add the shoots sliced. Cook until golden, flip on the other side, cook until golden. Sprinkle salt and ground pepper and serve immediately.
Steamed buns (make 8 small, perfect for 2 people as main)
150g of flour
1tsp of baking soda
1 pinch of salt
Water
1/2 bamboo shoot
100g of pork fillet (leftover are perfect)
Soya sauce
Mustard
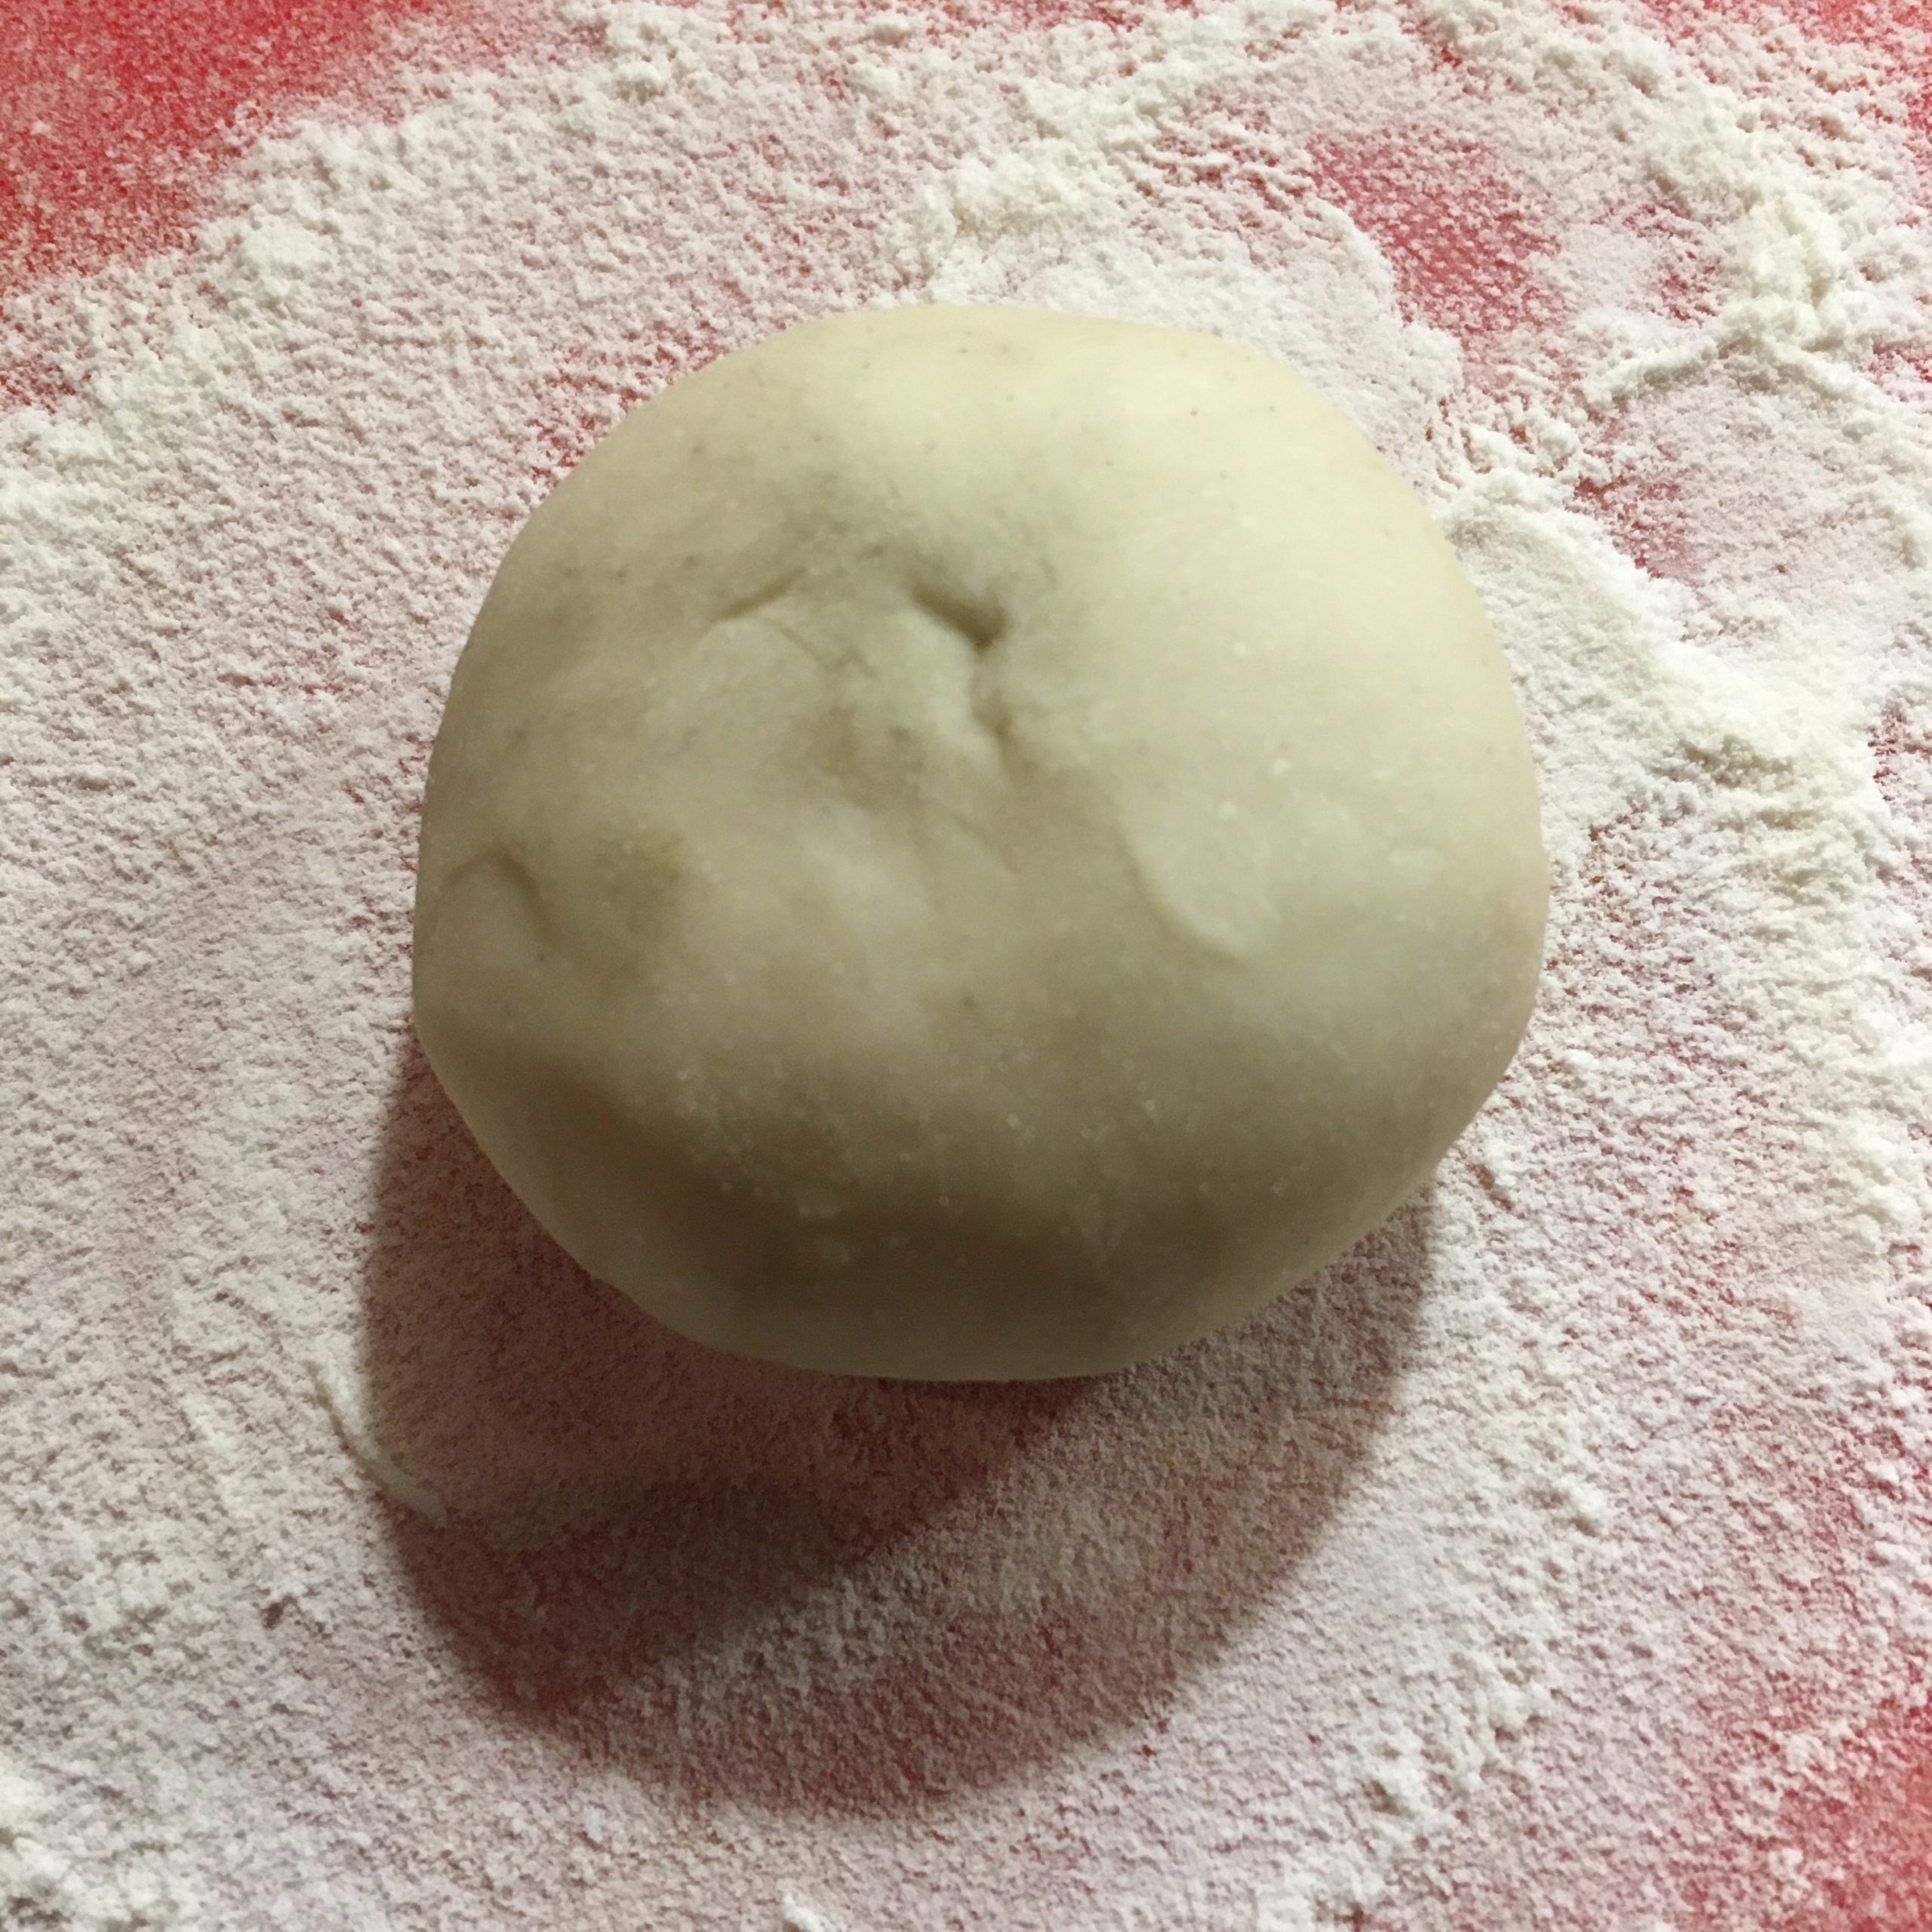
First prepare the dough by mixing the flour, baking soda, salt and add water little by little until obtaining a smooth dough. Put under a wet cloth and let it rest at least 30min. More is better.
Cook the pork filet if not yet cooked. Simply, in a pan with pepper. Then chop finely.
Chop the bamboo shoot in coarse manner. You want chunks to remain as it will bring the contrast between the smooth dough and meat and the crunchy bamboo. However, if too coarse, filling the buns will be hell. So 3-8mm is a good target.
In a bowl mix the chopped bamboo shoot, the pork, add 1tsp of soya sauce and stir well.
Back to the dough now. Cut in 8 pieces. Make balls and roll with a rolling pin into 12-15cm diameter circle. Put a large spoon if filling in and close the dough. I don’t have a very good technique, but it works well when I first fold in two then fold in the orthogonal direction, then I add fold in each quadrant. For this specific recipe instead of cooking them folds up, I flipped them to hold the folds under. Then steam for 15min. Serve with soya sauce and mustard and enjoy!
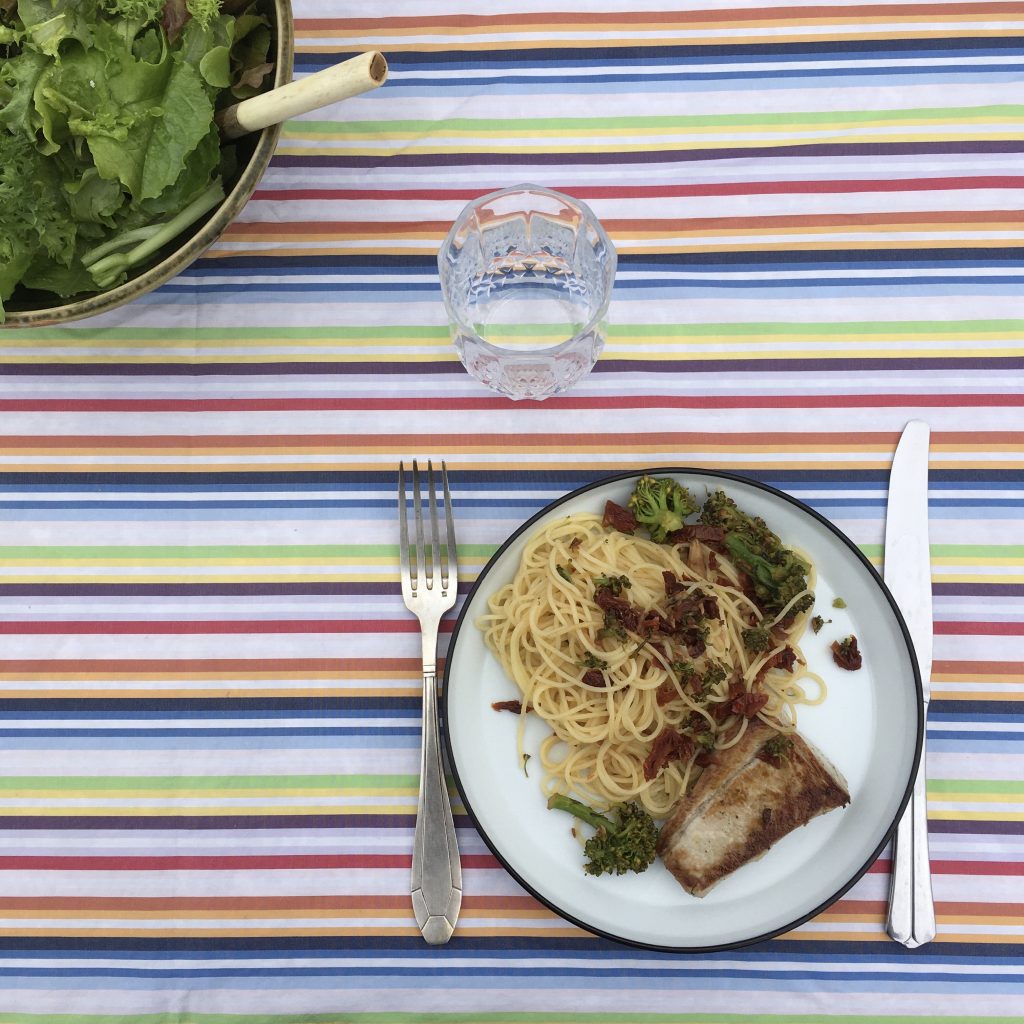
Since we’ve been working from home, I cook three to four meals a day (we wouldn’t miss a good tea time!) and a whole new routine of recipes slowly replaced old habits. More meals to cook = more chances to explore. I cook more quiche as we spend more time in Ohara, I also cook more steam buns and gyoza, also one dish that has been an almost weekly thing is brown rice and spicy vegetables. As much I love Japanese brown rice, it takes too much time to cook it after coming back from work and have it ready for dinner (about 2 to 3h) so I would almost never make any. Working from home as this perk that starting a recipe is really simple, squeezed between two meetings.
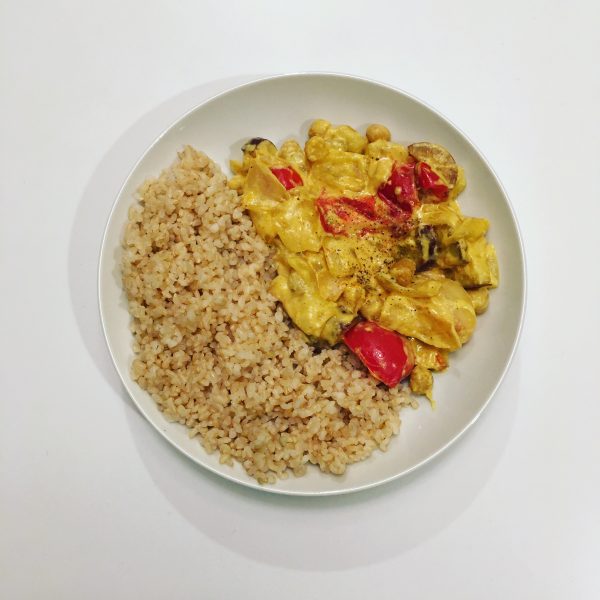
For some reason Thursday is the day we most often have brown rice. And one thing I really love is to have it with some seasonal vegetables and a light spicy sauce. Versions are endless. And with the spring coming and the new vegetables I prepared a very simple and ultra full of flavors version. A few chick peas remaining from the hummus I made the other day, a bit of coconut cream, and a lot of new and fresh onions that our friends gave us. Add some super ripe tomatoes and, because winter is still not completely gone, a sweet potato, you have a great base. Normally I would have added curry to the mixture, but curry powder is on my shopping list and I didn’t have time to go grocery shopping this week. And actually it was good that way. It forced me to explore other spice combination and I realize that curry is not necessary. So if you want a very mild and very tasty recipe for your new onions and your brown rice, just read below and enjoy!
New onions with spice and coconut milk
2-3 new onions
1 sweet potato (one carrot could do, nothing could do too)
1 large and ripe tomato (if you can’t find one just do without)
200ml of coconut cream or coconut milk
1 cup of chick peas, boiled and drained
1tsp of ground cardamom
1tsp of turmeric
1/2tsp of all spice
1/2tsp of ground cumin
1/2tsp of salt
ground black pepper
Remove one layer of onion skin and cut them in 8. Wash and cut the vegetables in bite size. In a greased pan, on medium heat, put all the vegetables, and the chick peas, and cook for 10min while stirring regularly. Add the coconut cream, the spices and stir well. Cook under cover for 5min. And that’s ready. Serve with brown rice, but I bet it is also a killer with flat breads or basmati rice.
For those who follow me on instagram or Facebook, you already know what I was up to, for those who don’t let me summarize why there hasn’t been a post in two weeks.
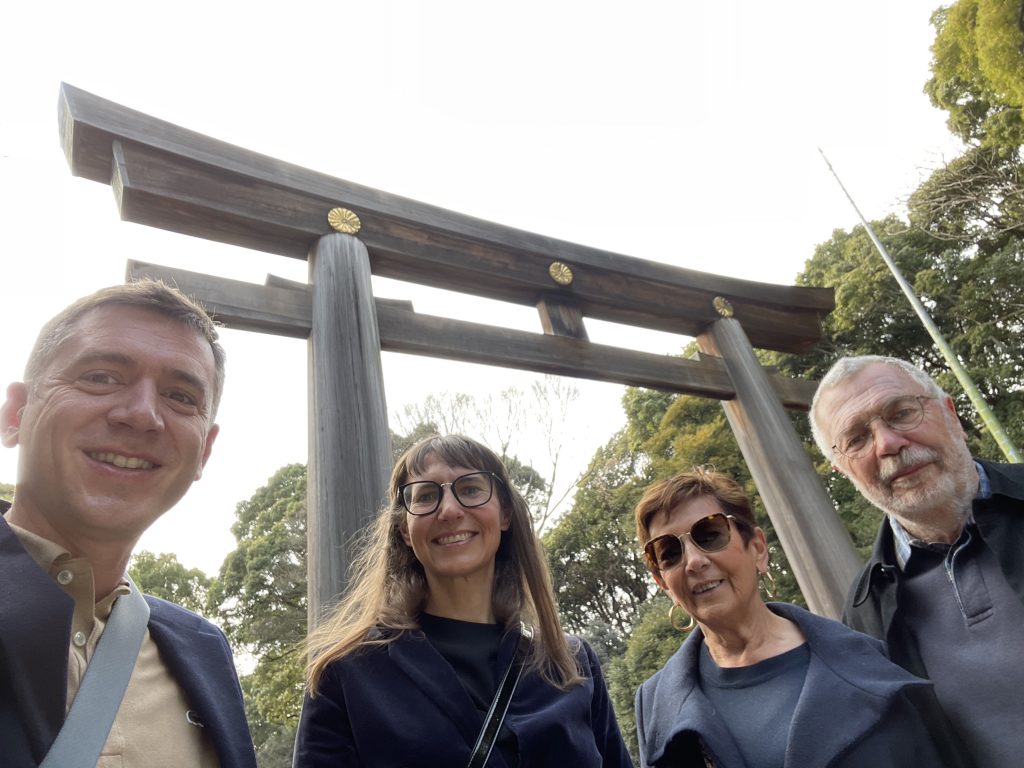
No, I have not decided to go on a two week fast. No I have not stopped cooking. Well… I have been what we call “busy”. Started a new professor position with the University of Tokyo on the first. The day Japan started accepting new visa applications. Then it’s been a race to know if my parents would get one, how, produce all the documents, run here there to gather and send everything. Then prepare their arrival, cancel, rebook etc… and finally, 2 days before the D-day they arrived in Japan.
Then now spending some time with them. Cooking for them, strolling around with them, and working too.
Enjoying tourist-free Tokyo
Yesterday I received the insignia of the French National Order of Merit (the reason why my parents could enter Japan!) and we could share this moment altogether.
And now we’re enjoying some time in the country… eating delicious local food.
So, accept my apologies if I am not trying new recipes or inventing new ones. I’ll be back soon!!
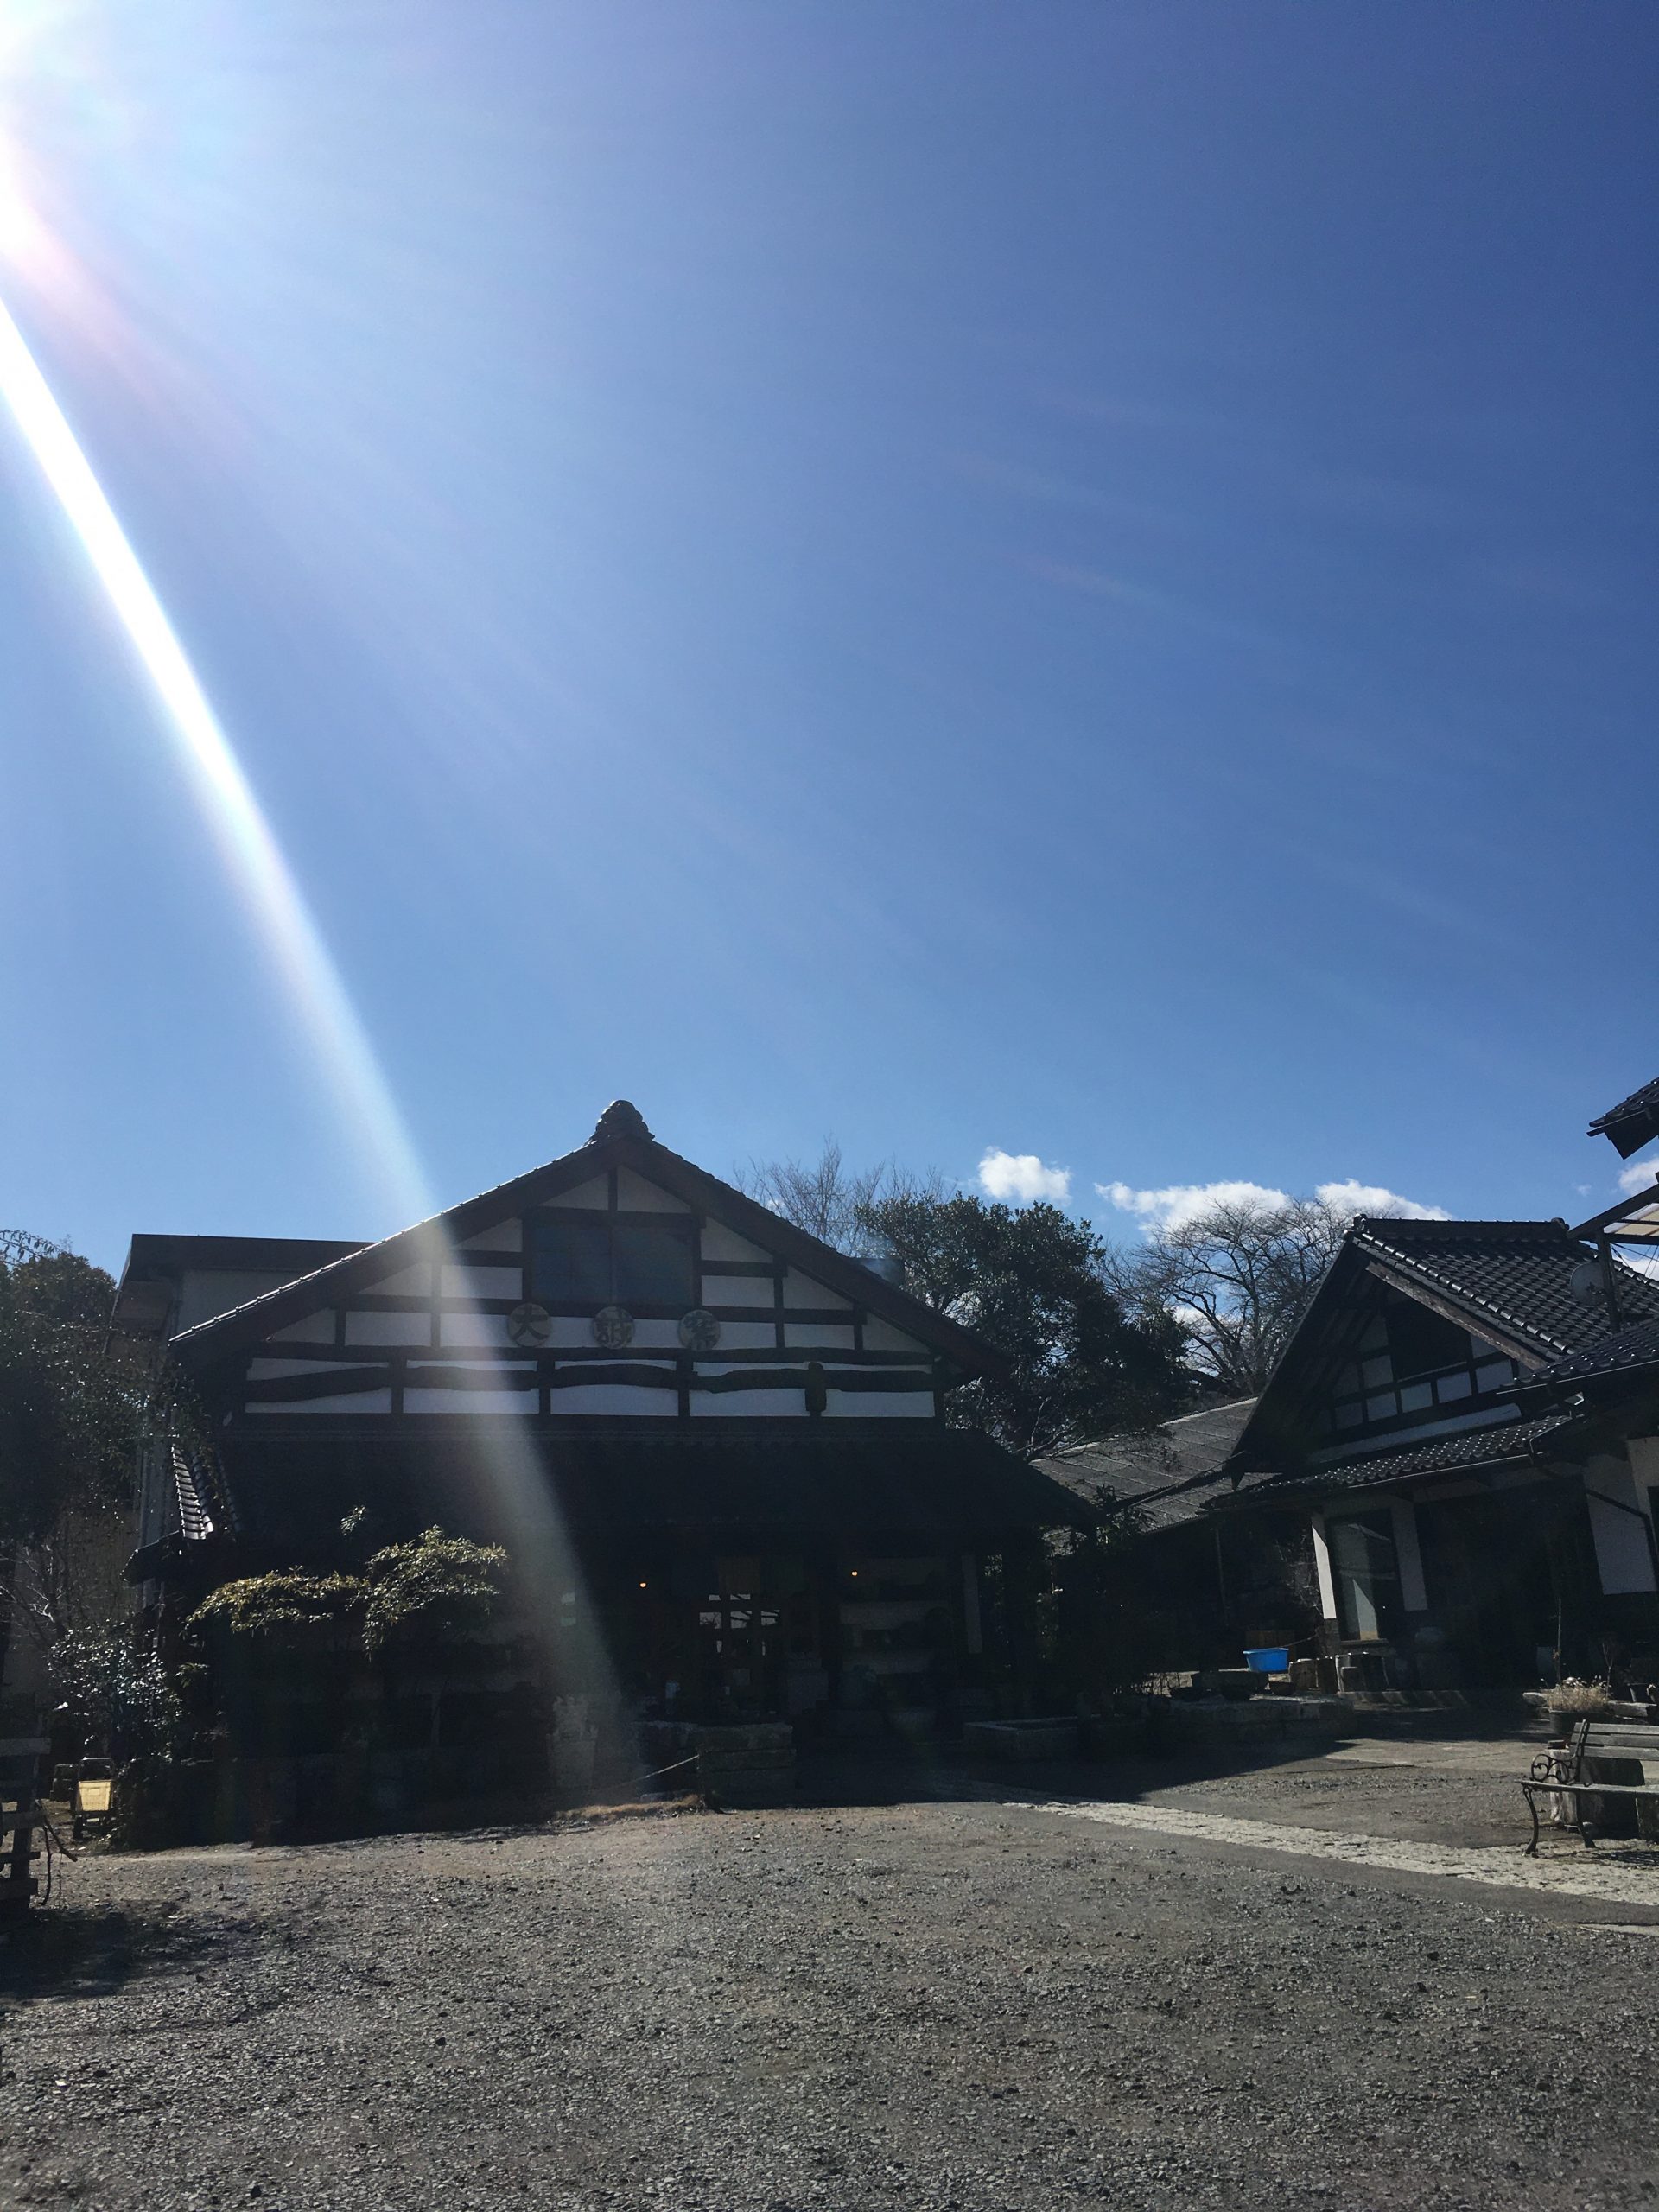
Days off in the middle of the week are rare. Most national holidays would be somehow close to a weekend, so we would spend them in Ohara. This year the emperor birthday was on a Wednesday and we had to be in Tokyo the day before and the day after. Everyday I see mount Fuji from the window I want to go there, so we first thought about going there. But the fear of wasting our time in traffic jam, and the lack of idea of places to visit around kind of killed the idea in the egg. Instead we were looking for a place with not only rich nature, but something more. I pulled out our old guide books and we ended up picking Mashiko as our destination for the day. Our criteria were simple: the driving time should be about 90min, it has to have great natural environment, it has to have some craft or art to see, and some historical sights, finally a possible, even short, hike with a spot to lay a blanket and picnic in the sun. Mashiko 益子 is about 130km from Tokyo, many sites recently registered as national cultural heritage, in particular some temples in the forest near hiking trails, and is famous for its potteries. Additionally the place where Shoji Hamada, who contributed to the creation of Mingei 民藝. It ticks all the boxes.
A broad look at Mashiko
Mashiko is a small potter town. It is all well set to be a tourist attraction, but the pandemic made our visit a little paradise. Very few tourists in the main street, and even fewer people to the slightly more remote sights such as temples and shrines, and Hamada’s house. So every thing was quiet, bathing in the warm light of the cold winter sun.
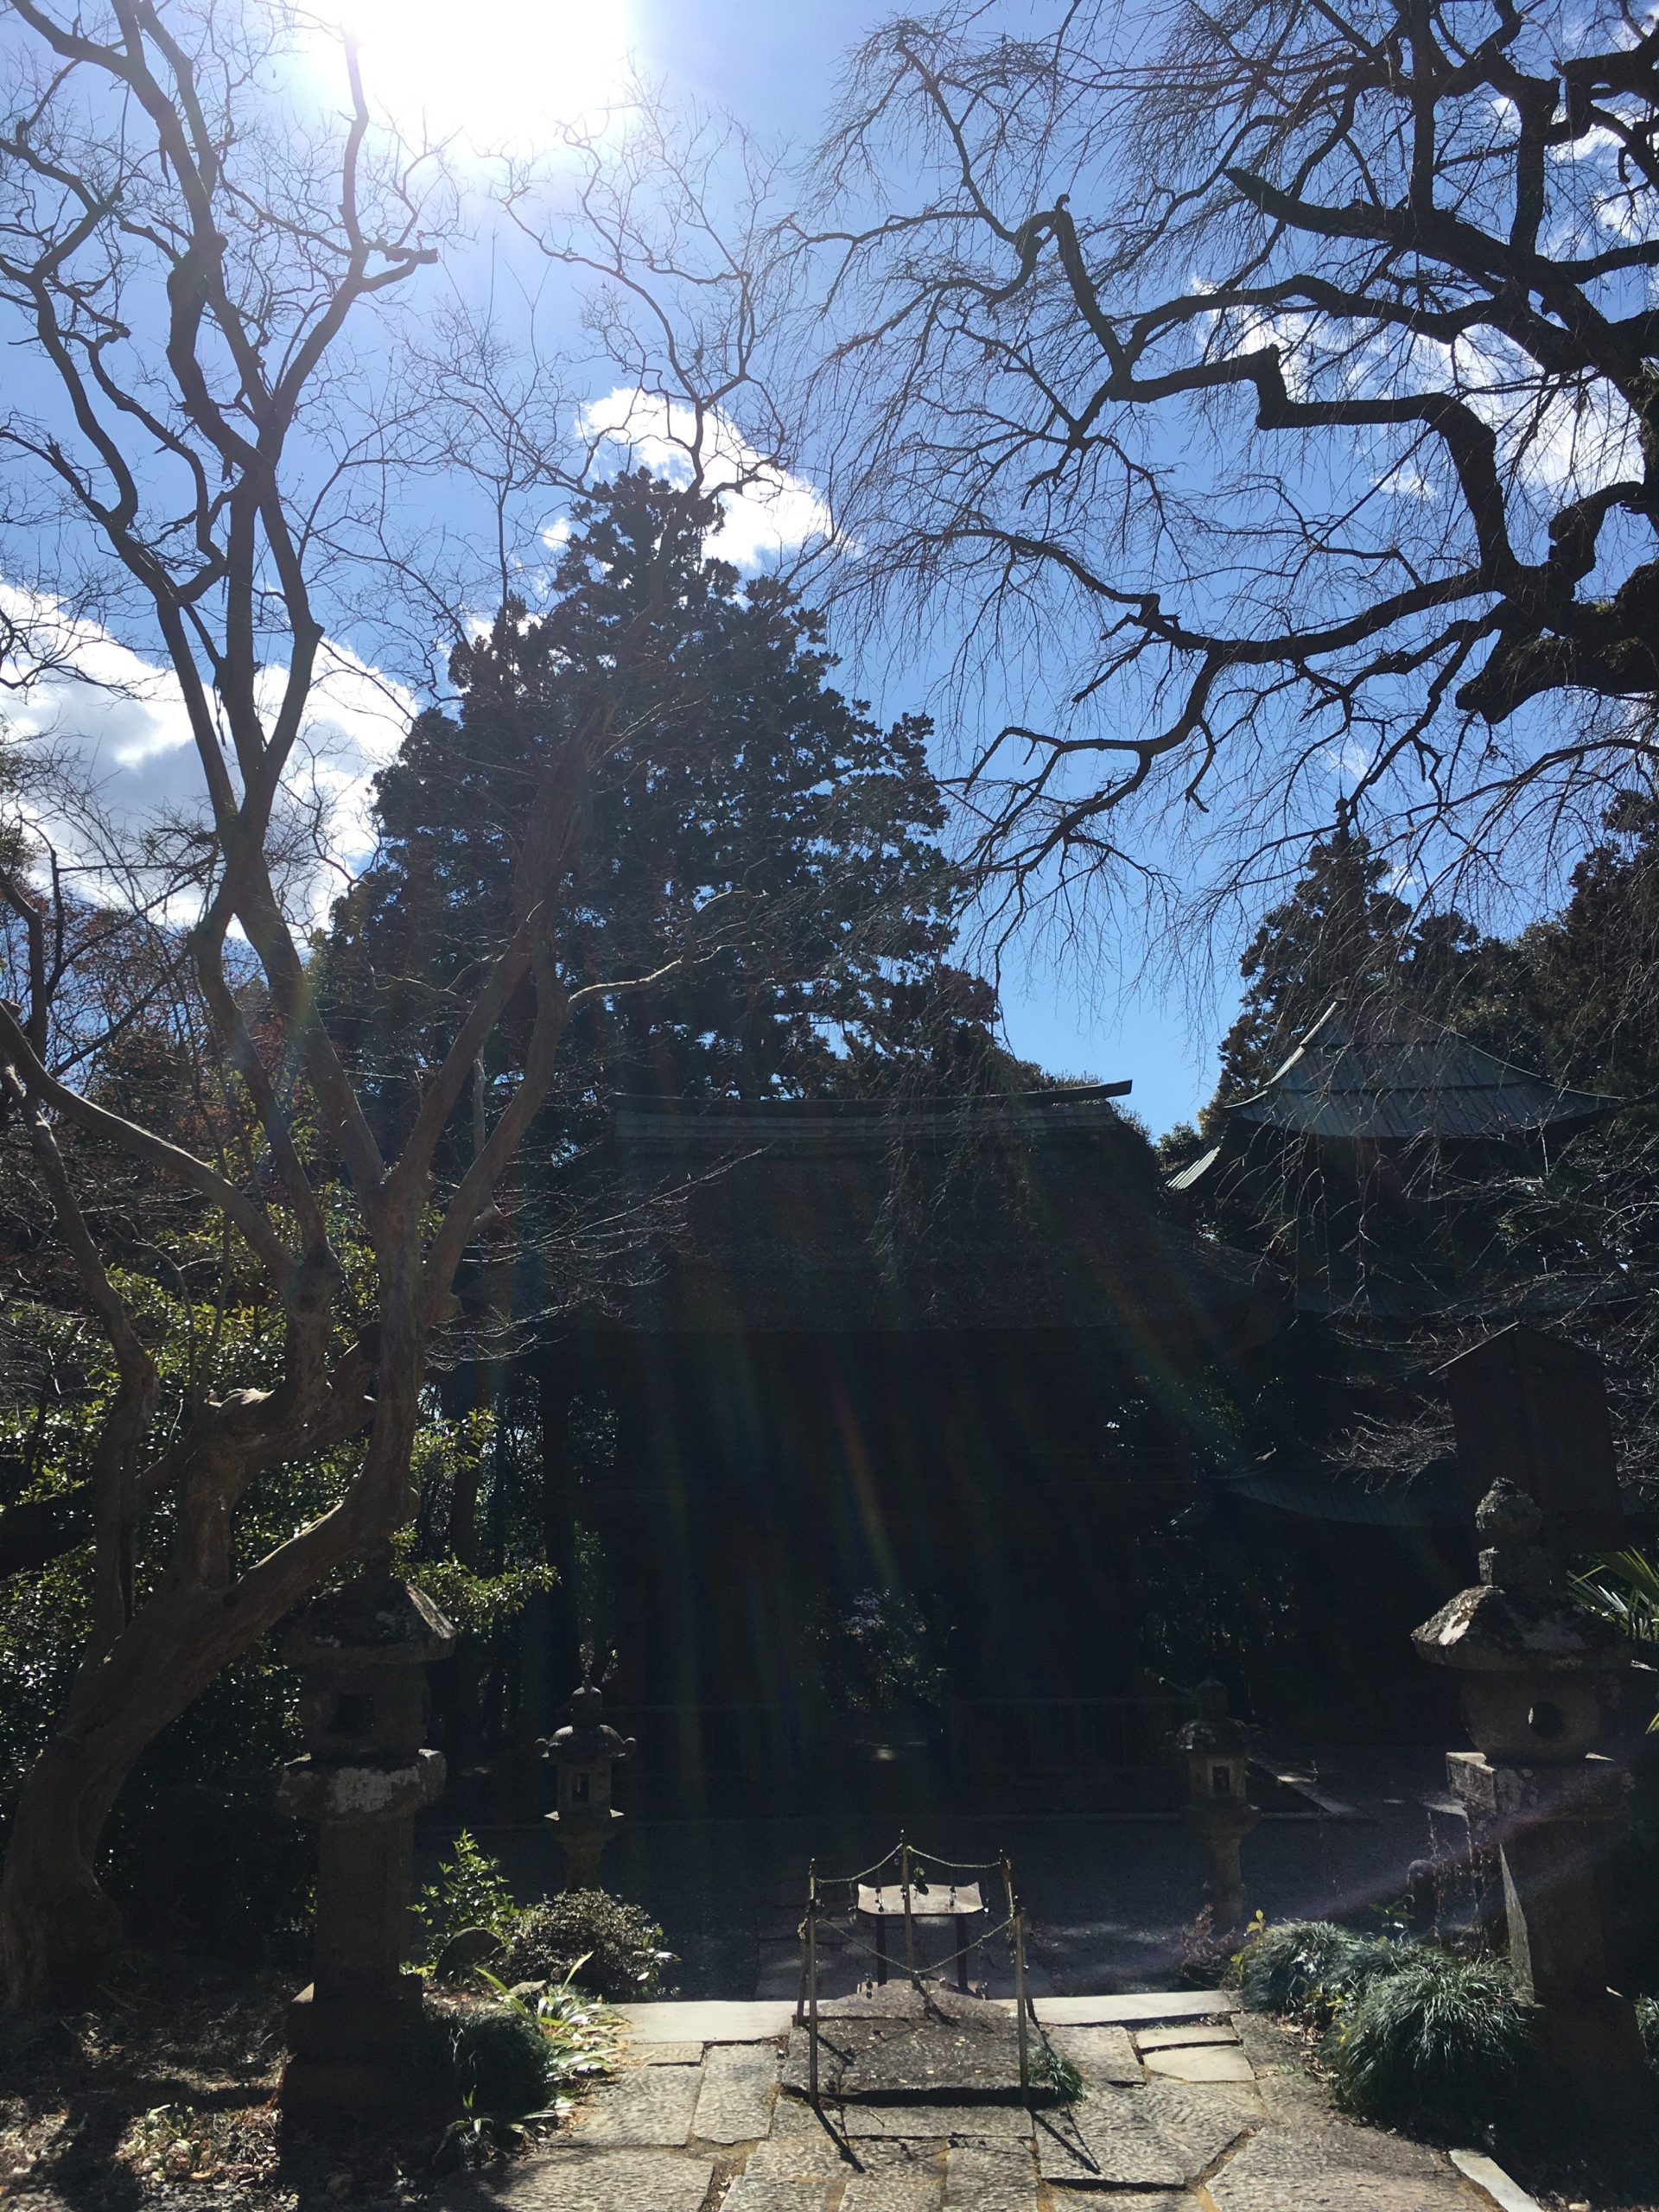
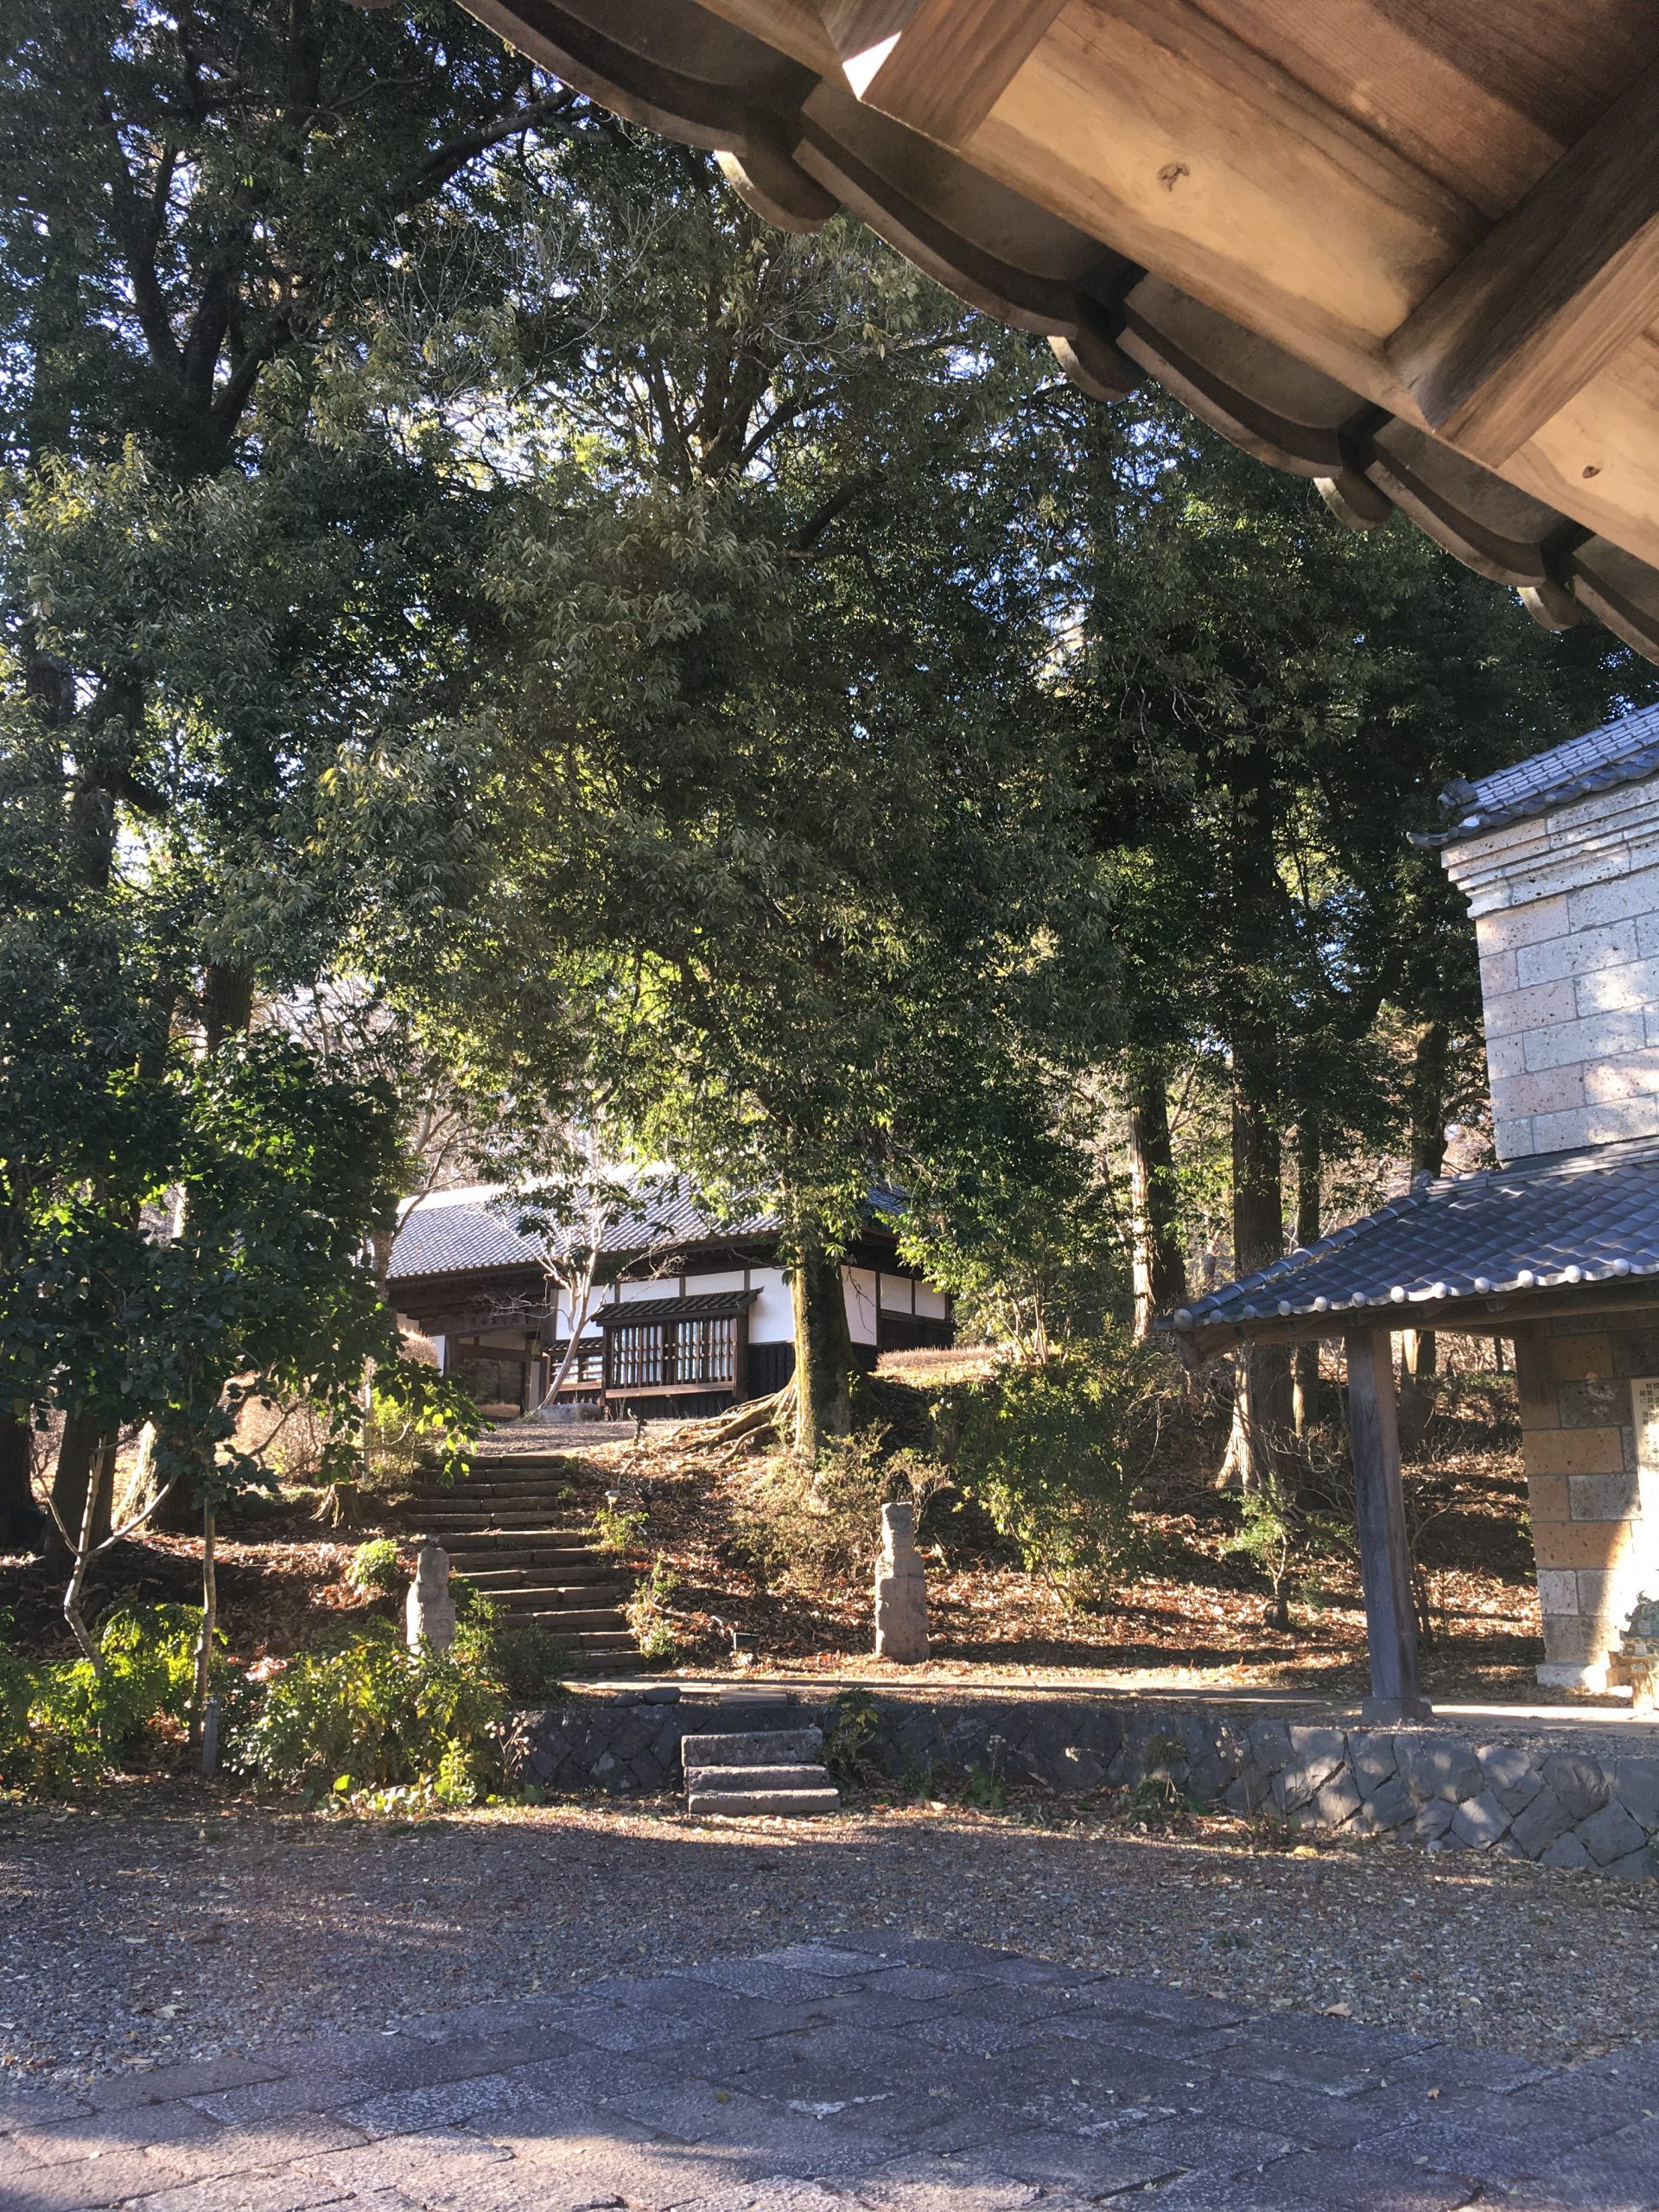
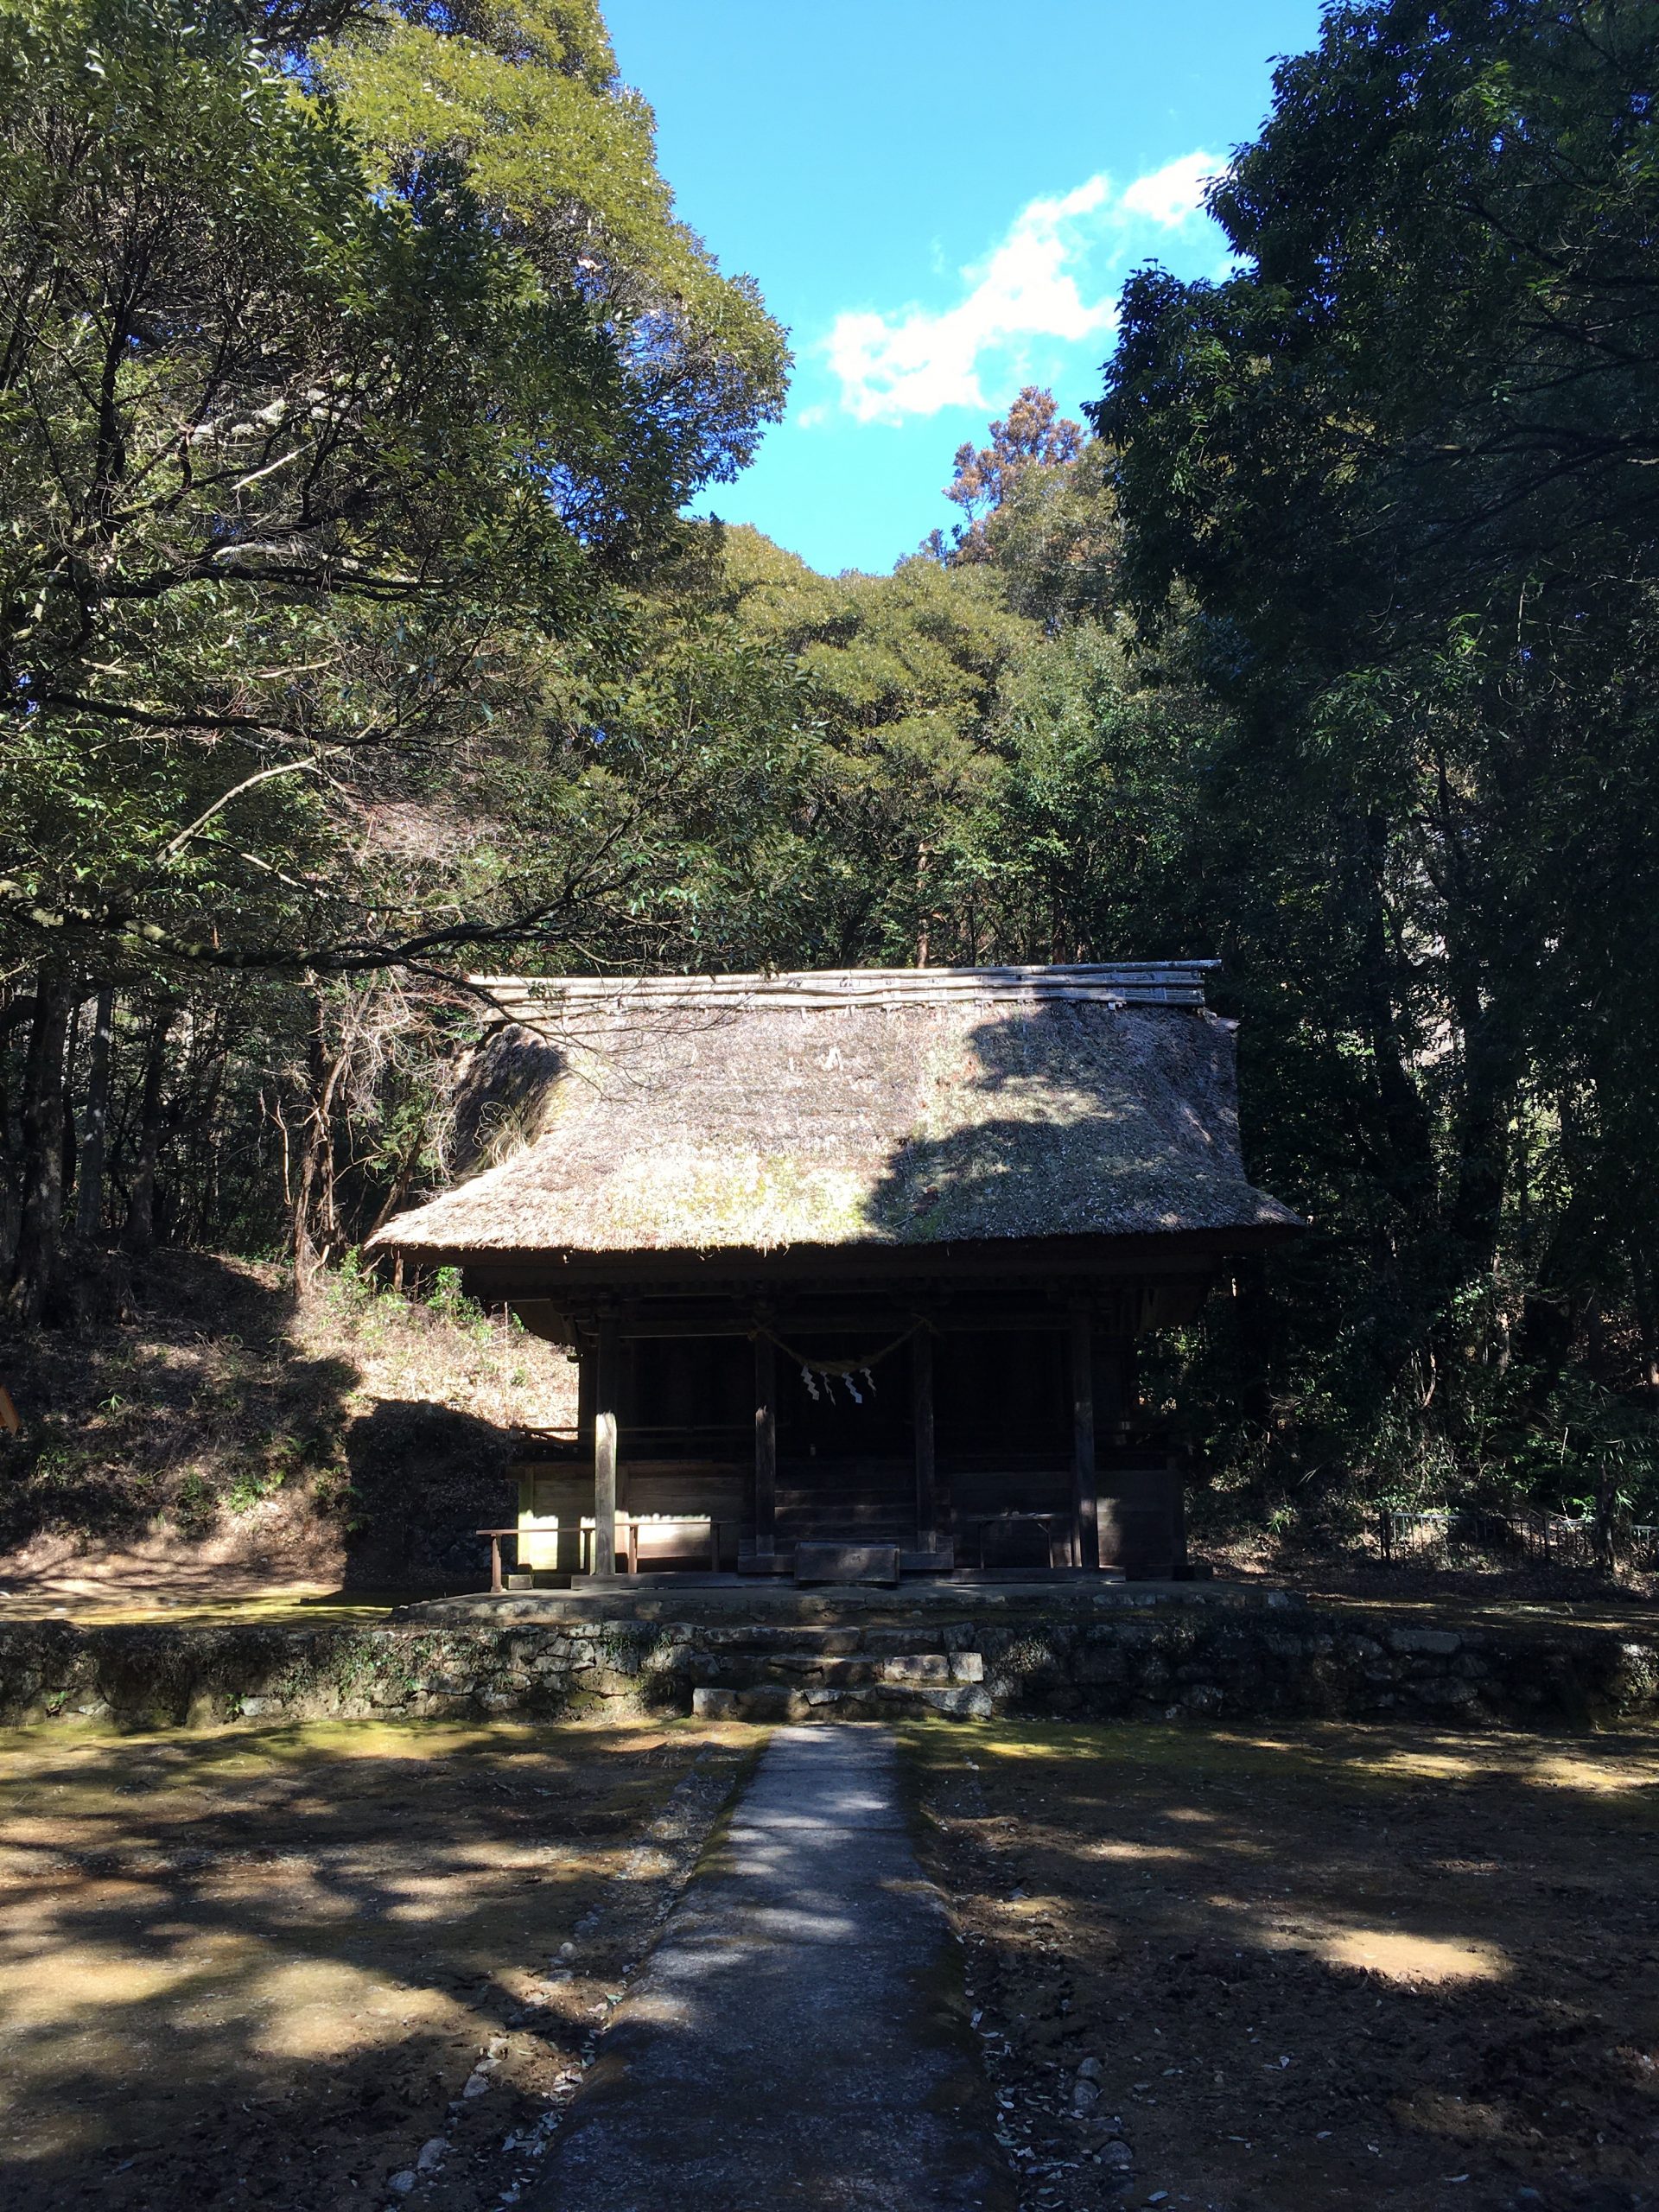
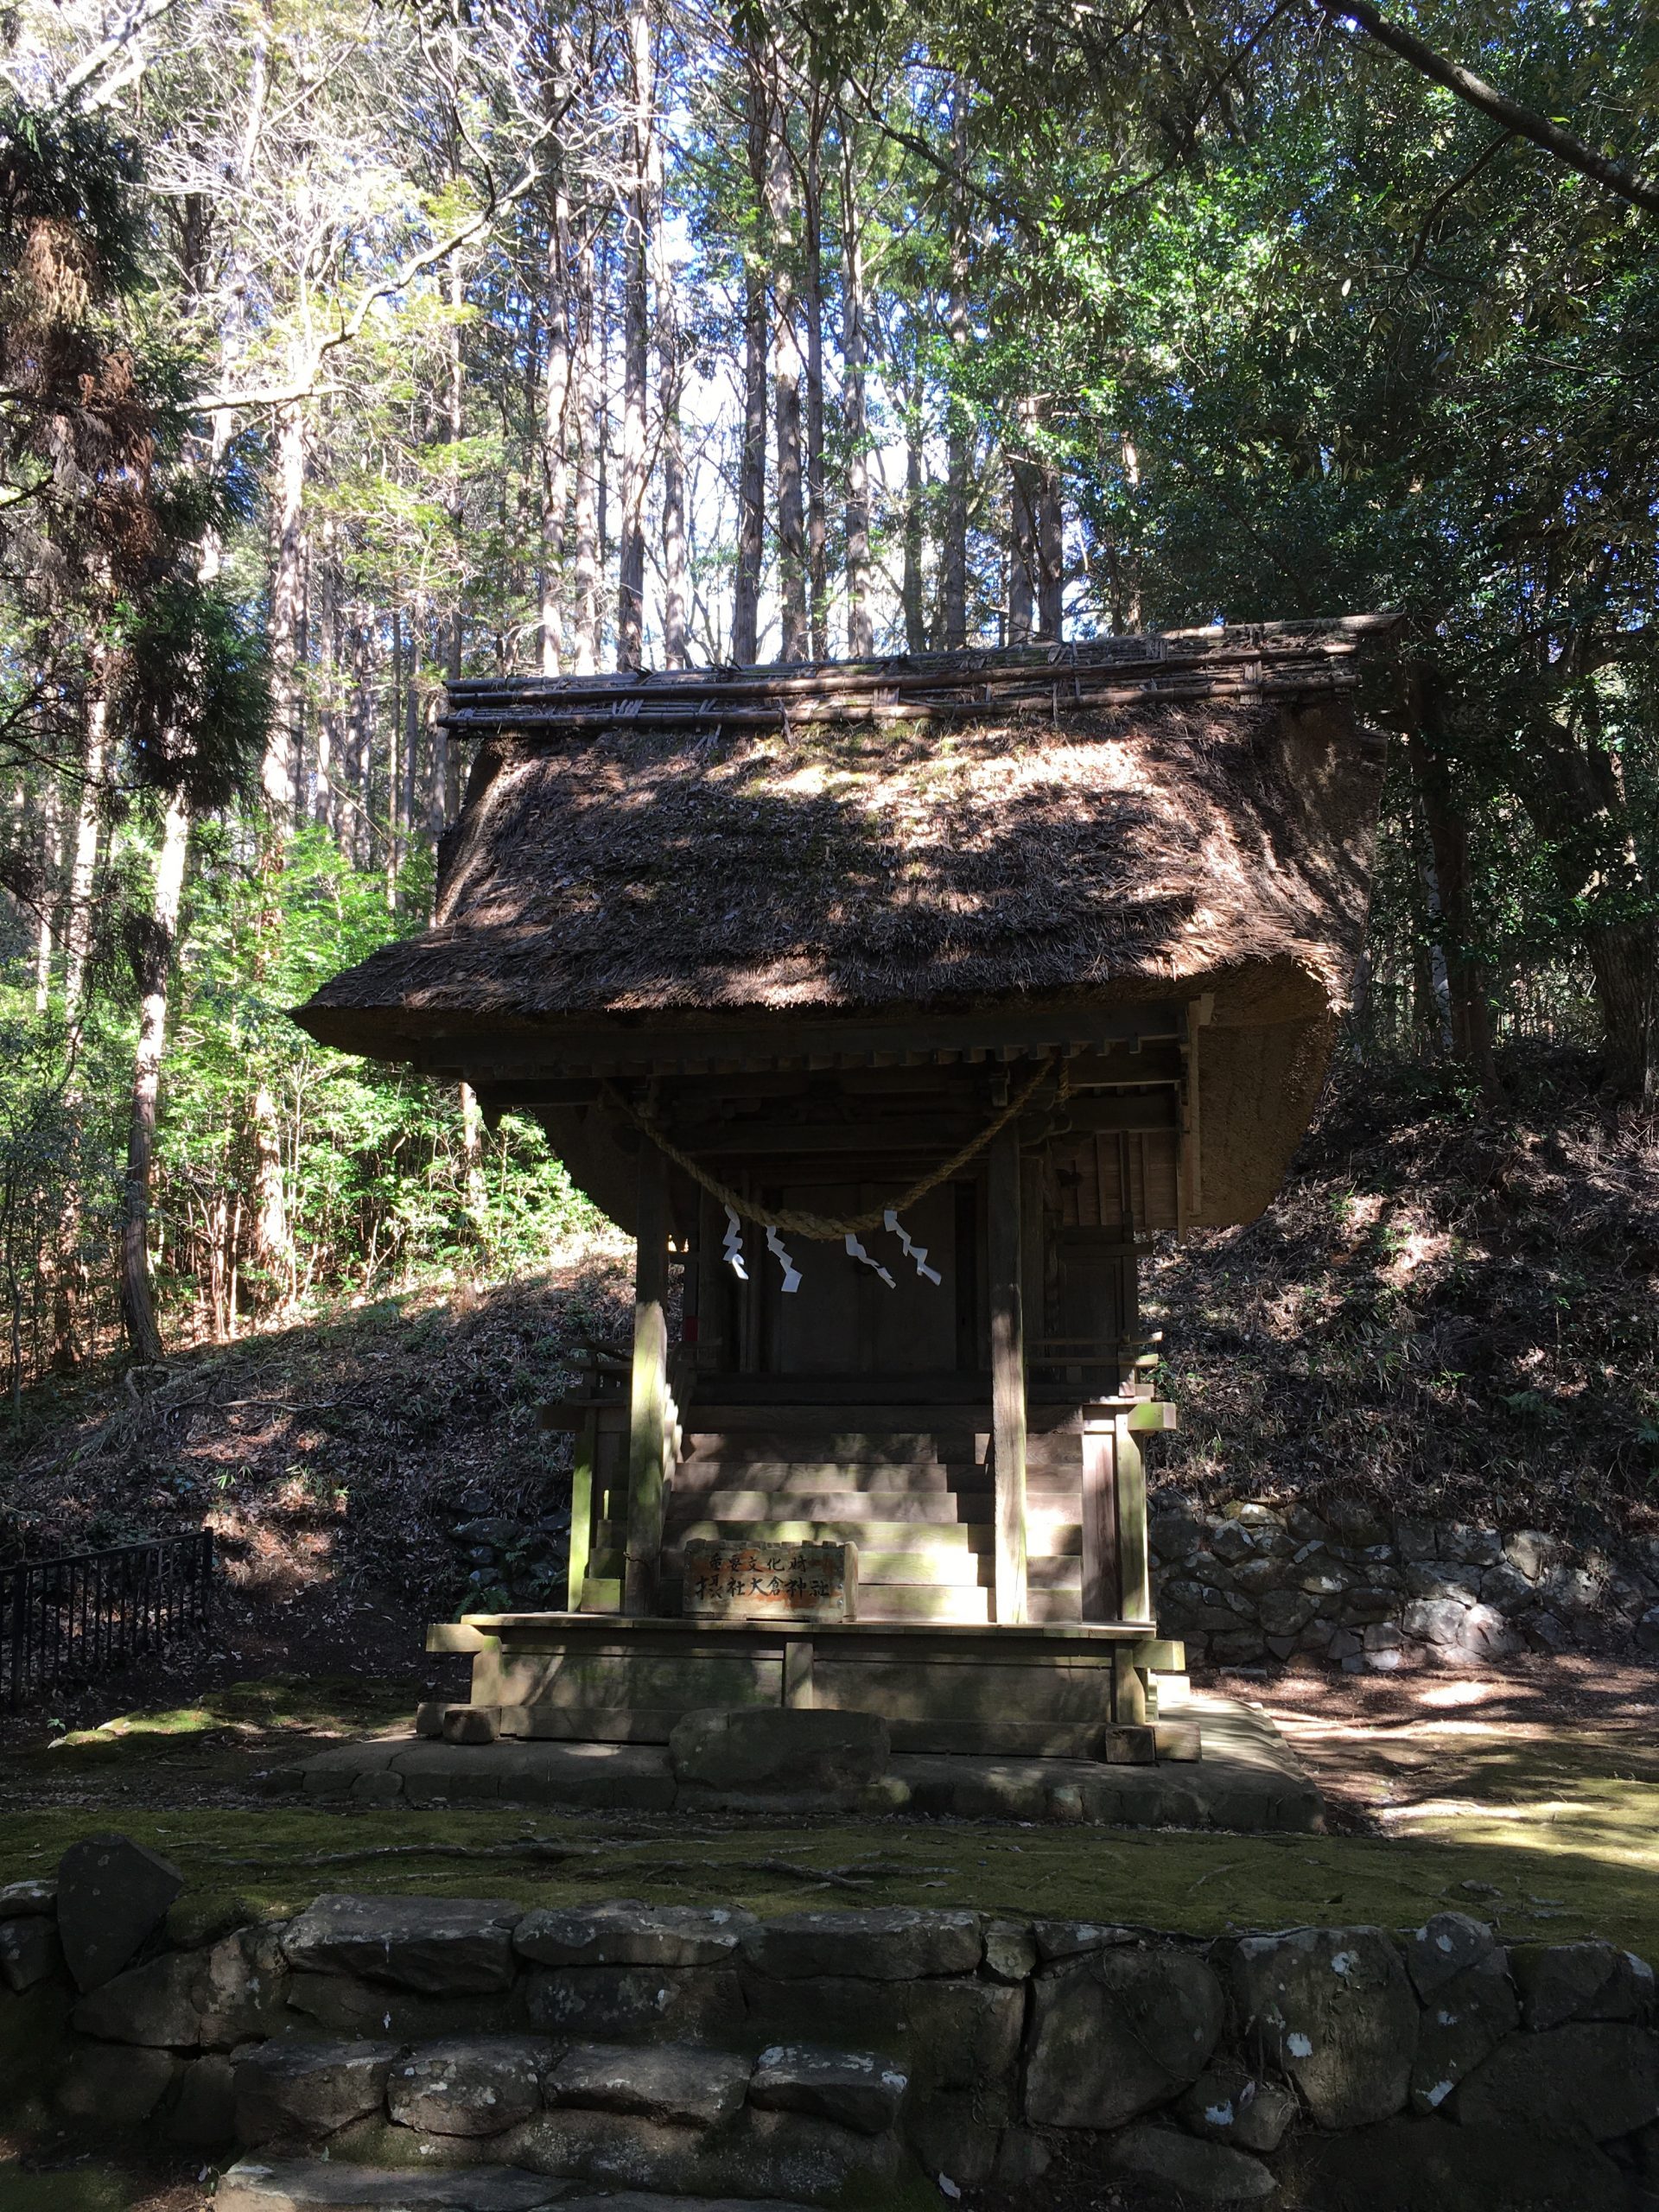
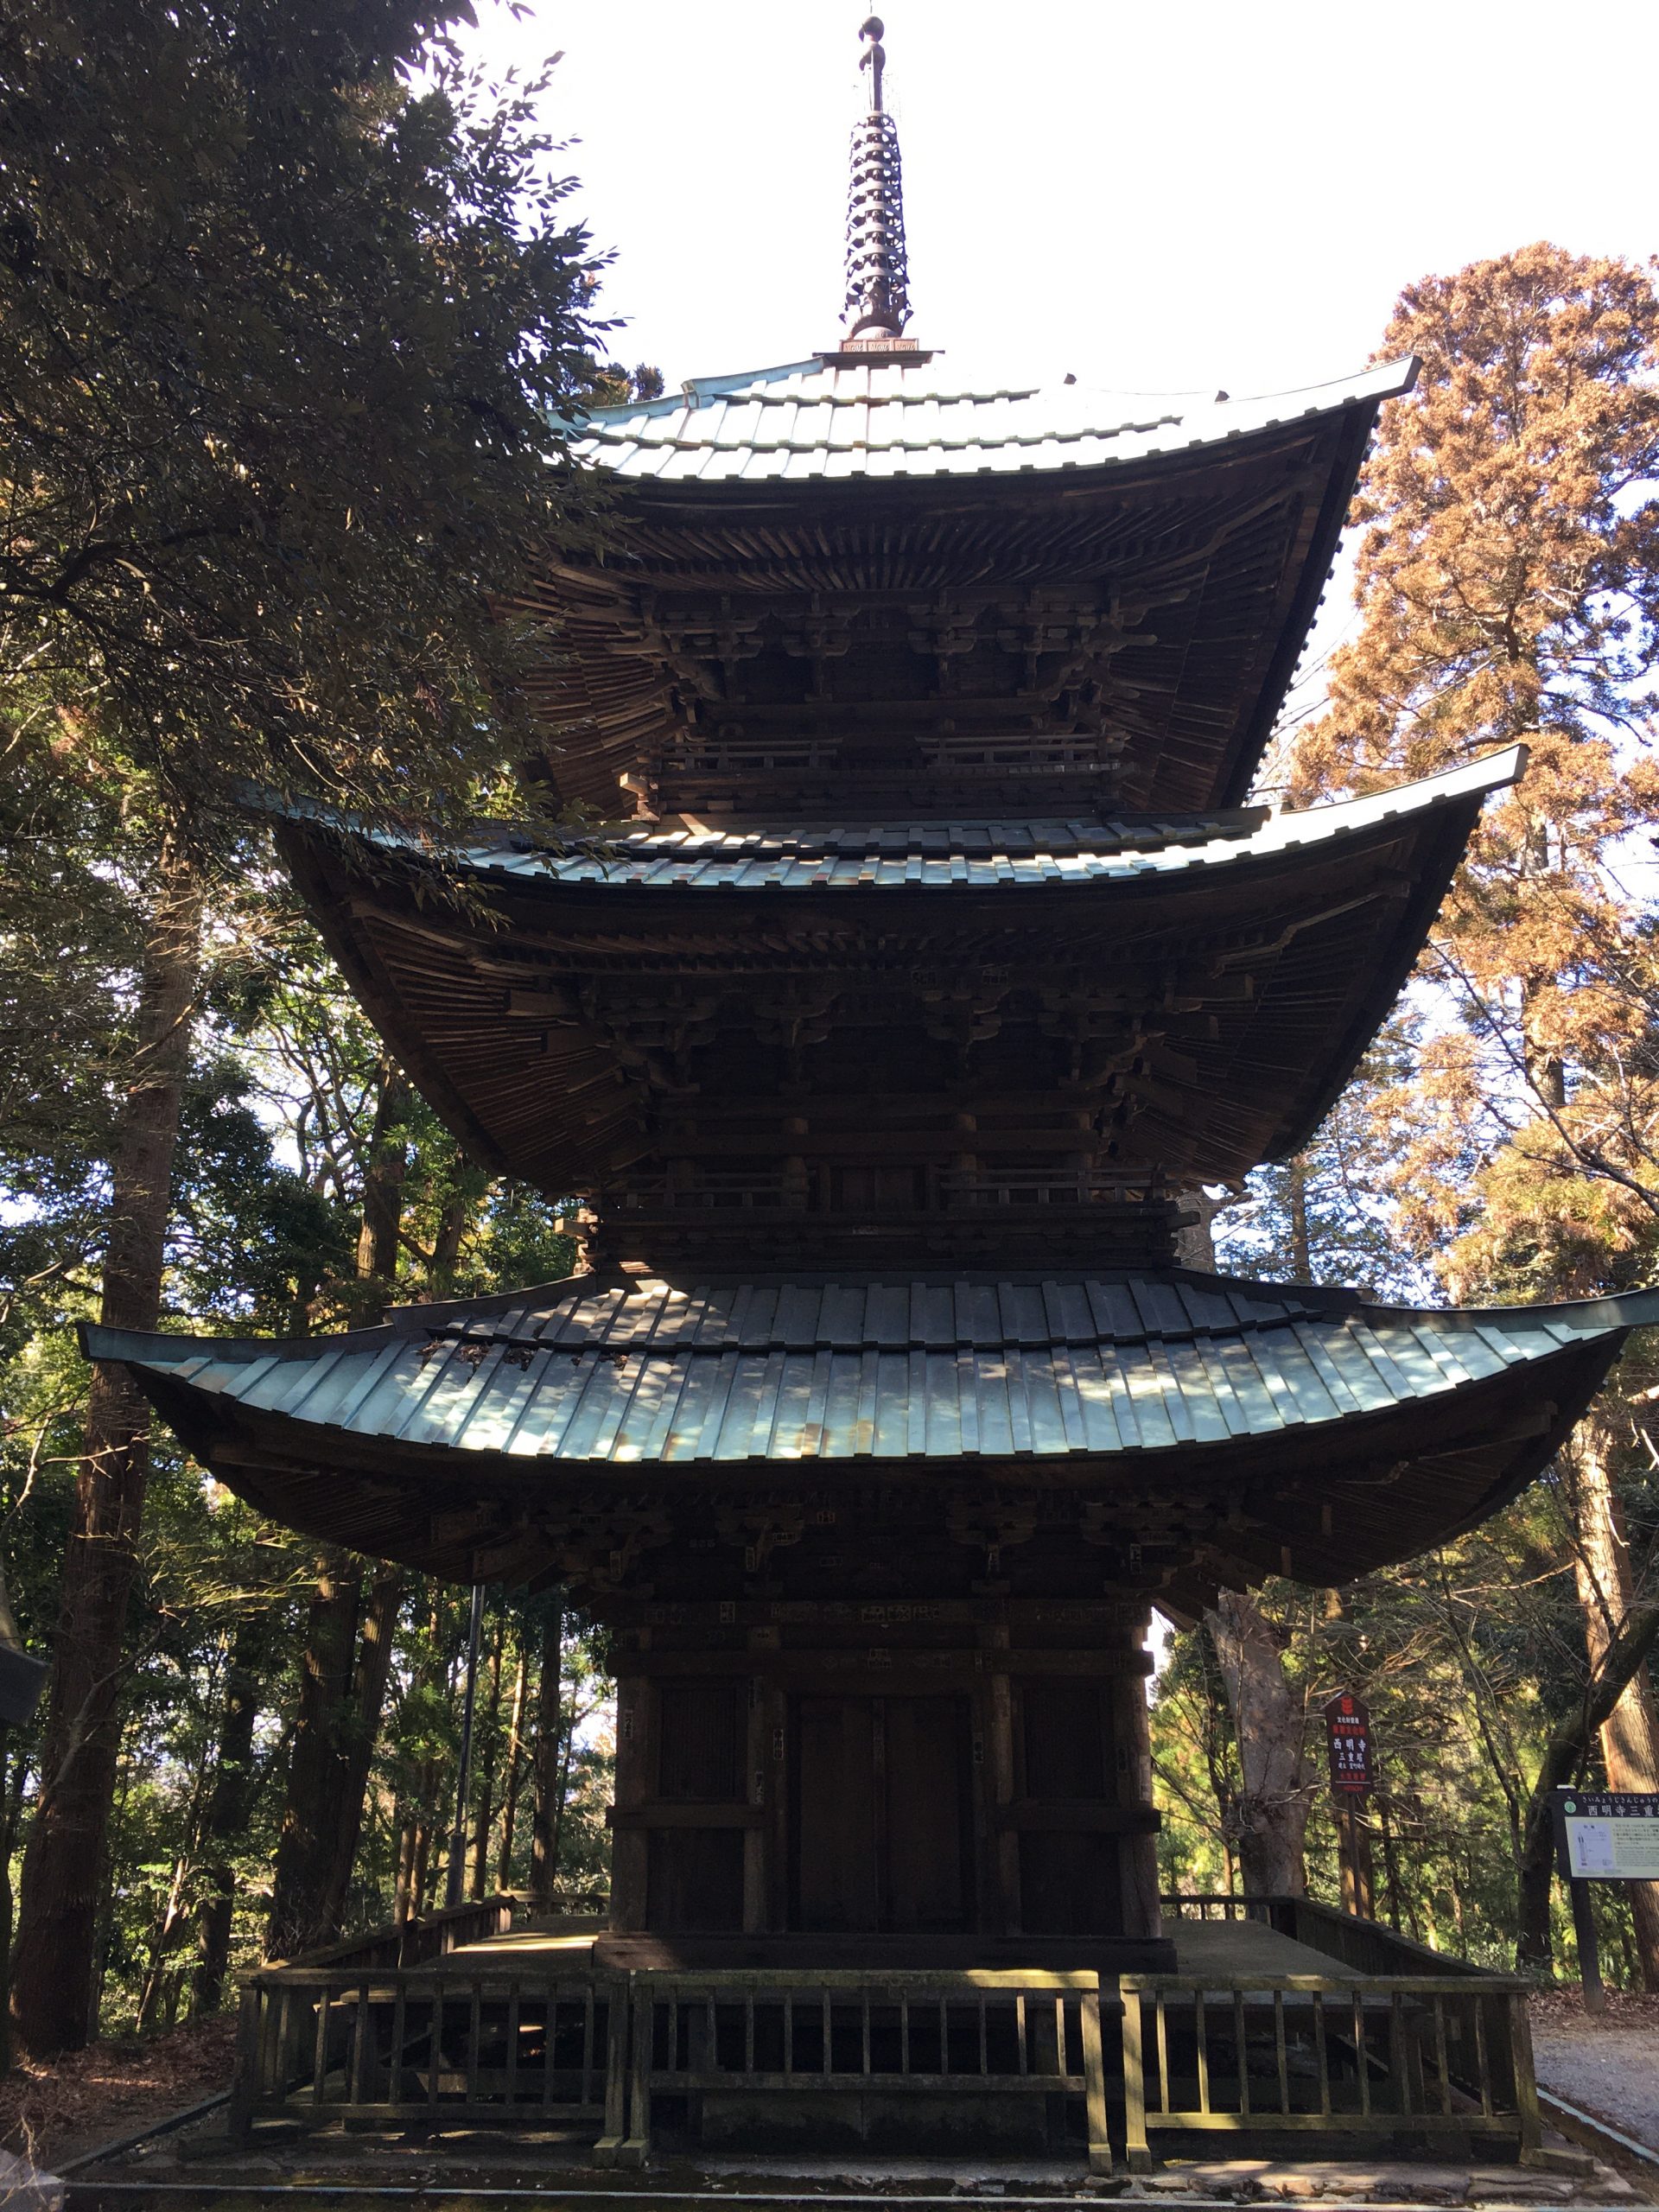
Many of the pottery shops on the main street are just average but some do have a very nice collection of Mashiko yaki 益子焼. Some are more like galleries with edgy works. The indigo dye house down the corner of the street is worth the visit. On the opposite direction of the street, the big plaza with the ignominious giant tanuki (see picture above) is more so-so, but continue further and there is an amazing antique shop. But what we really felt for was Hamada’s residence, about 15min away on the other side of the hill. The walk there was charming, and the property is pure delight. It is nice to see all these kilns covered going uphill. Abd the Saimyoji temple and the Tsuna shrine.
Random pictures of Hamada’s house, Saimyoji, Tsuna shrine, the best 3 of Mashiko for me
It was really cold there but it was beautiful and quiet, and people really kind. I’m sure we’ve missed some interesting sights, but that’ll give us an excuse to visit again!!!
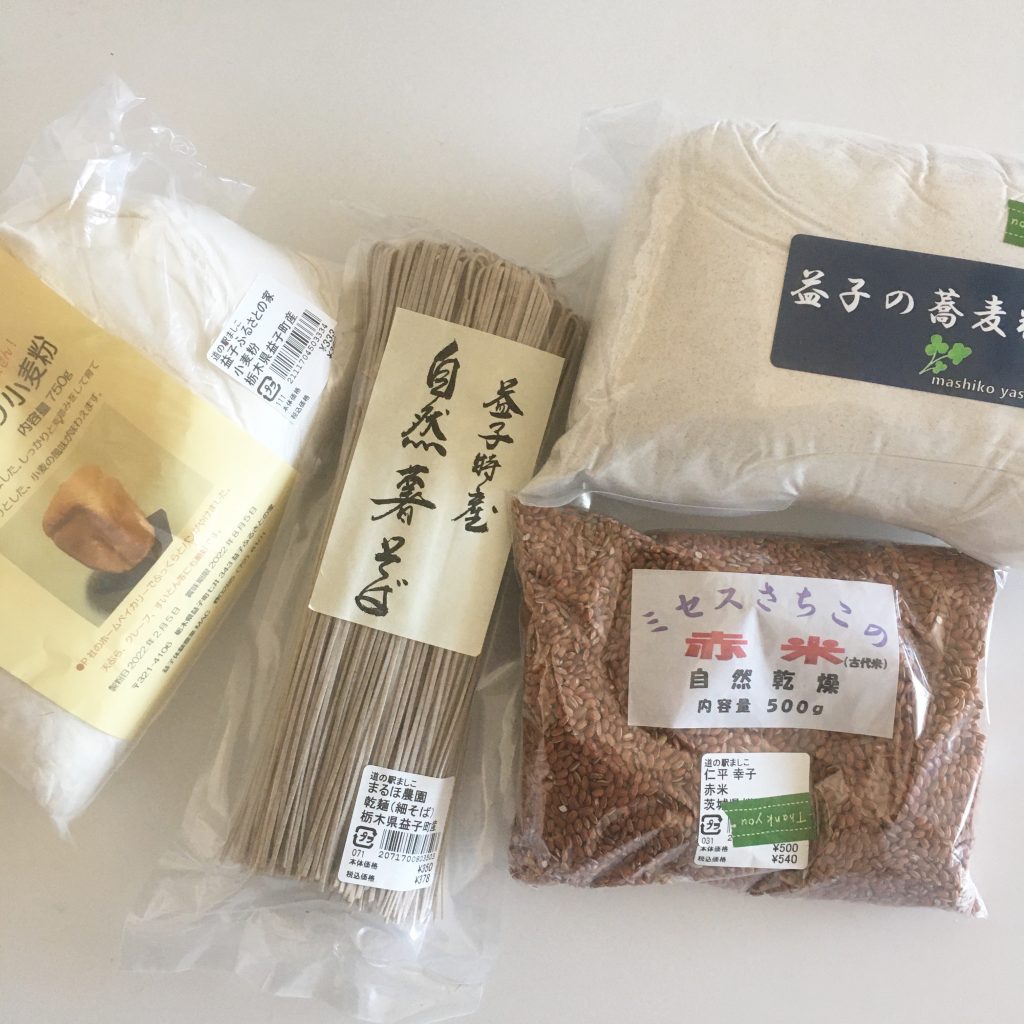
And as we could go back to Tokyo without packing on local products we stopped at Mashiko michi no eki 道の駅, a very nice new wooden structure, also quiet and spacious, to pack on fresh fruits and vegetables and on staples such as flour, soba, rices. They had an excellent selection very nicely presented.
We didn’t know what to expect exactly but Mashiko surely charmed us!
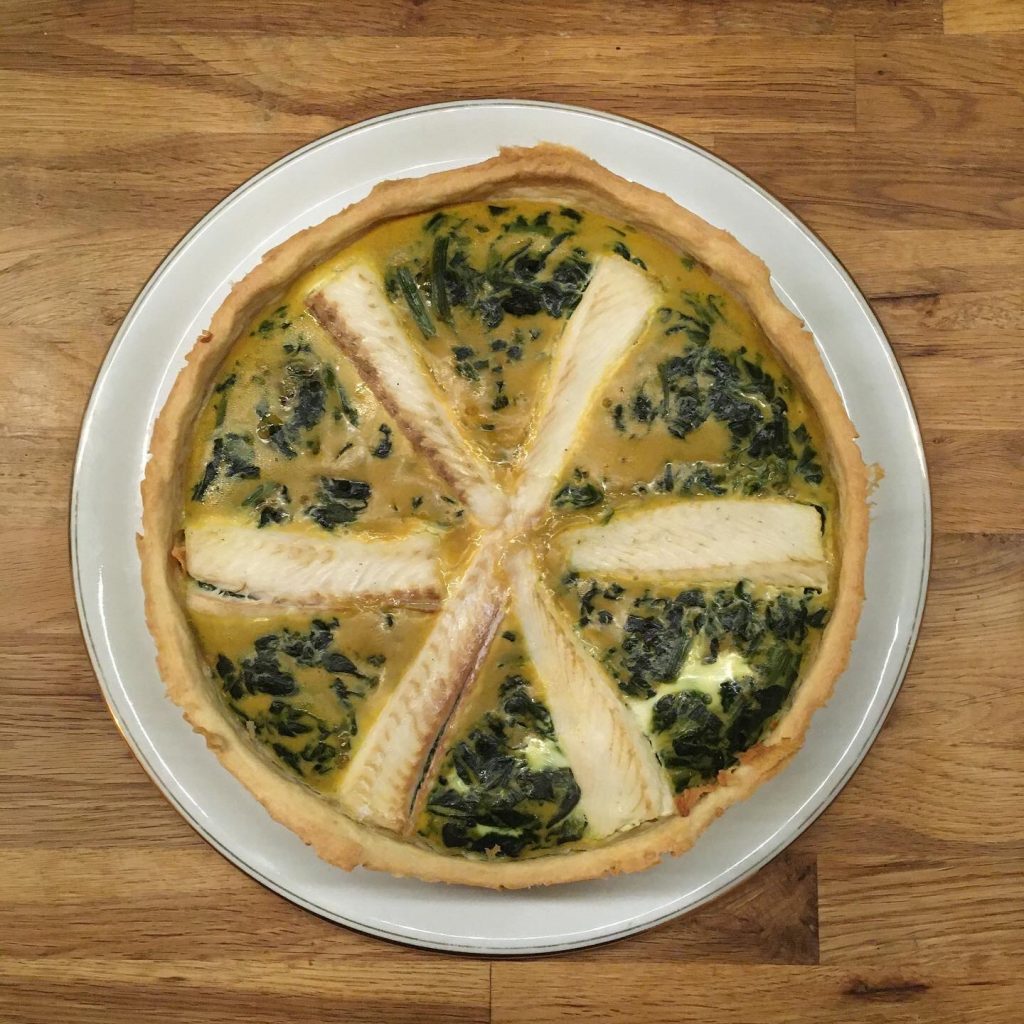
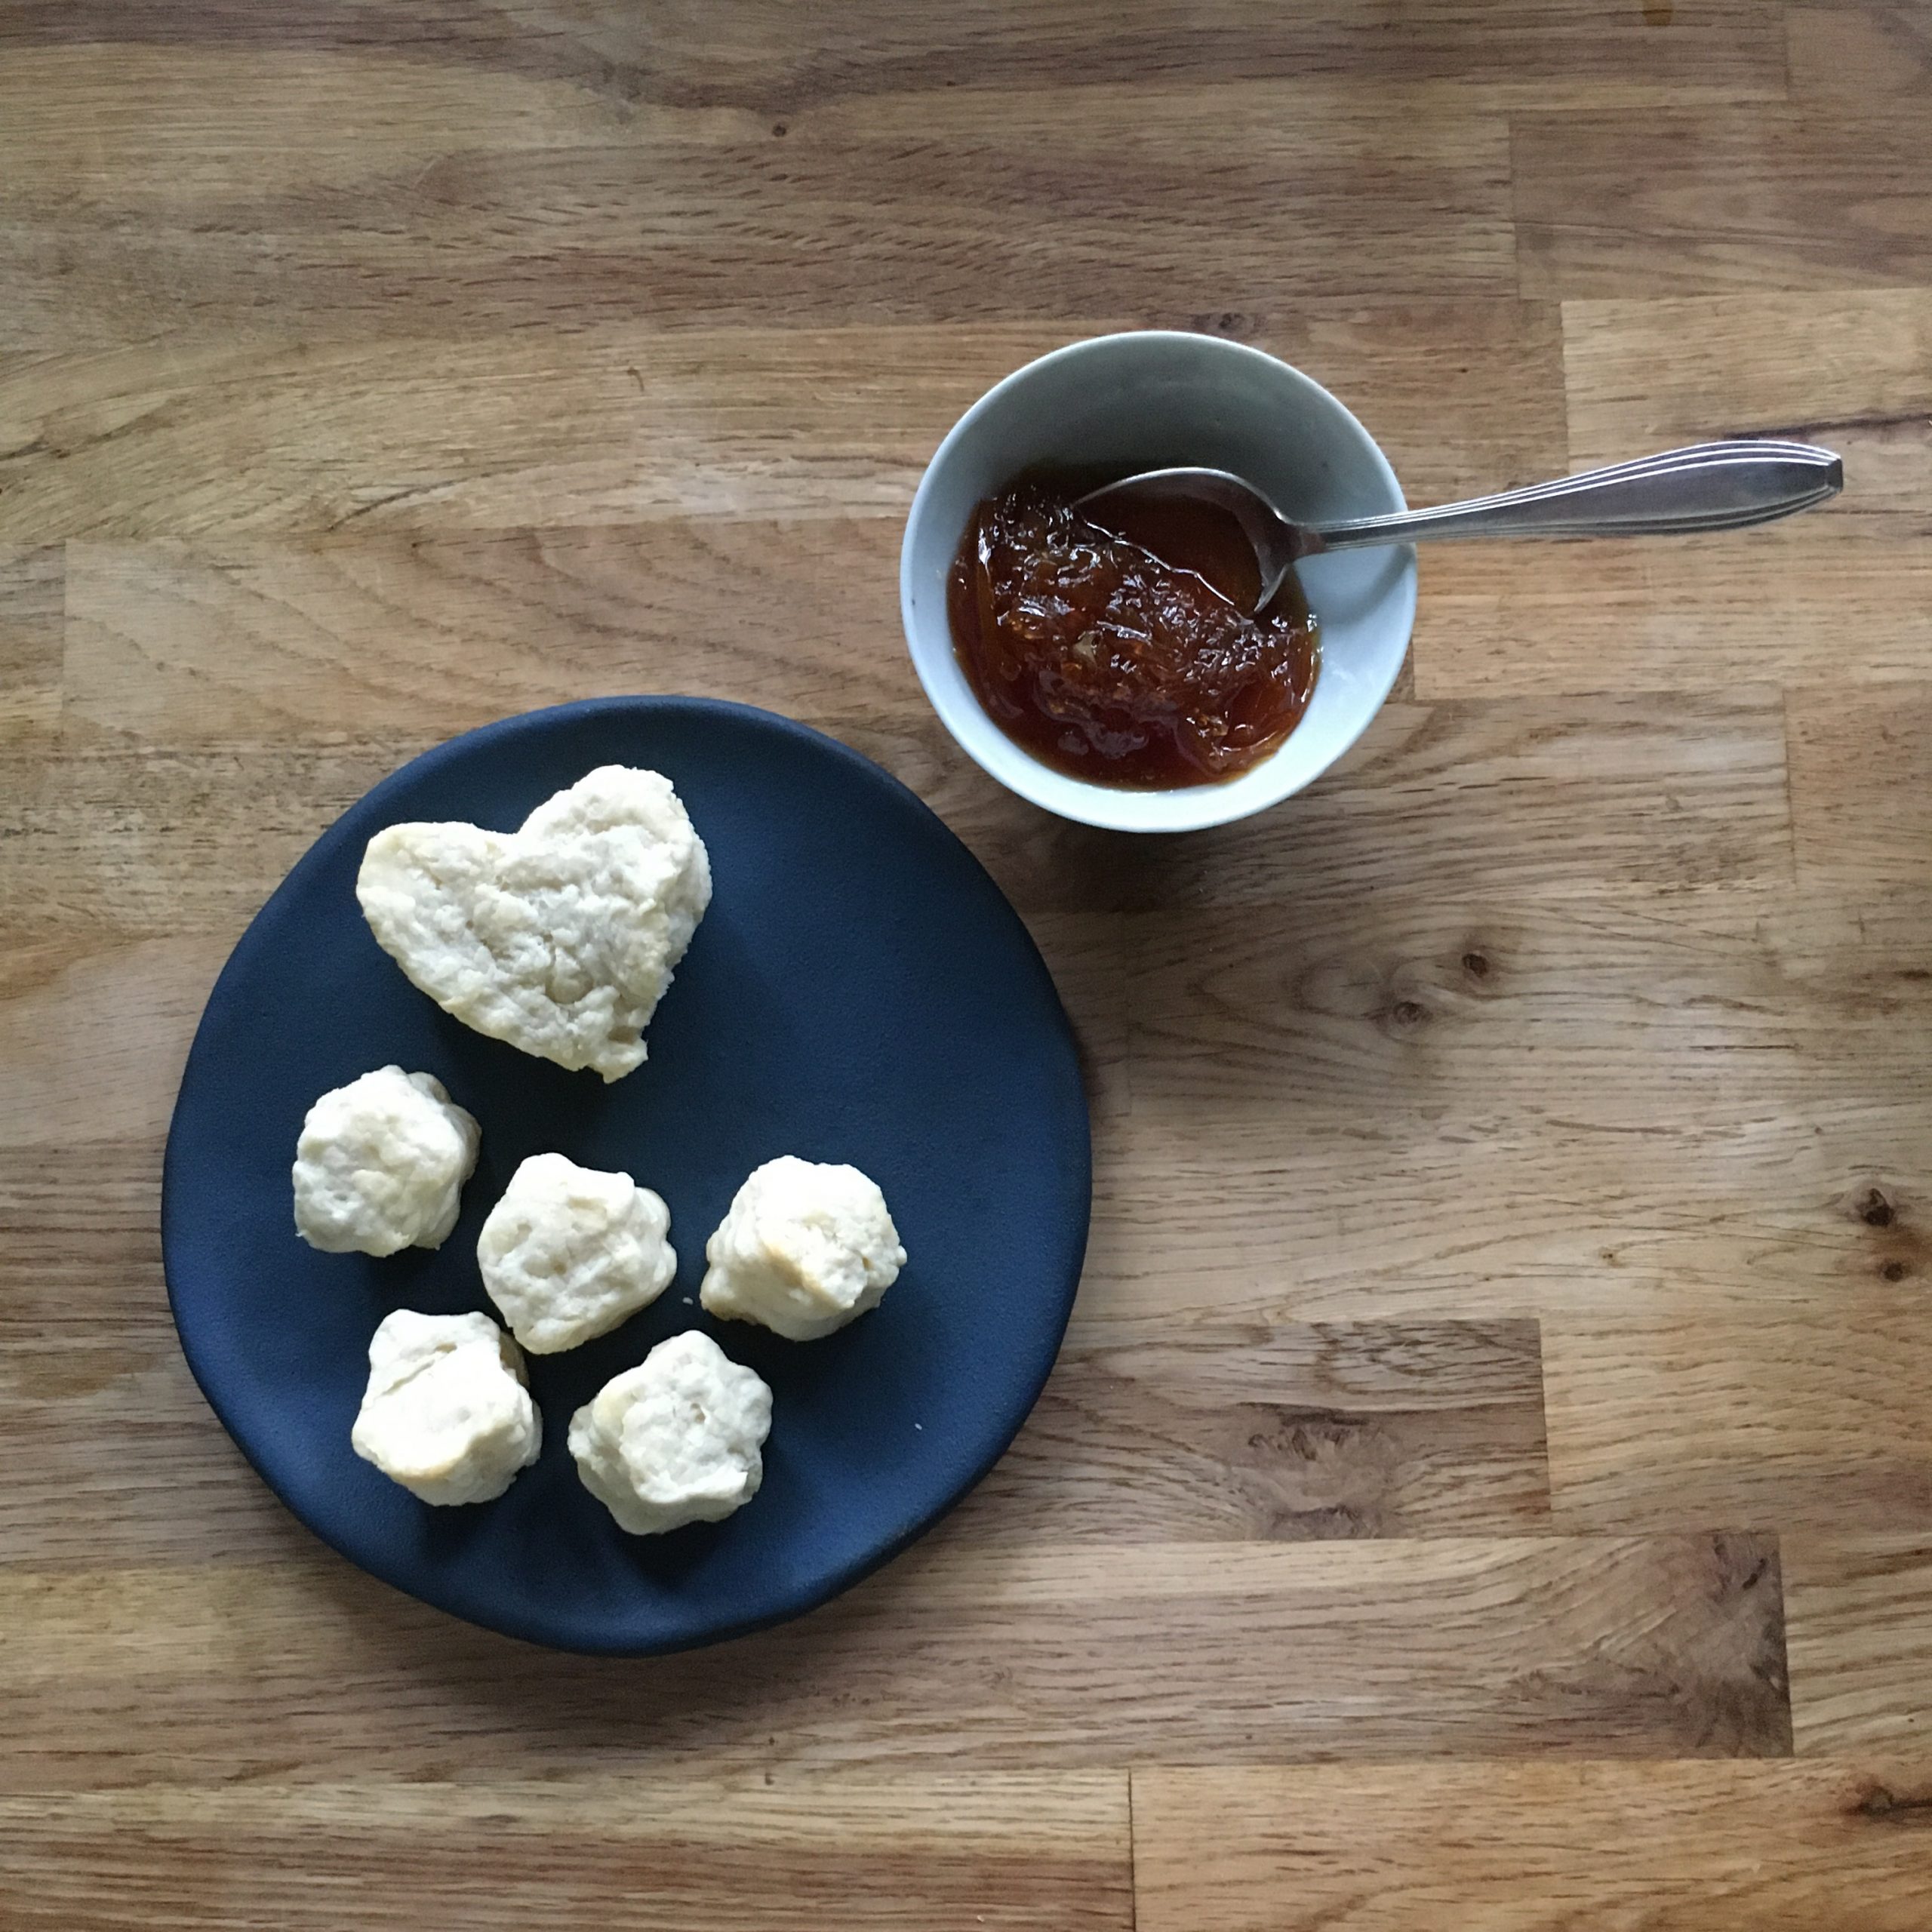
Two weeks without a post is a grand premiere here… For the past 7 years I have been posting a few times a week and at most every 10 days when I was busy at work and on travel. So why 2 weeks this time? Well… travel is definitely not what is taking any of my time, even though we had a failed attempt to go back to France back in November, and the planning took a lot of our time, only to cancel everything 5 days prior departure because the situation was not looking too good in France then… but that’s a long time ago! I can tell you that work has been busy but nothing out of the ordinary. So what? Have I quit cooking??? For sure not! But what did I cook then? Well, first a lot of things that were delicious but definitely not photogenic. Then a lot of cruising dishes: quiches, bread and scones but I bet you don’t need another recipe of any of these…
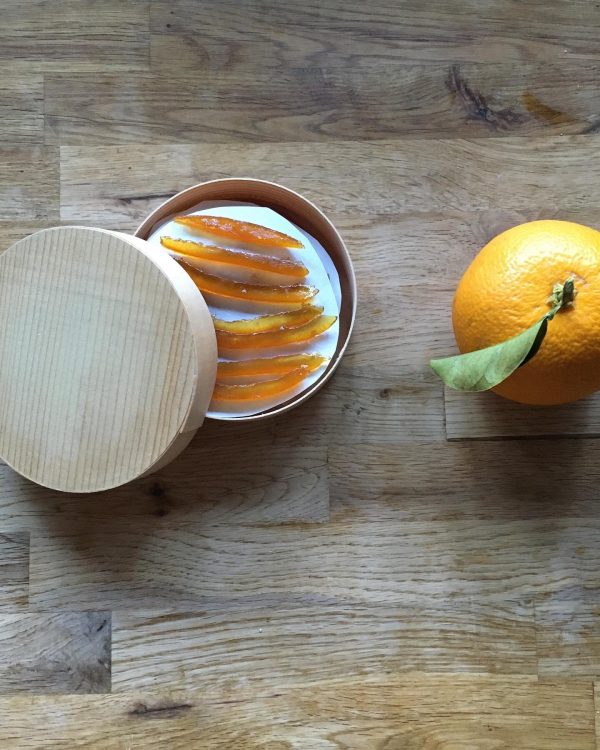
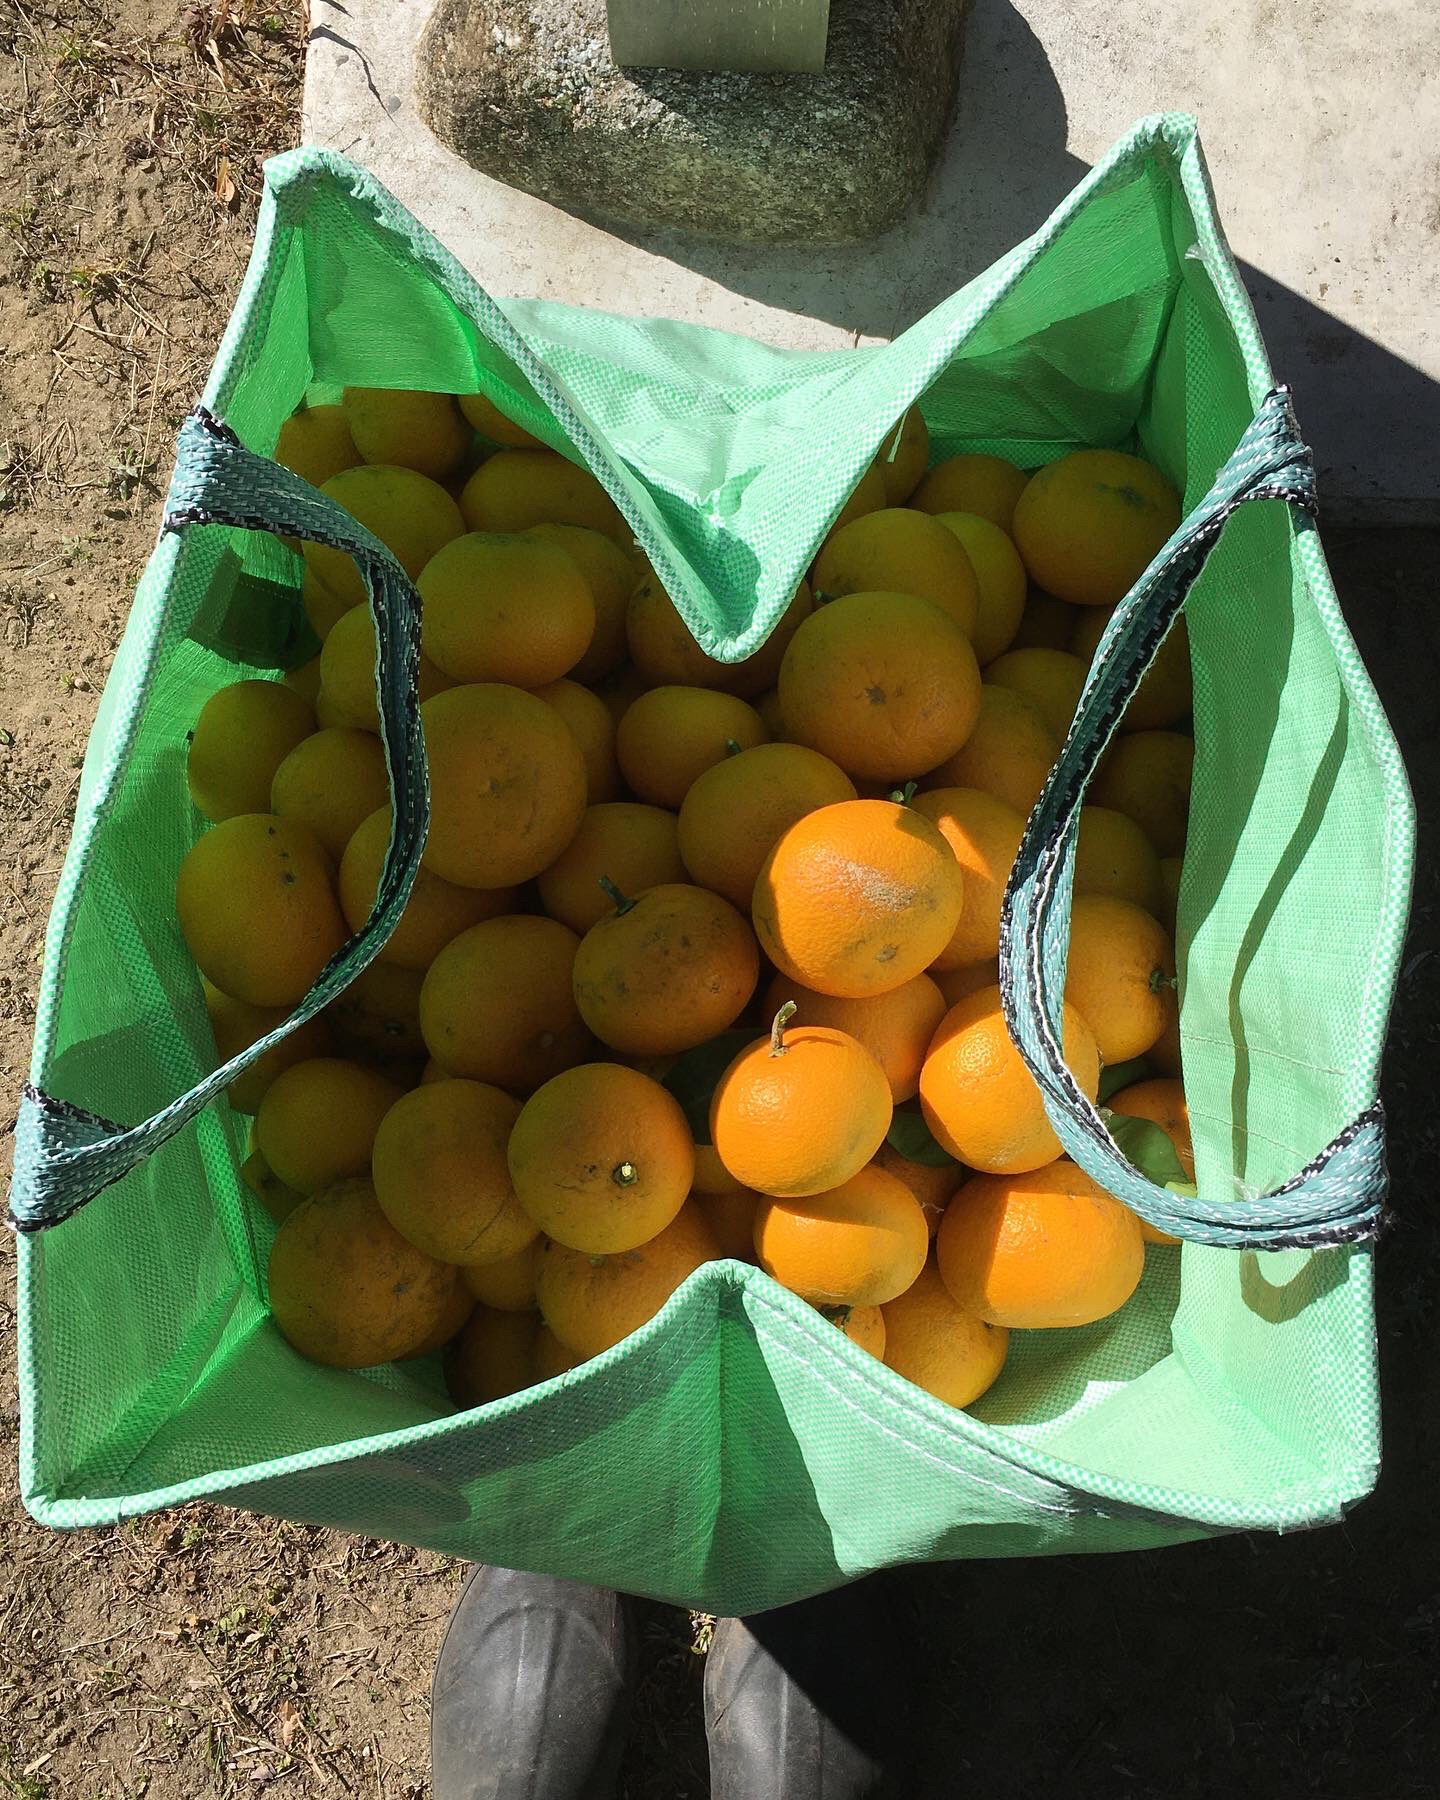
Then we harvested all our hassaku and I went into a little plan of making several recipes…
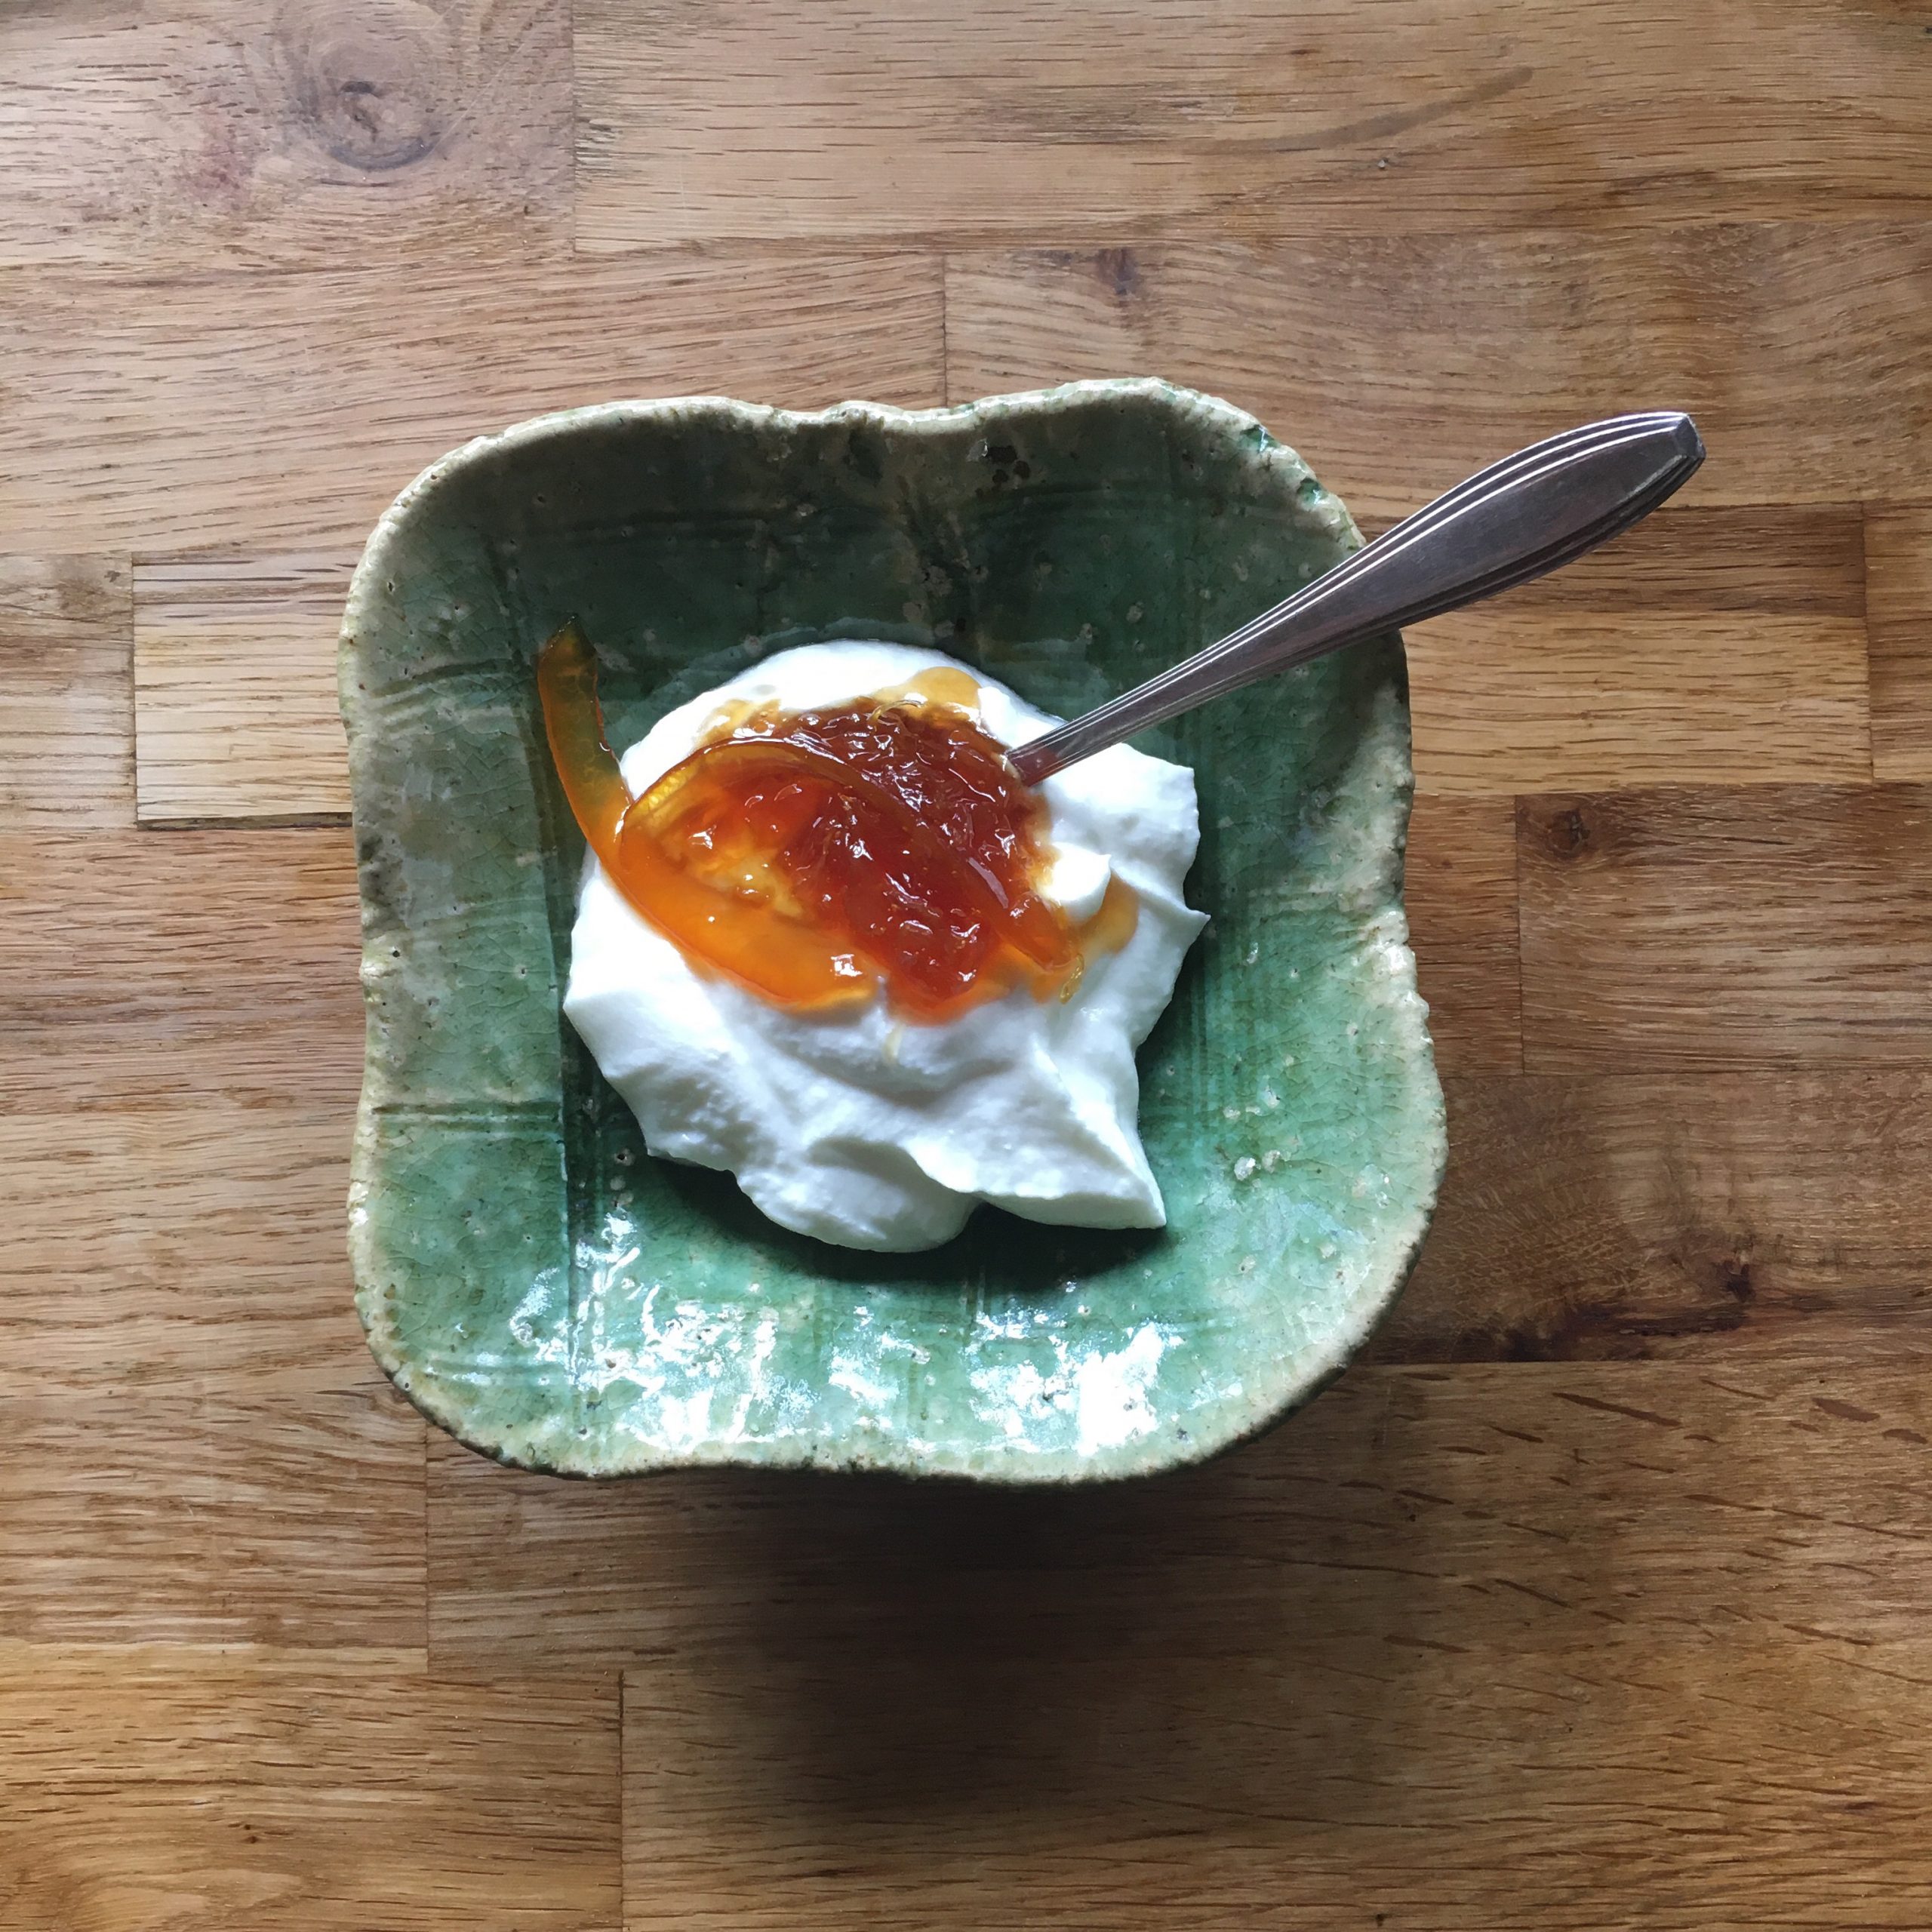
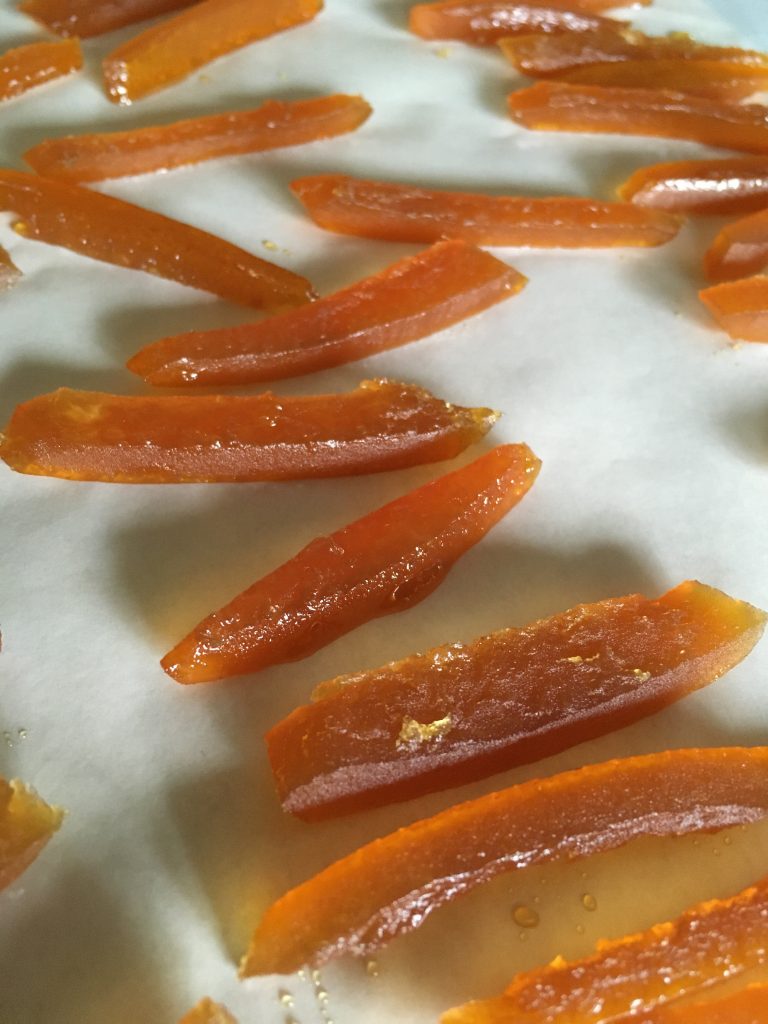
But in the end we love the raw fruits so much, plain and simple, that apart from a little batch of marmelade, but I’m no good to teach anyone how to make it, rather I should learn myself, I made a lot of candied peels after we’ve eaten the flesh. Though we eat little sugar, I love candied fruits and citrus peels of sorts candied. At that, I think I can proudly say that I am not bad! I have learned patience and it is paying off! So here’s my recipe, but if you don’t have hasaku, it works with any other citrus fruits. I personally like the thick skin of hassaku, but lemon, orange, yuzu… they all can work perfectly too. You just need to be sure that your fruits are untreated before and after harvest, that’s why I only candy peels of fruits I am sure about.
Citrus fruits candied peel
Untreated citrus fruits of your choice
Sugar ( I use only untreated brown cane sugar)
Water
Patience
Dark chocolate (optional)
Candied peels work in any batch size. Wash and dry your fruits. Peel them being careful to be as close to the flesh as possible. Remove any possible fibers layer. Cut the size you like. I like thick ones so that they are almost a square section.
In a pan set the peels. Pour water in a measure cup. From that cup pour into the pan to cover the peels. Check how much you poured in. Add the same volume of sugar to the preparation. Bring to a boil, let on low heat for 15 min. Let cool down in the pan for two hours at least, longer is good. The peel will start to loose their opacity. Bring to a boil again, and cook at low heat for 10 min again. If the liquid is to little add just a bit of water. Let cool down again, and repeat the heating/cooling until the peels are translucent adding just a bit of water not to burn them and such that the syrup doesn’t turn into caramel. When perfectly translucent, heat a last time and move the peels from the pan to a clean surface. I use cooking paper. Let cool down. Now they are ready. You can store them or dip them in chocolate, roll them in cristal sugar (but really, they don’t need anymore sugar!)… I love them just the way they are, A. likes them coated with chocolate…
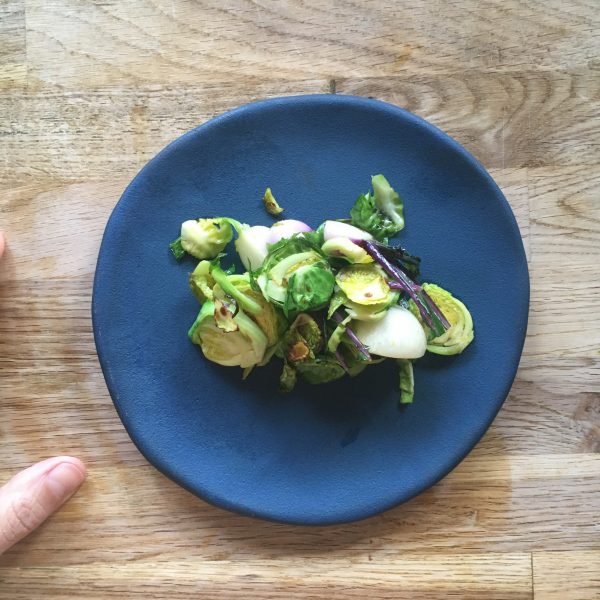
A., and I too, are big fans of Brussels sprouts. Anytime there are some at the farmers market I would bug some even ic sometimes there are sold in tiny portions of 5 or 6! A few years ago we tried growing some in our kitchen garden, hoping for a consistent harvest, but once again the slugs and caterpillars were too quick at first and since then the plants grow leaves every year but never sprouts… I keep them thought, just in case!
Another winter favorite is turnips. The small and firm turnips of all possible shades from white to purple. That we never tried to grow yet… but they are easy to find by rather big bundles.
With these two in my basket I came up with a super delicious recipe, perfect for a side or starter. that can be eaten at room temperature or just warm: a beautiful and colorful plate of Brussels sprouts and tiny pink turnips. I dressed them in olive oil only bug you could easily think about adding a few drops of yuzu juice, or even more Japanese, a white miso and yuzu light sauce. So let me share my recipe.
Turnips and Brussels sprouts salad (2 servings)
6 Brussels sprouts
6 little turnips
1tsp of olive oil
Salt and pepper
Optional: a few drops of yuzu juice or grated yuzu peel, 1 tea spoon of white miso
Wash carefully the vegetables. Slice the Brussels sprouts in 4 or 5. Cut the turnips in 4. If you can’t find tiny turnips then slice them. In a heated pan add the olive oil and the vegetables. Cook while stirring gently for 5 minutes. Add salt and pepper. at this stage you can serve. Add if you want to use them, the yuzu juice and/or the grated yuzu peels. If you use white miso, stir well the yuzu juice with the miso and too the vegetables.
Voila! Really not difficult and soooo scrumptious.