Spring is here!

After the fukinoto and the canola which both announce the arrival of spring and the cold unstable weather that usually accompany the plum blossom end, the next step is the real arrival of spring in late March or early April with the famous cherry blossoms of course, Mole’s quince and the jonquils putting beautiful colors in the garden but also the bamboo shoots (takenoko 筍)and the other wild vegetables: fern (kogomi こごみ), horsetail (tsukushi つくし), angelica tree buds (tara no me タラの芽)…

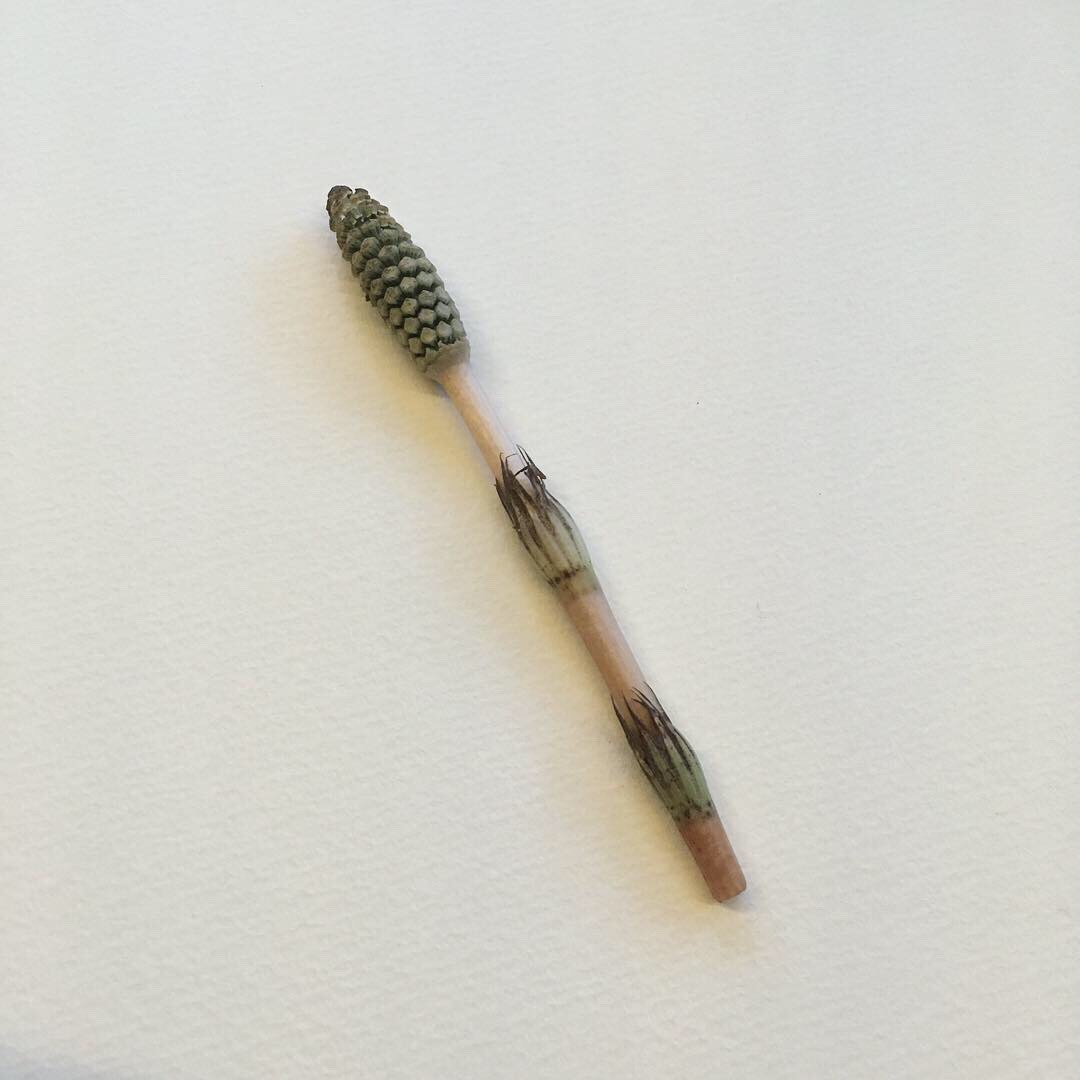
We don’t have kogomi and tara no me in our garden, or not that I know of yet (I discover new things each year!), I found a few tsukushi in the past but never enough or at the right time to harvest them. This year I found really plenty, enough to consider cooking some. Tsukushi are a bit of a delicate plant and their pollen is not very good so it’s better to harvest them early. The one on the picture below is for example a bit too old, this can be seen by the dark color of the head: the pollen is already about to go out! The pollen of tsukushi is blue to black, and looks like mold!!! I have never seen tsukushi in supermarkets, I assume they are too delicate for transport and shelf time. Their flavor is very subtle so I like simple preparations: quickly sautéed, or simply blanched in dashi. To prepare them, simply wash them and remove the corollas parts using your thumb by simply rolling the stem with the corolla on top of your nail. Then cook them in a pan with a bit of butter or as said above blanched them in a regular dashi. Serve them right away with rice, scrambled eggs… nothing too strong.

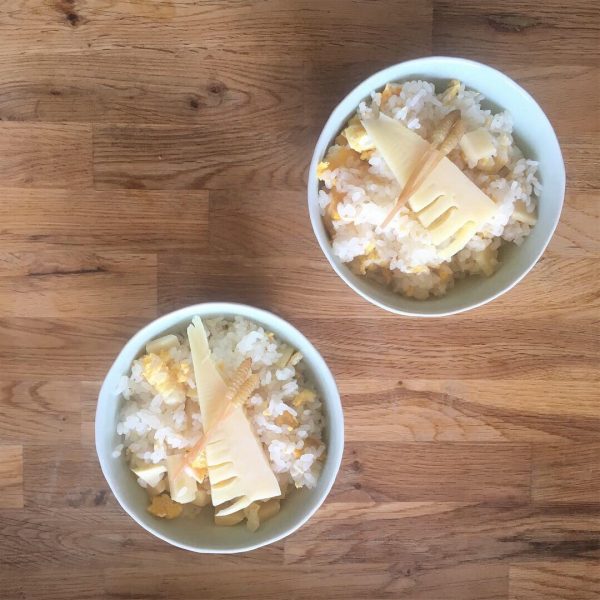
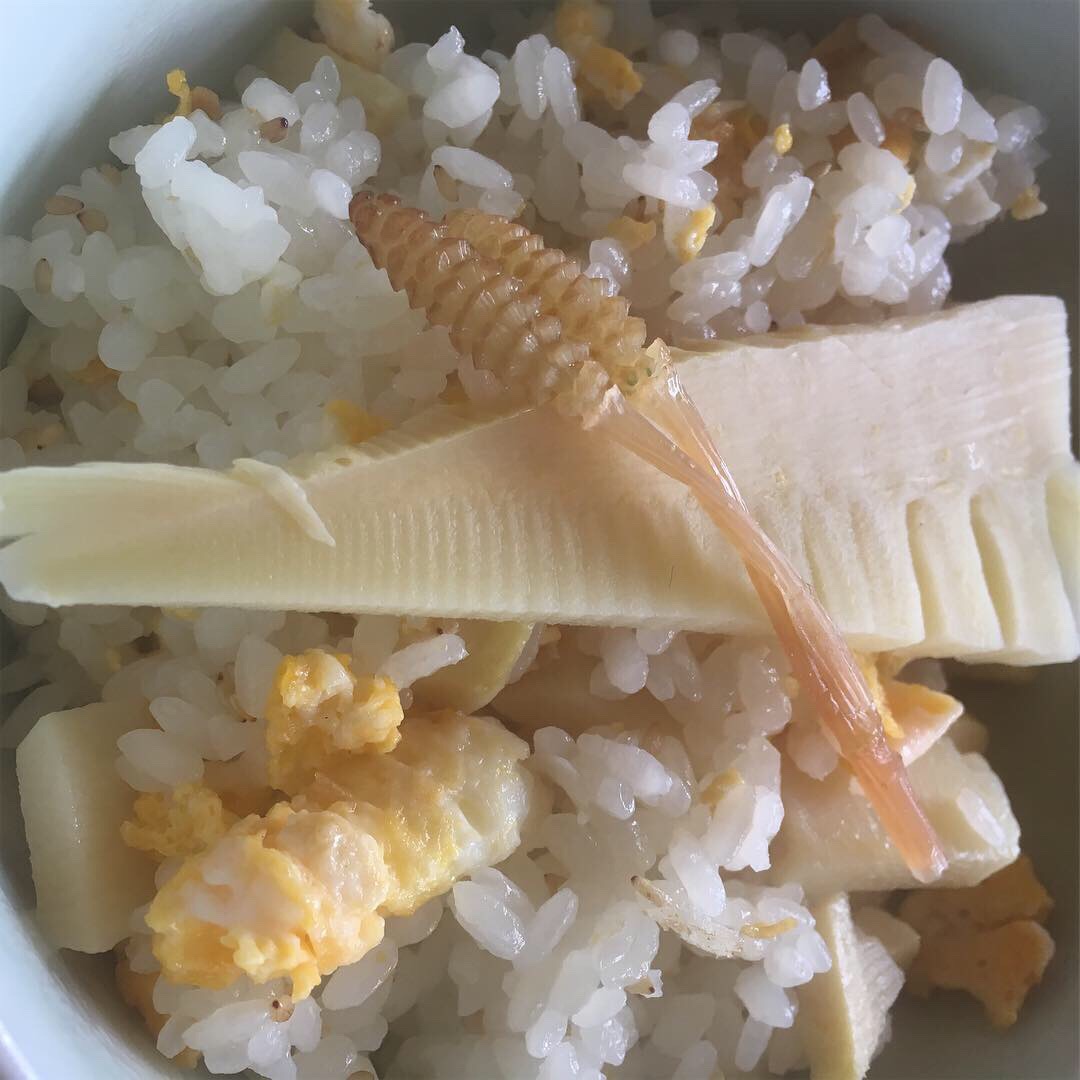
I my case I made a simple fried takenoko rice with sesame oil, scrambled eggs season with a few drops of soya sauce. That’s it!
Canola

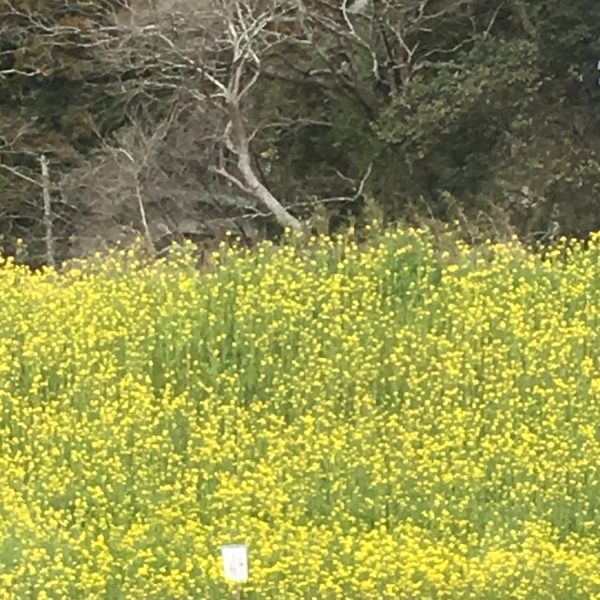
Every year one of the first vegetable that shows the arrival of warmer days and real spring (meaning up and downs in temperatures and unstable weather) is canola.

Not only canola is delicious, it is also beautiful in the nature, with its tall vibrant green leaves and yellow flowers. Isumi and Otaki are quite famous for its sight as they grow along the Isumi line train tracks and make very picturesque pictures for which a lot of people come. Not to say when the cherry trees start blooming, the pink trees bring some more pictural scenes and views, and gather even more people!

I enjoy very much when we ride in the country side at that time, but as you know, I love cooking canola too a lot.

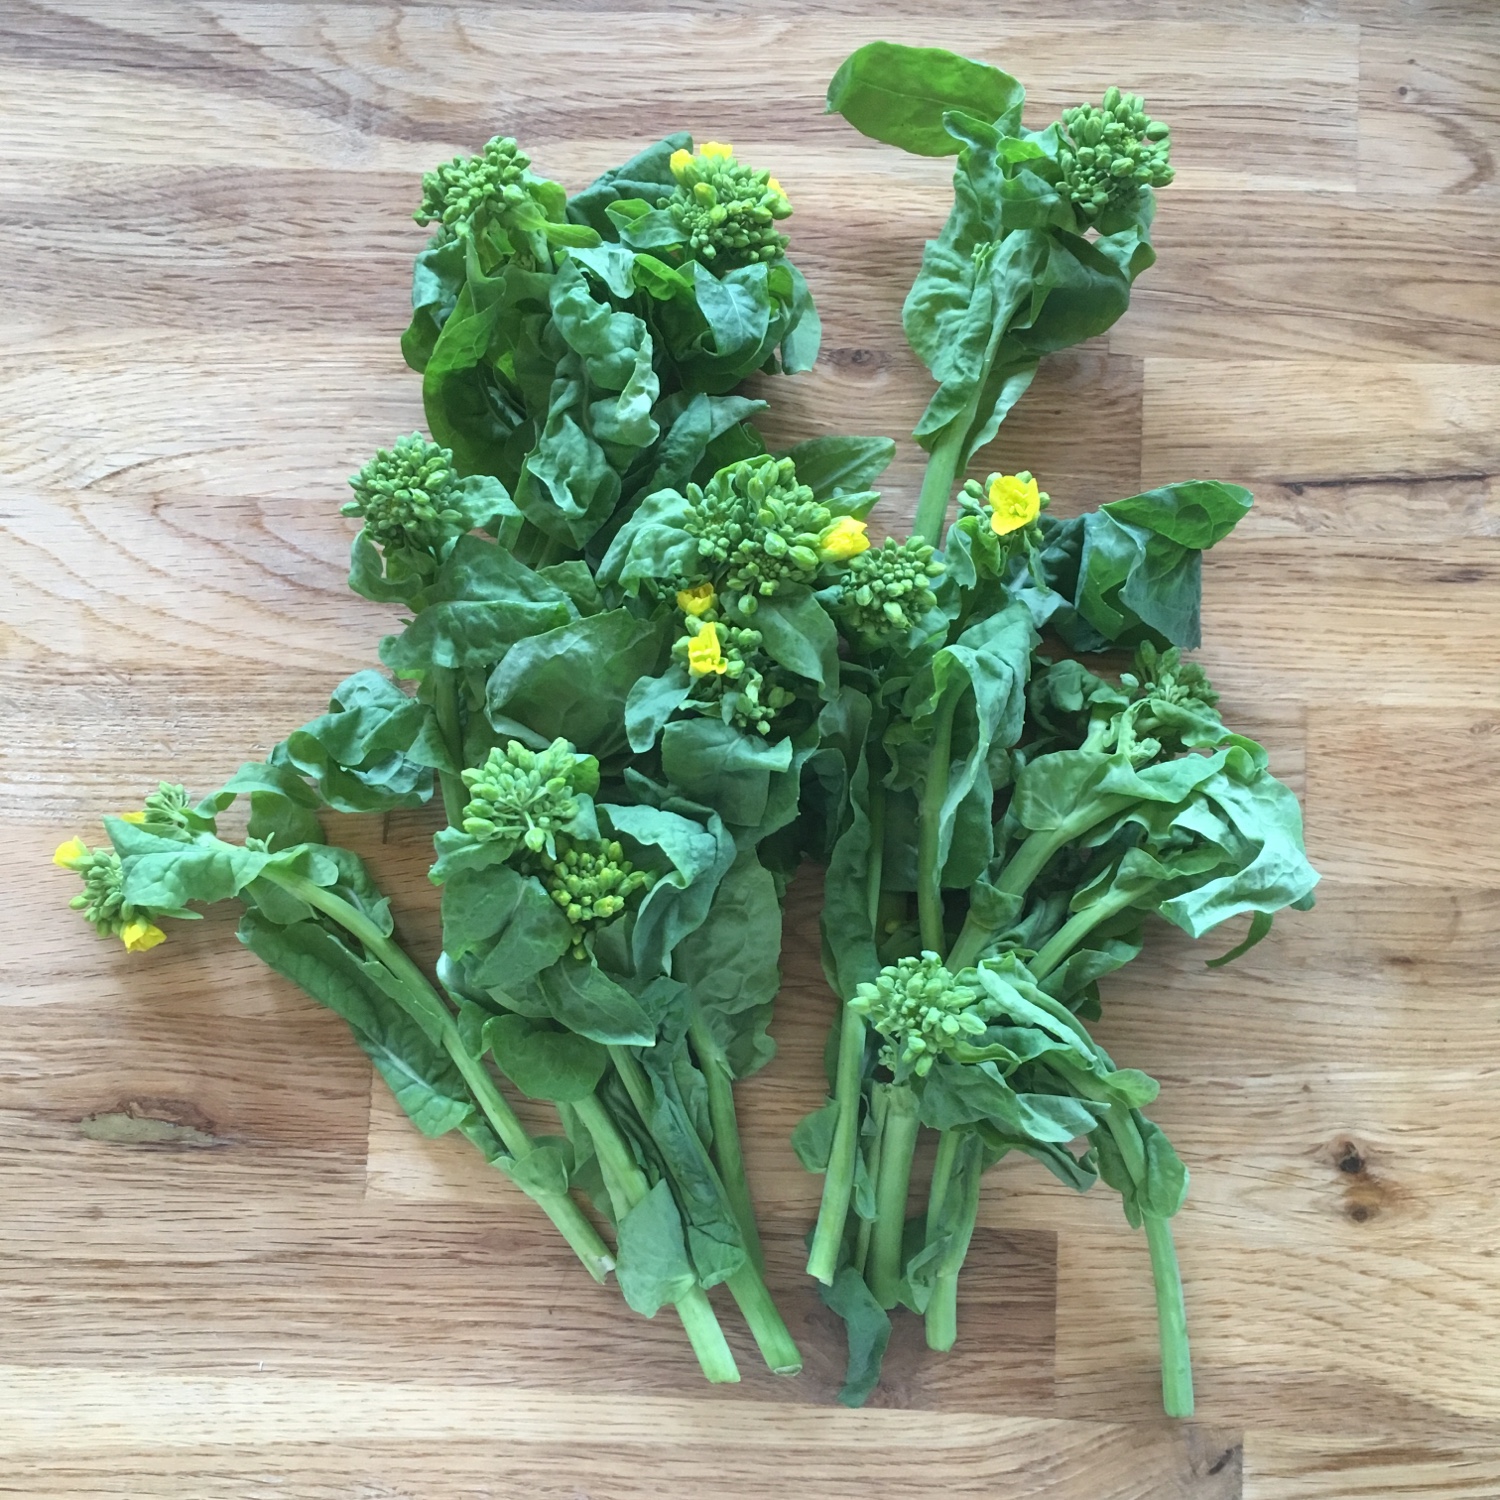
This time, I used it for a very quick recipe, with soba and scrambled eggs. I simply blanched the canola washed and cut with a handful of katsuobushi. I boiled the soba, prepare the eggs, served all in a bowl, added olive oil and soya sauce, that’s it!!!

I’m now flying to Australia for a few days… bye-bye!

Tofu

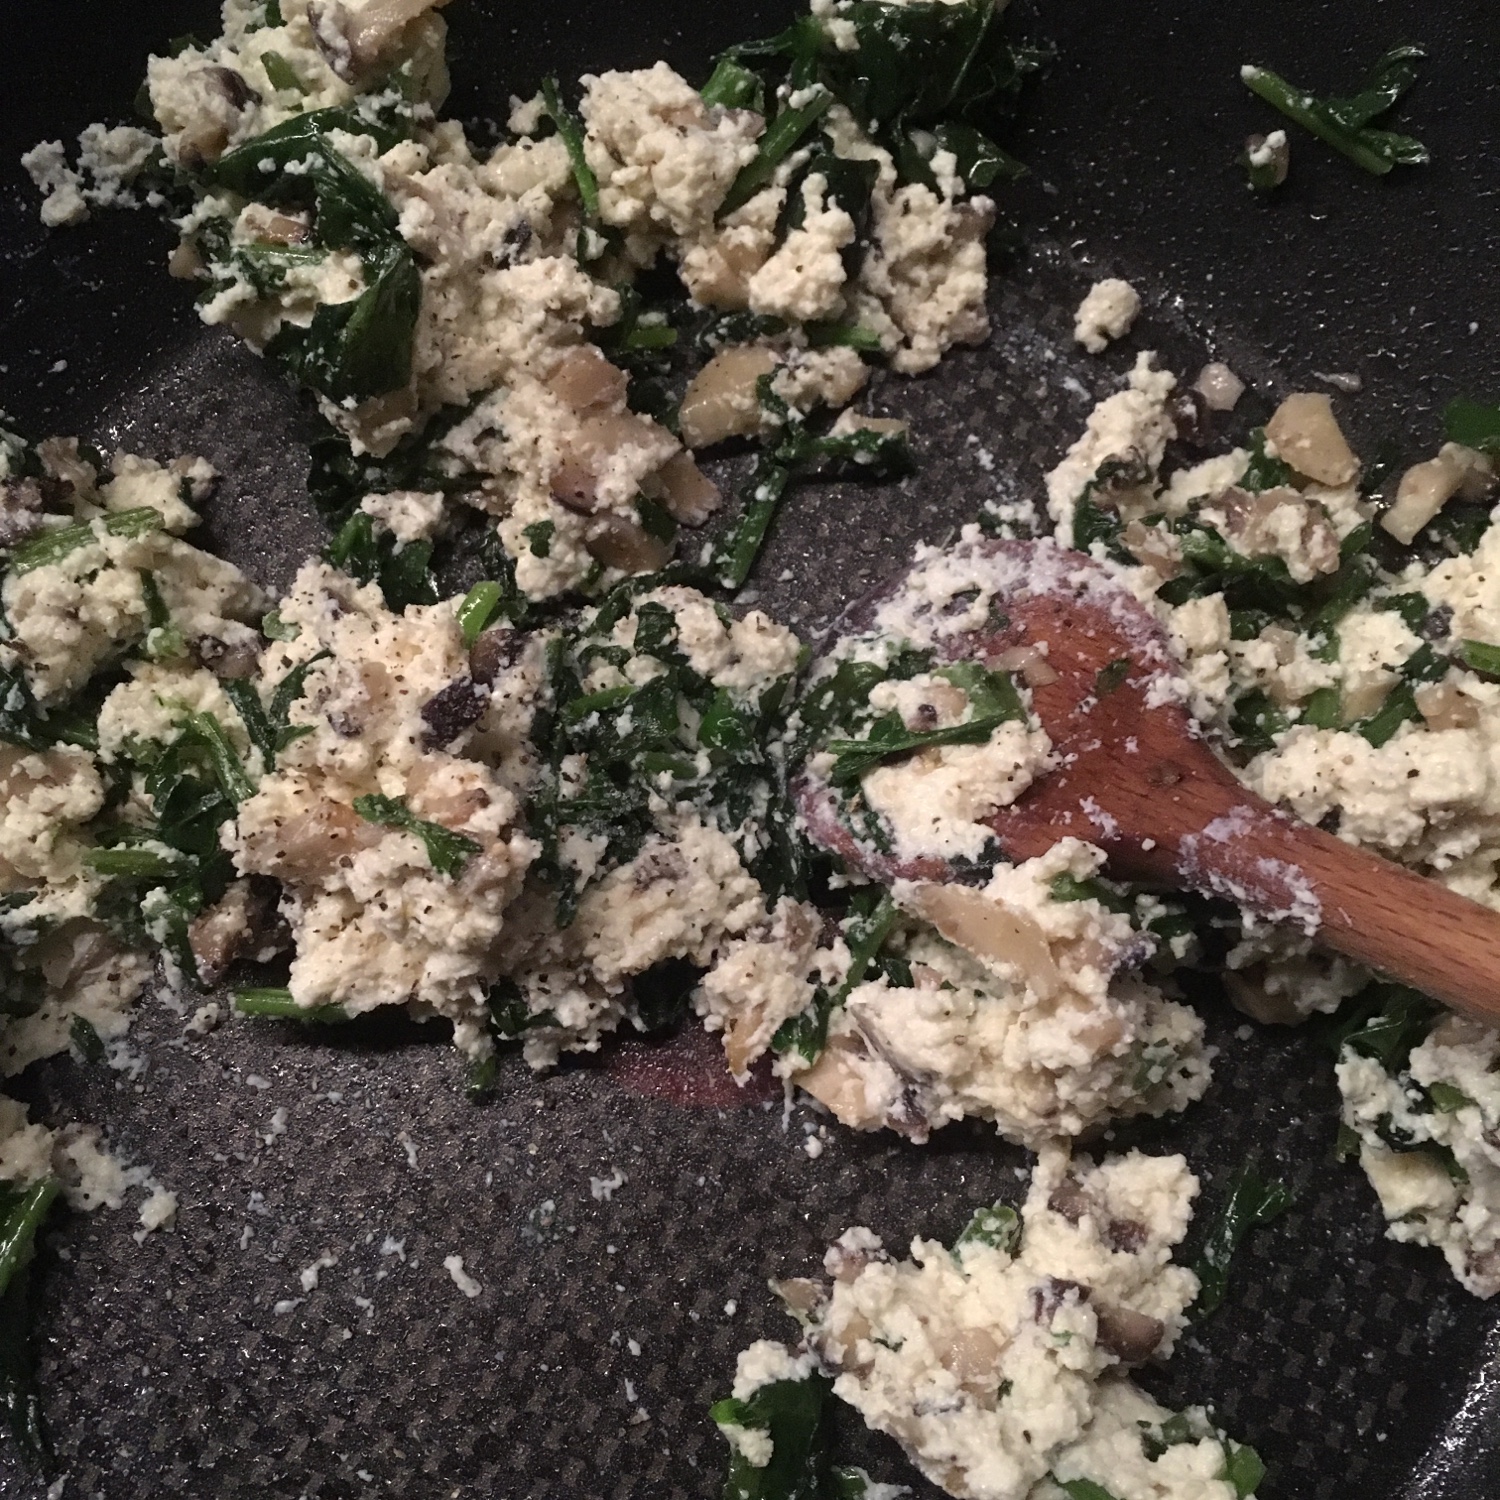
I am a big fan of tofu… most of you may say that tofu is an insipid, watery, white thing, but it is actually much more than that. I was convinced very quickly when we went to a tofu restaurant near Nezu (we used to live in Nezu) the very first months we lived in Tokyo. There was tofu in every single dish of the kaiseki course menu and it was amazing to discover all you can do with tofu. After that of course we’ve been to many other tofu restaurants, and for the scenery (though they serve not so much tofu actually) Ukai, at the foot of the Tokyo tower is without mistake a great pick. And regarding the preparation of tofu I learned a lot thanks to my cha-kaiseki classes. On thing that is always important is to drain hard tofu (momen tofu – 木綿豆腐) well. But what I realized recently is that a very well drained tofu, when heated in a pan for a short time ressembles ricotta in texture, without the milky taste. Perfect for A. who doesn’t like the taste of cheese and for me who live cheese. We have a compromise!

That’s how I’ve stared using very well drained tofu in many preparation where I may have used cheese. So, how does that work?

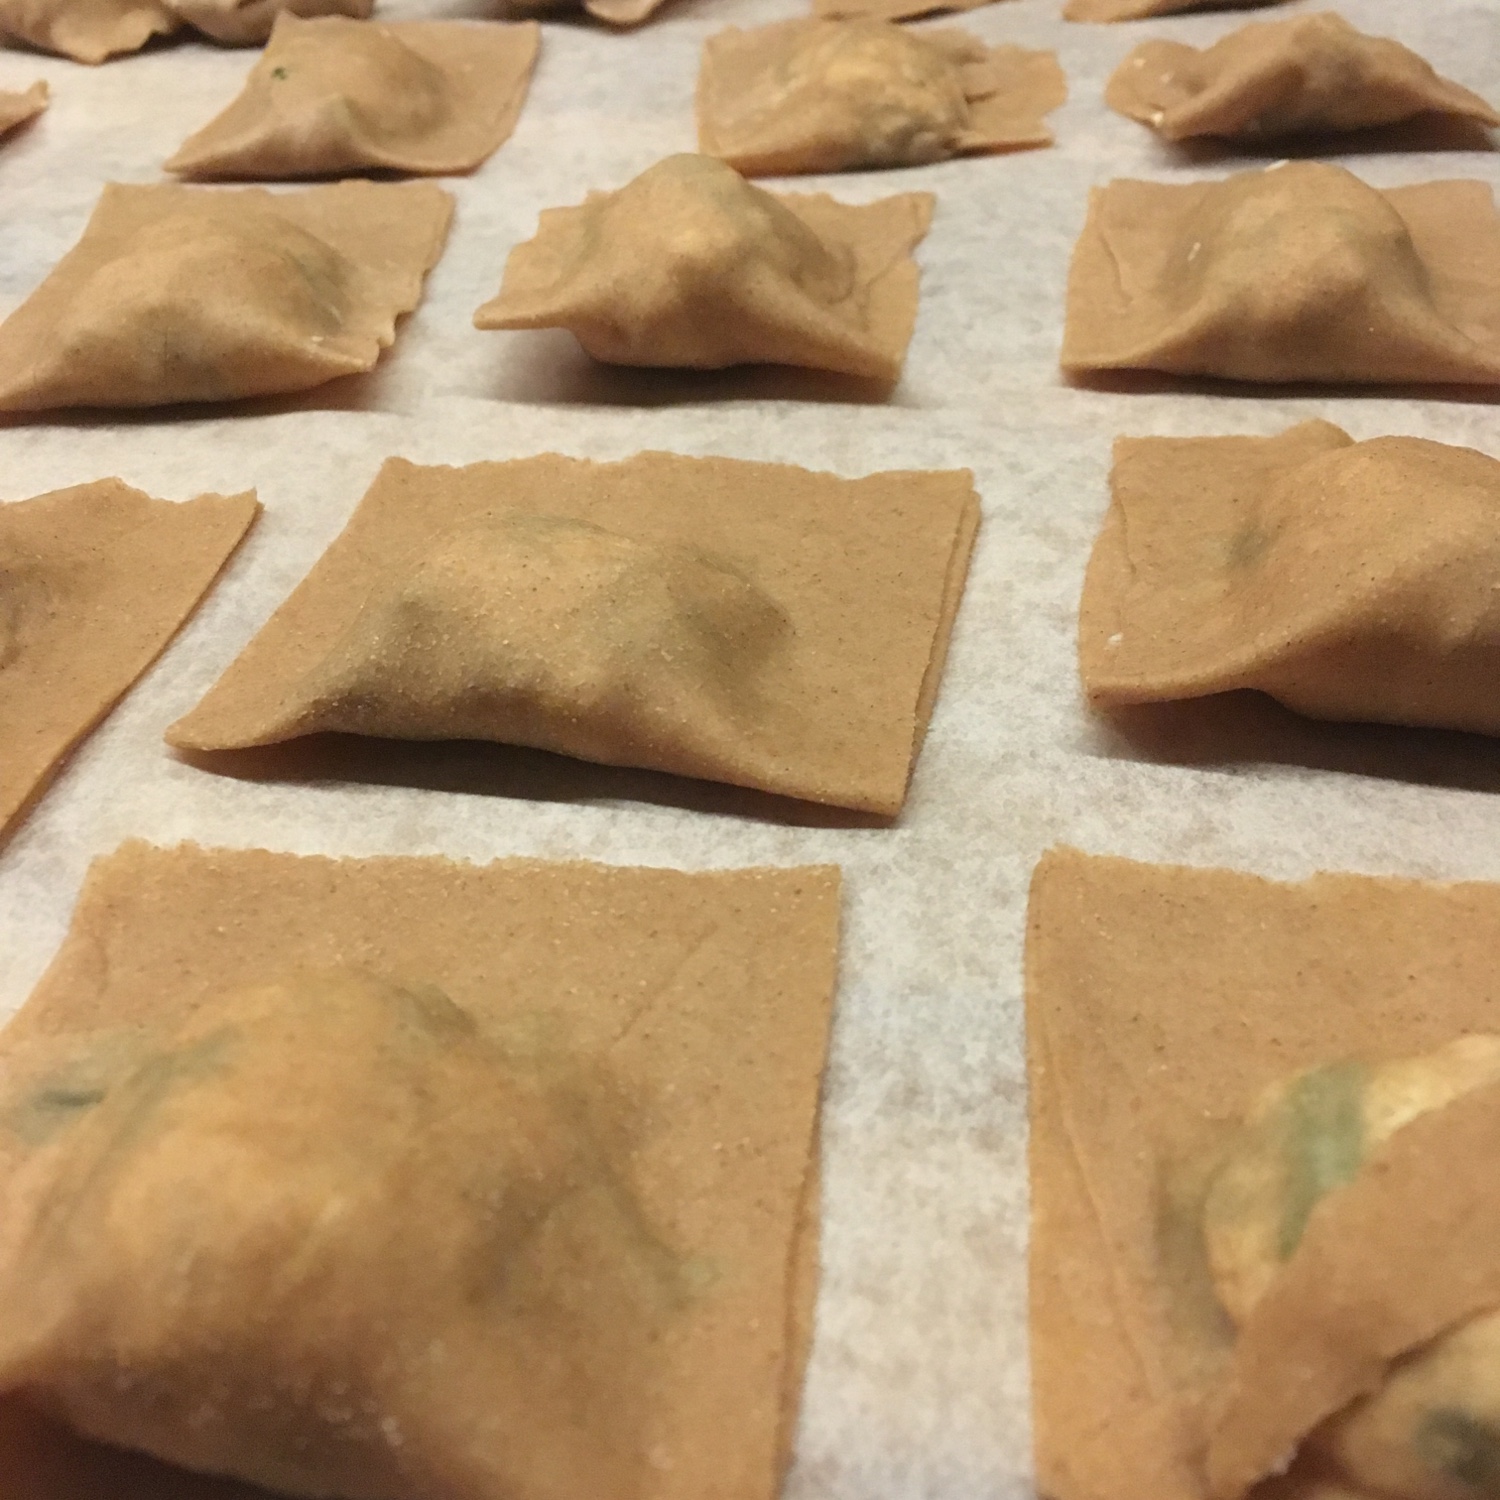
Drained tofu, rucola, shiitake for ravioli filling

You need to cutting boards, and a clean cloth. First start draining the tofu by pressing it between the two boards. Slightly incline the bottom one towards the sink, put the second on on top with a non breakable weight… anything you can find in the kitchen… I use miso packs or flour packs. Leave for an hour or so. Gravity will do the work.

Then put the tofu in the clean cloth and gently knead while squeezing to take the water of. Don’t be scared of squeezing hard. Once done you should obtain a rather dry to creamy texture. That’s it! Now you can use it in traditional Japanese recipes such as tofu balls with vegetables (I’ll post a recipe about that when the edamame season will arrive), or as I do, in replacement of ricotta, in quiches, in ravioli, or in pasta sauce, in salad…

Filled ravioli

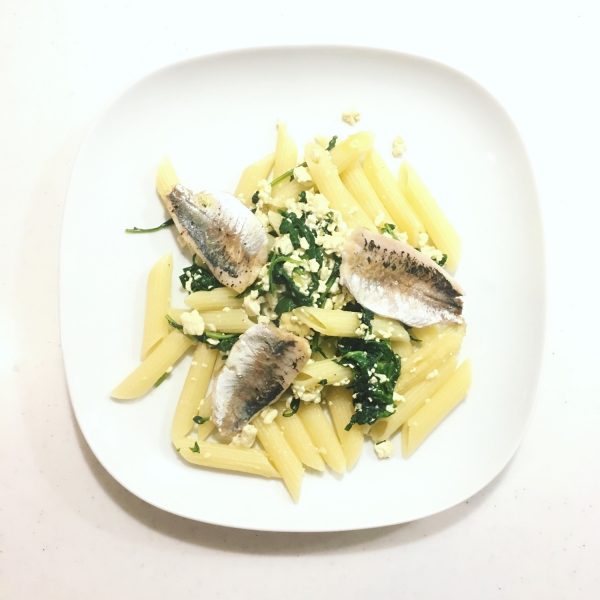
Last night I used the same drained tofu for a simple pasta recipe. I had fresh and tender radish tops, and beautiful fresh anchovies and prepared penne. After draining the tofu and washing the greens I cooked them in a pan at low heat. I boiled the pasta and drained. Add to the greens and tofu, add salt, pepper and olive oil. In a small pan I grill the anchovies, add a few drops of olive oil. Served in the plates and enjoyed. That’s it, simple right?

The only issue is that draining tofu is a bit tedious, and takes time, so if you don’t have much cooking time, I recommend starting draining in the morning, by using a tea pot and a tea filter and leave in the fridge, by night it should be almost perfect.

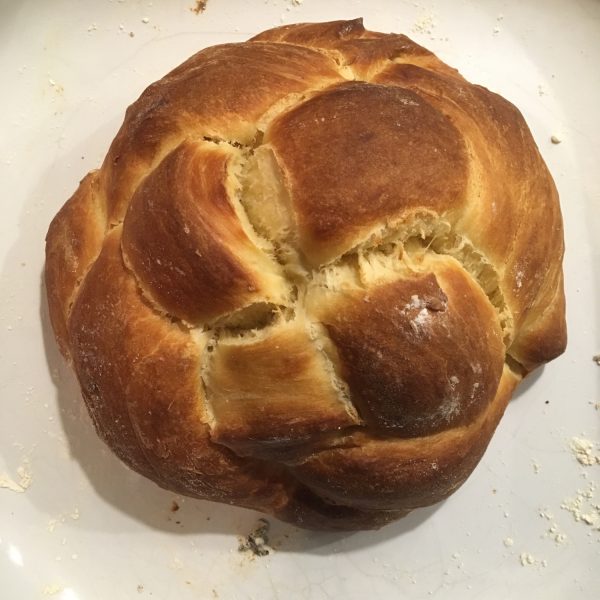
Braided brioche

When looking at Instagram and at breakfast tables, I was often seeing beautiful braided breads and brioches and was always intrigued by their realization. Not the braid itself, but how to obtain a dough that wouldn’t be too sticky to actually make a braid. I didn’t do much search. My recently acquired cookbook again helped me solving that problem. The Challah Dough from bread in 5 is really a nice alternative between bread and very rich brioche dough and I’ve come to use it often. And that’s how I learned how to make braided breads. It is actually extremely simple, much more than I imagined!

The book recipe can be found on that page but I slightly modified it to fit my pantry and taste. So here is mine:

Braided brioche bread (for one 400g bread)

– 250g of flour + for dusting

– 1 egg

– 1/2 cup of tepid water (add slowly as a little less may be required)

– 5g of yeast

– 5g of salt

– 2tbs of brown sugar

– 25g of melted salted butter

In a bowl, mix all the ingredients. The order has strictly no importance. For some reason (habit for sure) I almost always start with the flour, though the book recommends to finish with the flour… I tried both and the result is basically the same. To mix things altogether I use my hands or Japanese cooking chopsticks if I am on a rush or multitasking and want to keep my hands clean. I then leave the dough to prove and wait until it has almost doubled in volume.

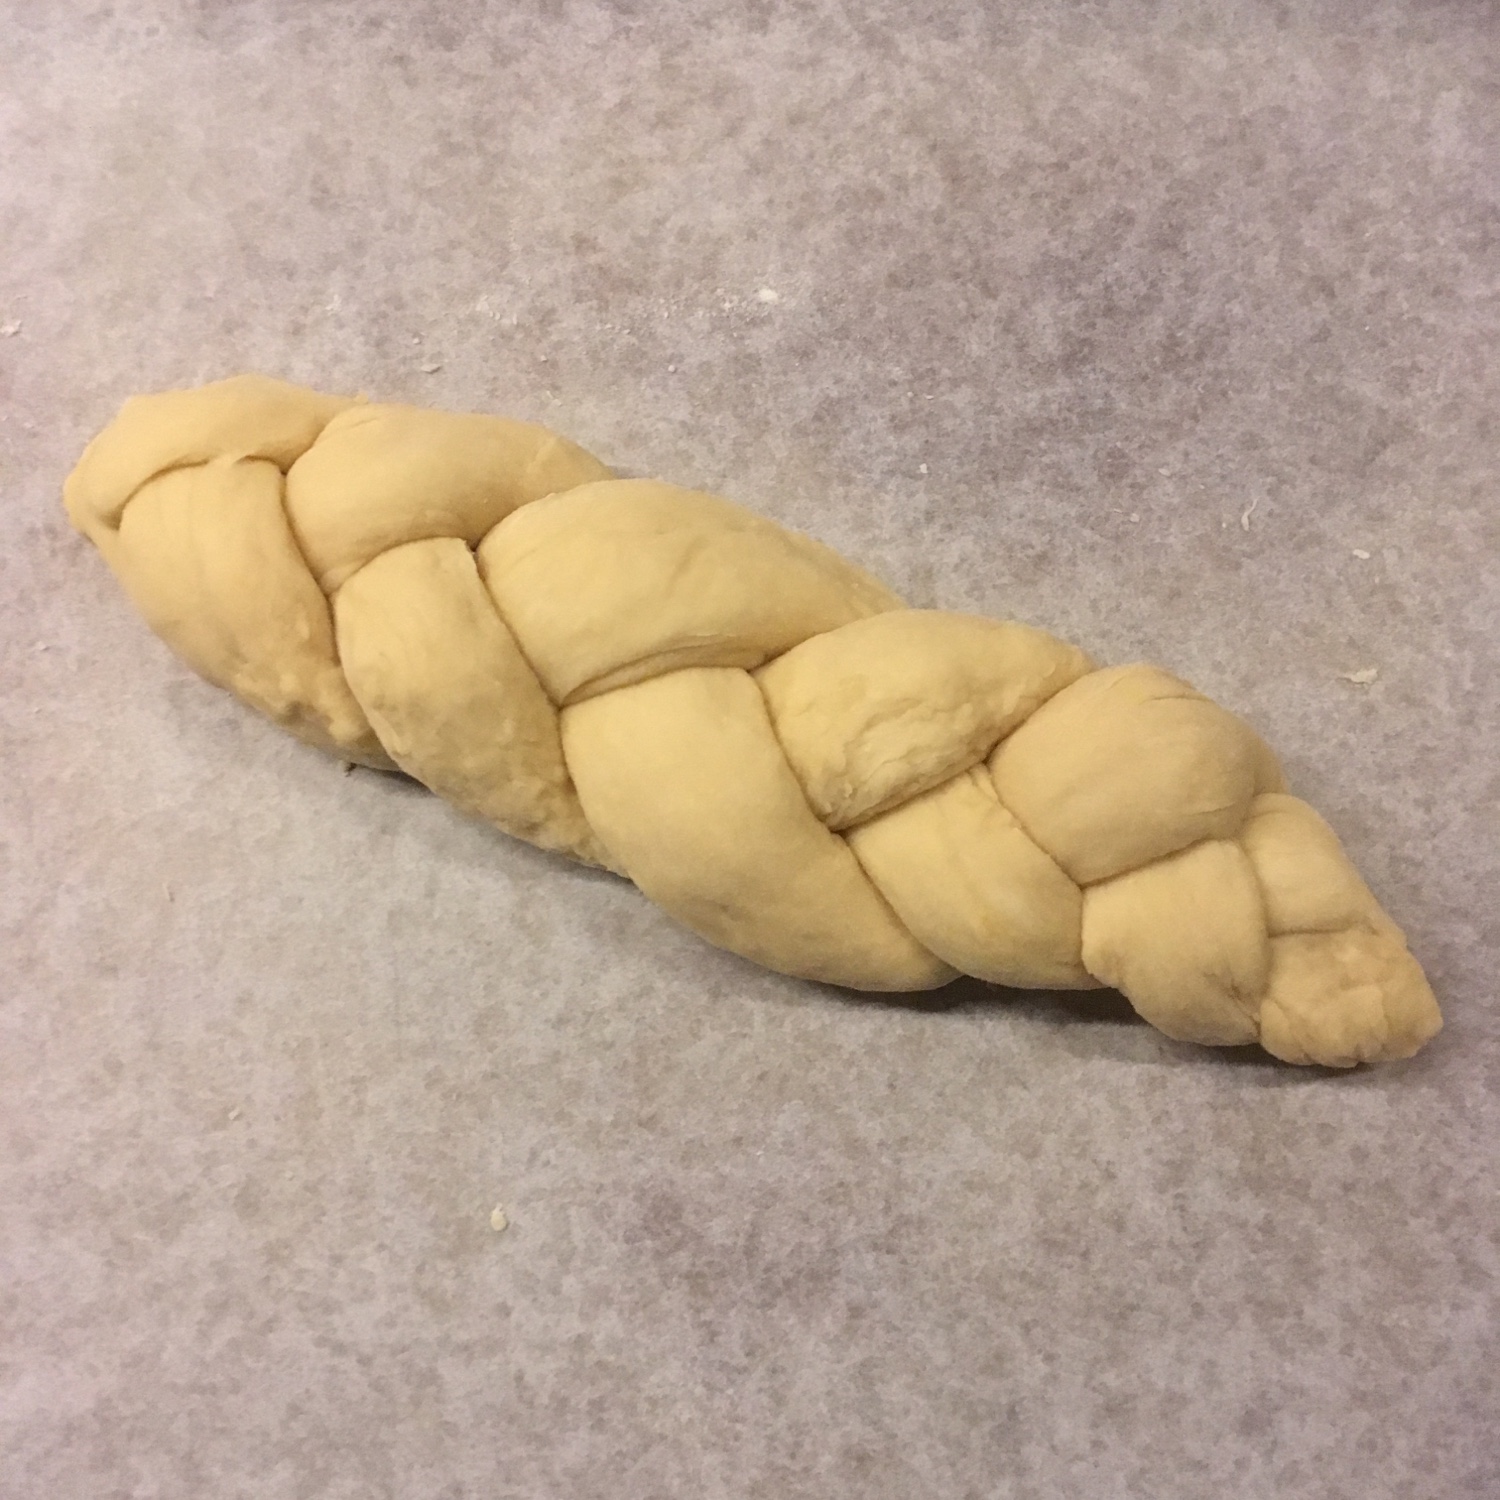
Once the dough has risen, using flour to dust I move it to a sheet of cooking paper. Then flatten it and cut in 3 for long braided bread, or 4 for the round ones. I roll them into 20-40cm sticks to make the strands, and start braiding. The 3 strands, braiding is obvious, and don’t need a picture. The 4 strands in circle, it is a little more tricky but not much actually, it’s just that you have to twist and turn 90deg, go up the first strand and under the second. The braids don’t have to be too tight, as the dough will rise again.

Leave for the second rise about 45-60minutes and then bake at 180deg for 20-25minutes, or until golden. Don’t over bake, it will make the brioche too dry, in particular if, like me, you like to eat it warm, and plan to warm it up in the oven before eating if you don’t eat right after baking. Oh… and I don’t use egg wash and they always come out perfectly golden.

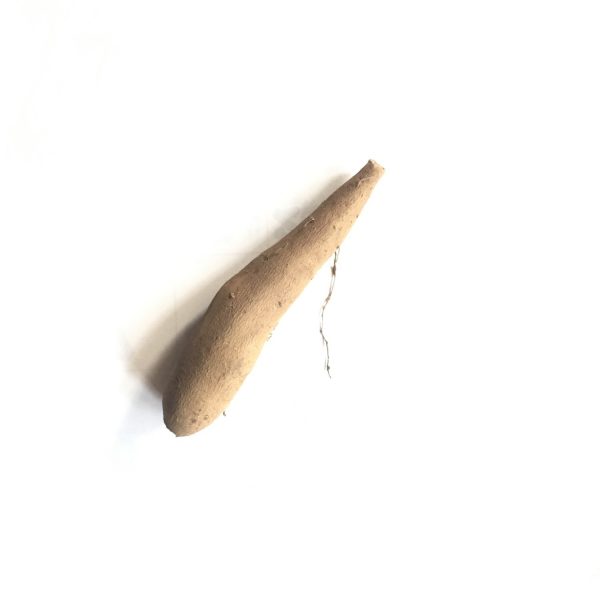
Yacon

In a couple of days this fruit/vegetables I didn’t know about is everywhere around me… it all first started when I stopped at Tsukuba station to buy something for lunch at the station store selling local products. I wanted their super delicious 100% carrot juice but they didn’t have it anymore… so I had to improvise and chose a yogurt made of Ibaraki milk and seasoned with yakon. I really like the soft, sweet and subtle flavor. I then discovered that apparently, though yakon is originally from South America, it grows very well in Ibaraki apparently since the 1980’s. But not only, just the next day I found yakon at our local farmers market in Isumi. Enough to convince me to try cooking them. To be honest I have not been very extravagant with this new fruit/vegetable and I mainly used it with other vegetables, in soup or sautéed, as a replacement of potatoes. I did a bit of reading and found that it can actually be used raw or cooked, for sweet or savory recipes… too much at once for me. I first need to get used to the taste before I can accommodate it in complex and fancy recipes. In particular because yakon doesn’t have a strong flavor. Yet the texture is very interesting and it’s French name “poire de terre” suits it very well for the fresh and crispy texture it keeps even cooked.

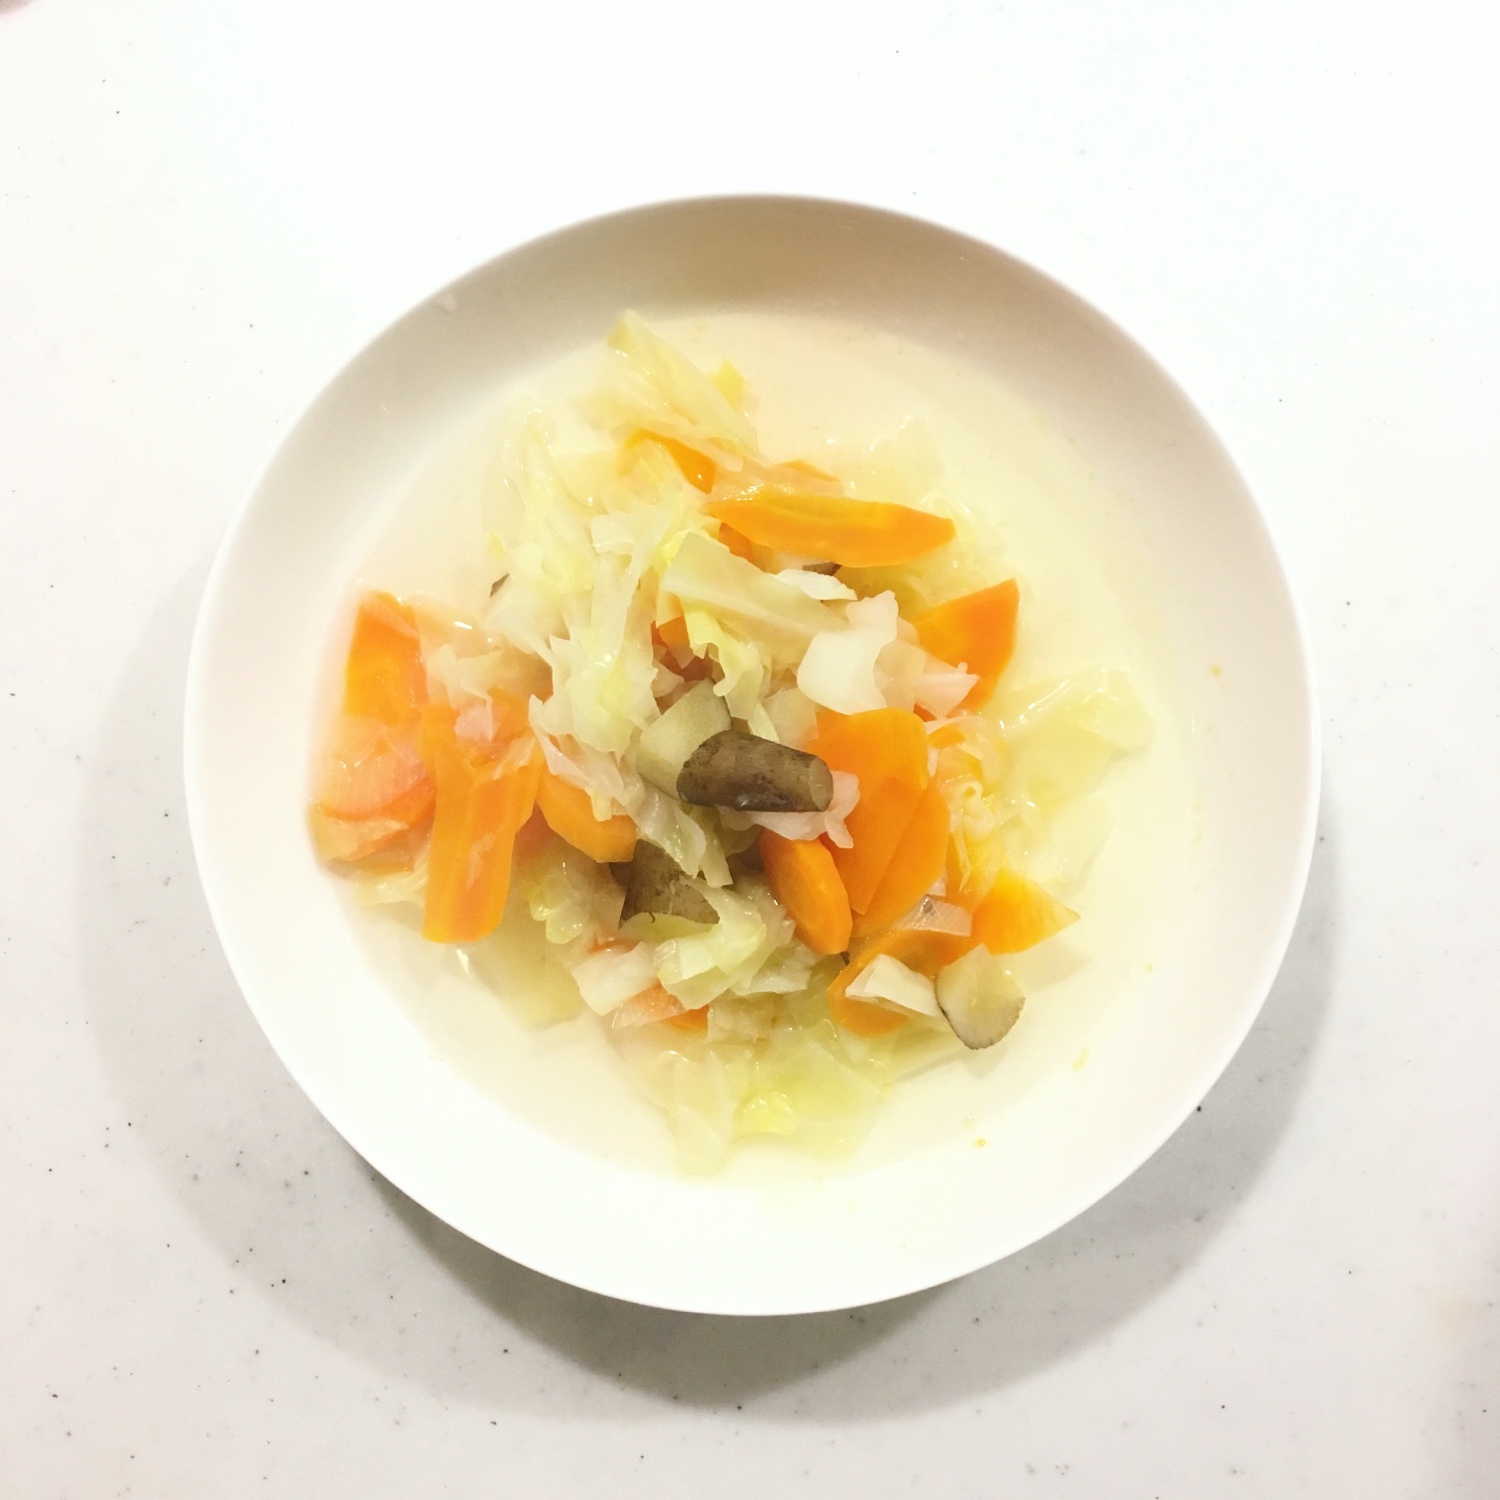
My first trial was on a simple vegetables soup, with carrots and leeks. I didn’t bother peeling them, just washing thoroughly. As I said, it keeps it crispy texture which was great, even better than potatoes that become too creamy and soft sometimes. This took me then to another trial…

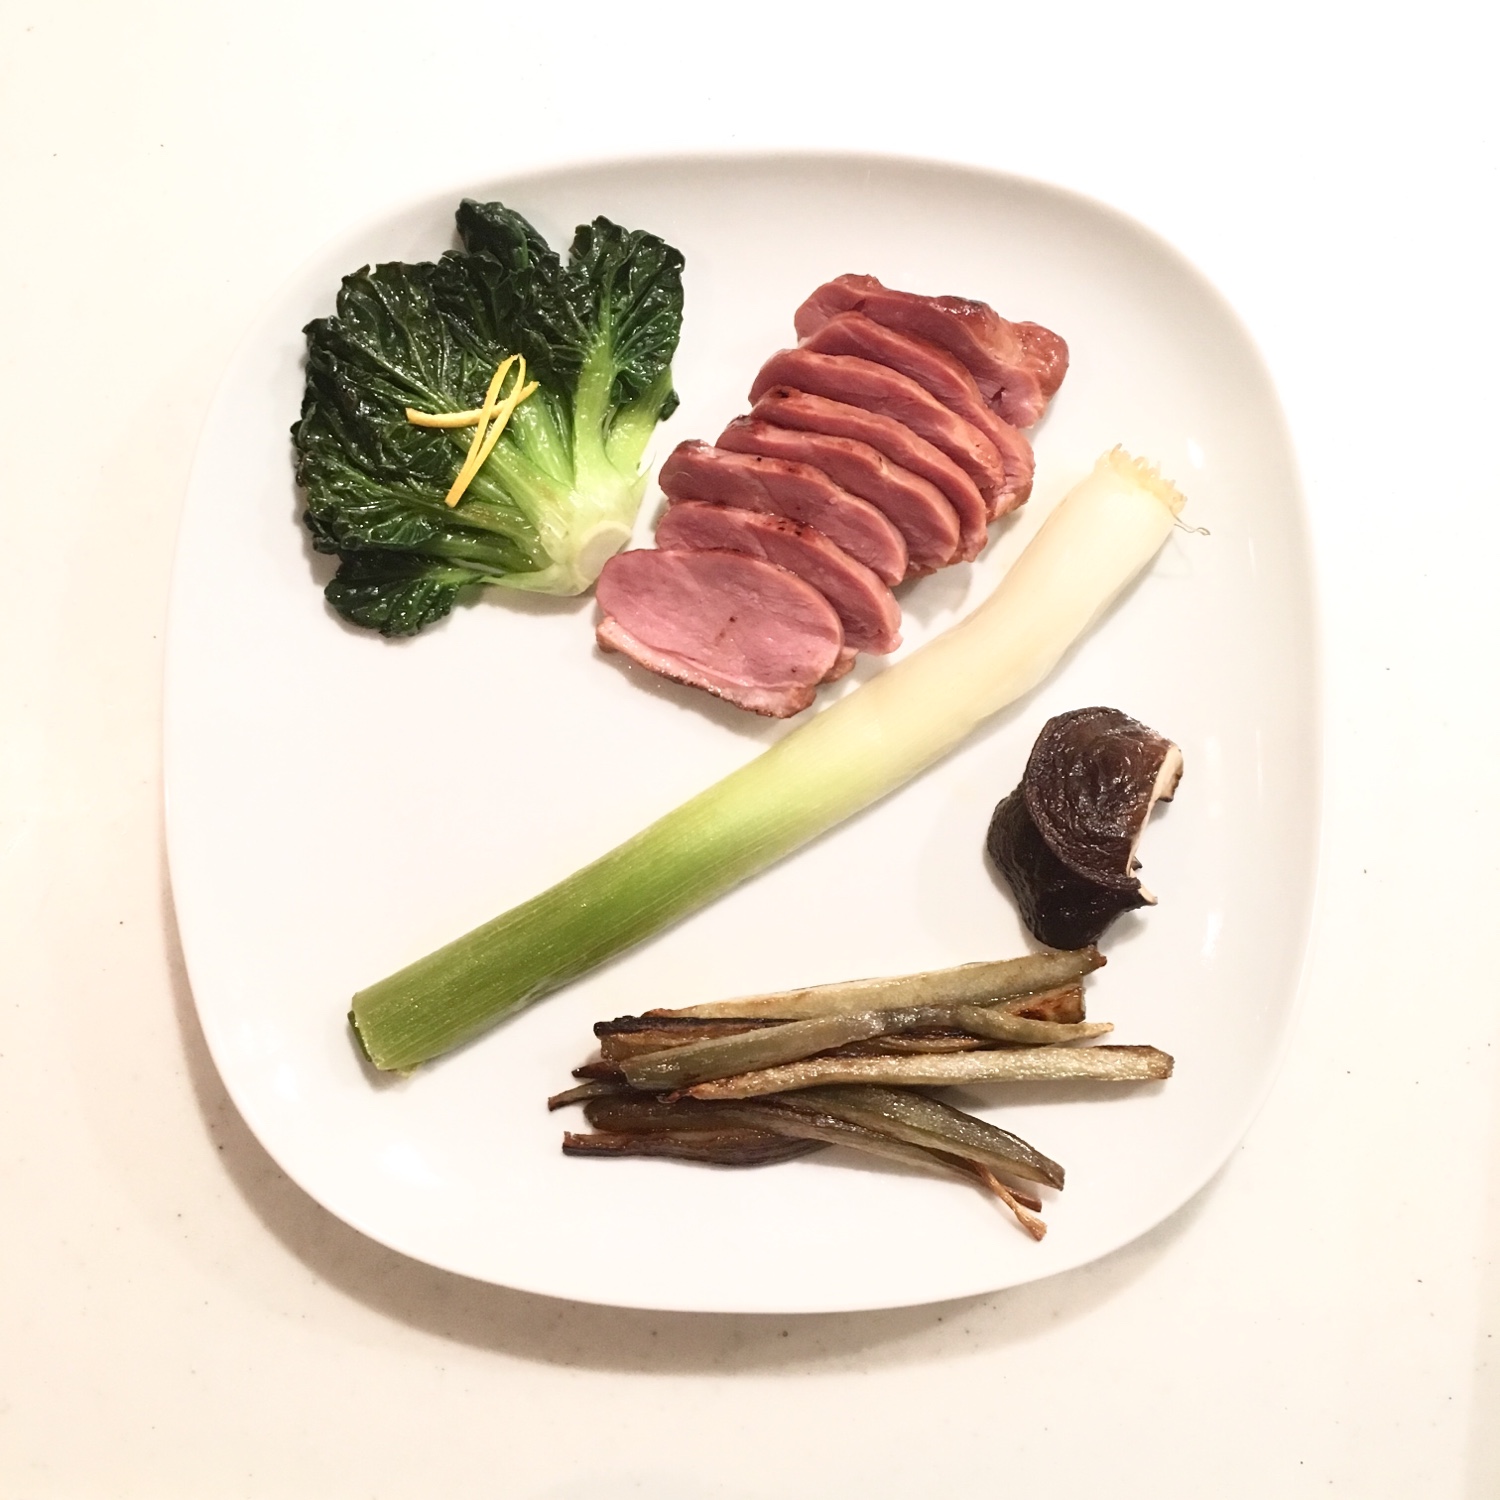
For the second recipe, you’ve already saw the picture in the last post, as yacon was part of the plate I prepared with the tatsoi, and the duck. I simply peel and cut in sticks, and panfry in a bit of oil them until golden like French fries. Again, it was great. Really crispy both from the frying and the texture of the yacon. Loved it!! what I learned in preparing them is that they oxyde very quickly and turn brownish. So better cook them quick after peeling and cutting.

Now I need to find some again and continue exploring how to use it!

New green on the table: tatsoi

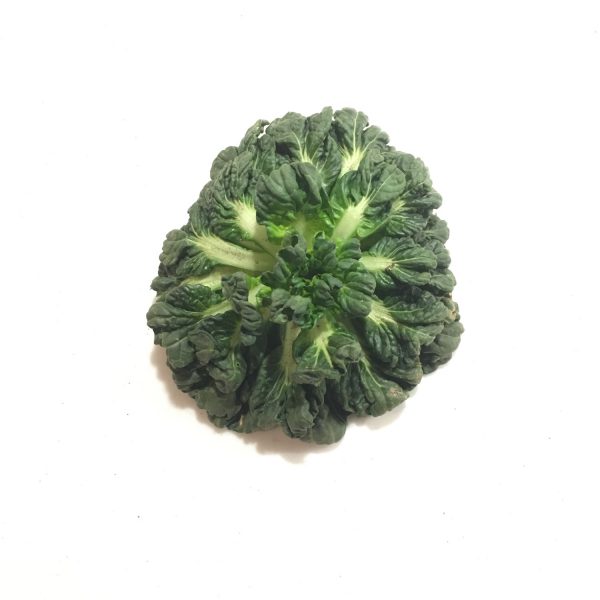
The family of edible greens I know is growing every week when we go to the farmers market. Somehow they always manage to have something that tickles me and I want to try. This week was all about tatsoi. Sorry for being such so badly cultivated when it comes to greens… I have so much to learn! So there was some tatsoi タアサイat the market and I could not resist it’s beautiful round shape, the greens of the leaves that ressemble spinach or rather chards, and a texture that is also close to bok choi.

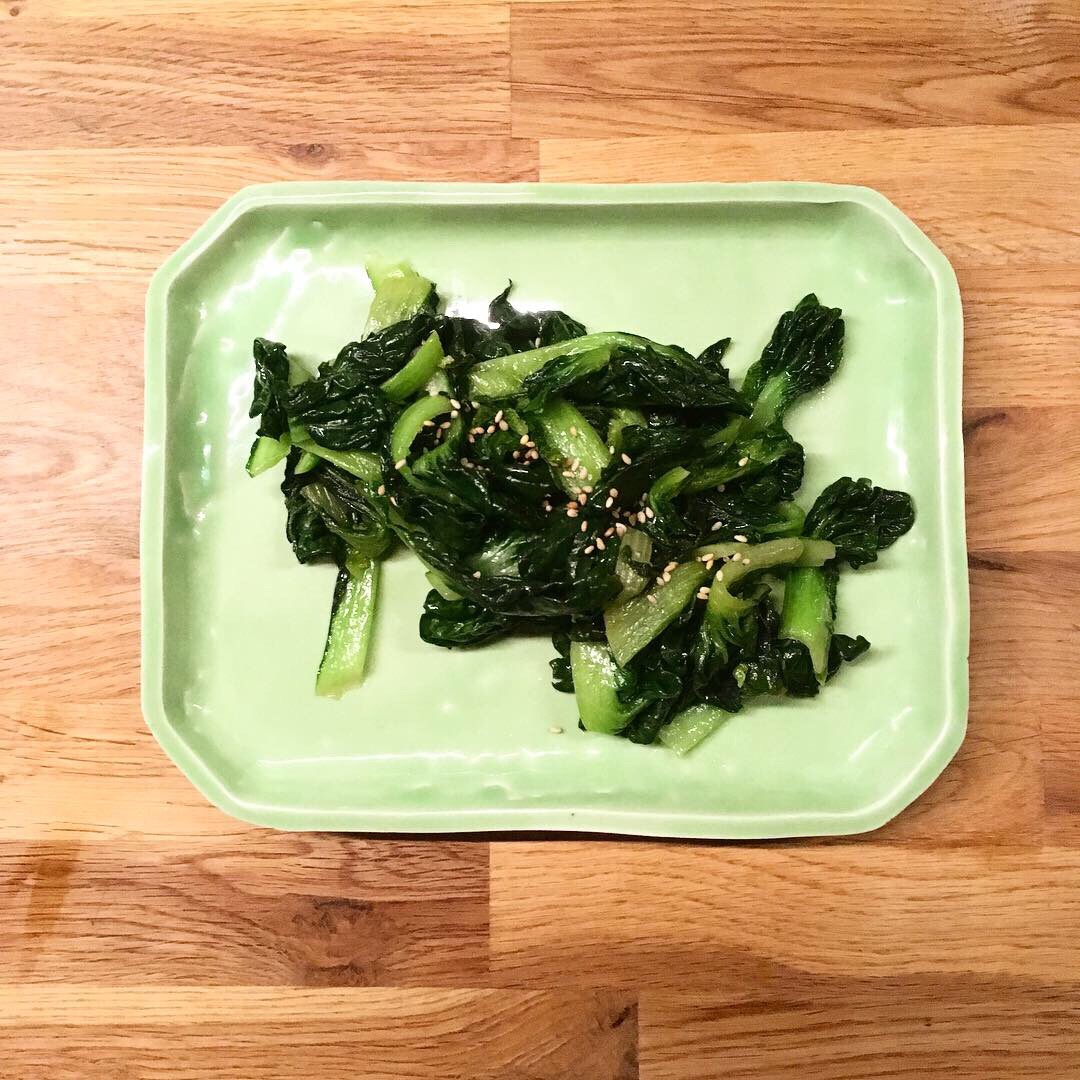
I firt prepared one in a very simple manner: I washed it thoroughly to remove the sand and soil, and simply cook it at low it with a few drops of sesame oil. Added some sesame seeds to serve. That was awfully simple and perfect to enjoy the flavor and texture of this green new to us.

The second time I cook one, it was a tiny one, so rather than using oil, I just blanched it, and served it with natsumikan zest. This can work with orange, yuzu or lemon too. The zest and the tatsoi were working very very well!

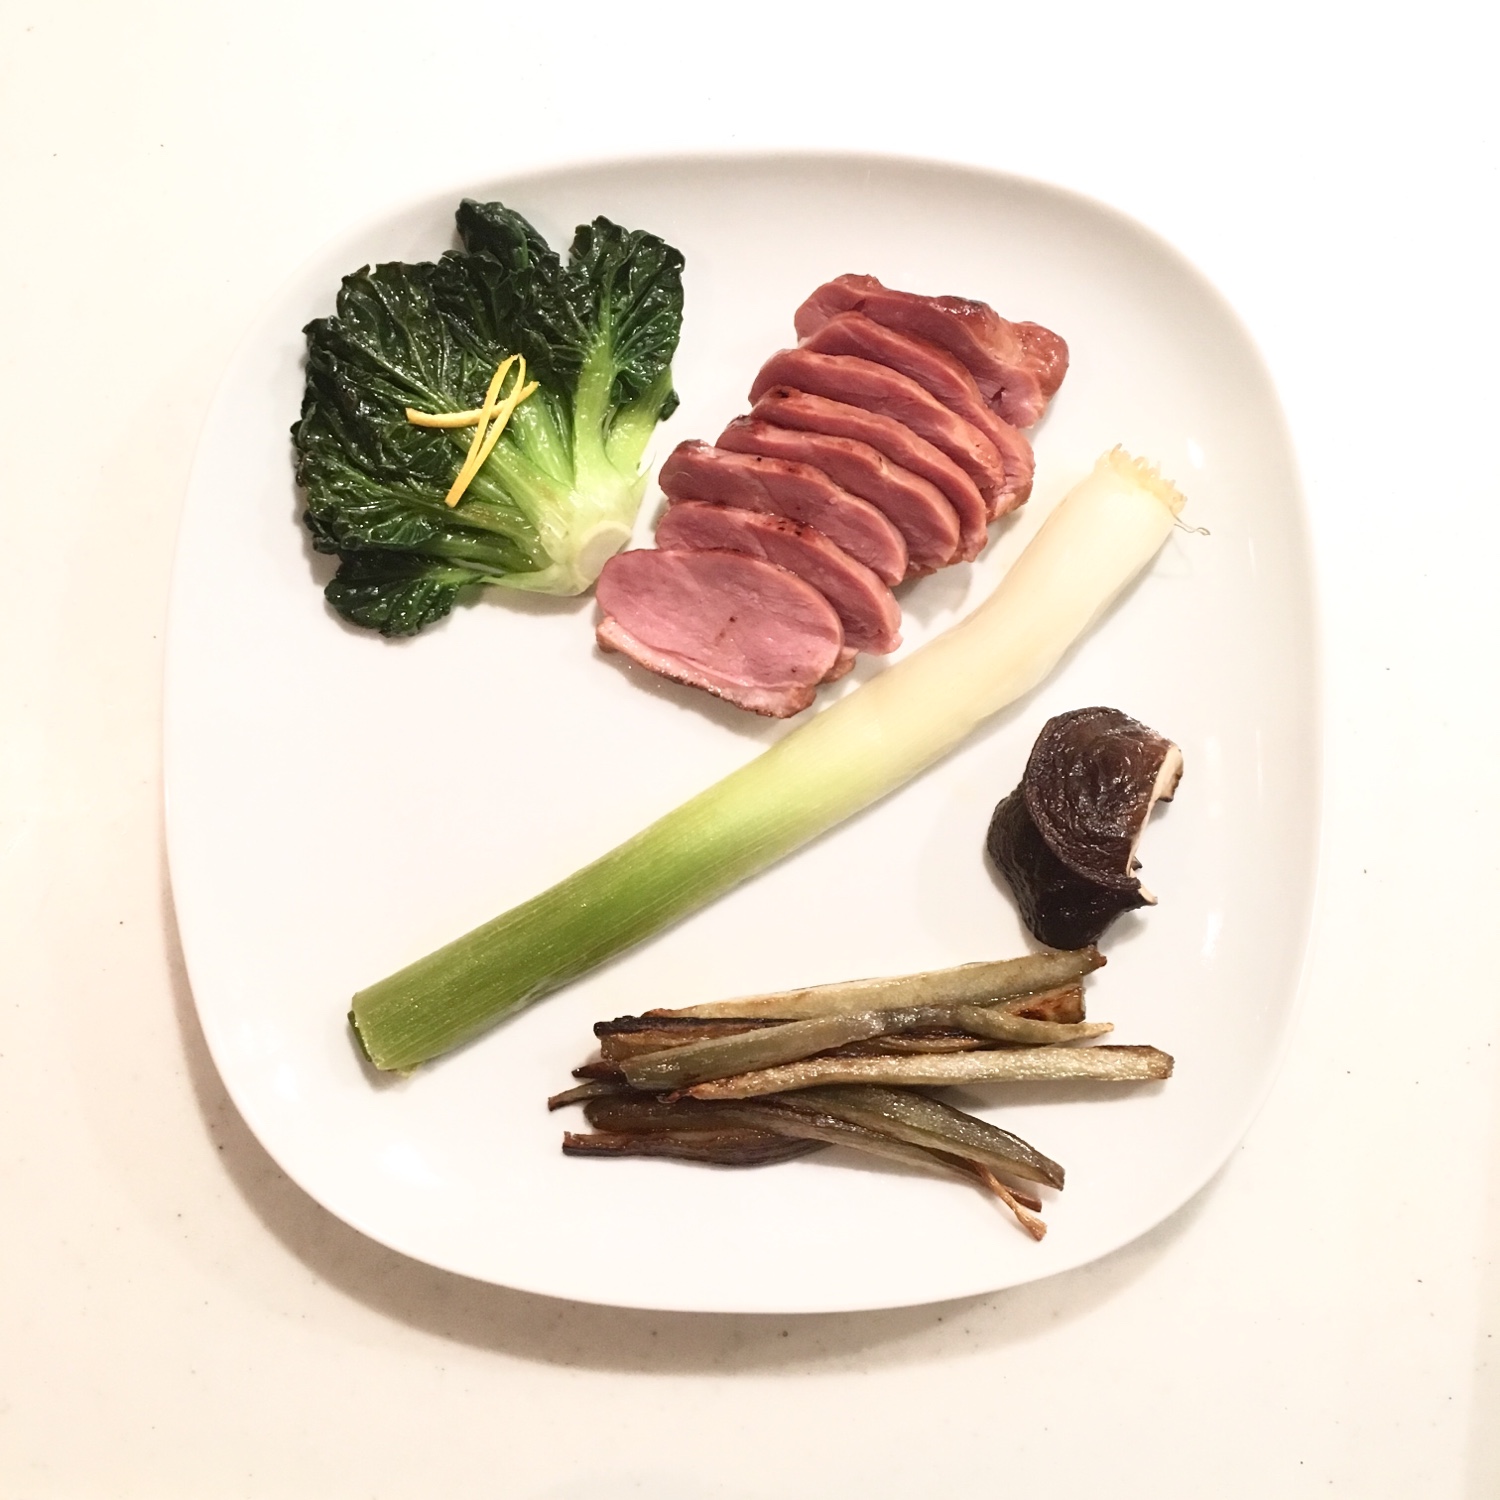
I actually served it in a more complex plate as can be seen on the bottom picture, as a request of A. to accompany his bottle of Duhart-Milon 2011, with smoked duck, braised leek, sautéed shiitake and sautéed yakon. Oh! Do you know yakon??? I also recently discovered it… I’ll talk about it next time. In the meantime enjoy your greens, be adventurous with your local products, and have a good rest of the week!

Italy meets Japan again

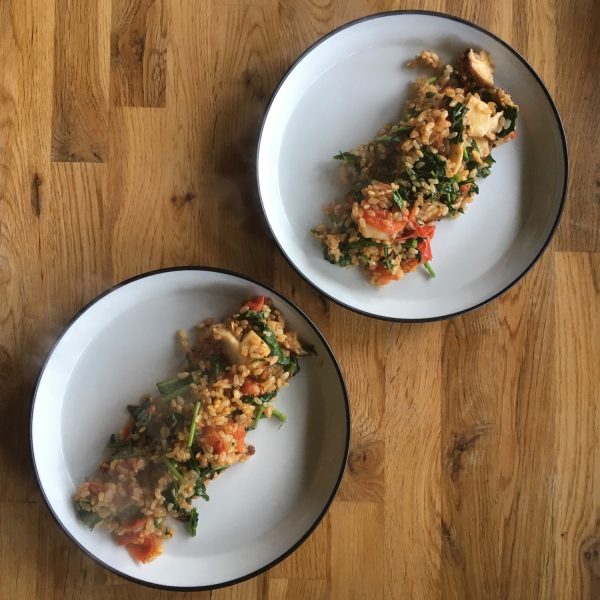
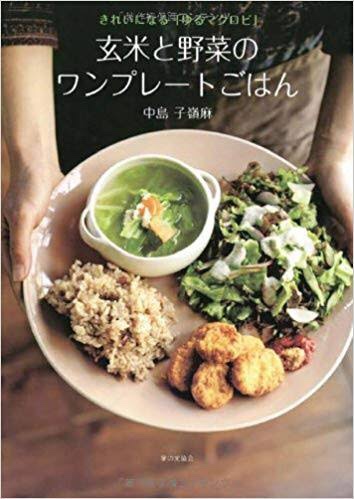
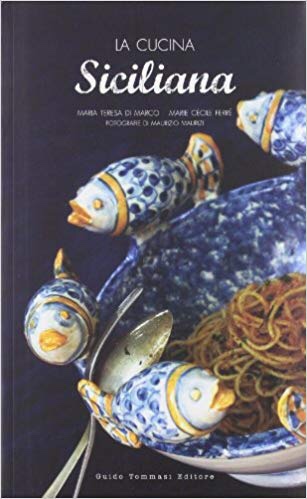
Saturday I spent some time browsing cookbooks, looking at their beautiful pictures and slowly moving from the winter mood to the spring mood. I was focusing on two very different books: a Japanese macrobiotic cookbook from Brownsfield owner elder daughter Shinema Nakajima, and a Sicilian cookbook by bloggers Maria Teresa di Marco and Marie Cecile Ferre. The first one reminded me its been too long since we last ate brown rice, the second one made me crave for tomatoes, fresh anchovies, fennels and artichokes. But from the mix of both came this very simple recipe of a macrobiotic risotto made from Japanese brown rice and fresh local vegetables. Here is my recipe.

Italian x Japanese risotto (2servings)

– 70g of brown rice

– 3 shiitake

– a handful of fresh rucola

– 3-5 small tomatoes, ripe

– olive oil, salt and pepper

First of all cook the brown rice in the Japanese way. Use left over if you have some.

In a large pan heat some olive oil, wash and slice the shiitake and cook them at low heat in the oil. That will make the base of the risotto stock. Add the rice and stir well, add a 2tbs of water. Then wash and chop the rucola and the tomatoes, add and stir well. Cook for a few minutes while stirring. Add salt and pepper. I served it with daikon pickled with yuzu, that was perfect!!

Cookies!

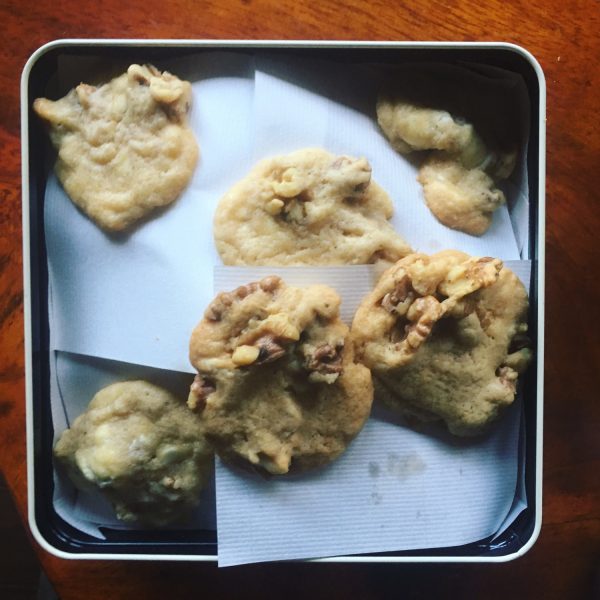
OK! I got it right now! The recipe of the sweet and soft cookies a la mode Laura Todd. My second trial was the right one! The official recipe is here, but shush! don’t tell A. I slightly changed it! I actually had to because the original recipe is for 375g of flour and 1 egg and I used half, but still put one egg…

Soft cookies (makes about 15 large cookies or 25-30 small ones)

– 180g of flour

– 120g of brown sugar

– 110g of butter

– 1 small egg

– 1tsp of baking powder

– a pinch of salt

– 1 vanilla bean

– 175g of white/milk/dark chocolate chips (large on is better)

– a handful of walnuts/shredded coconut/hazelnut or nothing…

I melt the butter, and mix it with the sugar and the vanilla, add the egg (actually you can change the order, or add the egg at the very end of the overall recipe, it doesn’t matter!!).

In another bowl, I mix the flour, the baking powder and the salt. If you plan to make only one kind of cookies add here the chocolate chips and the nuts. If you are planning on making different combinations then wait before adding the chocolate chips and the nuts.

Mix the flour mix in the sugar-butter-egg mix and stir well. If you haven’t added the chocolate chips and the nuts you can now split the dough and add them.

Preheat your oven at 140deg. On a greased sheet or cooking paper make small balls of dough (slightly smaller than a ping pong balls). Plan enough space between two as they will become 7-8cm cookies once in the oven. That would be the large cookies. If you want to make smaller ones just reduce the size of the balls by a third or a half.

Bake in the middle of the oven, to obtain an even top-down baking for 15min for the small ones, 18min for the larger ones. (That was one of my failures the first time I tried, they were too low, the bottom dried). Take them out of the oven before the edges start to golden. Let them cool down a bit before moving them.

They were just perfect!

Simple food: rice

Though when we were first traveling to Japan about 20 years ago, I would get tired of eating rice 3 times a day after one week, now I think I eat rice not enough and I am never tired of it, be it 3 times a day, every days!

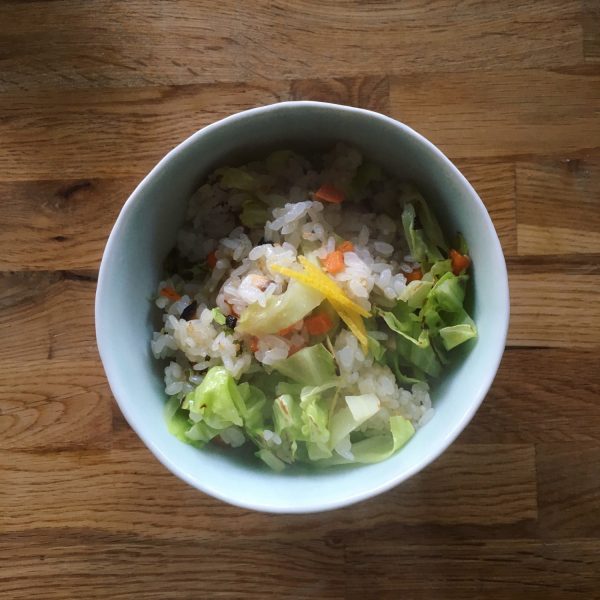
It can be plain white rice with just a pickled plum, konbu, miso or salmon, or more elaborated recipes. Everything is good for me as soon as the rice is good. My favorite rice is Koshihikari, as I’ve earlier said, be it from Tsunan or Isumi. But one thing I love to do is to cook more rice than needed so that the next meal can be prepared rapidly using this extra rice. Because if plain boiled rice is amazingly delicious, sautéed rice is also amazing. I love it prepared with sesame oil, and many different seasonal vegetables, it is as versatile as risotto. This time I cooked it with shiitake, carrots and cabbage, and added some sesame seeds and a few lemon peels from the last lemon of these season. A perfectly light combination for both lunch or dinner where the sesame and the lemon are well balanced and the vegetables textures play with crisp and melt…

How do you like your rice???

Proudly powered by WordPress | Theme: Baskerville 2 by Anders Noren.

Up ↑

Verified by MonsterInsights