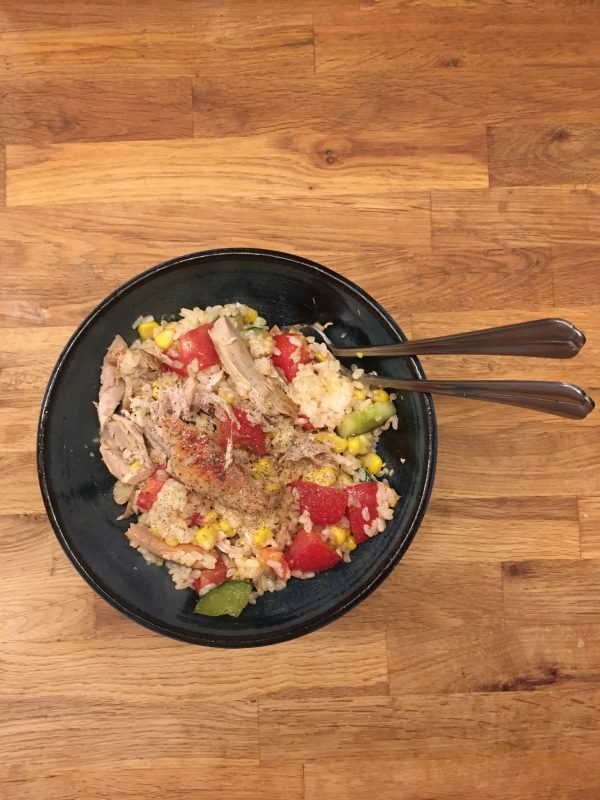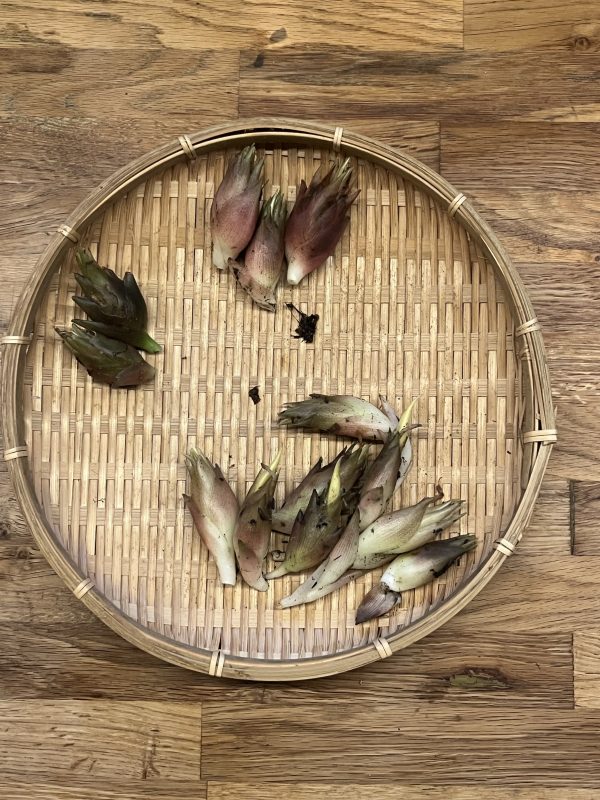
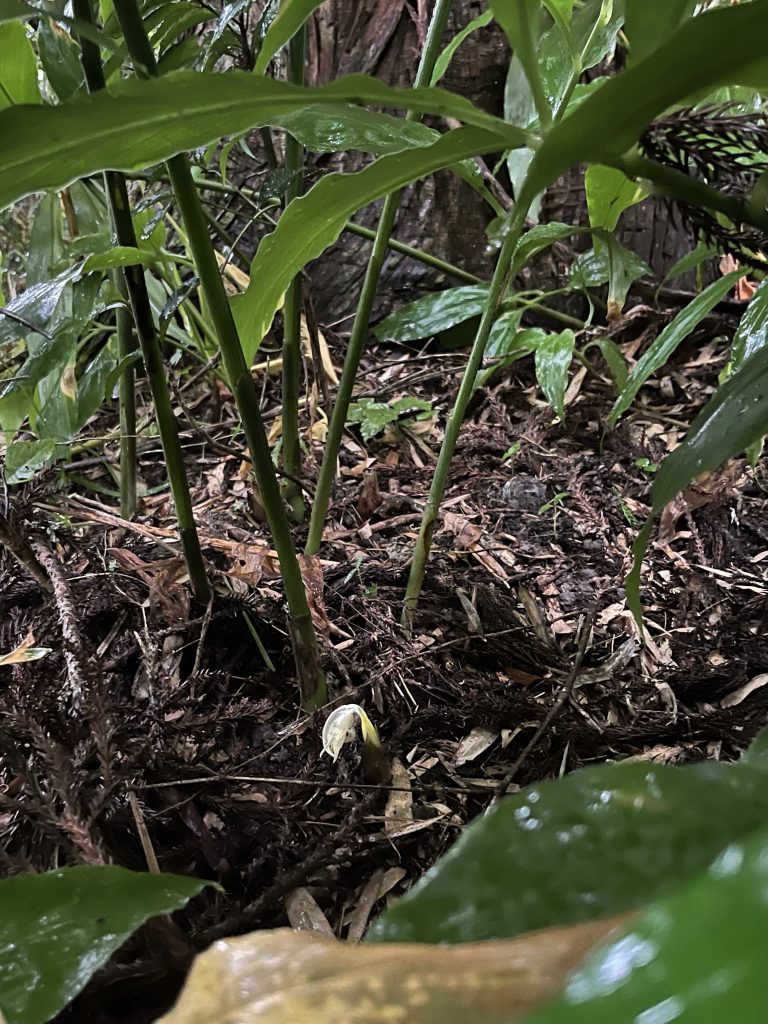
Not cooking for a week and enjoying some delicious food in a variety of places have boost my creativity and my willingness to cook. One of the things that I enjoyed particularly was chilled soup as a starter for dinner. So I have been testing a few ideas. But my favorite is definitely a kind of vichyssoise, with Japanese flavors. Since it’s the season for myoga we went to our myoga forest to forage some.
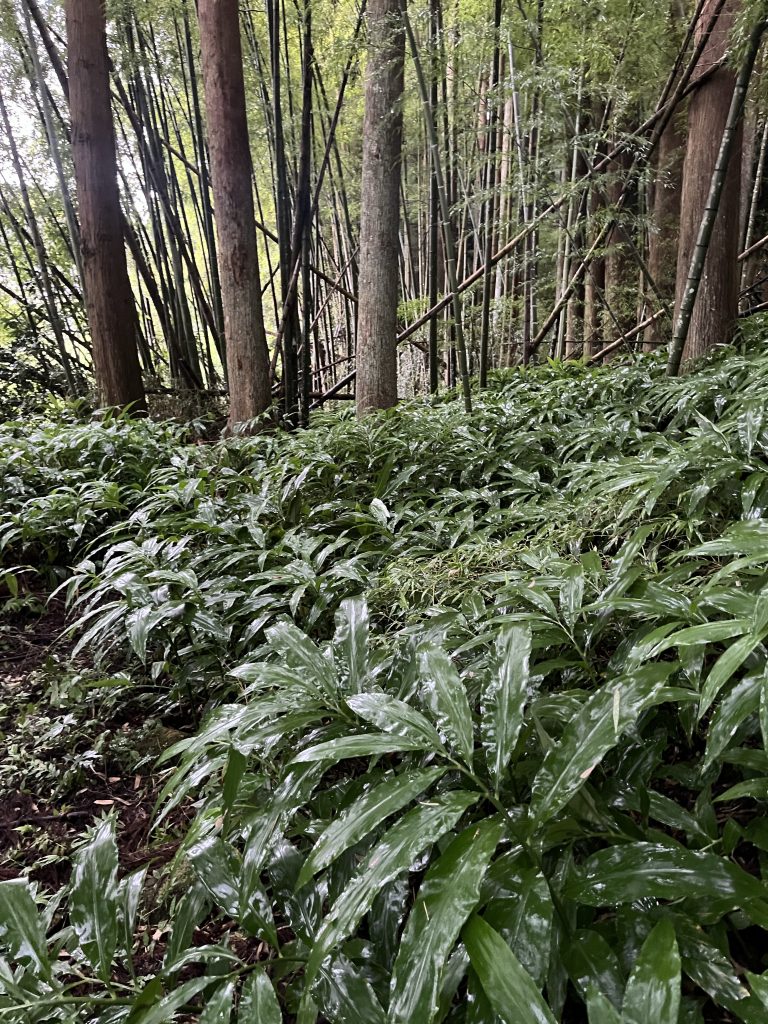
Myoga is not easy to find in the forest as the buds are often hidden below the fallen leaves. But we got pretty lucky and found plenty.
That, and some powdered seaweed I got in Okinoshima, it inspired me this new recipe. It is so delicious that I want to keep that recipe and I am happy to share it with you. I hope you’ll like it. Oh! And it is very simple!
Vichyssoise my way (2 servings)
- 1 large potato
- Milk, fresh cream, water (I used milk and water)
- 1 fresh myoga
- 1/2 tsp of powdered seaweed (if you can’t find use salted konbu instead)
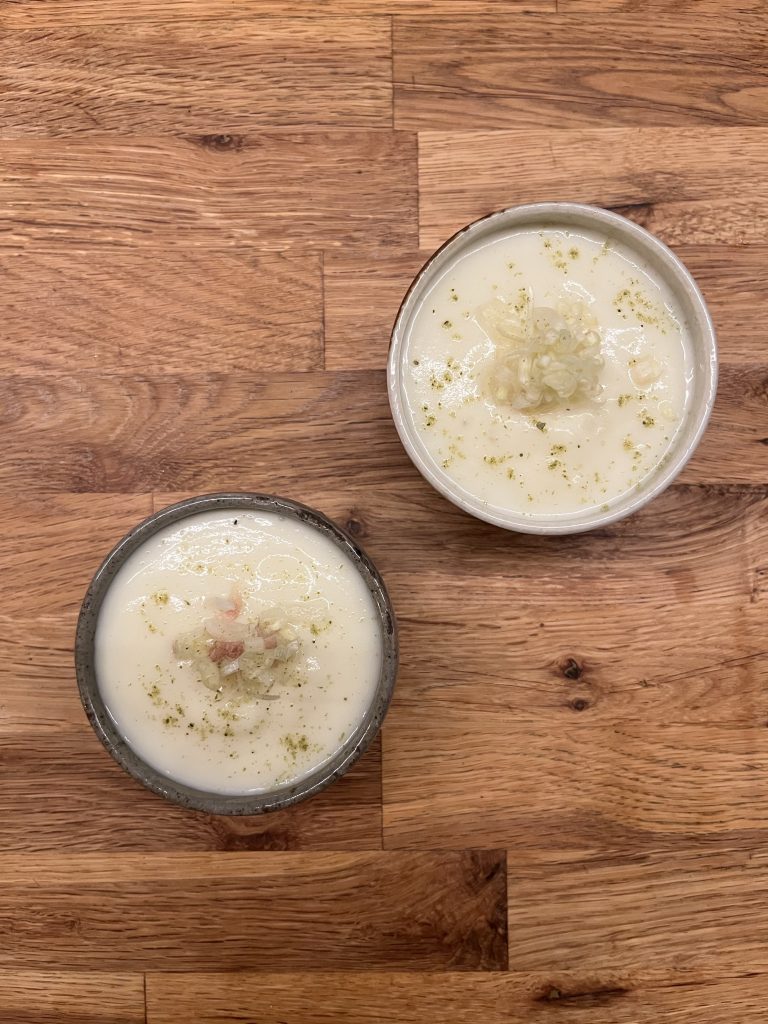
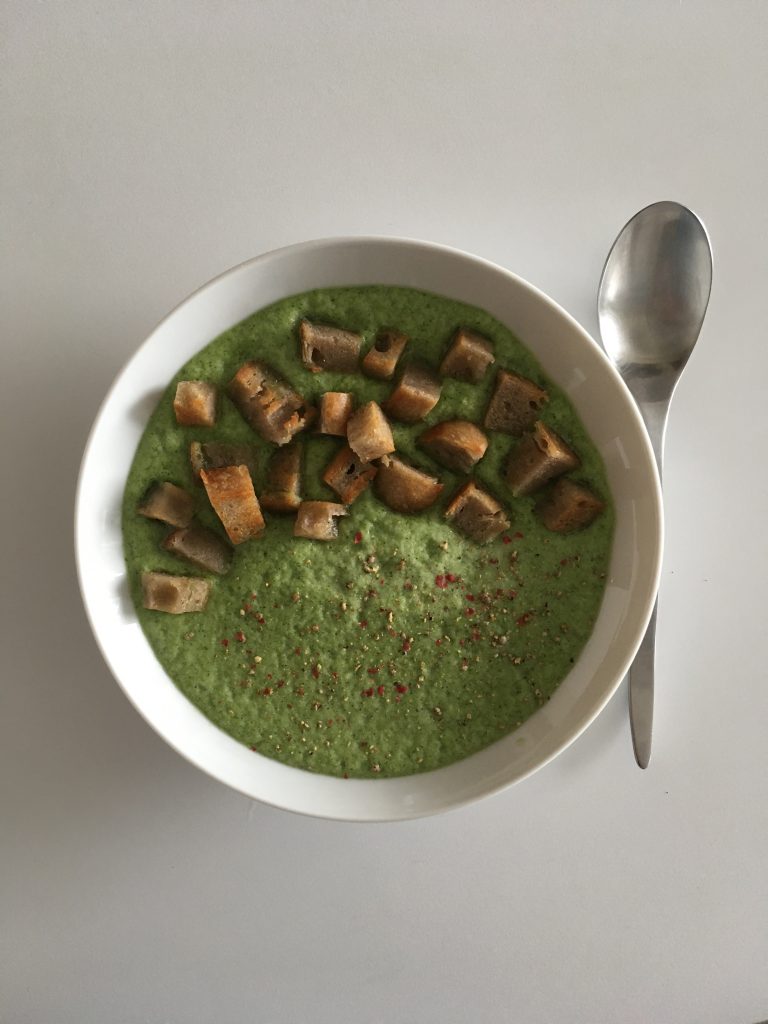
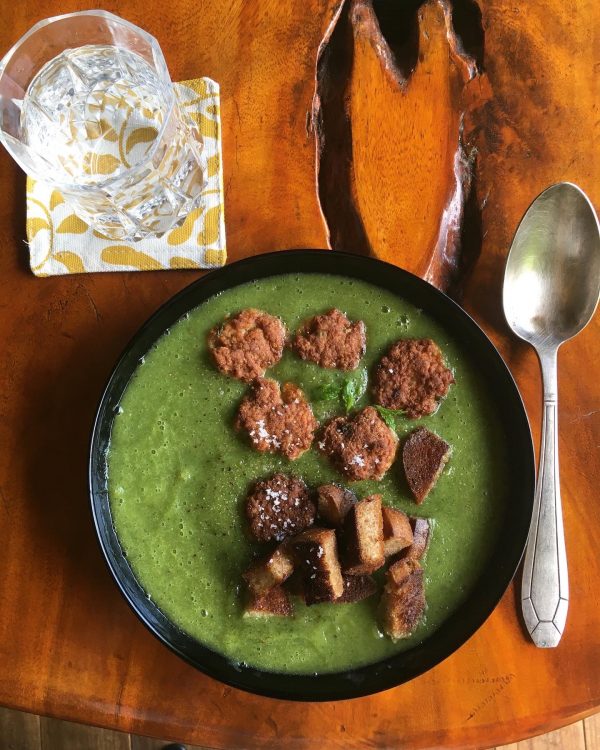
Steam the potato. Once soft, let it cool completely and peel it. In a blender, set the potato chopped in chunks, a bit of water. Blend until pureed. Add milk or cream until the texture is almost liquid, but not too much. Add the powdered seaweed. Serve in the final plates/bowls, and keep refrigerated until serving.
Wash and thinly chop the myoga. Top the soup with some. Add a bit of powdered seaweed for the color, or dried salted konbu.
Enjoy!
PS: you can probably add onion or leek to make it more of a vichyssoise, but I decided to keep it simple.