Every morning A. goes to work on site I prepare him a lunch box. I like to cook lunch early because then I know that my portion is also ready and I can eat any time, even when my schedule is super tight, which is more than often the case recently. When it comes to preparing our lunches and it includes pasta, I love to use fresh pasta because they cook very rapidly. The issue is that the brand of fresh pasta I like most has portions that are too big for one and too small for two… so today was one of this day, where I put 2/3 of the portion to A. lunch box, and I ended up with a sort of leftover size of pasta… not enough to feed me until dinner which would be late (again) today. Luckily I had gyoza skin in the fridge (for dinner) so I decided to pick 4 pieces and add these to pasta… but how???
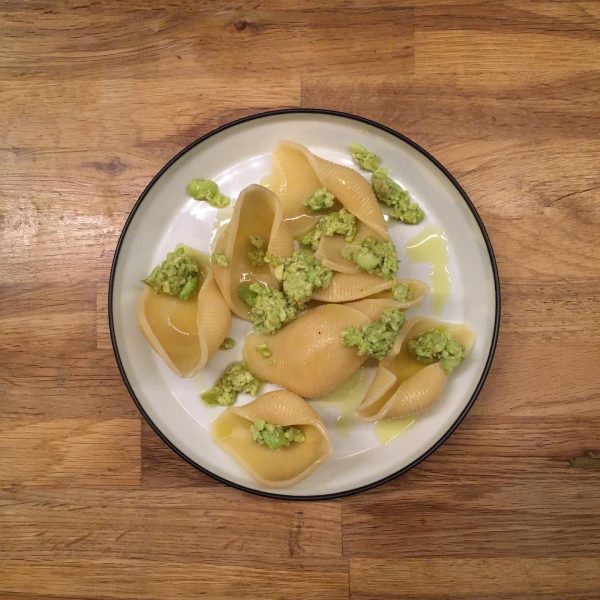
I realized that Asian food often mix dumplings and noodles in soups, so I decided to go for something like that except that it wouldn’t be Asian, but rather Italian like for me, with fresh mozzarella dumplings. And this is how the most delicious thing I have cooked in a bit was born. Too delicious not to share with you my recipe! I used the leftover pasta and the gyoza skin I love most, but you can use fresh pasta and make your own gyoza skin, it is super easy… I was cooking while on a meeting, so I used minimal time.
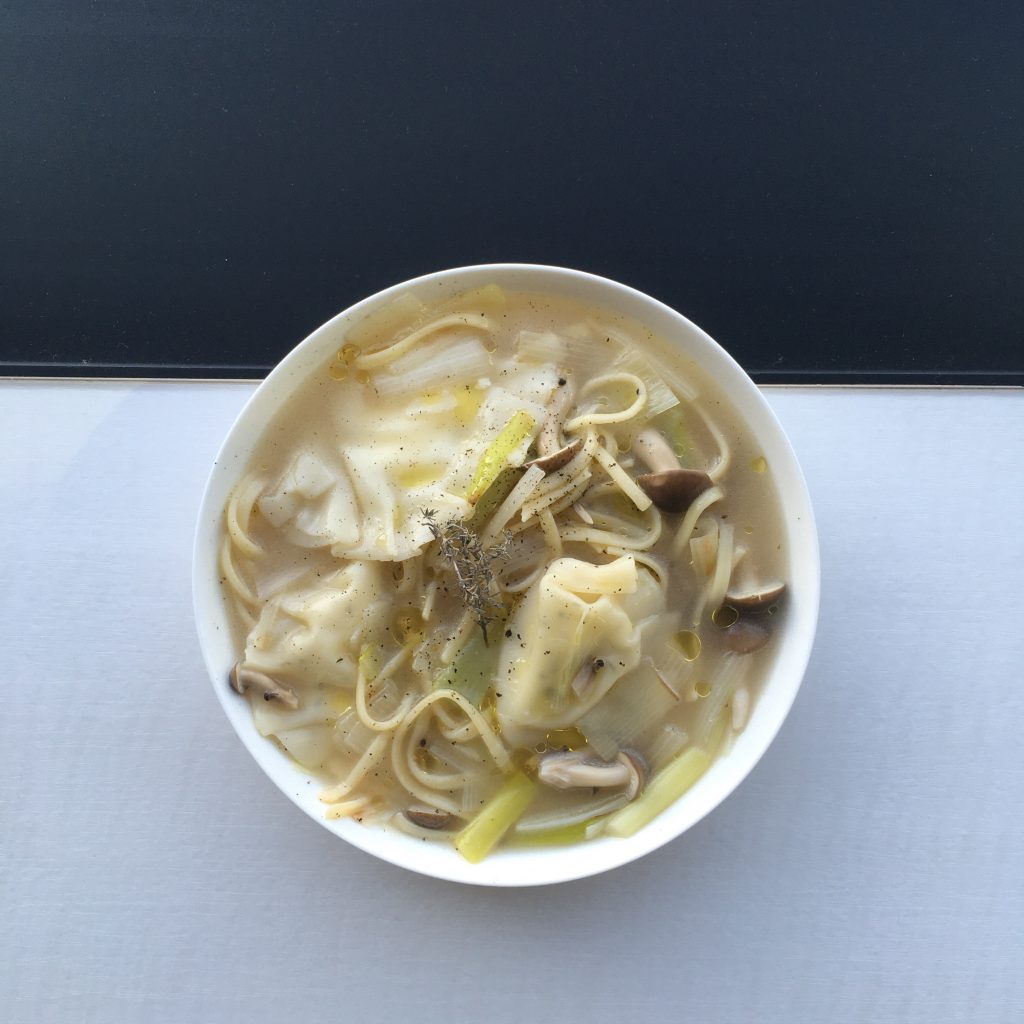
Dumplings and noodle soup (1 serving)
- 50g of leftover noodles or the equivalent to cook
- 4 gyoza skins (you can make your own, it is super easy and rapid too)
- 1/2 fresh mozzarella
- 1 leek
- a few mushrooms ( I used shimeji)
- thyme
- salt and pepper
- olive oil
Cut the leek in the size/shape you like, same with the mushrooms.
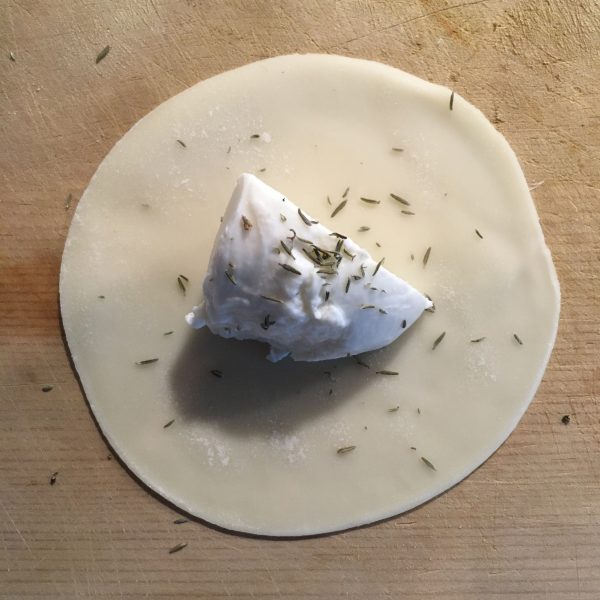
Cut the mozzarella in 4. In each gyoza skin, put a piece of mozzarella, a bit of thyme and pepper. Wrap.
In a pan add 500ml of water, the leek, the mushrooms and cook for 5minutes after it boils. Add the noodles, the dumplings and cook for another 5minutes. Serve, add thyme and olive oil and eat while it is hot!