A little magic with pasta leftovers

Every morning A. goes to work on site I prepare him a lunch box. I like to cook lunch early because then I know that my portion is also ready and I can eat any time, even when my schedule is super tight, which is more than often the case recently. When it comes to preparing our lunches and it includes pasta, I love to use fresh pasta because they cook very rapidly. The issue is that the brand of fresh pasta I like most has portions that are too big for one and too small for two… so today was one of this day, where I put 2/3 of the portion to A. lunch box, and I ended up with a sort of leftover size of pasta… not enough to feed me until dinner which would be late (again) today. Luckily I had gyoza skin in the fridge (for dinner) so I decided to pick 4 pieces and add these to pasta… but how???

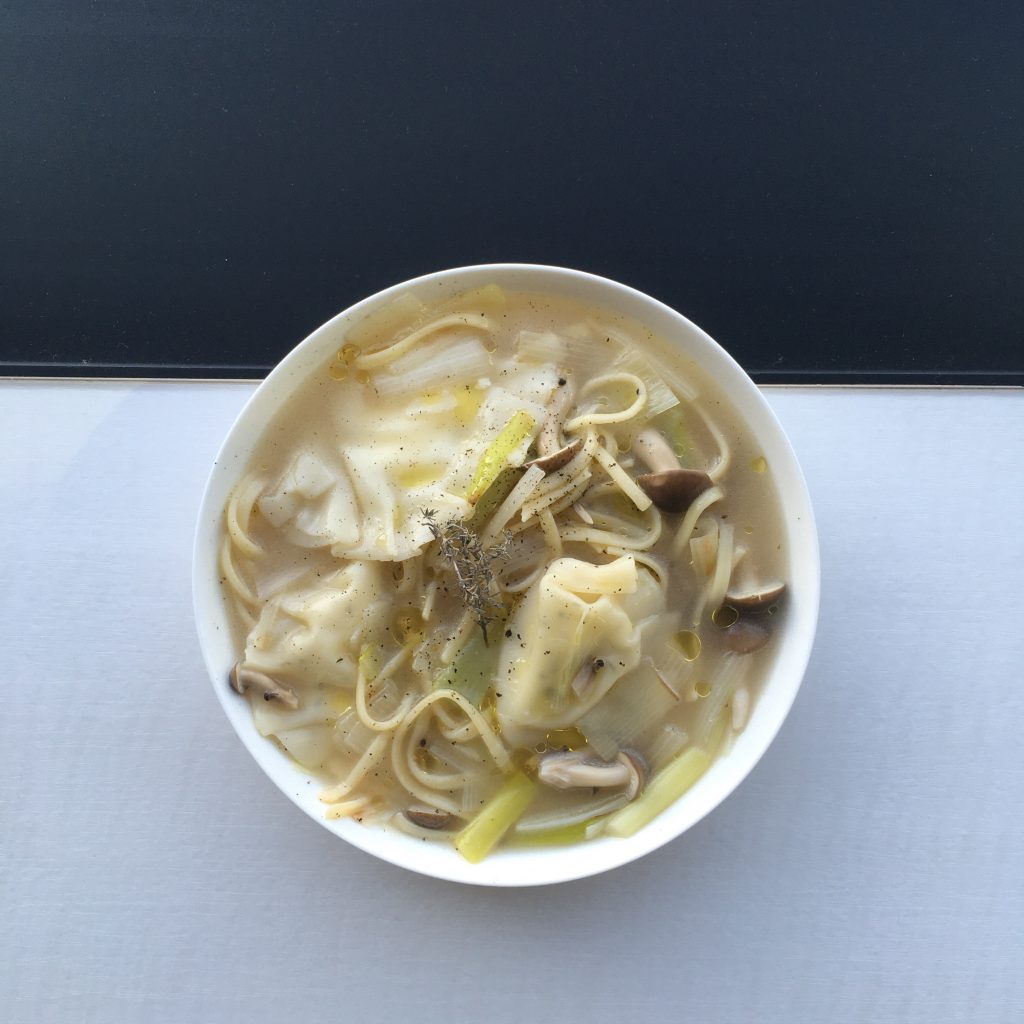
I realized that Asian food often mix dumplings and noodles in soups, so I decided to go for something like that except that it wouldn’t be Asian, but rather Italian like for me, with fresh mozzarella dumplings. And this is how the most delicious thing I have cooked in a bit was born. Too delicious not to share with you my recipe! I used the leftover pasta and the gyoza skin I love most, but you can use fresh pasta and make your own gyoza skin, it is super easy… I was cooking while on a meeting, so I used minimal time.

Dumplings and noodle soup (1 serving)

  • 50g of leftover noodles or the equivalent to cook
  • 4 gyoza skins (you can make your own, it is super easy and rapid too)
  • 1/2 fresh mozzarella
  • 1 leek
  • a few mushrooms ( I used shimeji)
  • thyme
  • salt and pepper
  • olive oil

Cut the leek in the size/shape you like, same with the mushrooms.
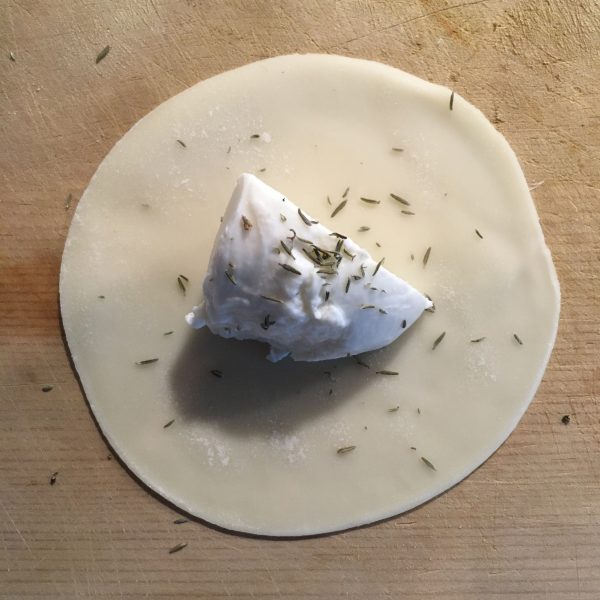
Cut the mozzarella in 4. In each gyoza skin, put a piece of mozzarella, a bit of thyme and pepper. Wrap.
In a pan add 500ml of water, the leek, the mushrooms and cook for 5minutes after it boils. Add the noodles, the dumplings and cook for another 5minutes. Serve, add thyme and olive oil and eat while it is hot!
Birthday lemon cakes are my favorite!!!

Here we are, Christmas is passed and new year not yet there, and it’s exactly the time for my birthday.

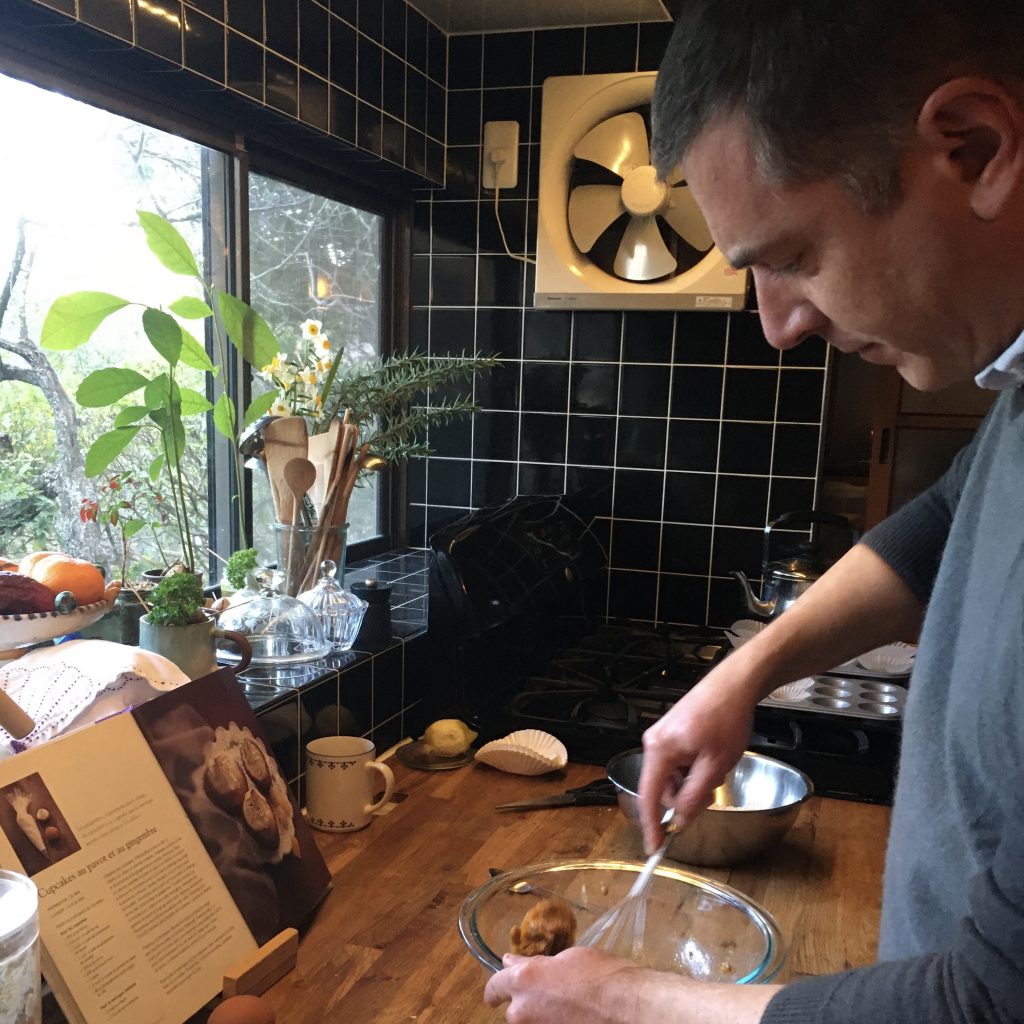
Almost as a tradition, A. went horse riding with me, which is a big challenge for him who feels a little uncomfortable on the back of a horse. And then he baked me a cake!

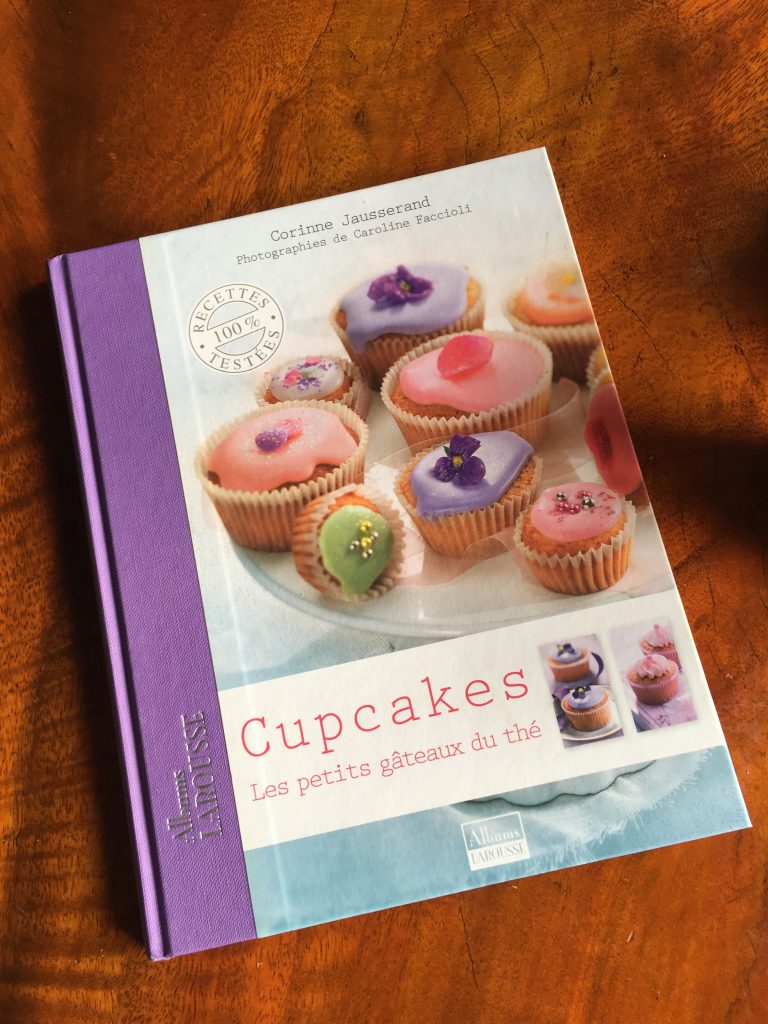
It’s the seasonal for citrus fruits and I love citrus cakes, and for a few months we have patiently and lovingly followed the growth of a single lemon on our tree. Our lemon tree, planted 5 years ago is struggling to adjust and we have very very little fruits if none, so one, wasn’t so bad. And on my birthday we picked it for a lemon cake recipe. As we have explored over the years many recipes with lemons for my birthday, it was hard to decide which recipe to choose (A. agrees to cook if there is a solid recipe to follow by the letter). With our rosemaries growing wildly and needing a trim, I decided that it would be rosemary and lemon cake, and we opted for a cupcake base. A long time ago my mother in law offered me a book about cupcakes and it’s been years I didn’t opened it, but I immediately thought about it to find a recipe for A..

I used the poppy and ginger recipe, replaced the ginger by lemon zest and poppy by rosemary, I also added a pinch of baking powder in the dough when A. was not looking, I was worried that the baking soda wouldn’t give fluff enough…

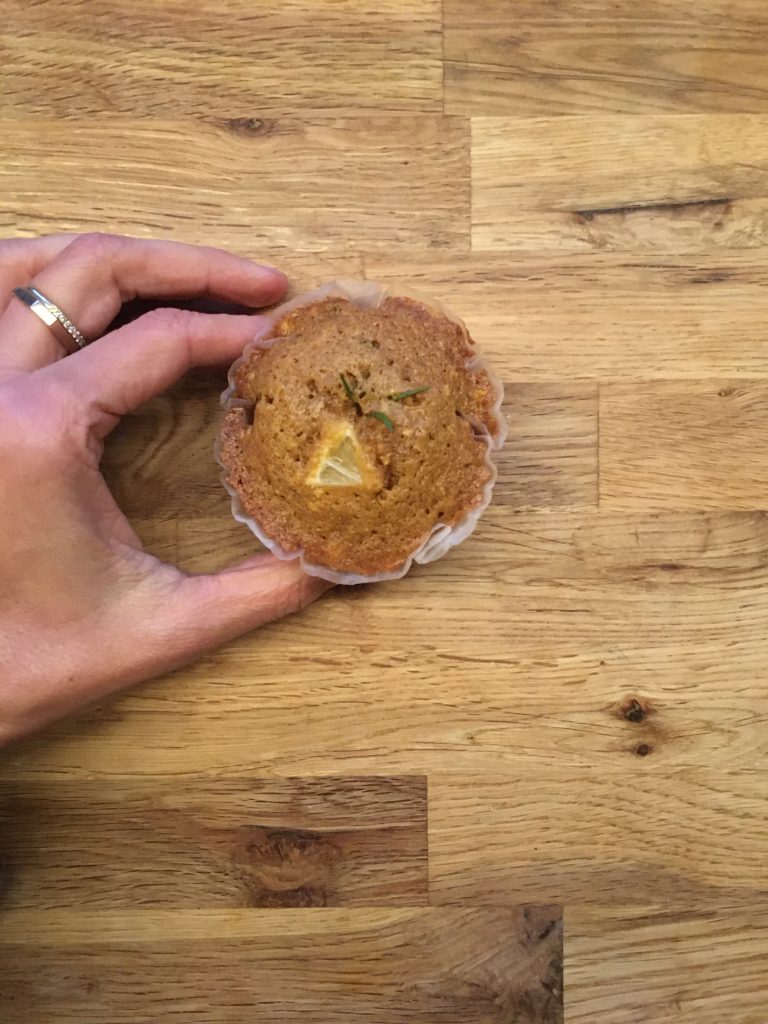
The result was damn good! I must admit that if I were to do the recipe I would have used a little less butter, but A. followed the recipe and it was great!! So here is our recipe. Oh… we didn’t do any glazing but lemon glazing could have worked well too.

Lemon and rosemary cupcakes (makes 6)

  • 100g of flour
  • 100g of sugar
  • 100g of butter
  • 2 eggs
  • 1/2 tsp of baking soda
  • 1/4 tsp of salt
  • a pinch of baking powder
  • 1 lemon (zest only, unless you do the glazing, for which you will want the juice)
  • 1 branch of rosemary

Preheat the oven to 180deg.

In one bowl mix the flour, the salt, the baking soda and the baking powder. Add the lemon zest and chop the rosemary leaves. Stir well.

In another bowl mix together the butter and the sugar (using your hands is the best tool). Add one egg and stir well with a whisk, add the second egg and stir again to obtain a creamy mixture. Add in the flour mix through a sifter, little by little while stirring. The lemon zest and rosemary may get stuck, so don’t forget them in the sifter!!! Add them too to the mix and stir.

Prepare 6 medium size muffin or cupcake papers and fill to 2/3 with the mix. We added a little branch of rosemary and a tiny pieces of lemon on top but that is optional.

Bake in the oven until perfectly cooked (clean pick comes out when picked). It took 25min for us.

If you want to glaze them prepare a mix of lemon juice and icing sugar. Otherwise enjoy just as they are. I served them with hot lemon using up the rest of the lemon.

Do you know the millasson cake? I did not…

Well there are so many things I don’t know about… that I am never surprised to discover a new name or a new recipe. As simple as it can be.

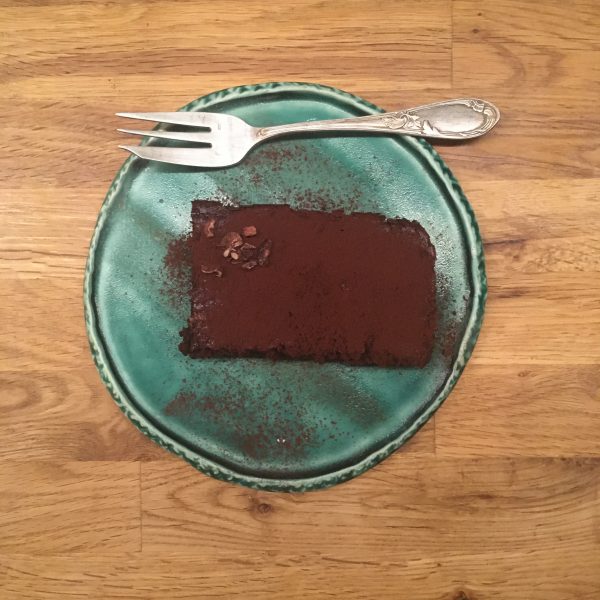
A. had a bottle of Balthus 2019 to drink (we could have kept it though… but why wait…) and after a short search, it seemed that chocolate would be a good pairing. Fine… but what chocolate patisserie could I prepare… so I browsed a little bit more searching for recipes that use cocoa powder, as it is the only thing I had. And I came across the “millasson”, a name I’ve never heard of before and a recipe I had never seen before. But its simplicity and the few ingredients needed immediately attracted me. It is basically something in between a flan and a clafoutis, but with egg whites beaten to get fluffiness (but honestly I wonder if that is really necessary).

So all you need is flour, sugar, cocoa powder, eggs and milk. And I can even guess that it could be baked in a pan if you don’t have an oven.

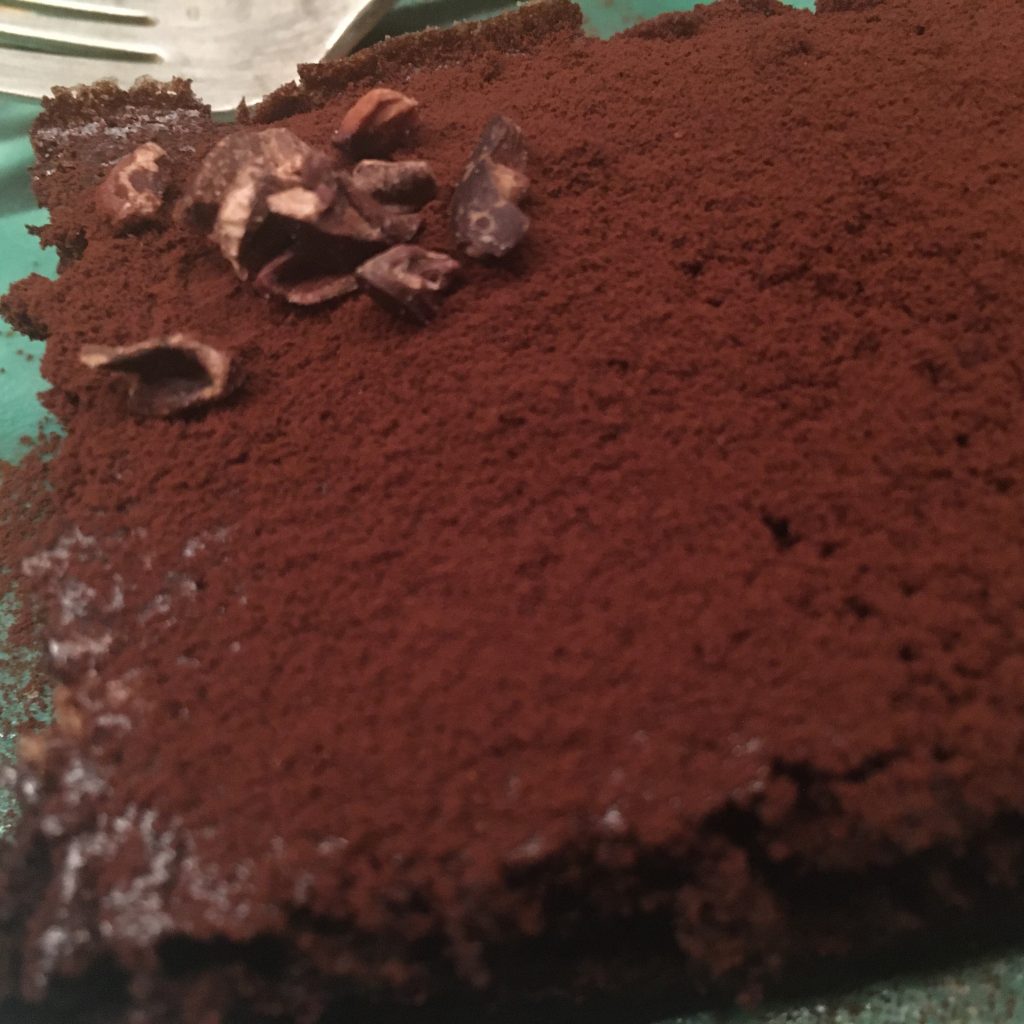
My millasson was good, rich in cocoa flavor, as I like, but I think I slightly overcook it, so I think I’ll try again this weekend, just be sure I have it right!!! 😋 and because it is really good!!!

I topped my millasson with cocoa powder and cocoa nibs.

Potatoes my friend? Yes, but vitelotte, please!

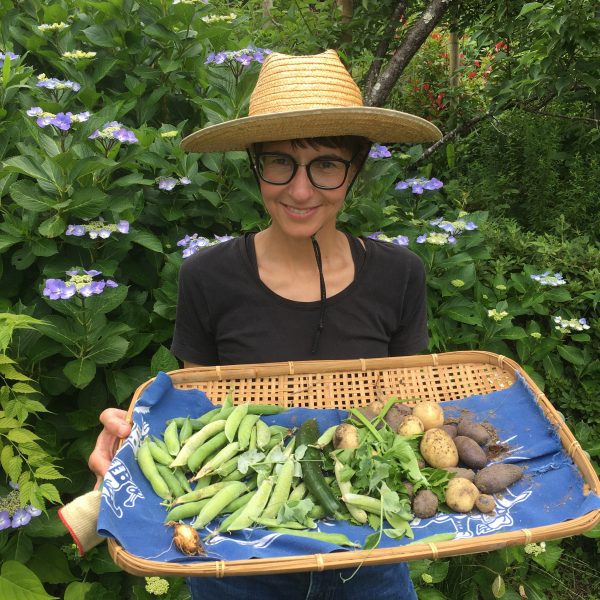
I have tried many things in the kitchen garden during the past 10 years. Eggplants, cucumbers, snap peas, tomatoes, cabbages etc… most of which were total failures, eaten by the kions, or the snails, or whoever was around. My most successful crop, by far, has been potatoes for a few years now. Except for this year, I tried green peas and that was a big hit… My specialty is actually purple potatoes: vitelottes. I like to grow them and harvest them and I love the color they bring to the plate. And those potatoes are absolutely impossible to find if you don’t grow them (at least for now), so this is why I keep growing some.

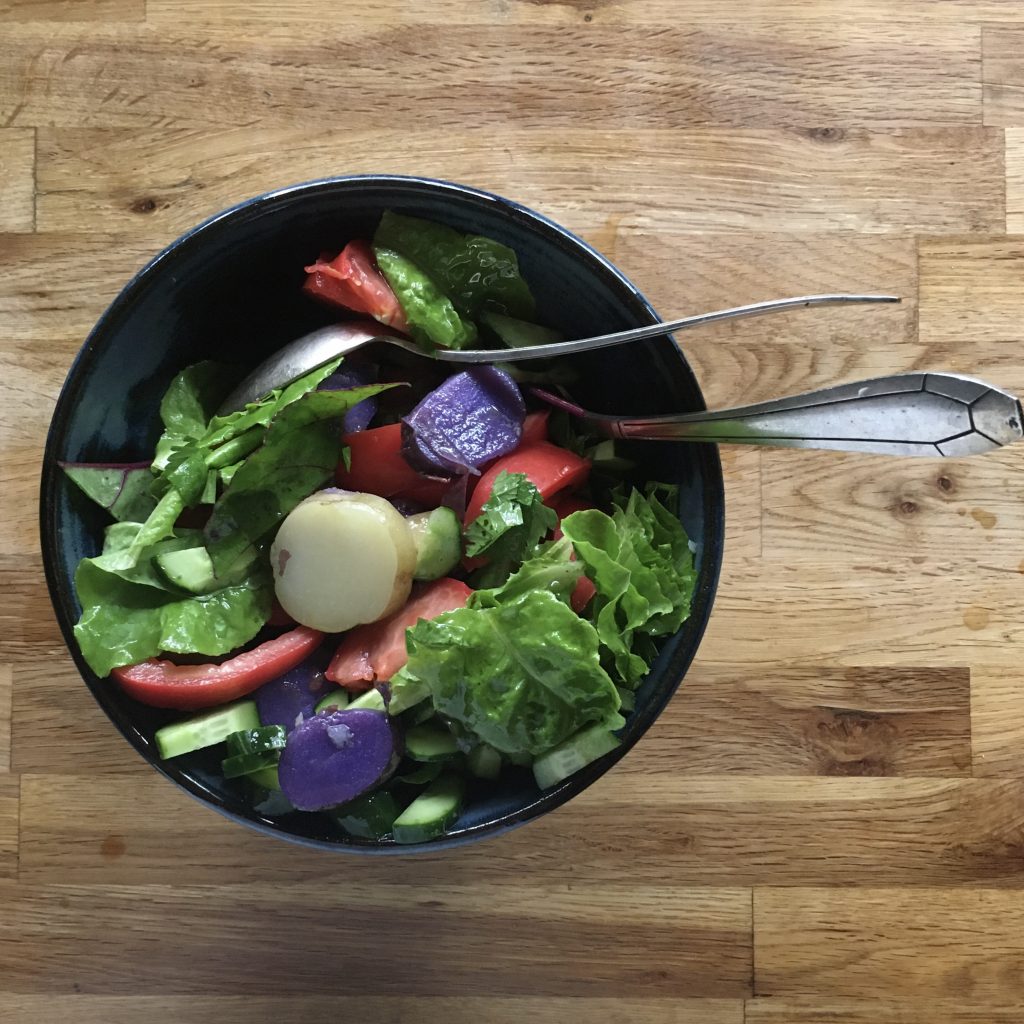
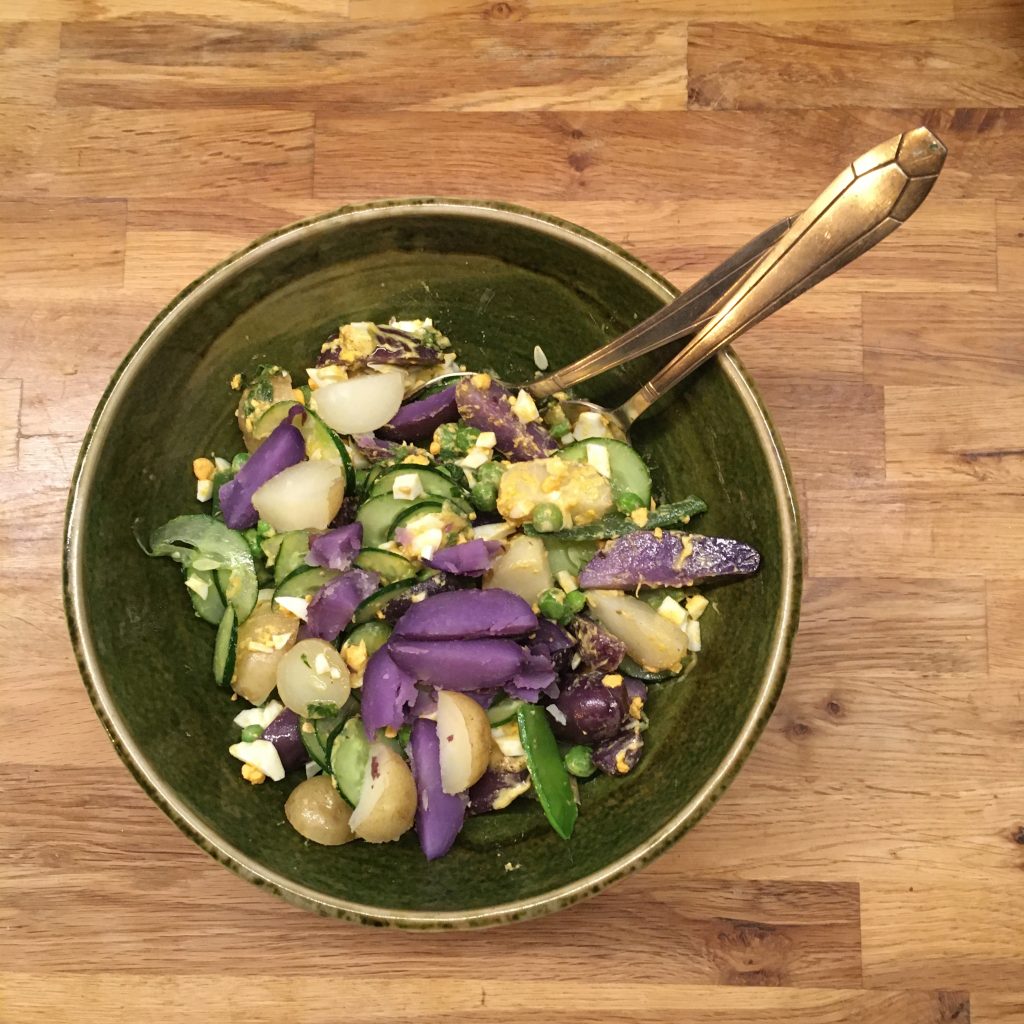
This year I grew them in the new kitchen garden. The soil is still under making so the harvest was not as good as I expected, even though I expanded the surface by two, but there were quite enough to make several meals and enjoy their bright color. The way I like to cook them best is simply washed and boiled, then sliced and eaten with other colorful ingredients. Perfect with eggs and cucumbers, dressed with plenty if mustard and olive oil for a classic potato salad, or simply fresh green leaves and tomatoes with olive oil for a fresh and lighter version.

I am quite proud to say that, except the tomatoes and the eggs, all the vegetables and herbs come from the garden. I cannot say that we’re successful with cucumbers but by far the best harvest we’ve ever had, and salad leaves, celery and herbs are doing rather well. The regular potatoes come also from our garden, from a few old potatoes that started growing in the fridge and I decided to plant. I don’t know how you love your potatoes but I’m sure it’s delicious!!!

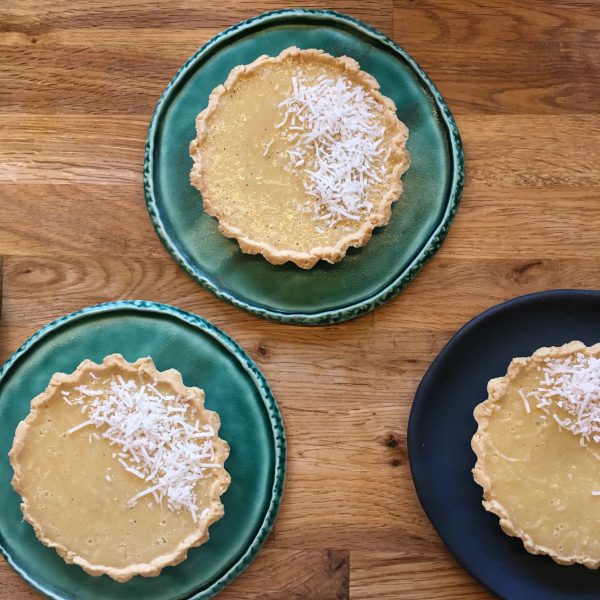
March 26th tart

The day has come again, faster and in a busier moment than usual, my parents being with us. It’s A.’s birthday. The weather has been bad enough to be remembered, A. always says it’s usually sunny on that. Today was not, and after drizzling now it’s pouring. That gave me plenty of time for preparing A.’s birthday cake, or rather tart. He originally wanted a strawberry tart, the classic one, but after stopping at three different places I couldn’t find proper local strawberries with the correct size. So we agreed on a chocolate tart. Last year one was a big hit!

But you know me… I like to try new recipes rather than doing over and over the same things. So I made a classic dark chocolate tart using my recipe from last year, but I also improvised a new one with A’s favorite white chocolate, coconut and cardamom. And though I am not a fan of white chocolate, it was surprisingly not as rich I thought it would be and I enjoyed it a lot. So here is my recipe.

White chocolate tart (4 servings)

  • Flour, sugar, butter and a bit of water for the dough.
  • 110g of white chocolate
  • 100ml of coconut cream
  • 2tsp of ground cardamom
  • 1tbsp of brown caster sugar
  • 4tbs of ground coconut
  • 1 egg

Prepare the dough and bake it, until still soft and about to golden.

In a pan heated at low heat stir together the chocolate, coconut cream, add the sugar, the ground coconut and the cardamom. Let cool then add the egg. Stir well and pour in the baked pie crust. Bake for 10-15min at 150deg. Let cool a bit and enjoy!

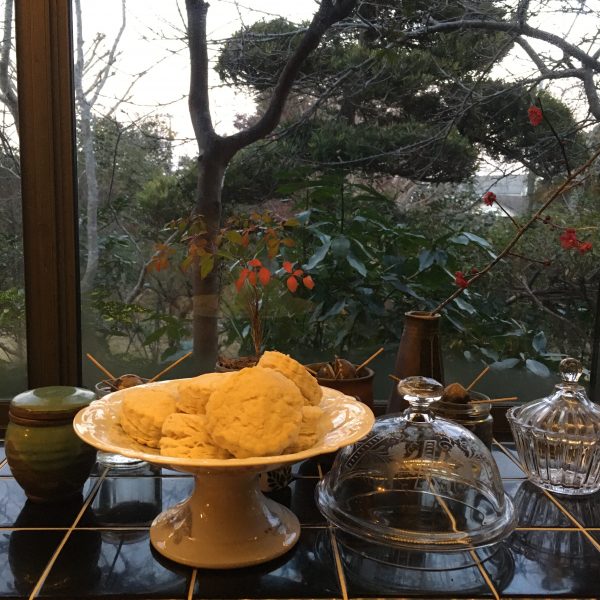
In love with scones again!

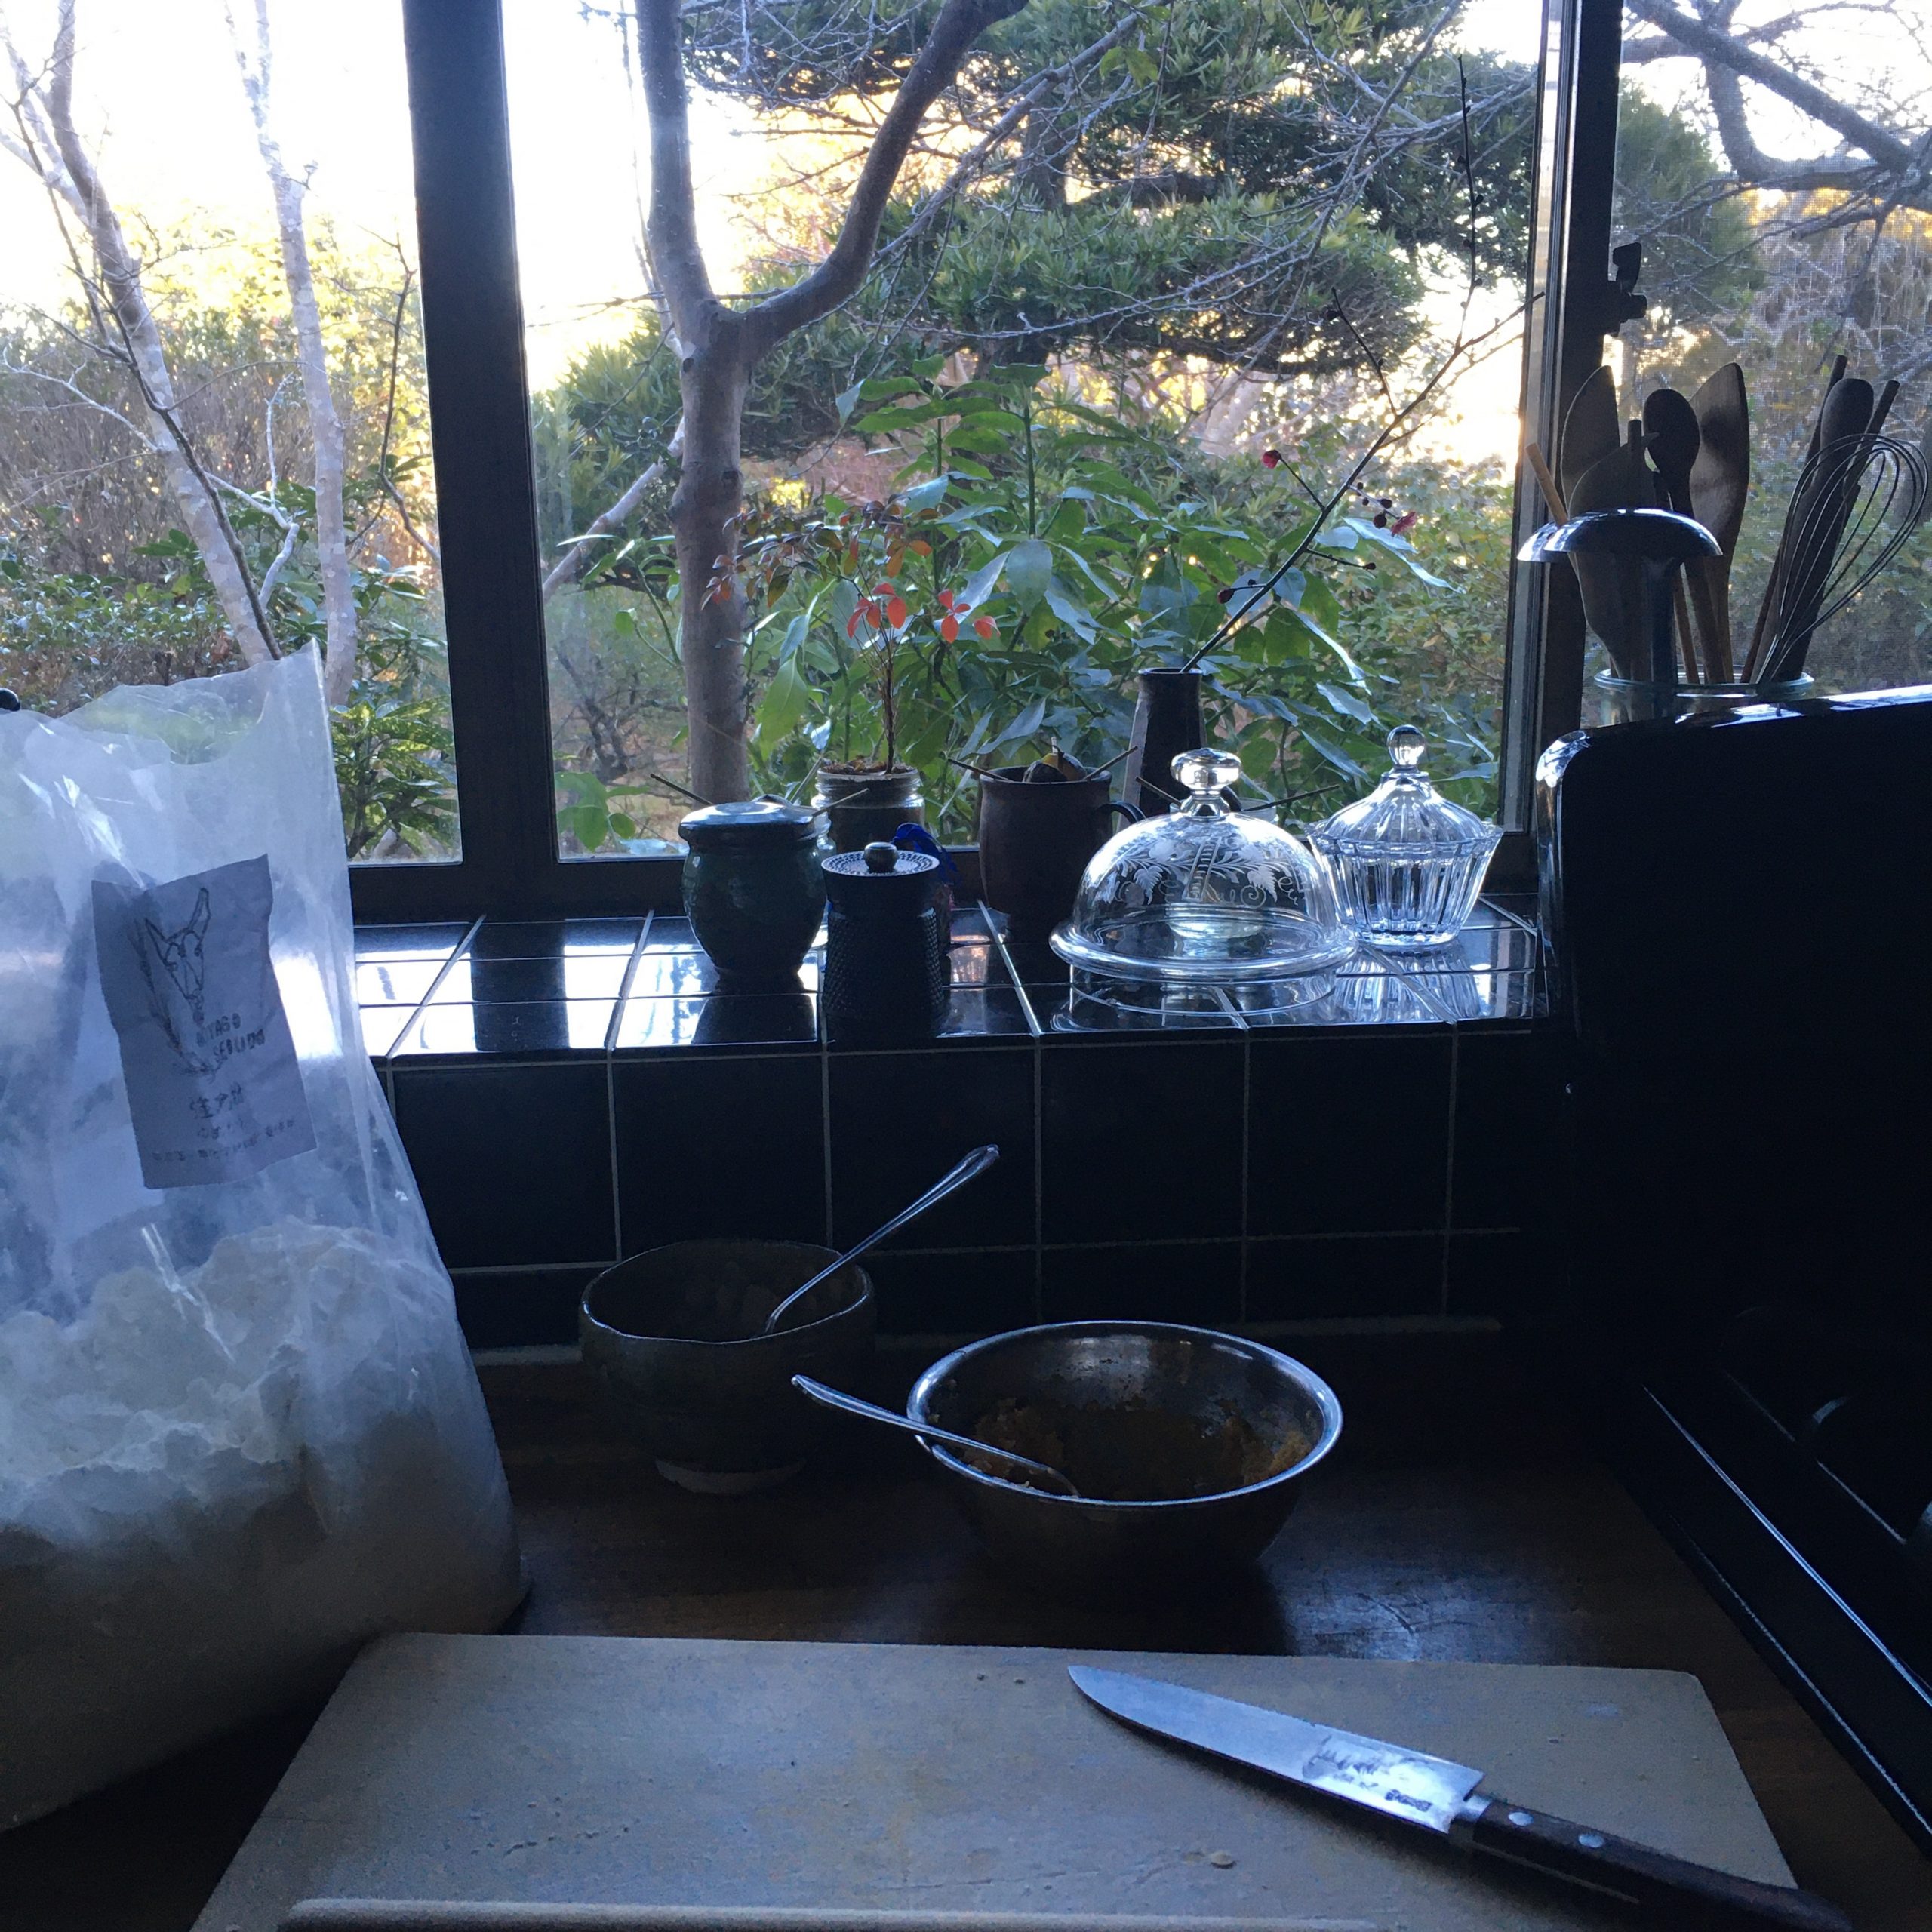
It’s been months I didn’t bake scones. Last year at the same period I was making some probably once or twice a week and then I suddenly stopped… Why? I don’t think I even know the answer… but today, for a change, instead of making crepes for tea-time after our tennis game, I was in the mood for scones. Maybe because it was not late and I had time, and because I already had my hands dirty as I was kneading dough to make bread for tomorrow. Yes… with the cold temperatures it’s about 24 hour or more I need to obtain good rises.

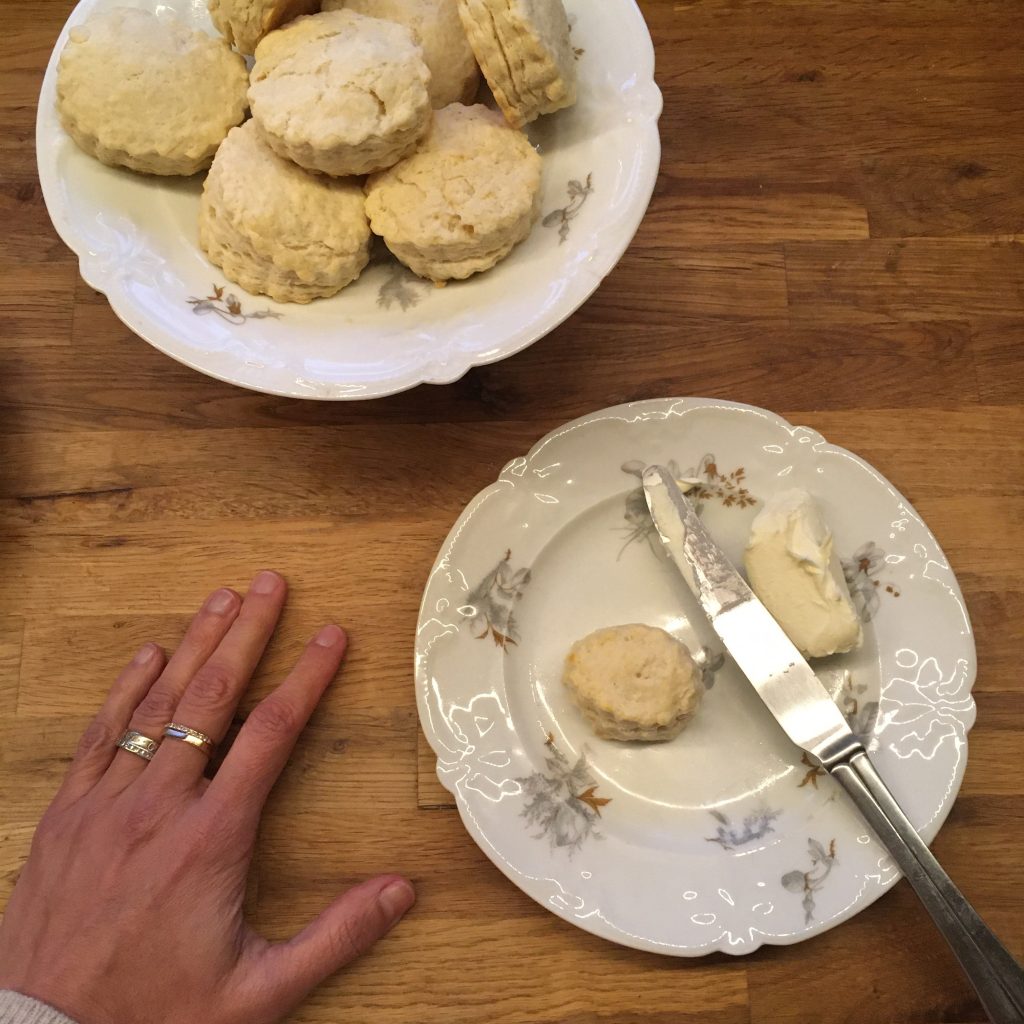
So, hop hop! Here I am, moving my hands from one bowl to the other and starting preparing scone dough. I have now a zero failure recipe, that is really simple. After mixing flour, baking powder and a bit of sugar, I knead with just a bit of butter (1/5 or 1/6 of the flour weight at most) and I use milk, only milk, to moisten the dough, added little by little until I have just the right consistency, just a bit sticky. But really just a bit! Then I roll the dough on a piece of parchment paper to 1cm high and cut them. I made bite size scones. I bake at 200degrees for 15 minutes. And what I like the most with scones is to eat them straight from the oven. Today I chose cream cheese to top them. And I am in love with scones again. Great! Because I made an extra batch for breakfast tomorrow!!!

What about la galette des rois???

If there is one traditional food I don’t care much about it’s the Epiphany kings’ galette, the “galette des rois”. Whether the brioche or the frangipane, I don’t care much about them. Not that I dislike them but I don’t like them either. They are not part of my must-eat food. And since I am bad at making puff pastry, that’s even easier to forget about it… but this year IG was covered with galettes and though I was insensitive to them A. wasn’t… and he asked me why we never have galette though he loves it so much!

What???? Why on earth would you wait more than 20 years to tell me???

How could I have not imagined he would love galette. He who doesn’t like almonds but loves calisson and financiers, he who doesn’t love butter but loves croissants and brioches… of course he loves galette… of course I ignored that…

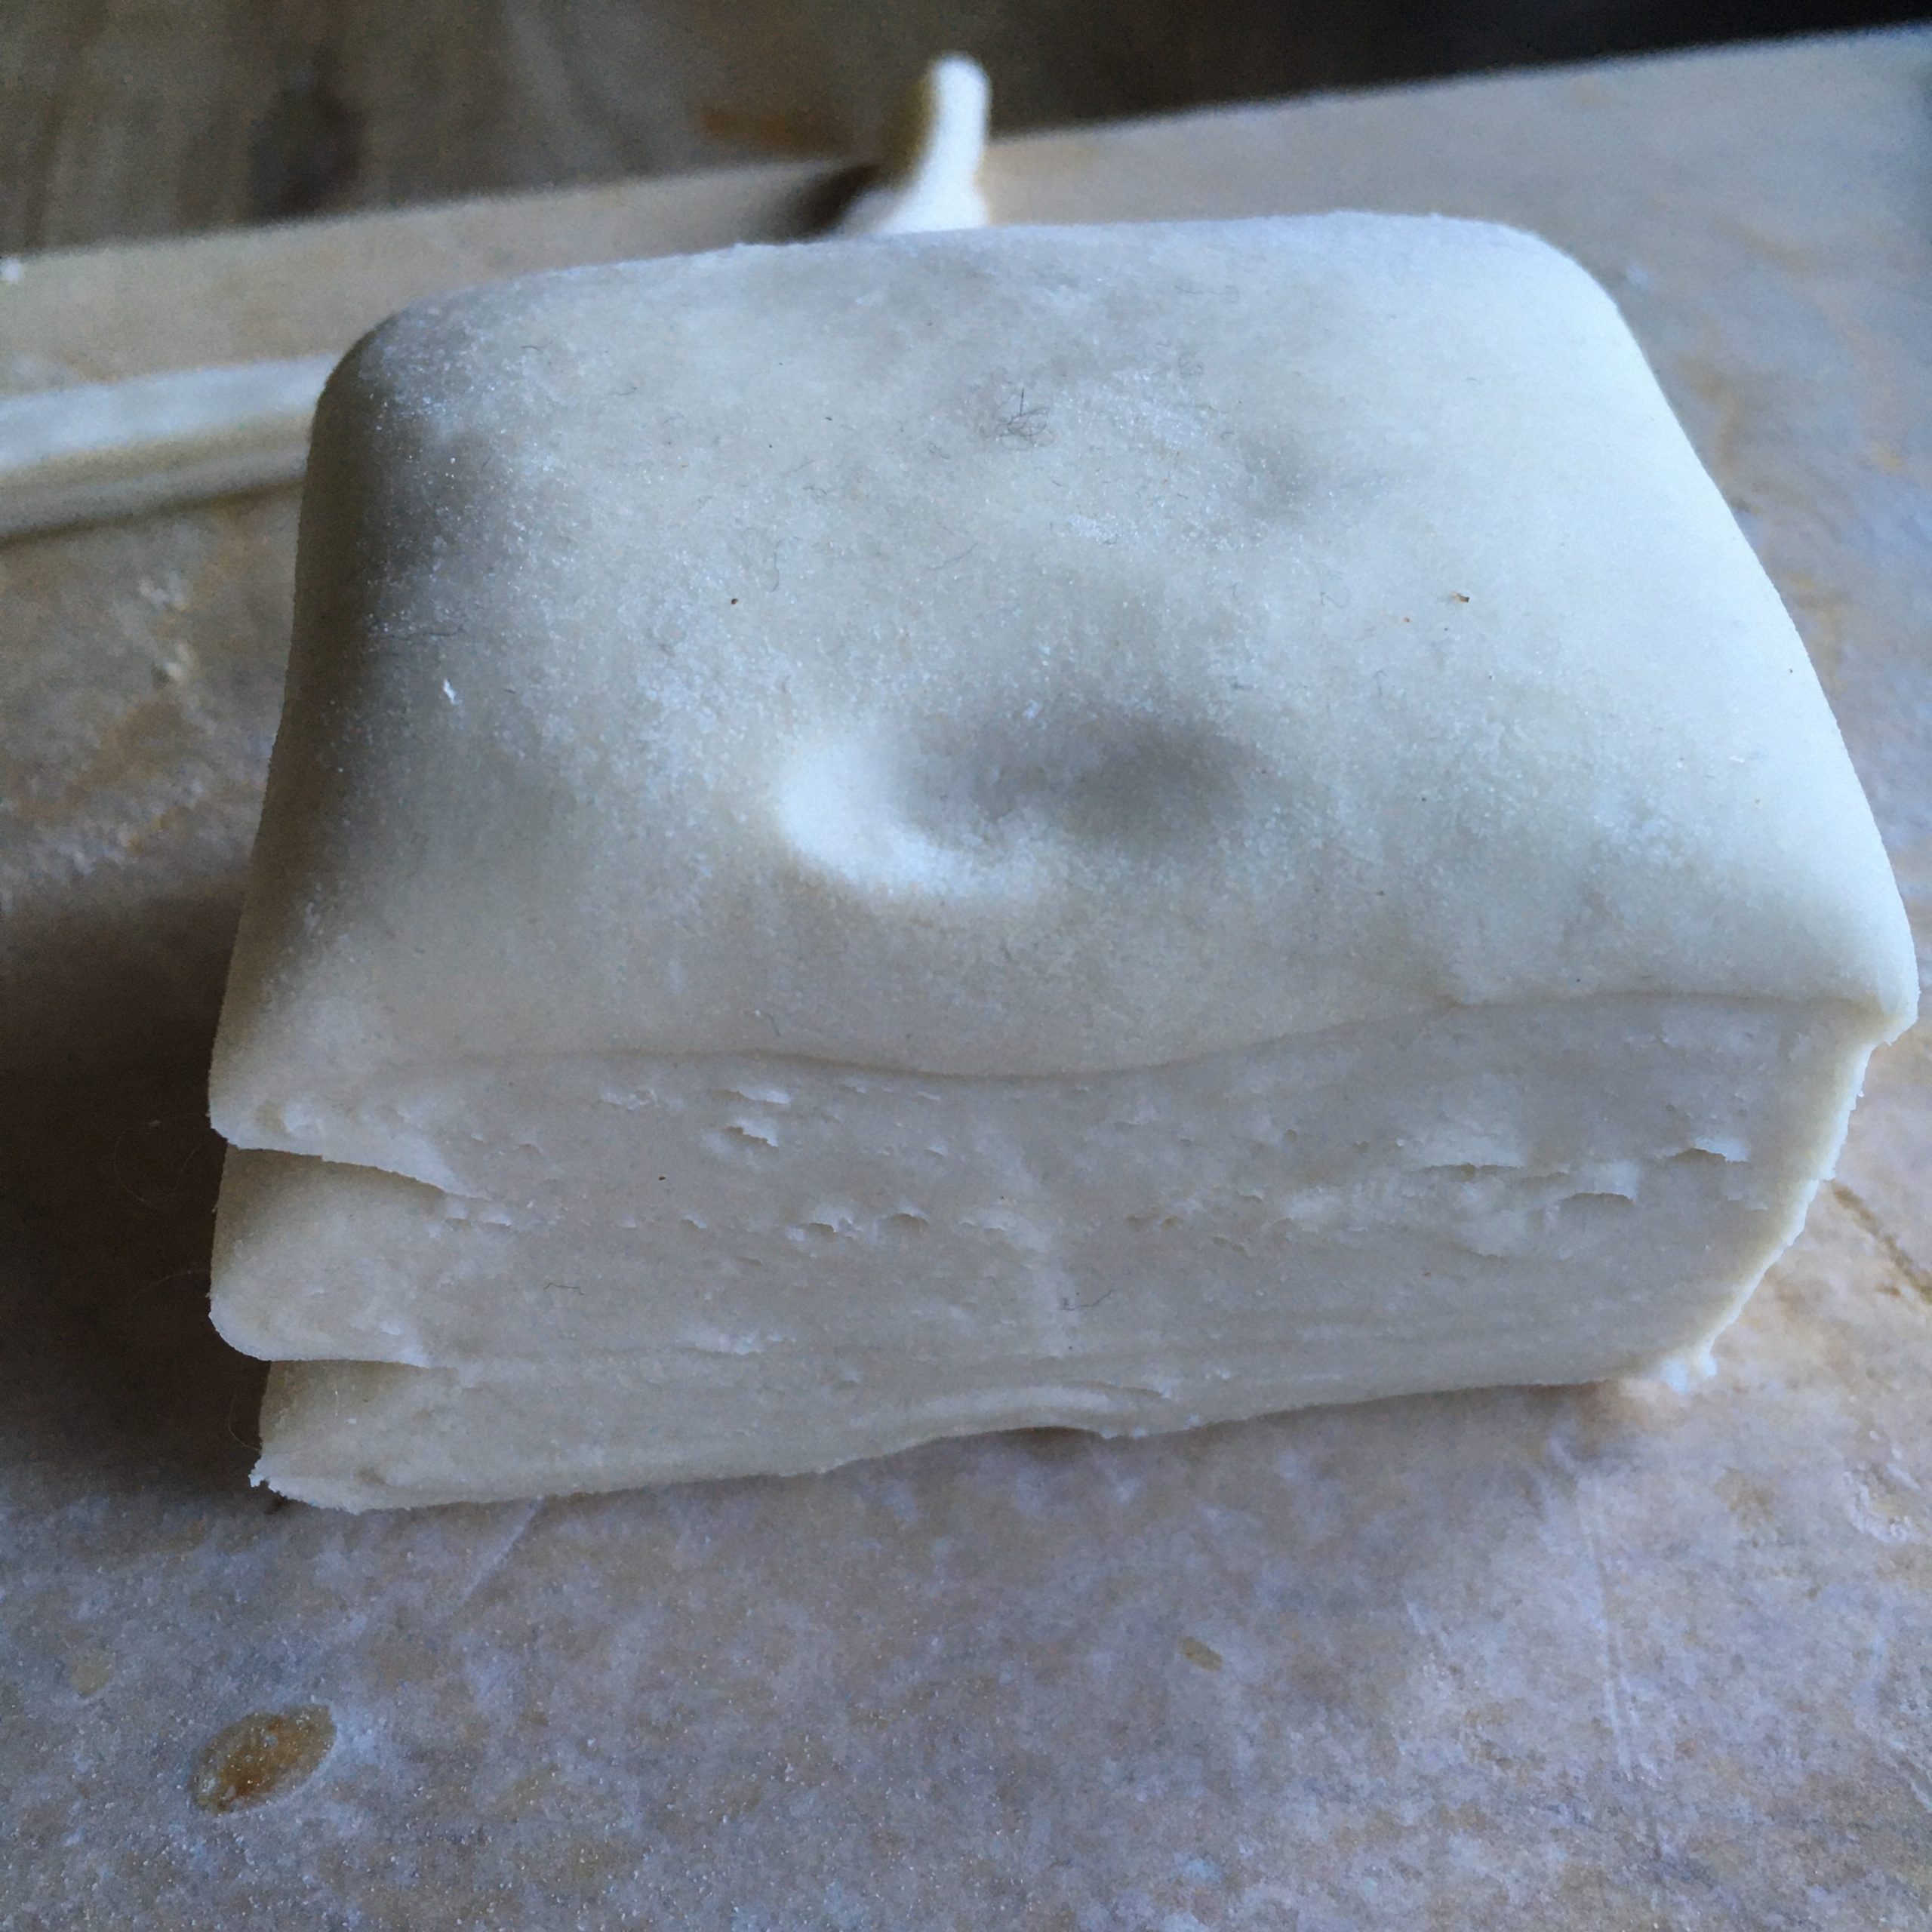
Well then… I took all the courage it takes to make an attempt at puff pastry when I have failed so often.

So here I am folding and rolling and turning every hour my puff pastry by the book, hoping it will become something… probably because of the cold temperature inside it is not as tedious as I remembered, and no butter spill.

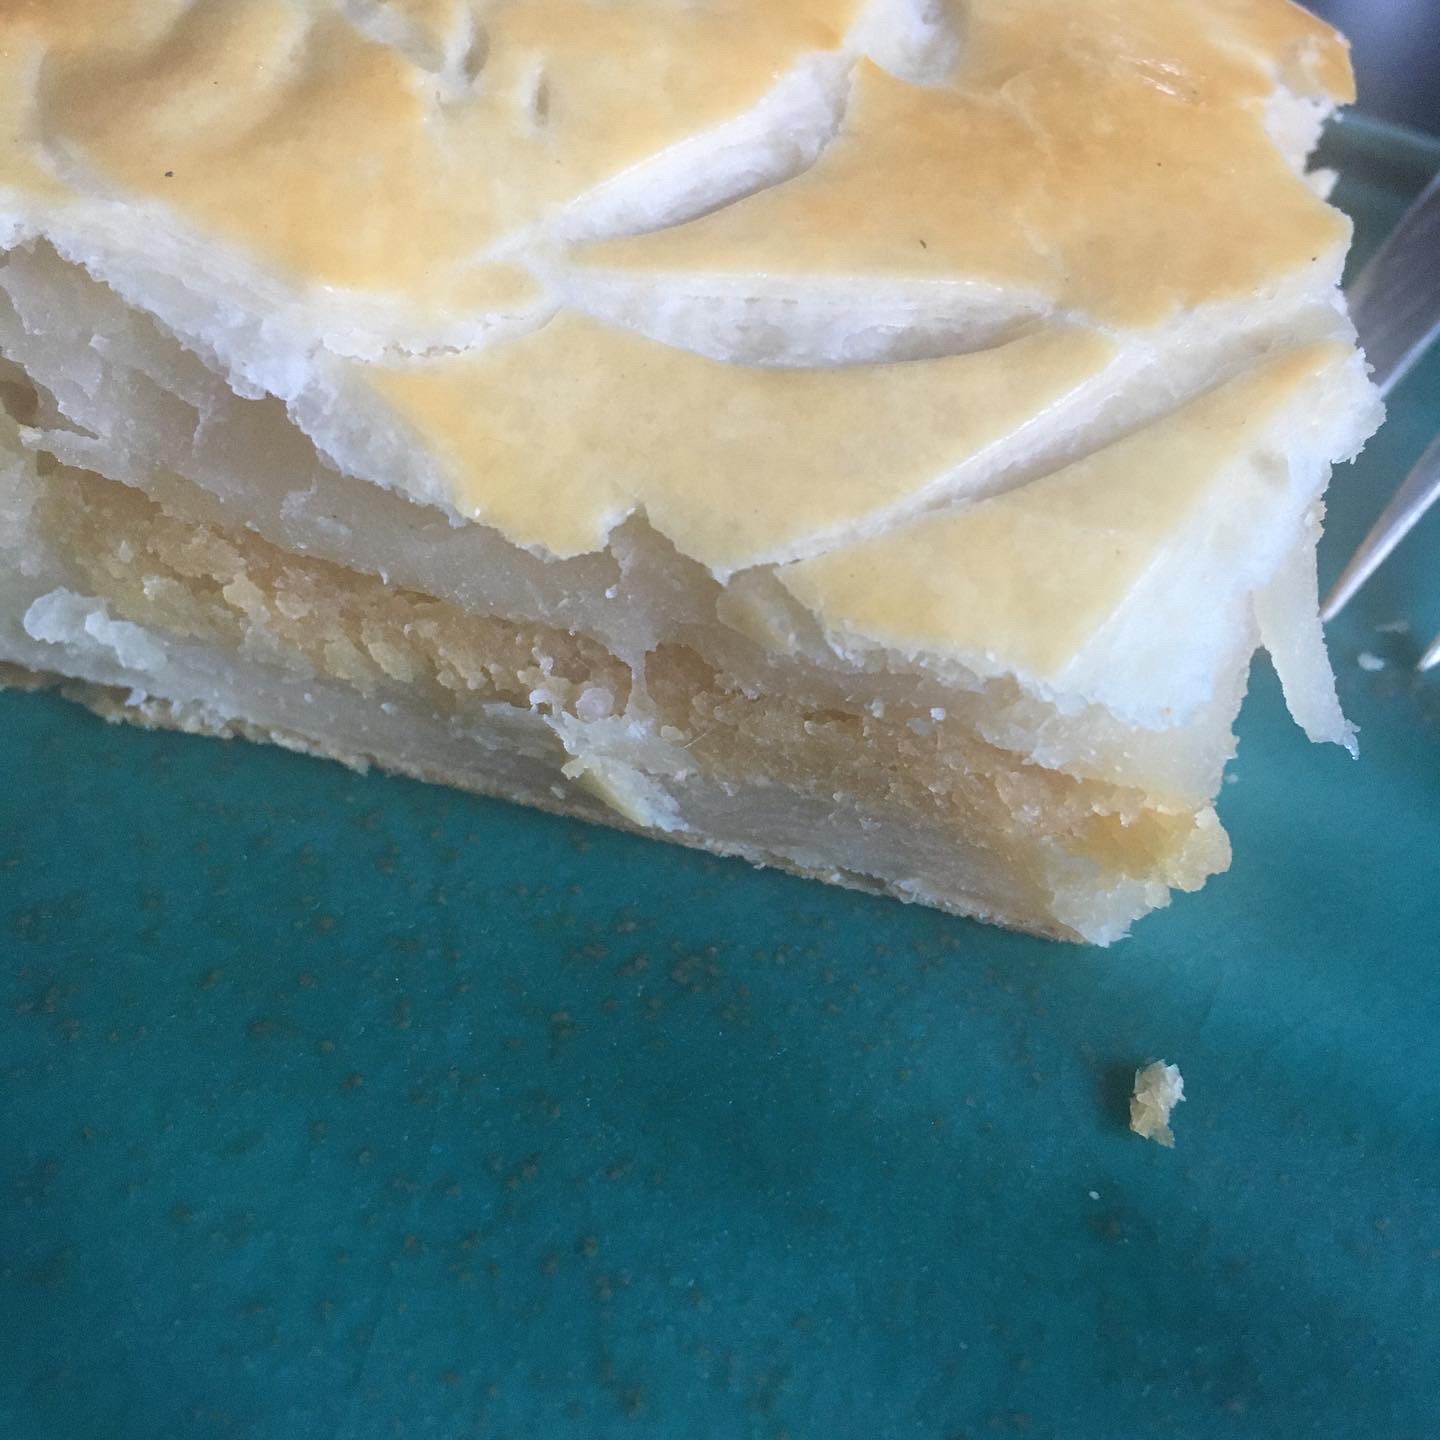
For the frangipane I used a standard recipe: almond powder plenty, 1 egg, a bit of sugar and a tiny bit of butter, stirred into a dense pomade.

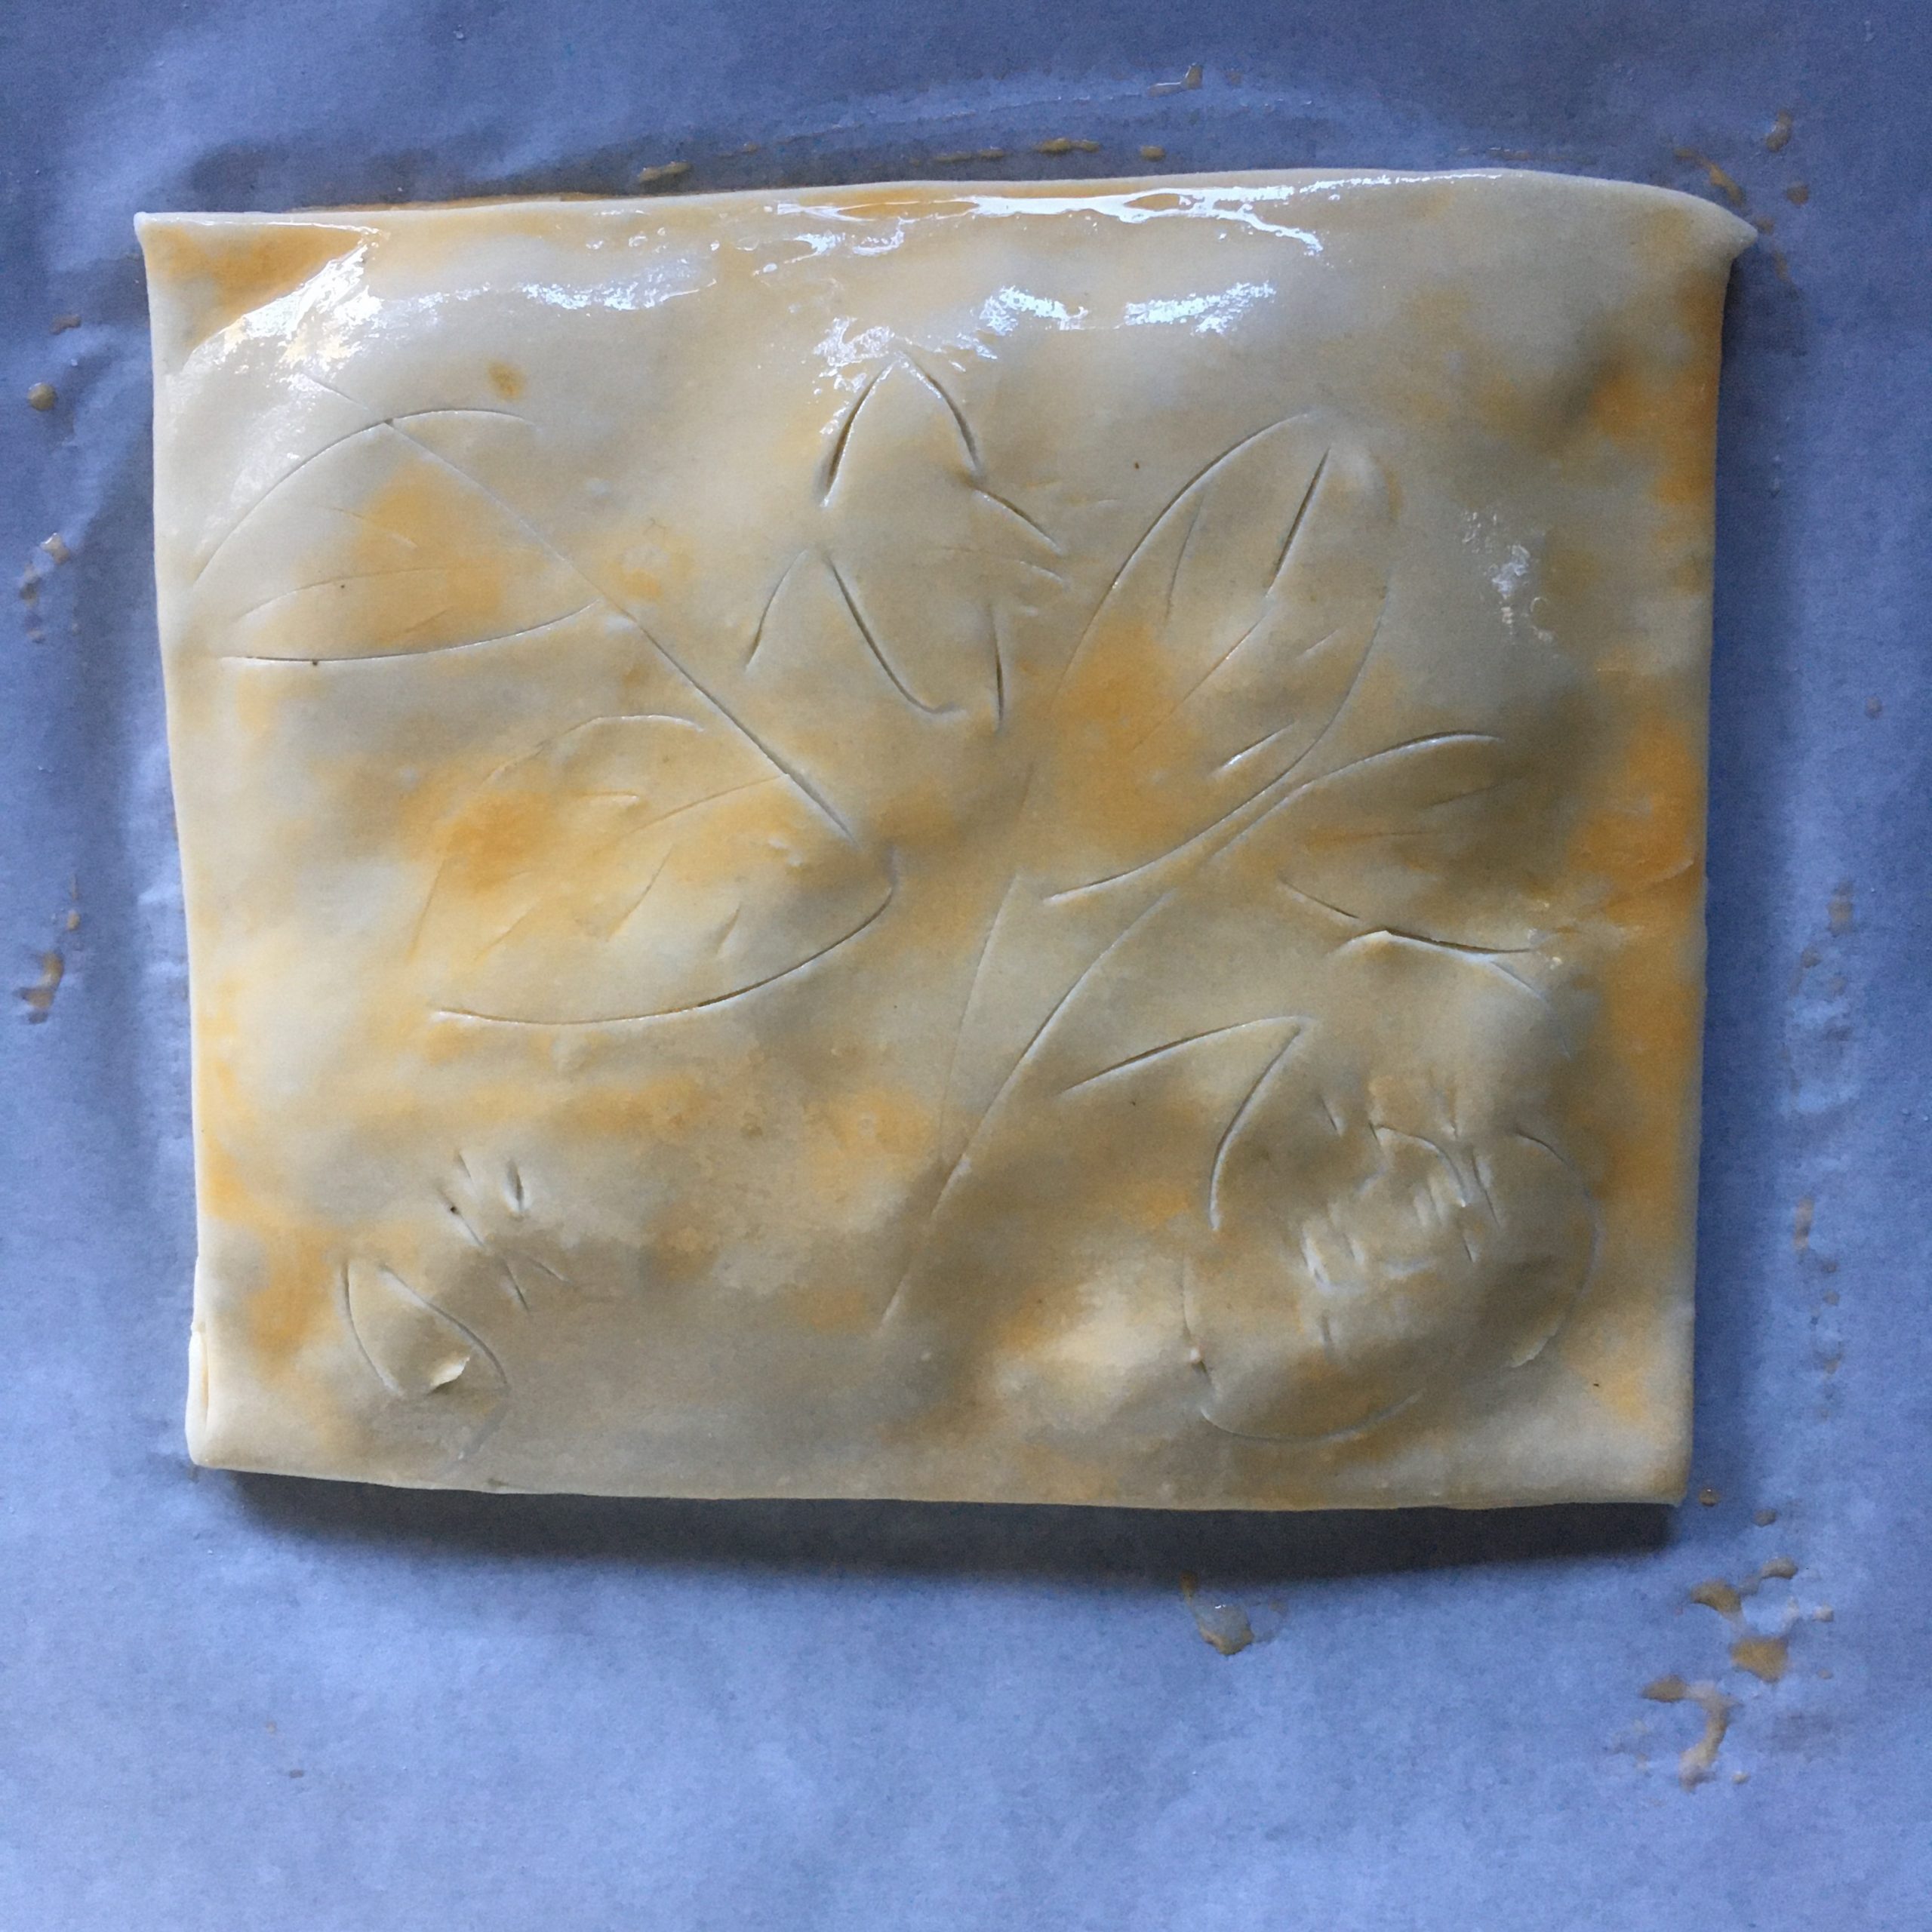
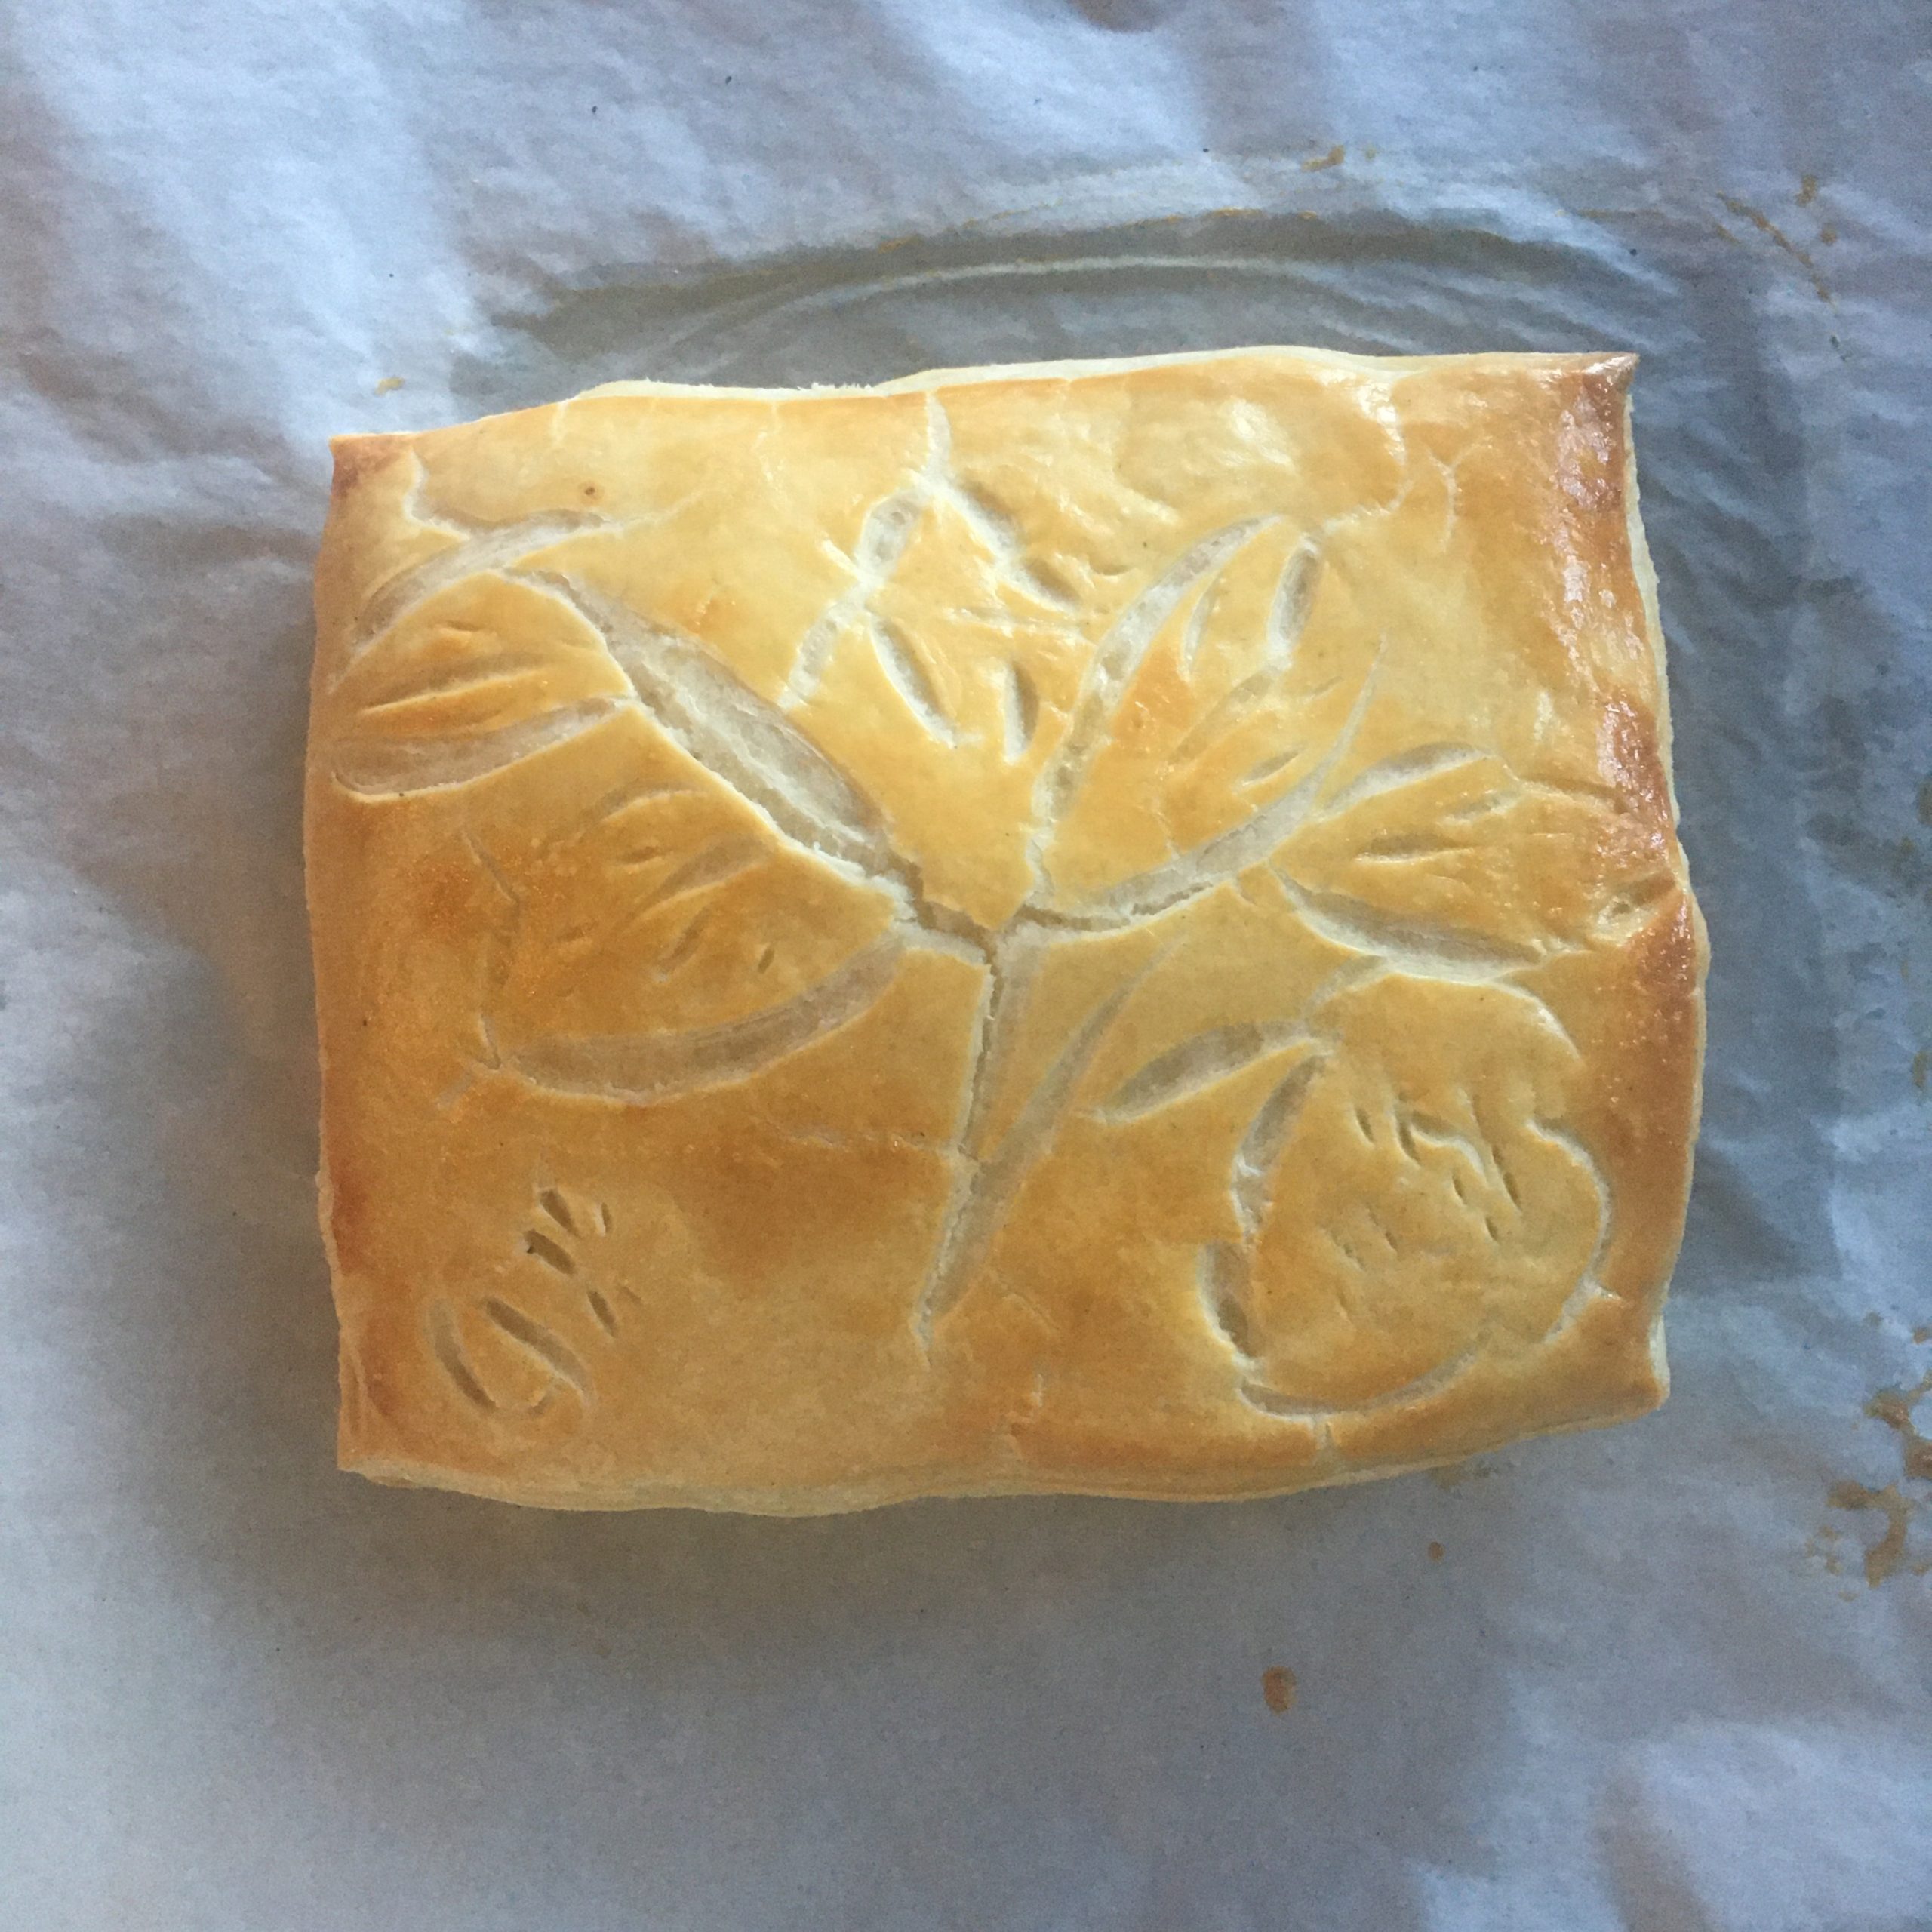
The rest is just simple. I decided for a square galette, rolled one layer of dough, topped with frangipane, leaving enough room to close it. Rolled another layer of dough to put on top, sealed the borders well. Paint an egg batter. Made a little seasonal drawing: blooming camellia japonica as we have so many in the garden, and 30min at 200deg. Until just golden. A. couldn’t wait any longer!!!

The result was surprisingly delicious. It didn’t have the sticky sugary top it too often has in shops, it was not too sweet, actually very nice, and the puff pastry worked well! Beginner’s luck!!!

Blanquette… don’t misunderstand with blanket!!!

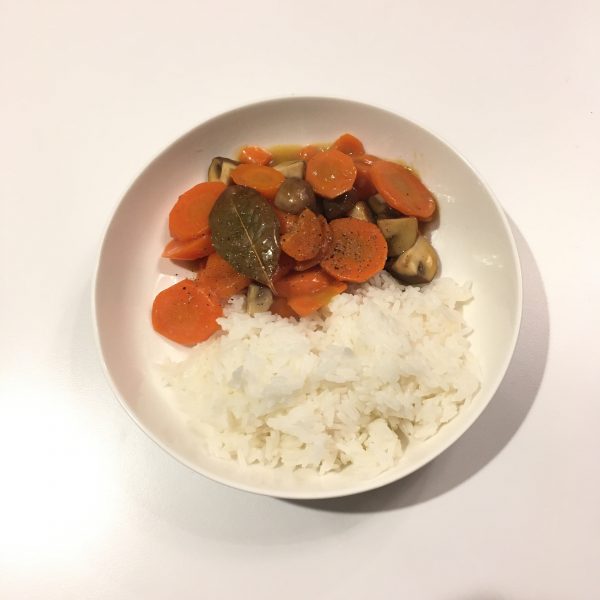
Blanquette (pronounce “blanket”, but don’t get confused) is a very French, very traditional dish that my grandmother would often prepare when we had family lunches. She would make it with veal meat. But I guess everyone has its own recipe. Hers would also includes some green olives. It’s been a long time since I have quit eating veal… and a few times, long ago, I prepared some with chicken breast, but to be honest this is something I have not prepared in years if not a decade!!! Yet with carrots and mushrooms in the fridge, it suddenly reminded me of blanquette, and felt like I would do a vegetable only version, and eat it with steamed basmati rice for a change. When you use only vegetables it is rather quick to prepare and ended up being a great dinner dish after work and workout. So here’s my recipe, and a few variations possible to twist it to your liking! Enjoy!

Blanquette (2 servings as main dish)

  • 3 carrots
  • 5-10 mushrooms depending on size
  • 1 leaf of laurel
  • Salt and pepper
  • 15g of butter
  • 1tbs of flour
  • Water

All the following are optional

  • 10 green olives
  • 1 chicken breast
  • 1 leak…

Melt the butter in a pan. Wash and cut the vegetables. Cut mushrooms in four, carrots in bite size, leak in small chunks, chicken in bite size. Add to the melted butter and stir well to coat them, at low heat. Add the flour little by little while stirring, to make the roux, then add water to just half cover. Add salt and pepper and the laurel. Cook at low heat until the liquid turns into a thick and creamy texture (if too thick just add a bit of water and cook a bit longer, same if you think you want your vegetables more tender). Add the olives if you use some, stir again. And serve hot with rice (not Japanese rice, better with long grain rice)

I hope you love lemons!!!

As much as I do!!! I’ve always loved lemons, and lemon juice. In France and in Italy when every one goes to the cafe to have an expresso, I would either have a freshly squeezed lemon, when it’s cold in winter, with some hot water in it. That’s really something I love about cafes, and that, with freshly squeezed orange, is probably the only fresh thing you can have.

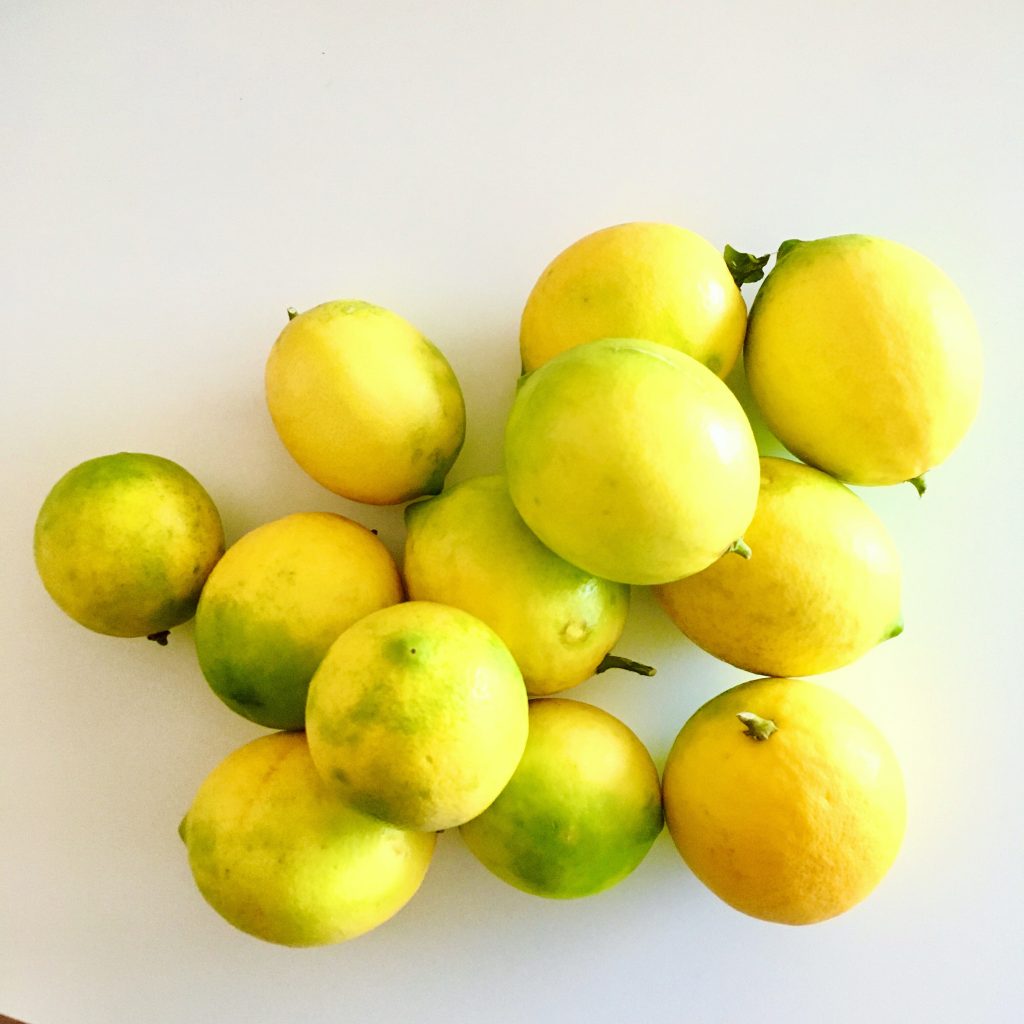
Our lemon tree this year had a lot of flowers but none went to maturity so we’ll have no fruits. So when my secretary sent me a giant box filled with giant lemons from her garden, I can only be thankful, and super happy. Who doesn’t love no chemical at all grown vegetables or fruits???

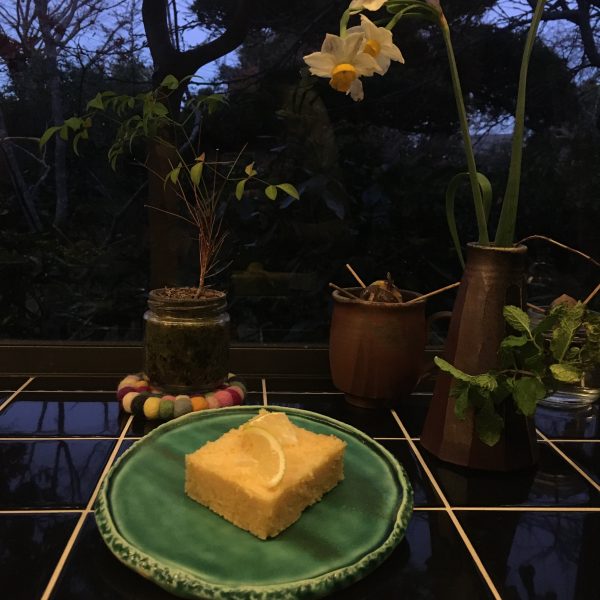
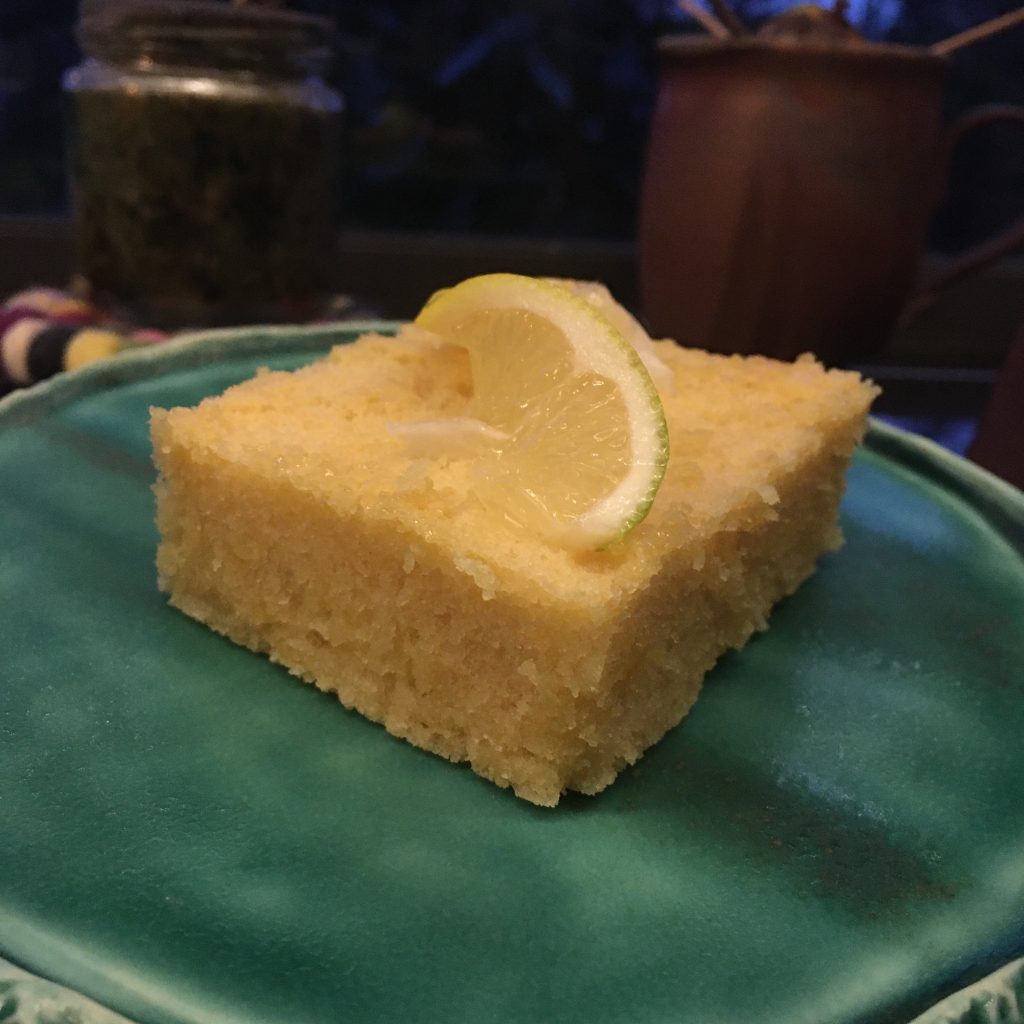
It took me a bit of time to think about what to cook… I love lemon tarts, lemon cakes, lemon squares… but I wanted to try something else… so while sipping hot lemon, I browsed the net for some recipes and found a lemon brownie recipe. Buttery and sweet, that would be a hit with A. No doubt!

Except that the recipe I found was a little odd: they didn’t say when to put the sugar, the proportion of butter was just too much and all sounded a bit awkward, so while using a classic chocolate recipe I came up with my own lemon brownie recipe, and it was great (lucky I cut the butter by a fourth, it is already very buttery!!!)

Enjoy! It is really super easy!!!

Lemon brownie (makes a large pie dish for at least 6 pieces)

  • 180g of flour
  • 150g of sugar
  • 150g of butter
  • 4 eggs
  • The zest of one large lemon or two small
  • The juice of one large juicy lemon or two smaller or less juicy
  • A pinch of sal
  • A pinch of baking soda

Melt the butter. In a large bowl mix the flour, the salt, the baking soda and the lemon zest, add the butter and stir.

In another bowl, whisk the eggs, the sugar and the lemon juice. Add to the previous bowl and stir. Set in a buttered and floured pie dish to have about 1.5cm thickness.

Bake 30min at 180degrees. That’s it!!!

Proudly powered by WordPress | Theme: Baskerville 2 by Anders Noren.

Up ↑

Verified by MonsterInsights