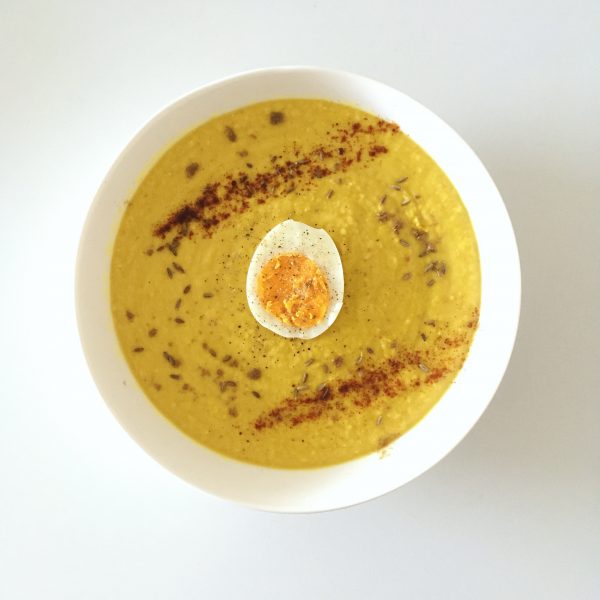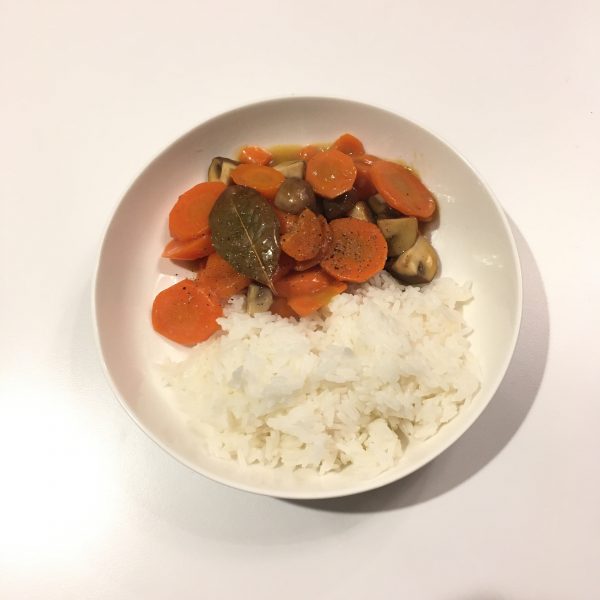
Blanquette (pronounce “blanket”, but don’t get confused) is a very French, very traditional dish that my grandmother would often prepare when we had family lunches. She would make it with veal meat. But I guess everyone has its own recipe. Hers would also includes some green olives. It’s been a long time since I have quit eating veal… and a few times, long ago, I prepared some with chicken breast, but to be honest this is something I have not prepared in years if not a decade!!! Yet with carrots and mushrooms in the fridge, it suddenly reminded me of blanquette, and felt like I would do a vegetable only version, and eat it with steamed basmati rice for a change. When you use only vegetables it is rather quick to prepare and ended up being a great dinner dish after work and workout. So here’s my recipe, and a few variations possible to twist it to your liking! Enjoy!
Blanquette (2 servings as main dish)
- 3 carrots
- 5-10 mushrooms depending on size
- 1 leaf of laurel
- Salt and pepper
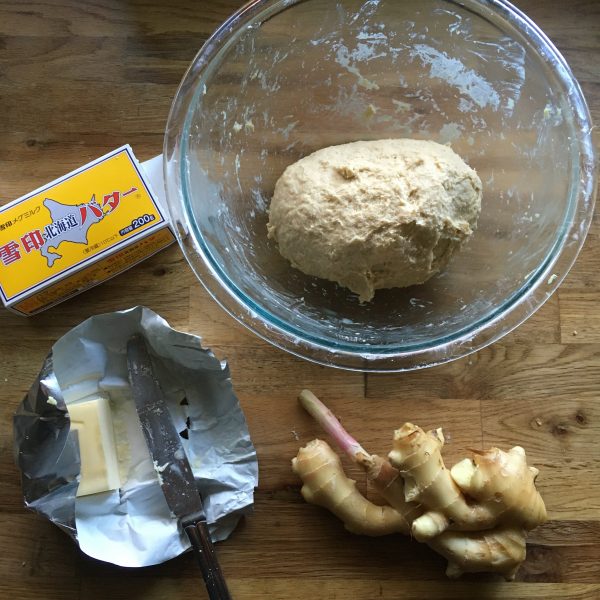
- 15g of butter
- 1tbs of flour
- Water
All the following are optional
- 10 green olives
- 1 chicken breast
- 1 leak…
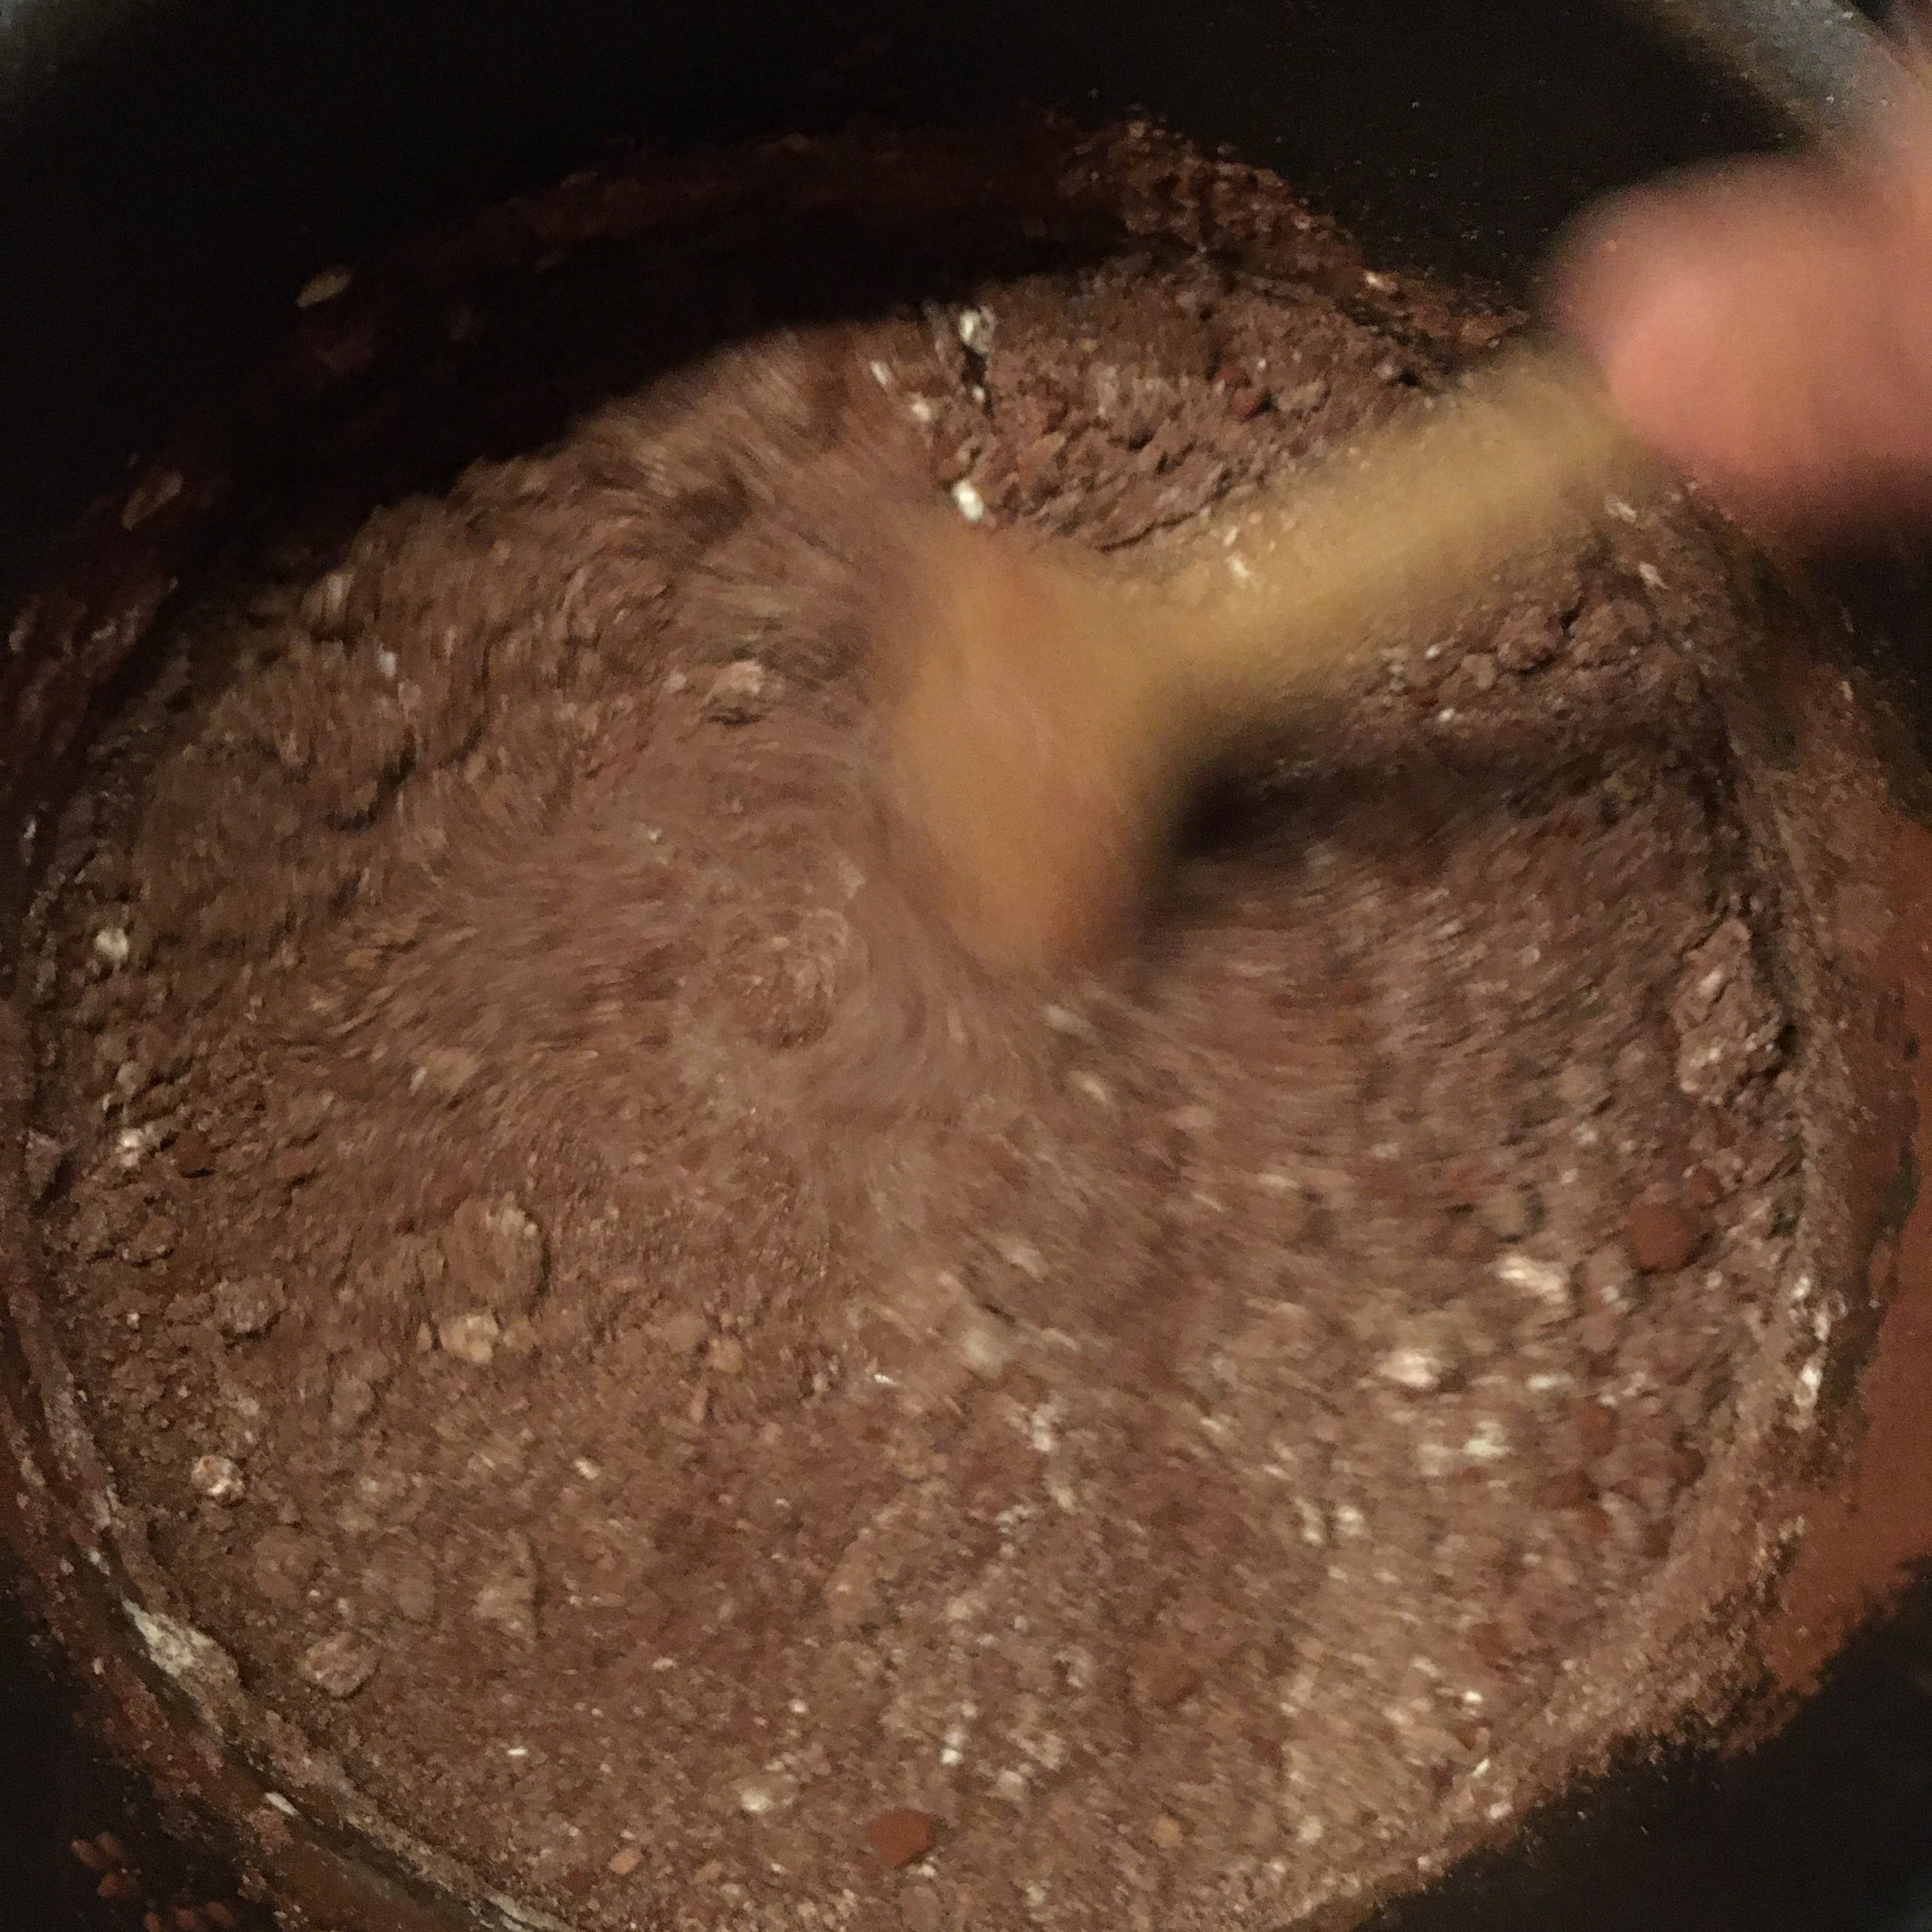
Melt the butter in a pan. Wash and cut the vegetables. Cut mushrooms in four, carrots in bite size, leak in small chunks, chicken in bite size. Add to the melted butter and stir well to coat them, at low heat. Add the flour little by little while stirring, to make the roux, then add water to just half cover. Add salt and pepper and the laurel. Cook at low heat until the liquid turns into a thick and creamy texture (if too thick just add a bit of water and cook a bit longer, same if you think you want your vegetables more tender). Add the olives if you use some, stir again. And serve hot with rice (not Japanese rice, better with long grain rice)