Yuzu pompe à l’huile

Hello my friends!!!

It’s been a long time, right! Well the blog is not dead at all, I just encountered technical issues between the web hosting and wordpress and finally A. solved the problem for me!

So I am back!!!

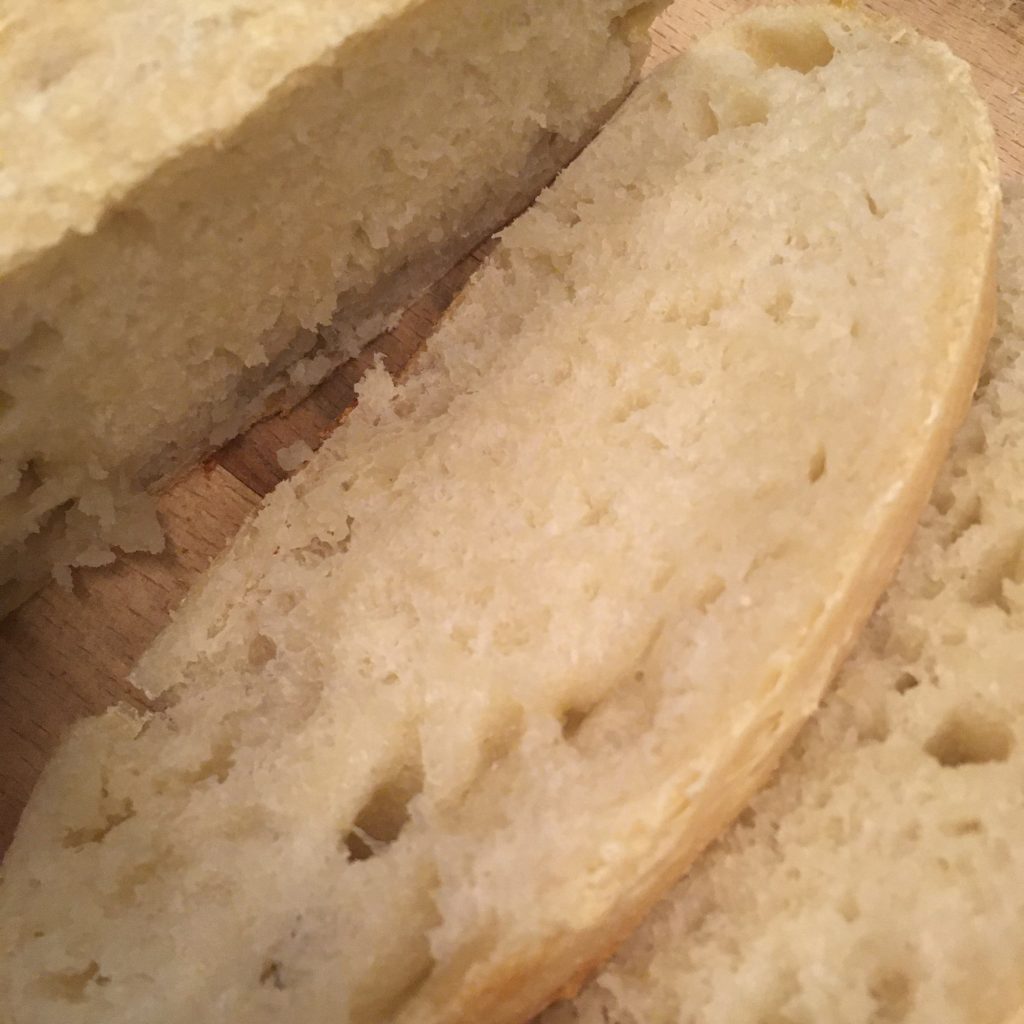
There has been quite a few recipes I wanted to share here, but they have become obsolete since the ingredients are not seasonal any more. All the beautiful foods from the autumn are gone and now it’s getting really cold and winter mode, with leeks, daikon, cabbages. And because it is right before Christmas I am baking pompes a l’huile every weekend.

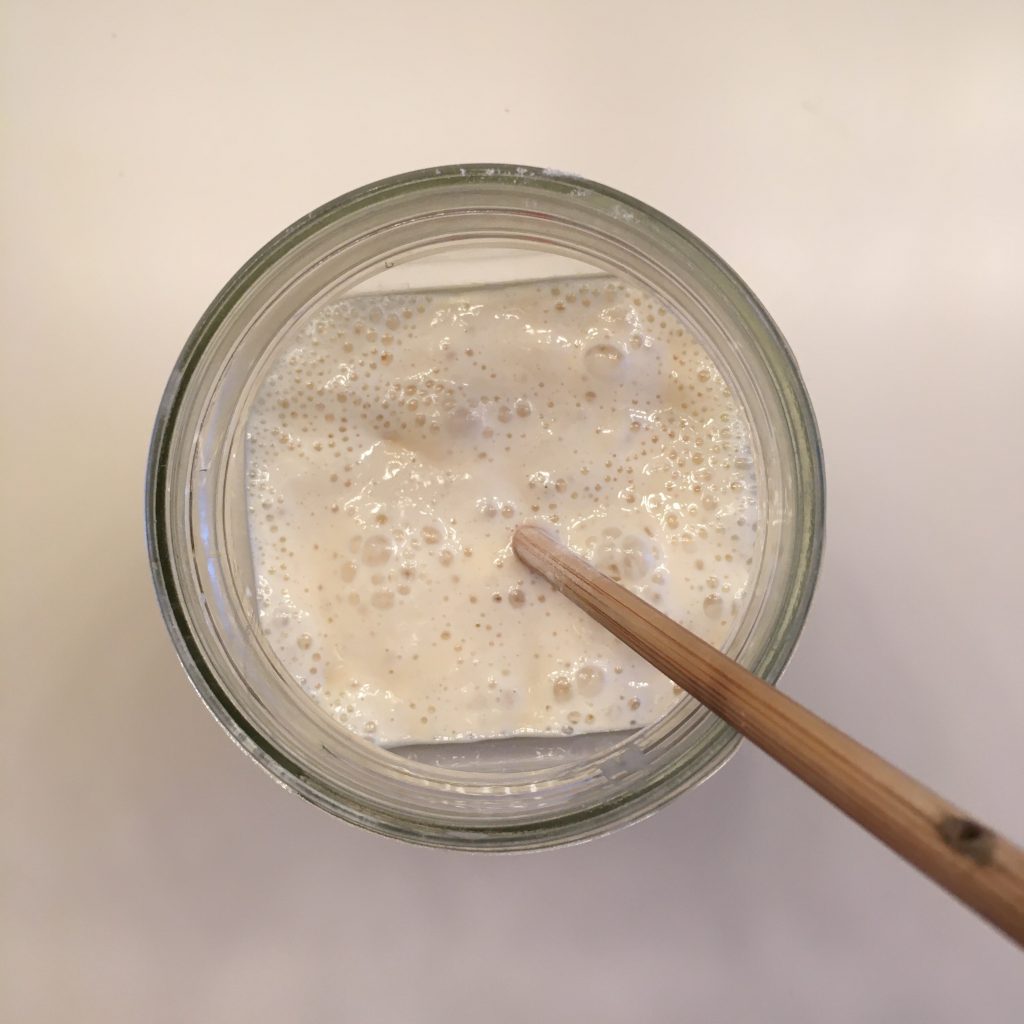
Since the first I made in 2015 and the recipe I used then, things have evolved a little. I solely use citrus fruits, and more than often yuzus from the garden, which I didn’t have back then. Also I don’t use yeast anymore, it’s been 3 years now I have started using sourdough. The result is amazingly delicious!!! I have also become much better at rolling and shaping. Back in 2015 I was rolling it too thin.
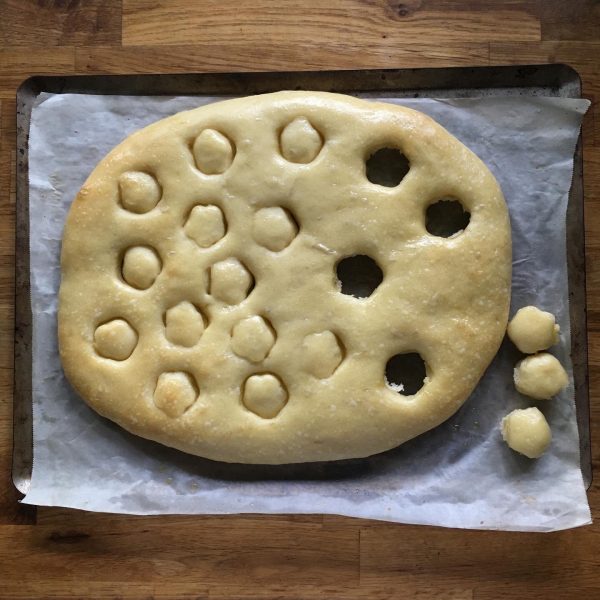
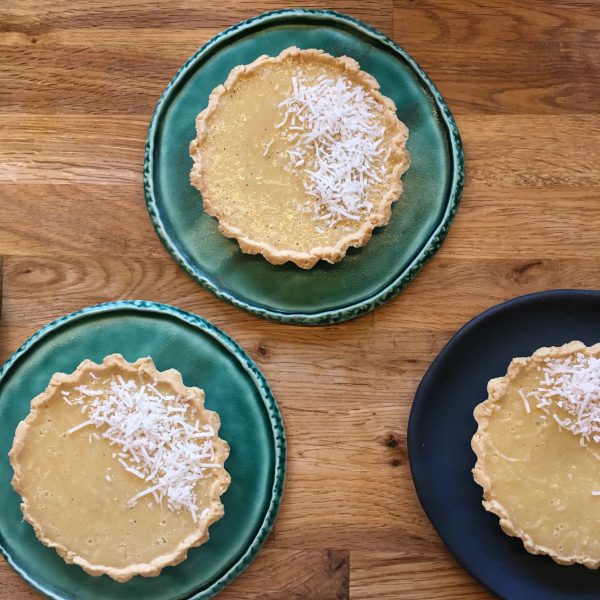
My pompes now look much more like this!

Pompe a l’huile

  • 200g of flour
  • 20g of sourdough
  • 80g of olive oil
  • 30g of sugar
  • 6g of salt
  • The zest of a yuzu (can be replaced by orange or any other citrus fruit)
  • The juice of the yuzu (same, can be replaced by any other citrus fruit)
  • Water

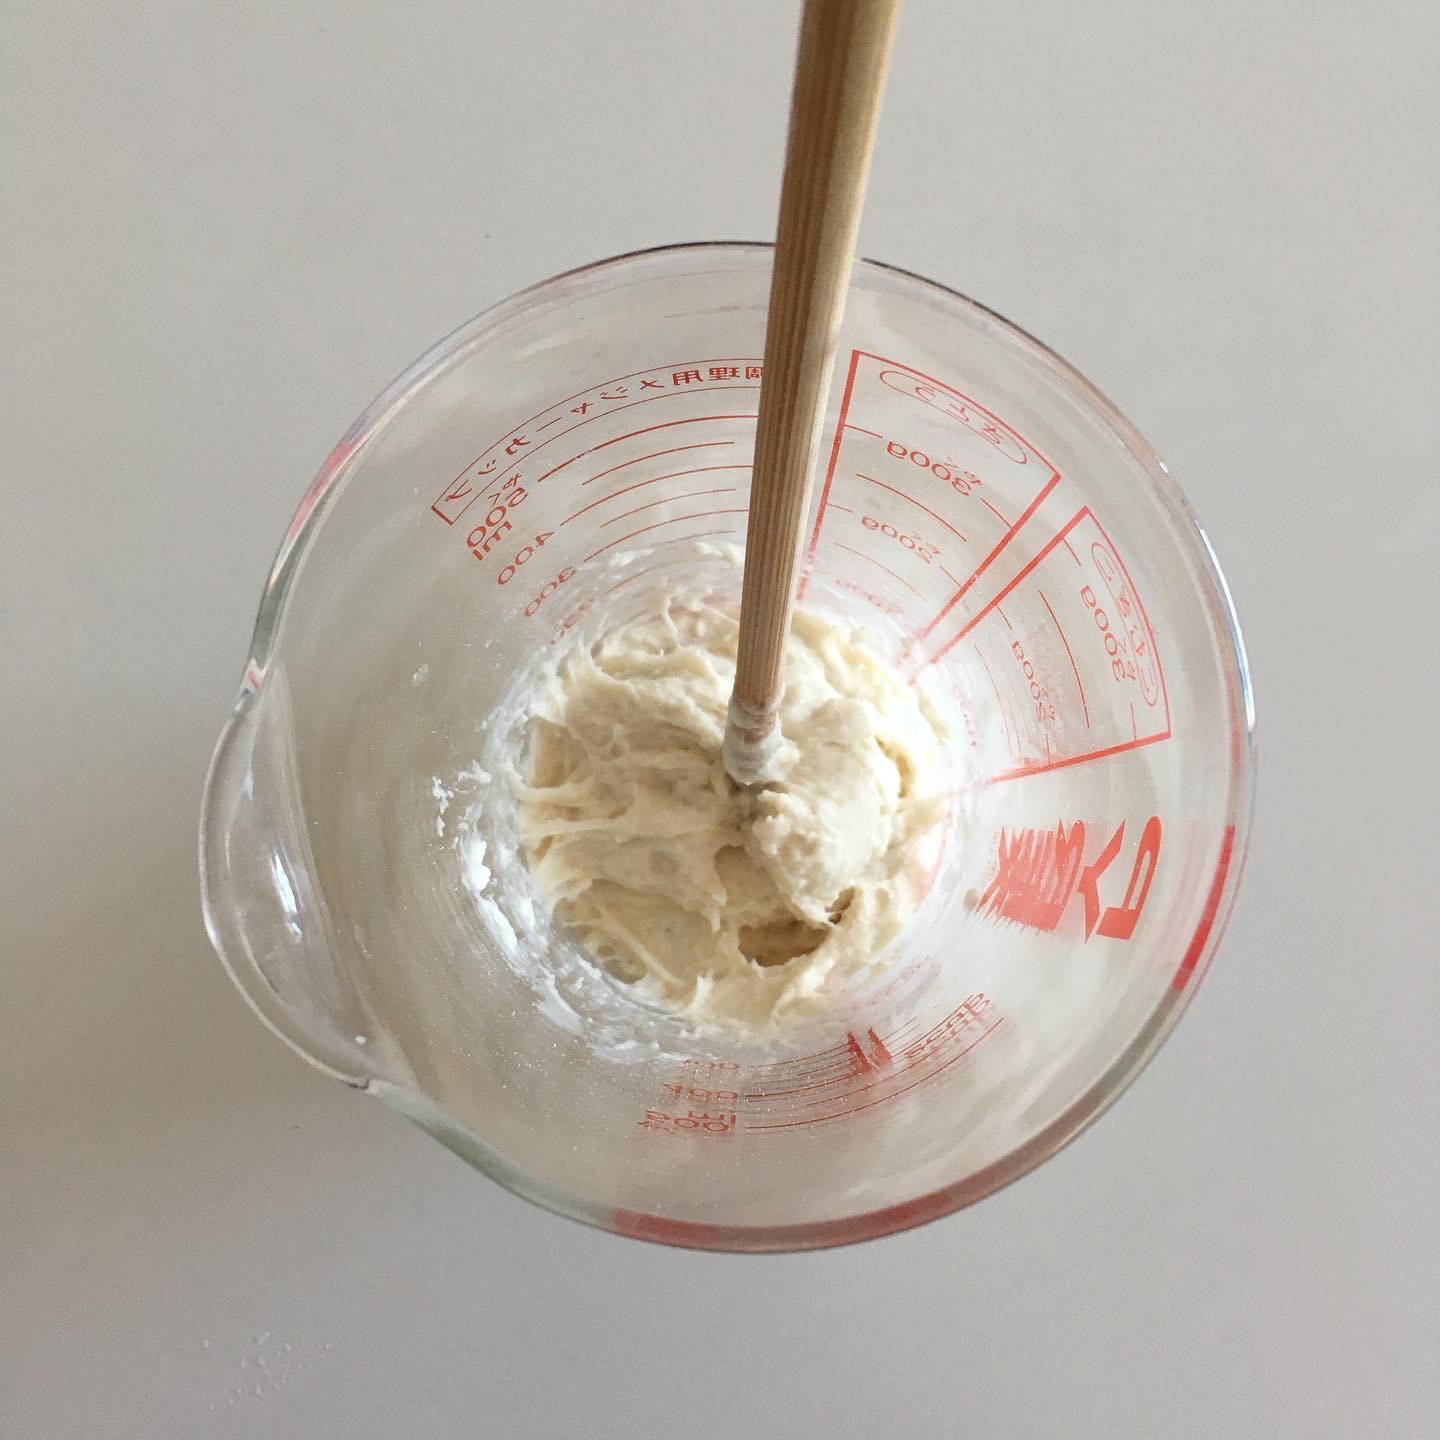
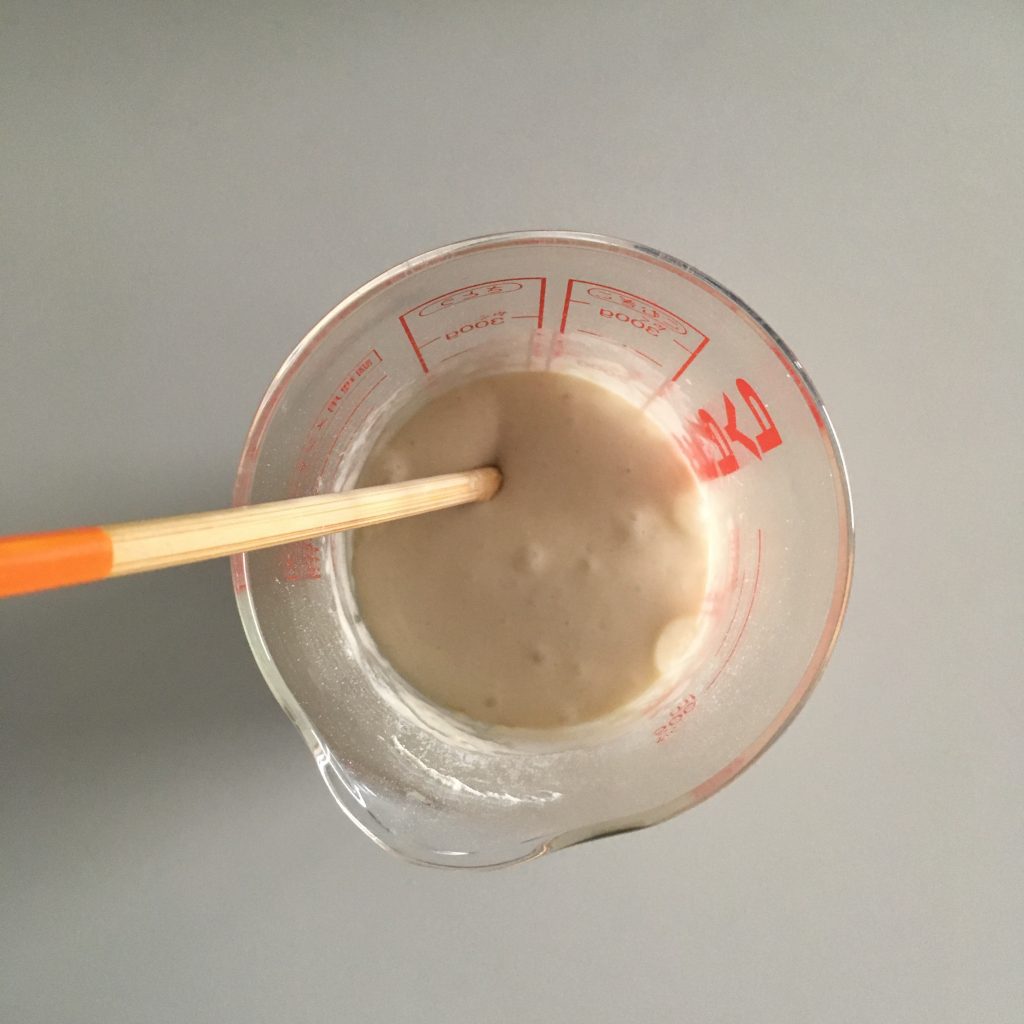
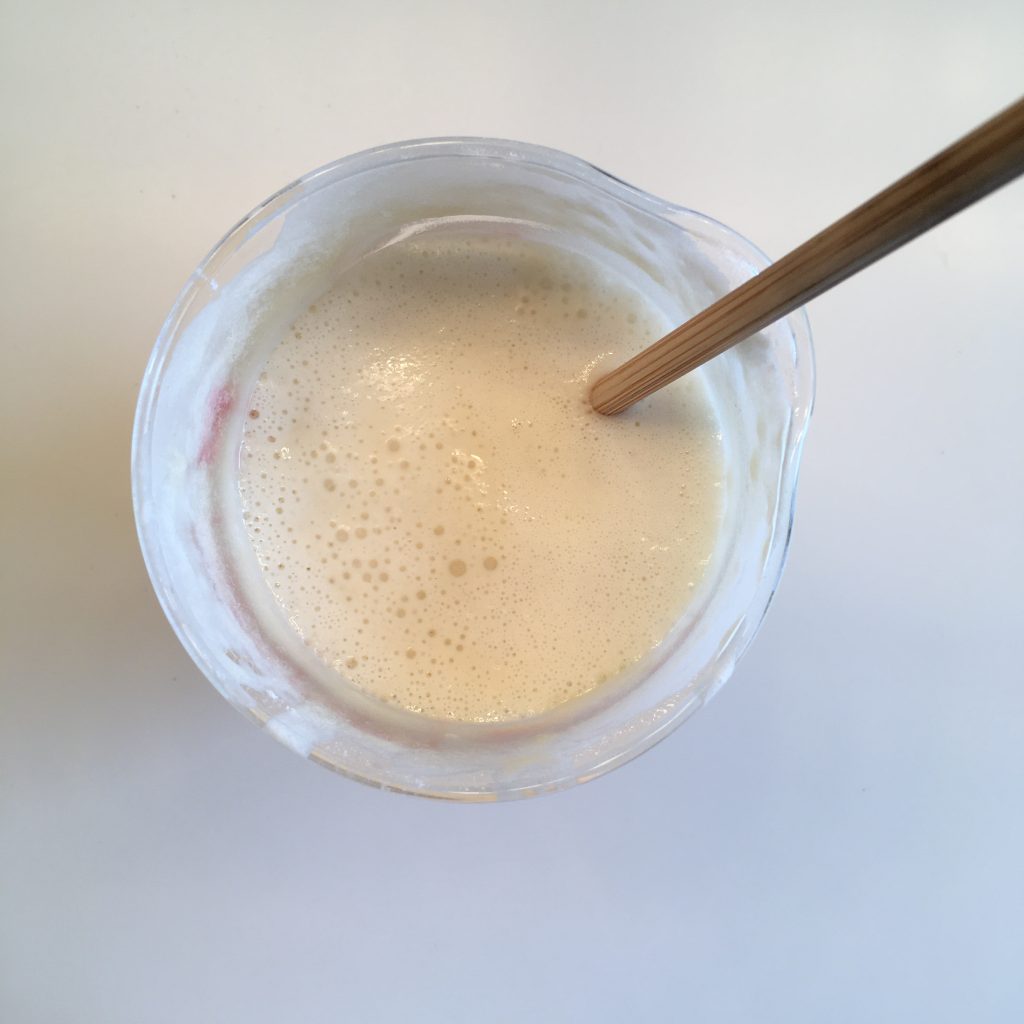
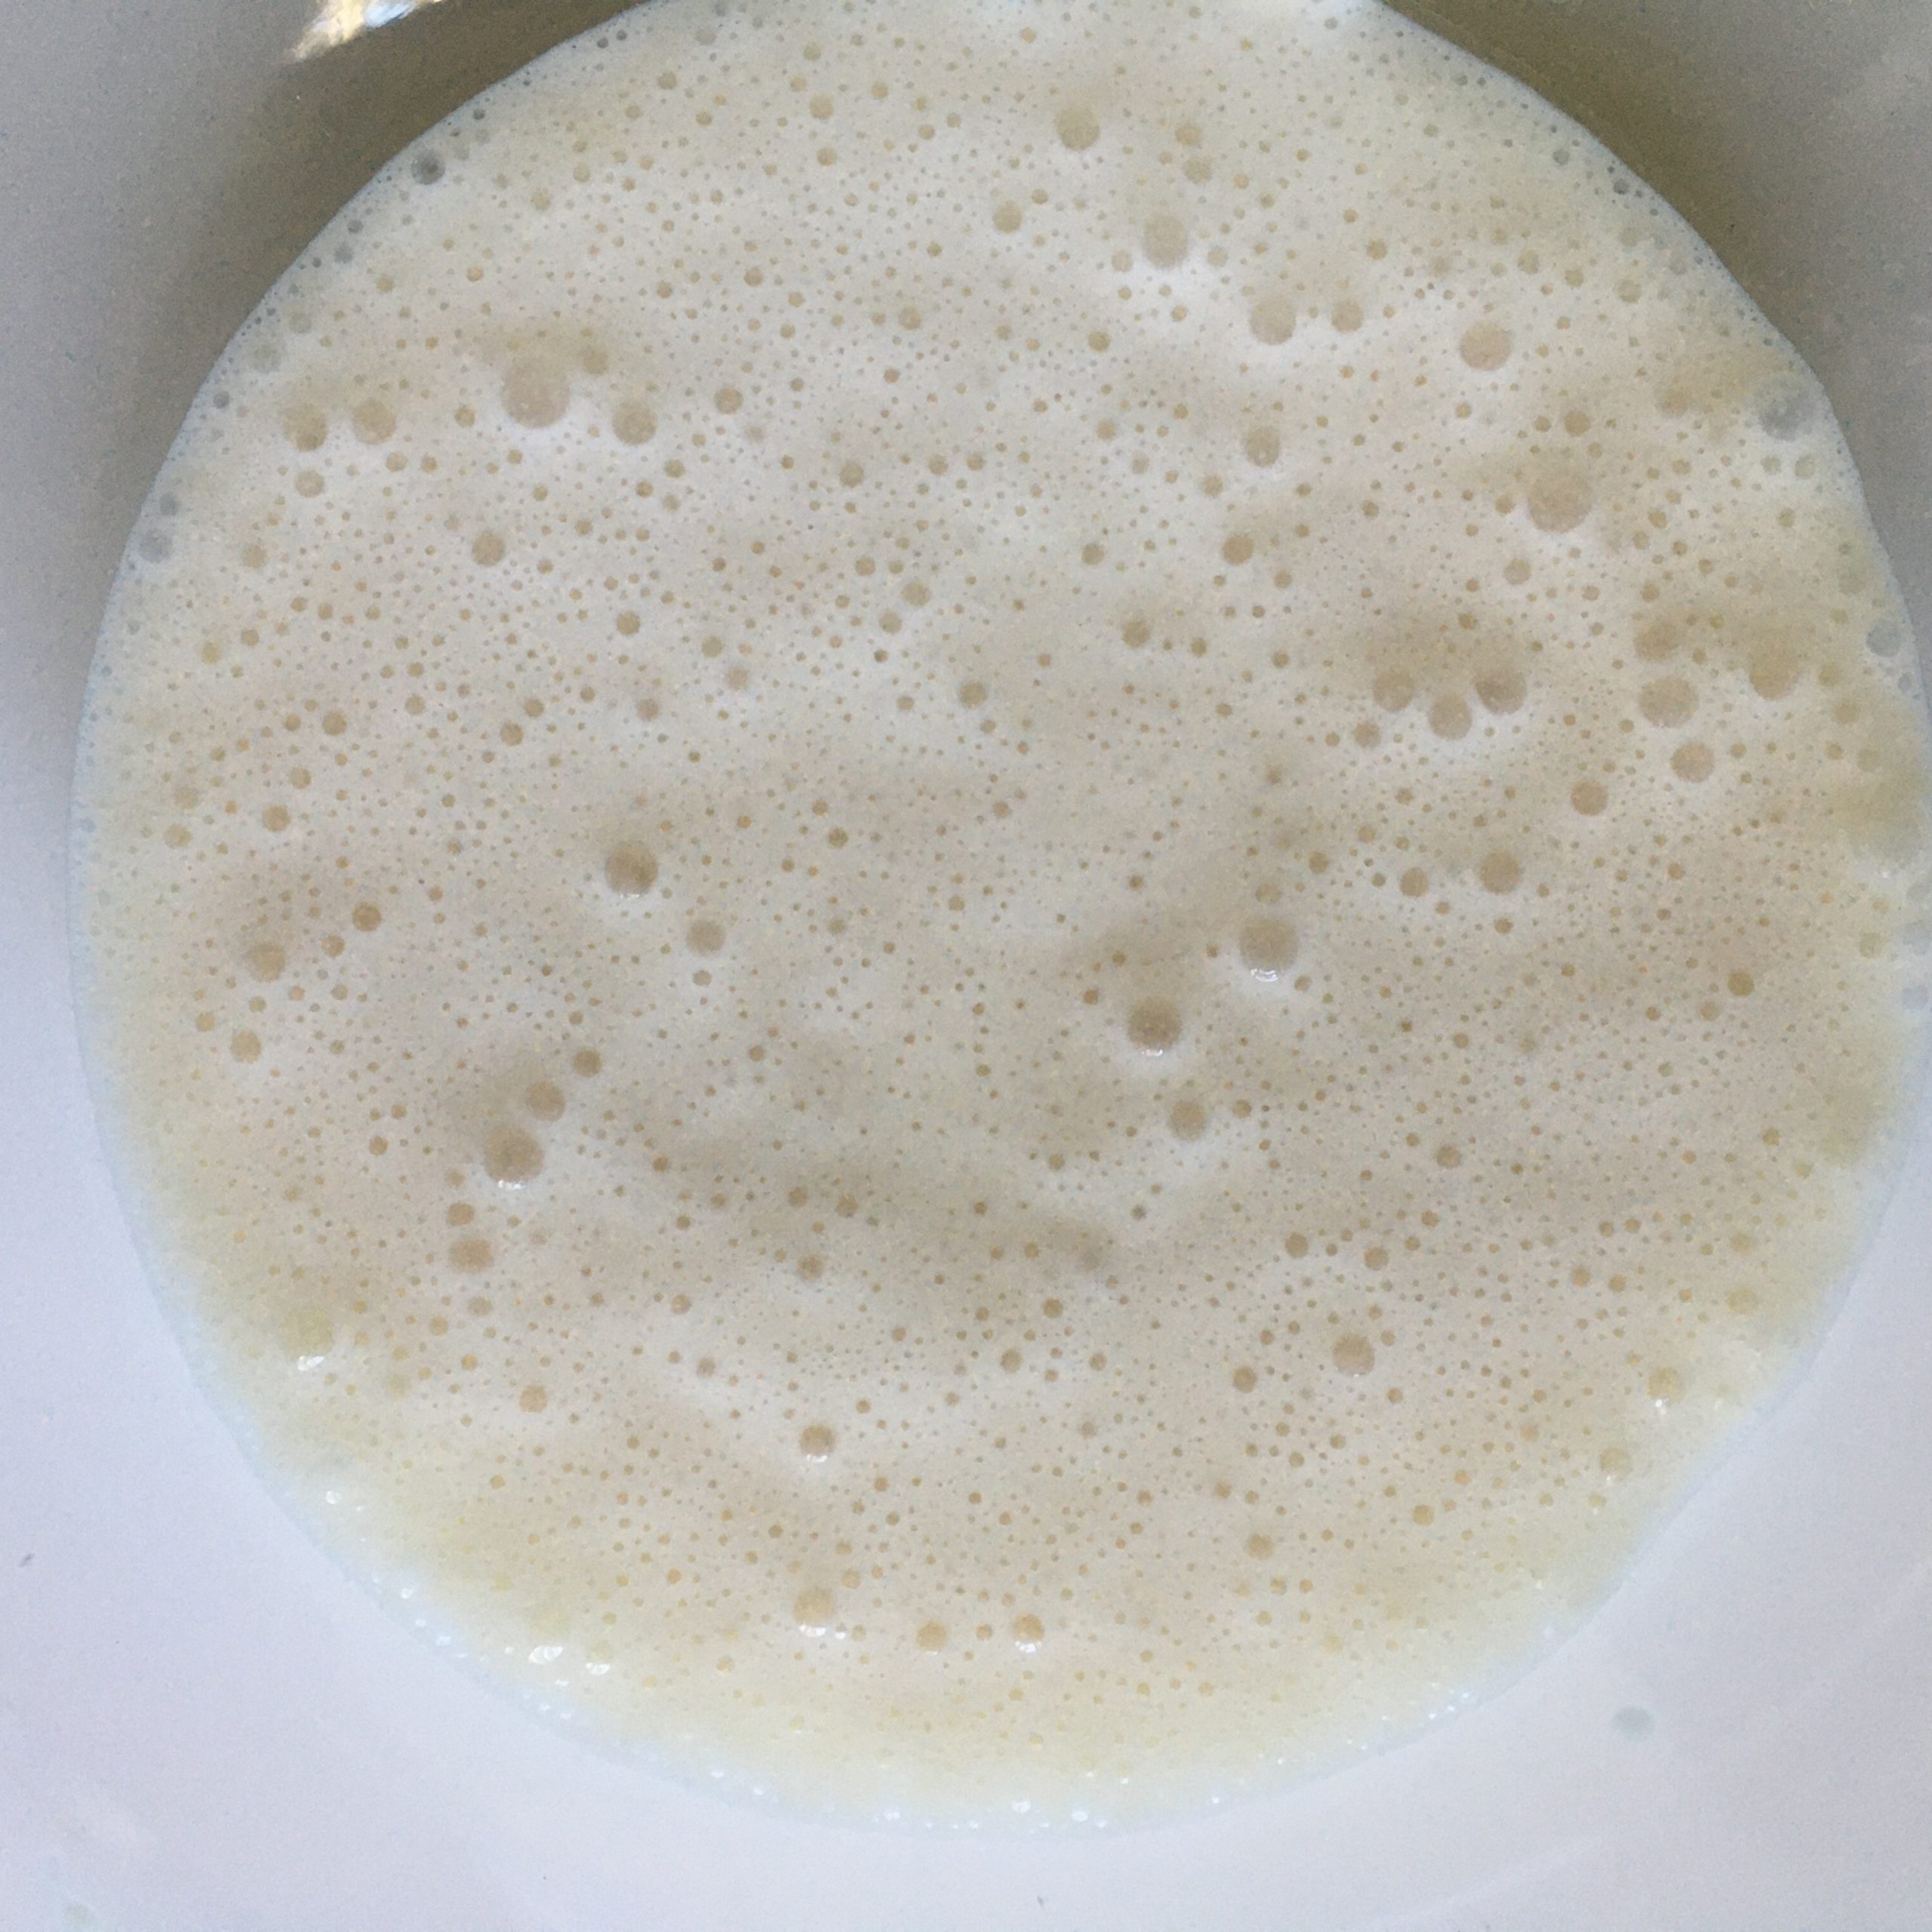
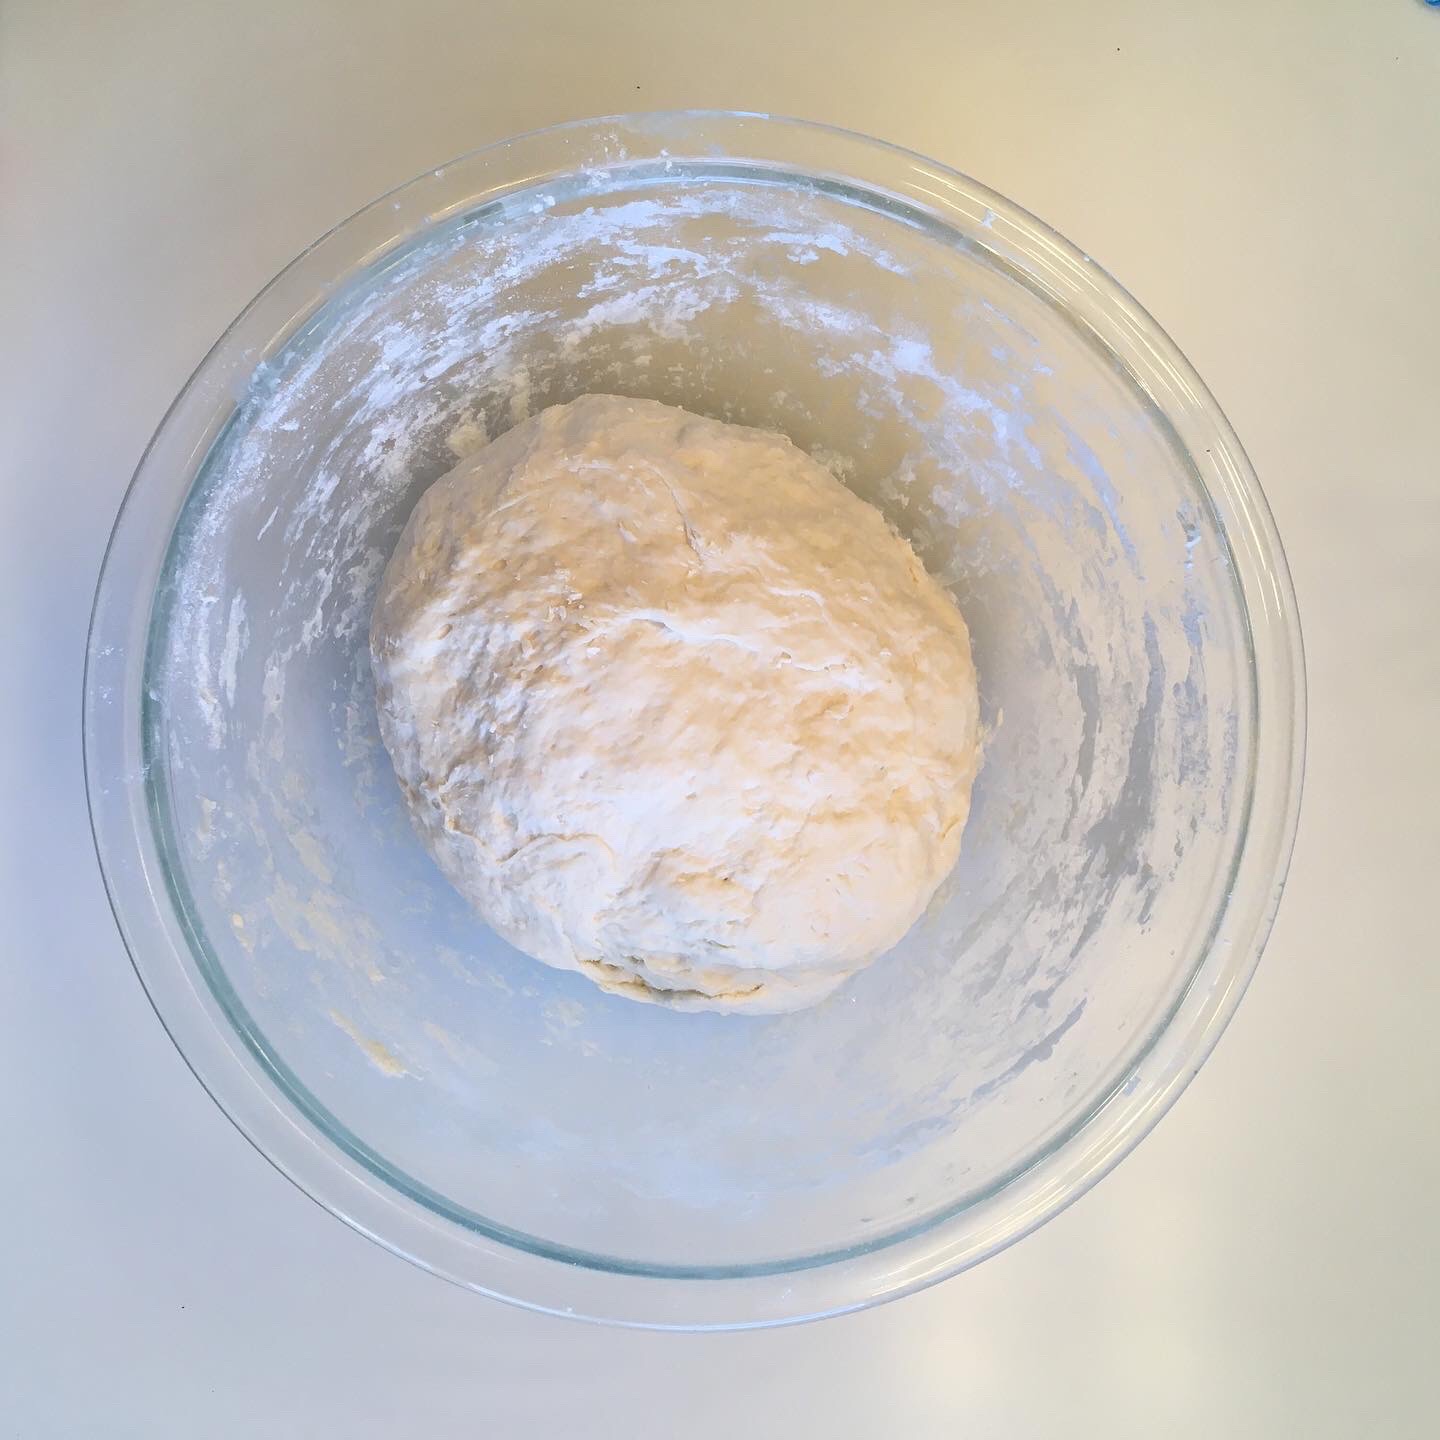
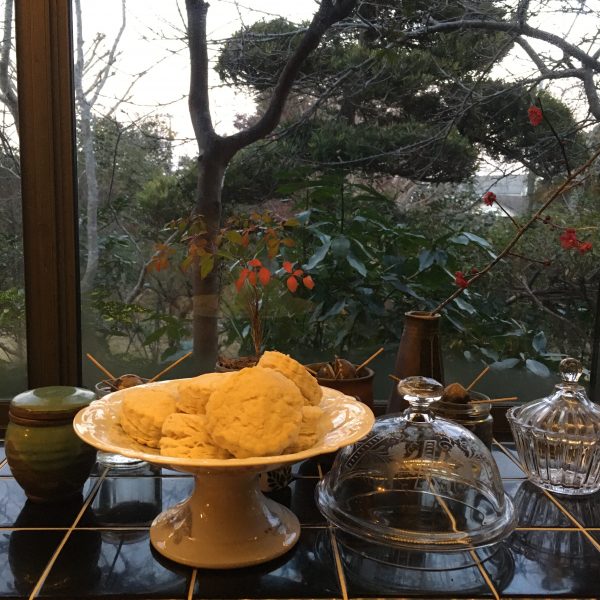
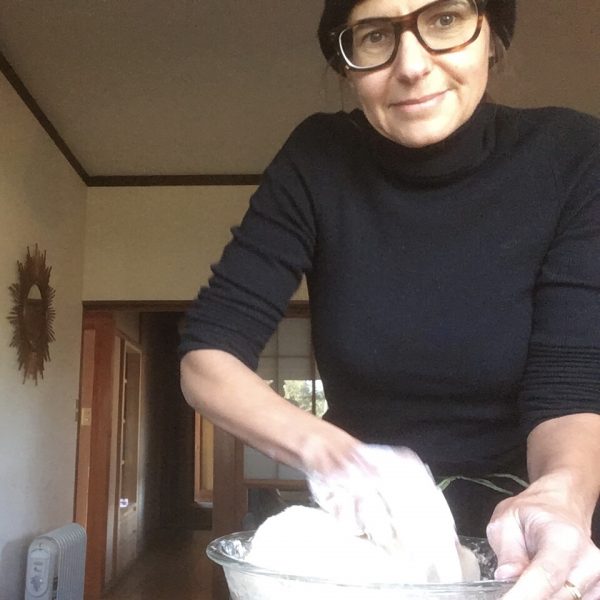
In a large bowl stir all the ingredients but water. Add water little by little while kneading until the dough is smooth and can form a ball. Let rest for a few hours in a warm place. The dough don’t rise much usually, but you should feel it has changed consistency.

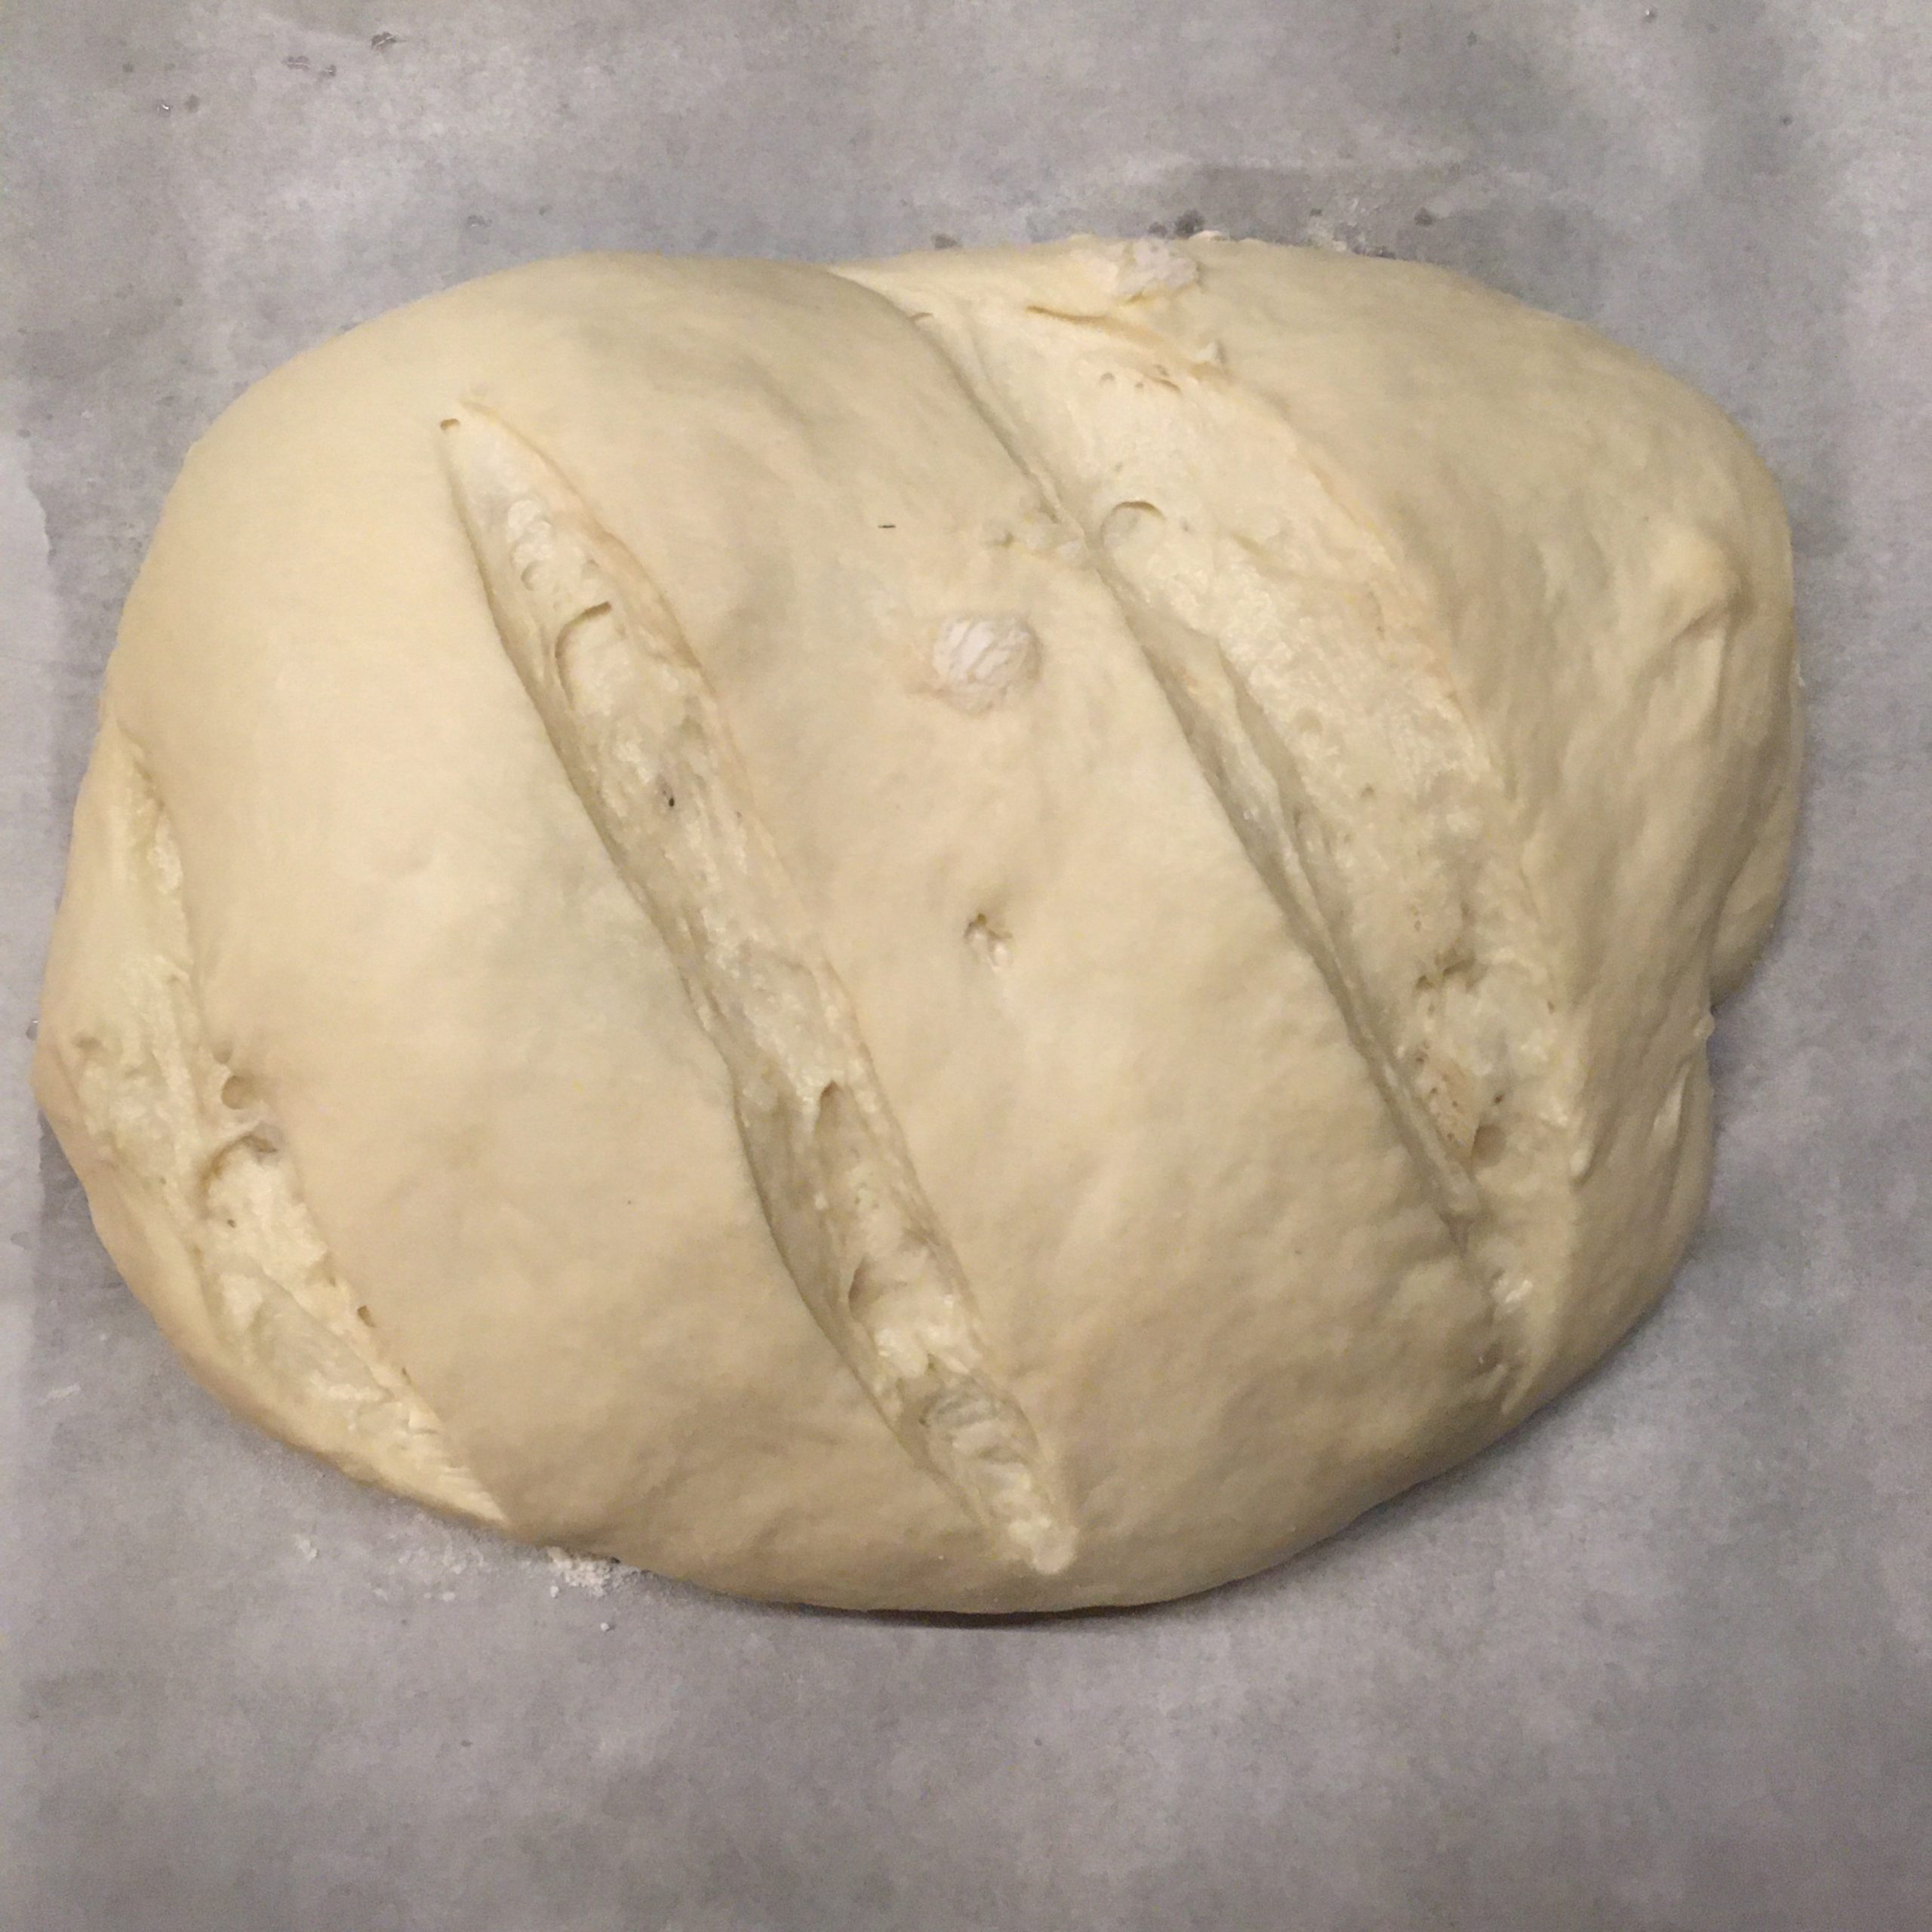
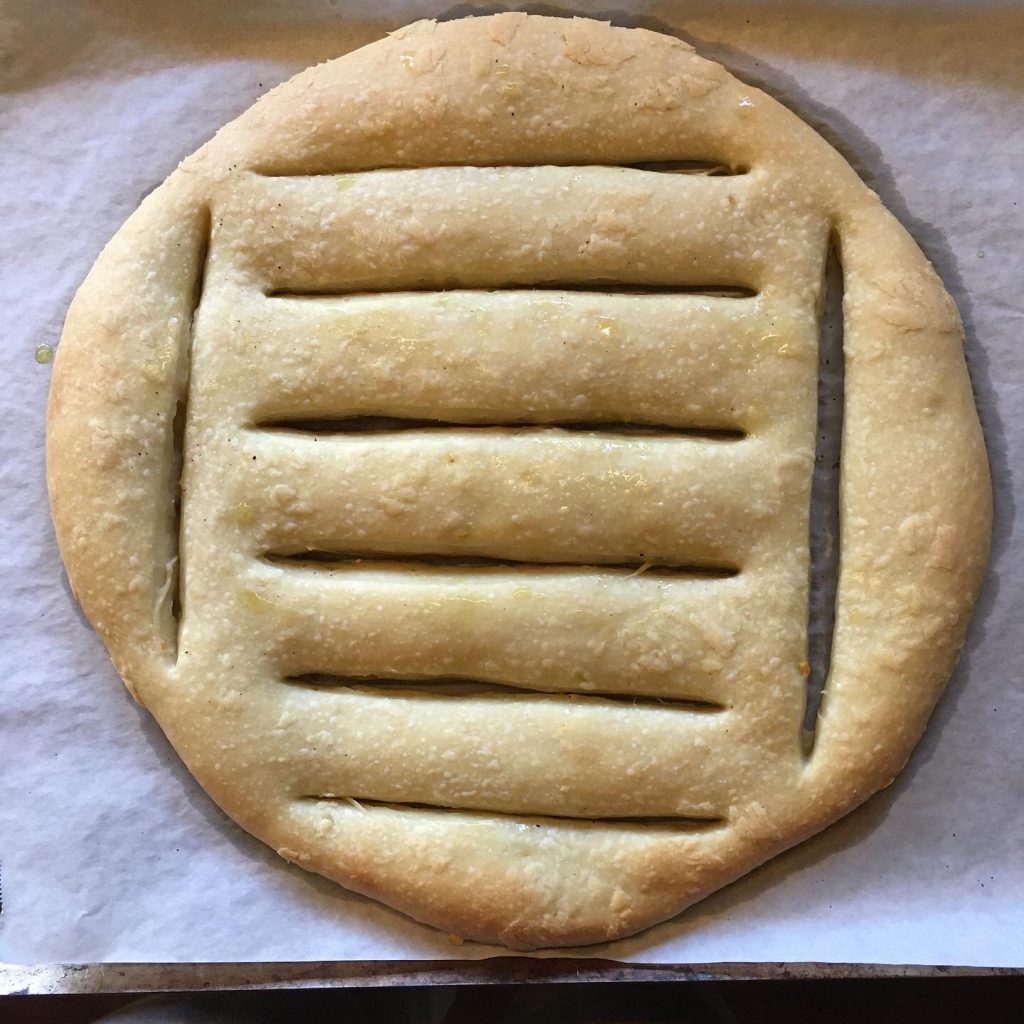
Roll in a circle about 30-35cm and make the cuts.

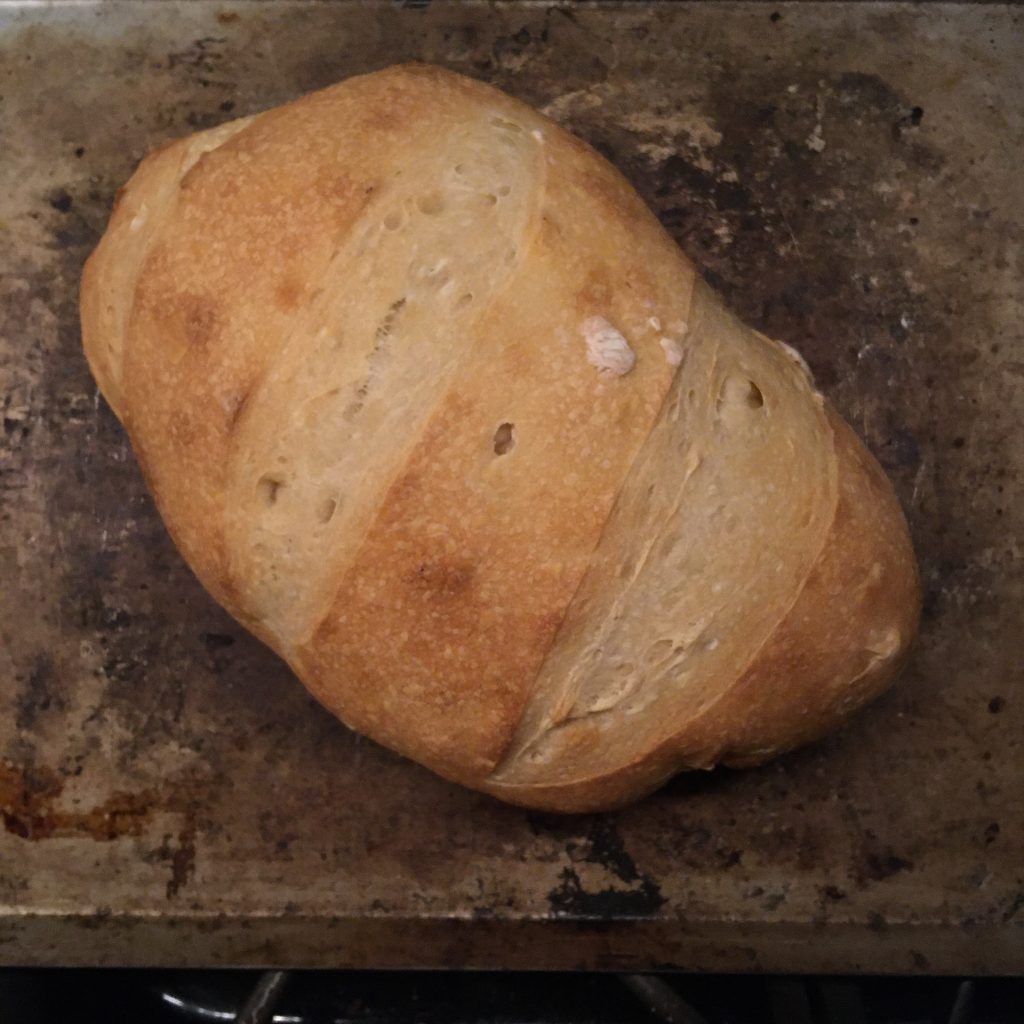
Bake at 200C for 18-20min or until lightly golden.

I think it is almost impossible that this recipe goes wrong!

A savory pie with Japanese flavors

There’s no secret here, I love all sorts of stuffed food: dumplings, ravioli, gyoza, pies and all the others. And I cook some almost every week. Last week I was set to cook an okonomiyaki, I had the Chinese cabbage, the pork meat and dinner was all set. But then, A. reminded me that we had scrambled eggs for breakfast and then an okonomiyaki would mean eggs again (since when does he care???) so I just acknowledged and said, well then, let’s remove the eggs from it and that’s gonna be a pie!!! (I am not the only big fan of pies and dumplings, A. is always OK!)

So here I am now thinking about how to make it happen. And it turned out to be fairly simple and simply delicious. Here is my original recipe.

Okonomiyaki style pie (2 servings as main)

  • For the pie crust
    • 200g of flour
    • 20cl of vegetal oil
    • 10cl of soya sauce
    • Water
  • For the filling
    • 1/2 Chinese cabbage
    • 100g of ground pork or chop filet
    • a handful of katsuobushi flakes

Mix all ingredients for the dough. Add water little by little to obtain a smooth and non sticky dough. Let is rest a bit.

In the meantime, chop the Chinese cabbage and put it in a pan with the meat and cover. Cook at medium heat for 5-10 min, then remove the cover, add the katsuobushi and cook until all the water from the cabbage is gone.

Roll the dough for your pie dish, with amply enough to be able to make the cover by folding it it. Set in your pie dish and fill with the filling, fold the dough to close the pie. Bake at 200 degrees until dough is golden.

That’s it!

Birthday lemon cakes are my favorite!!!

Here we are, Christmas is passed and new year not yet there, and it’s exactly the time for my birthday.

Almost as a tradition, A. went horse riding with me, which is a big challenge for him who feels a little uncomfortable on the back of a horse. And then he baked me a cake!

It’s the seasonal for citrus fruits and I love citrus cakes, and for a few months we have patiently and lovingly followed the growth of a single lemon on our tree. Our lemon tree, planted 5 years ago is struggling to adjust and we have very very little fruits if none, so one, wasn’t so bad. And on my birthday we picked it for a lemon cake recipe. As we have explored over the years many recipes with lemons for my birthday, it was hard to decide which recipe to choose (A. agrees to cook if there is a solid recipe to follow by the letter). With our rosemaries growing wildly and needing a trim, I decided that it would be rosemary and lemon cake, and we opted for a cupcake base. A long time ago my mother in law offered me a book about cupcakes and it’s been years I didn’t opened it, but I immediately thought about it to find a recipe for A..

I used the poppy and ginger recipe, replaced the ginger by lemon zest and poppy by rosemary, I also added a pinch of baking powder in the dough when A. was not looking, I was worried that the baking soda wouldn’t give fluff enough…

The result was damn good! I must admit that if I were to do the recipe I would have used a little less butter, but A. followed the recipe and it was great!! So here is our recipe. Oh… we didn’t do any glazing but lemon glazing could have worked well too.

Lemon and rosemary cupcakes (makes 6)

  • 100g of flour
  • 100g of sugar
  • 100g of butter
  • 2 eggs
  • 1/2 tsp of baking soda
  • 1/4 tsp of salt
  • a pinch of baking powder
  • 1 lemon (zest only, unless you do the glazing, for which you will want the juice)
  • 1 branch of rosemary

Preheat the oven to 180deg.

In one bowl mix the flour, the salt, the baking soda and the baking powder. Add the lemon zest and chop the rosemary leaves. Stir well.

In another bowl mix together the butter and the sugar (using your hands is the best tool). Add one egg and stir well with a whisk, add the second egg and stir again to obtain a creamy mixture. Add in the flour mix through a sifter, little by little while stirring. The lemon zest and rosemary may get stuck, so don’t forget them in the sifter!!! Add them too to the mix and stir.

Prepare 6 medium size muffin or cupcake papers and fill to 2/3 with the mix. We added a little branch of rosemary and a tiny pieces of lemon on top but that is optional.

Bake in the oven until perfectly cooked (clean pick comes out when picked). It took 25min for us.

If you want to glaze them prepare a mix of lemon juice and icing sugar. Otherwise enjoy just as they are. I served them with hot lemon using up the rest of the lemon.

Starting afresh the sourdough adventure

It has been two years since I made Lois, my sourdough, and even though we had our ups and downs, overall, Lois was a great fun to use and taught me a lot. It even survived quietly our absence during our trip to France. So what happened? Why did suddenly things got strange… a few weeks ago my bread started to not rise as much as it would. I naively thought that my rising time was not adequate… and then last week when I was about to feed Lois it was all strange, and I spotted mold on the side of the bottle. I did a rescue operation, which seemed to work. Baked a beautiful brioche, and hopeful that everything was back to normal. But then, Lois died. I didn’t even think that would happen. All a sudden it became liquid, stinky and covered in a white… it was over.

So I had no other choice but start a new one. So here I am back at it… starting again.

But maybe it’s the two years with Lois, the perfect weather, it’s been working like magic and Baden is born in no time, smelling divine. Very active compared to Lois, who has never been a super active kind, and which smell was so so. And after 3 days I made my first bread with it. Smooth and easy!

I hope Baden will be living for a long time and we will have many breads together!!!

Do you know the millasson cake? I did not…

Well there are so many things I don’t know about… that I am never surprised to discover a new name or a new recipe. As simple as it can be.

A. had a bottle of Balthus 2019 to drink (we could have kept it though… but why wait…) and after a short search, it seemed that chocolate would be a good pairing. Fine… but what chocolate patisserie could I prepare… so I browsed a little bit more searching for recipes that use cocoa powder, as it is the only thing I had. And I came across the “millasson”, a name I’ve never heard of before and a recipe I had never seen before. But its simplicity and the few ingredients needed immediately attracted me. It is basically something in between a flan and a clafoutis, but with egg whites beaten to get fluffiness (but honestly I wonder if that is really necessary).

So all you need is flour, sugar, cocoa powder, eggs and milk. And I can even guess that it could be baked in a pan if you don’t have an oven.

My millasson was good, rich in cocoa flavor, as I like, but I think I slightly overcook it, so I think I’ll try again this weekend, just be sure I have it right!!! 😋 and because it is really good!!!

I topped my millasson with cocoa powder and cocoa nibs.

Fougasse

When I was a child, my mum would come to pick us at school for lunch, then we would walk to the car and somedays, on the way stop to buy some bread at Mr. Richard bread shop. And one bread in particular, fougasse. His signature fougasse unless most other bread shop was not the one with olives, or whatever else you can put in, it was the simplest plain fougasse, and instead of the classic shape it would little hearts cuts and you could pull the little hearts of bread. We lived to eat the little hearts on the way back to the car, and even more when the bread was still warm!!

While fougasse is eaten all year round, I like to have some ready in the summer. It makes the perfect meal with some fresh vegetables and a piece of grilled fish. And it is even more perfect when you have it ready when you get back home after a surfing session at sunset. I love to go surfing on Sunday evening after 17:30, when most day trippers are leaving and you get the ocean for just you, your friends and a couple of regulars. I love driving back home at dusk, seeing the sky becoming purple and the rice paddies turning yellow. And then I am hungry and the fougasse and a fresh cucumber from the garden are waiting to be eaten!

Fougasse

  • 250g of flour
  • 20g of olive oil plus some for the finish
  • 20-30g of sourdough starter
  • 8g of salt
  • 70g of water (may need adjustment depending on flour and sourdough)

Mix all the ingredients and knead lightly. If the dough is too dry add a bit of water, if too wet a bit of flour. The dough must be rather hard and have not much moisture.

Wait a few hours until it has grown.

Then flatten the ball with the hand and wait 15 minutes. After that, roll the dough with a cooking pin to obtain an oblong shape of about 2-3cm thick. With a shaped cutter of the shape you want, I chose plum because I didn’t have hearts like Mr. Richard’s fougasse, cut a few places with the design you fancy.

Bake at 230deg for 15min or until golden. When out of the oven spread a layer of olive oil with a brush.

March 26th tart

The day has come again, faster and in a busier moment than usual, my parents being with us. It’s A.’s birthday. The weather has been bad enough to be remembered, A. always says it’s usually sunny on that. Today was not, and after drizzling now it’s pouring. That gave me plenty of time for preparing A.’s birthday cake, or rather tart. He originally wanted a strawberry tart, the classic one, but after stopping at three different places I couldn’t find proper local strawberries with the correct size. So we agreed on a chocolate tart. Last year one was a big hit!

But you know me… I like to try new recipes rather than doing over and over the same things. So I made a classic dark chocolate tart using my recipe from last year, but I also improvised a new one with A’s favorite white chocolate, coconut and cardamom. And though I am not a fan of white chocolate, it was surprisingly not as rich I thought it would be and I enjoyed it a lot. So here is my recipe.

White chocolate tart (4 servings)

  • Flour, sugar, butter and a bit of water for the dough.
  • 110g of white chocolate
  • 100ml of coconut cream
  • 2tsp of ground cardamom
  • 1tbsp of brown caster sugar
  • 4tbs of ground coconut
  • 1 egg

Prepare the dough and bake it, until still soft and about to golden.

In a pan heated at low heat stir together the chocolate, coconut cream, add the sugar, the ground coconut and the cardamom. Let cool then add the egg. Stir well and pour in the baked pie crust. Bake for 10-15min at 150deg. Let cool a bit and enjoy!

Total improvisation of a thin leek tart

Some days are just like these… you have an idea in mind and it just doesn’t get away… it sticks in your head and even though work is busy the idea keeps lingering until satisfied. This is exactly what happened with this giant bundle of leek I had sitting on the kitchen table. I pictured them nicely cooked and golden and set on a dough… but what kind of dough??? A puff pastry would have been good but then that would postpone eating the leeks… a pizza dough would be the same… a regular sable or short crust pastry would be too crispy…

That’s when I remembered about a leftover of brown rice I had. And I love brown rice dough. It gives texture and a delicious flavor. But that still wouldn’t make it soft as a pizza dough. No problem, I added a bit of baking powder, resulting in a new texture for the dough rolled 2mm thin. The rice gave a granular texture as plan, the baking powder a fluffy one as plan too. This totally improvised recipe was a total hit! And we were so curious about trying it that I didn’t even took a good shot of it! 🙁 but I surely will make some again soon, before the leeks are gone for good, because spring is just around the corner. The red plum tree is in full blossom and the other plum trees are in full bud ready to burst at anytime now!

Leek tart (4 servings)

  • 1cup of brown rice, cooked
  • 100g of flour
  • 4tbsp of oil (or butter)
  • a bit of water
  • 1tsp of baling powder
  • Salt and pepper
  • 5 large leeks

Attention the brown rice needs to be cooked prior to starting the recipe!!!

Wash and cut in strips the leeks. In a pan grease cook then at low heat until soft and golden. If you want to make the process a bit faster add a bit of water now and then.

While the leeks are cooking, pre-heat your oven to 200deg, and in a bowl mix the flour, oil, brown rice. Add the baking powder and a bit of water. Knead until the down is homogeneous. You can water if you fill it is too stiff. Roll the dough to the shape you want about 2-3mm thick. Top with the golden leaks, and set in the oven for 15-20min. Enjoy!

In love with scones again!

It’s been months I didn’t bake scones. Last year at the same period I was making some probably once or twice a week and then I suddenly stopped… Why? I don’t think I even know the answer… but today, for a change, instead of making crepes for tea-time after our tennis game, I was in the mood for scones. Maybe because it was not late and I had time, and because I already had my hands dirty as I was kneading dough to make bread for tomorrow. Yes… with the cold temperatures it’s about 24 hour or more I need to obtain good rises.

So, hop hop! Here I am, moving my hands from one bowl to the other and starting preparing scone dough. I have now a zero failure recipe, that is really simple. After mixing flour, baking powder and a bit of sugar, I knead with just a bit of butter (1/5 or 1/6 of the flour weight at most) and I use milk, only milk, to moisten the dough, added little by little until I have just the right consistency, just a bit sticky. But really just a bit! Then I roll the dough on a piece of parchment paper to 1cm high and cut them. I made bite size scones. I bake at 200degrees for 15 minutes. And what I like the most with scones is to eat them straight from the oven. Today I chose cream cheese to top them. And I am in love with scones again. Great! Because I made an extra batch for breakfast tomorrow!!!

Proudly powered by WordPress | Theme: Baskerville 2 by Anders Noren.

Up ↑

Verified by MonsterInsights