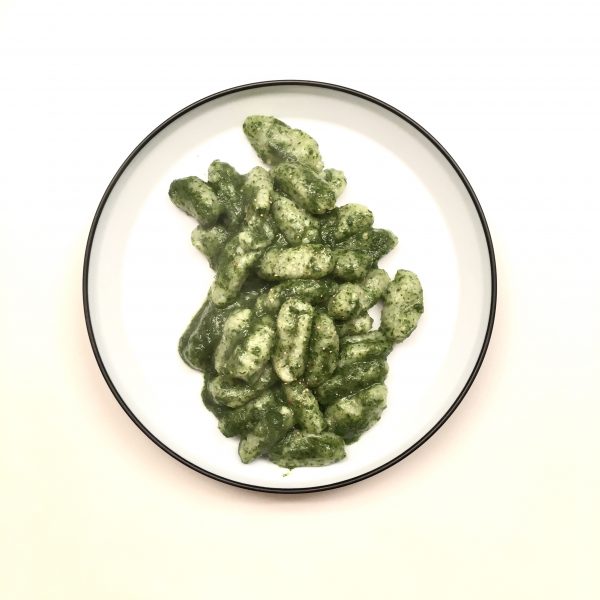
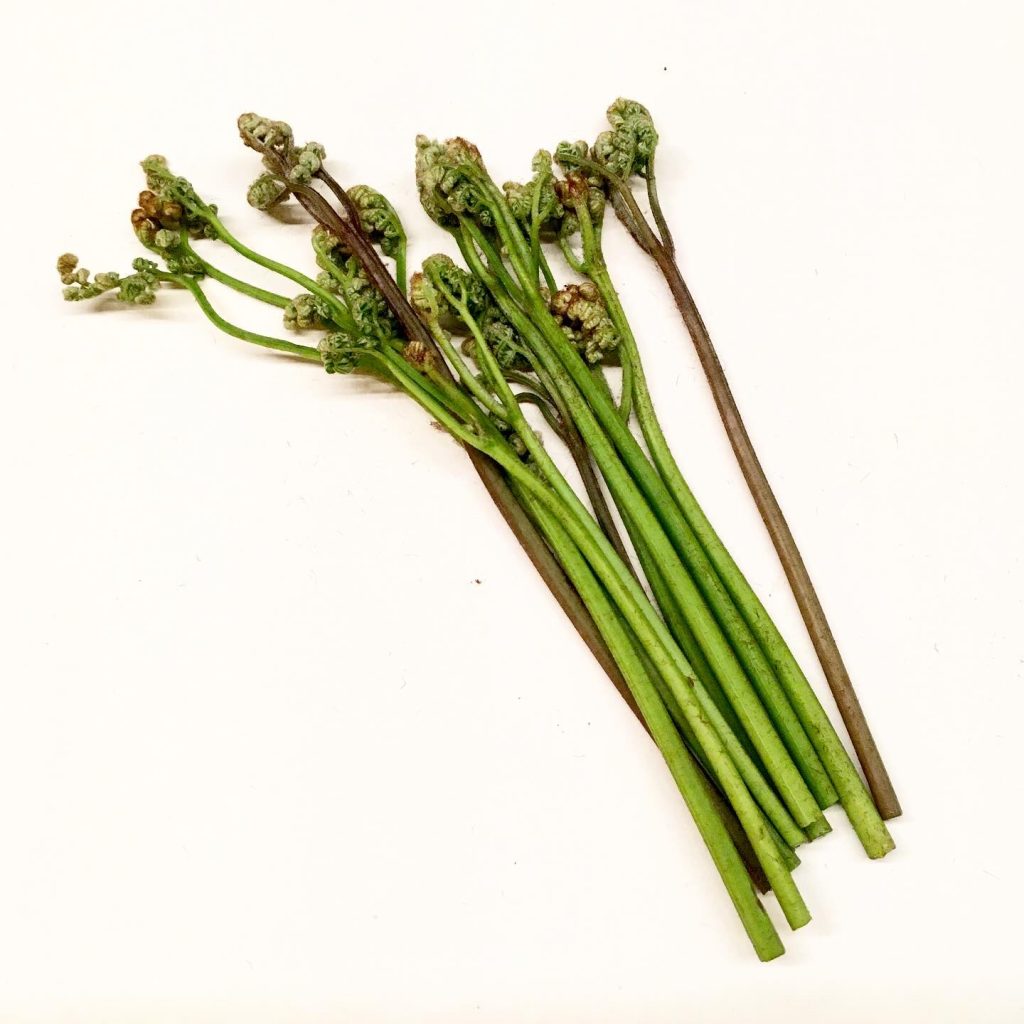
For those who know me, it is no secret we love ashitaba 明日葉 since we visited Hachijojima a long time ago. Actually ashitaba is a native plant of Japan and more particularly Izu islands (Hachijojima…), Miura peninsula and Boso peninsula (where ouf country house is). So imagine how happy I am every year when the season comes!!! One of my all-time favorite is my recipe of ashitaba is ashitaba gnocchi, that in my opinion I don’t make often enough. And this time I decided to go for a double ashitaba gnocchi+ashitaba pesto.
Its taking the flavor to an extra level of green and refreshment. The recipe is simple as always and not very different than the previous ones. But just in case you would need one…
Ashitaba gnocchi & pesto (2 servings)
2 potatoes
A bouquet of ashitaba
Salt and pepper
Olive oil
Flour
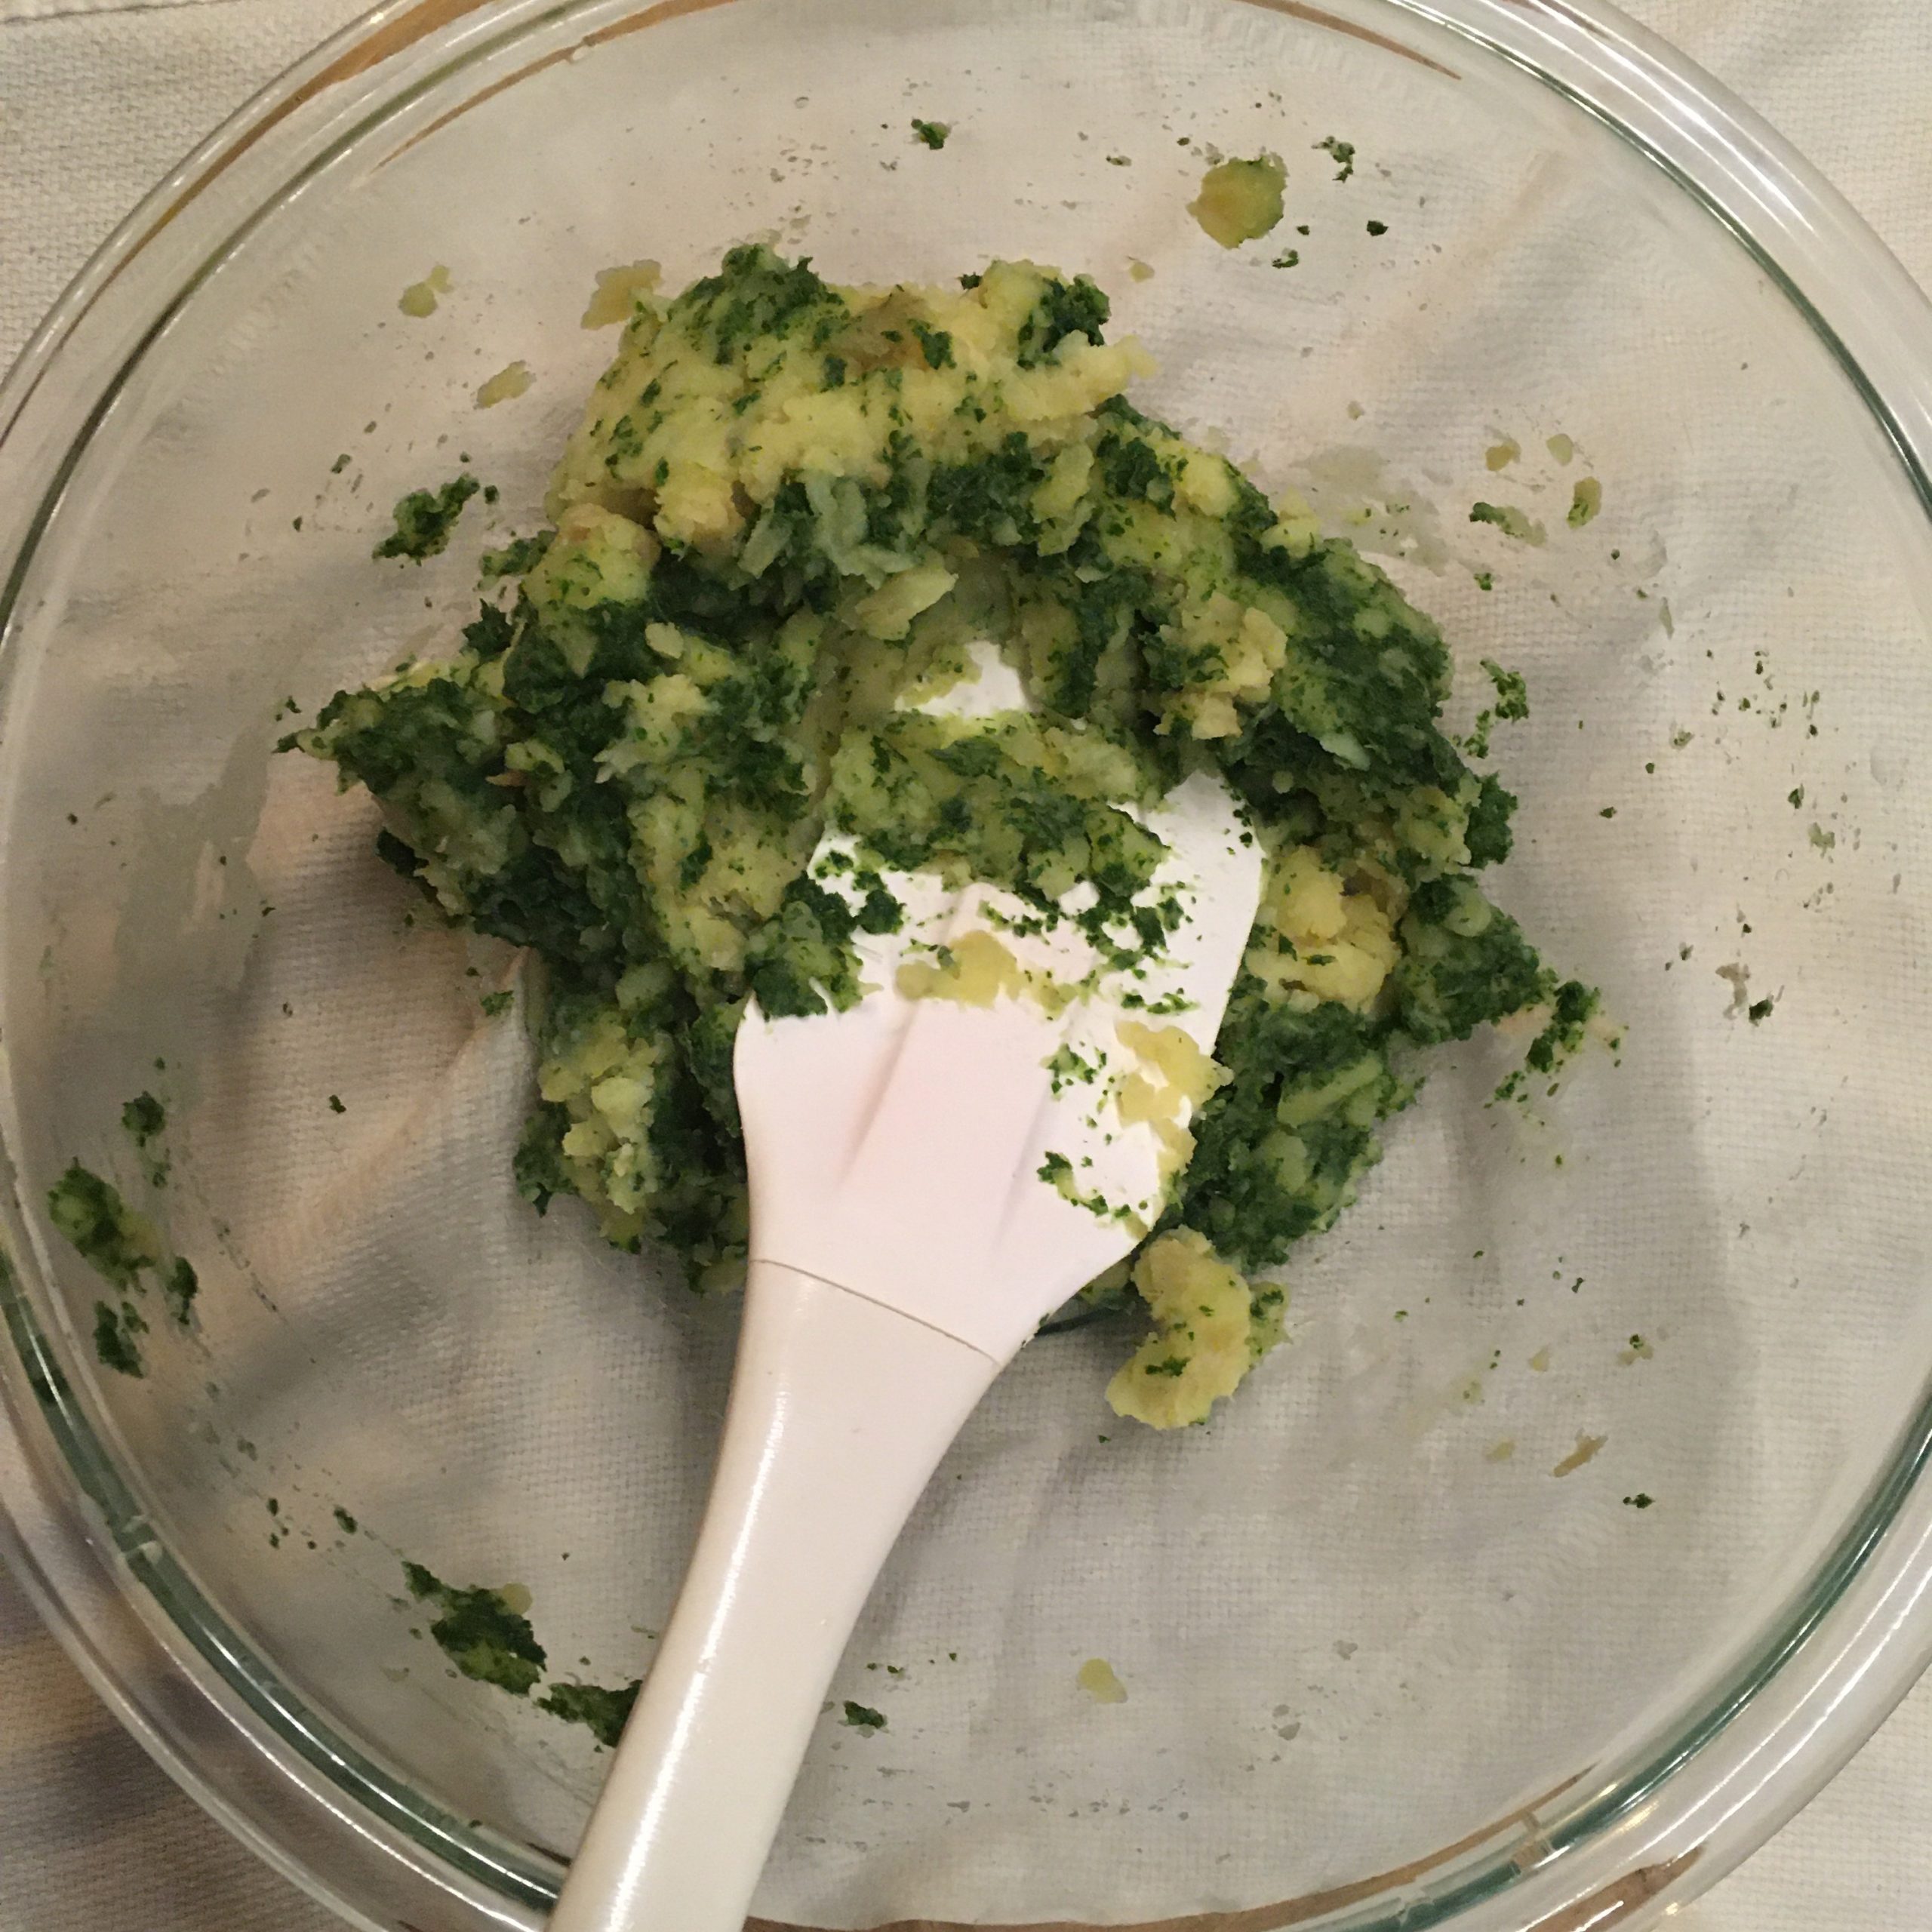
Boil the whole potatoes until tender. Peel and mash. Blanch the ashitaba. Blend without water until smooth. Filter half of the blended mixture through a tea net, jeep both the juice and the leaf puree.
Mix the leaf puree with the potatoes. Add flour to obtain a slightly sticky dough. Shape the gnocchi. Add a but more flour if needed while shaping them.
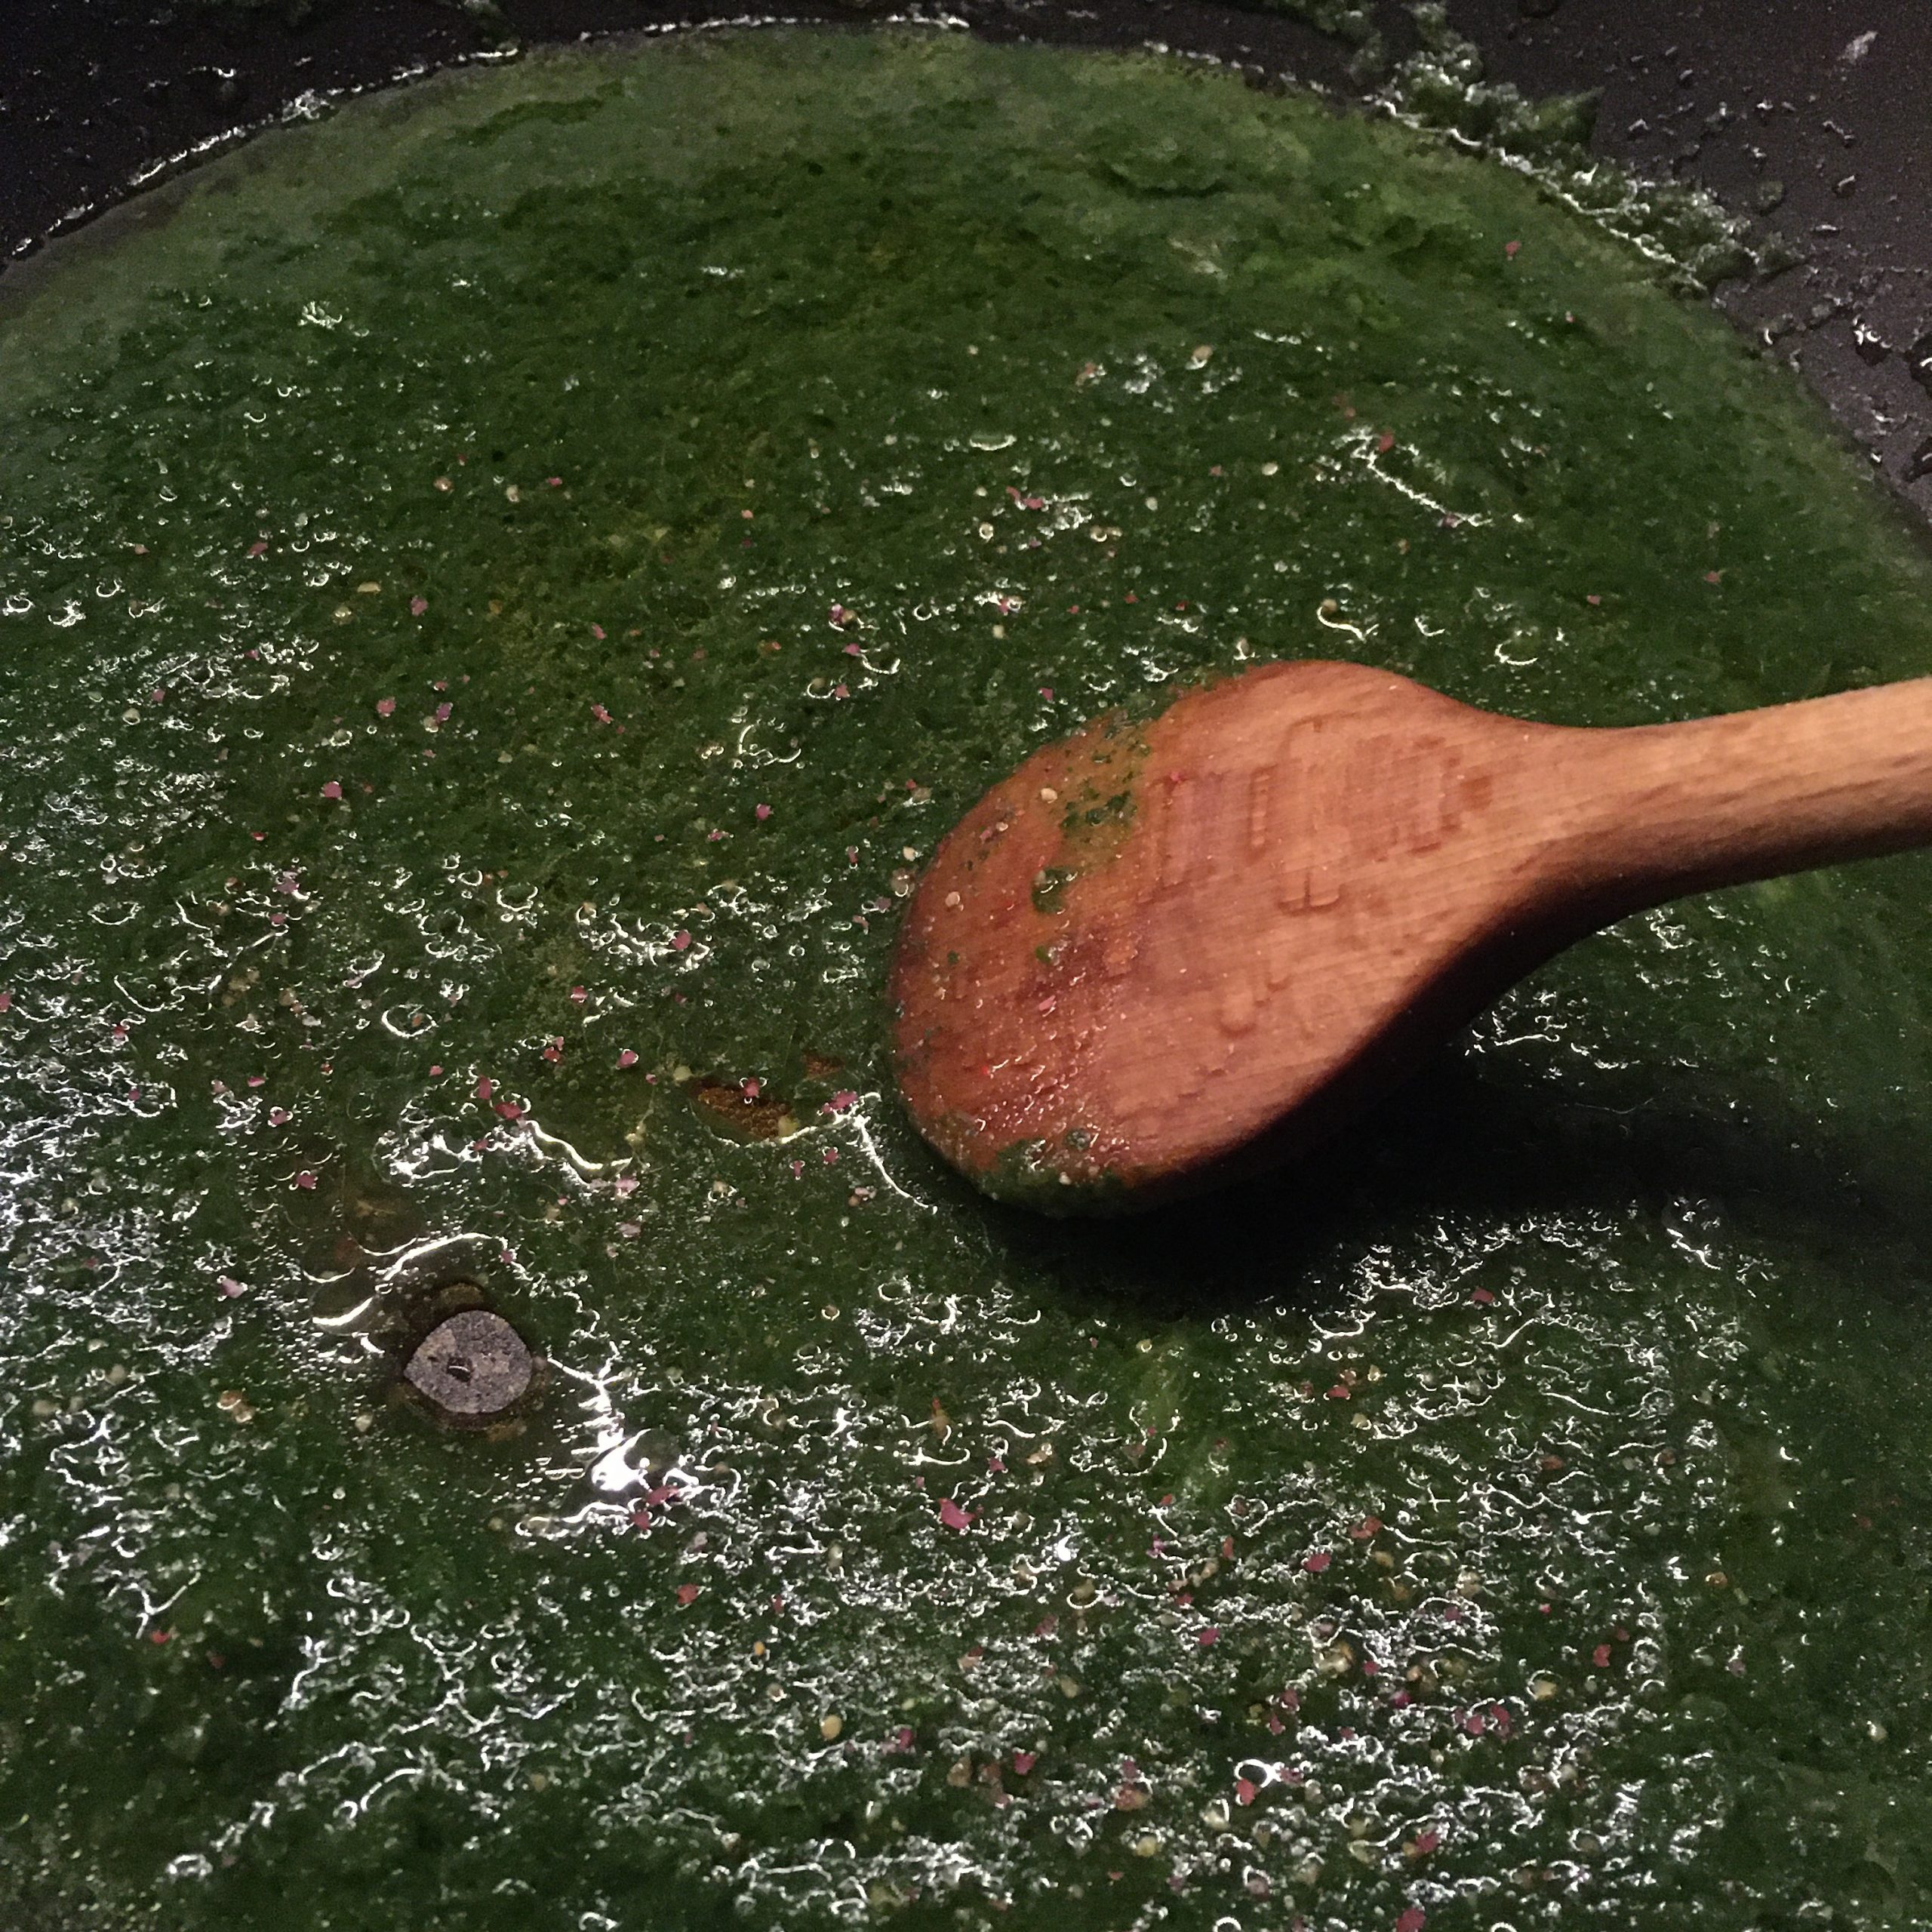
Pour back the juice in the blender, add olive oil, salt and pepper. Then move all to a pan and heat at medium heat while stirring once in a while.
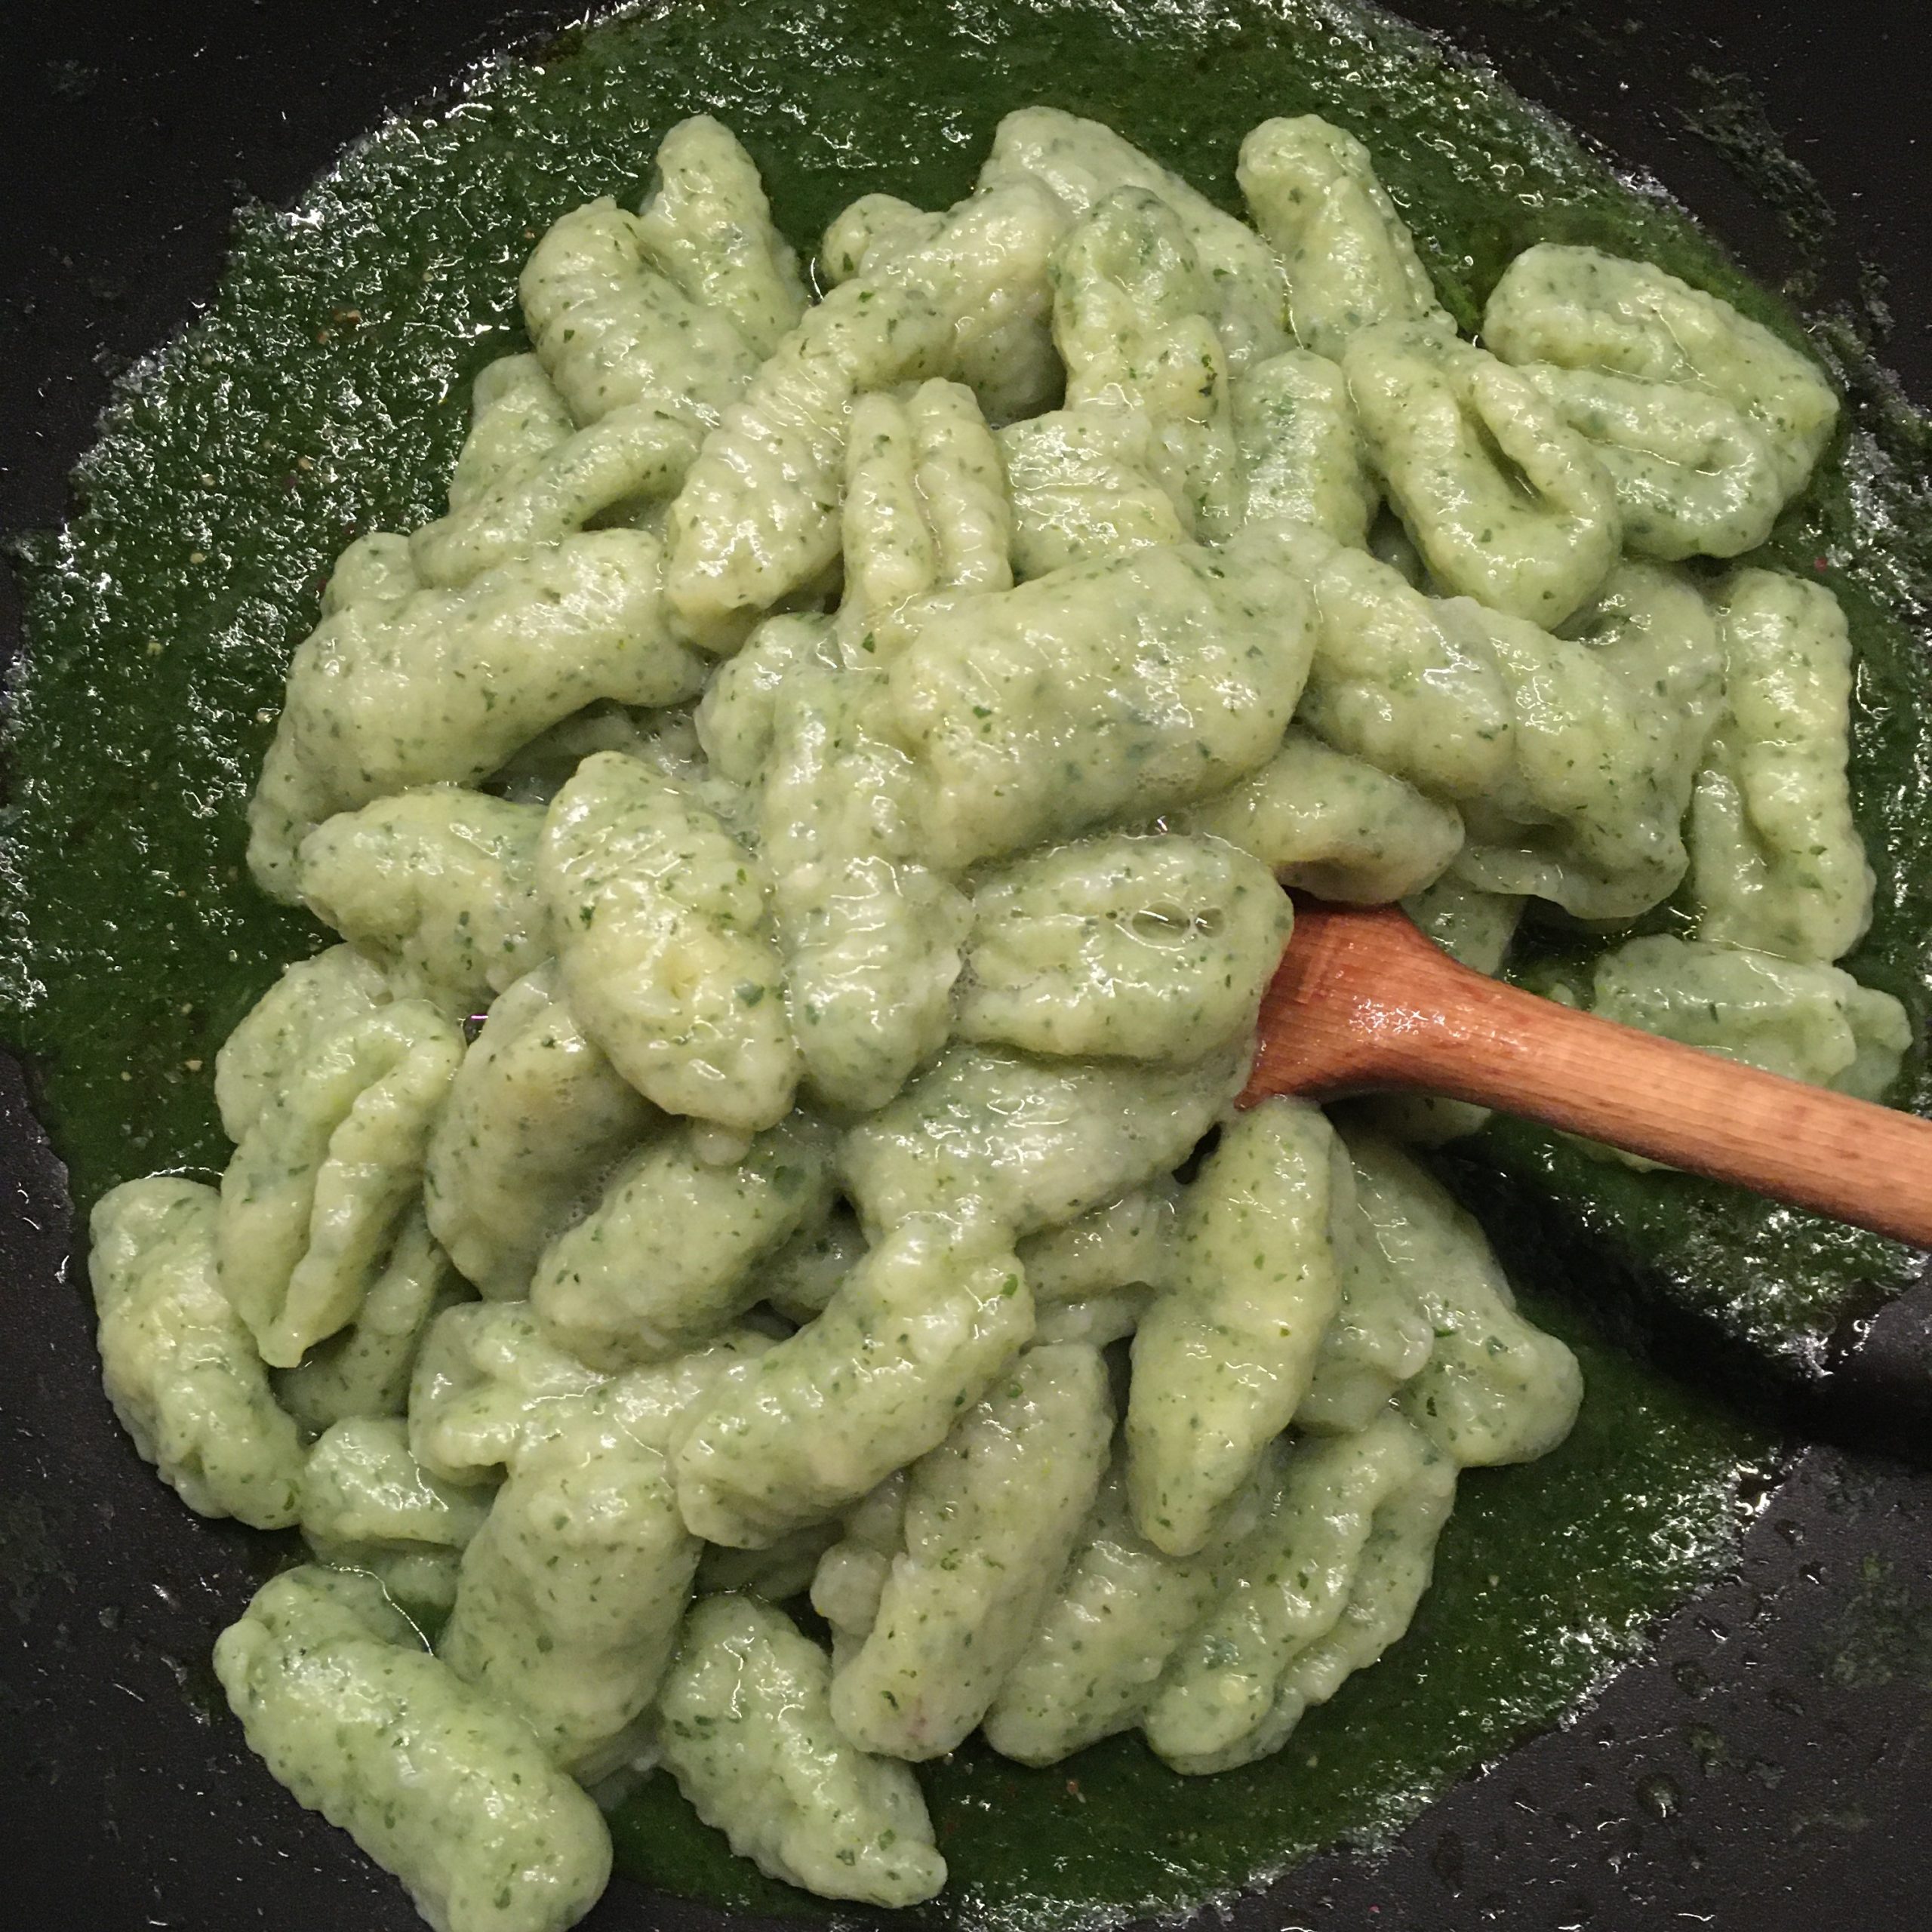
Boil a large amount of water, and poach the gnocchi. When they float move them to the pan and roll them in the sauce to coat them. Serve and enjoy right away.
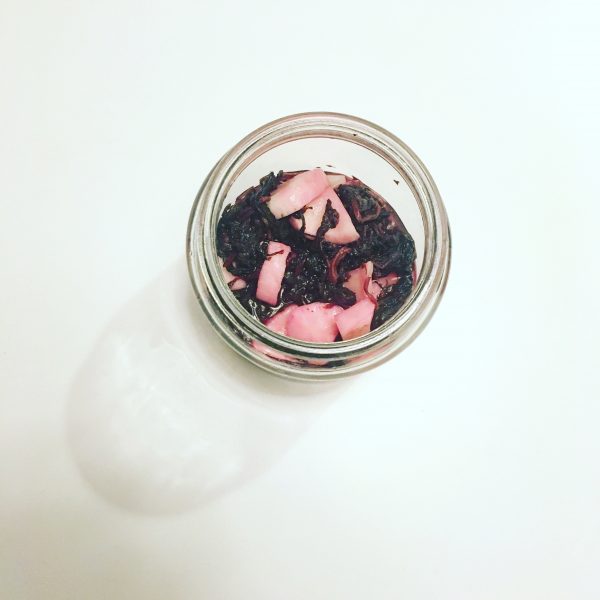
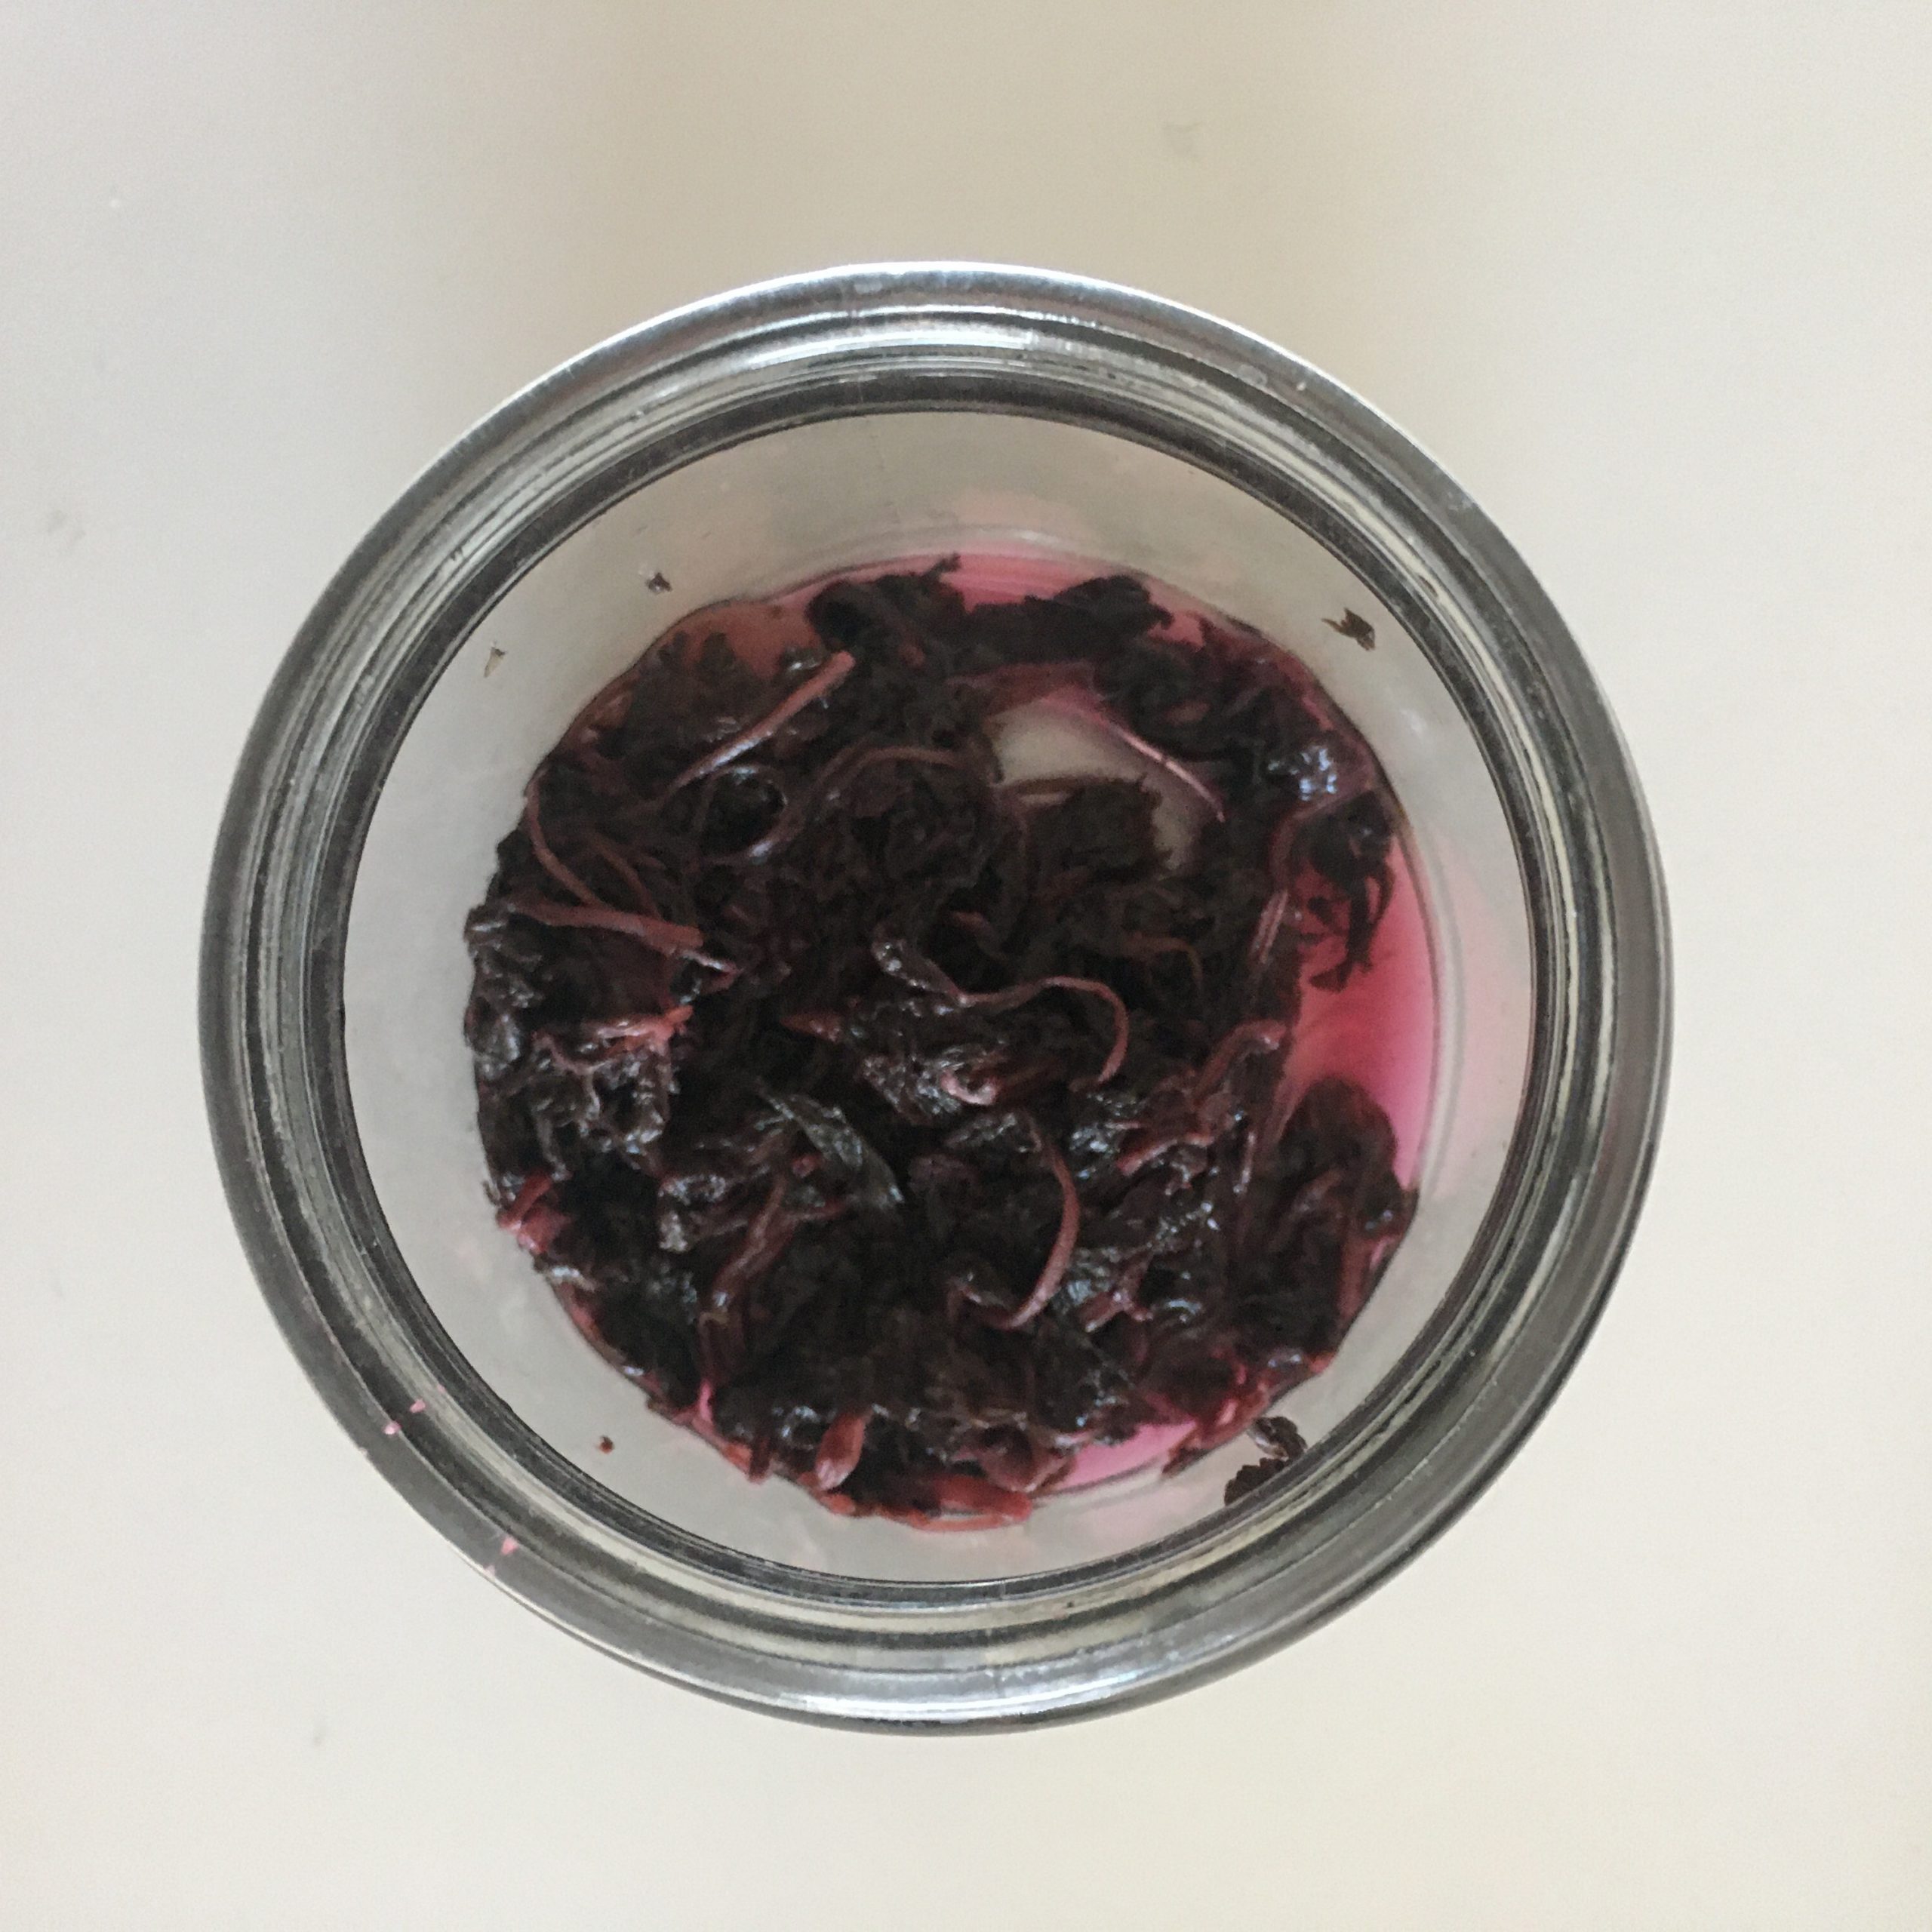
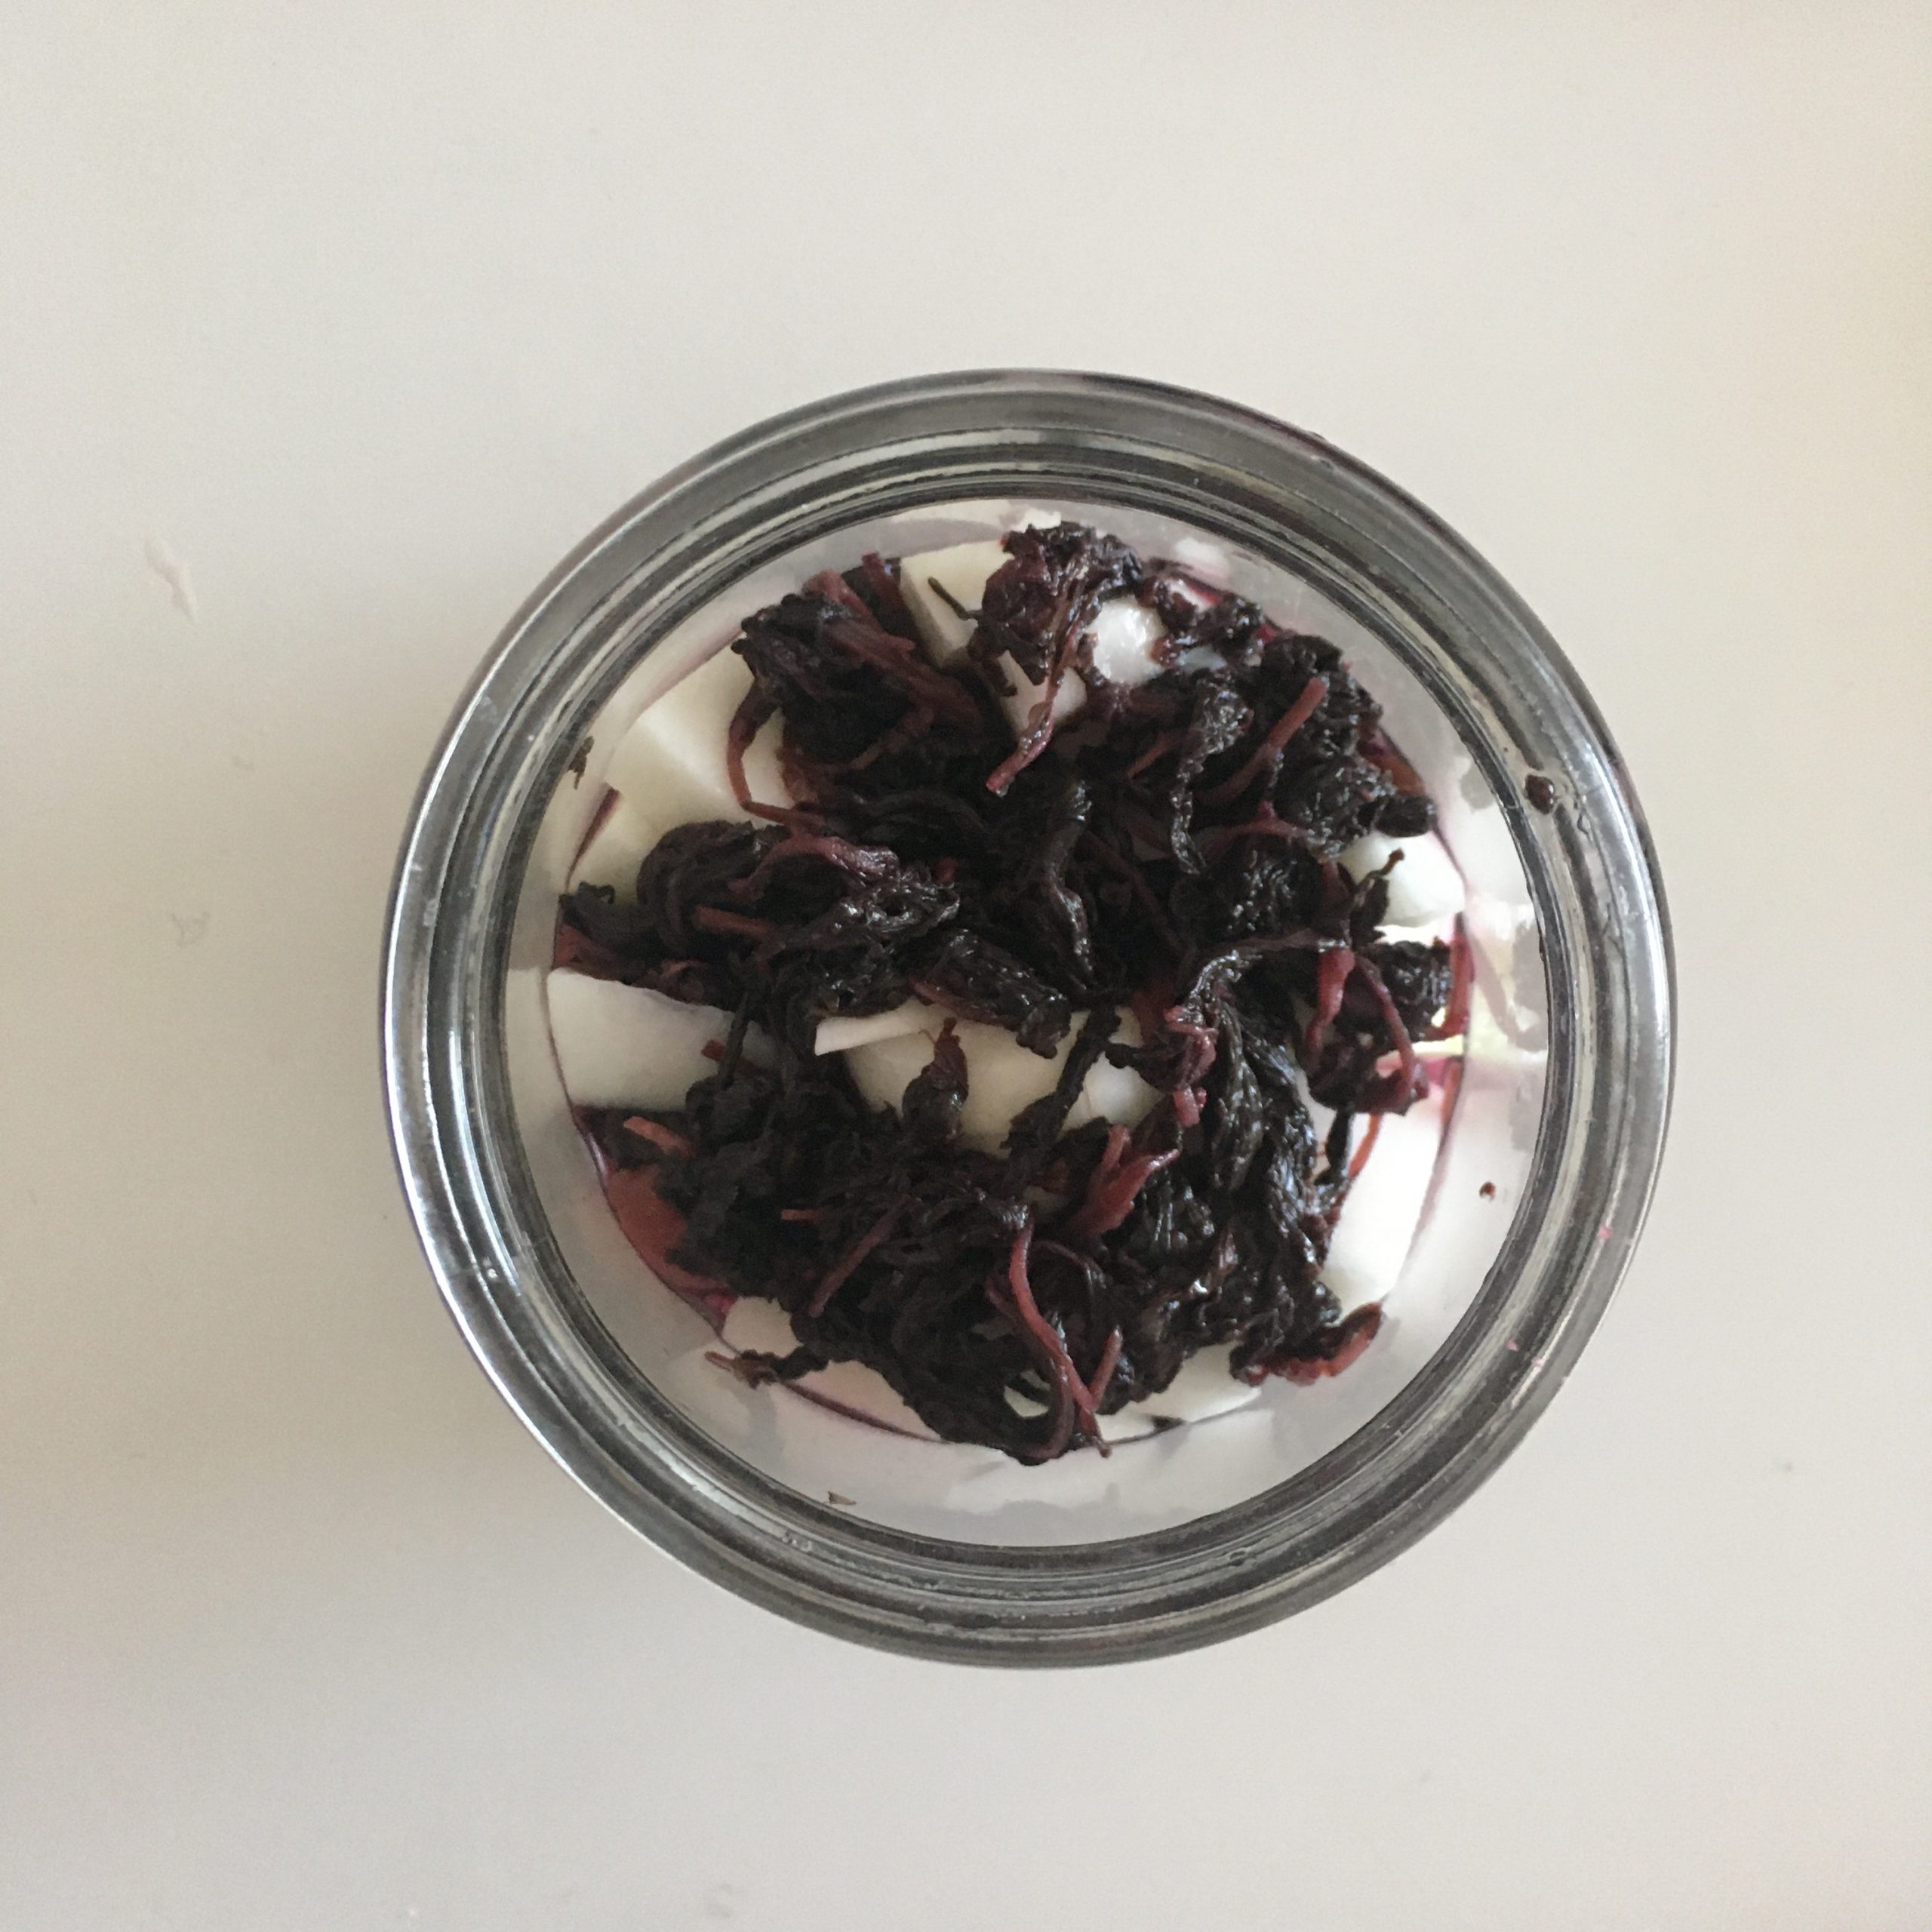
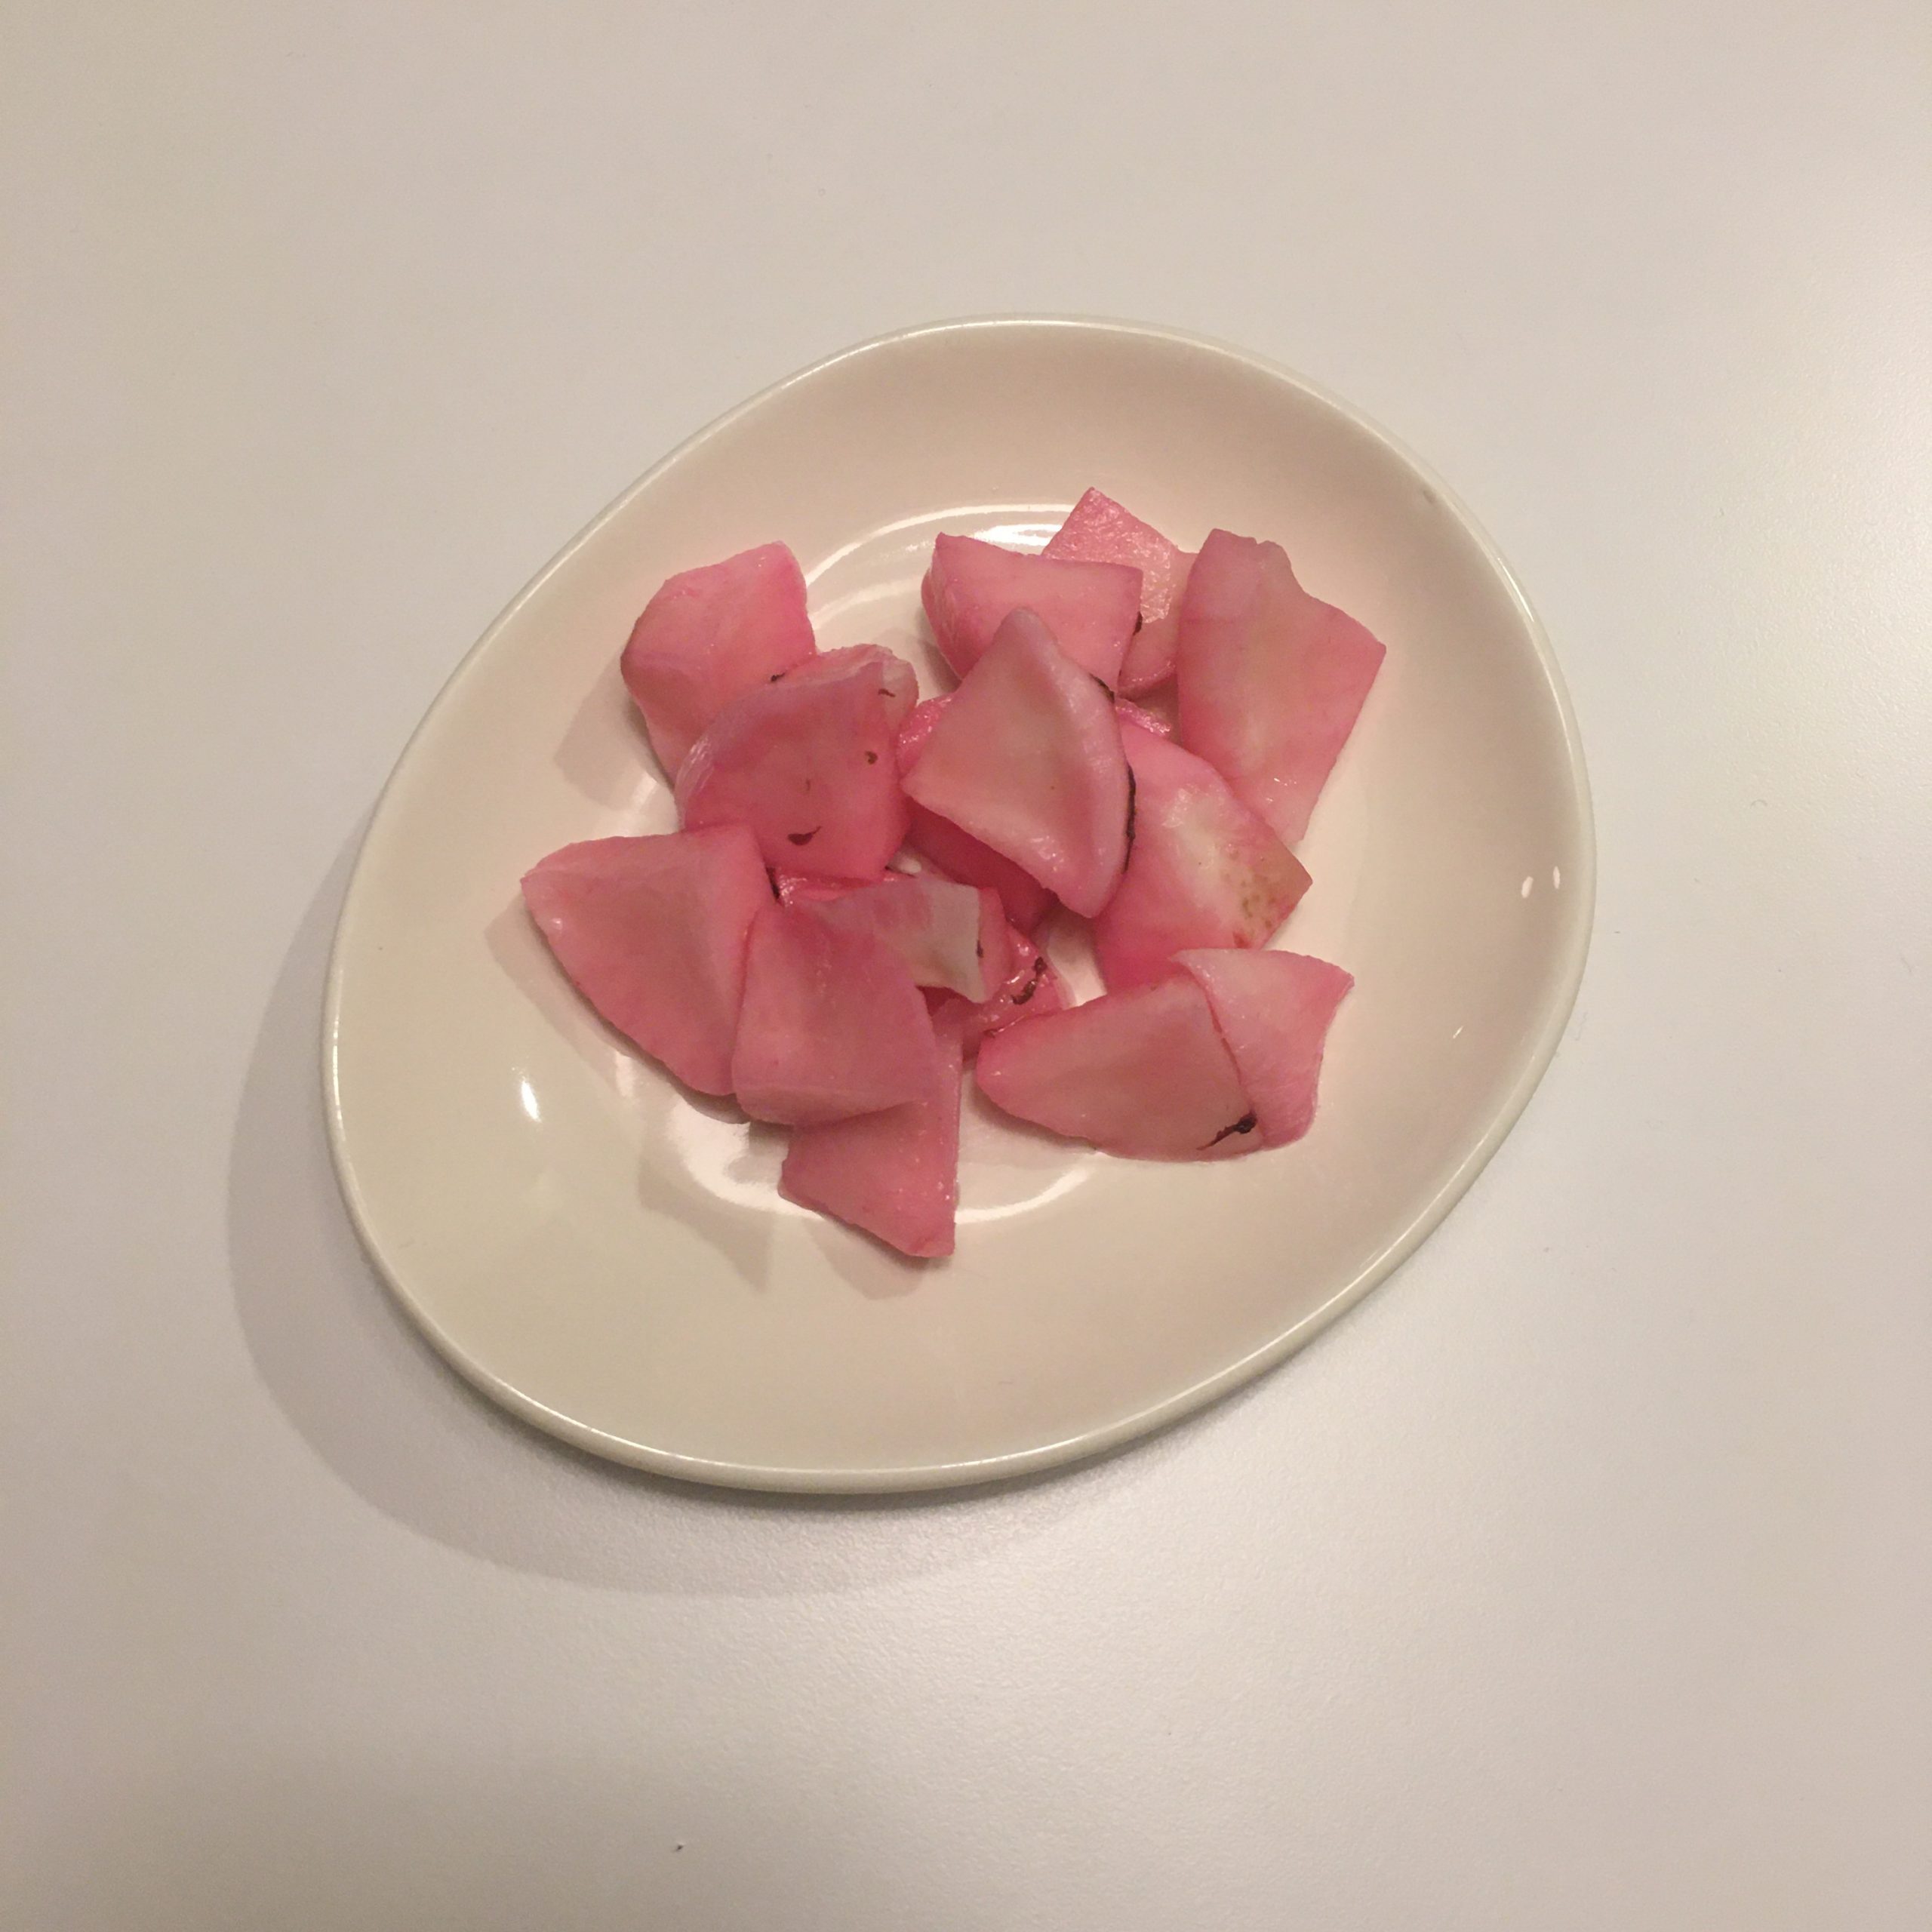
I don’t know if it’s because of the sunny and warmer days, the abundance of vegetables that I love, or seeing the rapid growing of the plums on the trees that are the prospect of a new harvesting season and making plum fermented syrup 梅シーロップ, and salt fermented plums uneboshi 梅干し, but I’ve recently been in a mood for pickling. I think it is also because I realized I need to clear space for the new bins that will populate the shelf and the fridge soon, so it means emptying all almost finished jars and bottles. Rather than just tossing the precious ume zu in the drain, or the beautiful red shiso (parilla) leaves after they have served for the plum and their conservation I thought of a recipe I was taught by our Hakuba’s favorite restaurant owner and cook which consists of pickling cucumber in ume zu. I then extended it to red shiso leaves too. So my pickling repertoire is rather simple. Nothing about nuka, that stinks and is sometimes a bit difficult to control. As I said, I use the simplest pickling methods: salt pickling 塩漬け shiozuke, ume zu 梅酢 pickling called shibazuke 柴漬けand red shiso ume zu pickling. It is really quick to make if you do asa zuke 浅漬け which a rapid and “shallow” pickling and the result is always a nice add-on to a Japanese meal. I pickle only a small amount at a time and to make the process faster I usually cut the vegetables (otherwise the pickling time is longer and I forget that I had pickled something!!!). So simple and delicious that I’m not sure why I don’t pickle much! Anyway… here are a few very simple recipes to make your own Japanese pickles. You can adjust the amount of salt to you liking.
Salt “shallow” pickles 浅漬け
1 Japanese cucumber
1/2tsp of salt
Wash and pat dry the cucumber. Slice thinly. In a bowl, put the cucumber slices, sprinkle the salt on top. Put a weight on the cucumber slices to slightly squeeze them. What I would usually do is cut a piece of cooking wrap or similar and put a tinier heavy bowl on top. Keep for 2-4h at room temperature depending on the season and the pickling level. Beware, the amount of liquid in the bowl may increase quite dramatically, so either use a large enough bowl, or put in a tray to avoid overflow catastrophe! After 4h the pickles will be ready to eat. The longer the softer. Keep in the fridge after 12h and eat rapidly because it is already sliced.
You can use the same recipe with other vegetables that contain less water, in that case you may want to do a 5% salt brine with 5g of salt and 100g of water, and use the brine to just cover the vegetables. You can also pickle for longer, or not cut the vegetables and pickle the whole vegetables (pickling time would be 8-12h). In that case the weight to apply on the preparation is about twice the weight of the pickled vegetables and once pickled they apparently keep for a few days in the fridge, in a airtight container without the brine. Honestly I pickle just the quantity I want us to it, so never keep them!
Ume zu pickles shibazuke 柴漬け
Cucumber, turnip, daikon…
2tbs of ume zu
While this recipe requires ume zu, the salty juice produced by the plum when pickling them, it is a very delicious and simple recipe. Ume zu can be bought in local farmers markets in Japan or at cooperative. I use the one I kept from my plum pickling.
For rapid pickling I wash and cut the vegetables, pour the ume zu and then put a weight on top.
Red shiso ume zu pickling
White vegetables of your choice: daikon, turnip…
Red shiso leaves that have already served to pickle plum
Same as above, this recipe uses a by-product of plum pickling: the red shiso leaves that are added to plum to add flavor and color. This may not be easy to find of the shelf. But next time you pickle plums think about reusing it!
Same here, wash and cut the vegetables. Set them in a container top with the shiso leaves. Apply a weight on it for a few hours and enjoy!
Last Sunday, late afternoon, after surfing in the morning and gardening the whole afternoon I remembered that it’s been two days we have had no chocolate… well that is a HUGE problem for us, or for A.. We both do indulge in a bitter sweet treat after dinner. Indeed, unless we have guests or we celebrate we never have dessert, just a piece of chocolate… so when we forgot to refill our chocolate stock… there’s a bit of drama in the air! 😉
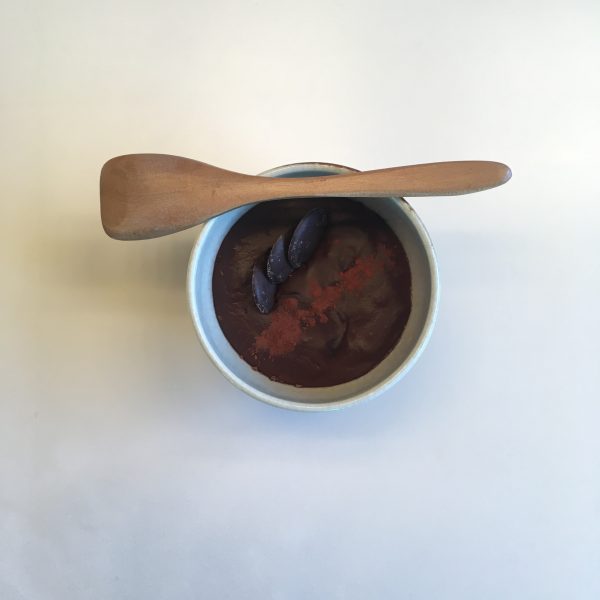
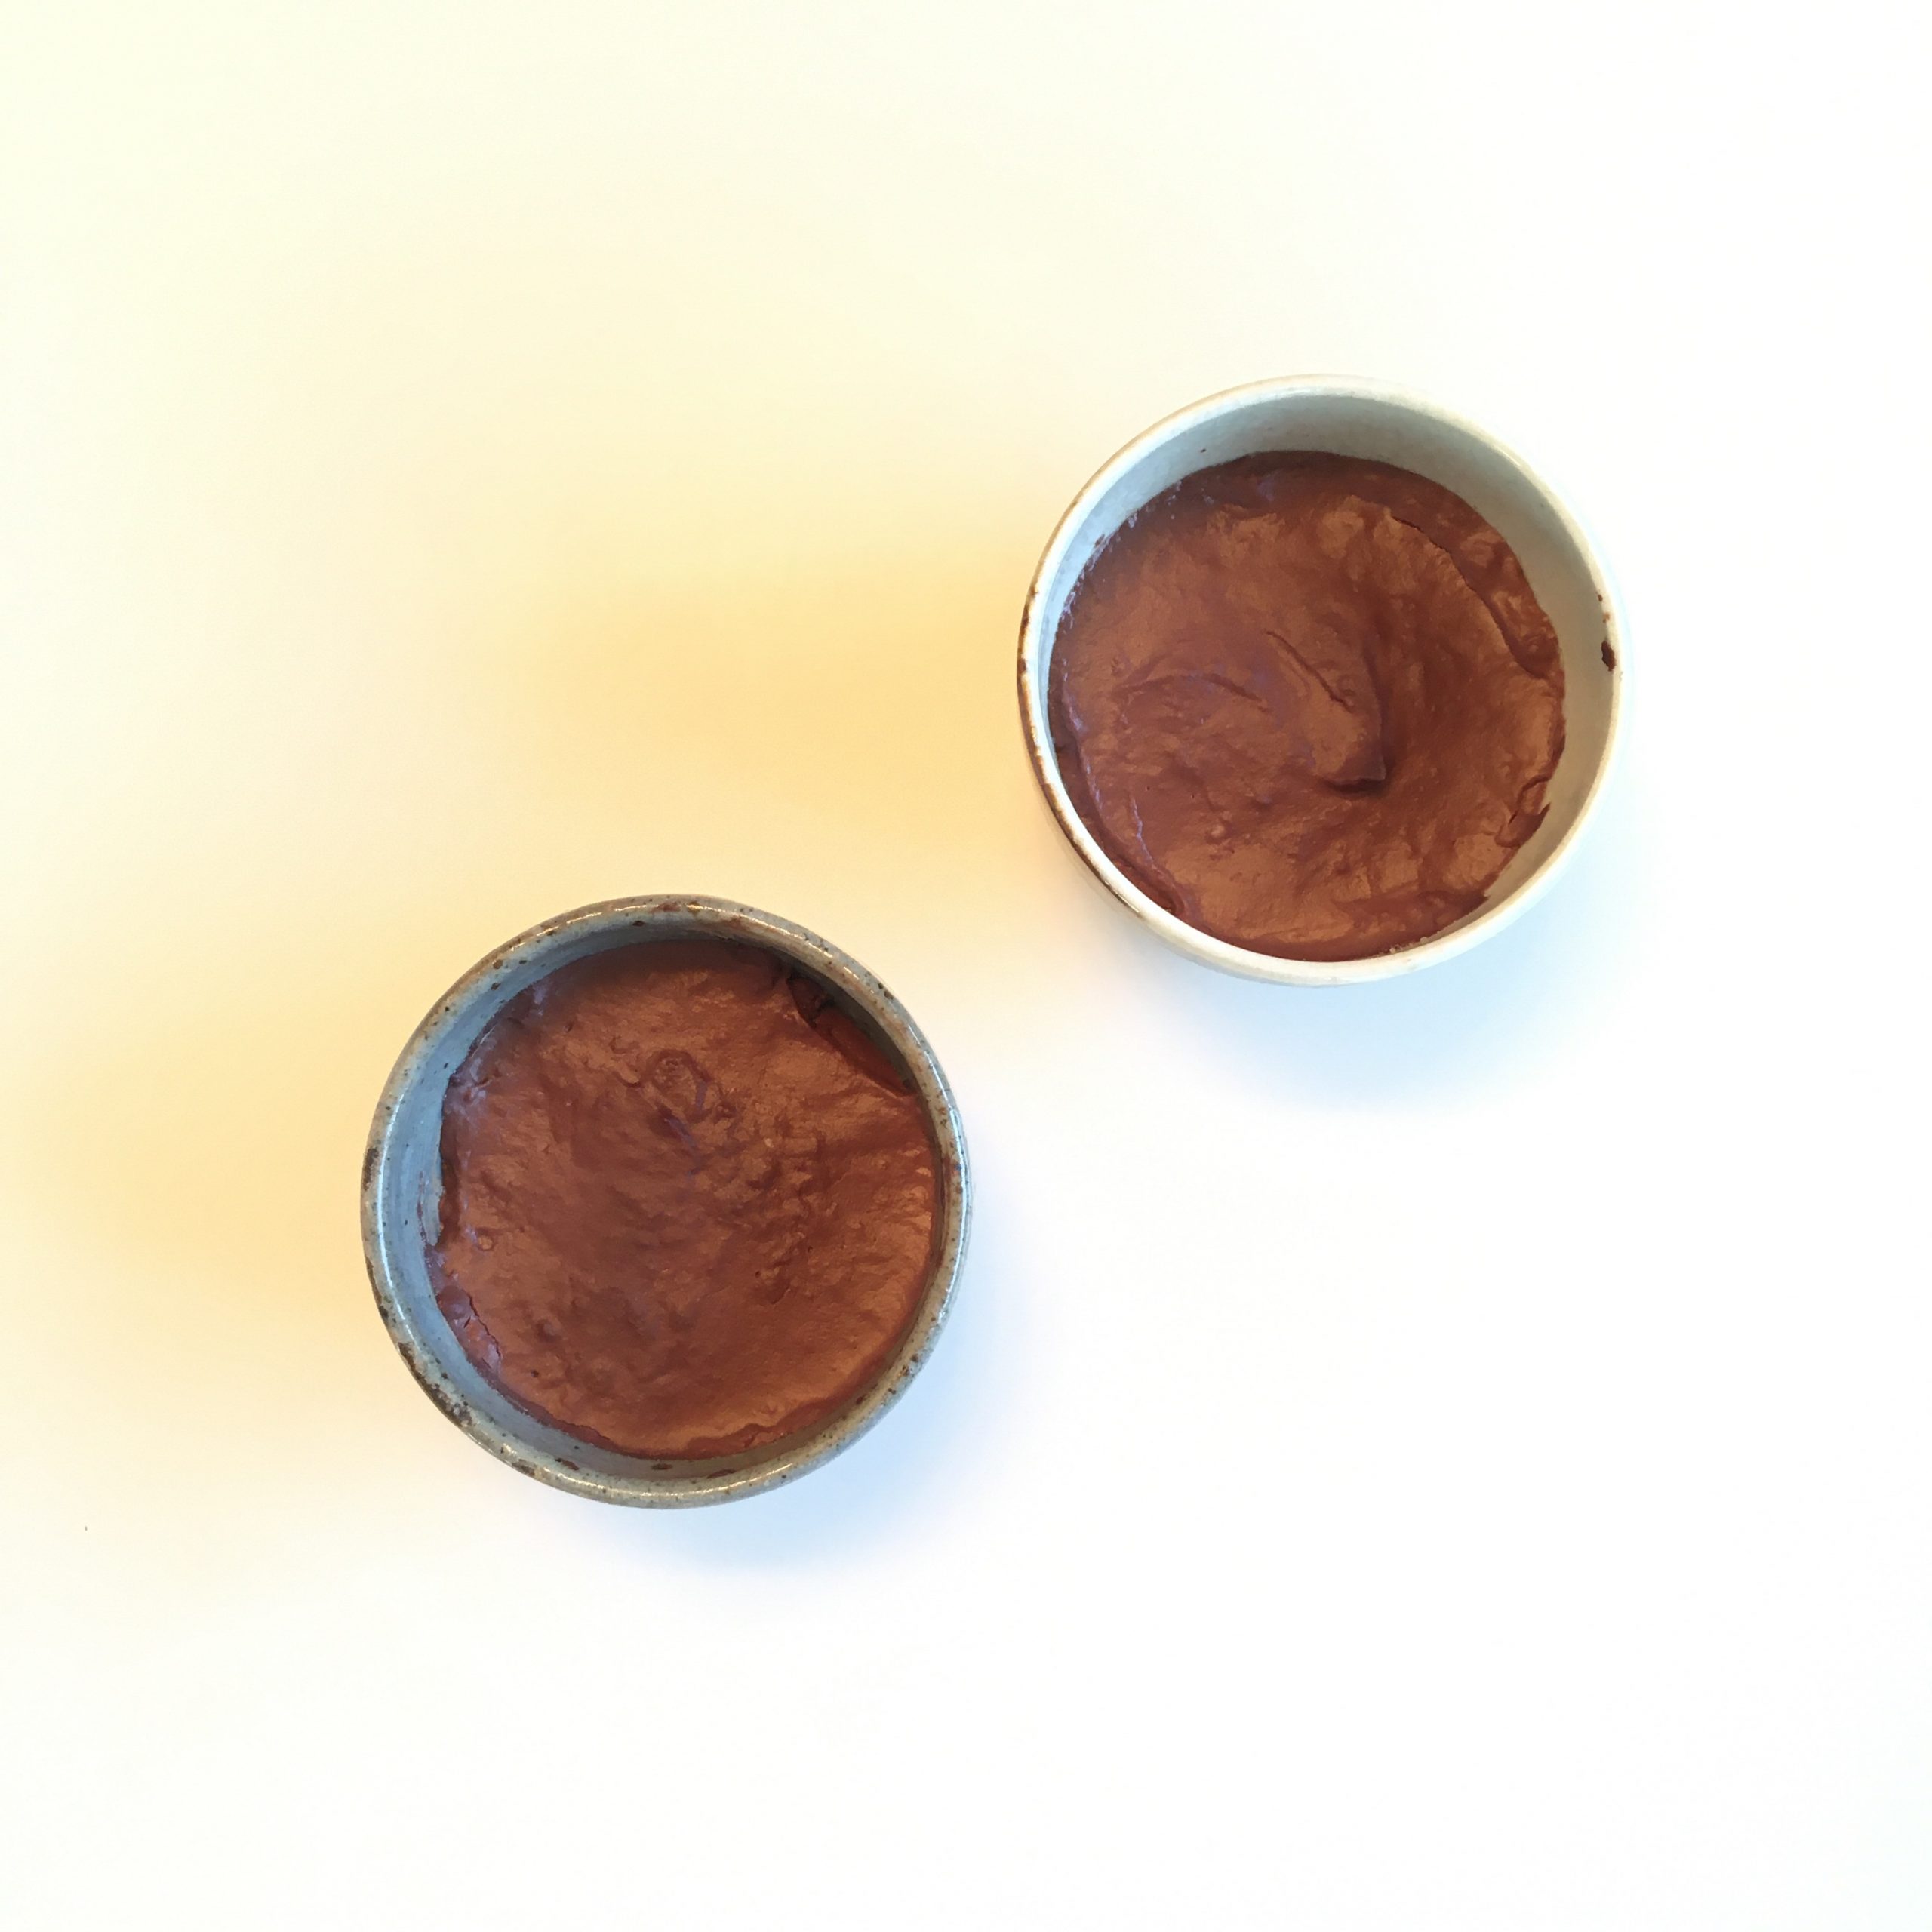
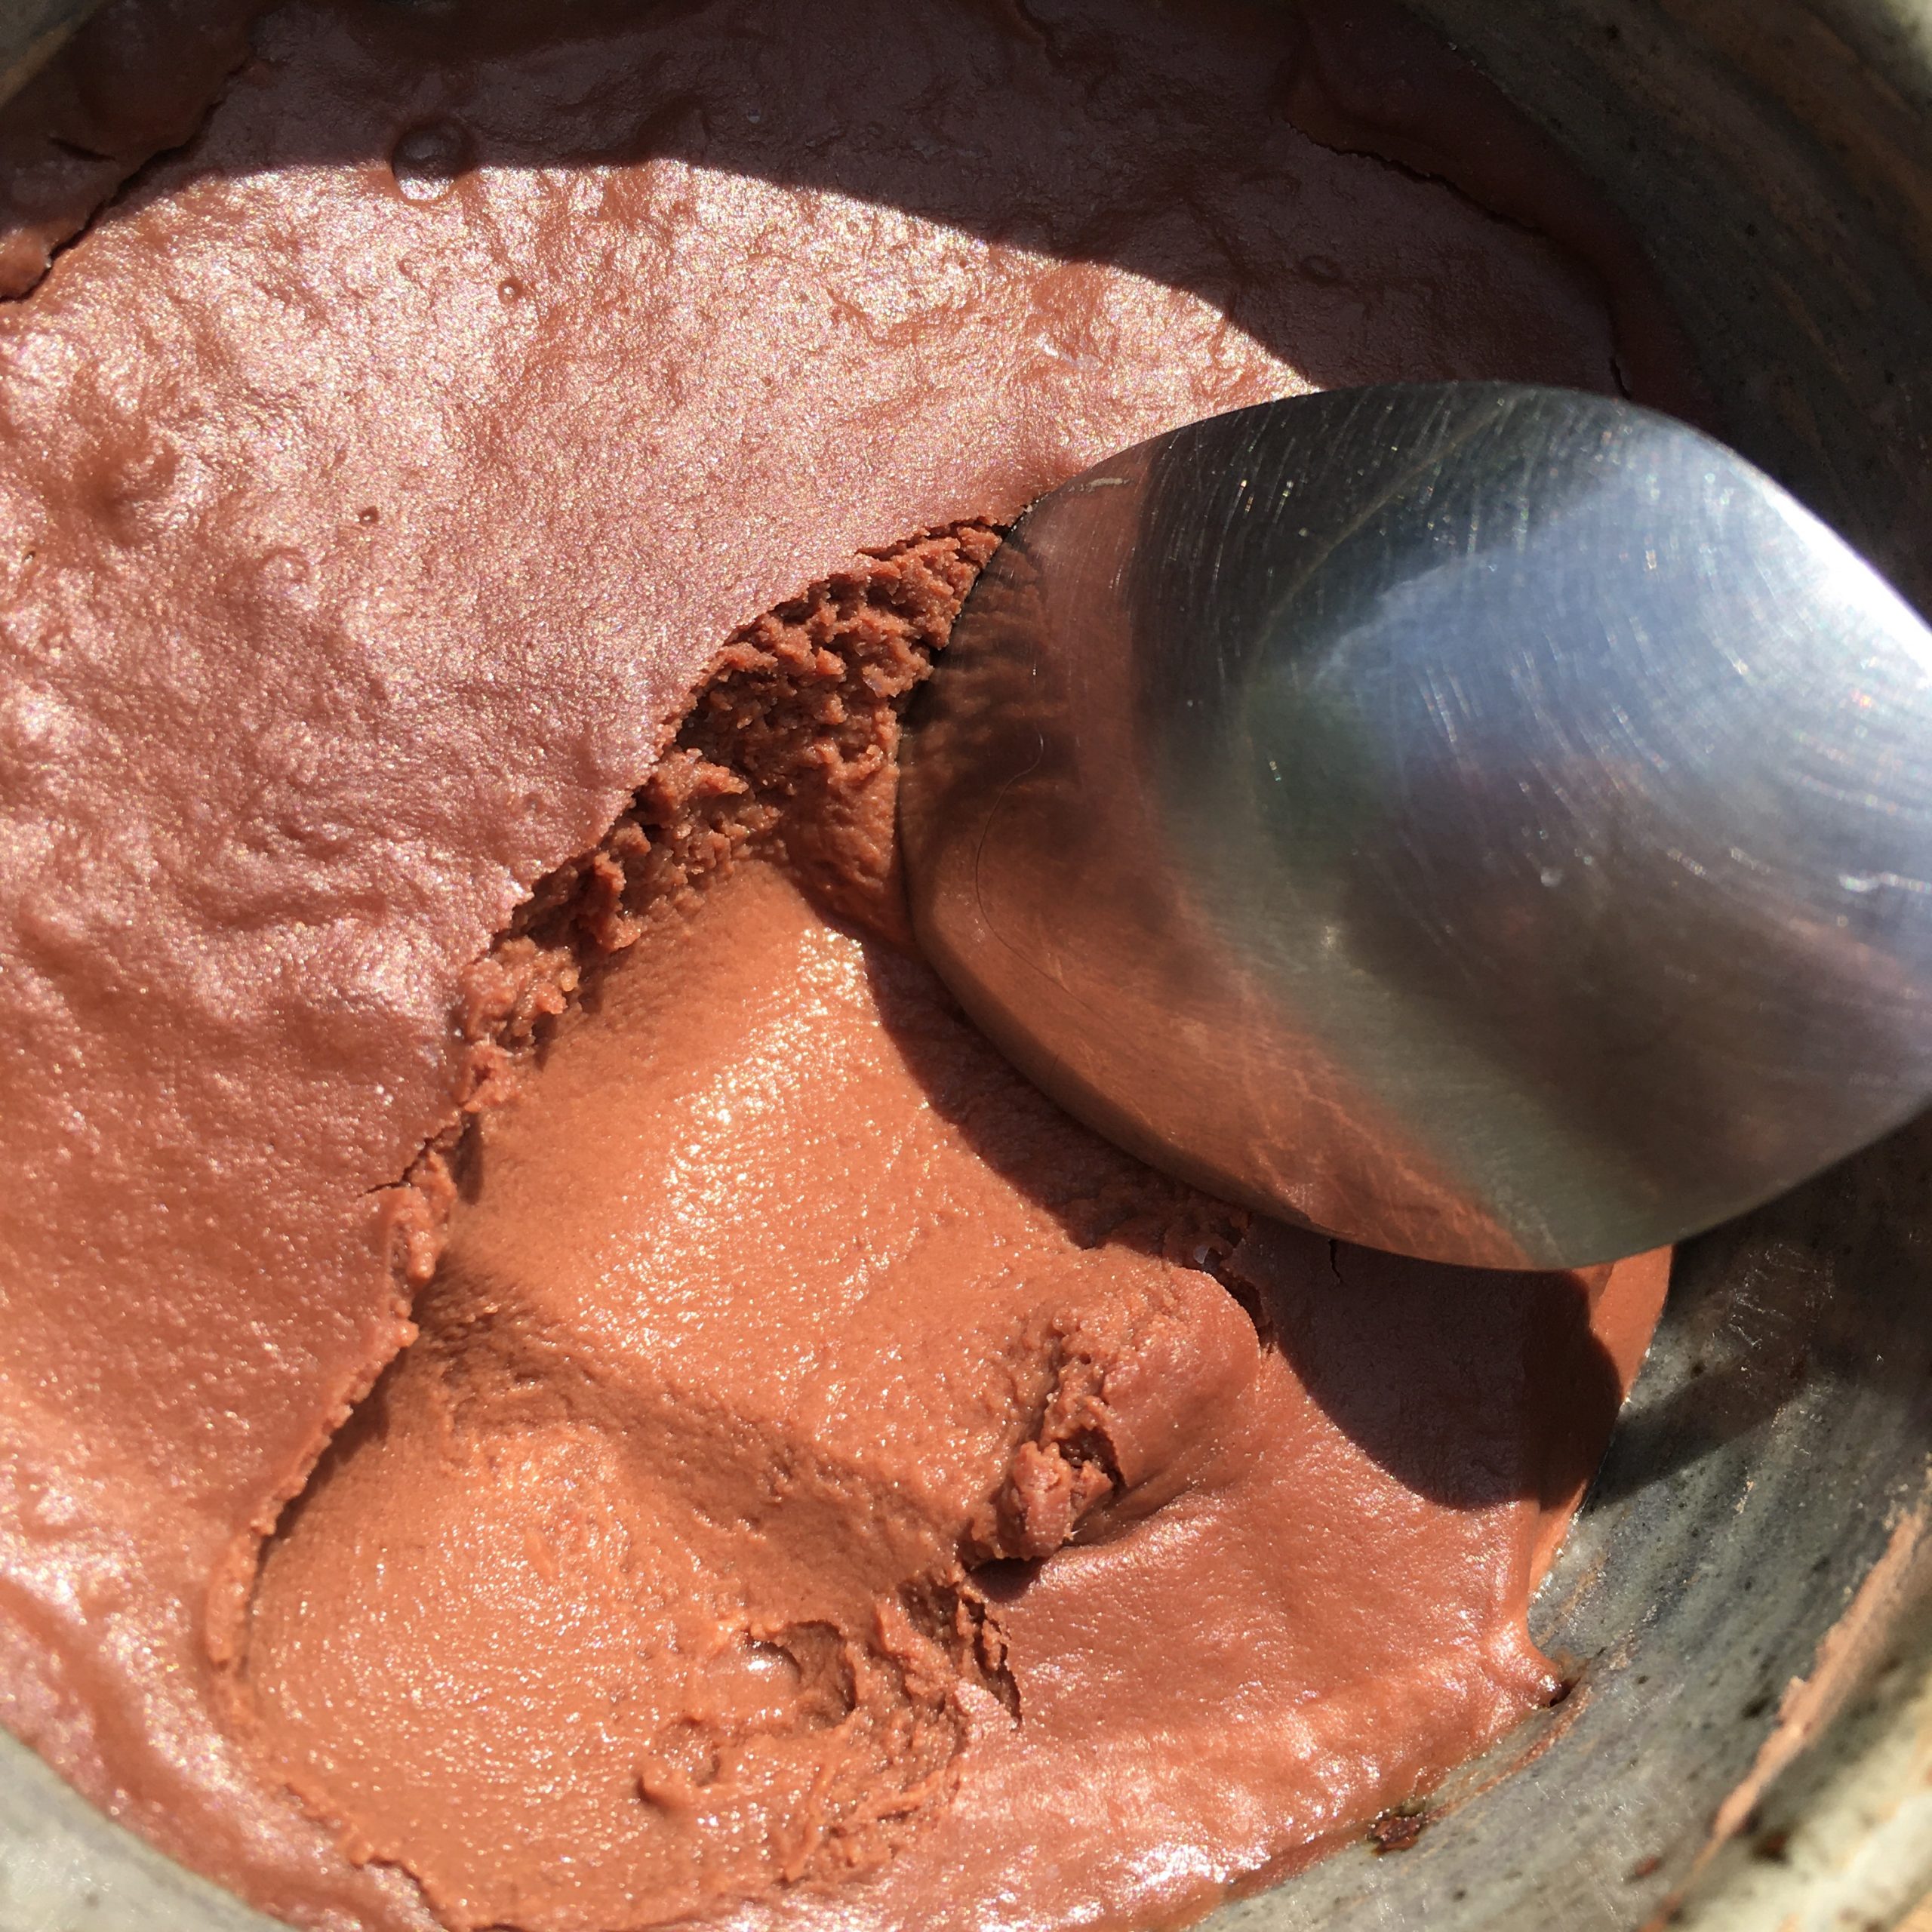
That’s when the magic of Instagram happen! While browsing my feed I stopped on @dans_ma_boite_a_biscuits post: a quick chocolate cream, with 4 ingredients that I always have (or almost… because her recipe uses dark chocolate, I used cacao) and that is so simple I couldn’t help trying!!! I never found it so easy to make a dessert. It takes 10min and then time to cool down, and it was so delicious that I will forget to buy chocolate more often!!! Because I slightly modified the original recipe (in French) I share mine with you… A. was so pleased with the result that he asked for more this weekend!!
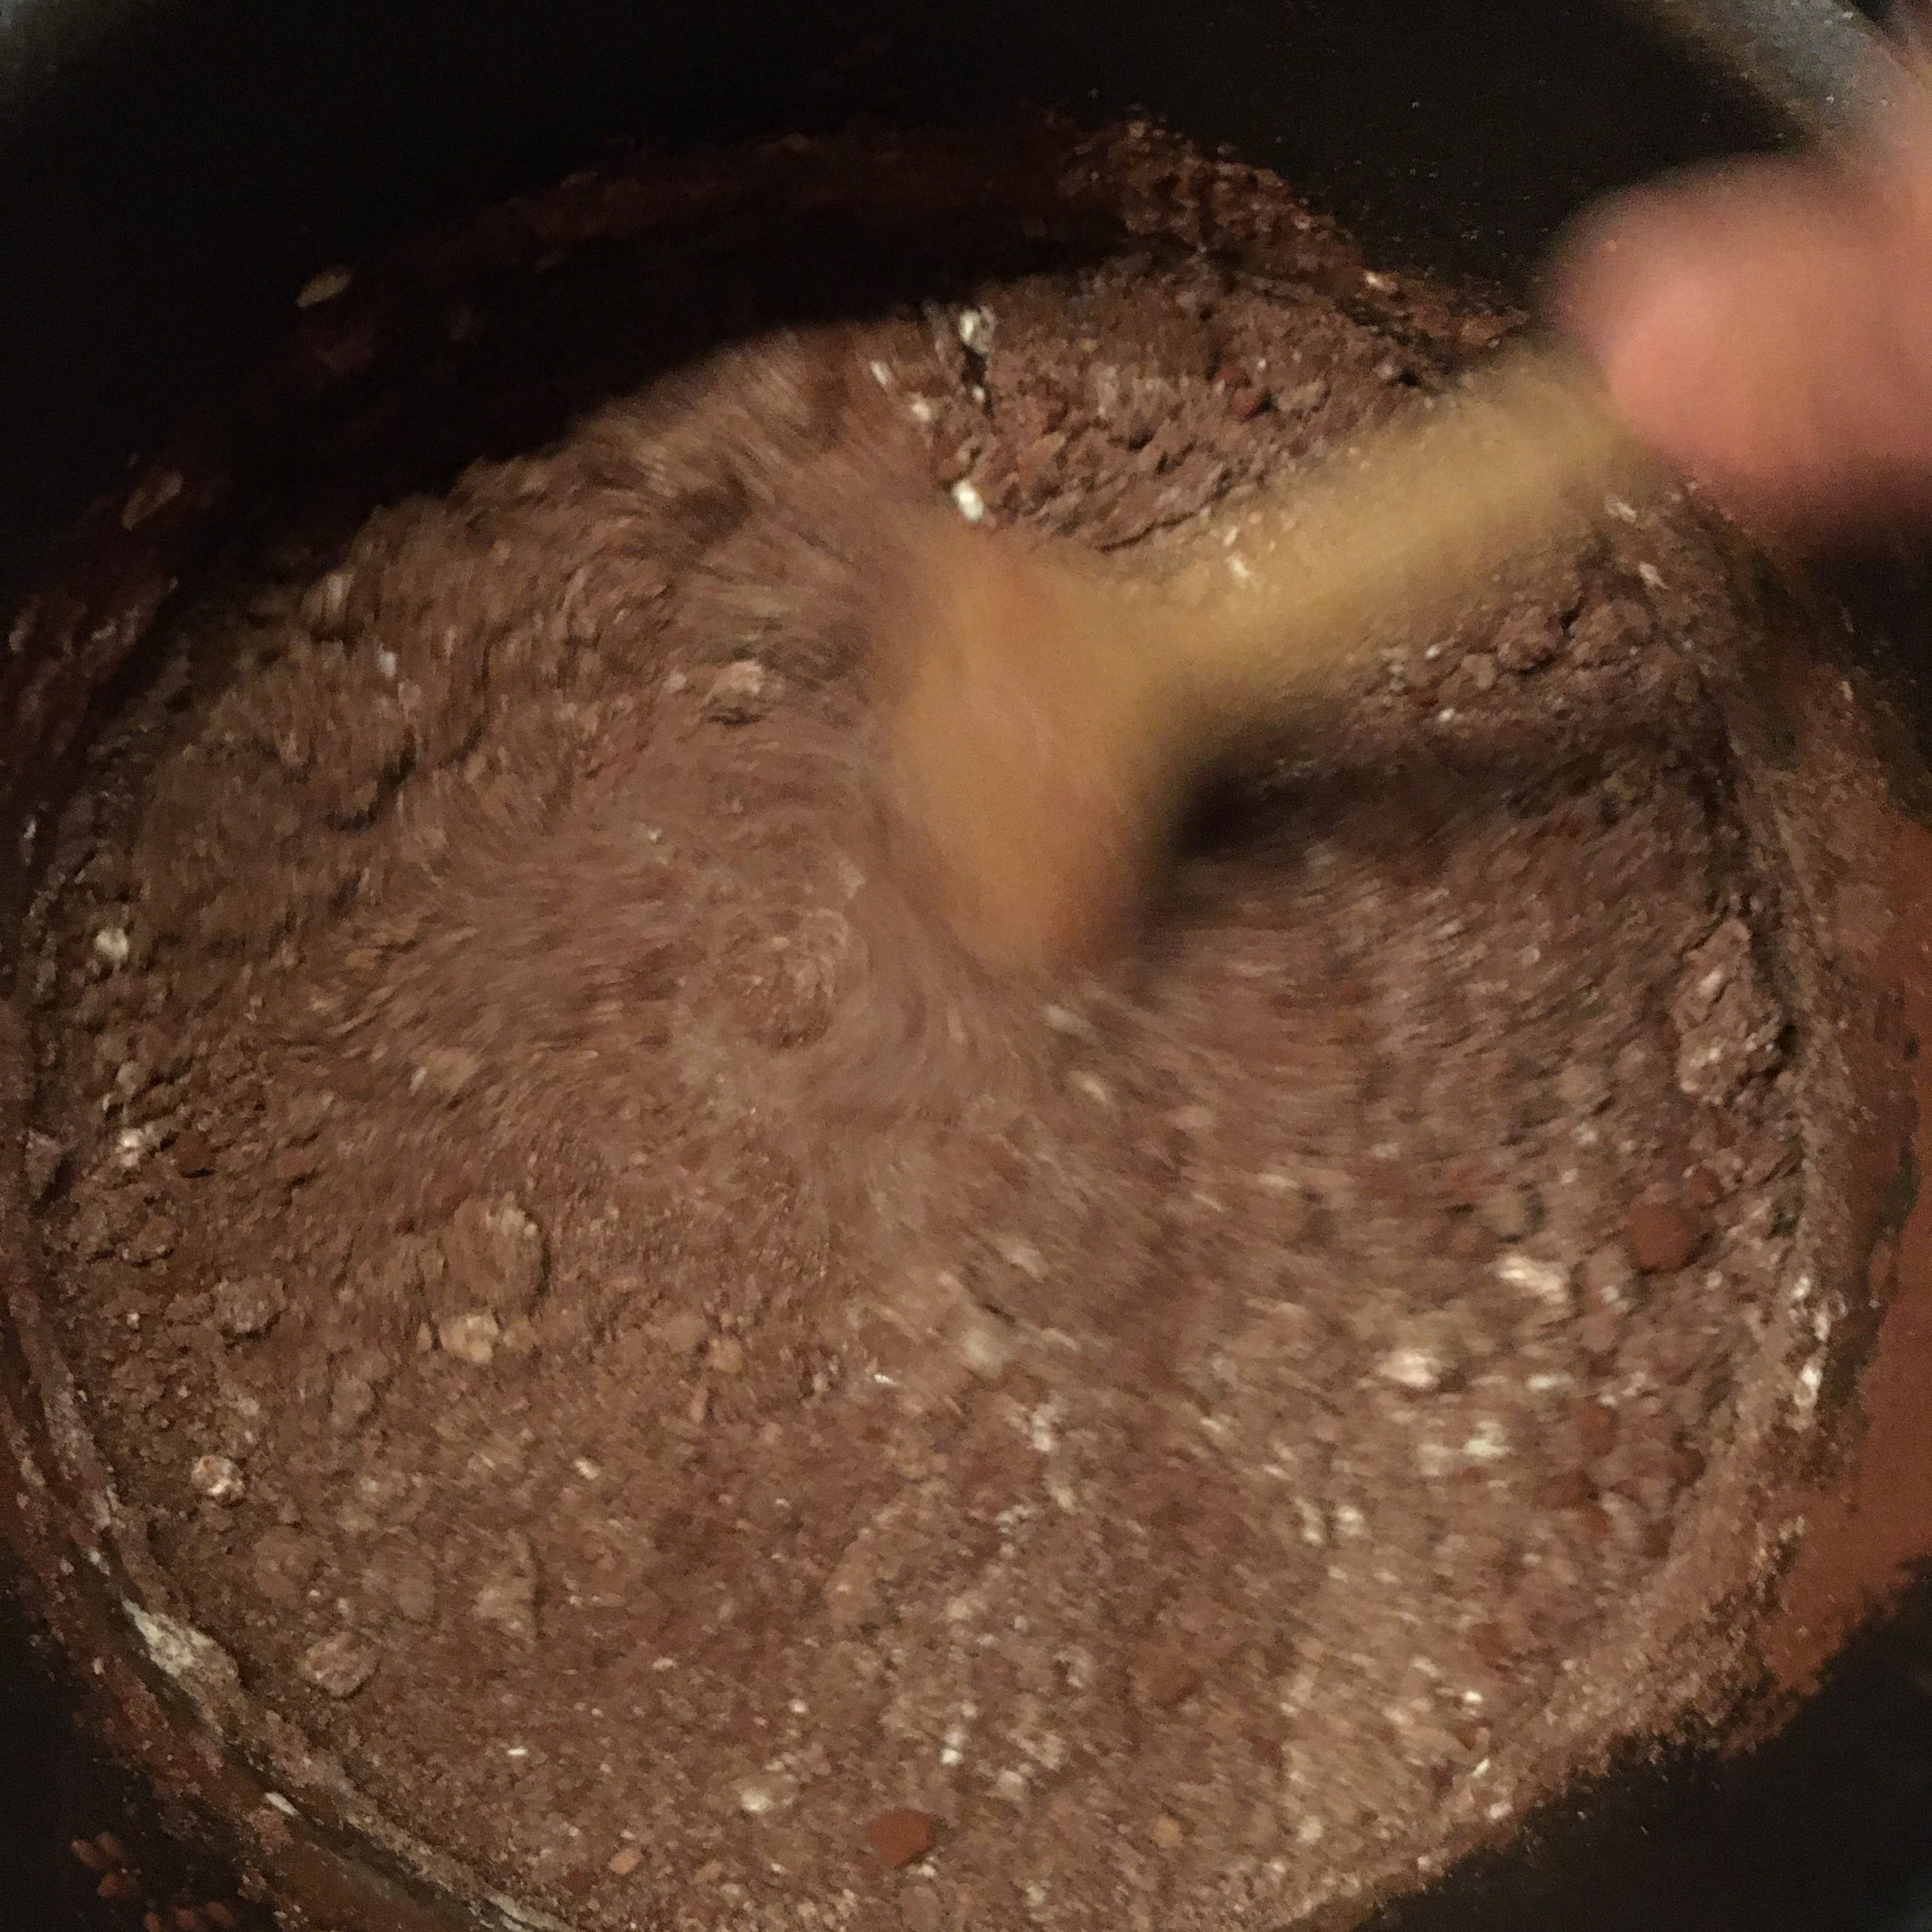
In a pan, put all the ingredients, stir well, then start cooking at low heat while stirring. Increase to medium heat and stir well. It should start thickening, don’t over cook or you’ll get something too stiff. Once the consistency is creamy serve in 4 ramekins. Let cool down in the fridge for one hour or two and enjoy. I personally prefer eating them at room temperature rather than cool from the fridge…
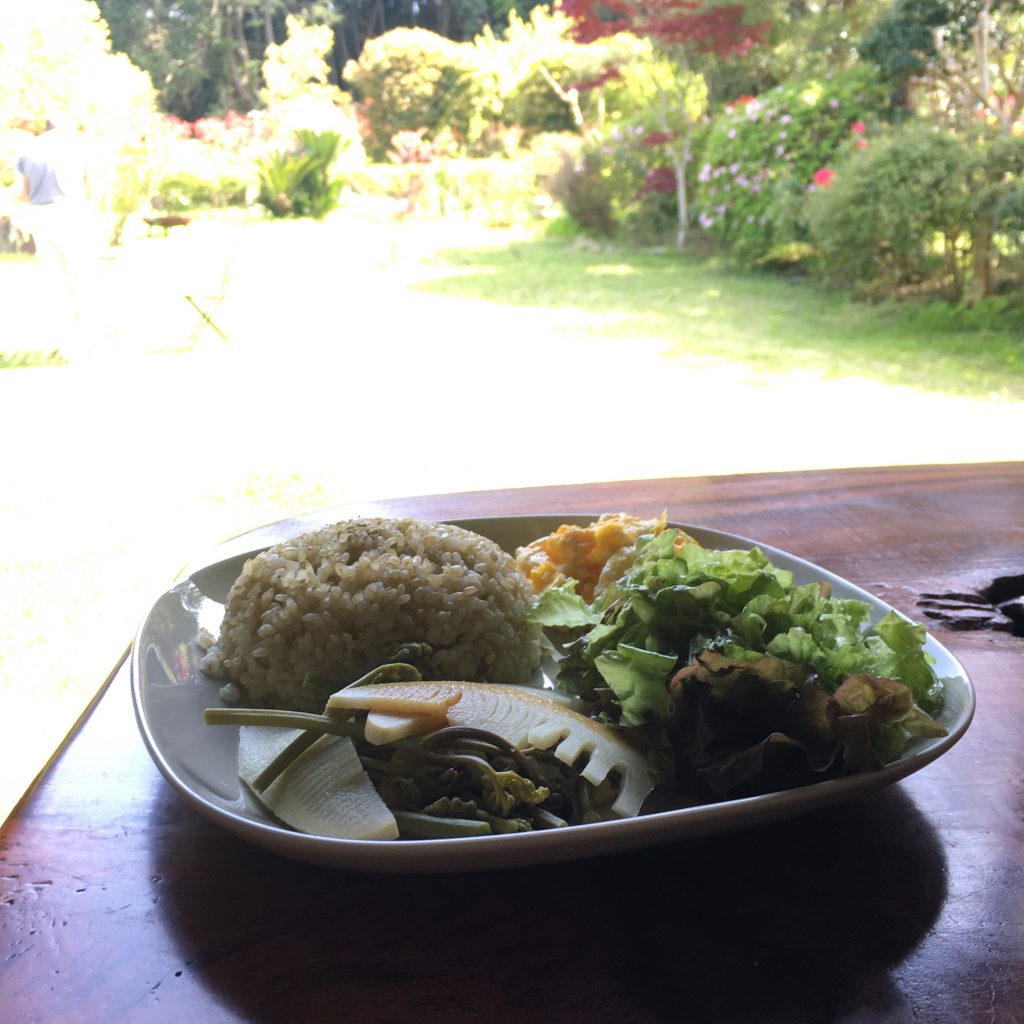
Well well, the two main protagonists of these past two weeks in the kitchen, are not only delicious alone, but also prepared together. A classic Japanese recipe would be to simmer them individually and then combine them with a bit of red pepper 🌶 and soya sauce. I personally usually pass on the red pepper but this recipe is simple and delicious. Here with brown rice, scrambled eggs and salad.
But really from the start I had something in mind using both combined… something that I love making with whatever is in season: steamed dumplings, of course!!!!
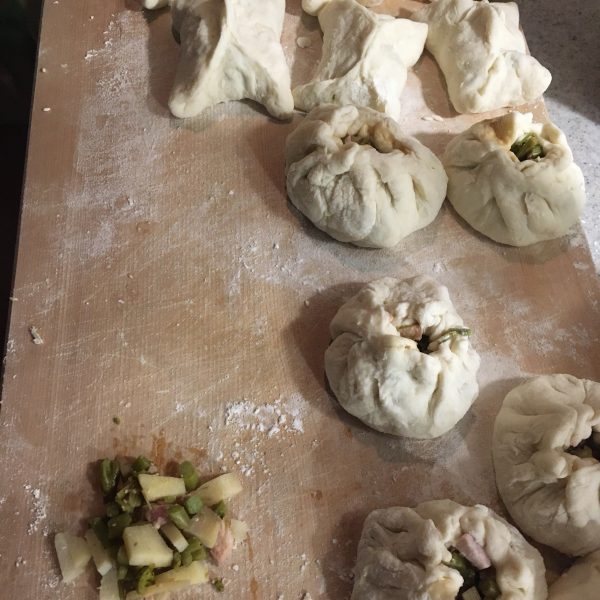
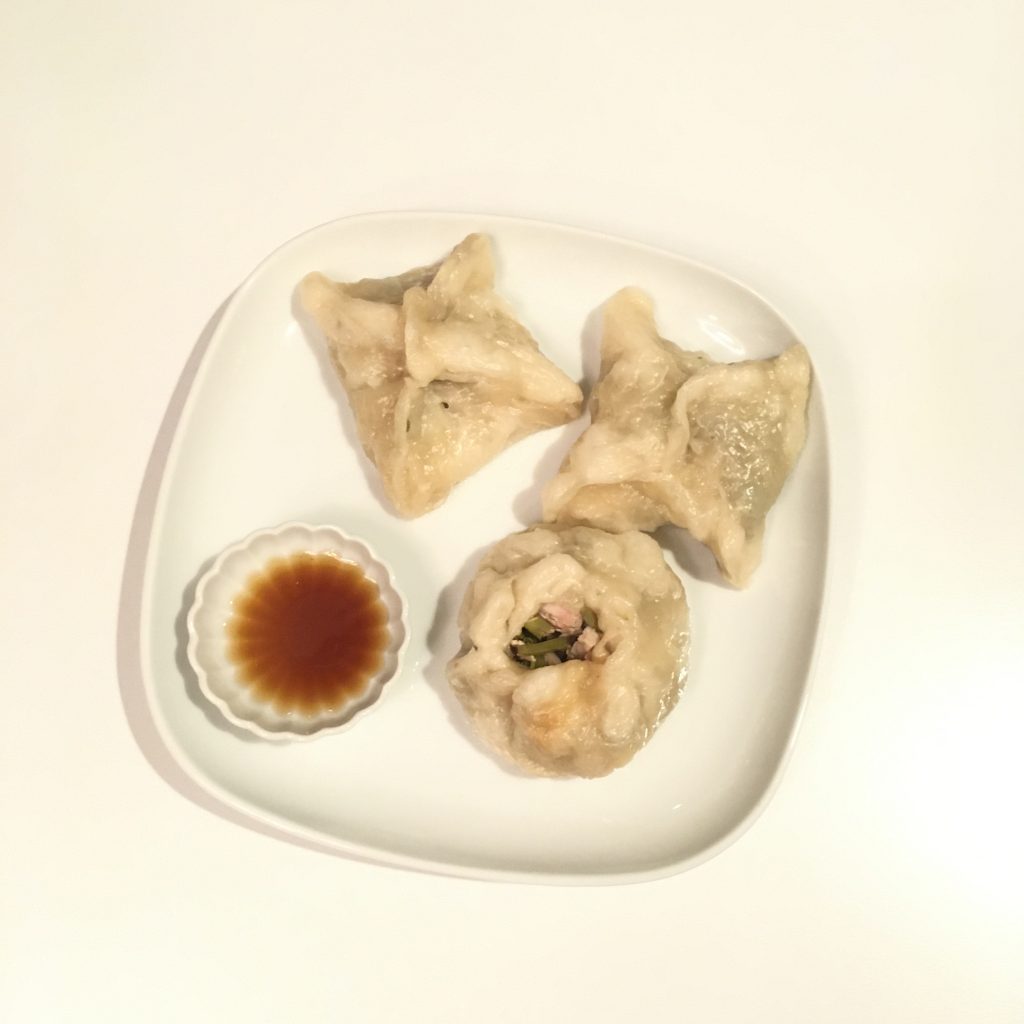
With the beginning of the new fiscal year, school term and the abundance of work in the garden, the surf season… I’ve been pretty busy! But dumplings don’t require that much time to make and they are always a feast. My idea was to combine chopped warabi and takenoko, with coarse ground pork filet, soya sauce and fill some sourdough dough with it, and steam. So that’s exactly what I did and it was soooo delicious I regretted it was our last takenoko!!! So if you still have a chance to get fresh takenoko and warabi I can only but recommend you try! I need mote practice to fold my dumplings beautifully but the taste is here!!!
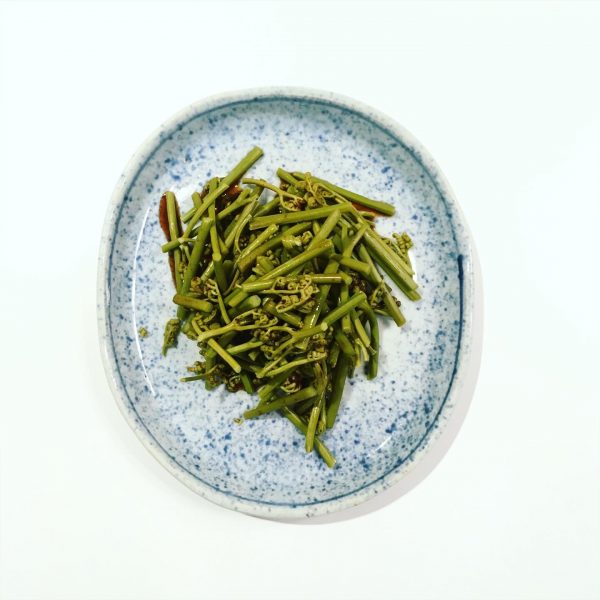
When we go with our friends in Tsunan to forage spring wild vegetables, we would for sure also pick some eagle fern – warabi – わらび 蕨. But because it takes a bit of time to prepare (I’ll come to it later) and we have so many other things to eat, we would usually leave without eating them. So, despite the fact that I knew how to prepare them, I couldn’t recall having eaten any fresh ones… and while we were picking bamboo shoots I was looking at fern and picked a few kogomi – こごみ as these are among my favorite sansai – 山菜… but then I grew uncomfortable with the idea of eating them as I have never picked any in Boso before and there are so many varieties… I was worried one may be poisonous… I realized I need to study (a bit) more. I know that it is impossible almost to find kogomi at the farmers market, so either none are locally good or found in tiny amounts that people keep them for themselves. On the other hand warabi can be found at the farmers market!! So I decided to try cooking some in place of kogomi.
As it was my first cooking them I browsed a few cookbooks, and reminded myself of K. in the kitchen parboiling them while stirring them vigorously with chopsticks and then leaving them to rest overnight by the window. A quick reading on kogomi made me understand why this process was so important. It isn’t to remove the bitterness of warabi, it is to remove a toxin from it that is carcinogenic. So don’t try to eat warabi raw or simply cooked. The parboiling, the stirring and the overnight wait are paramount to removing the toxic component. That said and done, eating warabi is totally safe! As a first try I decided to go by the book. I simply prepared them in soya sauce. So here is my recipe, nothing fancy but deliciously simple as I live a recipe to be.
Warabi
A handful of warabi –
A tsp of baking soda
A tbs of soya sauce
Remove the bottom of the warabi, and wash them. In a pan boil sufficient water. Add the warabi and stir energetically. At this stage you can add a tsp of baking soda. Then keep at room temperature for the night. You can prepare them now.
The simplest is to drain the amount desired, cut in 3-4cm pieces, heat in a pan and add at the very end the soya sauce. It can be eaten as it or at room temperature. Enjoy!!
I know that may seems strange… but there are some associations that work perfectly and need to be more explored. The one I totally love is bamboo shoot/tomatoes that I discovered last year by chance. The other thing that I love is grilled bamboo shoots. It reminds me of the grilled thin bamboo shoots we had first harvested with our friends in Tsunan ages ago now… something like 2008… So thinking about how both tomatoes and grilled bamboo shoots could be combined, obviously pizza was going to be a great combo. It just needed to be made. So the night before I prepared the pizza dough with my sourdough. Classic bread dough recipe in which you add a tablespoon of sugar and a generous drizzle of olive oil. You leave it to work gently. And once we get back from surfing in the morning I rolled the dough a bit thick for maximum softness, sliced two tomatoes, a new onion, the takenoko and a local piece of cheese, all in the oven for about 20min at 220deg. Once cheese was golden and crust too, I took it out of the oven, cut and served with a drizzle of olive oil and a bit of ground black pepper. As simple as it is I like my pizza with just 2-3 ingredients in addition to tomato and cheese and I like mixing seasonal vegetables. Many of the Japanese local vegetables actually work well on a pizza. I had already tested burdock, now I know that takenoko is great too!
Every year, for more than 20 years I have made a strawberry tart for A.’s birthday. With a birthday in the prime of spring I always thought it was a great moment to celebrate strawberries and A.. Many times waiting for the cherry trees to bloom. This year, the cherry trees are in full bloom already and I always thought traditions are meant to be changed or twisted when opportunities are there.
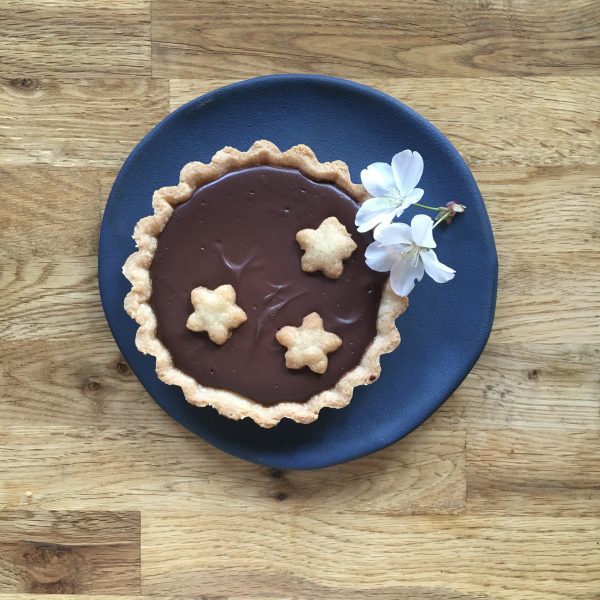
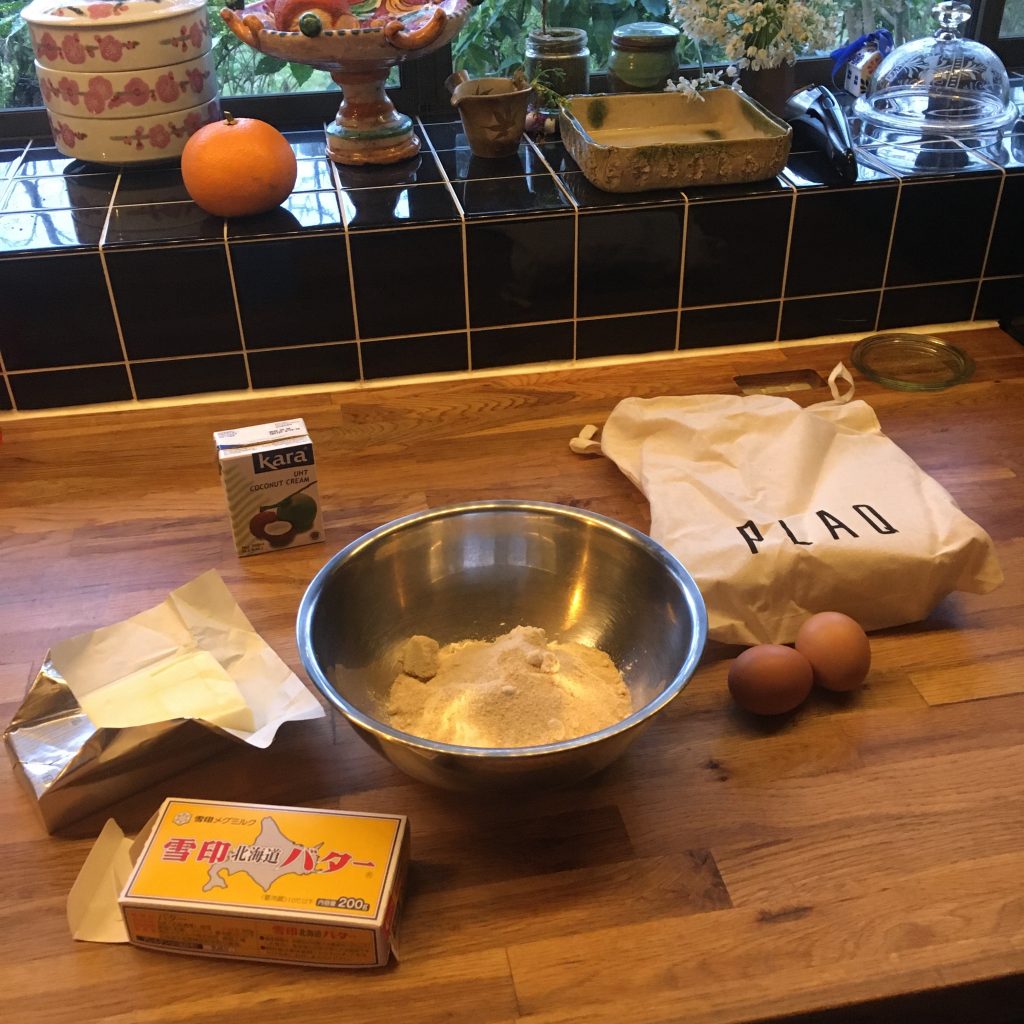
Two weeks ago I received a little package from France, from my childhood friend M. with a little cookbook and some bean to bar chocolate from a shop in our old neighborhood in Paris: Plaq. M. knows very well how much we love chocolate and well sourced products, together with a delicious bar of chocolate there was also some cocoa to cook. A.’s birthday strawberry tarts was all forgotten and it would be chocolate tart instead.
The plan was, and I browsed a few recipes online to get an idea of how to make the chocolate filling. The whole thing is very simple and requires fresh cream, so since the morning I had on my mind to buy some, except that we went grocery shopping we were on a rush, a bit more traffic than expected on the road, and A. was about to be late for a meeting. So fresh cream I forgot… damn… Hopefully I had some coconut cream so I decided to replace the fresh cream with it, and it added a very gentle twist in the taste, without being overwhelming. So met me share my recipe, I hope you’ll like it, we did, and it is soooo simple that I wonder why I never tried earlier!
Tarte au chocolat (makes 6 servings)
Flour-butter-sugar for the dough
150g of chocolate, dark, for cooking or of cacao powder
200ml of coconut cream
A bit of milk (if you use cocoa)
1 egg
Prepare the sable dough the way you like it. I made mine very buttery and rather sweet as my cocoa was bitter and unsweetened. Set in individual shapes or a larger one also as you wish. With the cut parts I made sakura shaped little sablés. Cook at 180deg until just golden. Let cool a bit and remove from the pie dish if the bottom of the dish is not removable. Other with you may struggle once it if filled. Set on a baking sheet, as you’ll need to cook them again once filled.
In a pan warm the coconut cream and the chocolate or cocoa and stir until creamy. If you use cocoa you may want to add a bit of milk to make it creamier as it may bit a bit dry. But really just a bit. Stir well. Let
cool a bit and add the egg and stir again very well. Pour in the pie crust(s) you just baked. Decorate with the little sablés if you made any. Cook at 140 deg for about 15min, but this will depend on the size of your tarts. Best is to check visually: no bubbles on the side or very few, and when gently shaken it should look like an egg pudding (flan) and gently move. Serve warm or at room temperature. And enjoy!
Anise, fennel, star anise, and also cumin, carvi seeds and caraway seeds are some of my favorite seasoning seeds. Maybe because I grew up in the south of France where fennel grew everywhere on the path sides and it was so easy to harvest while admiring the beautiful shape of the flowers and the little white snails that would gather on the stems, that I used to call “colimaçon” but are in fact “caragouille rosee”, and chewing a piece of flower… or because of my grand mother homemade pastis, this very distinctive drink made from anise and also typical from the region. My mother would use ample fennel to stuff a fish we would have fished, and bake it with potatoes and tomatoes. A dish every one loved very much.
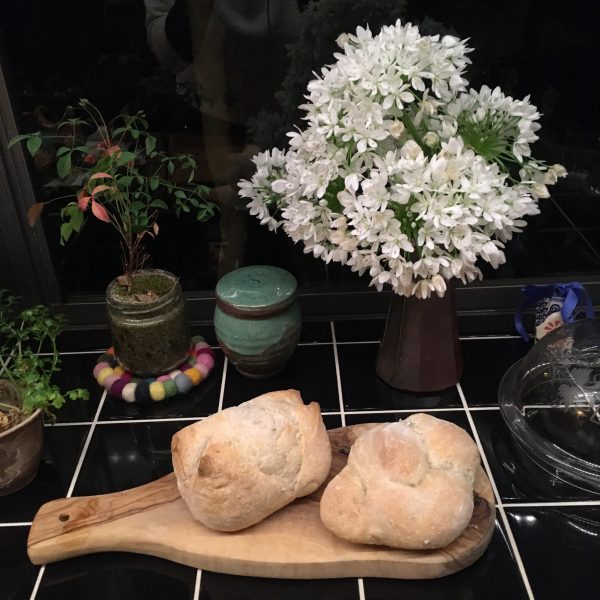
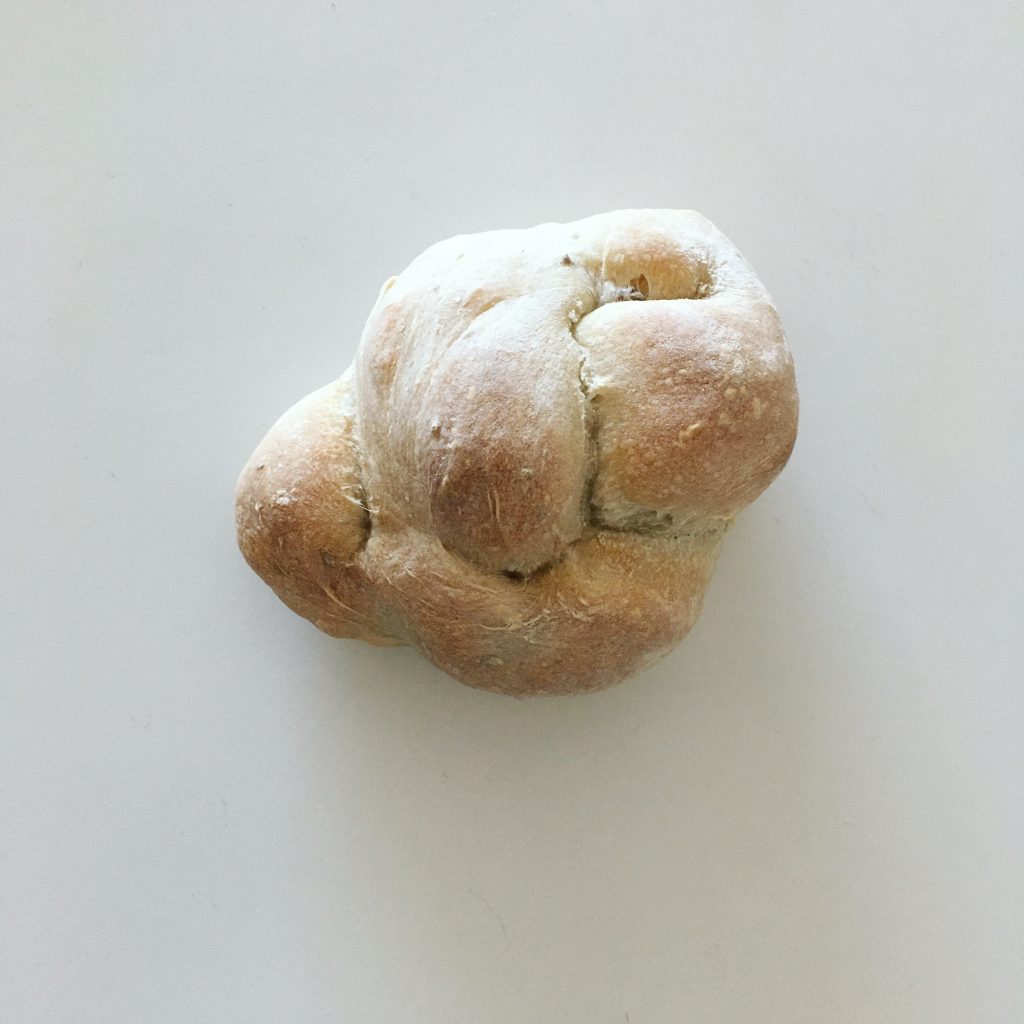
Funnily, in Japan this is not something so common. And I hardly have seen fennel growing anywhere in the wild. Maybe some areas do have some, or my eyes haven’t been opened enough. So most of the fennel and anise I use is either coming from my parents, or bought from the grocery. Recently I have bought quite a bit more often than usual, probably since we’ve been to Malta, to make Qagħaq tal-Ħmira… so I decided to use them to make straightforward anise seeds breads. Less elaborated than the Maltese breads and I was very very much please with the result. I must say that it is thanks to a very healthy sourdough and warmer temperatures. It goes like below for the recipe and I hope you will enjoy!
Anise breads
300g of flour
80g of sourdough
1tsp of salt
Water
1tbs of anise seeds
The recipe is simple as can be. In a large bowl mix the sourdough the flower, the salt. Add water little by little and knead to obtain a smooth dough. Add the anise seeds and knead a little further.
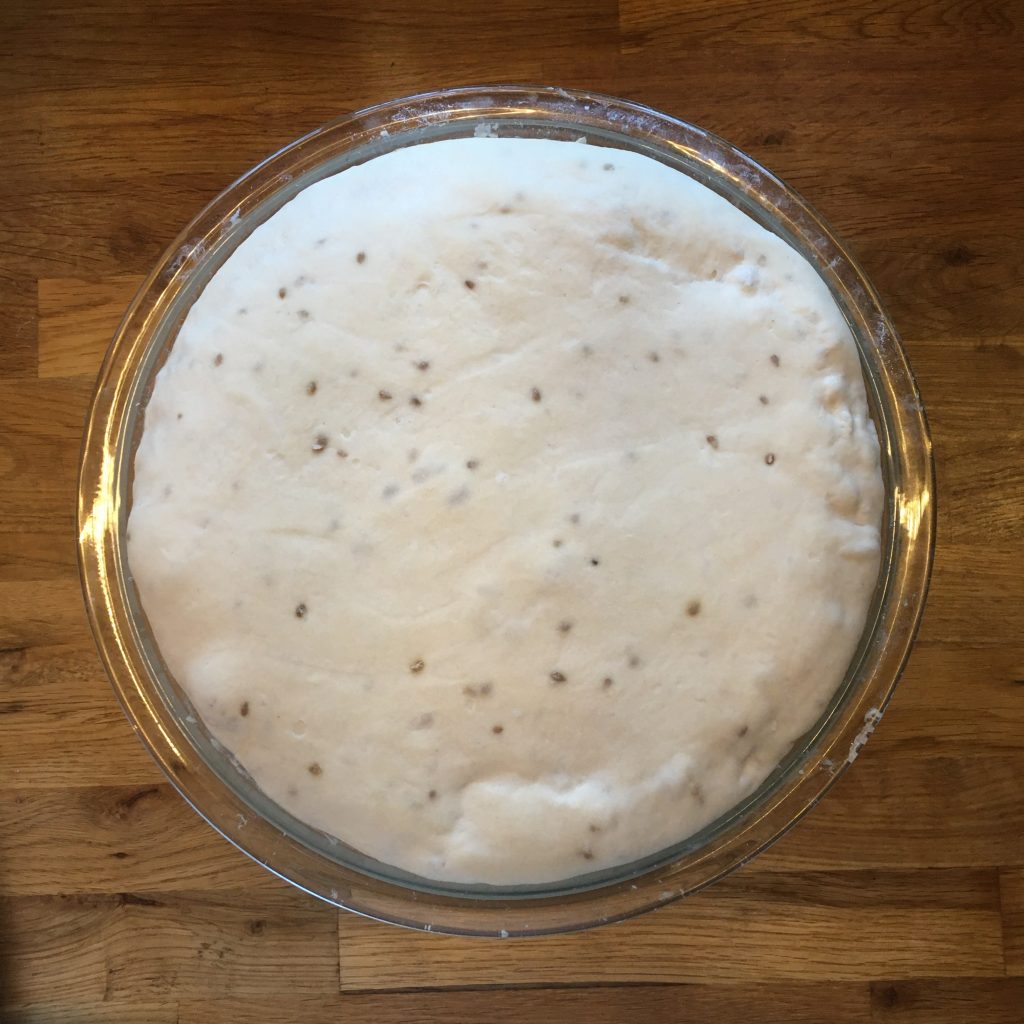
Let rest under a wet clothe until the dough grows. Mine was really growing happily.
When quite fluffy move to a flat surface dusted with flour. Flatten the dough gently with your palm. Cut into 6 pieces. Make 6 balls. Then flatten and cut three ribbons and braid then. Leave to rest for an hour then bake at 240deg until golden.
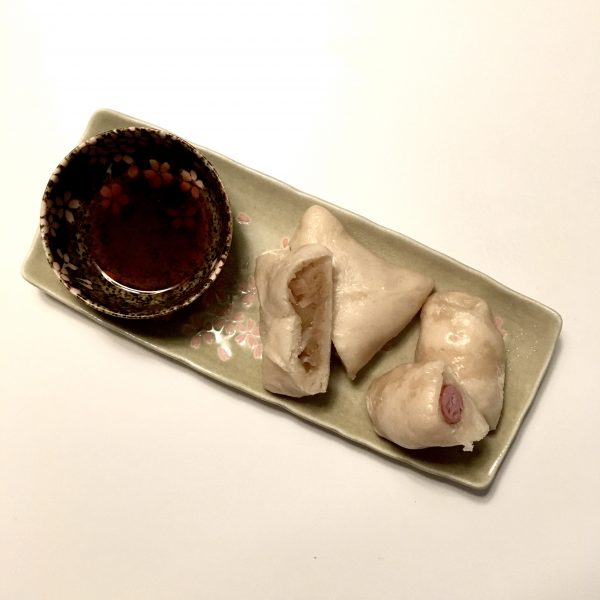
I’m still new to the sourdough owner community and a novice still learning many things with my 6months old Lois. We have had a difficult start, very… but I must say that I am impressed by its behavior for the past few weeks. I am keeping exactly the same regimen and treatments, keeping it in the fridge during the week and outside during the weekend to bake that I have always had. But now Lois is responding in a beautiful way… is it that spring is in the air? I can’t yet explain it and wish it will last… It doesn’t starve in the fridge after 2 days (Lois is/was a glutton), rather the contrary. And anytime I use it to bake it has a much better taste and smell and a faster process. It’s making baking easy and very very enjoyable. So pleased that I decided to use it to make bao again. I filled them with what I had in the fridge: onions and smoked sausages. Chiba prefecture has quite a few pork farms and some make rather delicious sausages, that A. likes very very much so I always have some in the fridge, just in case. So here is the recipe of the bao.
Bao (makes 8 pieces)
For the buns
200g of flour
50g of sourdough
A pinch of salt
Water
For the filling
1 onion
4 little (smoked) sausages
A large pinch of cinnamon
First prepare the bun dough as it needs a few hours to raise. In a bowl mix the flower, the sourdough and the salt. Add water little by little while kneading to obtain a slightly wet dough. Soft and smooth. Leave to raise for some time (a few hours depending on your sourdough, room temperature…). It should raise and at least become elastic with an homogeneous texture. While it’s raising, peel and chop the onion rather thinly. In a pan cook the onions at low heat, with a bit of water. They shouldn’t change color much. Add a bit of salt and the cinnamon. Continue cooking under cover until very soft and tender. Add a bit of water if needed to avoid roasting them. Once cooked, let cool down.
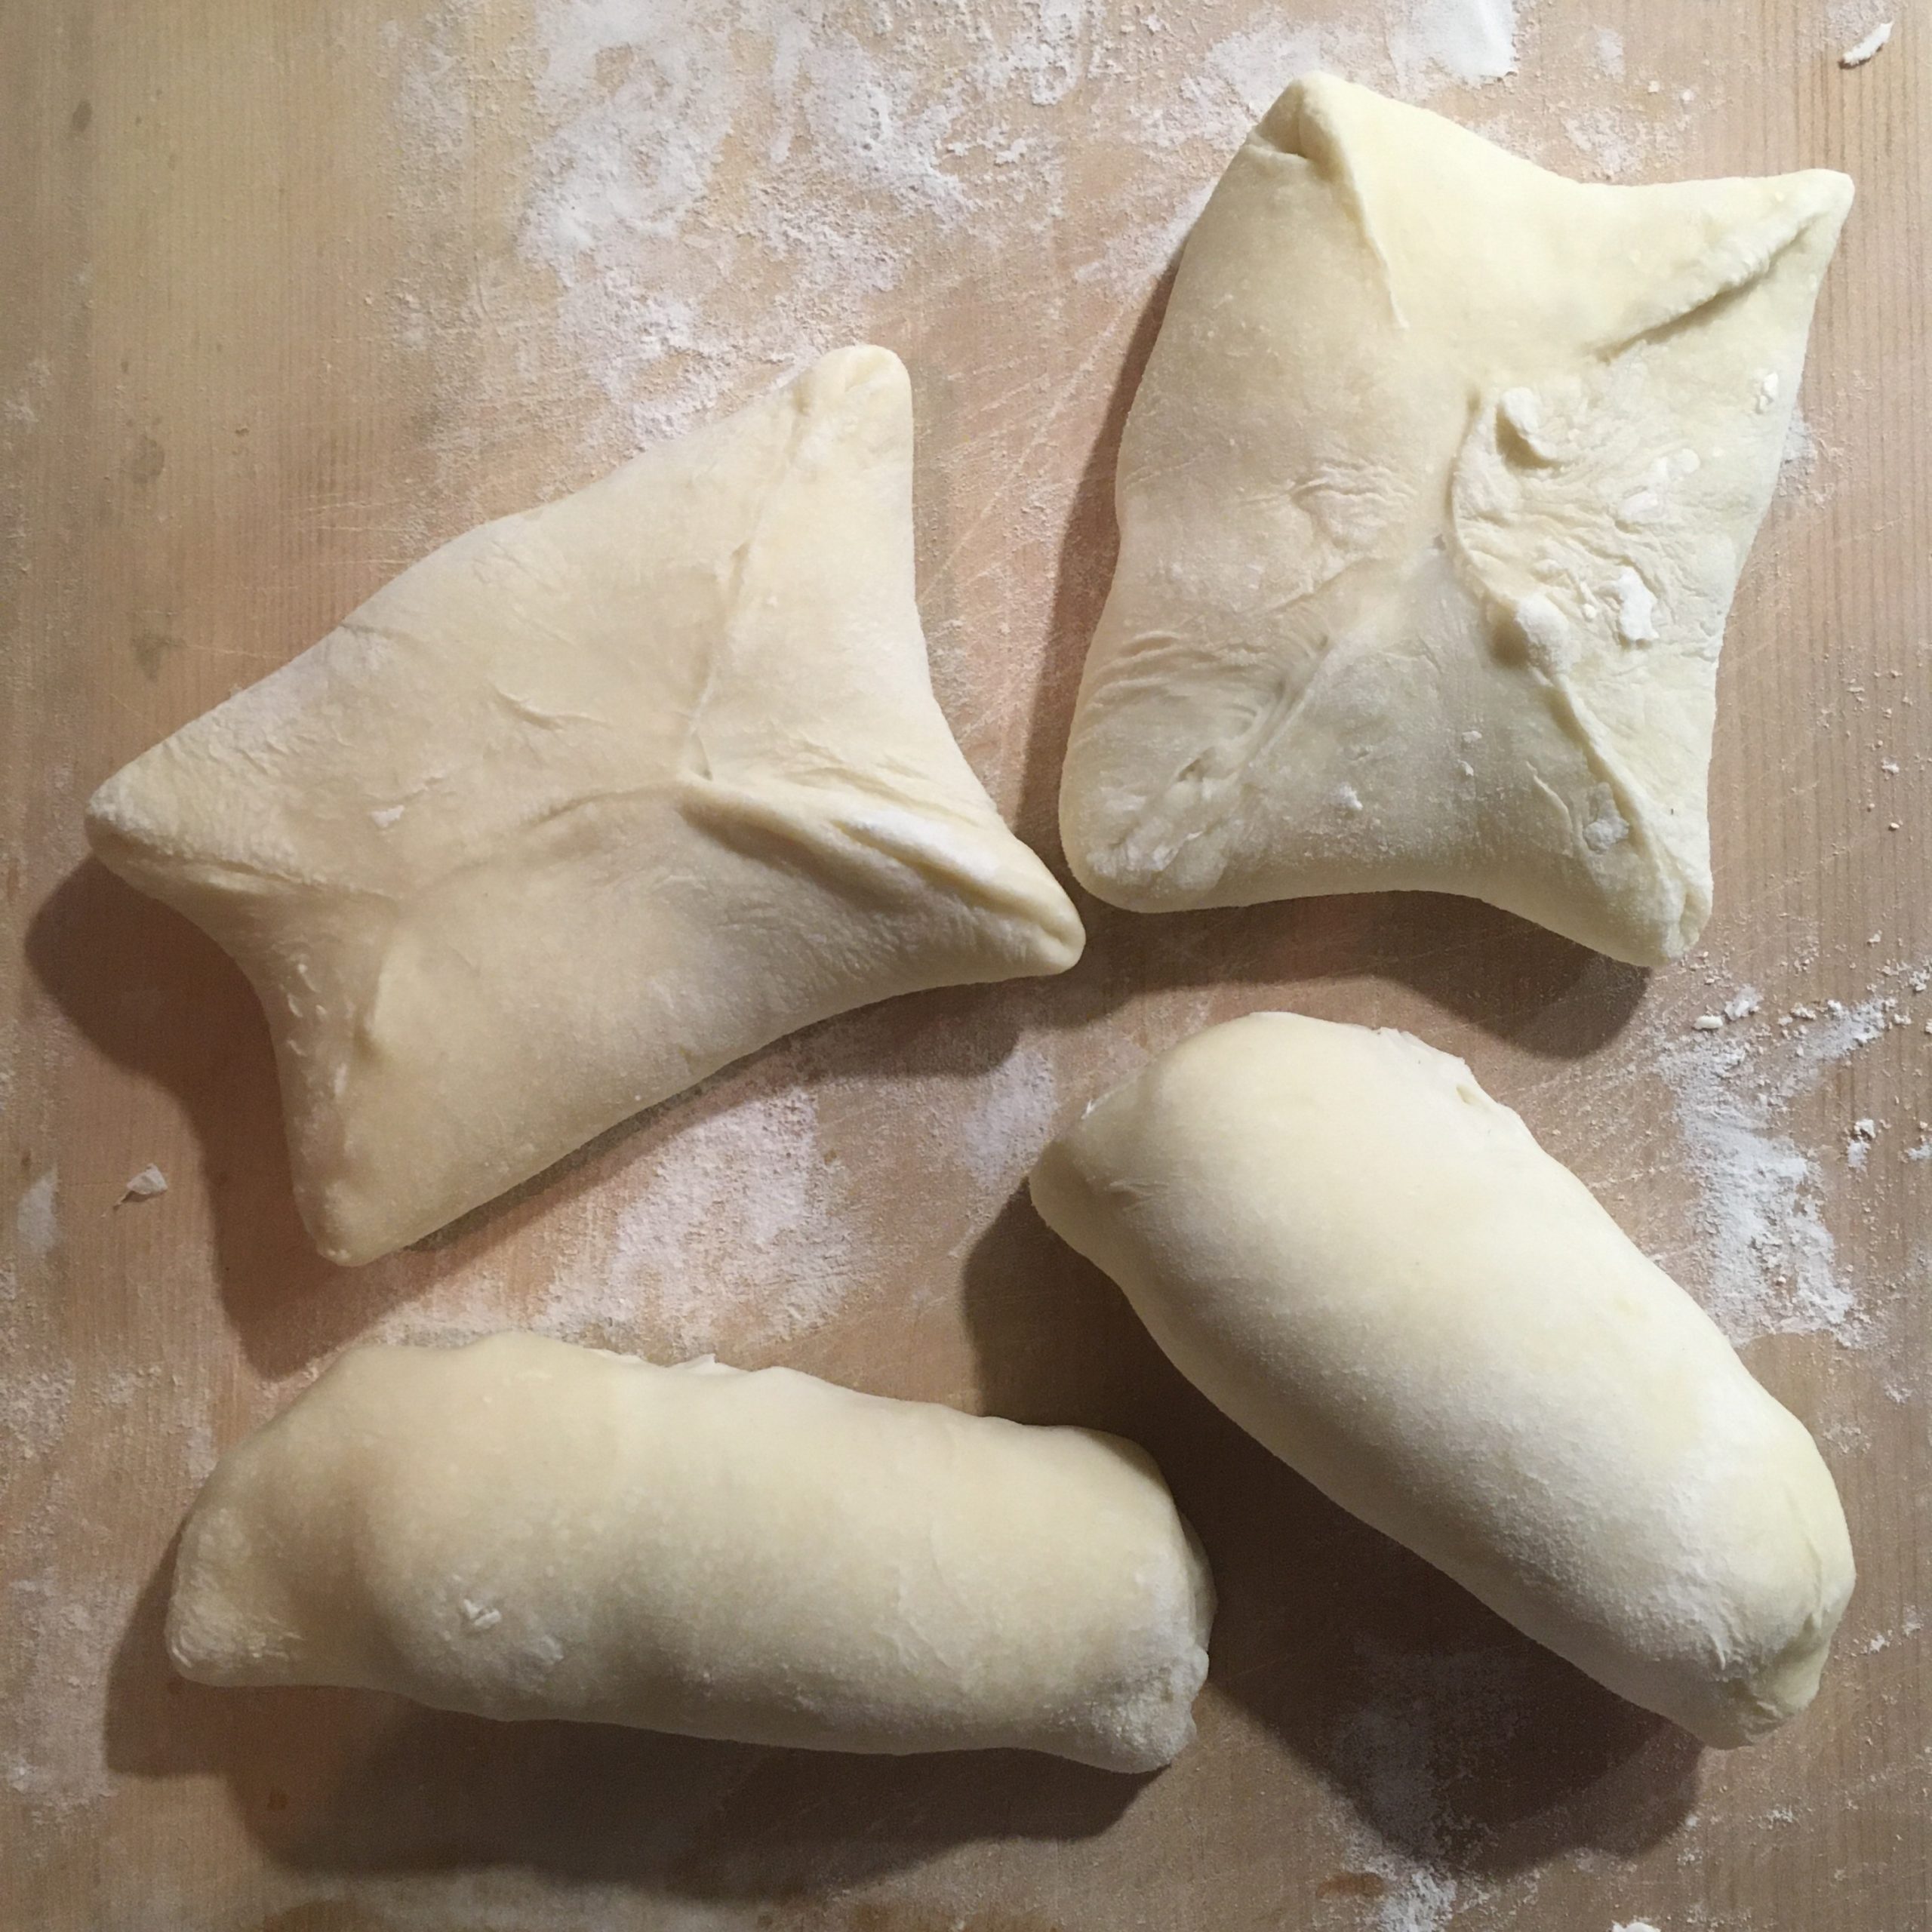
Now your dough should have raised enough. Cut it in 8 equal pieces, and make 8 balls. Roll each of them a floured top into 15cm rounds. Split the onion in 4, and fill 4 of the dough rounds. Roll the 4 sausages each in a dough round and roll them. Let them rest for an hour our two.
Prepare a steamer and steam them for 15min. I put them on a square of cooking paper to avoid them to stick, and put a lot of space between as they will inflate quite a bit.
Finally I served with soya sauce. The sausage bao could be nice with a bit of karashi (Japan kind of mustard), but I didn’t have any…