Radish tops and salmon ravioli

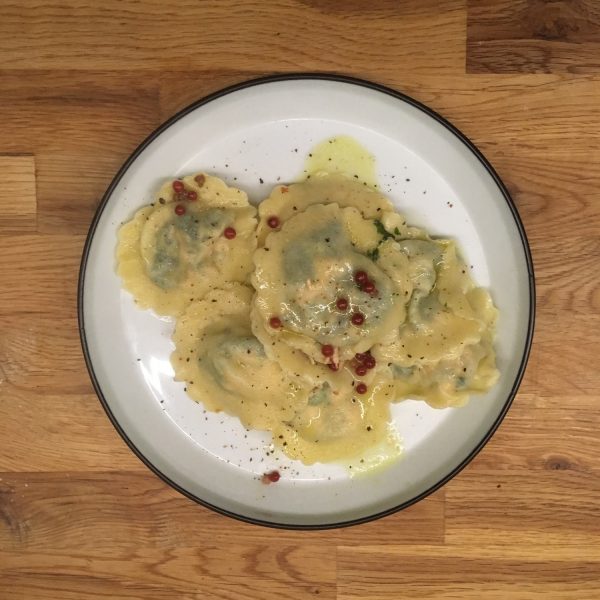
Ravioli have always been in the very top of my preferred dish ever both to eat and cook. For me to enjoy them, they have of course to be fresh and with a green and tasty filling. Ricotta spinach are of course a classic that I enjoy all the time, but seasonally filled ravioli are always something I like to prepare and enjoy. With the autumn salmon in peak season and the beautiful radishes also, I decided to use super fresh and tender radish tops, simply blanched with grilled salmon as filling. The radish tops have a nice flavor that is very different from other greens. I already tried with spinach and dill in the past. And because it is nice for the final cooking and the final plating to have a little of a sauce I prepared a butter and pink peppercorns sauce. Here is my recipe:

Radish tops and salmon ravioli

For the pasta I used my usual recipe (1 egg for 100g of flour), but I used half of “semolina di grano duro” instead of regular flour.

For the filling:

– 100g of radish tops

– 100g of fresh salmon

– pink peppercorns

– 15g of butter

– salt and pepper

I first grilled the salmon and blanched the radish tops. Then once they had cooled down I chopped the tops thinly and crumble the salmon together, stir well, add a bit of salt.

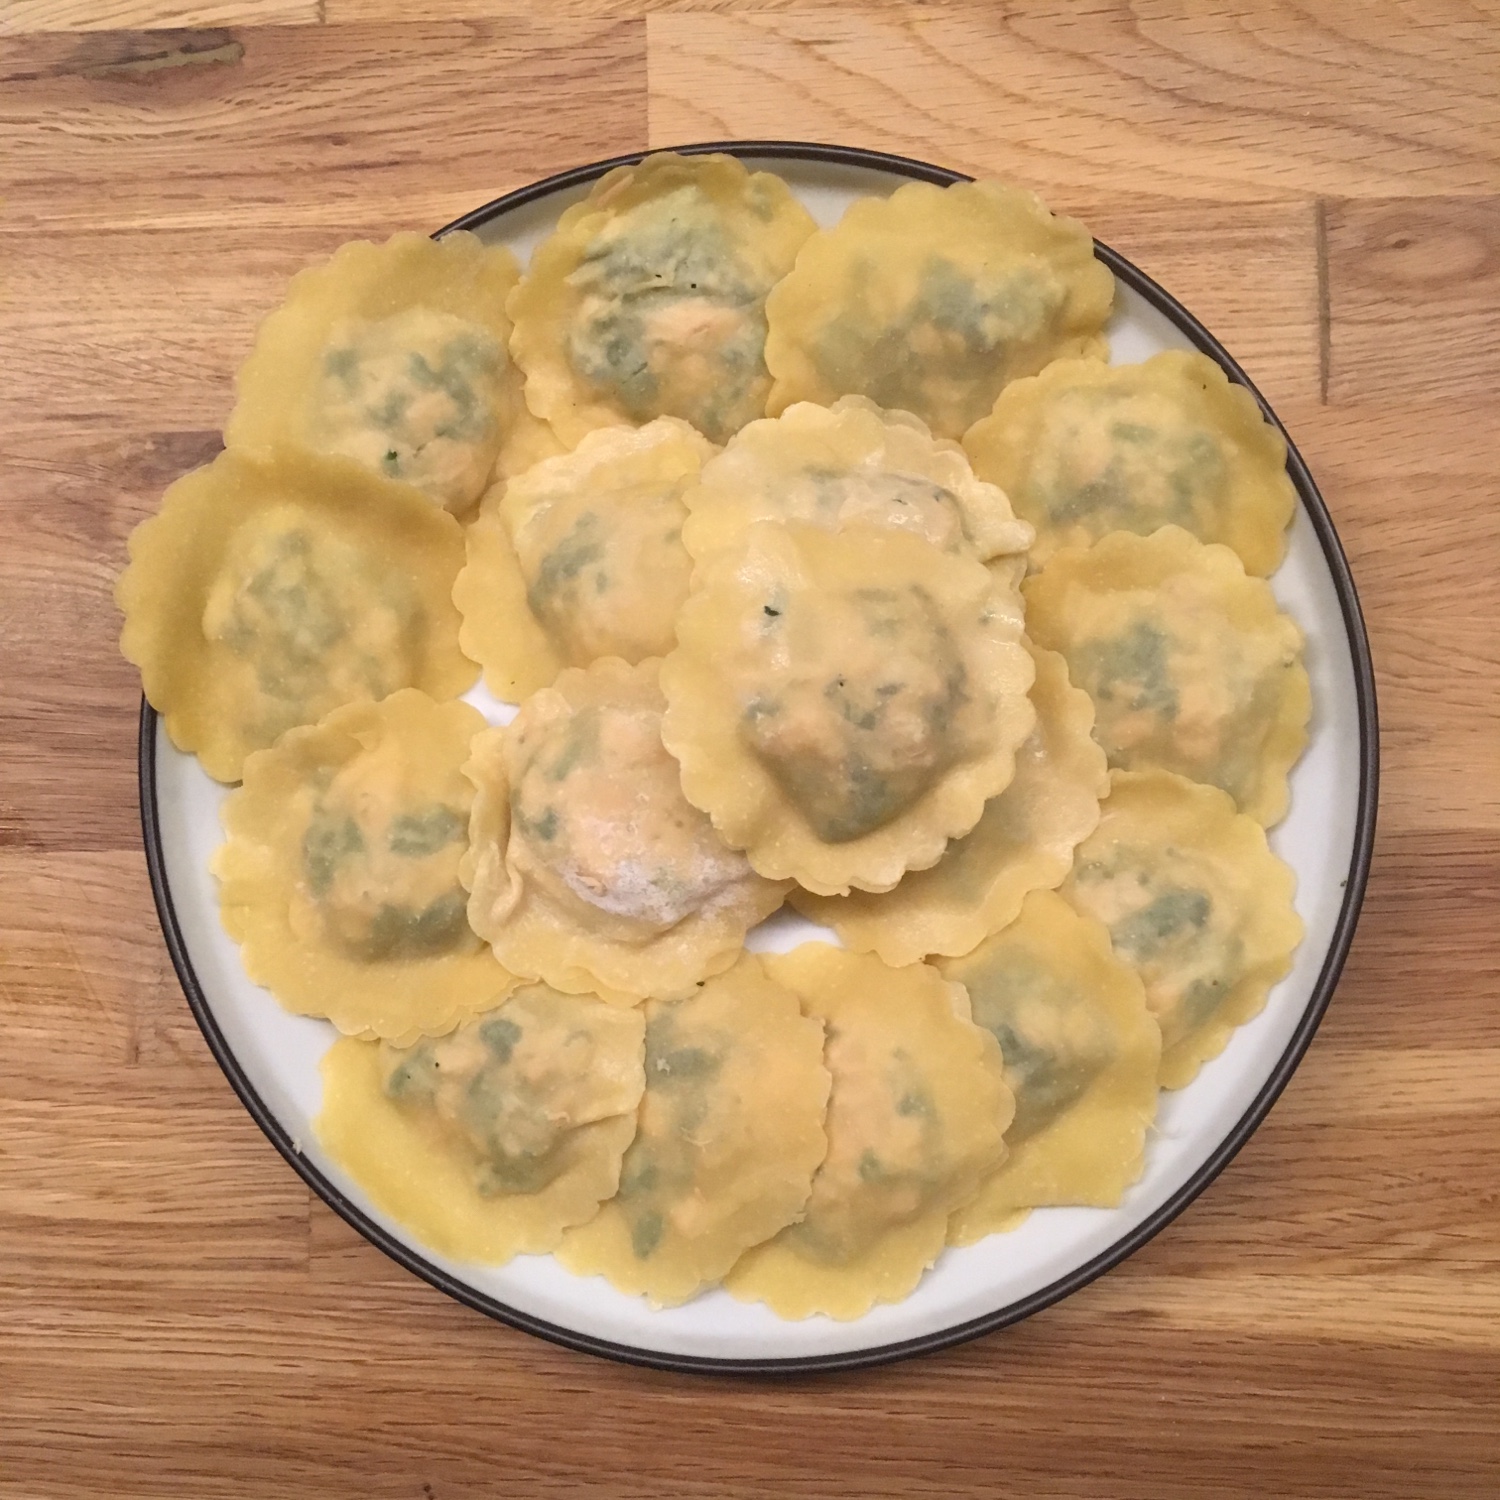
Then I make the ravioli, rolling the pasta as thin as possible. I didn’t use a ravioli rack, but cut the dough with a medium round shape and used two to make one ravioli. In your left palm hold a small round of pasta, with the right finger, moisten in a glass of water moisten the edge of the pasta. Set half or more tea spoon of filling, then take an other round of pasta and close tight removing the air as much as possible.

Then I boiled the ravioli. In the meantime in a large pan I melted the butter, added the pink peppercorns and when the ravioli were coming out to the surface I catch them and add them to the pan. It is fine if there is still some cooking water with them. At hight heat I finished cooking them in the pan and served with a little of salt and pepper added.
Shojin cuisine

As I was questioning myself about Buddhist cuisine in China regarding these Chinese beancurd noodles, I decided to do a bit of search and reopen my Shojin cuisine book. I was right, until the 18th century in China buddhist and taoist temples would only serve vegetables soup and tea to pilgrims, the same thing monks were eating. Only it started to be a more elaborated and widespread cuisine during the Qing dynasty (late 17th to 20th century). In japan shojin cuisine was of course imported from China together with Zen by Dogen during the Kamakura period in the 12th-13th century. All the basic about Shojin cuisine were actually written in the 典座教訓 (Tenzo Kyokun) itself inspired by Chinese writings. It has evolved regularly from the early 17th century during Edo period to become shat it is now. Next time I go to China I’ll try to eat in a temple and try local buddhist or taoist cuisine for sure!

But back to my kitchen I decided as I said to reopen my Shojin cuisine book from the Sanko-in past abbess. I always have a lot of pleasure opening a cookbook I haven’t opened for a while and this one is no exception. One thing I love with that book is that it actually tell not only how to cook but also how and how long you can keep the food you have prepared, something that I find extremely useful. Browsing the book, I found plenty of autumn recipes I wanted to try and luckily I had all the ingredients needed to proceed. I tried two recipes one of kabocha and one of burdock. Both extremely simple. And I was very happy with the result, being back in my kitchen and preparing delicious locally grown vegetables. Here are the two recipes, not the way they were in the book but the way I actually cooked.

Burdock:

– 1/2 burdock

– 3tbs of sake

– 3tbs of soya sauce

Wash and cut the burdock in 4cm long sticks. Cut each piece in the length in 4 to 10 depending on the diameter.

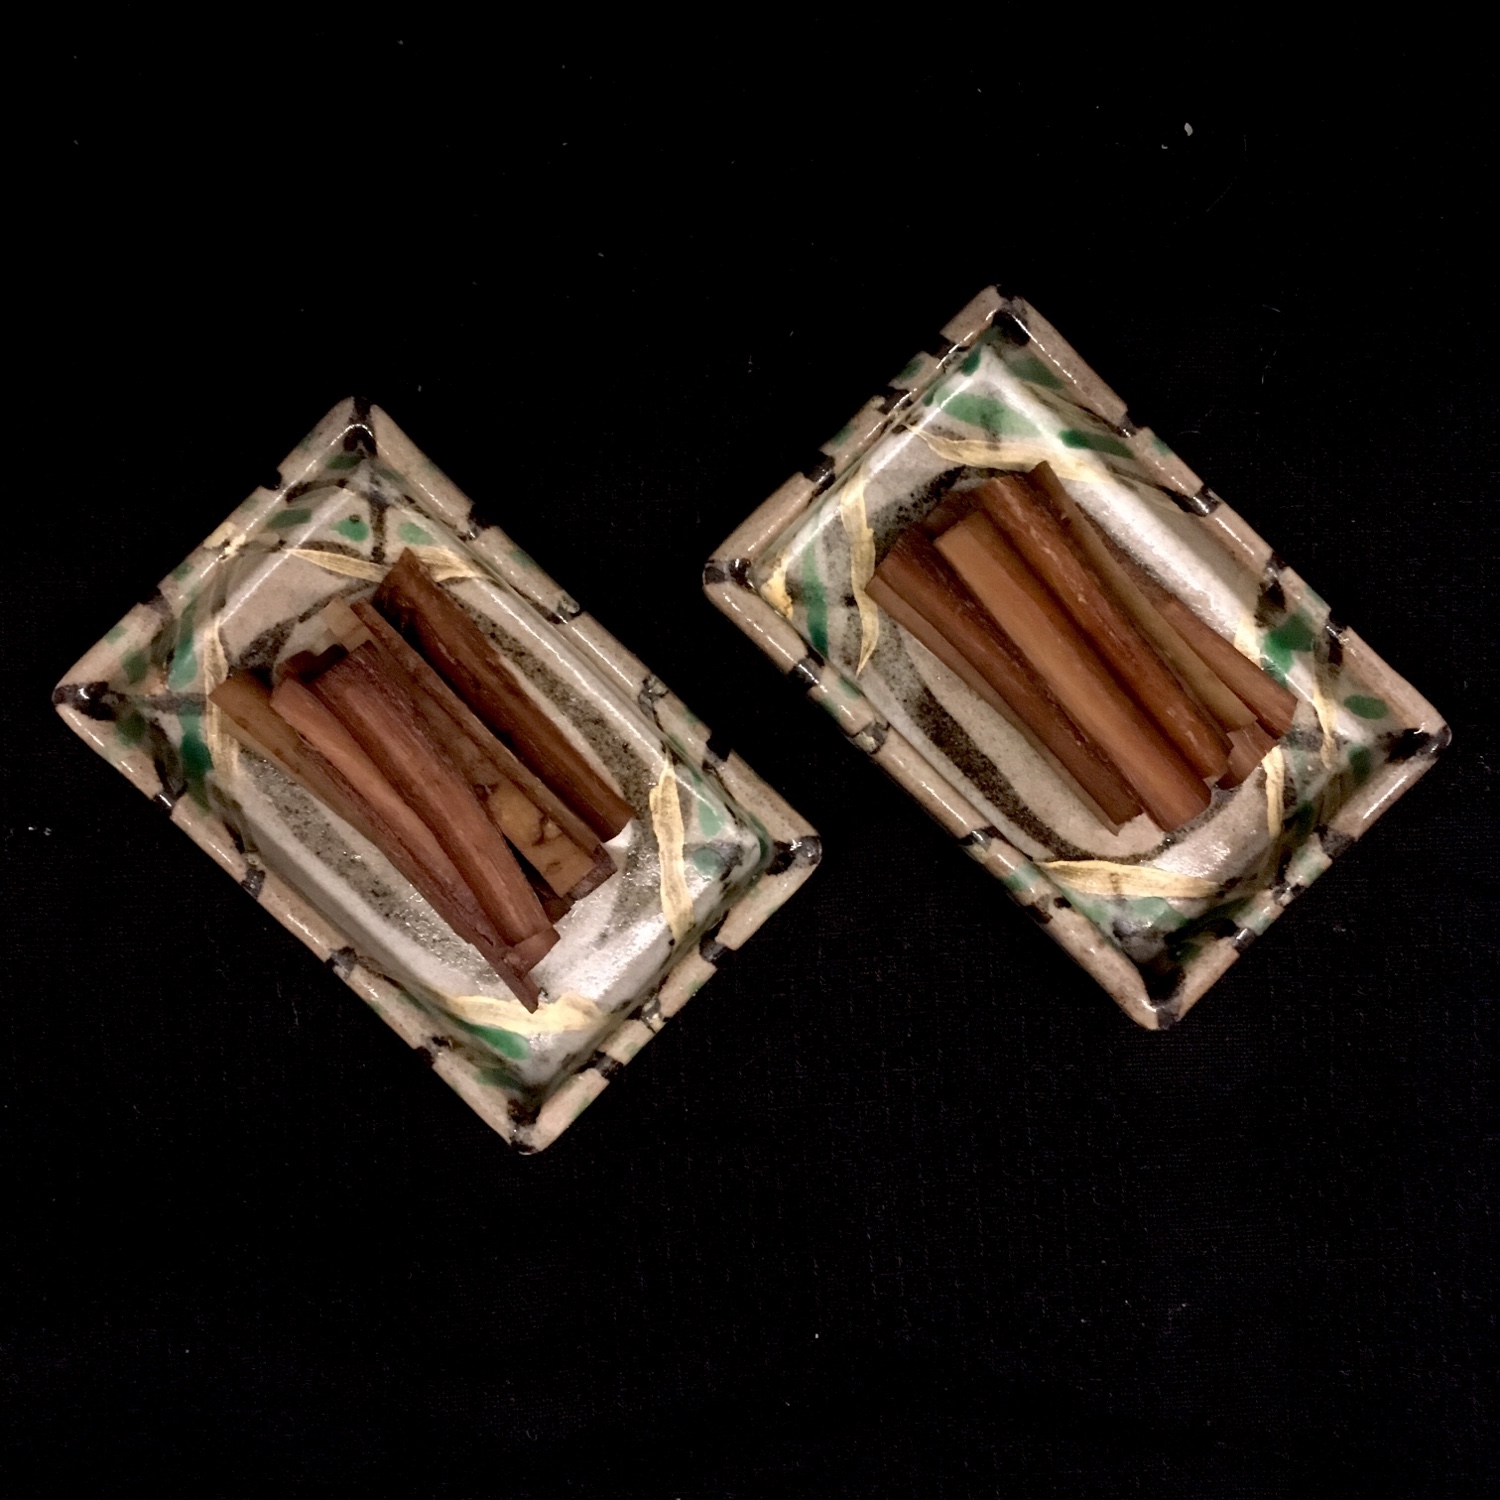
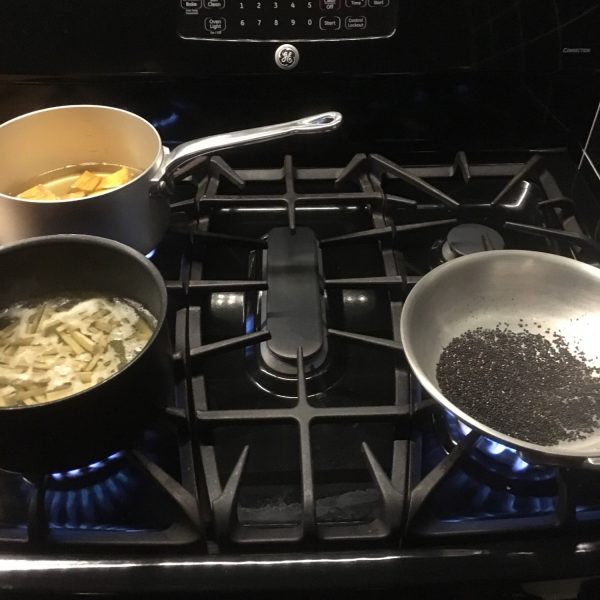
Place in a small pan with water and boil 10min. Drain and the in a little pan add the sake and soya sauce and simmer for 20min at low very heat under cover. Eat warm or cold. Keeps one month refrigerated according to the book but it was so good we ate everything at once!!!!

Kabocha with black sesame and yuzu:

– 1/4 of kabocha

– 4tbs of black sesame

– 1/2cup of sake

– 3tbs of brown sugar

– grated yuzu peel

– pinch of salt

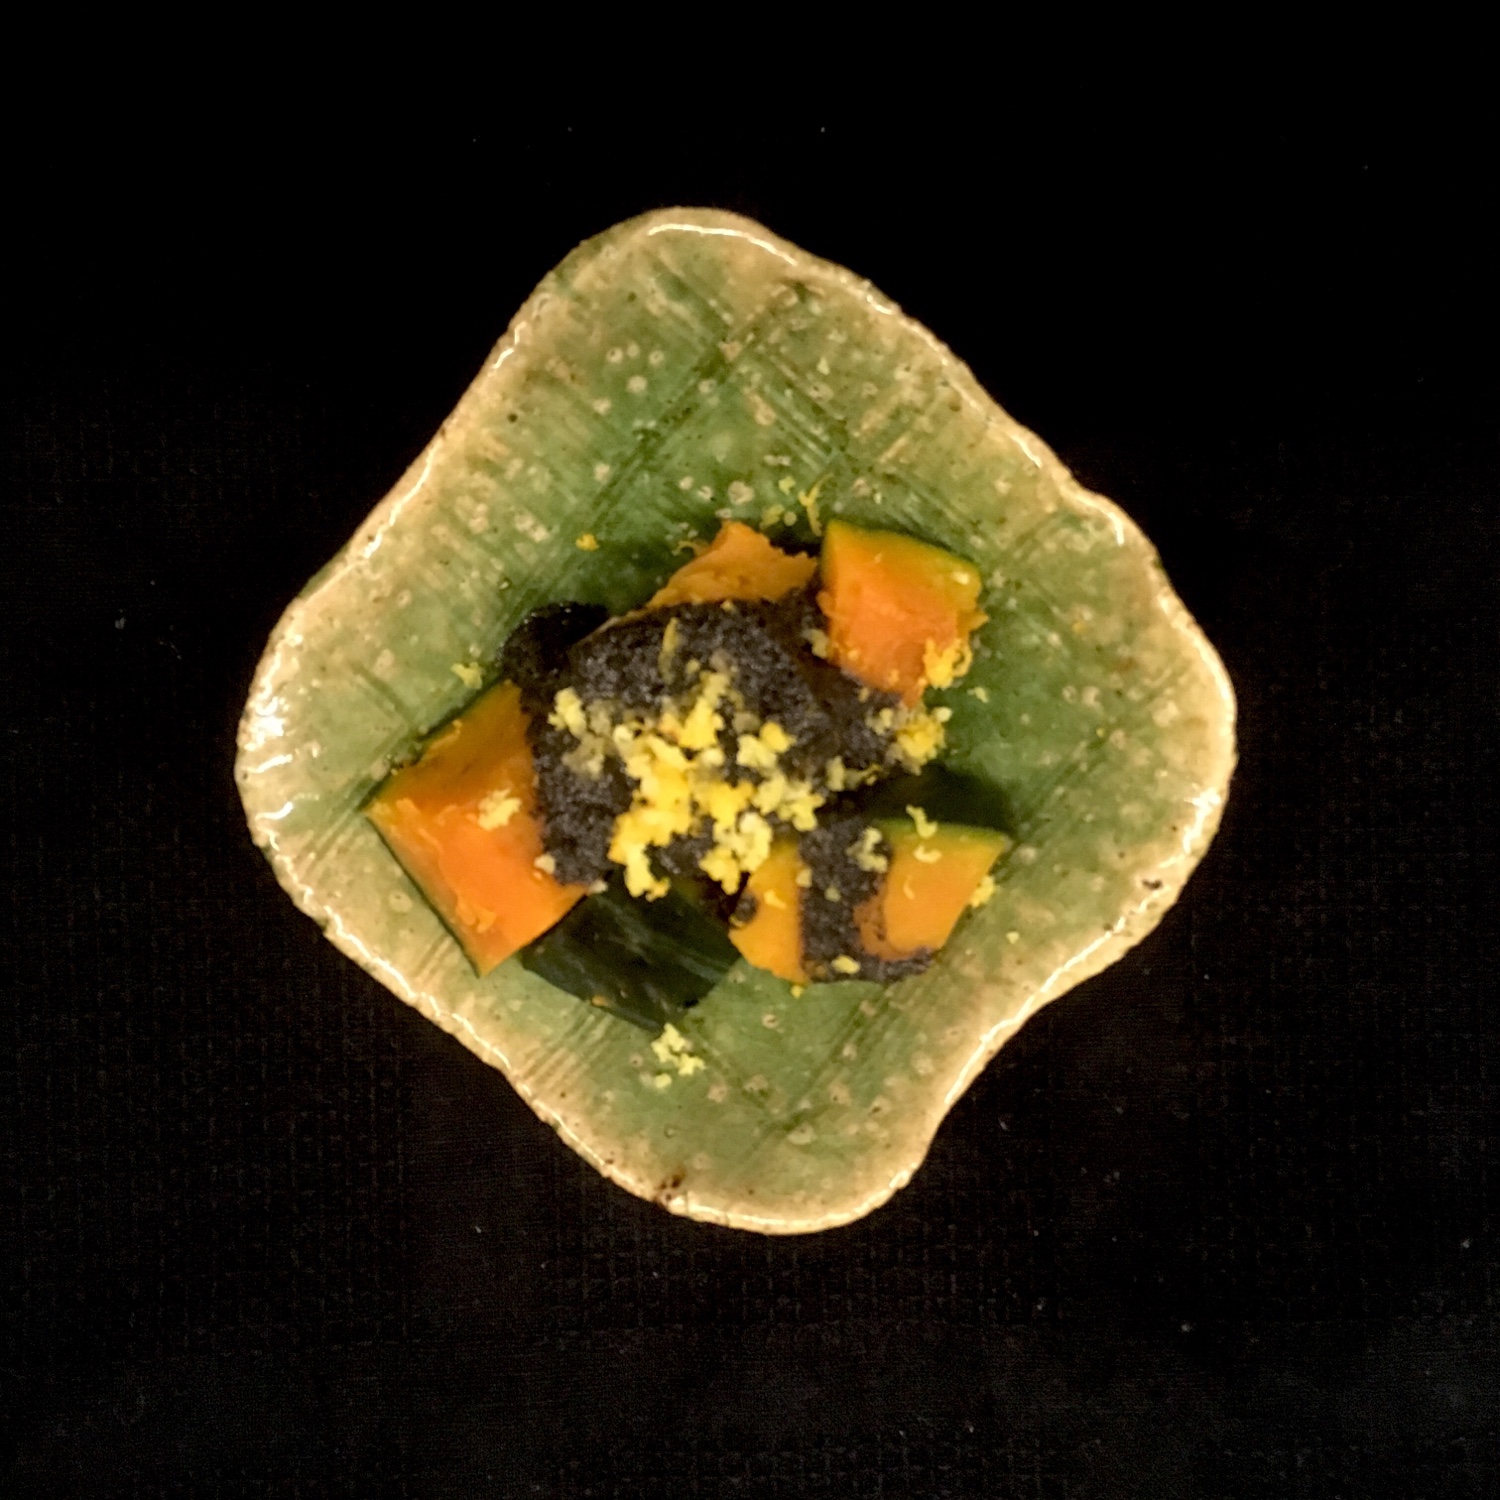
Cut the kabocha in bites keeping the skin of course. In a pan put the kabocha and cover with water. Add the sake, and sugar and bring to a boil, cook until kabocha is soft but not mushy. Grill the sesame in a pan and grind finely in a suri bowl. Add 2tbs of the cooking broth of the kabocha, add the salt. Remove the kabocha from the broth, set in a plate, add the sesame mix and finish with grated yuzu peel.

Autumn…

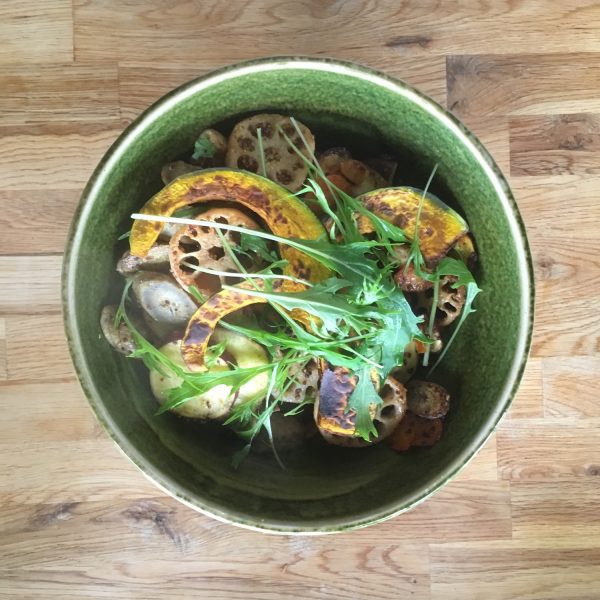
November has arrived in a flash… and with it the first chilly evenings that make you want to roll yourself under a plaid with the cat and drink hot yuzu with honey. It’s also the perfect time for long walks to the beach, gardening and receiving guests. This time guests were my sister, her husband and my nephew. In order to have plenty of time to go to the beach I prepared a very simple grilled vegetables with mustard dish inspired by a photo I saw on IG (recipe below) and because my nephew wanted to eat some tonkatsu I ordered a few pieces of filet-katsu at our favorite local meat shop Genji.

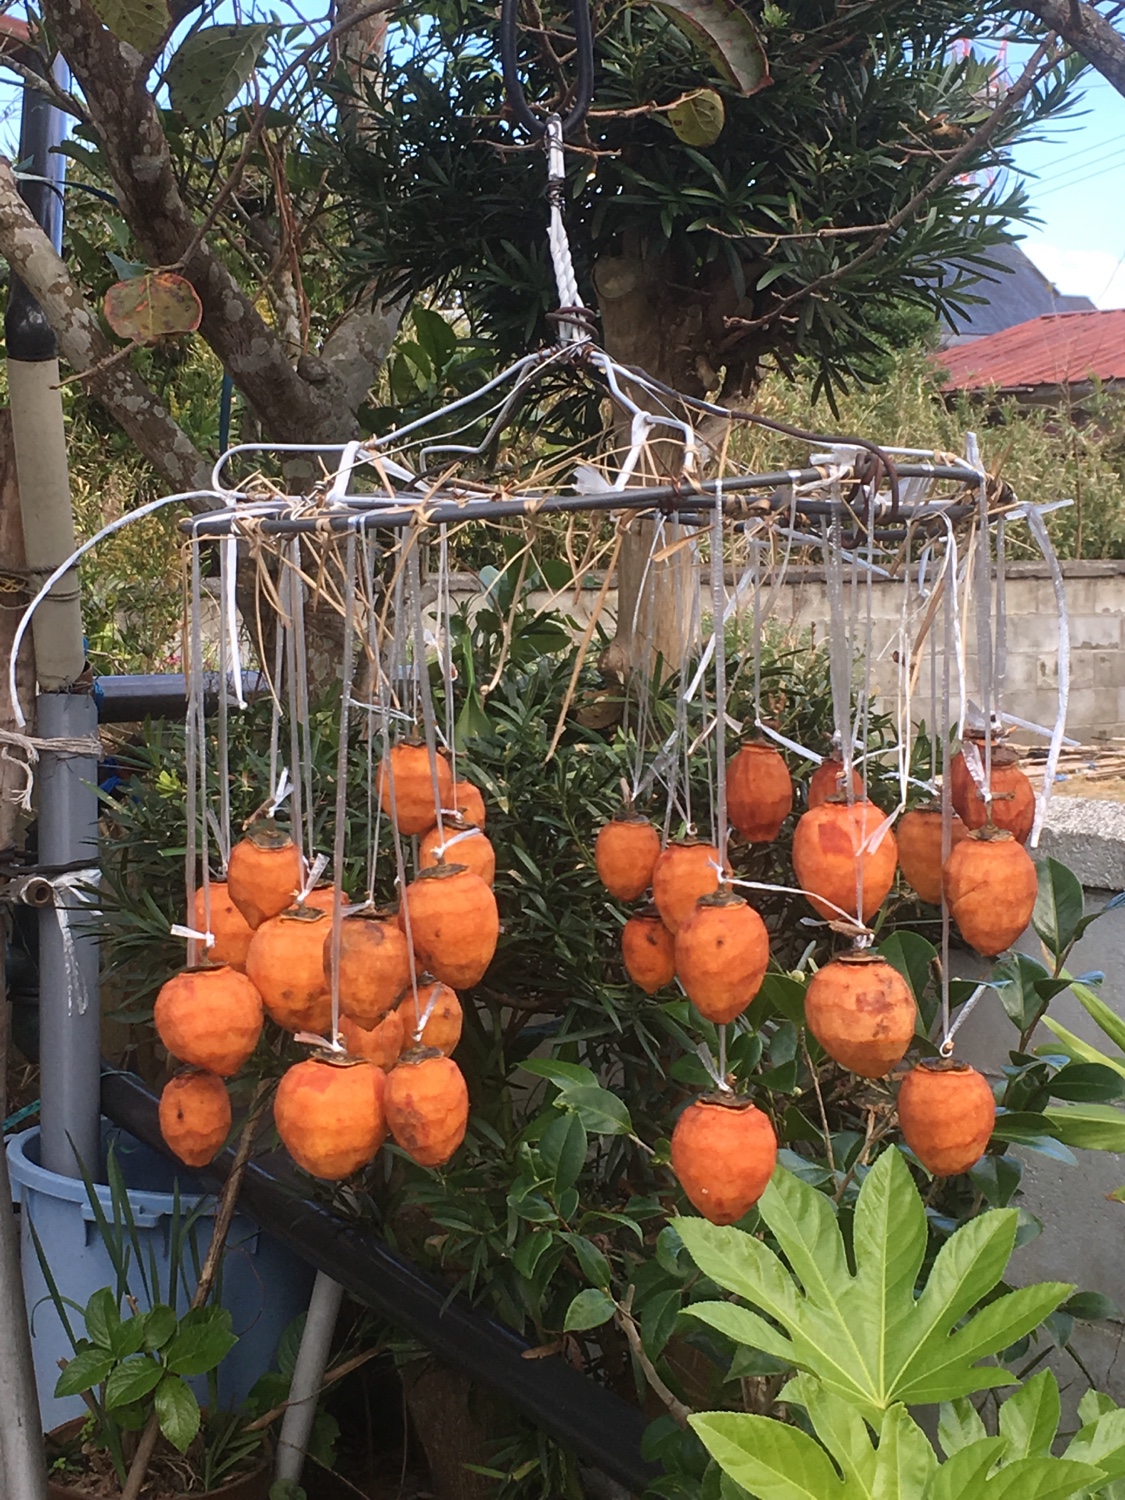
Walking to the beach we could enjoy seeing the persimmons on the trees and those prepared for drying already. Something I want to try to prepare once, but this year there was only a few fruits only on our tree… maybe next year…

Autumn vegetables grilled with mustard

– 1 sweet potato

– 1 lotus root

– 1/2 burdock

– 1 carrot

– 1/4 kabocha

– 4 shiitake

– a bit of mizuna

– 2tbs of seeded mustard

– 1tbs of olive oil

Wash, peal when necessary the vegetables, and cut them as you wish, except the kabocha, slice it. In a large pan heated add the olive oil and the carrot, the lotus root, the burdock. Cook at high or medium heat and stir often. Add then the sweet potato, the shiitake, cook at high or medium heat to roast the vegetables add the mustard and stir well yet gently not to break the vegetables. In a pan or in the oven roast the kabocha slices. In a serving bowl add the vegetables then the kabocha slices and top with the mizuna. Enjoy!!!

Japanese pepper – 山椒

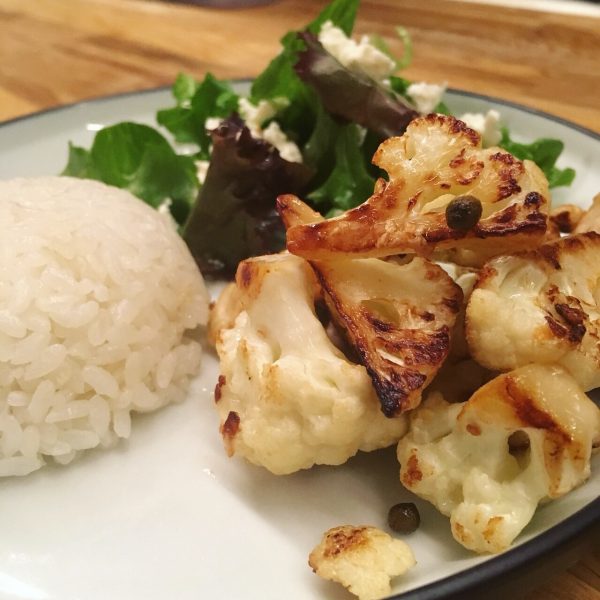
Back in June I was posting about the making of Japanese pepper in saumure after harvesting the delicious little seeds in the garden. Now that more than three months have past it is time to eat the little beads! One classic recipe would just to had a few to Japanese white rice, and this is delicious. But since I have quite a few I wanted to try something different and explore with which fall vegetables it would work well. Though cauliflower looks like a winter vegetable actually fall is the peak season, and the farmers market starts to have beautiful small ones. Sansho is a strongly flavored little seed so it has to go with something that is both typically flavored but without being overwhelming. I thought that roasted cauliflower would be great, together with chicken breast. So in a slightly greased pan I roasted chicken breast cut in bites and then added the cauliflower. When all golden I added a tea spoon drained of sansho, stirred a little and served with new rice and a little salad.

Very simple and a really nice match with a Japanese x Western combination.

Chickpeas flour

Chickpeas flour is a very typical staple in the south east of France, in Provence we use it for panisses, more east on the Cote d’Azur for socca, and it is always delicious!!!

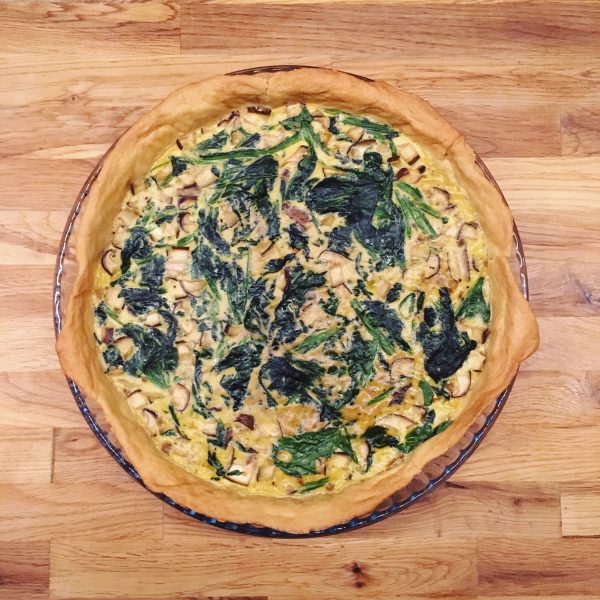
I always have chickpeas flour in my pantry, I use it to prepare socca and panisses for sure but not only! I use it for making pasta and pie crust. For this quiche recipe, with shiitake and spinach, I wanted an oriental flair so I added cumin powder. Here is my super simple recipe:

Chickpeas flour, shiitake and spinach quiche

For the pie crust (vegan)

– 80g of chickpeas flour

– 80g of regular flour

– 1/3 cup of olive oil

– water

– 2tbs of cumin powder

In a bowl mix the two flours, add the olive oil, stir. Add a bit of water at the time while kneading to obtain a smooth dough. Add the cumin powder and knead a little more. Roll and set in the pie dish. Bake at 180deg for 7min.

For the filling

– 4 fresh shiitake

– a bundle of spinach

– 3 eggs

– 1/3 cup of milk (I used almond milk)

Wash and dice the shiitake, wash and chop the spinach. Cook quickly in their own water in a large pan to soften the vegetables. In a bowl mix the eggs and the milk, add the cooked vegetables. Pour in the pie crust and bake for 30min.

Butternut squash week day 6

And here is the final recipe for this week of butternut squash!

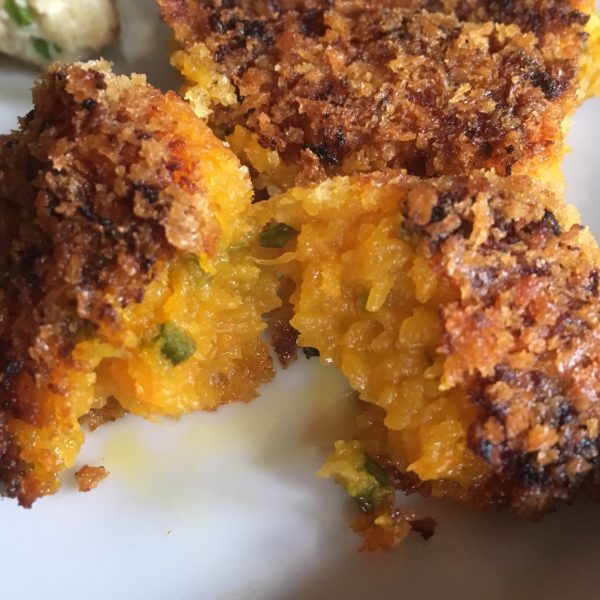
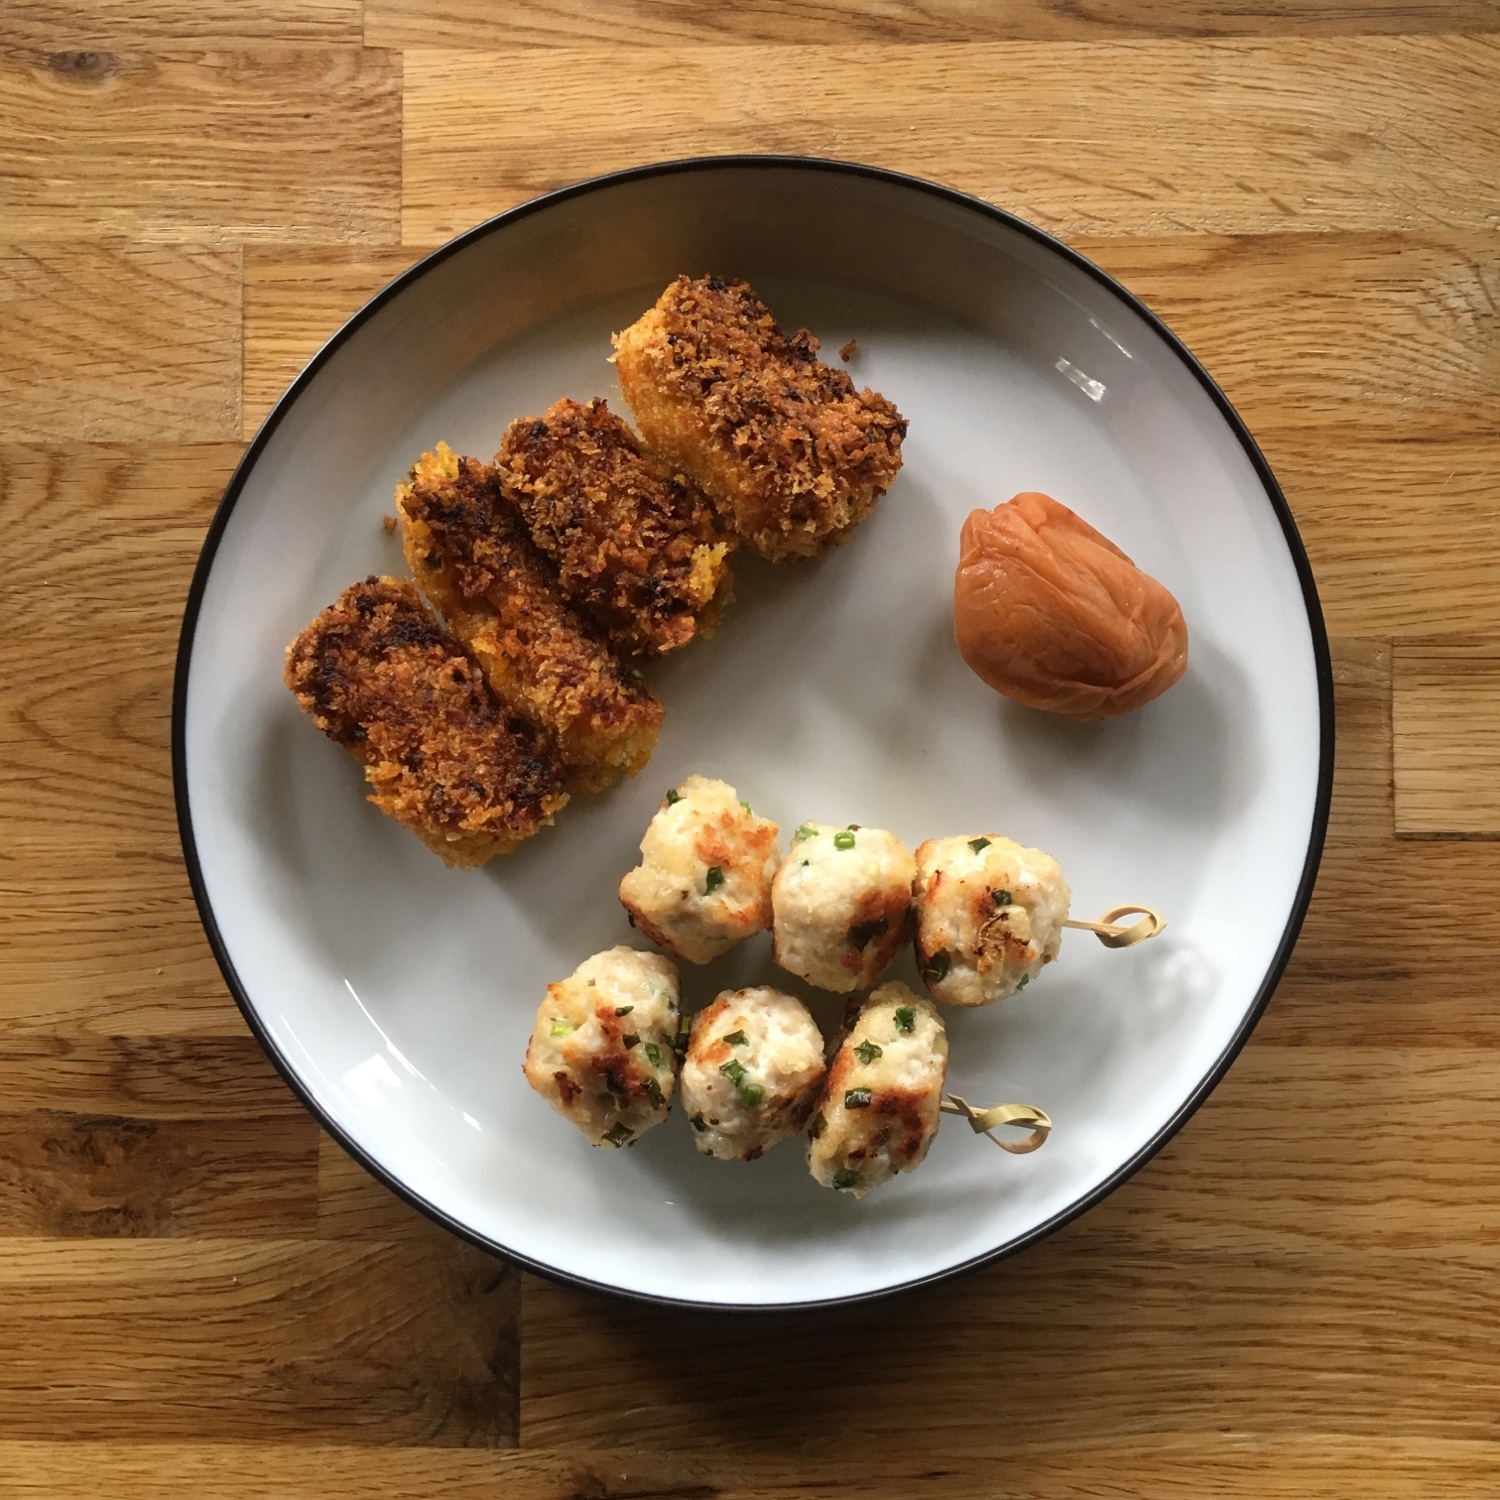
I have opted for a last Japanese style item after the gyoza and the ae. A Japanese classic: croquettes or コロッケ kolokke. Because it should involve deep fry I don’t do much of it, and mine are actually pan fried. I like the contrast between the creamy melting purée inside and the crispy outside of the panko. I served them with ginger and shallots chicken mini meat balls on skewers and a large pickled plum I made last July.

Butternut squash croquettes

For the filling I actually used the same as the gyoza (to be honest, the leftover)

– 100-150g of butternut squash boiled and puréed

– green shallot 小ねぎ

– fresh ginger grated or diced

– panko

– oil for frying

I mix the boiled and puréed butternut squash with the ginger and the green shallot to obtain a thick rather dry homogeneous mixture. In a plate I put the panko and with a spoon I take some purée, make a cylinder, roll in the panko. The number of croquettes you can make and panko you need will depend on the size of the pieces of purée and the moisture in the purée. Heat a fry pan with a few mm of oil in it or a deep fryer. Then put the pieces in one by one. Cook until golden every where. Turn gently if pan frying. Serve and enjoy while hot!

Butternut squash week day 5

Ok… the weekend is here and I’m still cooking butternut squash!!!

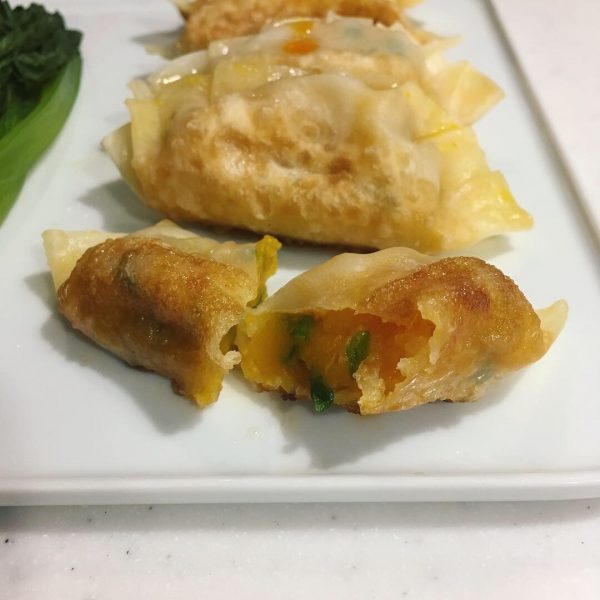
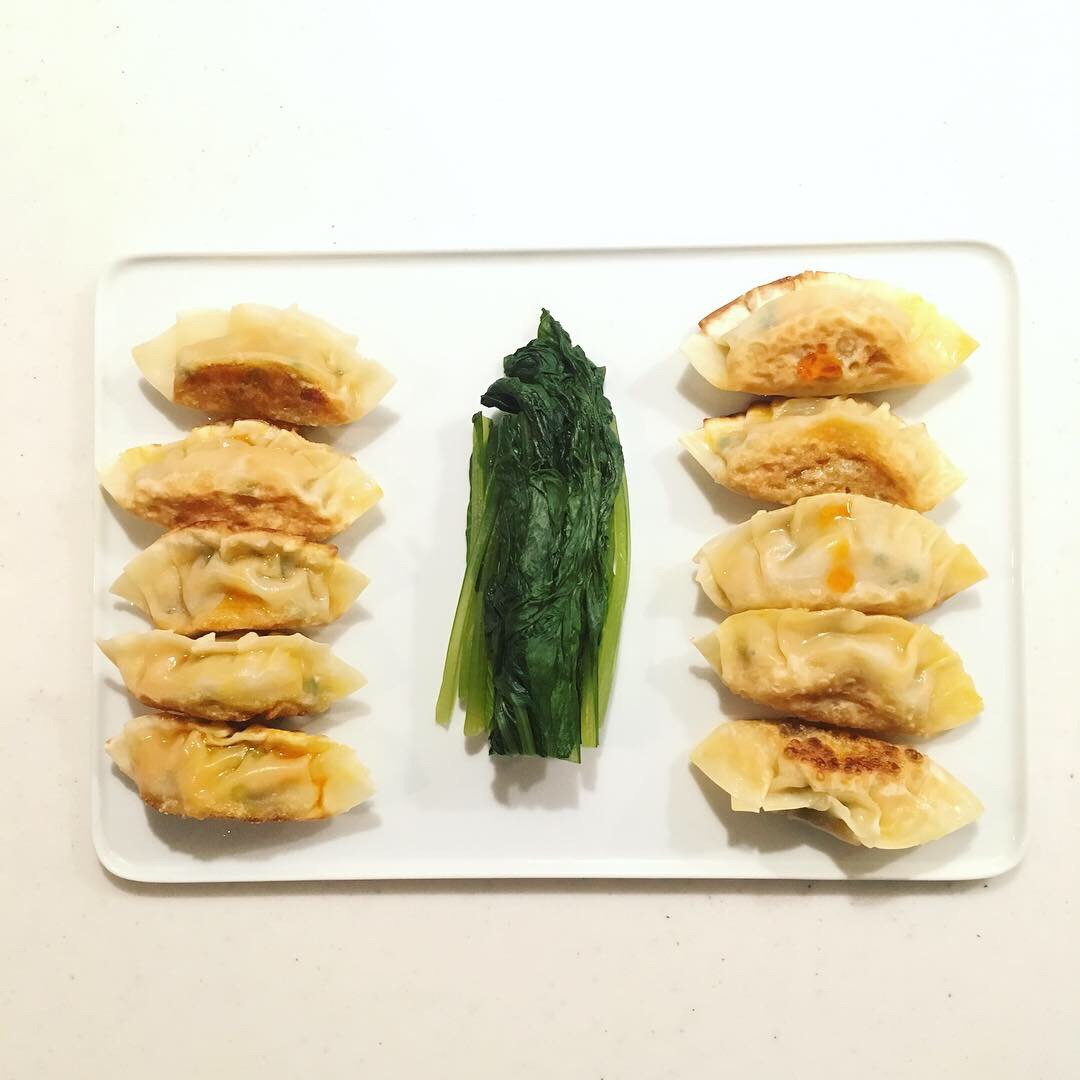
Using it again today in a recipe that is the pure product of my imagination: vegan gyoza. I don’t know why The other day, on my way to the station I had this vision of simple gyoza, filled with a butternut and green shallots and served hot with soya sauce and ra-yu (you know the slightly vinegared and spicy oil that you mix with soya sauce when eating gyoza). So on my way back from work I stopped to buy the shallots, the ra-yu, and gyoza dough because it was already 21:00 I didn’t have boiled my butternut squash yet and making the dough meant eating too late. Making the dough is very simple, just water and flour, but you need to wait 30 to 60min before making small balls and rolling them. So it was out of the question. Luckily it is rather easy to find fresh prepared gyoza “skin” in Japan that has only the basic ingredients. All good supermarkets have some. Here is my recipe below the picture.

Butternut squash gyoza for 20 pieces

– 100g of butternut squash pealed and boiled

– a pack of gyoza skin

– shallots greens 小ねぎ

– soya sauce and ra-yu

– optional: fresh ginger grated

If your butternut squash is not yet pealed and boiled like it was the case for me, start with that. You don’t want to have a filling that is too hot because it makes the forming of the gyoza more difficult: the skin breaks more easily, in particular when hand made.

Drain the butter well and purée it. Wash and chop the shallots green, grat the ginger if you want to use some. Add to the butternut squash purée and stir well. Take a round gyoza skin in the left hand, deep your right index in water and moist the outskirt of the skin. With a spoon set a bit of filling in the middle. Fold in two and start making small pleats to close the gyoza (see the movie below). Then once they are all ready, in a heated pan with a bit of oil and water cook at medium to high heat and flip once until golden on both sides. Serve with greens (I served simple boiled komatsuna) and the soya sauce and ra-yu.

http://gentianeetantoine.com/igk/wp-content/uploads/2018/10/img_7761.mov

Butternut squash week day 4

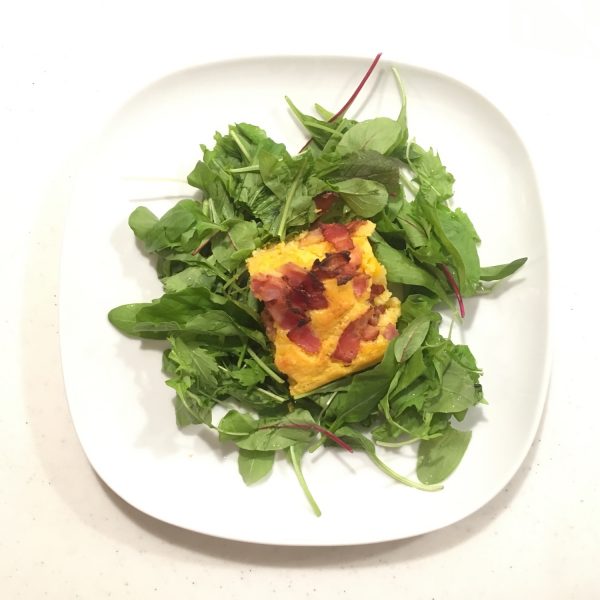
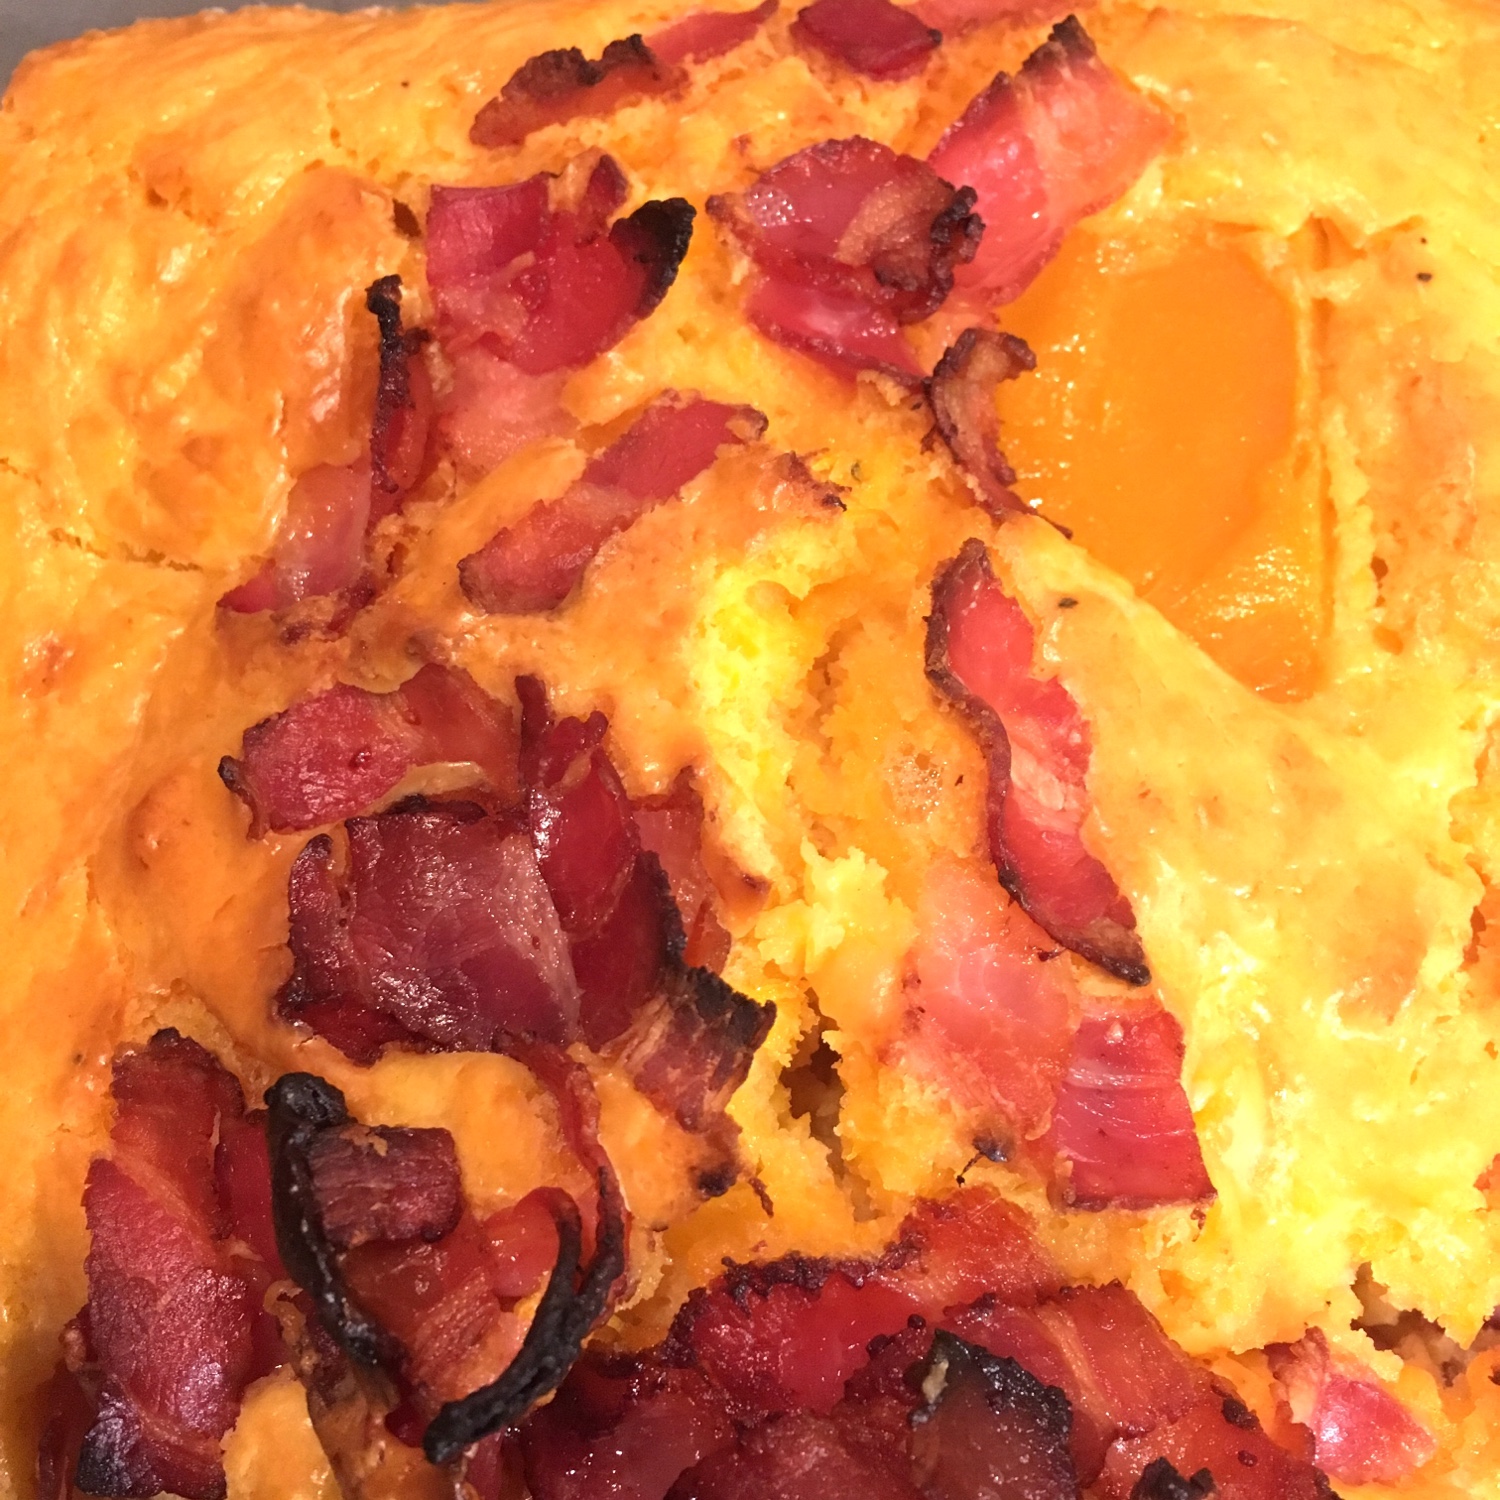
All these pumpkin and butternut squash muffins in magazines and on instagram were just looking too good not to try something. I wanted something for dinner that could be eaten with simple greens like a fresh salad. Indeed the autumn vegetables may be coming one after the other, in Tokyo fall only arrives in mid November or later… so while it’s still 25 degrees outside it is hard to go for warm soups and rich recipes. My butternut squash savory cake had to be fluffy and refreshing somehow!!! I achieved that by using a lot butternut squash both puréed in the mix and whole pieces also here and there like in an apple cake. And to give it a little crispness I topped it with grilled bacon and served it with a simple rucola and spinach leaves salad, and a bit of olive oil.

So here is my recipe:

Butternut squash cake

– 150g of flour

– 1tsp of baking powder

– 1 pinch of salt

– 3 eggs

– 1/2 of oil

– 200g of boiled butternut squash cut in chunks

– 3 slices of bacon

In a bowl mix the flour, the baking powder, the salt and the eggs. Then add the oil, 2/3 of the butternut squash and stir well to purée the butternut squash. Pre-heat the oven to 160deg. In a greased pie dish or cake dish pour the mix, add the remaining pieces of butternut squash.

Cut the bacon and grill it rapidly in a pan, top the cake with it and bake for about 30min or until a knife comes out clean and the top is golden.

Butternut squash week day 3

Most of the butternut squash recipe I make are not really Japanese style. Indeed, butternut squash is not really a traditional food in Japan, it’s little cousin the kabocha is more common, with a green skin and a typical taste it is used in many places from traditional cuisine to more contemporary recipes. But butternut squash could also replace kabocha in some more traditional recipes. One recipe idea I like with kabocha is kabocha salad, but it often contains too much mayonnaise. Taking inspiration from a classic Japanese recipe based on tofu I prepared a new butternut squash salad that could also be called butternut squash ae. This recipe uses only 3 ingredients and is very simple while having a great Japanese flair. It is perfect as a side or as a starter, eaten in one plate meal too. Here is my recipe:

Butternut squash ae:

– 125g of butternut squash peeled and boiled

– 3 fresh shiitake

– 100g of spinach

it’s so simple you’ll be impressed!!!

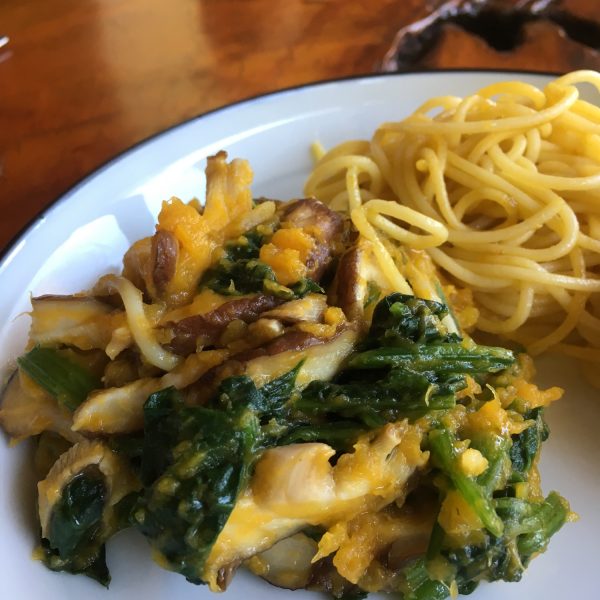
Wash and slice the shiitake, wash and chop the spinach. In a pan cook the spinach and the shiitake until they are soft and just a little moisture remains. Stop heating. Add the butternut squash and purée it while stirring with the other vegetables to obtain an homogeneous texture. Serve and enjoy!!!

Proudly powered by WordPress | Theme: Baskerville 2 by Anders Noren.

Up ↑

Verified by MonsterInsights