Edamame and eggplant

Whether on weekdays, when we have little time to have lunch or on the weekends when we are busy with surfing/bodyboarding, playing tennis or gardening, having a good lunch easily ready is important. Moreover, if that can be prepared in advance it is even better! Fresh pasta have been quite a good candidate as they can be accommodated easily, be eaten warm or cold… and since it it is the end of the summer we want to continue enjoying the summer vegetables a little longer, in particular, enjoy the last edamame of the season. I know that we will have eggplants and tomatoes for quite a few weeks or even months but they add a real summer touch to a dish. So I came up with a recipe of edamame pasta with eggplant that is all creamy and divine and I couldn’t wait sharing that recipe with you, as if you want to try you’ll have to hurry!

Edamame, fava beans, and similar are a good match with eggplants and are traditionally used together in Japanese cuisine. I revisited this classic combination in a more western style.

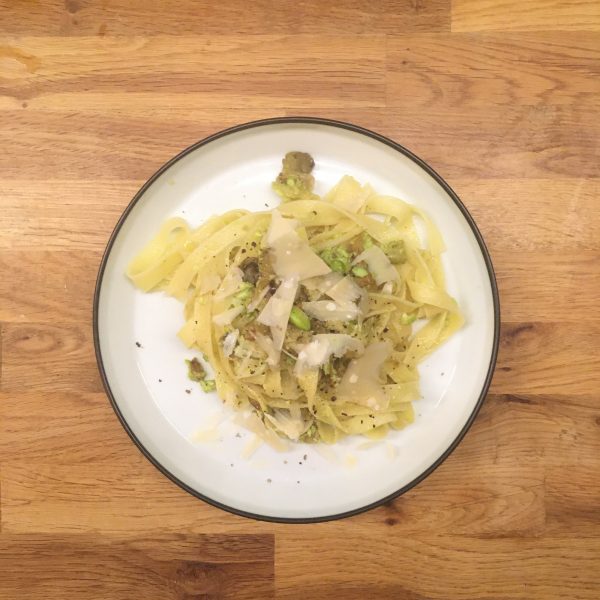
Edamame and eggplant creamy pasta (2 servings)

  • a handful of edamame
  • 2 eggplants
  • fresh pasta
  • olive oil
  • salt and pepper
  • grated Parmigiano (optional)

Boil the edamame, grill the eggplants to be able to peel them. Once the edamame have cooled down peel them completely and in a mortar puree them. Add a bit of olive oil, salt and pepper. Peel the eggplant and add to the mix and pure roughly. Boil the fresh pasta, once drained add the mix, stir well ad serve. Add grated Parmigiano if you like.

Yes! that’s it! Isn’t that simple? And you’ll see it is truly delicious!

Super easy pickles

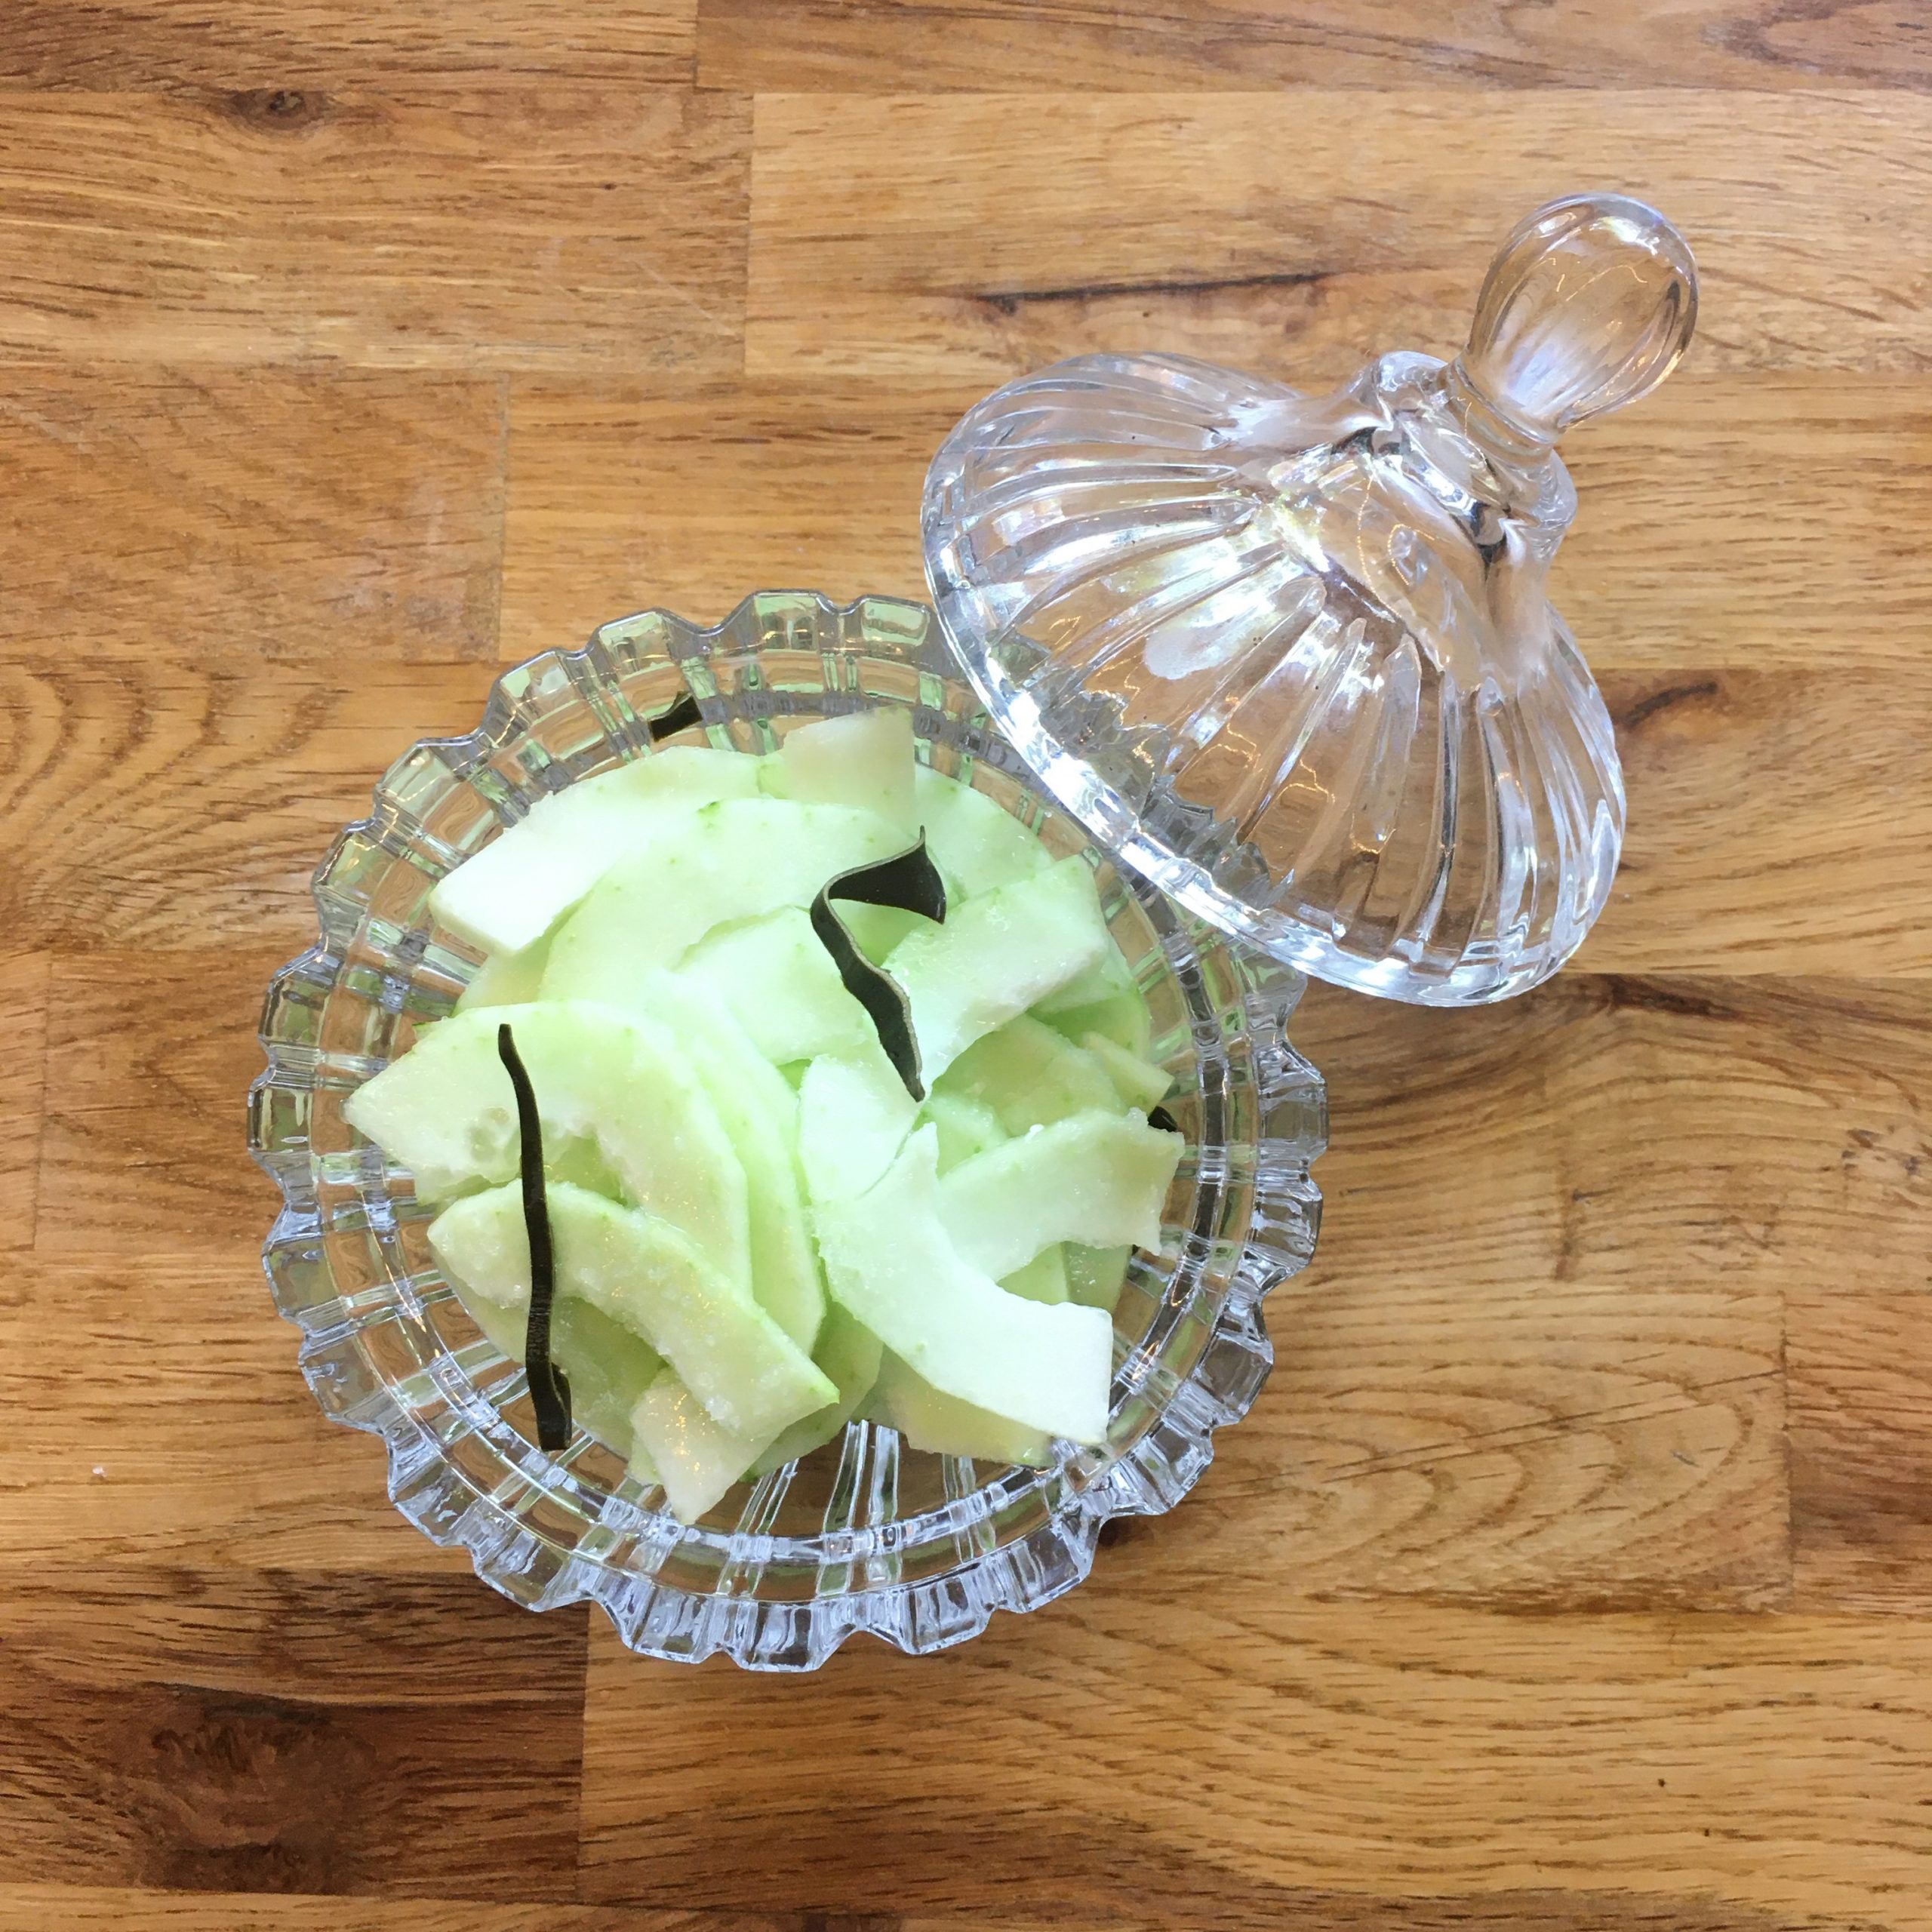
In the summer it is nice to enjoy refreshing pickled vegetables. After many attempts of different methods to make pickles there are a few that I find particularly not adapted to our life style, and some others that require too much equipment. But there are two that I really like and that are very simple, can be done everywhere, require little ingredients or equipment and work in a few hours. Today I want to introduce the simplest and most efficient way, that works with many of the green summer vegetables such as cucumber, uri, or togan, but also with radishes and daikon. It is called shiozuke 塩漬け in Japanese, and as the name suggested it is a method of pickling vegetables in salt. As a matter of fact it is the same method as making umeboshi or pickled Chinese cabbage… expect that with summer vegetables it takes only a few hours instead of several days or weeks! Today I present the recipe with uri 瓜 a kind of melon/cucumber that is very popular in summer in Japan and that just made its entry in the glossary.

Shiozuke summer vegetables

  • 1/2 uri or 1 Japanese cucumber
  • 1/2 tsp of salt
  • a little piece of konbu (optional)

Wash and cut the vegetable. It is not really necessary to peel them. Slice them thinly. Cut the konbu in thin pieces. in a bowl large enough, add the sliced uri, the konbu, sprinkle the salt on top. Use a piece of wrap to top and set a weight the size of the inside of the bowl (I used a honey pot filled with water) on top to press the mix. Wait for a few hours before enjoying, and keep in the fridge in the liquid for a few days.

Beware that the liquid when pressing may overflow the bowl, so set the bowl in in a tray or the sink, or use a rather large bowl compared to the amount of vegetable that can receive all the liquid. Another option is to make them in a sealed plastic bag (ziploc…), but I don’t use such plastic bags…


Pain au lait

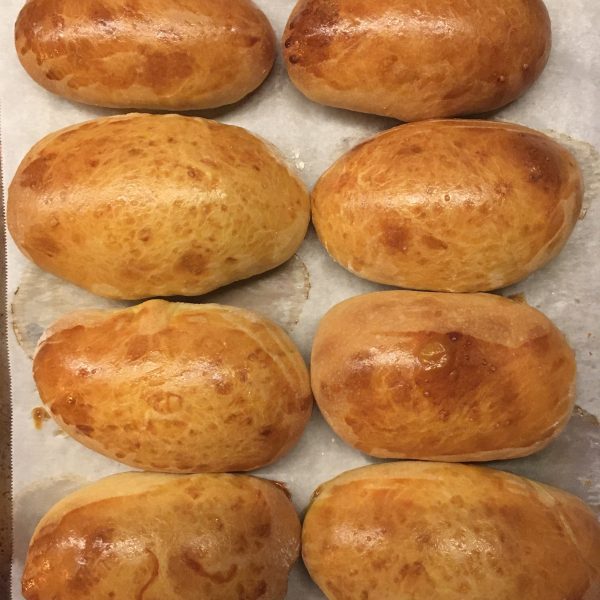
I’ve been baking a lot of breads these days but suddenly I felt like eating a variety of other baked things such as brioche, until A. saw a picture of a pan bagnat in a magazine and asked me to make one for him. I didn’t see the picture, and instead of thinking of the classic pan bagnat from the south of France, that you can eat in Saint Tropez or in Nice, in a kind of ciabatta bread, a little dry, I thought about the soft and melty version in a pain au lait, went straight to the kitchen and started making dough for pain au lait. I used to use the recipe from Kayser bread book, but decided to change, and opted for a mix and match version. The whole thing ended up in delicious, soft and tasty perfect little breads. And that’s when A. told me that the pan bagnat he saw was not in a pain au lait… 🙁

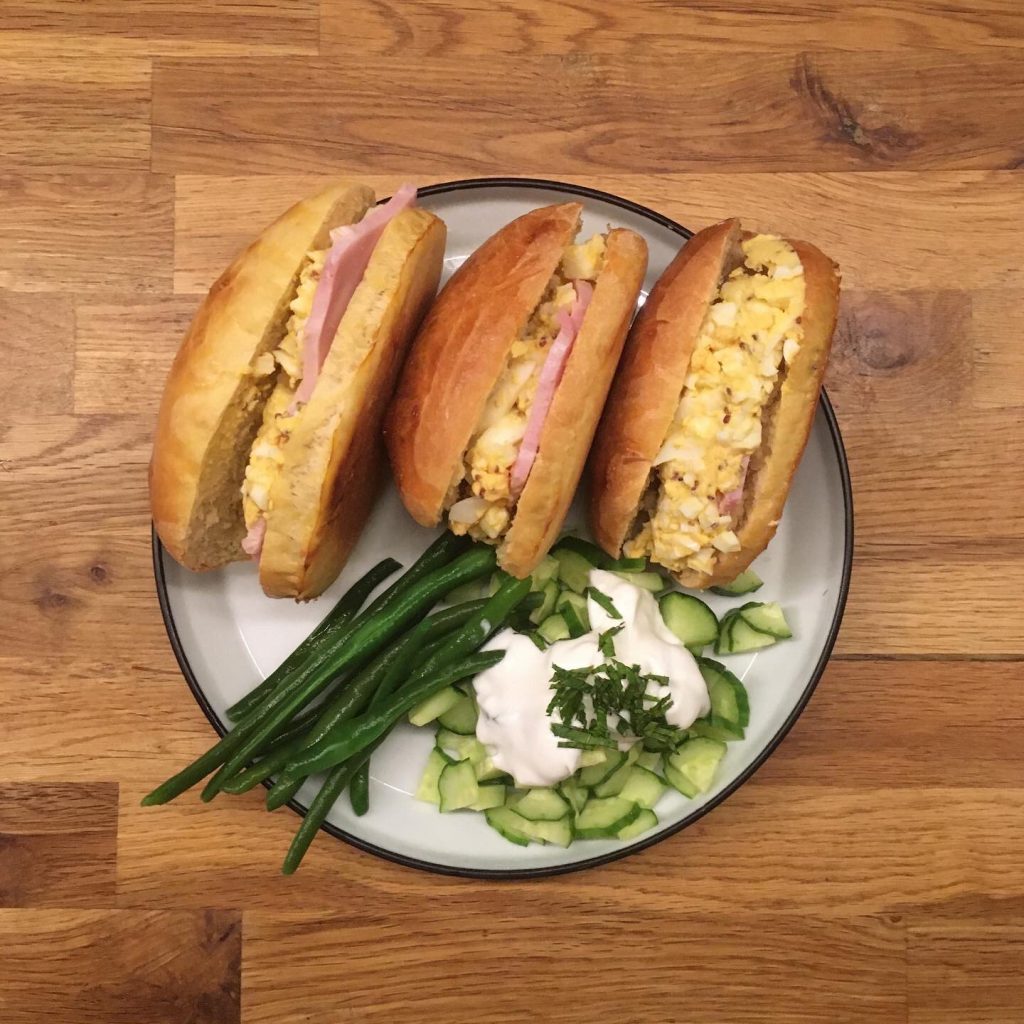
No problem I said, how about egg and ham sandwiches instead???

And that’s how they turned out… and it was damned delicious. So here is the recipe of the pain au lait.

For the egg sandwich filling, I simply hard boiled 3eggs, chopped them with a knife, add a table spoon of olive oil, a table spoon of mustard, that’s it.

Pain au lait (makes 8)

  • 280g of flour
  • 3g of dry yeast
  • 70g of butter
  • 35g of sugar
  • 100g of milk
  • 5g of salt
  • 1 egg + 1 egg optional for cooking

In a bowl mix the flour, the sugar, the salt and the yeast, add the egg and the milk and knead. Add the butter and knead until smooth and not sticky, it may take a bit of time. Let rest under a cloth until it almost doubles. You can flip the dough once in the meantime. Rising time will depend on your room temperature, your yeast, and the original temperature of ingredients. For a faster rise, use ingredients at room temperature.

Once the dough has doubled almost, dust your working surface with flour and the ball of dough. Flatten it and then make a rough oblong shape. Cut pieces of 70g-90g each, shape roughly in sausage. Don’t work too much the dough. And set on a sheet of cooking paper. Leave for 1-2h. Pre-heat the oven to 175deg. If you want perfectly golden little breads, use an egg batter. I you don’t care about the color, just spare it.

Bake at 175deg 10min then at 170deg another 10min or until perfectly golden. That’s it!!!

Have a good week!!

A new veggie

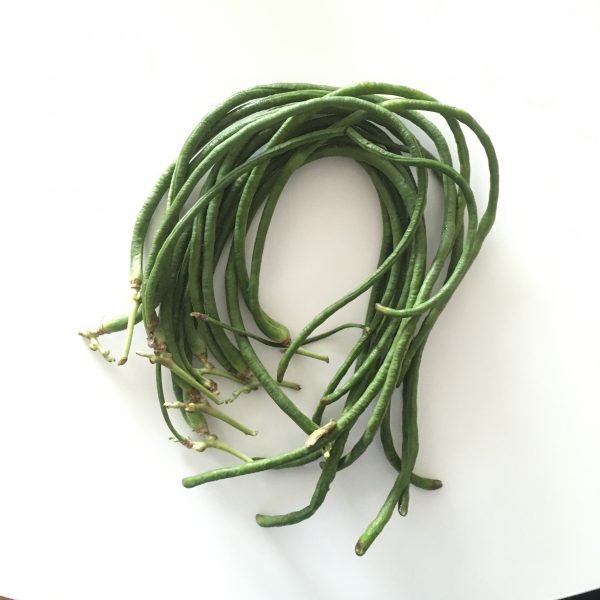
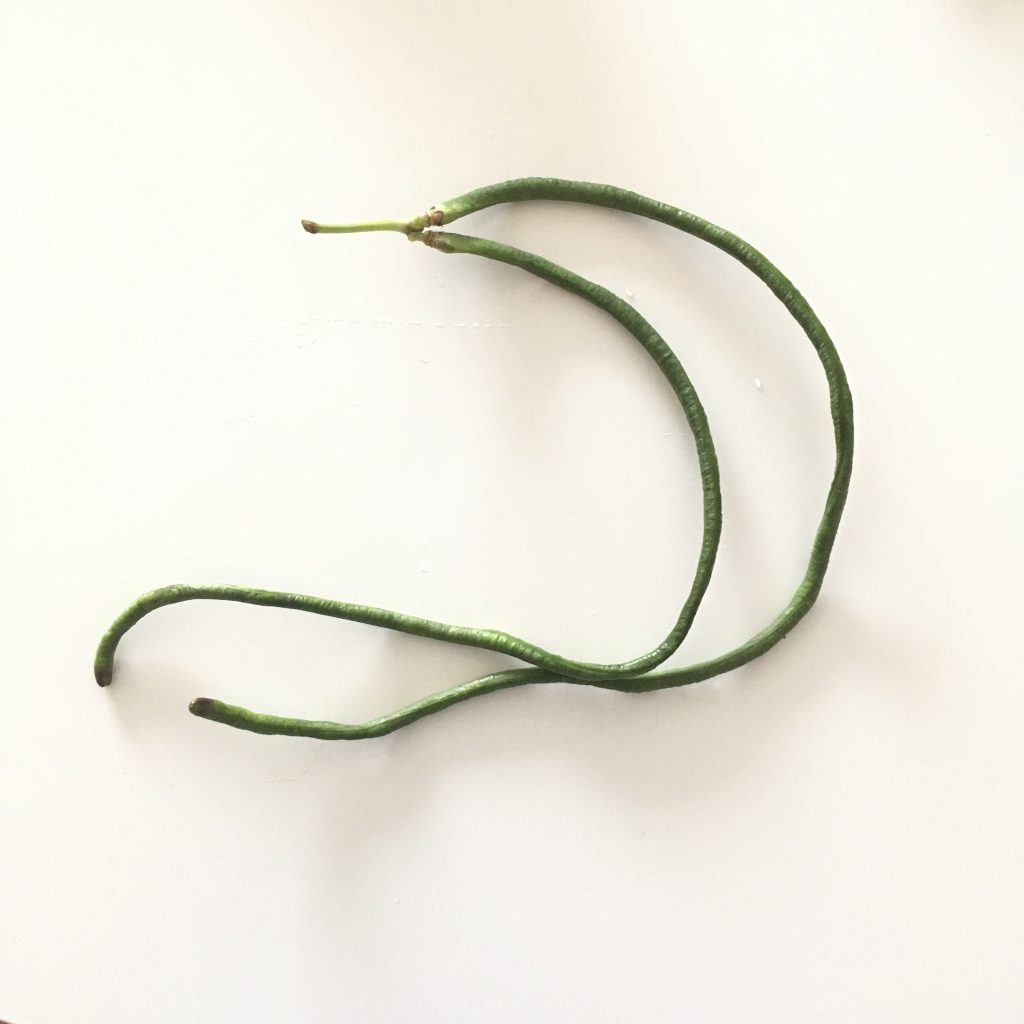
There’s always something new to discover or to learn… that is true in any discipline, but even more in cooking!!! The quantity of potential ingredients is really enormous, and the variety depends so much on customs and climate that I am far from having explored a hundredth of what exists. Even in after 16 years in Japan, there are still some surprises. Products that are not necessarily Japanese but made their way a few decades or century ago. That’s the case of the yard-long bean or in Japanese jūrokusasage 十六ササゲ. Something I had never seen before, that attracted me at the farmers market, and so I tried it and it made its entry in the glossary. I really like how farmers manage to grow locally so many different vegetables in such a beautiful way! I wish I could one day…

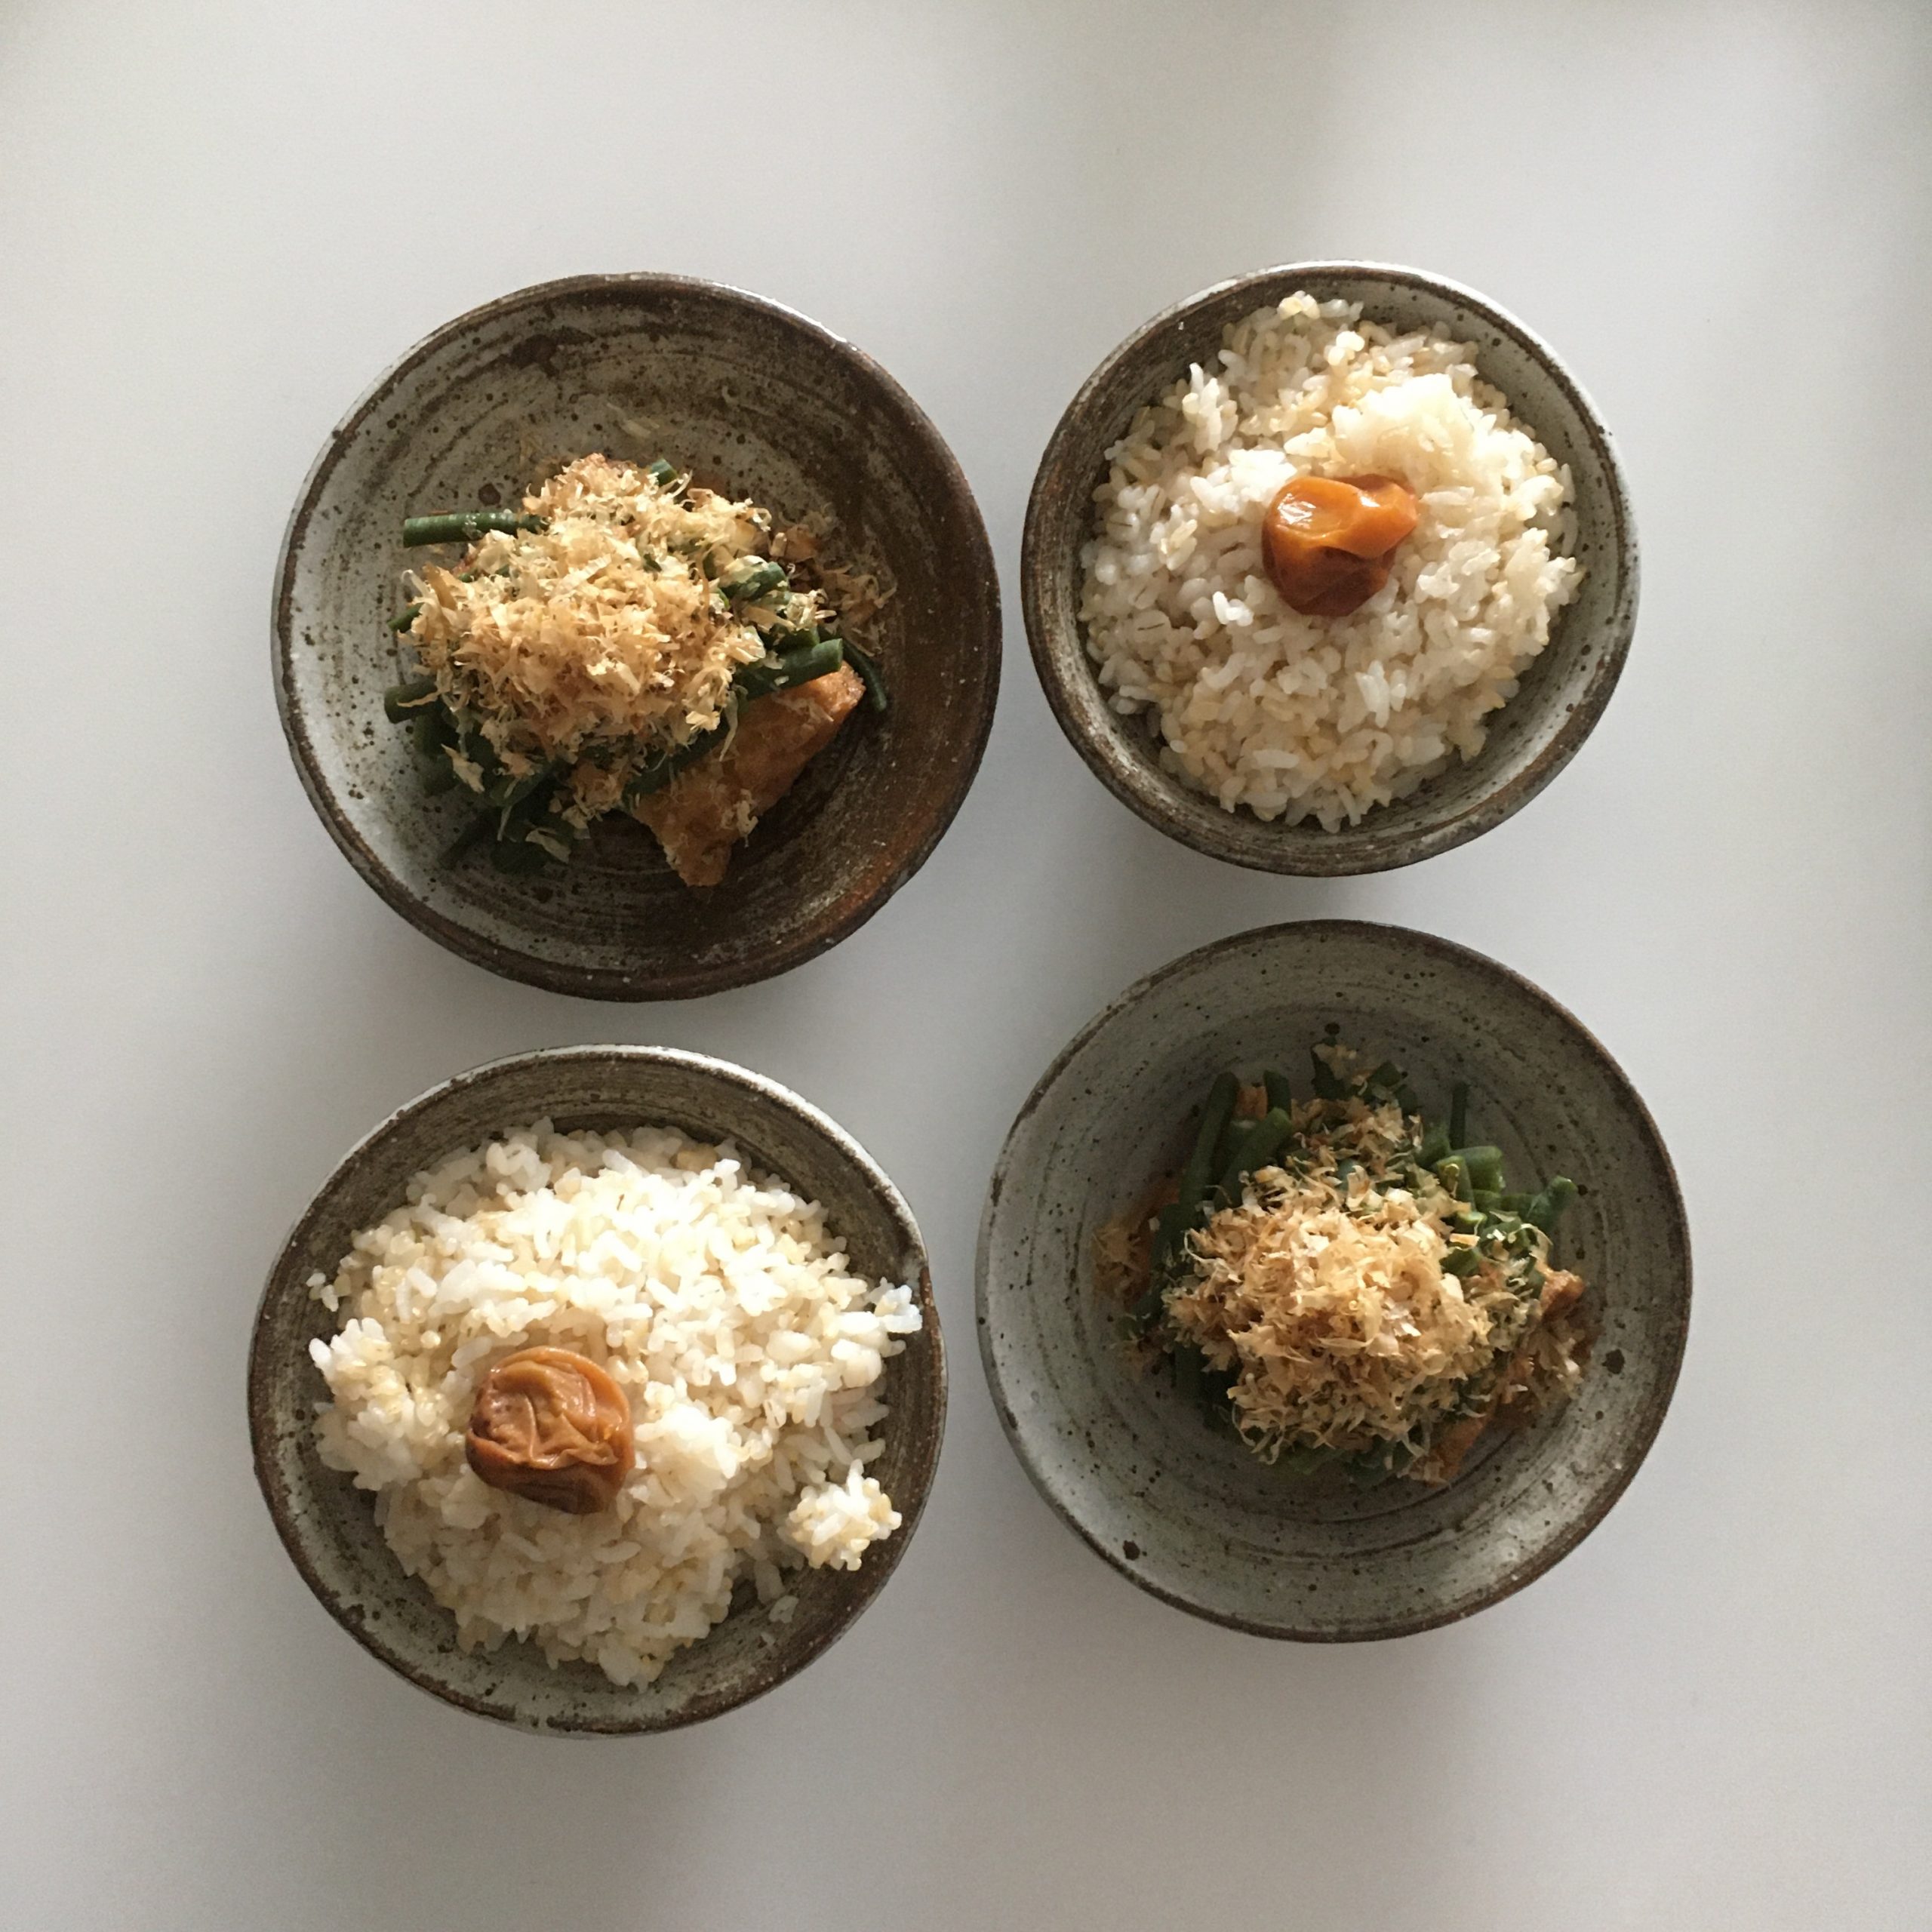
As the name promised, it’s a double long long green bean like vegetable, but the flavor is more subtle and more grassy. As I wasn’t sure how to prepare it first, I decided to blanched them and serve with soya sauce, grilled thick fried tofu atsusge 厚揚げ and that was perfect and top with katsuobushi.

What is the last new vegetable that you tried?

Blueberry tarts

Well, well, well… the rainy season doesn’t seem to clearly end this year again, turning the garden into a jungle, with the heat and a few hours of sun somehow everyday and the season for summer fruits has truly started. Be it melons, peaches or blueberries, the freshness and sweetness of all is a joy every morning for breakfast, eaten simply raw.

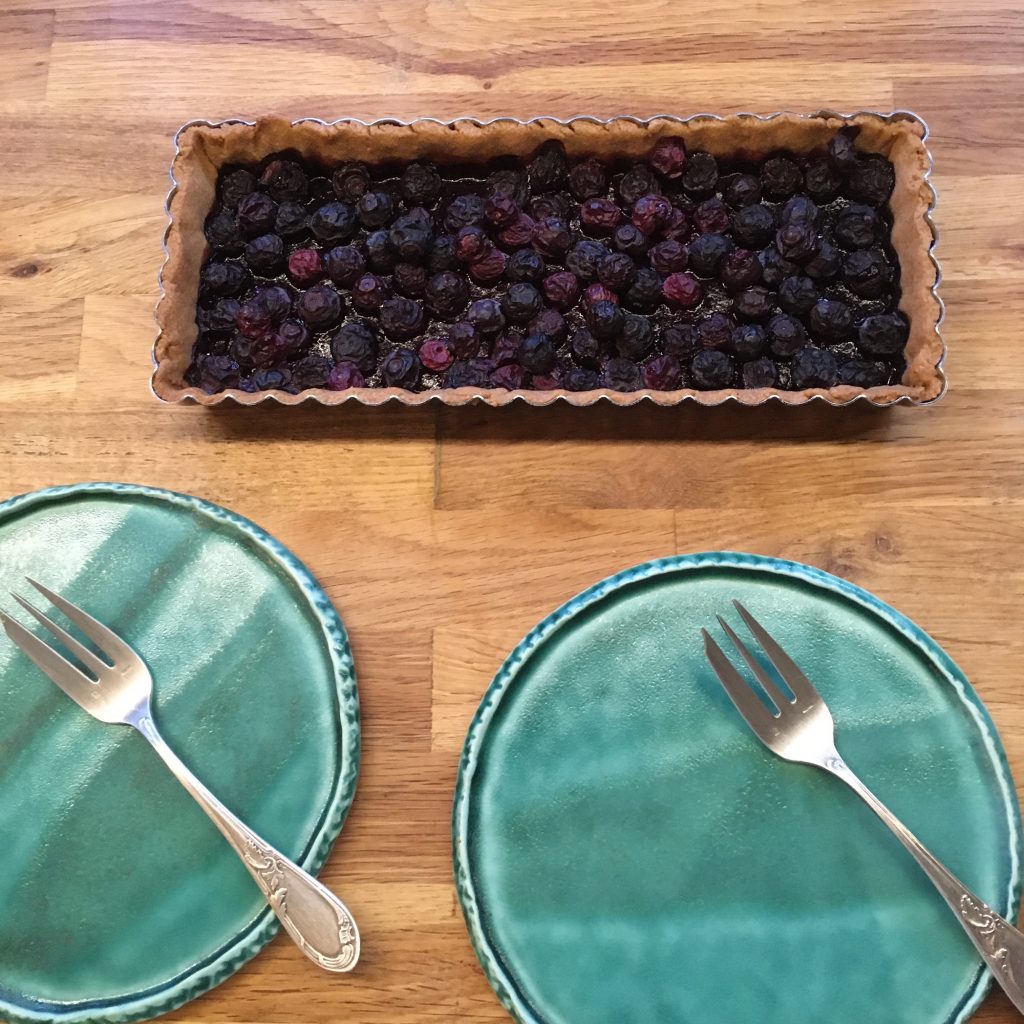
It is also the time of the year we spend most of our free time at the beach swimming, bodyboarding and surfing, and we need a solid five o’clock tea with something to eat. When it’s hot I don’t feel like standing in front of my cooking range flipping crepes, I prefer a ready to eat summer fruits in tart, clafoutis, cobbler or crumble. Blueberries are a good ally for any of the aforementioned preparations. But my favorite of all is a simple tart with a sablé pie crust, topped with fresh ripe delicious fruits. I love when it bake to see the dark fruit juice turn into syrup and make a thick layer. I like simplicity.

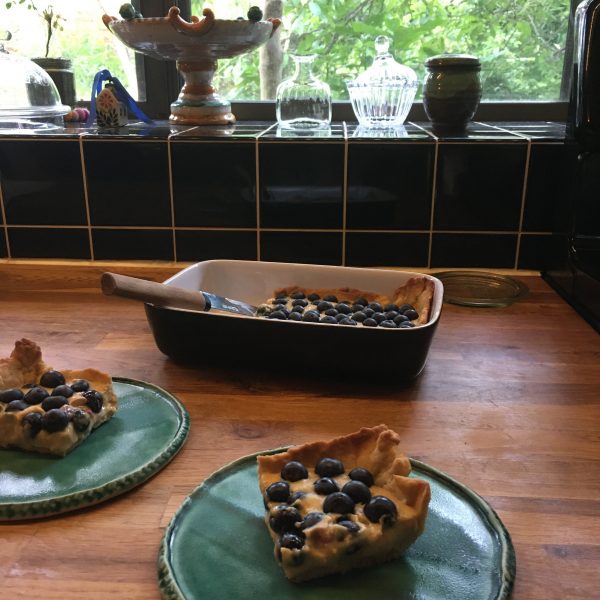
But after I prepared this simple blueberry tart the other day, A. argued that the tart with custard is better. I assume he wanted to tease me just to be sure to have another blueberry tart soon enough… and it worked well for him!!! The week after I was preparing a custard cream version of it.

I love custard too, but to be honest I find that baked blueberries in their juice are much nicer than raw ones… So while I loved both I still have a preference for the simpler version. What is your favorite???

Blueberry tarts

Simple version

  • 150g of flour
  • 30g of sugar
  • 50g of butter
  • Water
  • Blueberries

In a bowl combine the ingredients but the blueberries. Make a dough and roll it to the size of your pie dish.

Cover with the fruits washed and patted dry. Bake in the oven at 190deg until crust is golden and fruit juice is thick.

Custard version

  • Same as above
  • 1 egg yolk
  • 1 cup of milk
  • 1tbs of flour
  • 1tbs of sugar
  • Vanilla (2cm of a pod)

Make the dough as above, roll it and set in the pie dish. Put an oven proof weight on it, and bake until golden at 190deg.

In the meantime make the custard: in a bowl mix the sugar, the egg yolk, the flour, heat the milk, add and stir well, and cook while stirring until creamy (I like my custard very creamy not hard… but adjust the quantity of milk depending on your liking. For that boil a smaller quantity of milk first and while stirring and cooking add a bit of milk once in a while until you obtain the desired thickness. Remember it will thicken further when cooling down)

Spread the custard on the crust, add the washed and patted dry blueberries, that’s it!!!

Edamame soup

As you already know, I am a great fan of greens and even more in the form of beans: green beans, fava beans and of course the famous Japanese edamame. You have seen this year already my edamame ravioli, and many years ago edamame rice, but there is so much more to do with edamame!!!

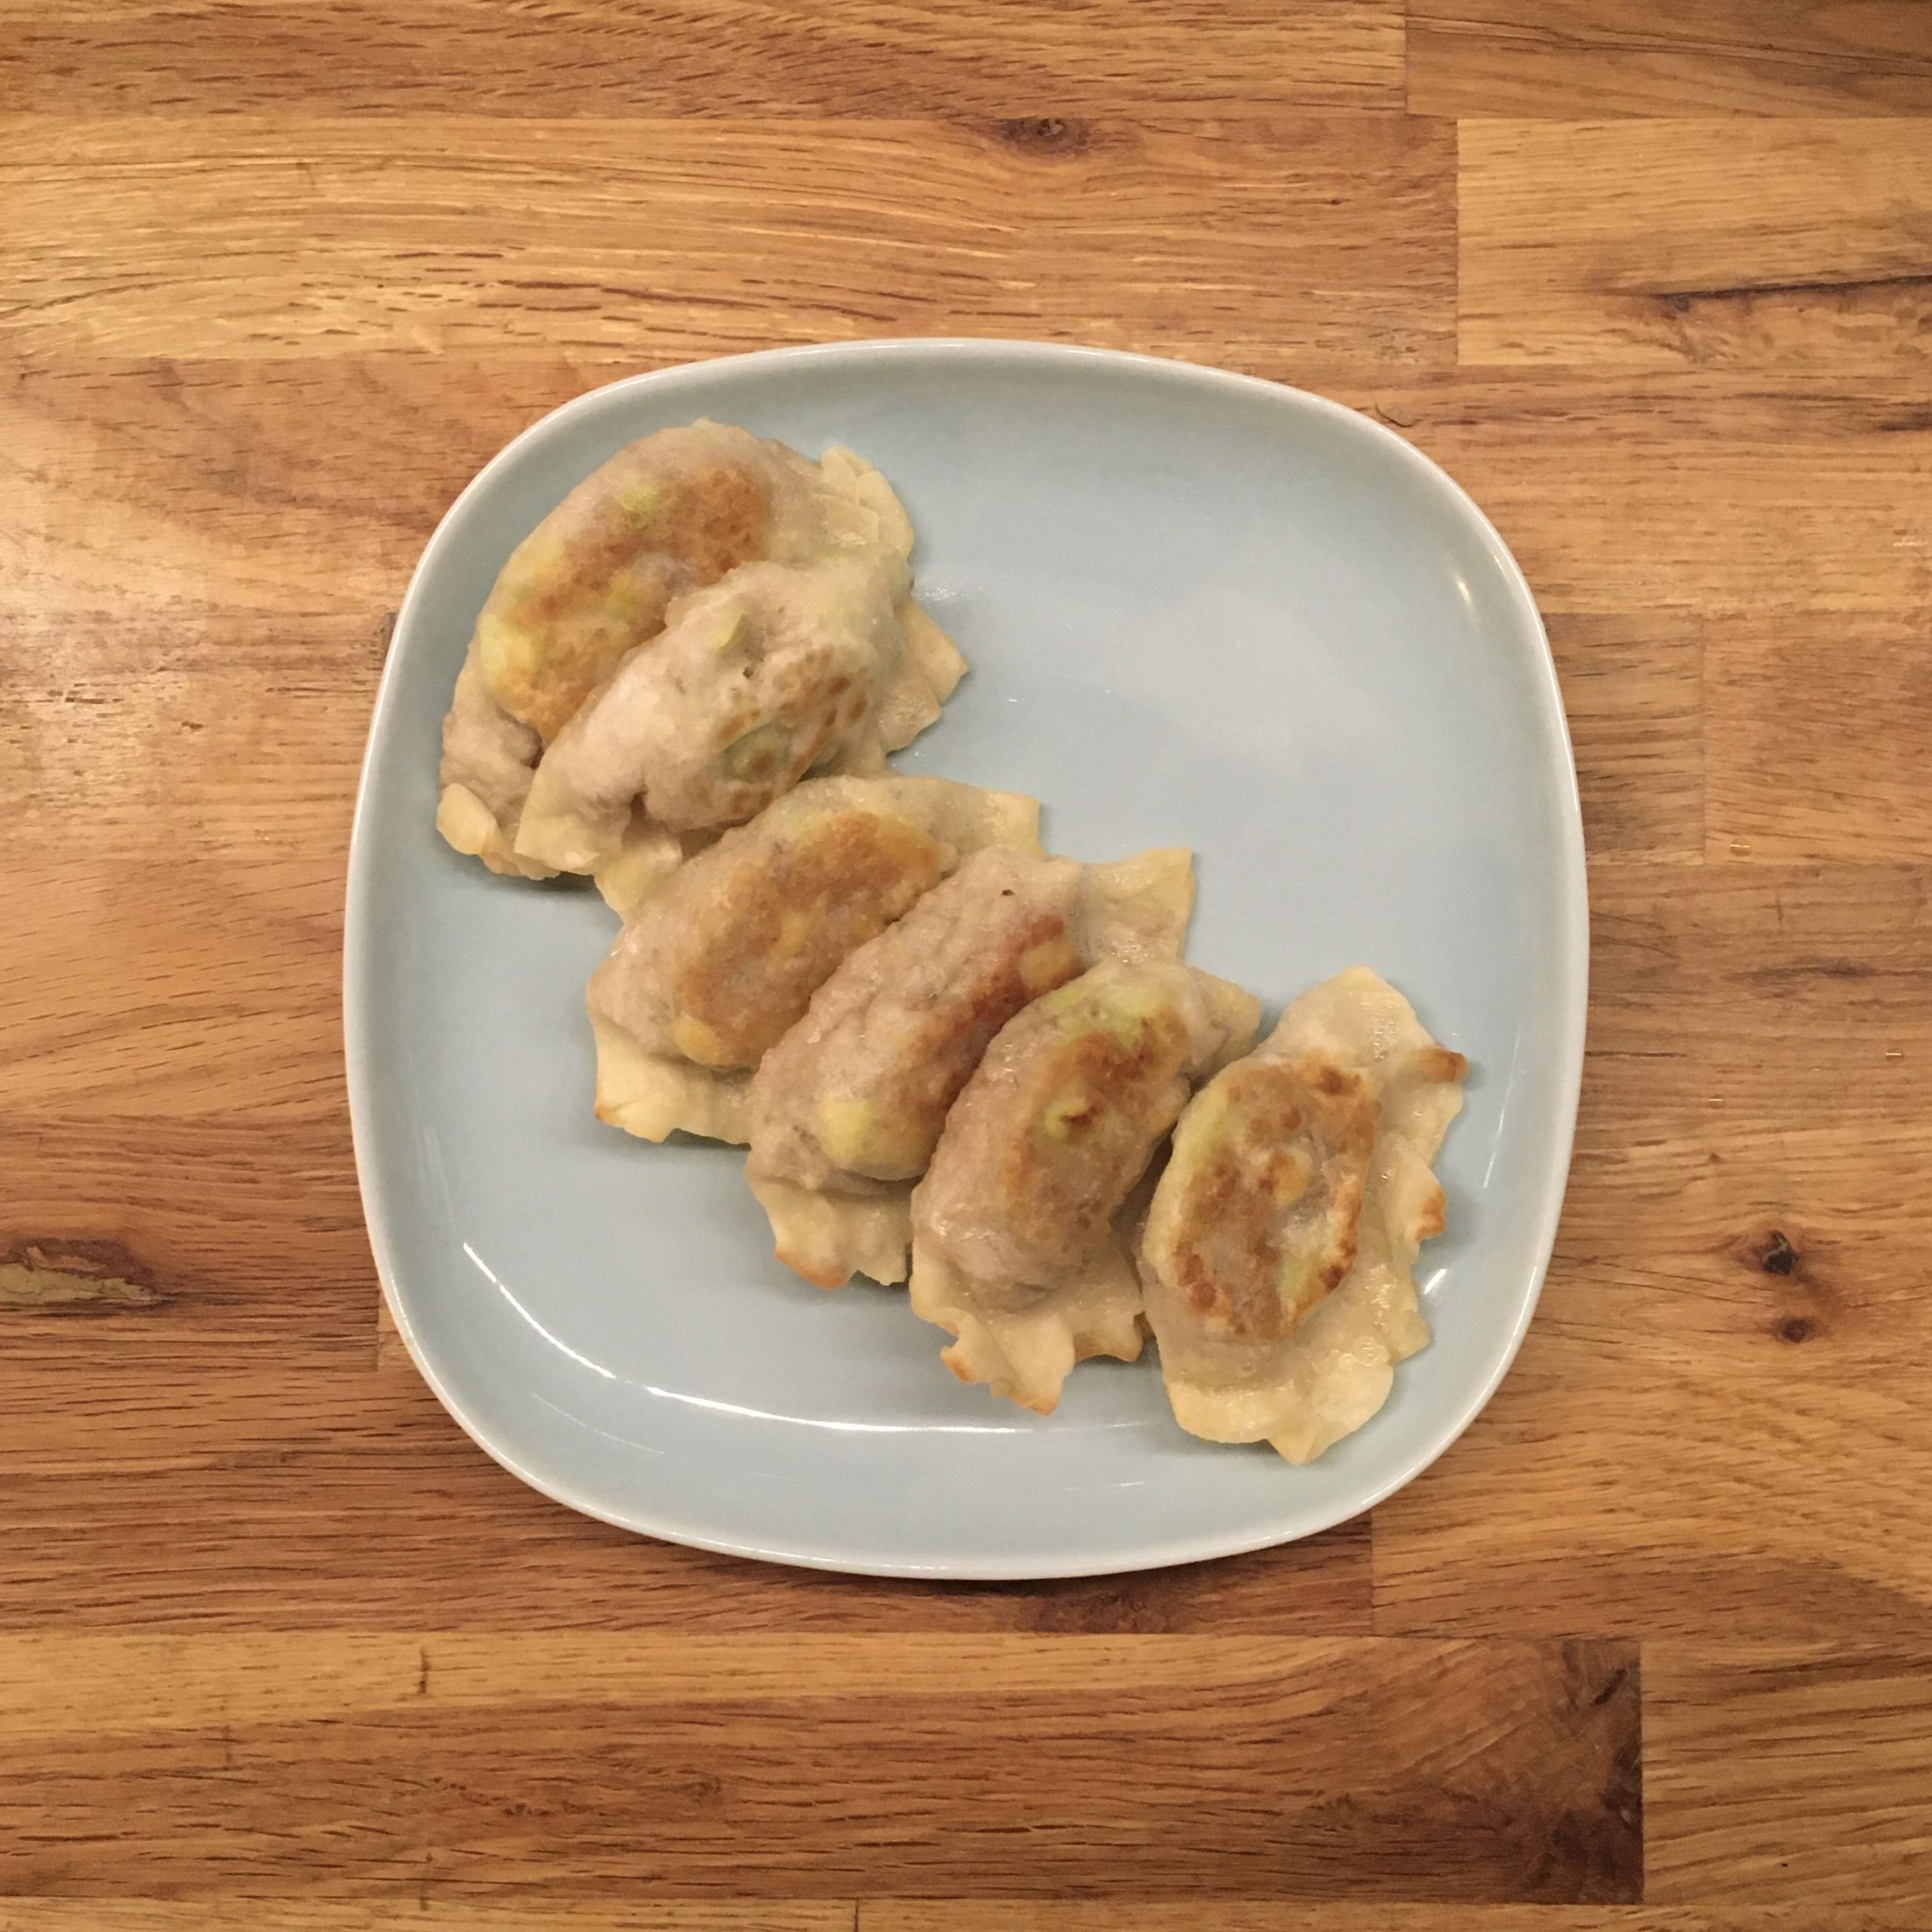
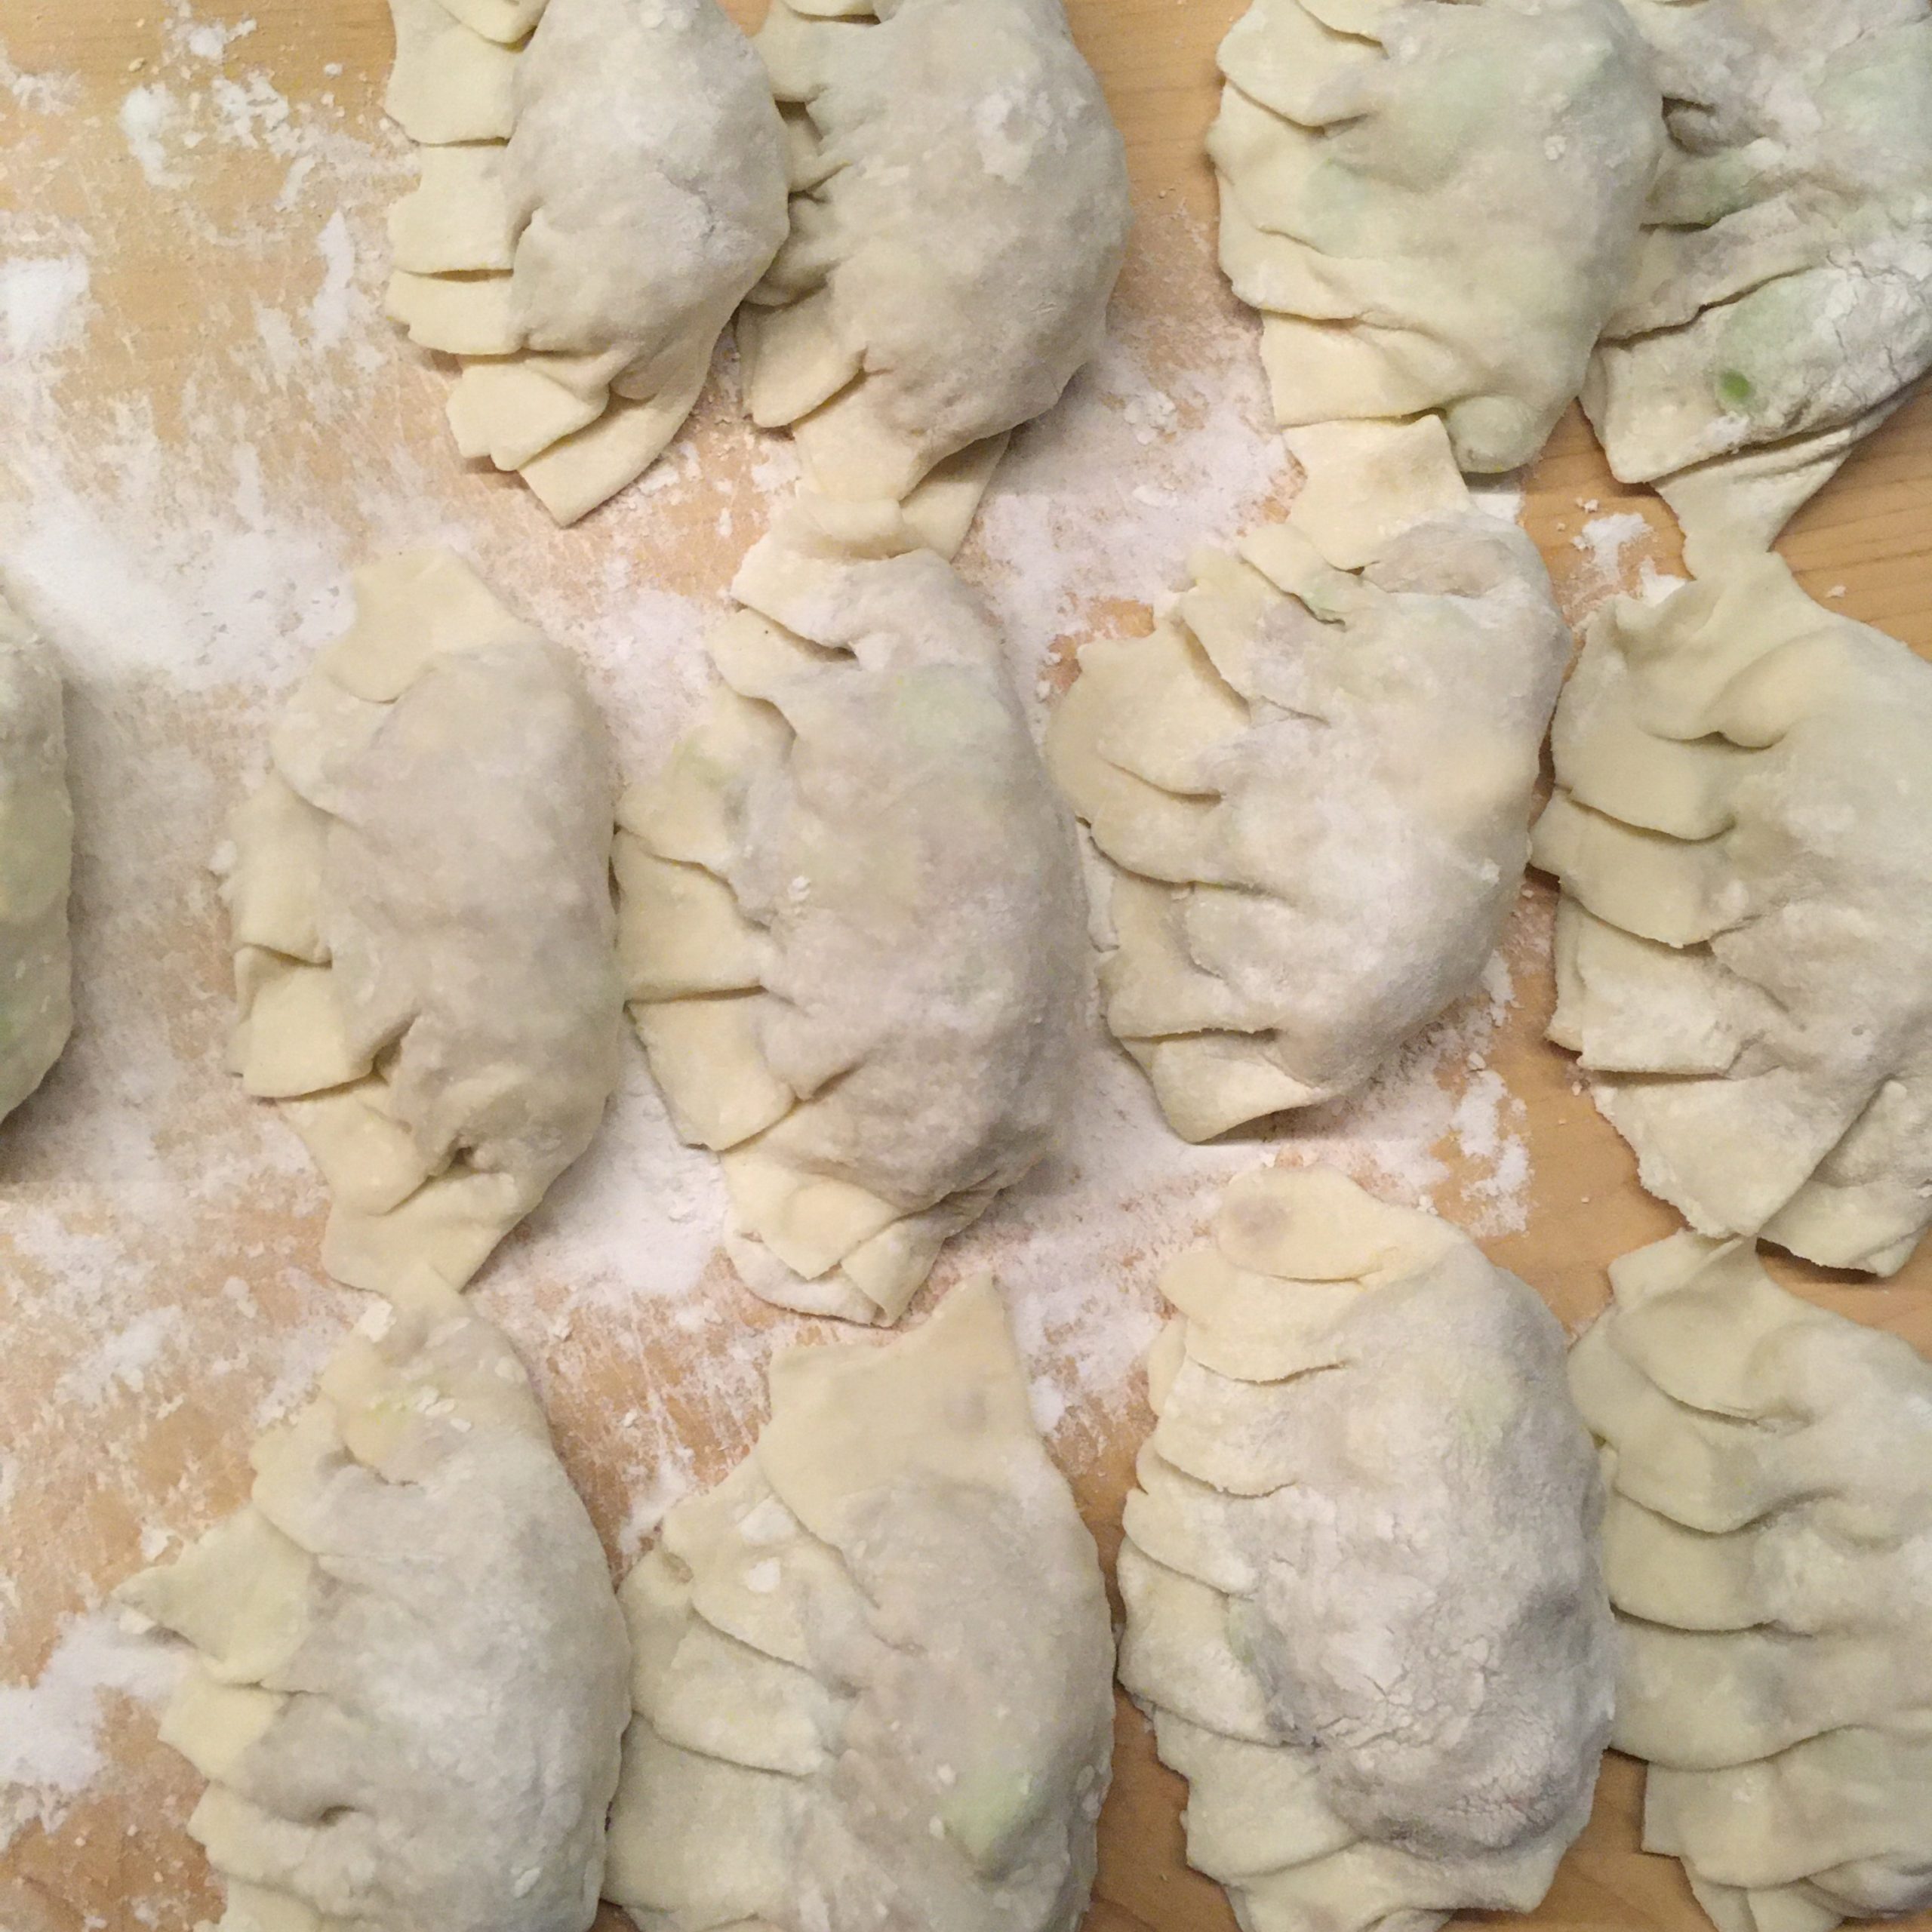
I tested the gyoza version of the ravioli: pasta without egg and fried in a pan instead of boiled and that was scrumptious. But that’s not all!!

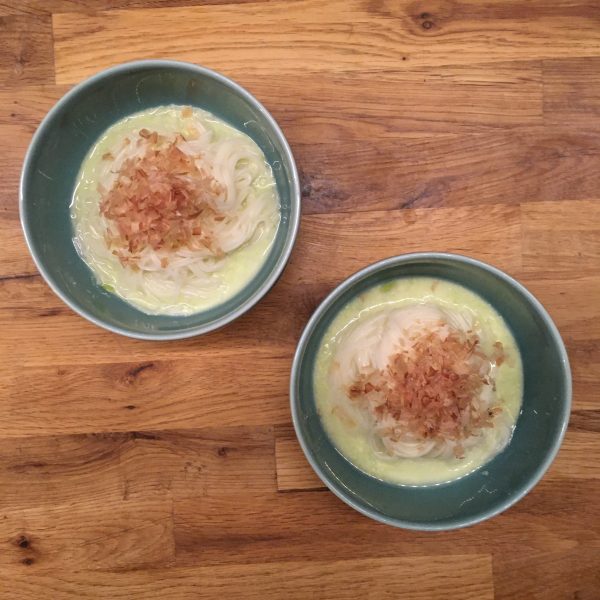
One thing that was on my to-do list with edamame was a soup, like that with fava beans or green beans, so I was more than happy when my IG friend Junkikat posted a recipe of edamame soup inspired from Korean soy beans and noodles: Kong-guksu. I am not familiar with Korean cuisine very much, but I was very much attracted by the simplicity of her recipe. I adapted further to my liking and pantry and ended with a delicious recipe that was extremely simple. In a sense it reminded me ramichelles, even though it has nothing much in common but the thin noodles that are so delicious in summer!!!

Edamame soup and noodles (2 servings)

  • 75g of dry somen or vermicelli
  • 1 handful of boiled and shelled edamame (about 3 handfuls of edamame in pods)
  • Water
  • Katsuobushi thin flakes (furikake style)

If your edamame are not boiled boil them, it’s ok to overcook them a bit. Remove the pods and skin. In a mortar, puree them. Add water little by little to obtain a very creamy paste. Once the creamy paste has been obtained, add further water to obtain a thick liquid. Boil the noodles and drain under cold water to cool them.

In a bowl serve half of the soup, add the noodles, top with katsuobushi flakes. Eat at room temperature or refrigerated.

Potato salad

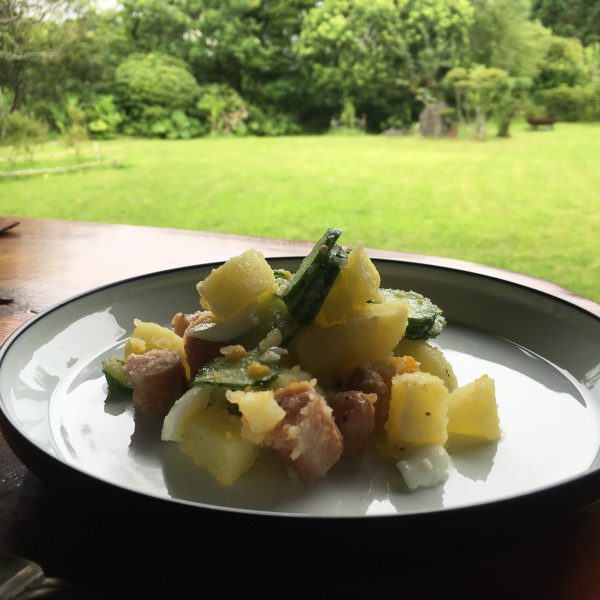
For those that have been to Japan they know that potato salad ポテトサラダ is a quite important dish in Japanese cuisine. It is probably one of this japanized version of western food that is so popular it looks like genuine Japanese food!! You can find potato salad on the table at every party and it is so common that it can be found in combini as well. While the idea of a potatoes base salad with vegetables all creamy and mushy is very nice, just like the kabocha salad. But the problem with most potato salad is the abundance of mayonnaise that just makes it fatty and taste like mayonnaise, nothing else. I do like fresh homemade mayonnaise once in a while but I am not such a fan to bother making some in particular if I have no plan for the egg white. But I love homemade potato salad, so I just replace the mayonnaise with a simple soft boiled egg with olive oil. That’s it! It’s faster, more digest and none the less tasty! Because fast is an important condition for preparing lunch when we are back from the ocean.

So here is my potato salad recipe with all ingredients from Isumi except the olive oil from Tuscany and the salt and pepper.

Potato salad (2 servings)

  • 3 mid size potatoes that becomes mushy when boiled
  • 1 Japanese cucumber
  • 5 Japanese sausages
  • 1 egg
  • 1tbs of olive oil
  • Salt and pepper

In a pan boil some water. In the meantime peel and cut the potatoes. Add to the boiling water, add the sausages, and later the egg. Boil until the potatoes are soft. The egg shouldn’t be boiled longer than 5min to keep the yolk creamy. Cut the cucumber in thin slices. Drain the potatoes and the sausages. In a bowl, set the cucumber, the potatoes. Cut the sausages in 1cm long pieces, add to the bowl, stir. The potatoes should start mushing and mix well with all the other ingredients. Add the olive oil, salt and pepper. Finally, add the egg cut roughly. Stir well again. Eat right away or later!

Have a good day!

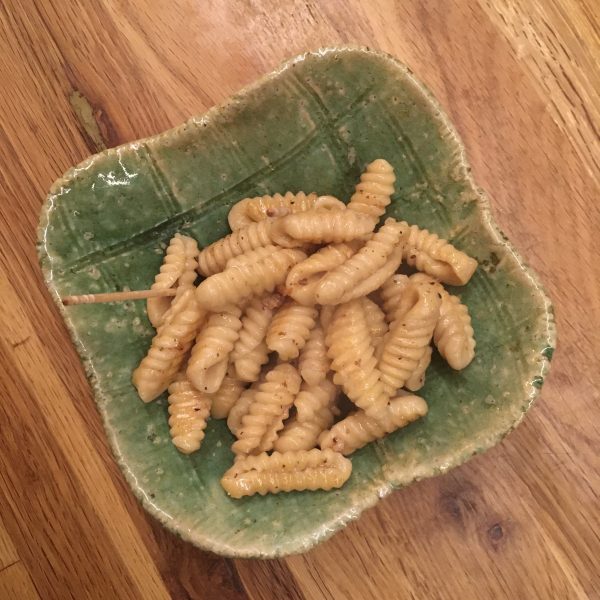
Gnochetti

When I make pasta for ravioli I always end up with a significant amount of pasta that has been floured and roll and is unsuitable for making ravioli again. It has become to dry. Usually I would just keep it that way, cut in squares and boil it or fry it as a little bonus or for finger food with a drink. But recently I have been really attracted to making shorter pasta like troffie, orecchiette, gnochetti… and seeing video of Scusatema on IG really inspired me to make the step and test… the ravioli rolled pasta is a lot drier and hard than the original pasta and I thought it would be perfect for the test. I have little cooking equipment, and thought my little gnocchi board would be good for that.

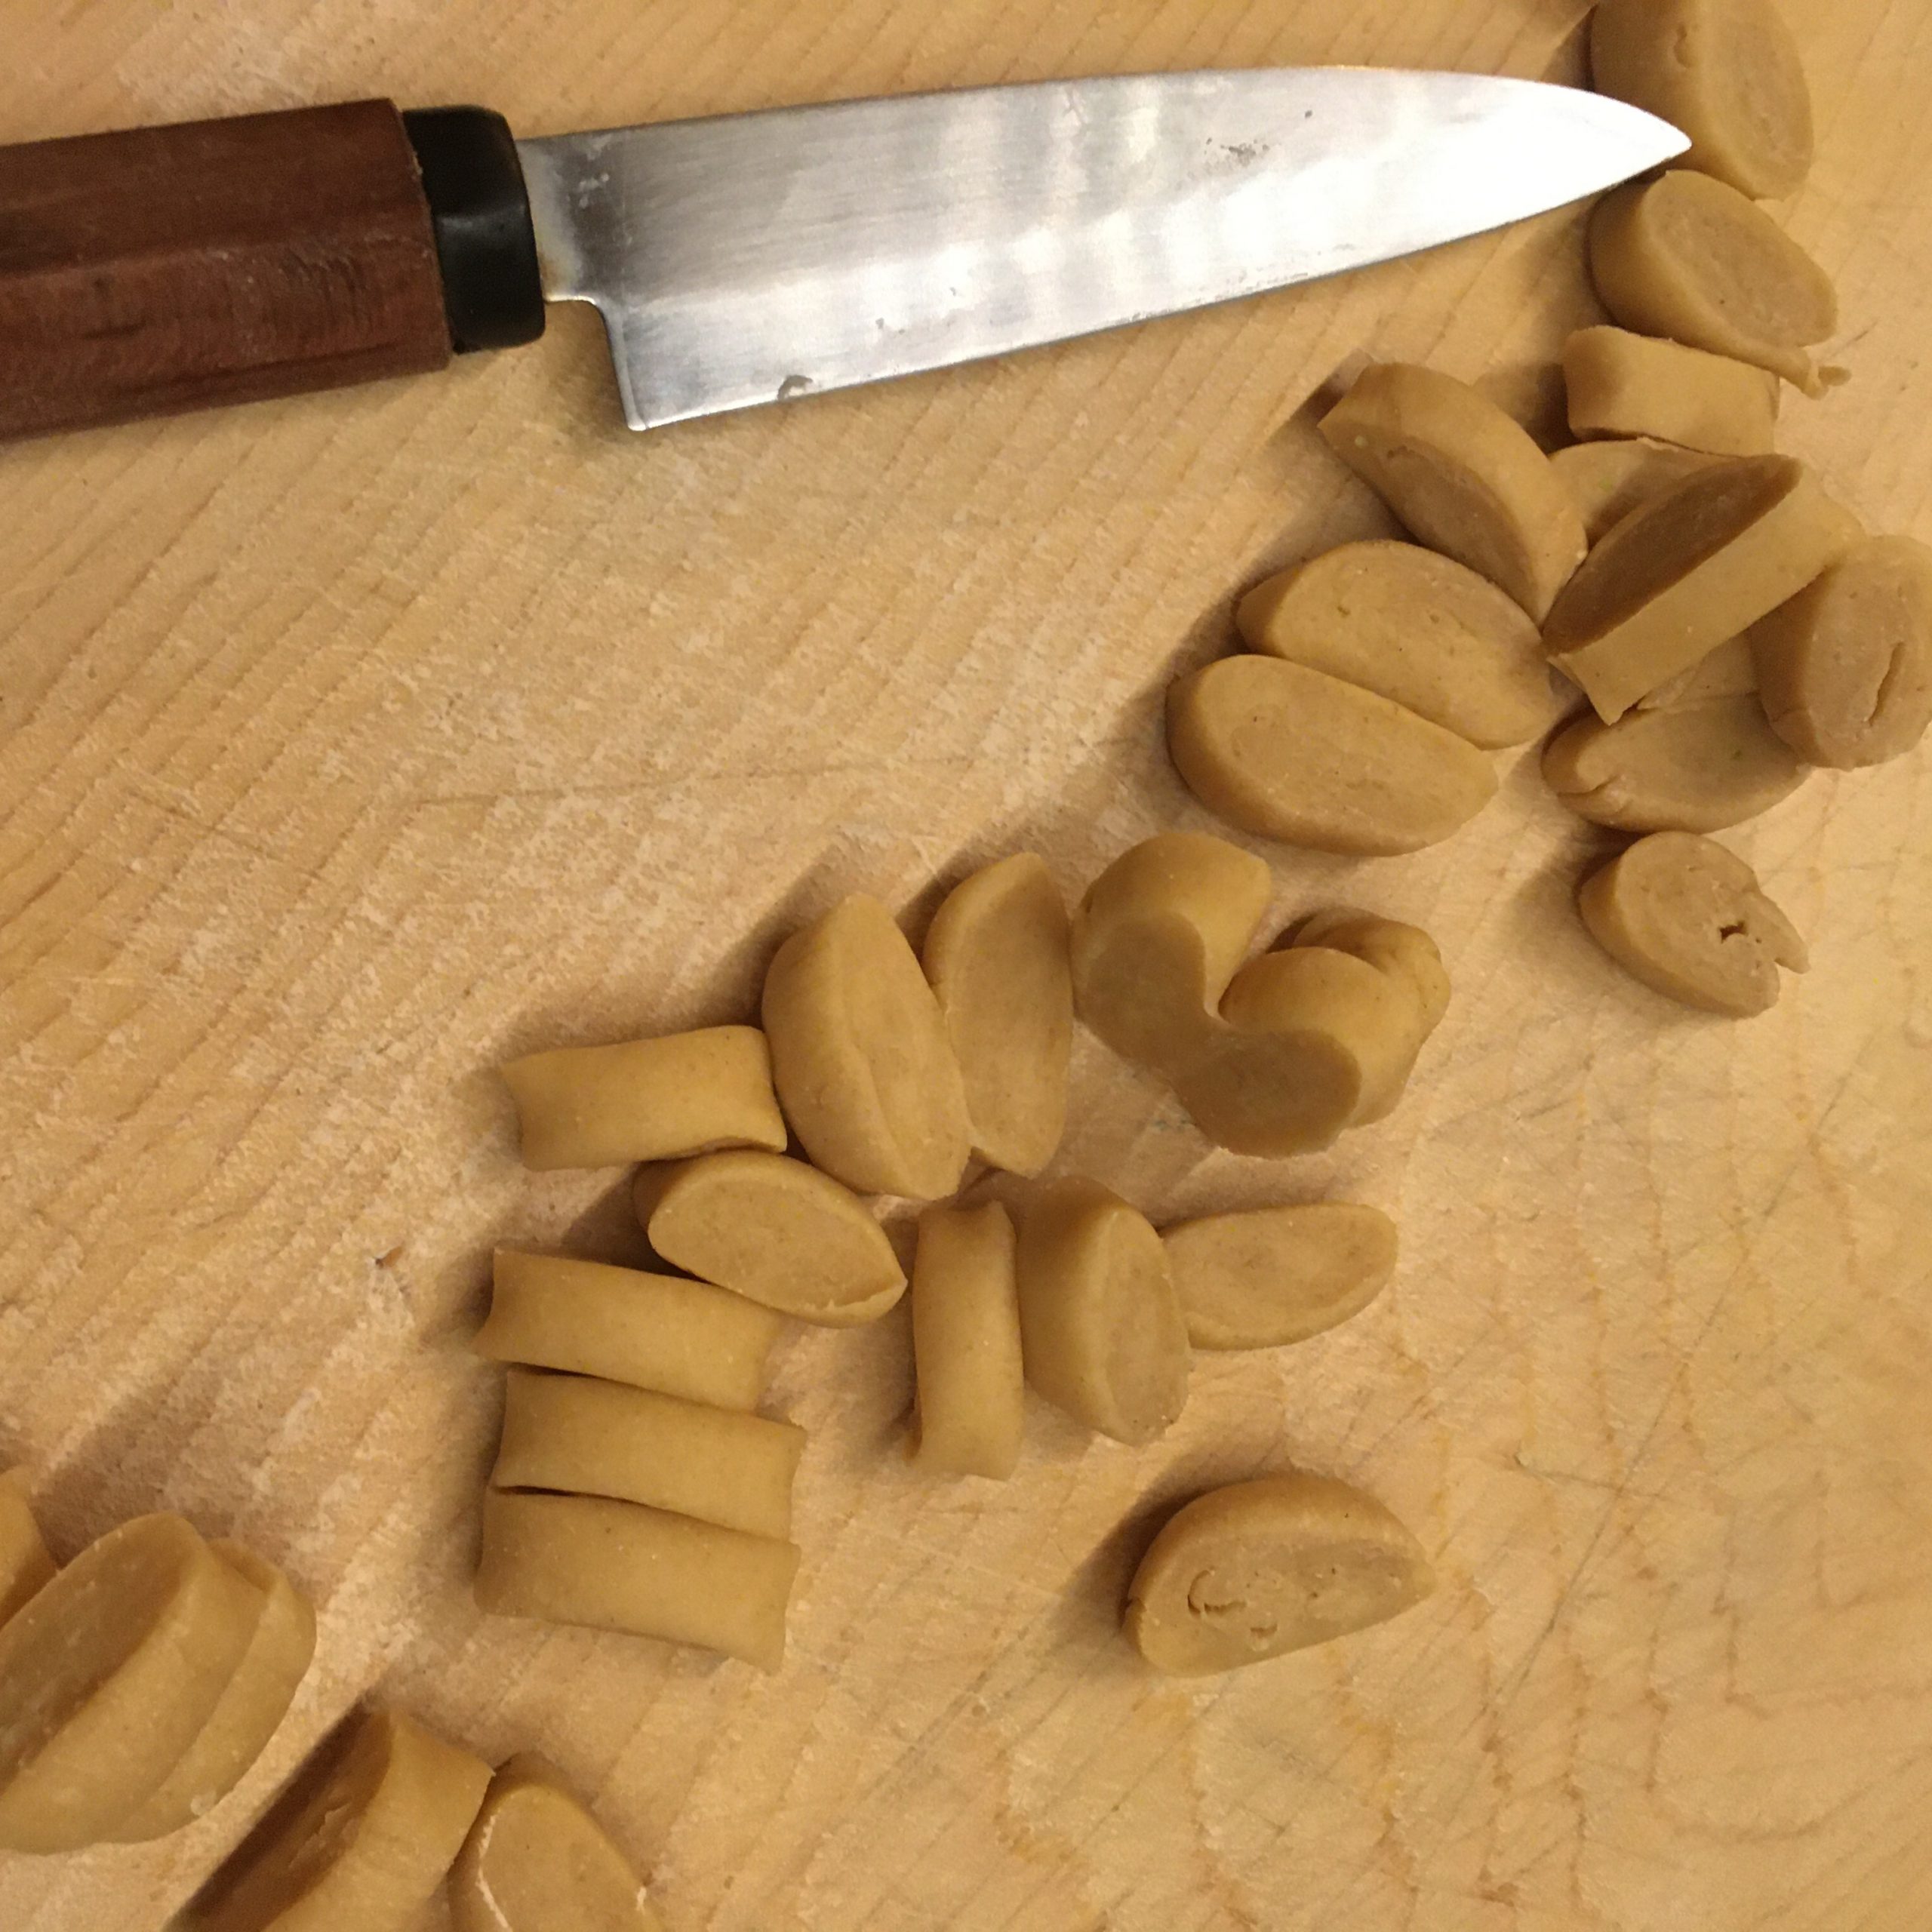
So I assembled all the remaining pasta in a ball, rolled it in a long stick.

Cut the stick in small pieces, and started rolling them on the board. That went just perfectly. No meed for additional flour, no sticky parts and beautifully shaped gnochetti came out one after the other. Bonus it is super relaxing to do this little gesture to roll the pasta on the board and see them pilling in front of me.

Since I made only a small amount instead of boiling them I cooked them in a little pan with olive oil and a bit of water, and waited for the water to go before lightly frying them, and served them as a little snack.

For sure I will make short pasta again soon! That was so nice!!

Edamame ravioli

Every week, I am hoping for a more quieter week and every week day is getting busier and I end up with very very little time to cook… for example today my lunch was some raw carrots, a piece of Comte cheese and some nuts… as I rushed between meetings and things to do. It is also often a bowl of rice topped with something rapidly cooked (more coming about that soon). So when I manage to have just a little more time to cook I jump on the occasion and I cook some more fancy things. “Fancy” being almost exaggerated!!
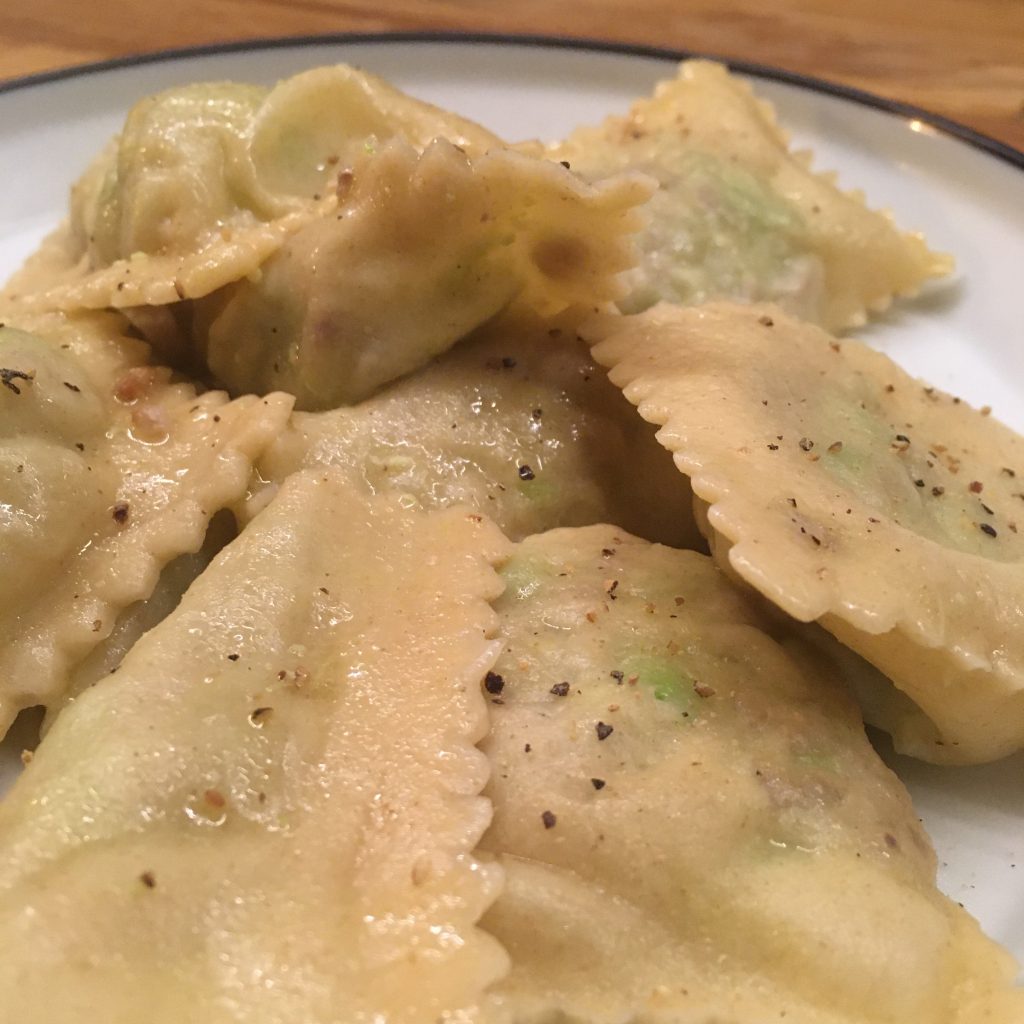
The season for edamame is starting now and I got some from the farmers market, which I was thinking I would just boil for a quick use in salad or with rice but then I had this little window of time for cooking and I was all set for making edamame gyoza, but then thought that as delicious it seems, it would be almost too conventional in traditional Japanese flavors, so I decided to opt for the Italian version: ravioli!!!

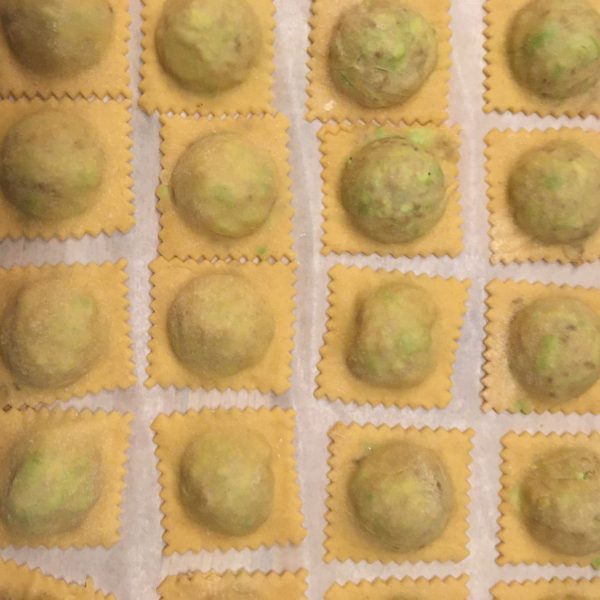
While making ravioli takes a little bit more time, it is so rewarding and we love them so much that it is always worth eating a bit late!!! For this edamame ravioli, I mixed in the filling the edamame and some pork meat and I dressed them simply with olive oil, salt and pepper. Here is my recipe.

Edamame ravioli

  • 100g of flour (I used whole wheat here)
  • 1 egg
  • a bit of water
  • 100g of ground pork meat
  • 200g of edamame
  • Salt, pepper olive oil

Prepare the pasta by mixing, as usual, the flour, the egg and a bit of water. Knead well and keep for 30min.

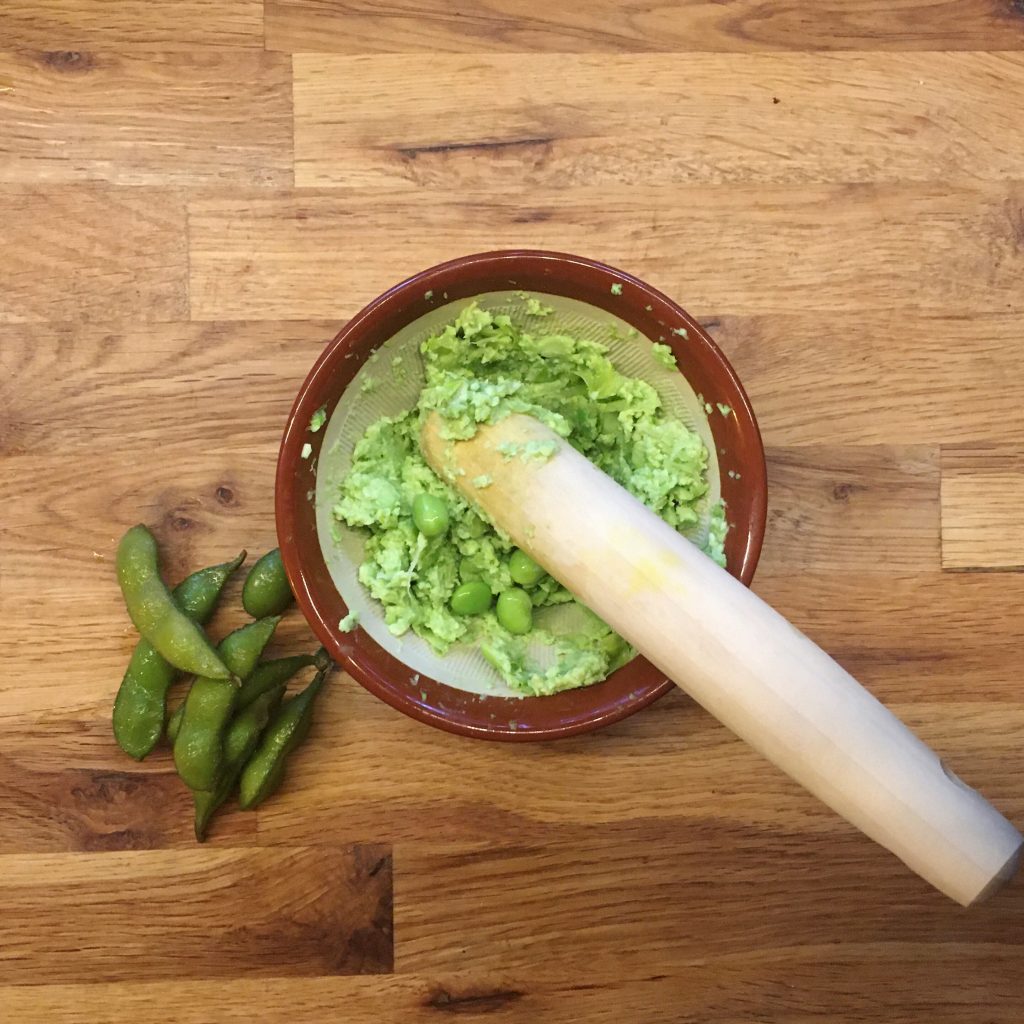
Boil the edamame. Once cooled down, shell them and remove the skin as much as possible. In a mortar puree them roughly (as on the above picture). In a frypan cook the pork meat then mix with the edamame. Add salt and pepper. Keep the frypan as it is.

Roll the pasta. Fill the ravioli and close them. Boil a large pan of water and boil the ravioli. When they float move them to the frypan with half a ladle of cooking water. Add olive oil a bit and cook 2min before serving and enjoying immediately.

Proudly powered by WordPress | Theme: Baskerville 2 by Anders Noren.

Up ↑

Verified by MonsterInsights