Braided brioche

When looking at Instagram and at breakfast tables, I was often seeing beautiful braided breads and brioches and was always intrigued by their realization. Not the braid itself, but how to obtain a dough that wouldn’t be too sticky to actually make a braid. I didn’t do much search. My recently acquired cookbook again helped me solving that problem. The Challah Dough from bread in 5 is really a nice alternative between bread and very rich brioche dough and I’ve come to use it often. And that’s how I learned how to make braided breads. It is actually extremely simple, much more than I imagined!

The book recipe can be found on that page but I slightly modified it to fit my pantry and taste. So here is mine:

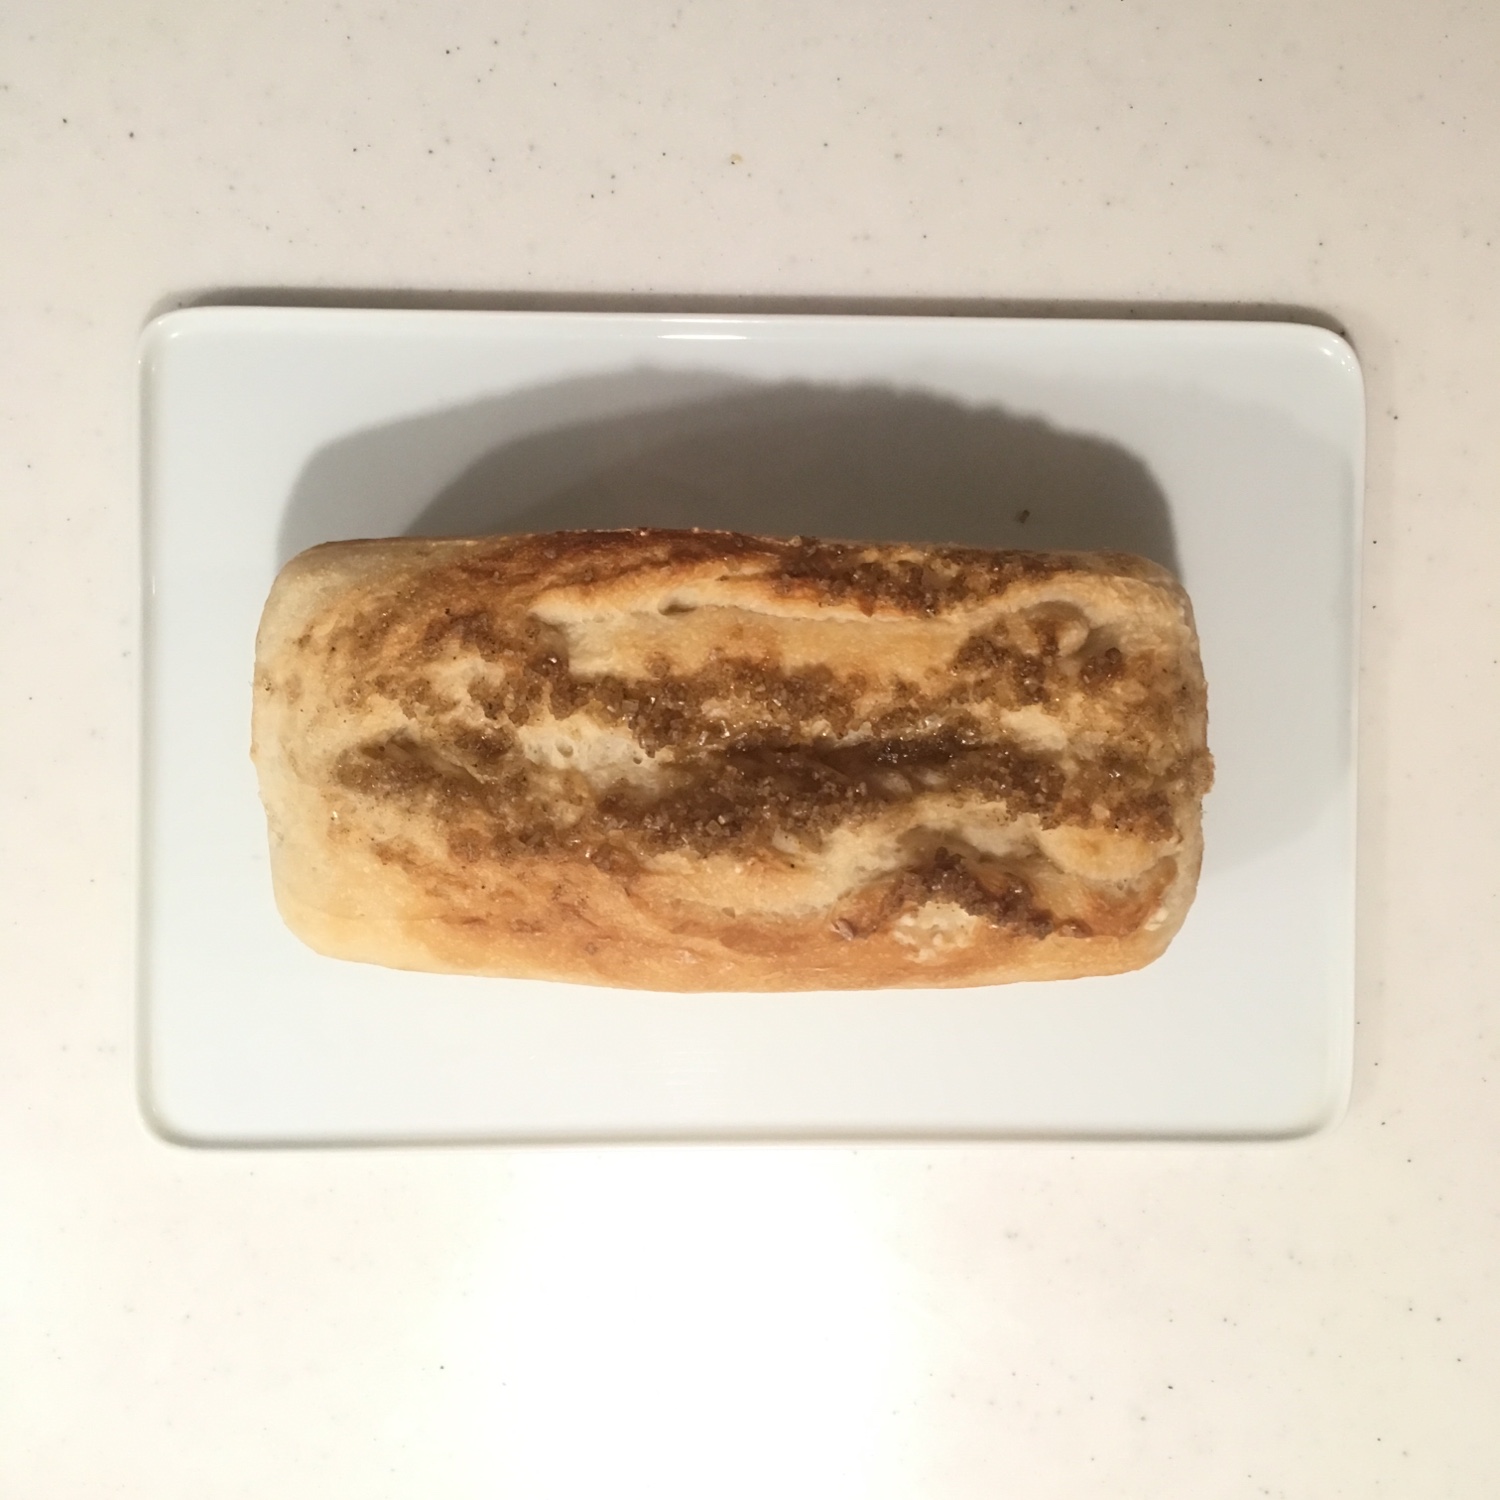
Braided brioche bread (for one 400g bread)

– 250g of flour + for dusting

– 1 egg

– 1/2 cup of tepid water (add slowly as a little less may be required)

– 5g of yeast

– 5g of salt

– 2tbs of brown sugar

– 25g of melted salted butter

In a bowl, mix all the ingredients. The order has strictly no importance. For some reason (habit for sure) I almost always start with the flour, though the book recommends to finish with the flour… I tried both and the result is basically the same. To mix things altogether I use my hands or Japanese cooking chopsticks if I am on a rush or multitasking and want to keep my hands clean. I then leave the dough to prove and wait until it has almost doubled in volume.

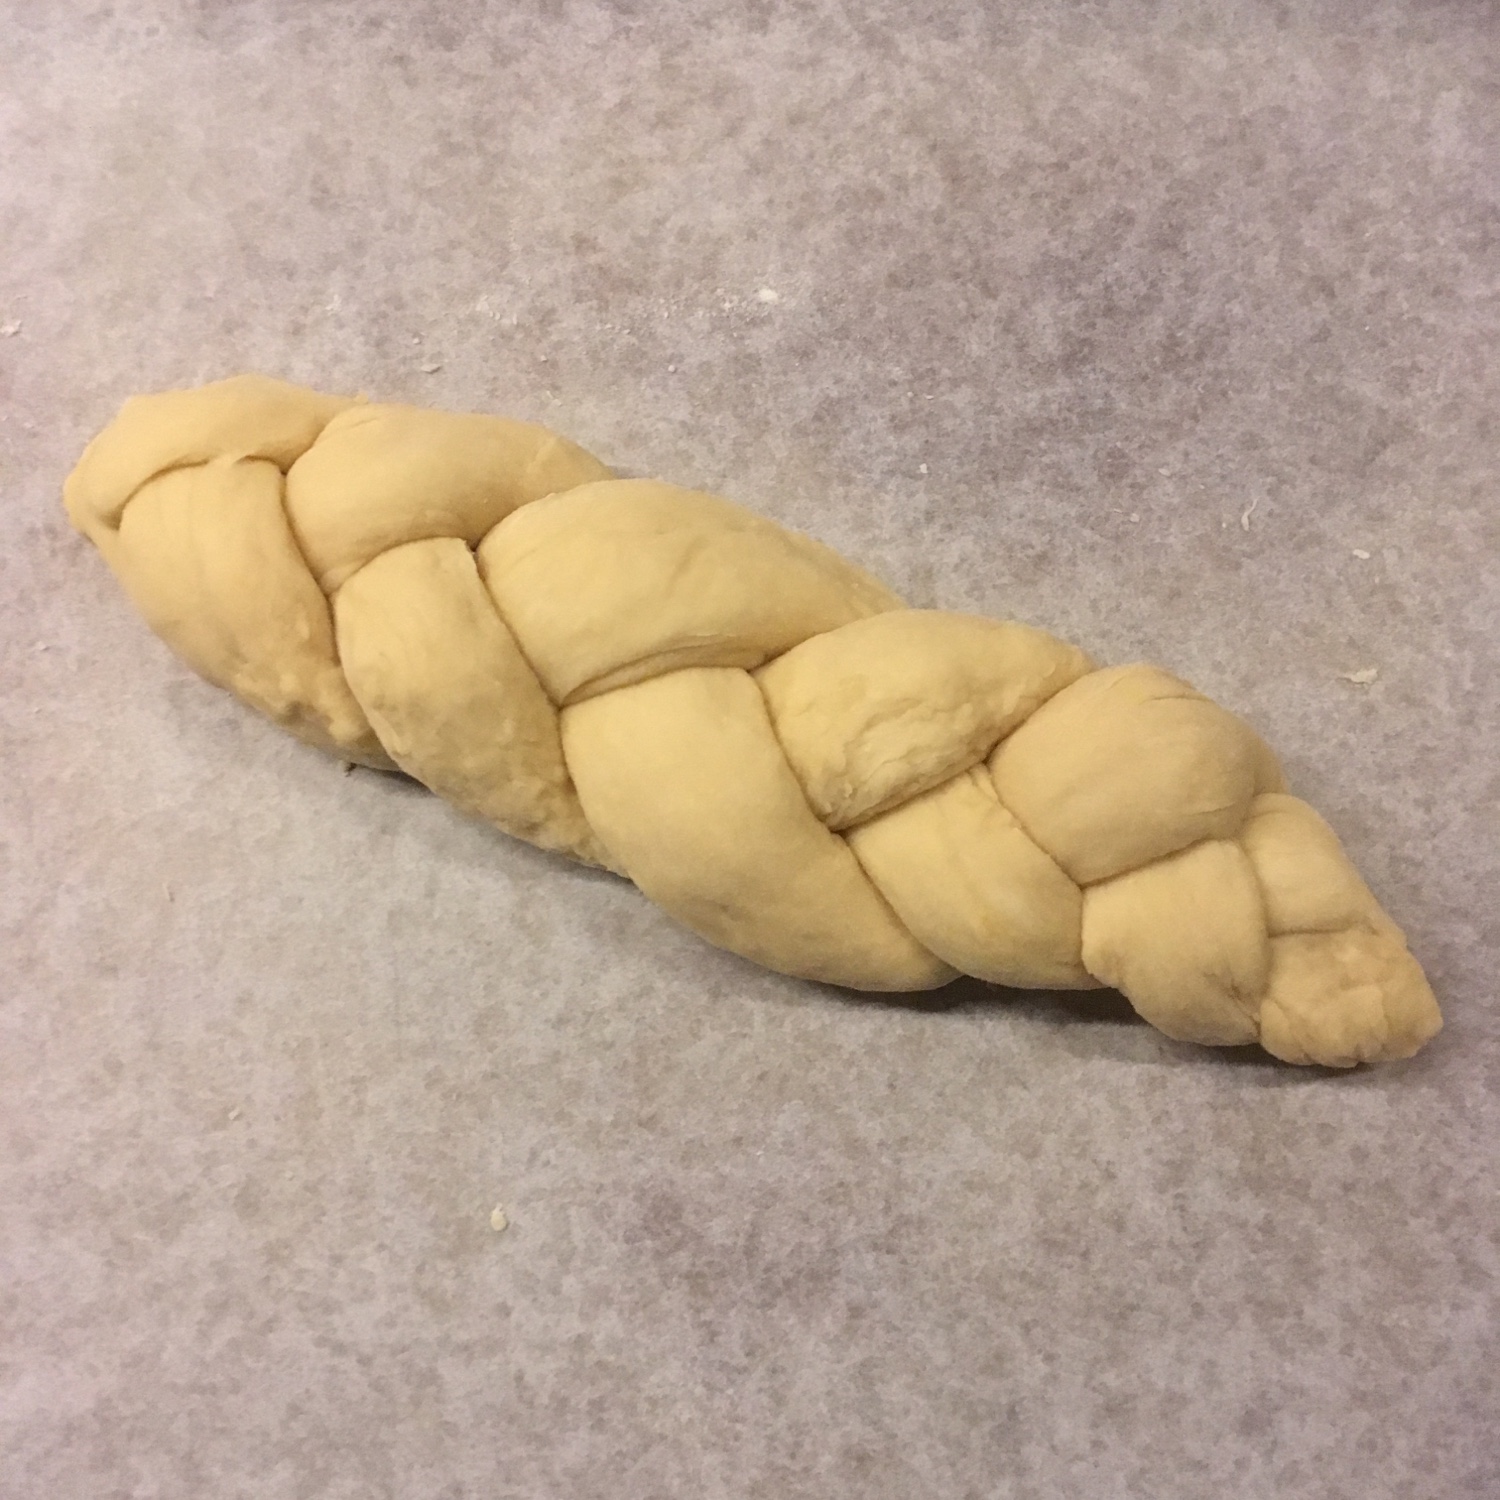
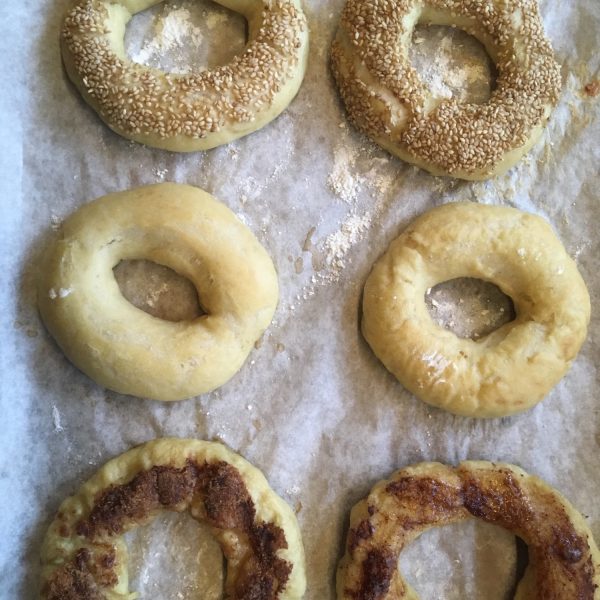
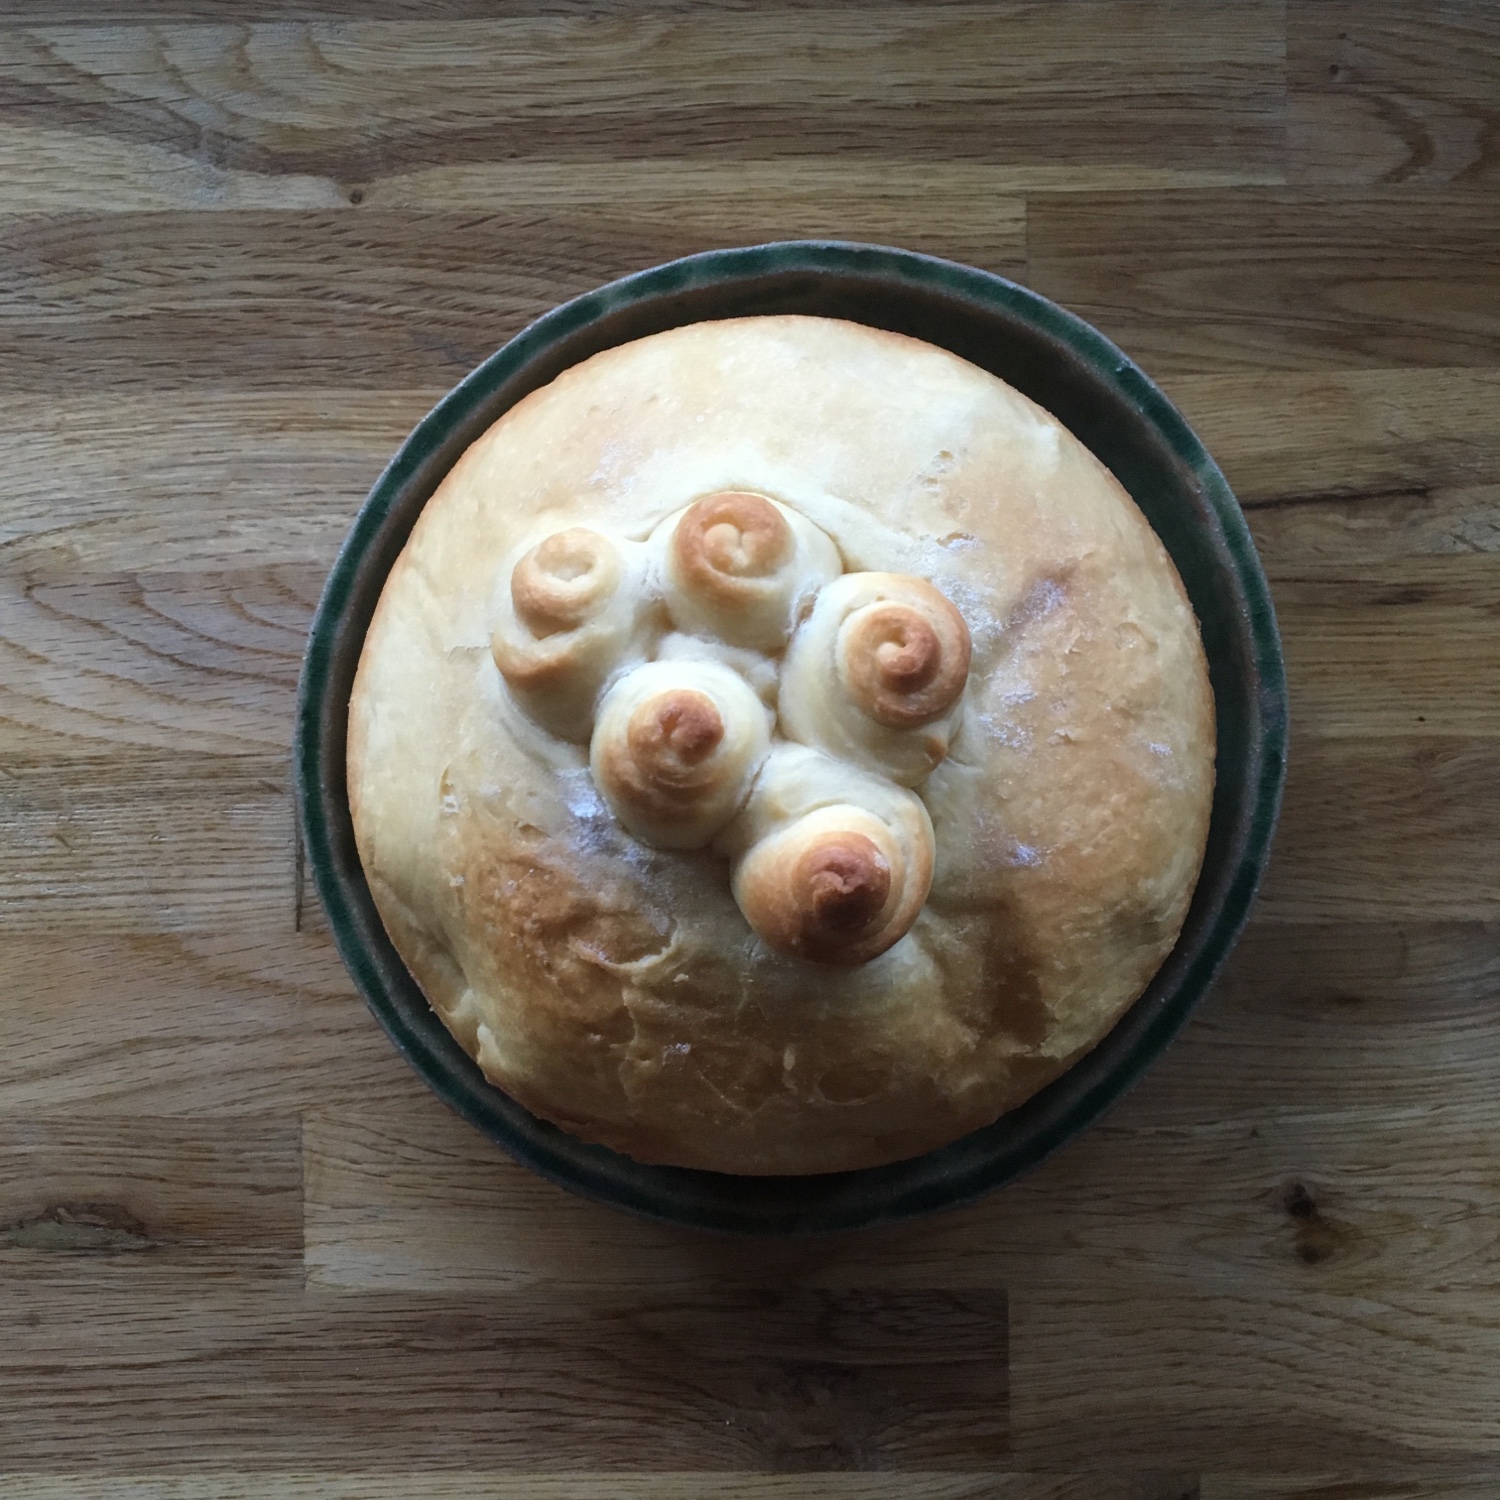
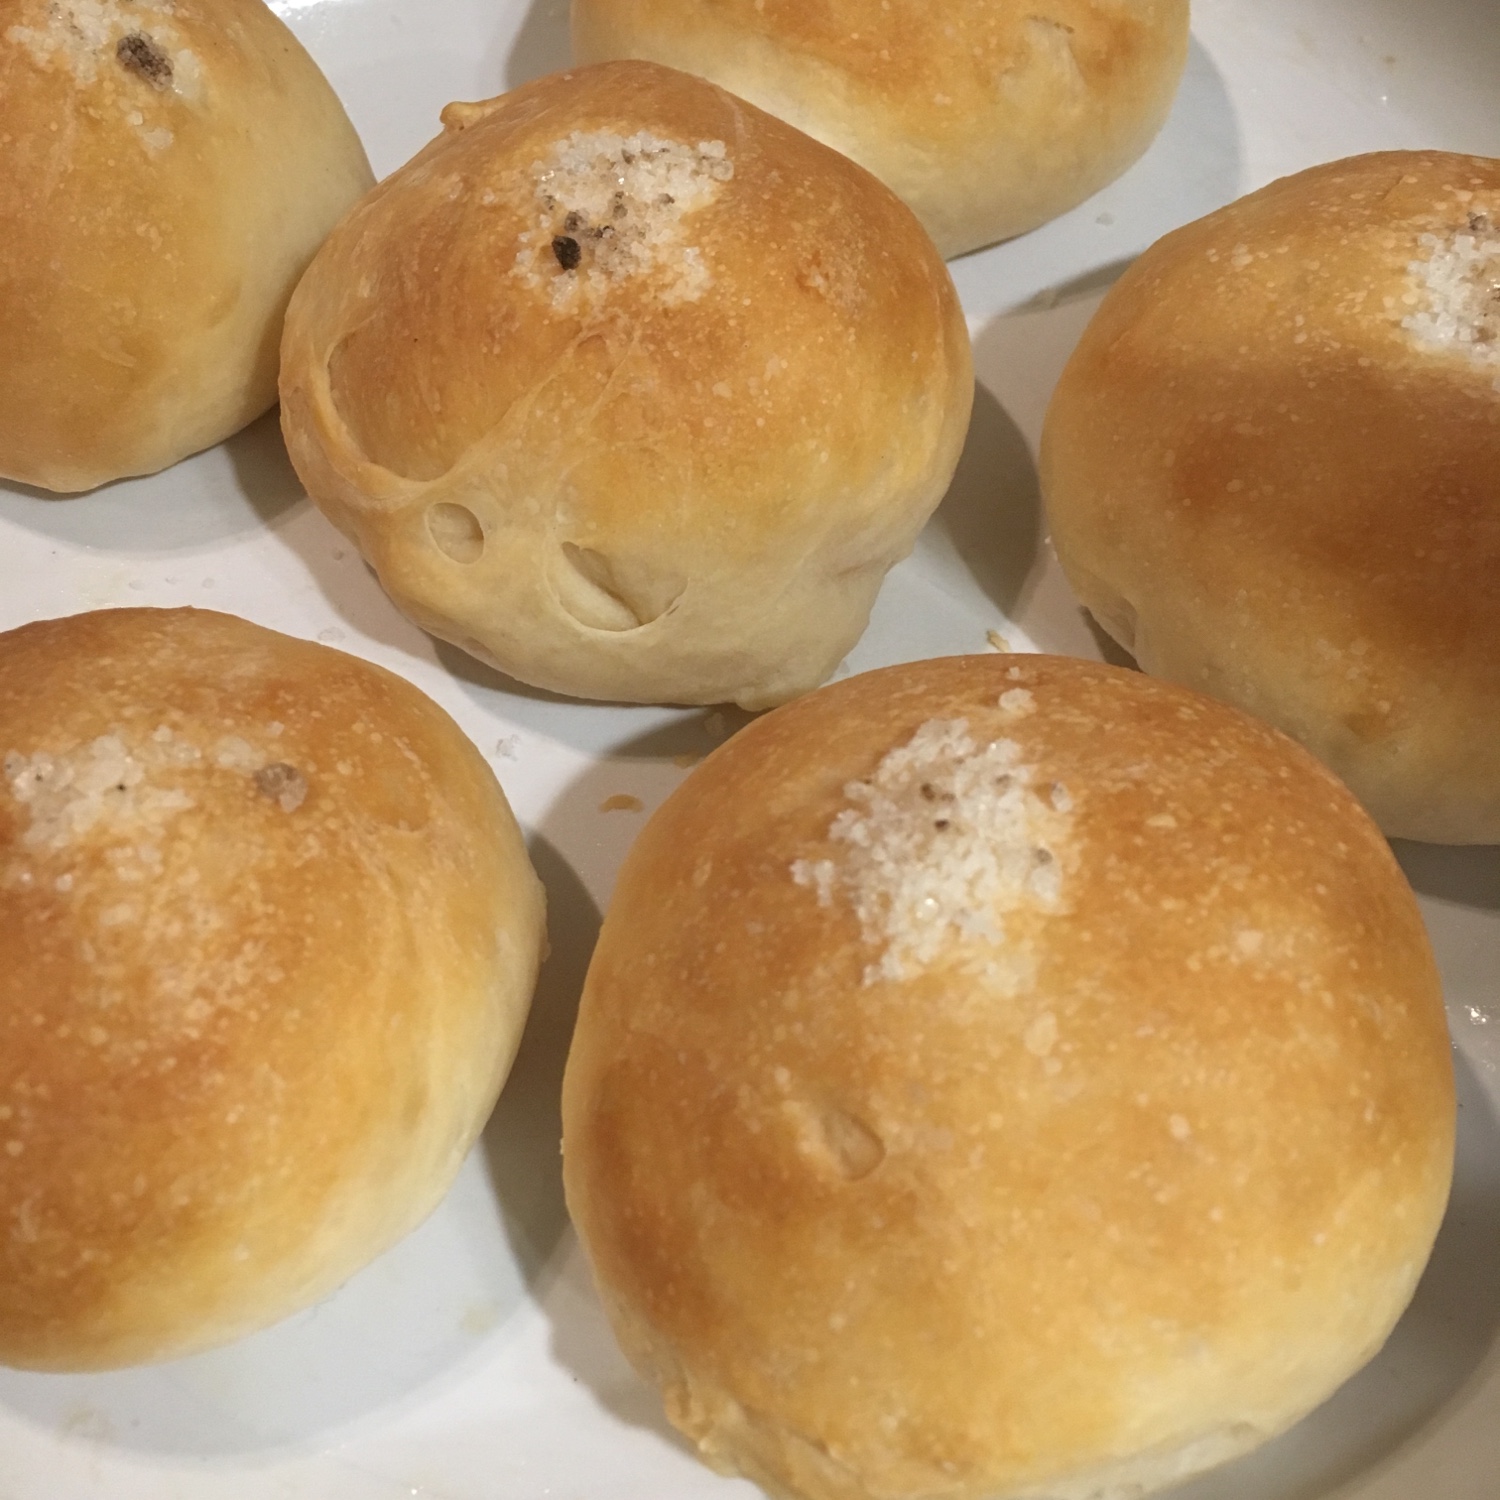
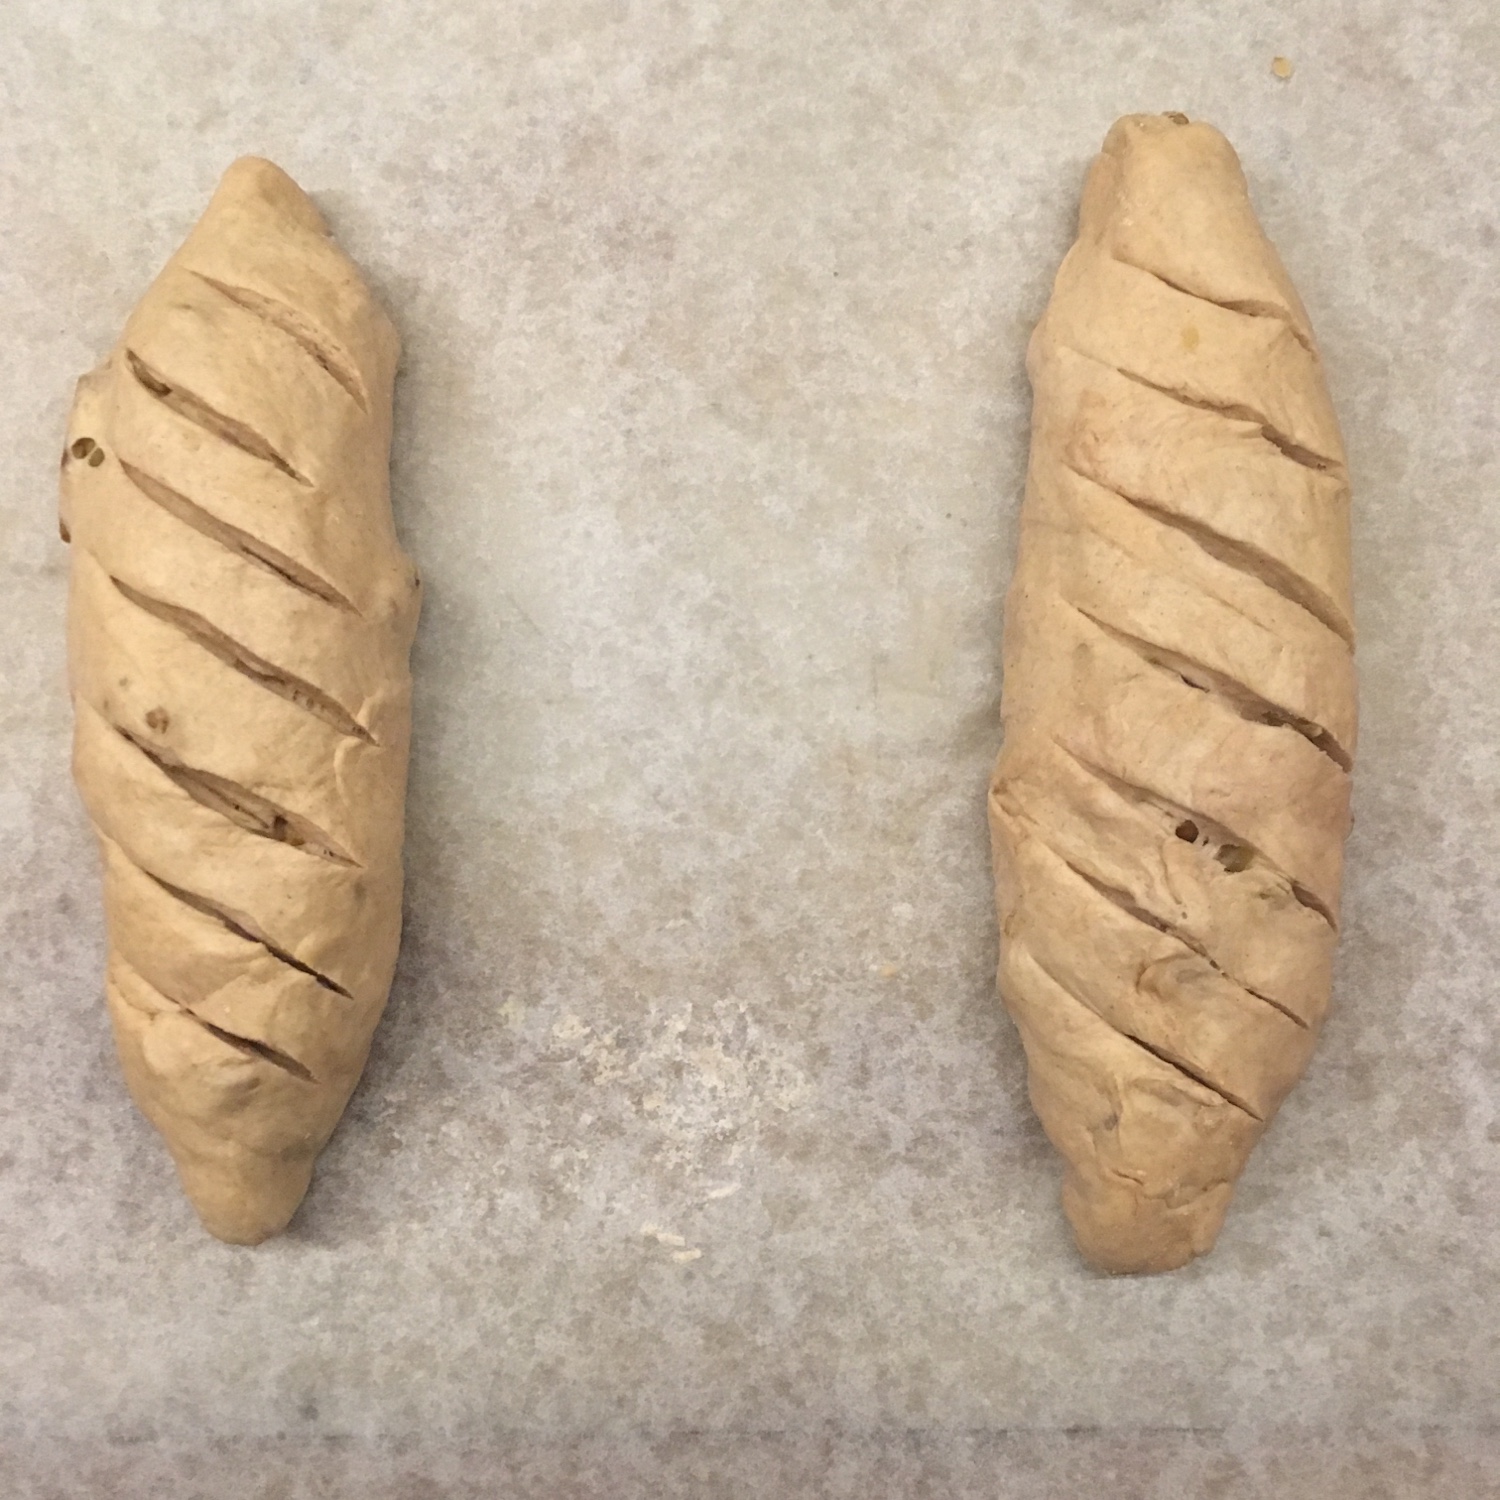
Once the dough has risen, using flour to dust I move it to a sheet of cooking paper. Then flatten it and cut in 3 for long braided bread, or 4 for the round ones. I roll them into 20-40cm sticks to make the strands, and start braiding. The 3 strands, braiding is obvious, and don’t need a picture. The 4 strands in circle, it is a little more tricky but not much actually, it’s just that you have to twist and turn 90deg, go up the first strand and under the second. The braids don’t have to be too tight, as the dough will rise again.

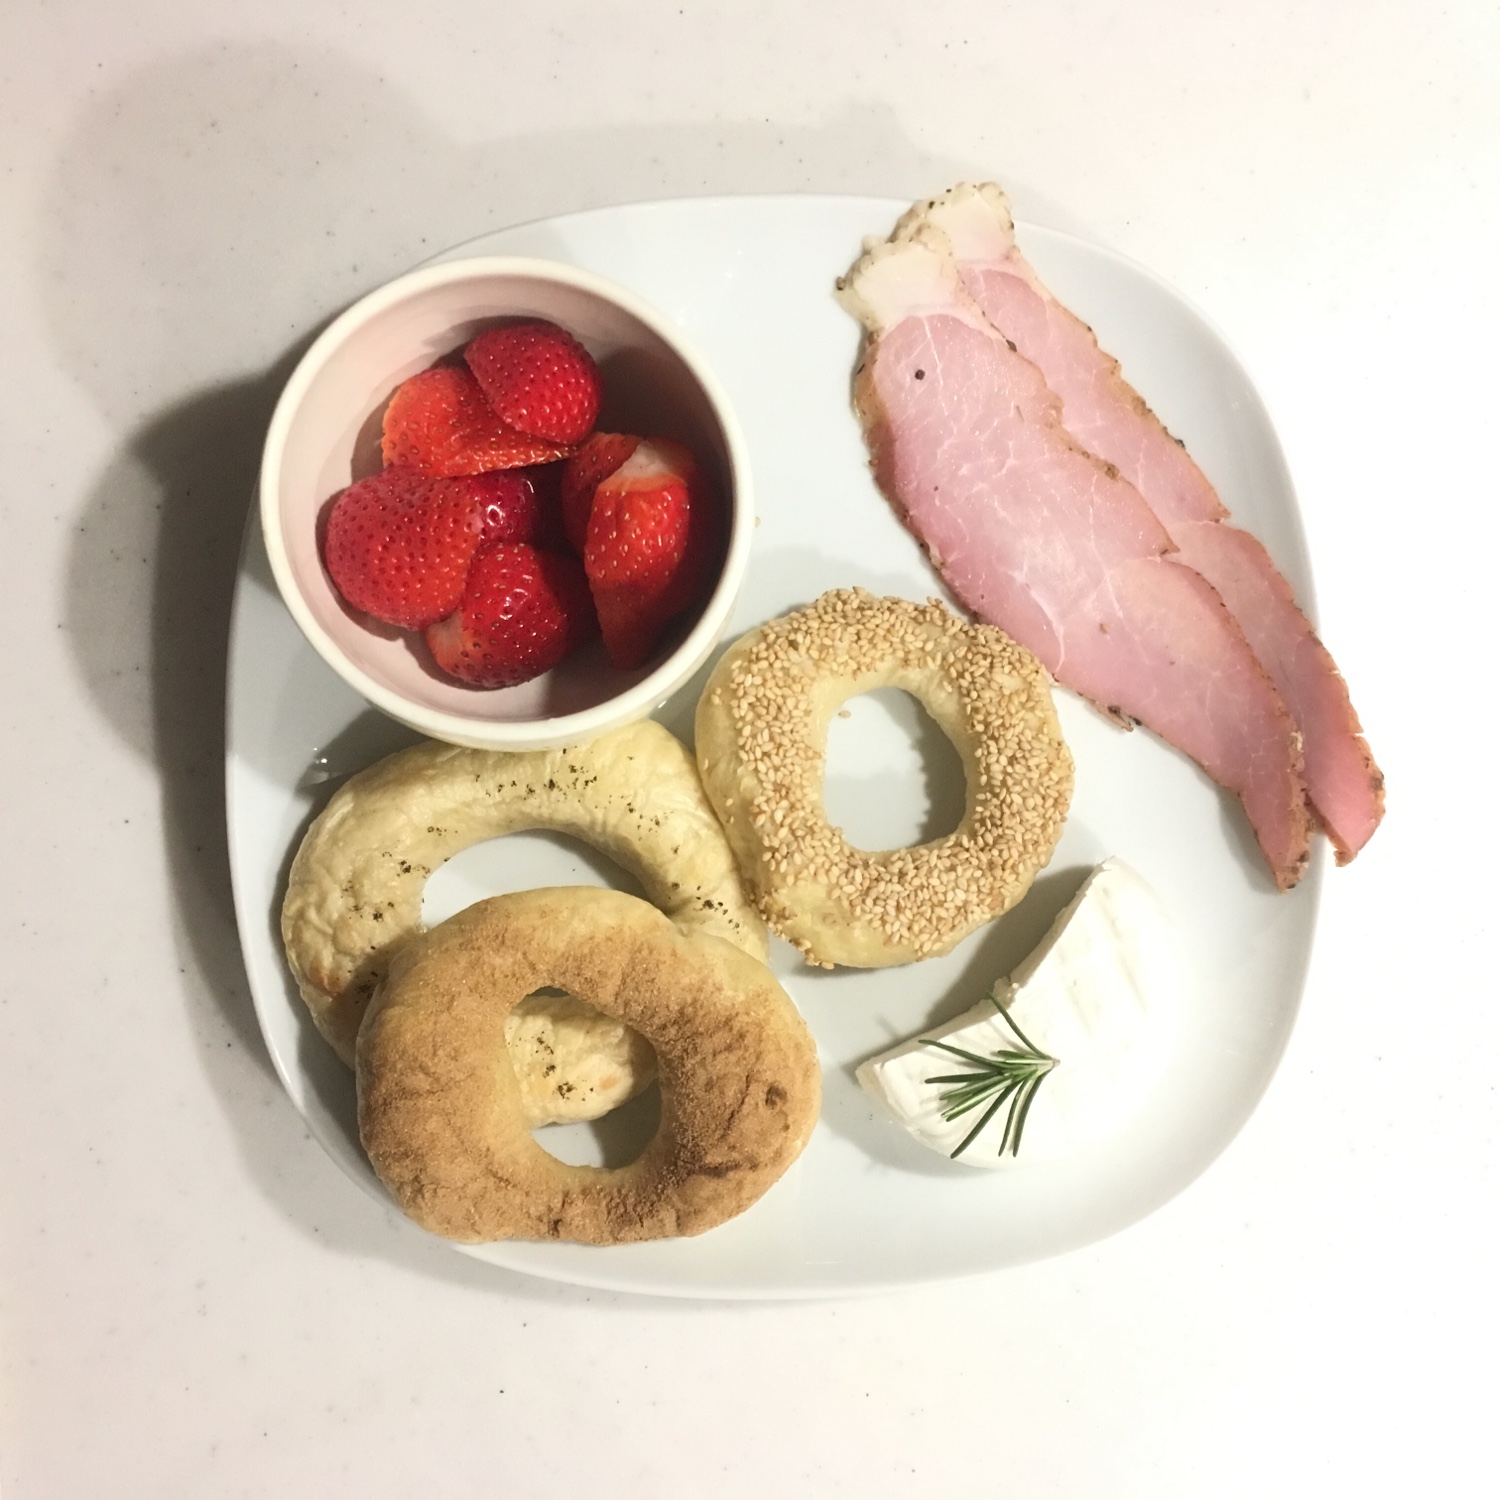
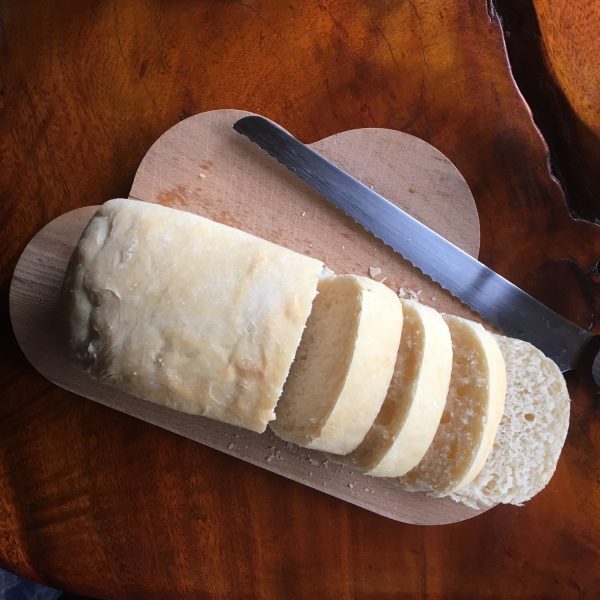
Leave for the second rise about 45-60minutes and then bake at 180deg for 20-25minutes, or until golden. Don’t over bake, it will make the brioche too dry, in particular if, like me, you like to eat it warm, and plan to warm it up in the oven before eating if you don’t eat right after baking. Oh… and I don’t use egg wash and they always come out perfectly golden.

Vegan bagels

I love bagels a lot, but for some obscure reason I almost never make and bake any, hence my last posta about bagels is almost a year old…

So when I saw a recipe in my bread in 5 book, I just wanted to try it. What’s different from the previous one? Basically that it starts like regular bread, in which a little of oil is added to the dough, so it is vegan, the rest is pretty much the same. I kept my way of shaping them rather than the one in the book and same for cooking them. Bread in 5 boiling time was too short for my bagels, I kept with my previous cooking time.

The result was really bluffing. A little less sweet and buttery than with my old recipe, but with the same base I can also make focaccia and fougasse, because I used olive oil. So it makes the preparation very versatile. Of course the boiling and baking of bagels is a little extra effort, but so much worth it… with Isumi smoked ham and the new cheese factory (I’ll talk about this later) cheese I tested this weekend… perfect!

Vegan bagels (makes 6)

– 250g of flour

– 125g of tepid water

– 5g of yeast

– 7g of salt

– 15g of olive oil

Mix all the ingredients, and leave for the first rise for 2-3h at room temperature. When almost double in volume make a ball and cut in 6 pieces. Make 6 balls. Plant your finger in the middle and roll around your finger like a hula hoop until the hole is about 3cm. Leave to rest for another 30-60min. Prepare a pot of boiling water. Roll around your finger before plunging them in the boiling water. Don’t boil more than two or three at the same time. It’s better they don’t touch each other. Cook 90sec on each side and drain. Then roll them in what you want: sesame or any seeds, sugar, spices… bake for 15min at 200deg.

I don’t use egg batter but you can…

Enjoy!

Bread for every mornings

Earlier in December as I mentioned in my first post this year, I discovered a book thanks to Giulia @ Julskitchen that makes the promise to prepare fancy breads in 5min. I was skeptical at first but also curious so the only option was to try by myself a few recipes and see how it was actually feasible on regular working days. So during the holidays I started to get familiar with the processes and this week I have used the recipes and method non stop for breakfast mainly, sometimes dinners. So here are my thoughts and findings after almost 2 weeks of using the book bread in 5 on a daily basis.

First of all yes! it is undeniably making bread baking really easy and despite the rises that take time, but that is inherent to bread making and I didn’t expect to have this time reduced, it really takes 5min for most of the recipes to mix the ingredients and shape the bread(s). I tried both with fresh yeast and dry yeast and it is equally working well. I didn’t try with sourdough yet…

I have tried recipes for the classic breads, milk bread, brioche, panettone… I must admit that of all the brioche was really bluffing and when I remember how much time and effort it took me to knead my first brioche and that the result was so so… I can only recommend to use this recipe for people new to kneading and baking. I will definitely use the recipe again and again to make brioche for breakfast when we have friends over.

As I mentioned in my earlier post the breads are simples and can be easily upgraded: this morning I added vanilla, I made walnuts rolls, or salt rolls for dinner… but they are not French breads with a thick and hard crust, I never managed to obtain anything close and I don’t think it is possible. It is totally fine, you just need to know that. Rather the breads are fluffy but very nourishing and soft. A. told me they looked like breads his mom made with a bread machine once… I never really had bread from bread machine, so I couldn’t say… I finally enjoyed them more as individual rolls than bread to slice.

The one thing that was a great learning for me was the conservation of the dough after the first rise. Knowing that you can keep it refrigerated for up to a week was quite a finding. Though I found it worked well with breads with plain ingredients, I liked it much less for breads with butter, milk or eggs… in particular I found that after 3 days the milk bread I made had a stronger fermented taste that I didn’t like much… personal preference I guess… I also wonder if keeping the dough that way works with kneaded doughs… something I need to try to find out. Because for me the kneading part, in particular for French breads is actually something I like to do on Saturday evening. It is relaxing and a time for reflection that I need in my busy schedule. Some meditate and run… I knead and garden… yet having freshly baked bread on the breakfast table every morning is just fantastic… and it’s even easier than pancakes, once in the oven there nothing to do… oh! And there are many recipes of braided bread, something I find quite beautiful when well done…

So bread in 5 was a revelation for me but I need to adjust it to my habits and liking!!

A week in the clouds – yogurt cake

December is going in a flash this year… busy days leave room to busier days and the gloomy and cold weather adds to the impression of being overwhelmed. The weather reminded more of Parisian winter than that of Tokyo, giving an awkward feeling, and missing the fireplace very much. My head has been in the clouds lately, a lot to think about at work, the plan for constructing something on our new plot of land, the cat that we haven’t seen in 3 weeks and who haunts my dreams… but finally today the bright sun, the Mount Fuji fully covered with snow now, and the crispy morning air seem to remind me that we are in Japan and that things ought to be taken as they come. Nonetheless, a healthy, warming and nourishing breakfast is always a great way to start the day, and with all the big apples I had seating on my kitchen counter I wanted to use them. After debating about an apple pie, an apple tart or an apple cake, I finally opted for a lighter and healthier option: an apple compote and a yogurt cake. The compote with me is easy, I peel and chop the apples, put them in a pan with a very little bit of water and cook at low heat until they have soften. I don’t add sugar, sometimes a bit of vanilla or spice, but I was in the mood for simplicity, so added nothing. The yogurt cake is like the pound cake, of of this recipe that I have learned at primary school and I have kept making ever since. It is so simple and so easy to eat and it keeps well, I love it for breakfast when in a rush. Here is my recipe as I remember it… the units are the yogurt packaging.

Yogurt cake

– 1 yogurt (100-125g)

– 3 units of flour

– 1 unit of sugar

– 2/3 unit of vegetal oil

– 3 eggs

– 1tps of baking powder

– vanilla

In a bowl stir all the ingredients until creamy. In a greased pue dish pour the mix. Preheat the oven to 140, bake at 140 for 15 minutes, than raise to 160 and bake another 15min or until a knife comes out clean. That’s it!!!

Walnut bread

After a few weeks without kneading and baking bread it was time to get my hands in the dough again. First wanted to make a rich brioche for breakfast since it has been chilly the past few days… but then I realized I had no eggs… so I opted for bread… but I wanted something a little different than the usual breads I have made last month. I chose a walnut bread, slightly sweet and soft, from my Kayser bread making book, one of the few that I hadn’t tested yet. So I started preparing for it, measured the flour in a bowl, add water, salt, sugar and yeast… but before I could start kneading or carpenter arrived to talk about the plan of our next project, so I had to leave the dough. After about an hour later when I started kneading I felt things were doing really good. The dough was easy to knead, it became very soft and smooth. And since the house was rather cold I decided to use a trick I used once or twice in the past and that seems to be the best way to guaranty a temperature that will allow the dough to raise in a proper time: I put hot water in the sink and leave the dough in a metal bowl just floating around. After 2h the dough had perfectly risen and was ready to be prepared for the shaping. The dough had risen so well that shaping it was perfect and the second rise went very well. I finally baked the breads, but not until golden because I like to eat my bread hot in the morning just out the oven, so I keep the baking to perfection for the second baking round. And the result was exactly what I wanted: a very soft bread, with a thin crunchy crust. Overall, the waiting before the kneading and the rise in the warm water just made the though great! Two tricks that I will try again for sure!

Here my recipe for the bread:

Walnut bread (for two breads)

– 250g of flour, I used 2/3 of white flour and 1/3 of whole wheat

– 115g of water at 20deg

– 20g of sugar

– 8g of salt

– 6g of dry yeast

– 80g of loose walnuts kernels

In a bowl mix the flours, the yeast the sugar, the salt and half of the water. Mix well, add the rest of the water and knead until soft and smooth. Add the walnuts. I didn’t crush them, I prefer having them as whole. I kneading in a metal bowl for better heat conductivity. Then I leave for 2h in the warm water. After that shaped two balls with the dough, waited another 30min before shaping the two breads and waiting 90min at room temperature (about 16deg in our house). I finally baked 18min at 230deg. Took out of the oven when ready and let cool down. I put in the cold oven and baked at 180deg for 10min in the morning just before eating.

Dough at half time of the first rise
Shaped and ready for the second raise
Breakfast ready with hot bread, homemade persimmon jam and enjoying the fall colors in the garden

Cake

When I was in primary school once in a while on Monday afternoon we would have a class where we would do pottery and other crafts and 2 times we cooked: once yogurt cake, and once pound cake. My mom kept these recipes in her classic cookbook for easy recipes that we would use when I was a child to cook together. I did so many of these yogurt cakes, pound cakes and clafoutis, far breton etc… but pound cake was one of my favorite. I love infusing the raisins with rum and drink the remaining juice. It was always a great family hit for tea time. Now I don’t infuse raisins in rum anymore because I can stand alcohol, and it’s been a while I didn’t bake a proper pound cake. But the other day I was planning to make a panettone and bought some raisins for that but then postponed the idea… yet I thought it was stupid to have bought this panettone mold in Italy last year and not using it… so I decided to bake something that would/could pretend being a panettone but that takes so much less time! The pound cake then appeared as the best option! Perfect for a breakfast on the run, as we had to go to sign for our new piece of land!!

Pound cake

– 200g of flour

– 100g of sugar

– 1tsp of baking powder

– a cup of raisins

– 80g of butter melted

– 3eggs

Rehydrate the raisins in hot water, then drain.

In a bowl mix the flour and the baking powder, then add the raisins and coat them well with the mix. Add the sugar, the butter, the eggs and stir well to obtain a creamy dough. In a greased mold pour the dough and bake for 30min at 150deg then at 180 until a knife comes out clean.

Sea day

I really like that in Japan there is a holiday for the sea day (and now one for the mountain too!!!). I think it is beautiful to celebrate things from the nature that concern everyone and that is not even nationalist. Sea day also marks the debut of the beach season, that lasts only a short month. Beach season meaning that this the time when there are lifeguards and protected swimming areas, and beaches get more crowded (though it has nothing to do with French crowded beaches in the riviera!!!). But for us it means that we avoid the beach between 8:30 and 16:30 and go early in the morning or at dusk when it is much less crowded. And it’s been good this year as it synchronizes with the high tides.

Sea day usually also marks the end of the rainy season but this year actually it was over much before and we’re having a heat stroke earlier than usual. This completely decreases my wish for cooking because all I long for is chilled melon, tropical fruits (they grow delicious passion fruits in Isumi!!!!)… and simple fruits clafoutis.

I found some beautifully ripen apricots from Nagano and plenty of blueberries from Isumi and made a simple clafoutis for our breakfasts that we can eat in looking at the garden or take with us to the beach after our morning swimming and bodyboarding, not that the waves are too good though…

What is your favorite recipe for the hot summer mornings?

Japanese plum: sumomo

When one Japanese plum (sumomo – スモモ) tree in the garden suddenly decides to produce dozens or hundreds of fruits… so many that it becomes annoying… the only option is to give away many again to friends around (they’ll start to get annoyed too!!!)… but when it’s still too much the only option for me who is not very good at making jam and preserves is to make nice breakfast clafoutis, tarts and crumbles with plenty of fruits…

For clafoutis and tart, I use very simple basic recipes. Crumbles, I don’t bake often. Too buttery and rich for breakfast usually, so I tried a new version. I replaced the sugar by a mix of flax seeds and dates and added butter little by little until the texture starts being crumbly but rather dry. The result is an amazing crumble perfect for breakfast. Not too sweet, but just enough to compensate the acidity of the cooked fruits. A crunchy soft crumb not oily. Something to make again for sure!

How do you cook your extra fruits???

Cherries

When I was a child, every year for mother day, which in France is at the end of May, we would go to my grandparents country house in Le Castelet to have a family lunch. From those lunches I remember catching tadpoles in the small stream that was running down the garden and picking cherries in the giant cherry trees near that stream. The trees were so old and big that we could spend the whole day in the trees picking and eating cherries, there would still be so many left. For me, cherries are great eaten from the tree, big, ripe and juicy Burlat or from the market stand. I love to keep one seed in my mouth for hours and work it like the sea would work a pebble. Since we’ve been in Japan it’s been quite hard to find cherries, and cherries by kilos like you see them in the south of France or in Italy… the only cherries you can find are from the US, or the local ones are from Yamagata and are sold by the handful, not more. They have different varieties of cherries from dark burgundy to almost white, large or small. I still love them large and almost black! I don’t buy cherry often but when I do I usually prepare them in clafoutis, and when I don’t have enough for one clafoutis I mix them with other seasonal fruits.

I find that clafoutis are the perfect option for breakfast on a rush as they combine both fruits, carbs and protein, and they are easy to eat when not yet really awake when we wake up early. They are also easy to eat on the go because there easy to wrap. Perfect for breakfast on the beach after a morning swim or a bodyboarding session.

I wish you a great week and love to hear how you like your cherries!

Proudly powered by WordPress | Theme: Baskerville 2 by Anders Noren.

Up ↑

Verified by MonsterInsights