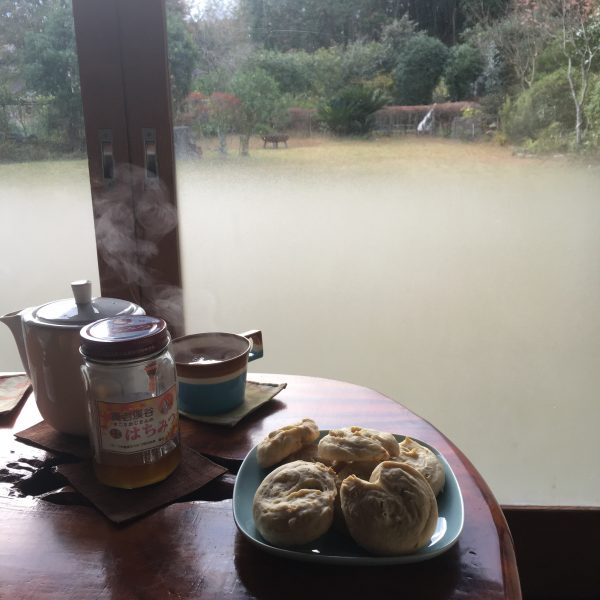
Tarte au chocolat

Every year, for more than 20 years I have made a strawberry tart for A.’s birthday. With a birthday in the prime of spring I always thought it was a great moment to celebrate strawberries and A.. Many times waiting for the cherry trees to bloom. This year, the cherry trees are in full bloom already and I always thought traditions are meant to be changed or twisted when opportunities are there.

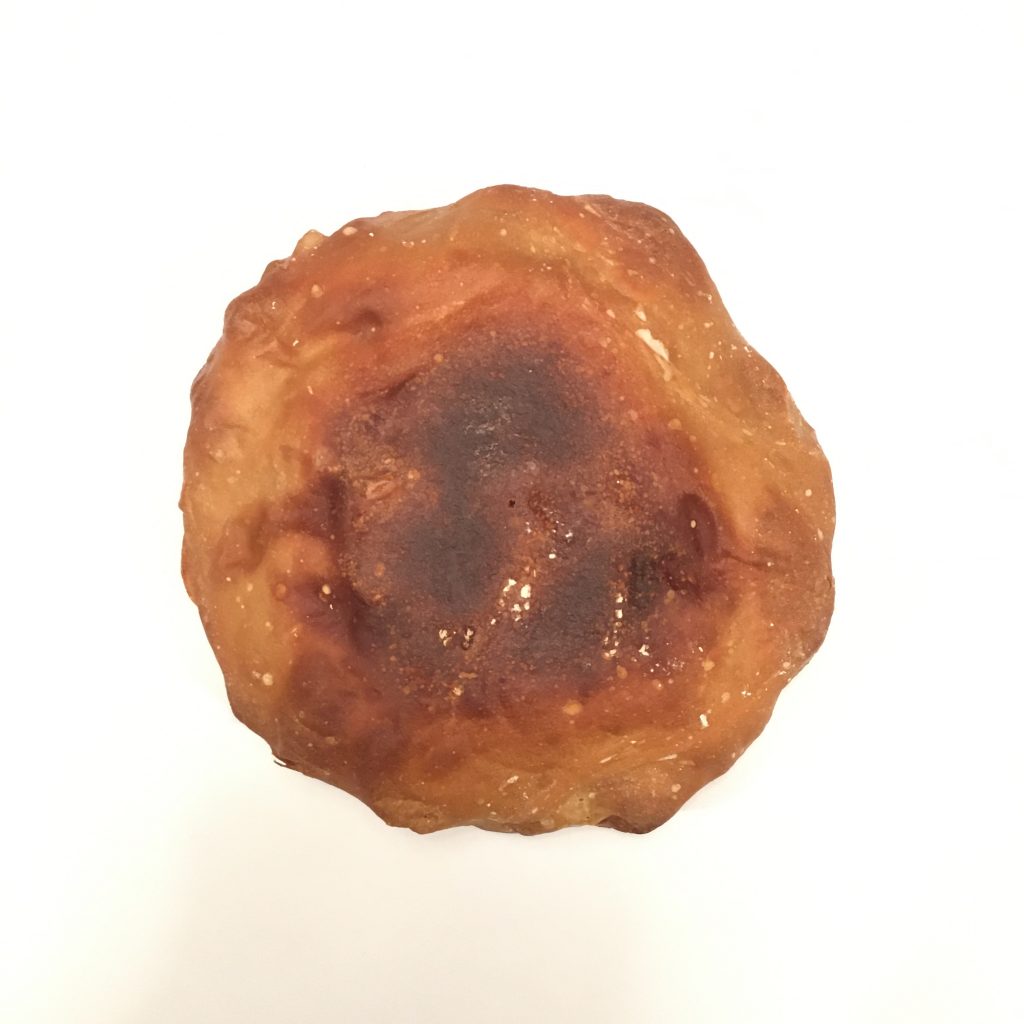
Two weeks ago I received a little package from France, from my childhood friend M. with a little cookbook and some bean to bar chocolate from a shop in our old neighborhood in Paris: Plaq. M. knows very well how much we love chocolate and well sourced products, together with a delicious bar of chocolate there was also some cocoa to cook. A.’s birthday strawberry tarts was all forgotten and it would be chocolate tart instead.

The plan was, and I browsed a few recipes online to get an idea of how to make the chocolate filling. The whole thing is very simple and requires fresh cream, so since the morning I had on my mind to buy some, except that we went grocery shopping we were on a rush, a bit more traffic than expected on the road, and A. was about to be late for a meeting. So fresh cream I forgot… damn… Hopefully I had some coconut cream so I decided to replace the fresh cream with it, and it added a very gentle twist in the taste, without being overwhelming. So met me share my recipe, I hope you’ll like it, we did, and it is soooo simple that I wonder why I never tried earlier!
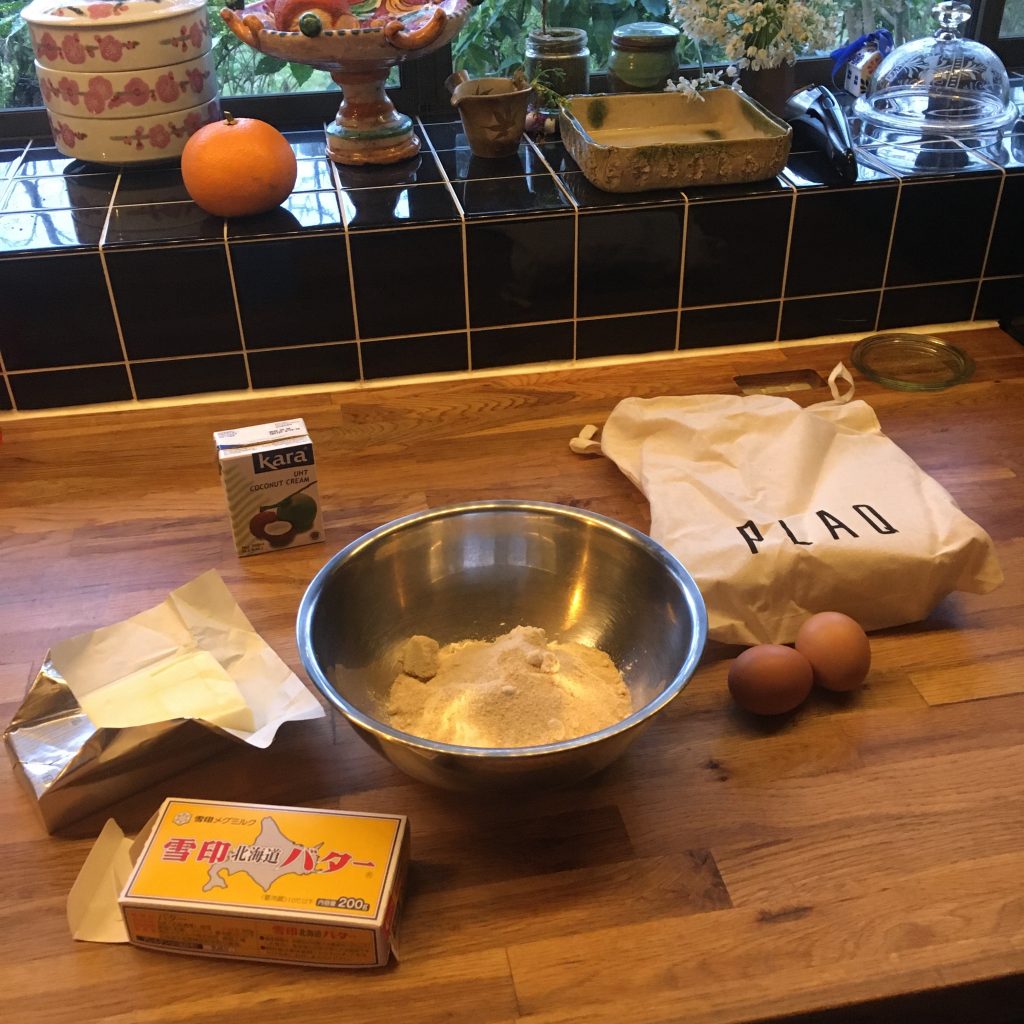
Tarte au chocolat (makes 6 servings)

  • Flour-butter-sugar for the dough
  • 150g of chocolate, dark, for cooking or of cacao powder
  • 200ml of coconut cream
  • A bit of milk (if you use cocoa)
  • 1 egg

Prepare the sable dough the way you like it. I made mine very buttery and rather sweet as my cocoa was bitter and unsweetened. Set in individual shapes or a larger one also as you wish. With the cut parts I made sakura shaped little sablés. Cook at 180deg until just golden. Let cool a bit and remove from the pie dish if the bottom of the dish is not removable. Other with you may struggle once it if filled. Set on a baking sheet, as you’ll need to cook them again once filled.

In a pan warm the coconut cream and the chocolate or cocoa and stir until creamy. If you use cocoa you may want to add a bit of milk to make it creamier as it may bit a bit dry. But really just a bit. Stir well. Let

cool a bit and add the egg and stir again very well. Pour in the pie crust(s) you just baked. Decorate with the little sablés if you made any. Cook at 140 deg for about 15min, but this will depend on the size of your tarts. Best is to check visually: no bubbles on the side or very few, and when gently shaken it should look like an egg pudding (flan) and gently move. Serve warm or at room temperature. And enjoy!

Anise bread

Anise, fennel, star anise, and also cumin, carvi seeds and caraway seeds are some of my favorite seasoning seeds. Maybe because I grew up in the south of France where fennel grew everywhere on the path sides and it was so easy to harvest while admiring the beautiful shape of the flowers and the little white snails that would gather on the stems, that I used to call “colimaçon” but are in fact “caragouille rosee”, and chewing a piece of flower… or because of my grand mother homemade pastis, this very distinctive drink made from anise and also typical from the region. My mother would use ample fennel to stuff a fish we would have fished, and bake it with potatoes and tomatoes. A dish every one loved very much.

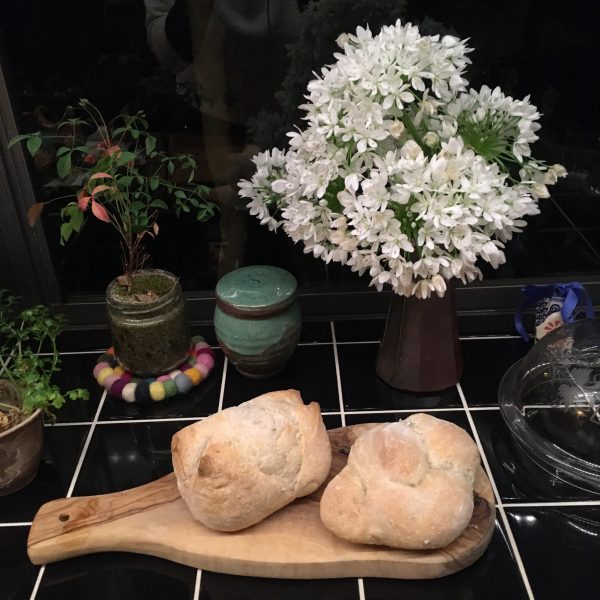
Funnily, in Japan this is not something so common. And I hardly have seen fennel growing anywhere in the wild. Maybe some areas do have some, or my eyes haven’t been opened enough. So most of the fennel and anise I use is either coming from my parents, or bought from the grocery. Recently I have bought quite a bit more often than usual, probably since we’ve been to Malta, to make Qagħaq tal-Ħmira… so I decided to use them to make straightforward anise seeds breads. Less elaborated than the Maltese breads and I was very very much please with the result. I must say that it is thanks to a very healthy sourdough and warmer temperatures. It goes like below for the recipe and I hope you will enjoy!

Anise breads

  • 300g of flour
  • 80g of sourdough
  • 1tsp of salt
  • Water
  • 1tbs of anise seeds

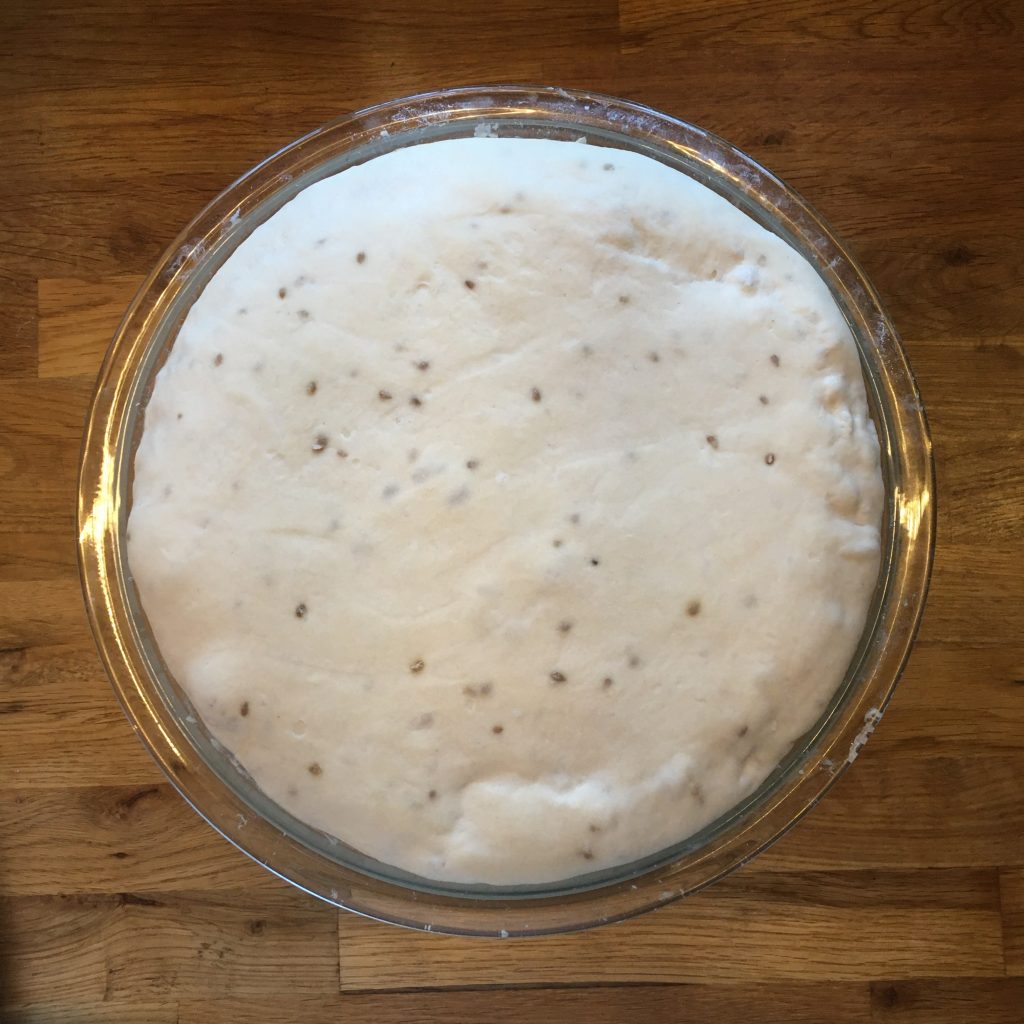
The recipe is simple as can be. In a large bowl mix the sourdough the flower, the salt. Add water little by little and knead to obtain a smooth dough. Add the anise seeds and knead a little further.

Let rest under a wet clothe until the dough grows. Mine was really growing happily.

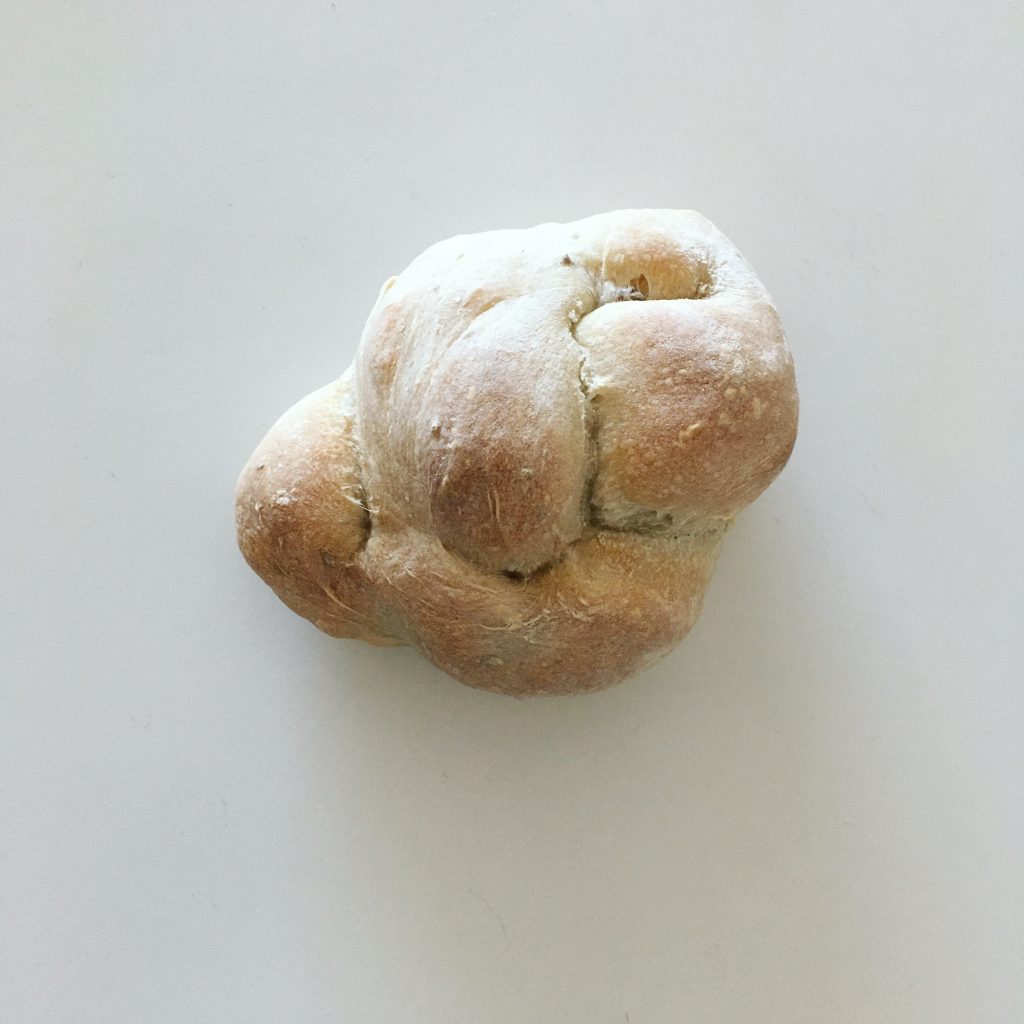
When quite fluffy move to a flat surface dusted with flour. Flatten the dough gently with your palm. Cut into 6 pieces. Make 6 balls. Then flatten and cut three ribbons and braid then. Leave to rest for an hour then bake at 240deg until golden.

Scones x Qagħaq tal-Ħmira

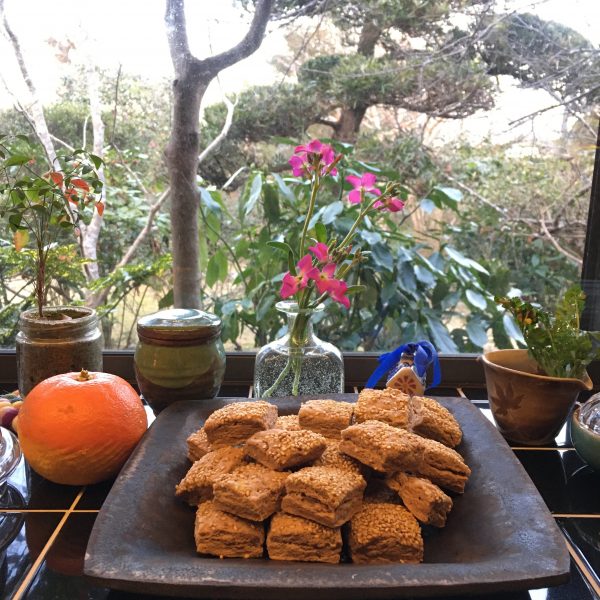
The very special blend of spices, citrus fruits zest and sesame seeds of Maltese Qagħaq tal-Ħmira is still floating around me and inspires me a lot, but it’s not always that I can wait for my sourdough Lois to work slowly a dough which in this still cold season can be 12 to 24 hours… sometimes we need something to eat, QUICK!!!! So I came up with a scone version of Qagħaq tal-Ħmira… it may be a blasphemy to the true Maltese tradition, so I apologize for this rather crude recipe. But to my defense, this scone recipe brings in all the flavors of Qagħaq tal-Ħmira in only 25min: 10min of kneading & shaping and 15min of baking. The softness of the famous slightly brioché bread is replaced by a more crumbly dry scone one. Add jam, honey or butter to it, or it alone in bite version… it is truly nice! Really!!! Try it and tell me what you think!

Scones Qagħaq tal-Ħmira way

  • 150g of flour
  • 50g of butter
  • 30g of sugar
  • 1tsp of baking powder
  • 1 pinch of salt
  • 1tsp of ground cloves
  • 1tsp of anis seeds
  • 1/4 of orange zest
  • sesame seeds for the topping
  • a bit of water or milk

Pre-heat your oven at 180deg.

In a bowl mix all the ingredients except for the last two: sesame seeds and water/milk. Start kneading. Add a bit of water/milk while kneading until you obtain a homogeneous dough. Roll to 3cm thick and top with sesame seeds. Roll a little bit thinner and be sure the sesame seeds are well incrusted. Cut to the shape and size you want, and put on a sheet of cooking paper. Bake 15min, and enjoy as soon as you like.

Isn’t that super simple???

Pain au lait

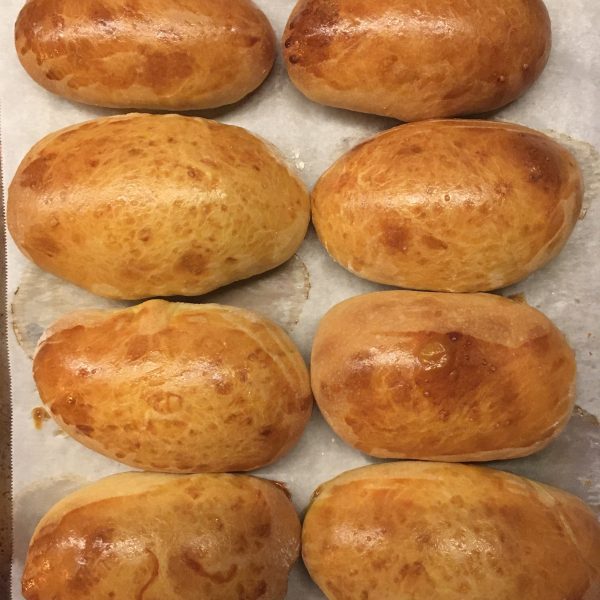
I’ve been baking a lot of breads these days but suddenly I felt like eating a variety of other baked things such as brioche, until A. saw a picture of a pan bagnat in a magazine and asked me to make one for him. I didn’t see the picture, and instead of thinking of the classic pan bagnat from the south of France, that you can eat in Saint Tropez or in Nice, in a kind of ciabatta bread, a little dry, I thought about the soft and melty version in a pain au lait, went straight to the kitchen and started making dough for pain au lait. I used to use the recipe from Kayser bread book, but decided to change, and opted for a mix and match version. The whole thing ended up in delicious, soft and tasty perfect little breads. And that’s when A. told me that the pan bagnat he saw was not in a pain au lait… 🙁

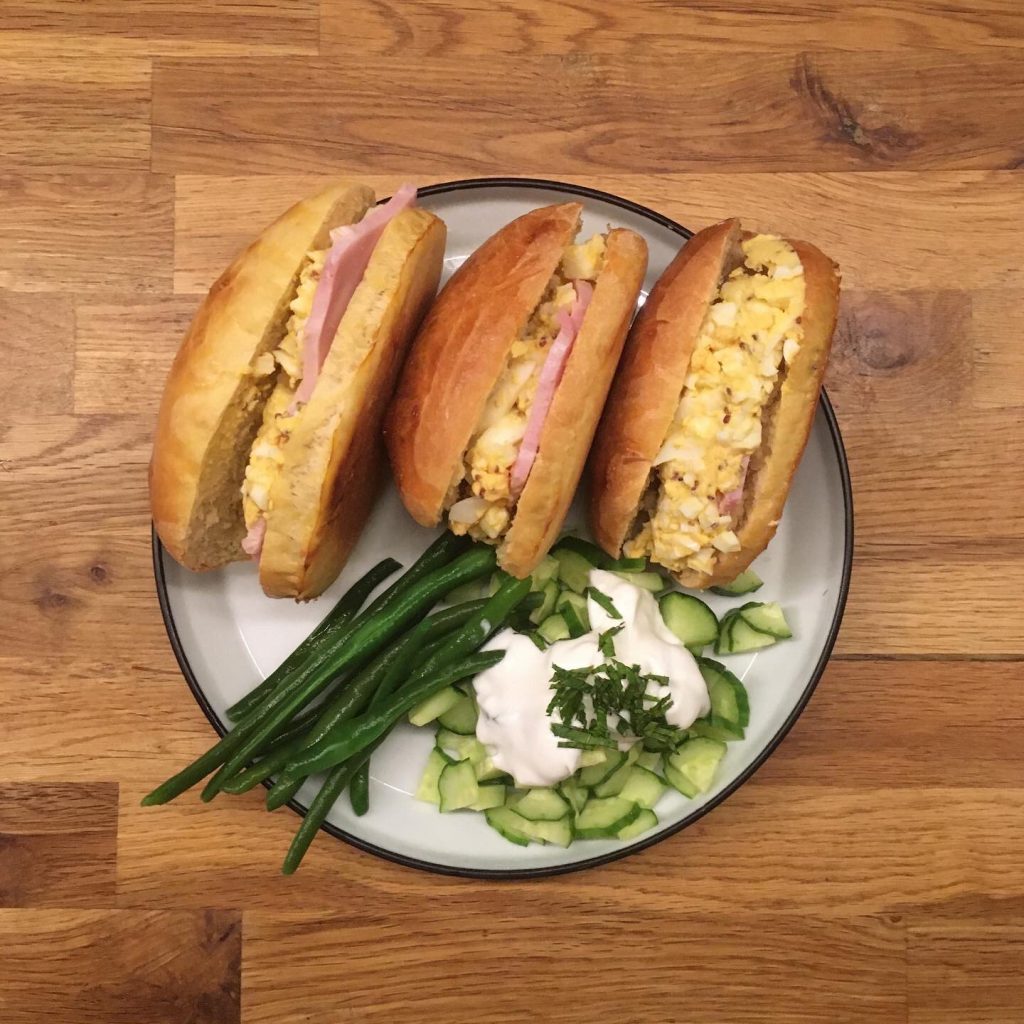
No problem I said, how about egg and ham sandwiches instead???

And that’s how they turned out… and it was damned delicious. So here is the recipe of the pain au lait.

For the egg sandwich filling, I simply hard boiled 3eggs, chopped them with a knife, add a table spoon of olive oil, a table spoon of mustard, that’s it.

Pain au lait (makes 8)

  • 280g of flour
  • 3g of dry yeast
  • 70g of butter
  • 35g of sugar
  • 100g of milk
  • 5g of salt
  • 1 egg + 1 egg optional for cooking

In a bowl mix the flour, the sugar, the salt and the yeast, add the egg and the milk and knead. Add the butter and knead until smooth and not sticky, it may take a bit of time. Let rest under a cloth until it almost doubles. You can flip the dough once in the meantime. Rising time will depend on your room temperature, your yeast, and the original temperature of ingredients. For a faster rise, use ingredients at room temperature.

Once the dough has doubled almost, dust your working surface with flour and the ball of dough. Flatten it and then make a rough oblong shape. Cut pieces of 70g-90g each, shape roughly in sausage. Don’t work too much the dough. And set on a sheet of cooking paper. Leave for 1-2h. Pre-heat the oven to 175deg. If you want perfectly golden little breads, use an egg batter. I you don’t care about the color, just spare it.

Bake at 175deg 10min then at 170deg another 10min or until perfectly golden. That’s it!!!

Have a good week!!

Edamame fougasse

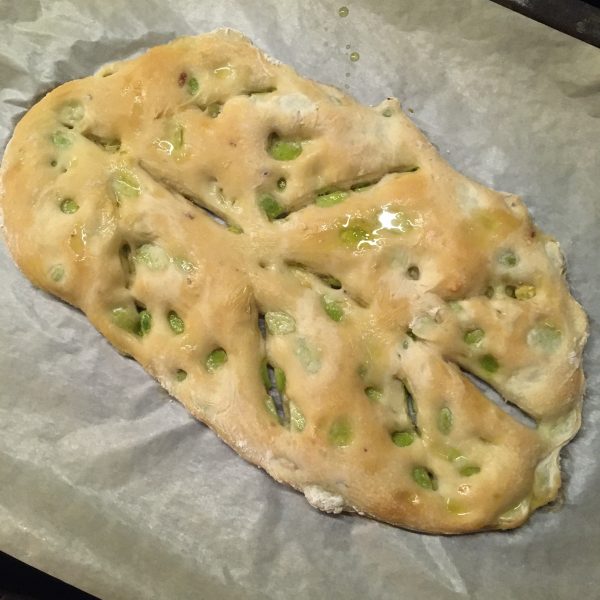
Ohoh! Exploring new possibilities with edamame will last the whole season!!! This recipe of fougasse came naturally to my mind as I love to bale fougasse for summer evenings drinks or summer lunches when I need something quick.

In Japanese bread shops you can sometimes find edamame and gouda breads, and I like them very much, but the idea of a simpler version (without the gouda for A.) and with olive oil and salt tempted me a lot, that the last batch of edamame I had was used to that purpose.

The result is really nice but my recipe needs a little improvements to emphasize more the edamame. So I am sharing with you the improved version but not tested yet… but I am sure it will be delicious.

Edamame fougasse (makes 1 bread)

  • 200g of flour
  • 3g of yeast
  • 7g of salt
  • Water
  • Olive oil
  • A handful of boiled, shelled and peeled edamame

I only use fresh edamame, so the recipe starts by boiling the pods in salted water. Once boiled and cool, shell and peel them. Add a bit of salt.

Prepare the dough of the fougasse: mix the flour, 5g of salt, the yeast, add 2tbs of olive oil, and water to obtain a soft, silky and smooth dough. Add the edamame and knead a bit. Let rest for it to rise. Once is has started to rise you can work it in the shape of the fougasse, and let rest about 30-60min depending on your room temperature.

Bake at 230deg until golden. When out of the oven spread a thin layer of olive oil and sprinkle a bit of salt. That’s it!!!

Bread in a pan…

Who would do that honestly???

I never thought I would… until we moved to our new apartment where the kitchen doesn’t have an oven yet and we are still not sure about the renovations we want to do and given the circumstances we prefer to wait a bit… I don’t see myself stopping telework, I’ve always loved it… and always hated train commute. Nor spending the whole week in the country, it would be too tempting to go surfing and work in the garden instead during the day… and I would start working at night…

So, no oven… I’ve tried to bake bigger breads on Sunday but they are so good that they barely last until Wednesday morning in the best of the best scenario… the rest of the week, I make pancakes… but I get board of plain pancakes, and nothing is better than bread (but croissants and pains au chocolat… but honestly they are just air and they feed us enough to not starve 2h later… and lunch is usually more 4 or 5h later…

Bread is the only option and I remember seeing recipe of breads in crockpot, in cocotte… so I was tempted to try. In Tokyo I have neither crockpot nor cocotte. I have a pan with a more less fitting cover… more less because my pan once felt and since then it is more an ovaloid than a perfect circle!!!!

The bread making and kneading is just the same as usual. The rest time also for the first rise. For the second I read that it can be done while the pot is heating, and I tested the first time, but for me it didn’t work, so I just shaped my bread as a ball, laid it on kitchen paper in the pan and waited 1h. Then turn on the gaz rather high and covered and cooked until the bottom was golden. Then I flipped the bread and cooked on the other side. It avoids the thick crusty bottom and the risk of heart of bread not well cooked, and that’s what made my second pan bread perfect.

Cooking bread in a pot may not seems straightforward but it works very well… and I was surprised about it!!!

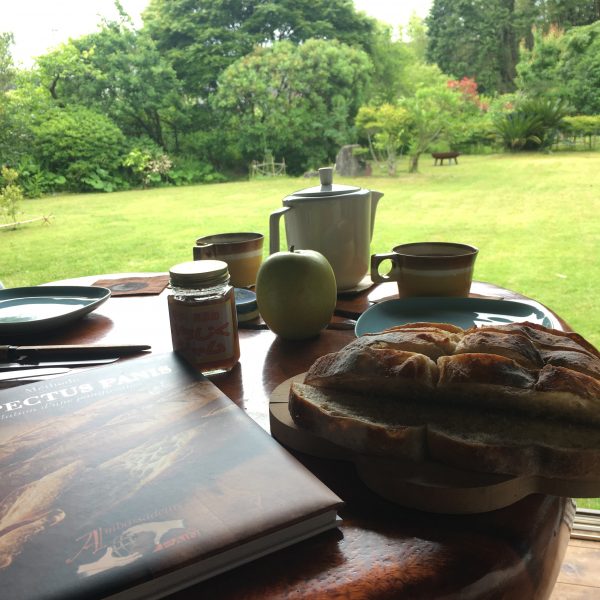
Respectus panis

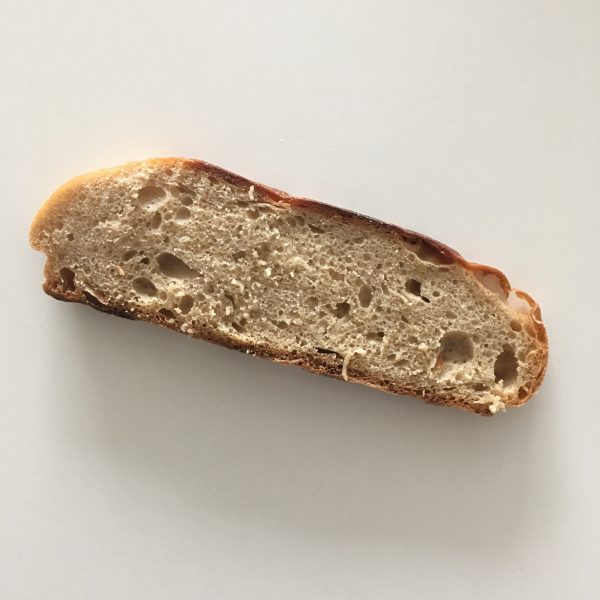
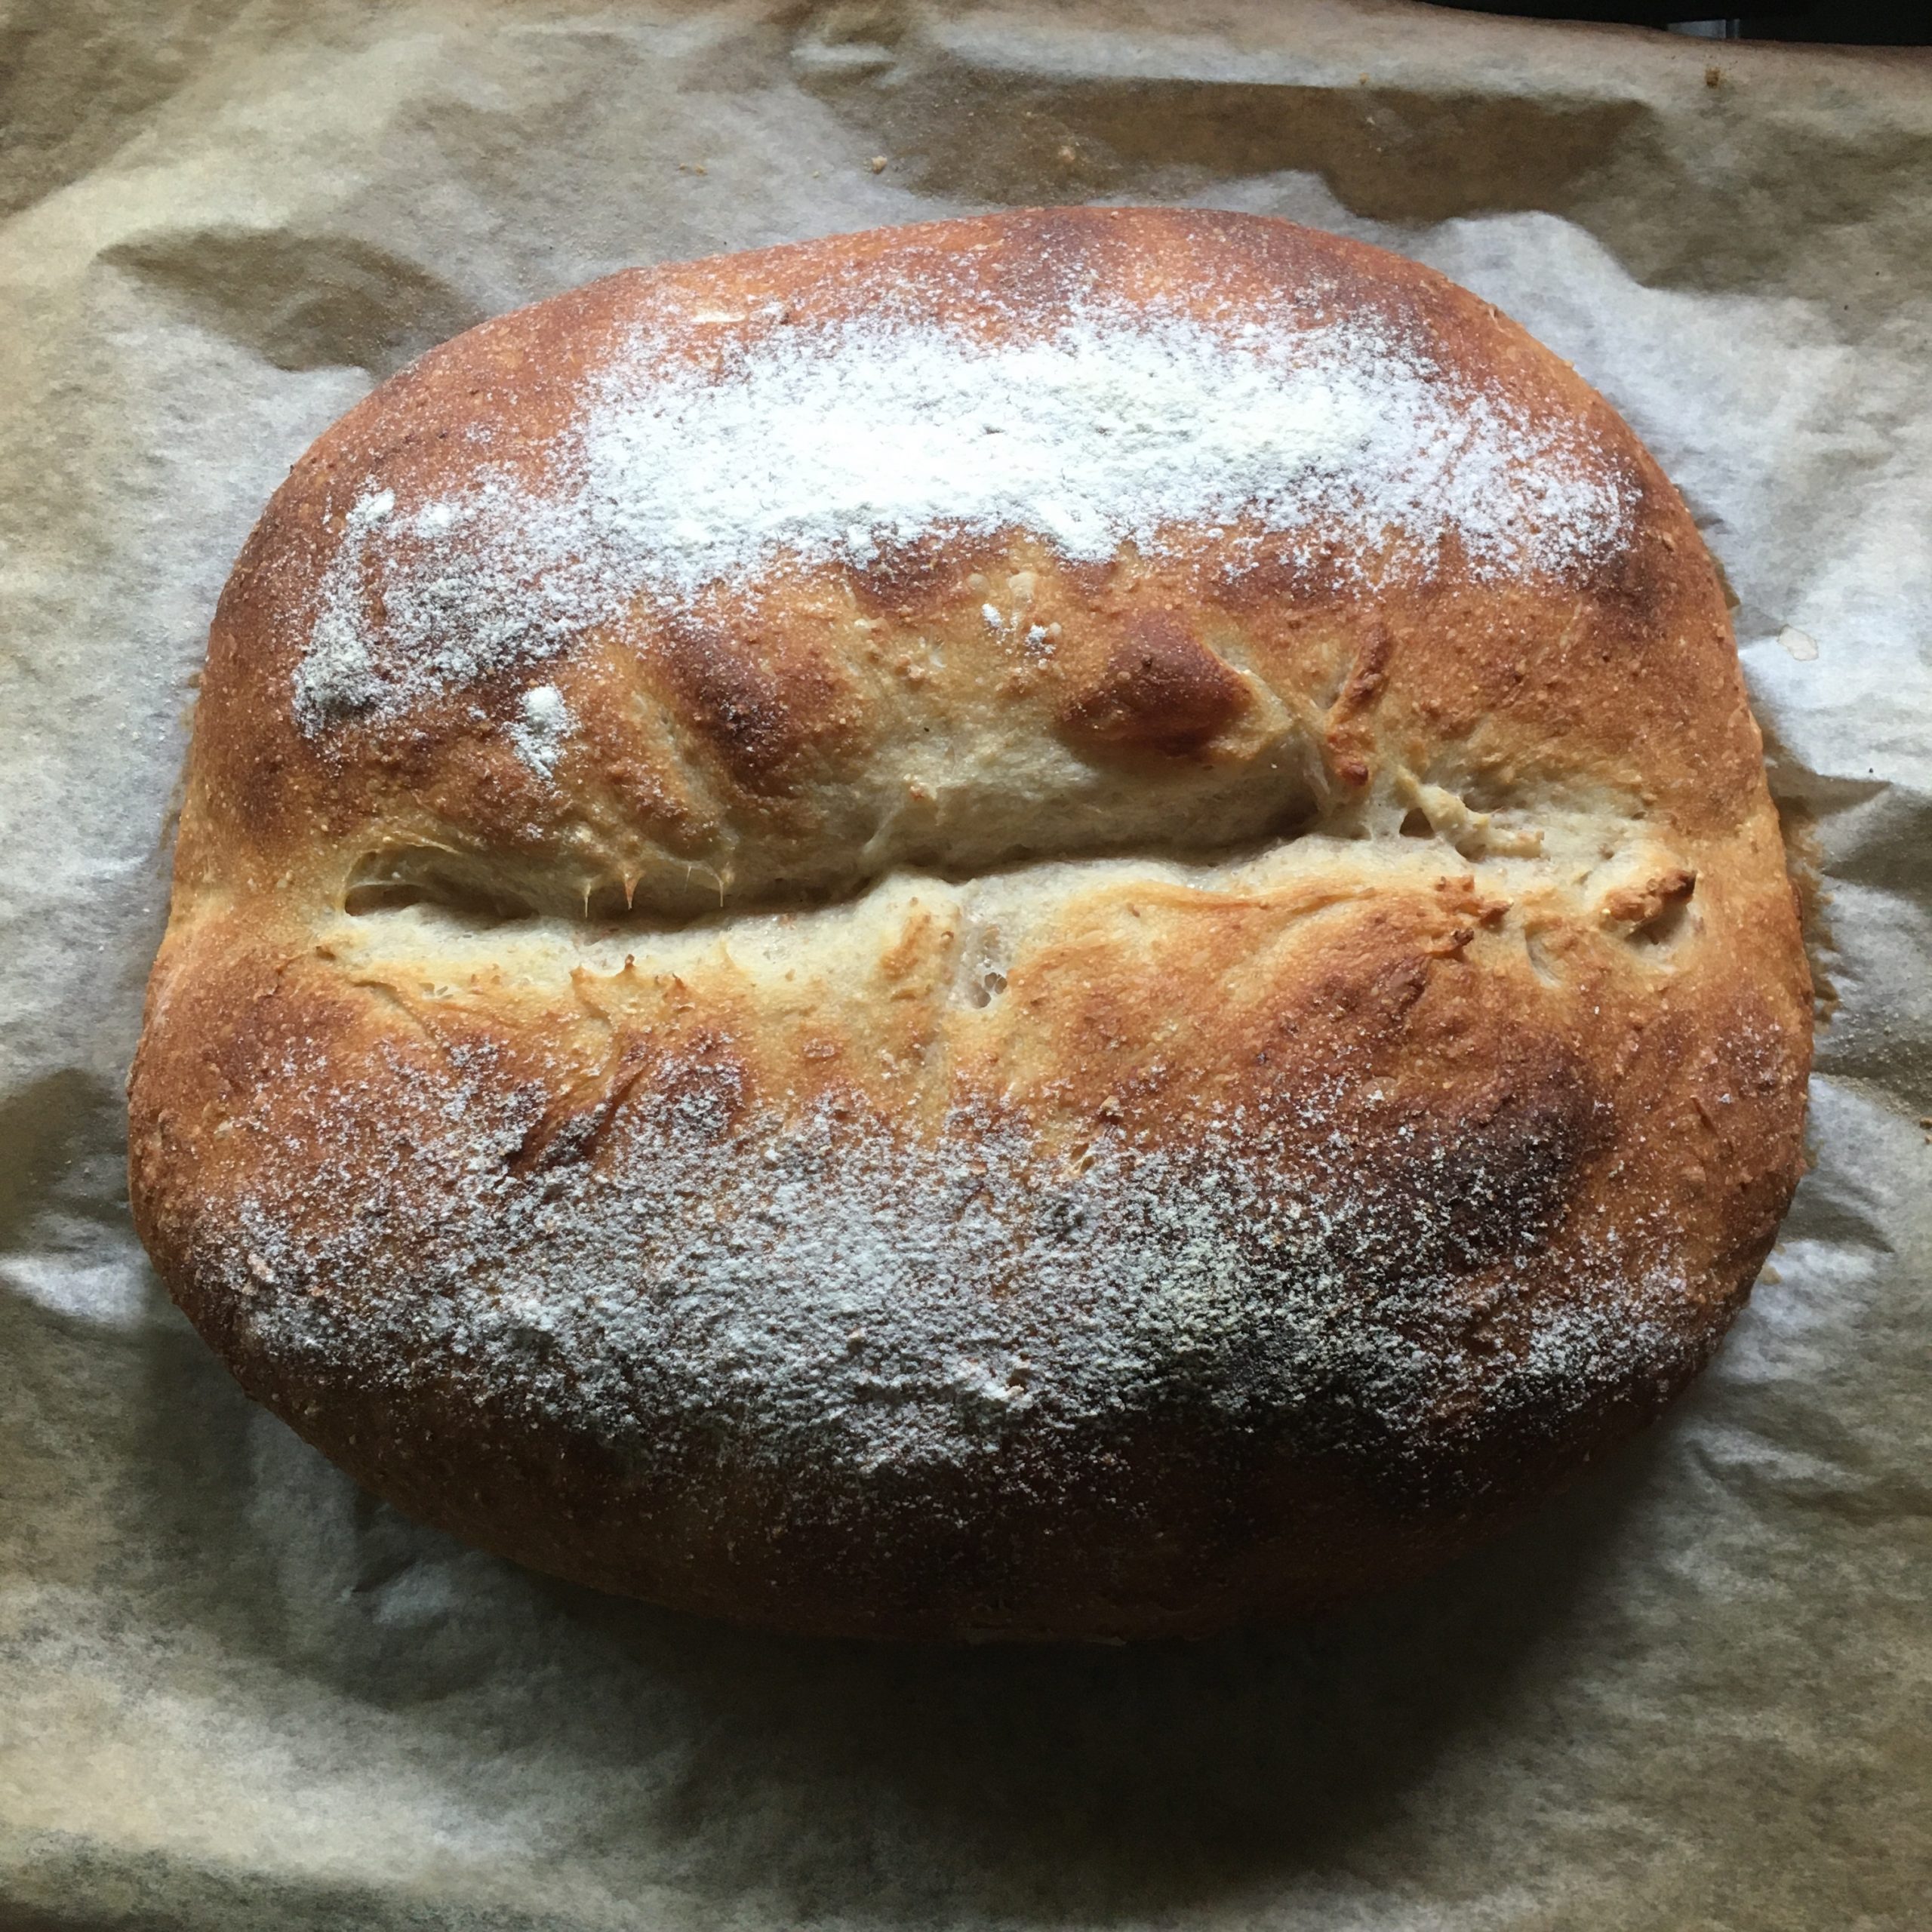
I’ve making bread at home now for what…??? 6 or 7 years… at first I started easy, not every weekend, just once in a while, now it is just part of my daily weekend routine, and even when I could I was baking bread during weekdays!!! I have tested all kind of recipes, followed the books, then went on my own, using my experience and feeling, and except croissants, that I still feel not confident making, I’ve never failed a brioche or a bread. Two years ago when I discovered breadin5, I understood some of what my experience and intuition were suggesting me: the bread making is not such a rigorous process for which quantities and time are that important. If you think about it billions of humans have been making bread for more than 20 centuries… so it wasn’t about 1g plus or more of yeast, or the exact temperature of water! Breadin5 showed me that we can be more playful with bread making, but last winter, my parents offered me a book about bread making “respectus panis” and what they were saying in this book was exactly what I was waiting for: less yeast, less salt, little kneading, long proving time. Well long at 18degrees so I had to wait until the warm weather was there to test properly, otherwise the house temperature is rather 15degrees or less and long would have mean forever!!! I finally did test the method. And I was not disappointed. With half of the regular amount of yeast and salt the dough takes about 12h to bubble well in the current situation, which will shorten as temperature increases, the bread is a lot tastier and enjoyable and keeps very well. I have tested only with some of my classic white bread and campagne bread and was really surprised by the result! I must say the campagne was a huge hit!!!

So now I can save on yeast, which given that recently it’s been hard to find baking powder and yeast, is definitely a good attitude!!! And I can’t wait to try again this weekend!!

Almond treats…

The current situation is forcing us to work from home, and there are a few minor changes in our daily activities but in the meantime I don’t feel it affects us that much. One thing though has been a bit annoying, is the closure of our tennis courts in Isumi since the beginning of February. As I believe there is a season for everything, the season for surfing for me has not yet started: the ocean is yet too cold and the weather too, we are not equipped for cold water and I don’t feel like going for a dip in the ocean at the moment. Gardening kept us busy outdoors, but not enough to really free our busy minds. So one day we decided to go for a bicycle ride and just loved it, so we upgraded our foldable tiny bicycles to proper bicycles and we took on riding. Every Saturday and Sunday we go for a 25km ride in the neighborhood and run some errands… Riding, even for only 90min, makes us very hungry. And with the weather doing ups and downs having a few sweets in the pantry is not a bad idea!!! Not to mention that I forgot to refill our chocolate cabinet on an Easter weekend… oups… what was I thinking??? So I decided to prepare some financiers, A. loves them. (Well what is it he doesn’t like when it comes to sweets and treats? ;))

The problem is that financiers recipe uses only the egg whites, so I was wondering what to with the yolks, and found the recipe of helenettes, an other almond based treat that uses only the yolks. Basically the same ingredients as financiers one has the egg yolk, the other the egg white!! Both are really super easy to prepare and very quick! So was I preparing both and baking both and making every body very happy!

While I have been making financiers for a long long time, it was my first time making helenettes and even more, hearing about this little cookie so I was preparing them in a very simple manner, following almost blindly the recipe I found there (in French), I only changed very slightly. So here are my recipes of helenettes and financiers.

Helenettes (15-20 pieces 3cm each)

– 2 egg yolks
– 100g of flour
– 100g of almond powder
– 80g of sugar
– 60g of butter

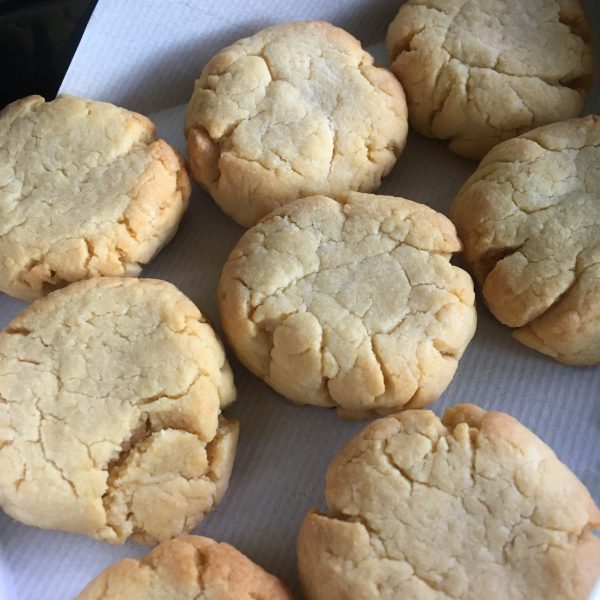
Melt the butter. In a bowl mix the egg yolks and the sugar. Add the butter, stir well. Add the flour and the almond powder and stir well. Knead a little and make balls of 20g each and slightly flatten them. Set on a sheet of cooking paper and bake for 10 min at 200deg. Don’t over cook them, they will lose there softness and become really hard.

Finish with a bit of icing sugar if you want to make them really beautiful!

Financiers (25 tiny pieces)

– 40g of almond powder
– 50g of butter
– 20g of flour
– 75g of icing sugar
– 2 egg whites

Melt the butter. In a bowl mix the flour, the almond powder and the sugar. Add the egg white one after the other and stir well. Finally add the butter and stir well. If you have financiers molds this is perfect (I have very tiny ones), if you use paper molds be careful not to fill them too much as they might collapse. Fill half to 2/3 of the molds and bake at 240deg for 5 minutes then decrease the temperature to 180 and bake for another 10min. The smaller the shorter, if you use large molds, it may take a bit more time. They must be golden, but not over cooked neither undercooked.

Et voila! Have a good week!
The next almond treats are going to be some Maltese sweets… coming soon! Stay tuned!

Scones forever!!!

There are so many things I love to eat and so few meals and time to eat them all, that I end up forgetting a few things I love. Last weekend I decided to catch up with these. So I prepared avocado rice bowls, quiche and scones. When it comes to scones I usually have in mind something for breakfast or tea-time, but this time, as we went surfing and then were busy fixing things in the house I only get to the kitchen around 18:30… and given the cold weather this weekend it was probably too late for bread. So I decided to prepare scones. And since it was almost time to think of aperitif snacks I went for two recipes.

Both use the same base. One is sweet with yuzu harvested in our garden, the other is savory with pancetta and shiitake. It is very simple and by simply changing the size or shape of the scones it can feel very differently.

Scones

– 180g of flour

– 50g of butter

– 1tsp of baking powder

– a pinch of salt

– milk (quantity will slightly vary depending on flour quality, temperature etc… but usually not more than 200ml)

In a bowl mix the flour, baking powder, and salt. Add the butter cut in small pieces and start kneading. Add milk little by little until the texture is smooth but not sticky. Form a 5cm diameter stick and leave to rest for 30min.

For the yuzu scones:

– 1 yuzu

– 2tbs of brown sugar

– a handful of flour

Wash the yuzu and dice thinly the skin. Add to the dough. Extract the juice roughly and add to the dough. Add a bit of flower if the dough becomes too sticky. Roll 2cm thick, cut to desired shape and size and bake for 12-20min at 180 depending on shape and size.

For the shiitake and pancetta scones:

– 50g of pancetta

– 1 or 2 fresh shiitake

– 1 tsp of salt, pepper

Chop the pancetta, wash and chop the shiitake. In a small pan heated at medium- high heat add the pancetta, stir gently until the fat starts to melt, add the shiitake, and stir once in a while. Cook like this for 5min. Add the cooked pancetta and shiitake to the scone mix, add salt. In really needed add a bit of flour. Add ground pepper generously. Roll 2cm thick, cut to desired shape and size and bake at 180deg for 12-20min depending on size. Enjoy!!!

Actually you may want to add some grated fresh parmigiano in the mixas well…

Proudly powered by WordPress | Theme: Baskerville 2 by Anders Noren.

Up ↑

Verified by MonsterInsights