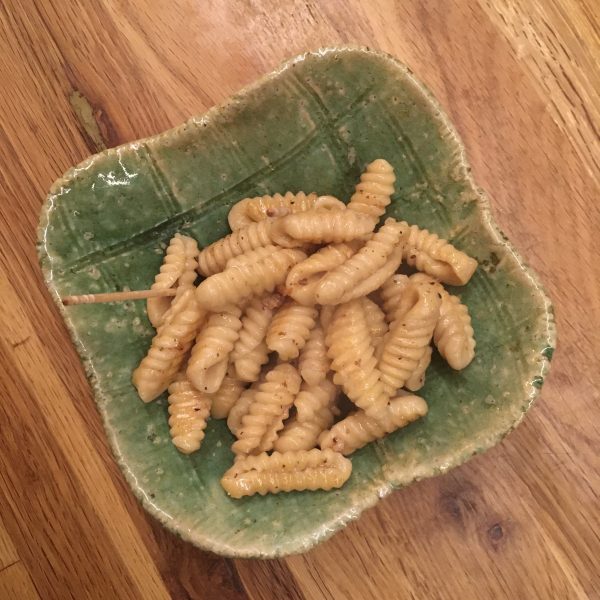
Gnochetti

When I make pasta for ravioli I always end up with a significant amount of pasta that has been floured and roll and is unsuitable for making ravioli again. It has become to dry. Usually I would just keep it that way, cut in squares and boil it or fry it as a little bonus or for finger food with a drink. But recently I have been really attracted to making shorter pasta like troffie, orecchiette, gnochetti… and seeing video of Scusatema on IG really inspired me to make the step and test… the ravioli rolled pasta is a lot drier and hard than the original pasta and I thought it would be perfect for the test. I have little cooking equipment, and thought my little gnocchi board would be good for that.

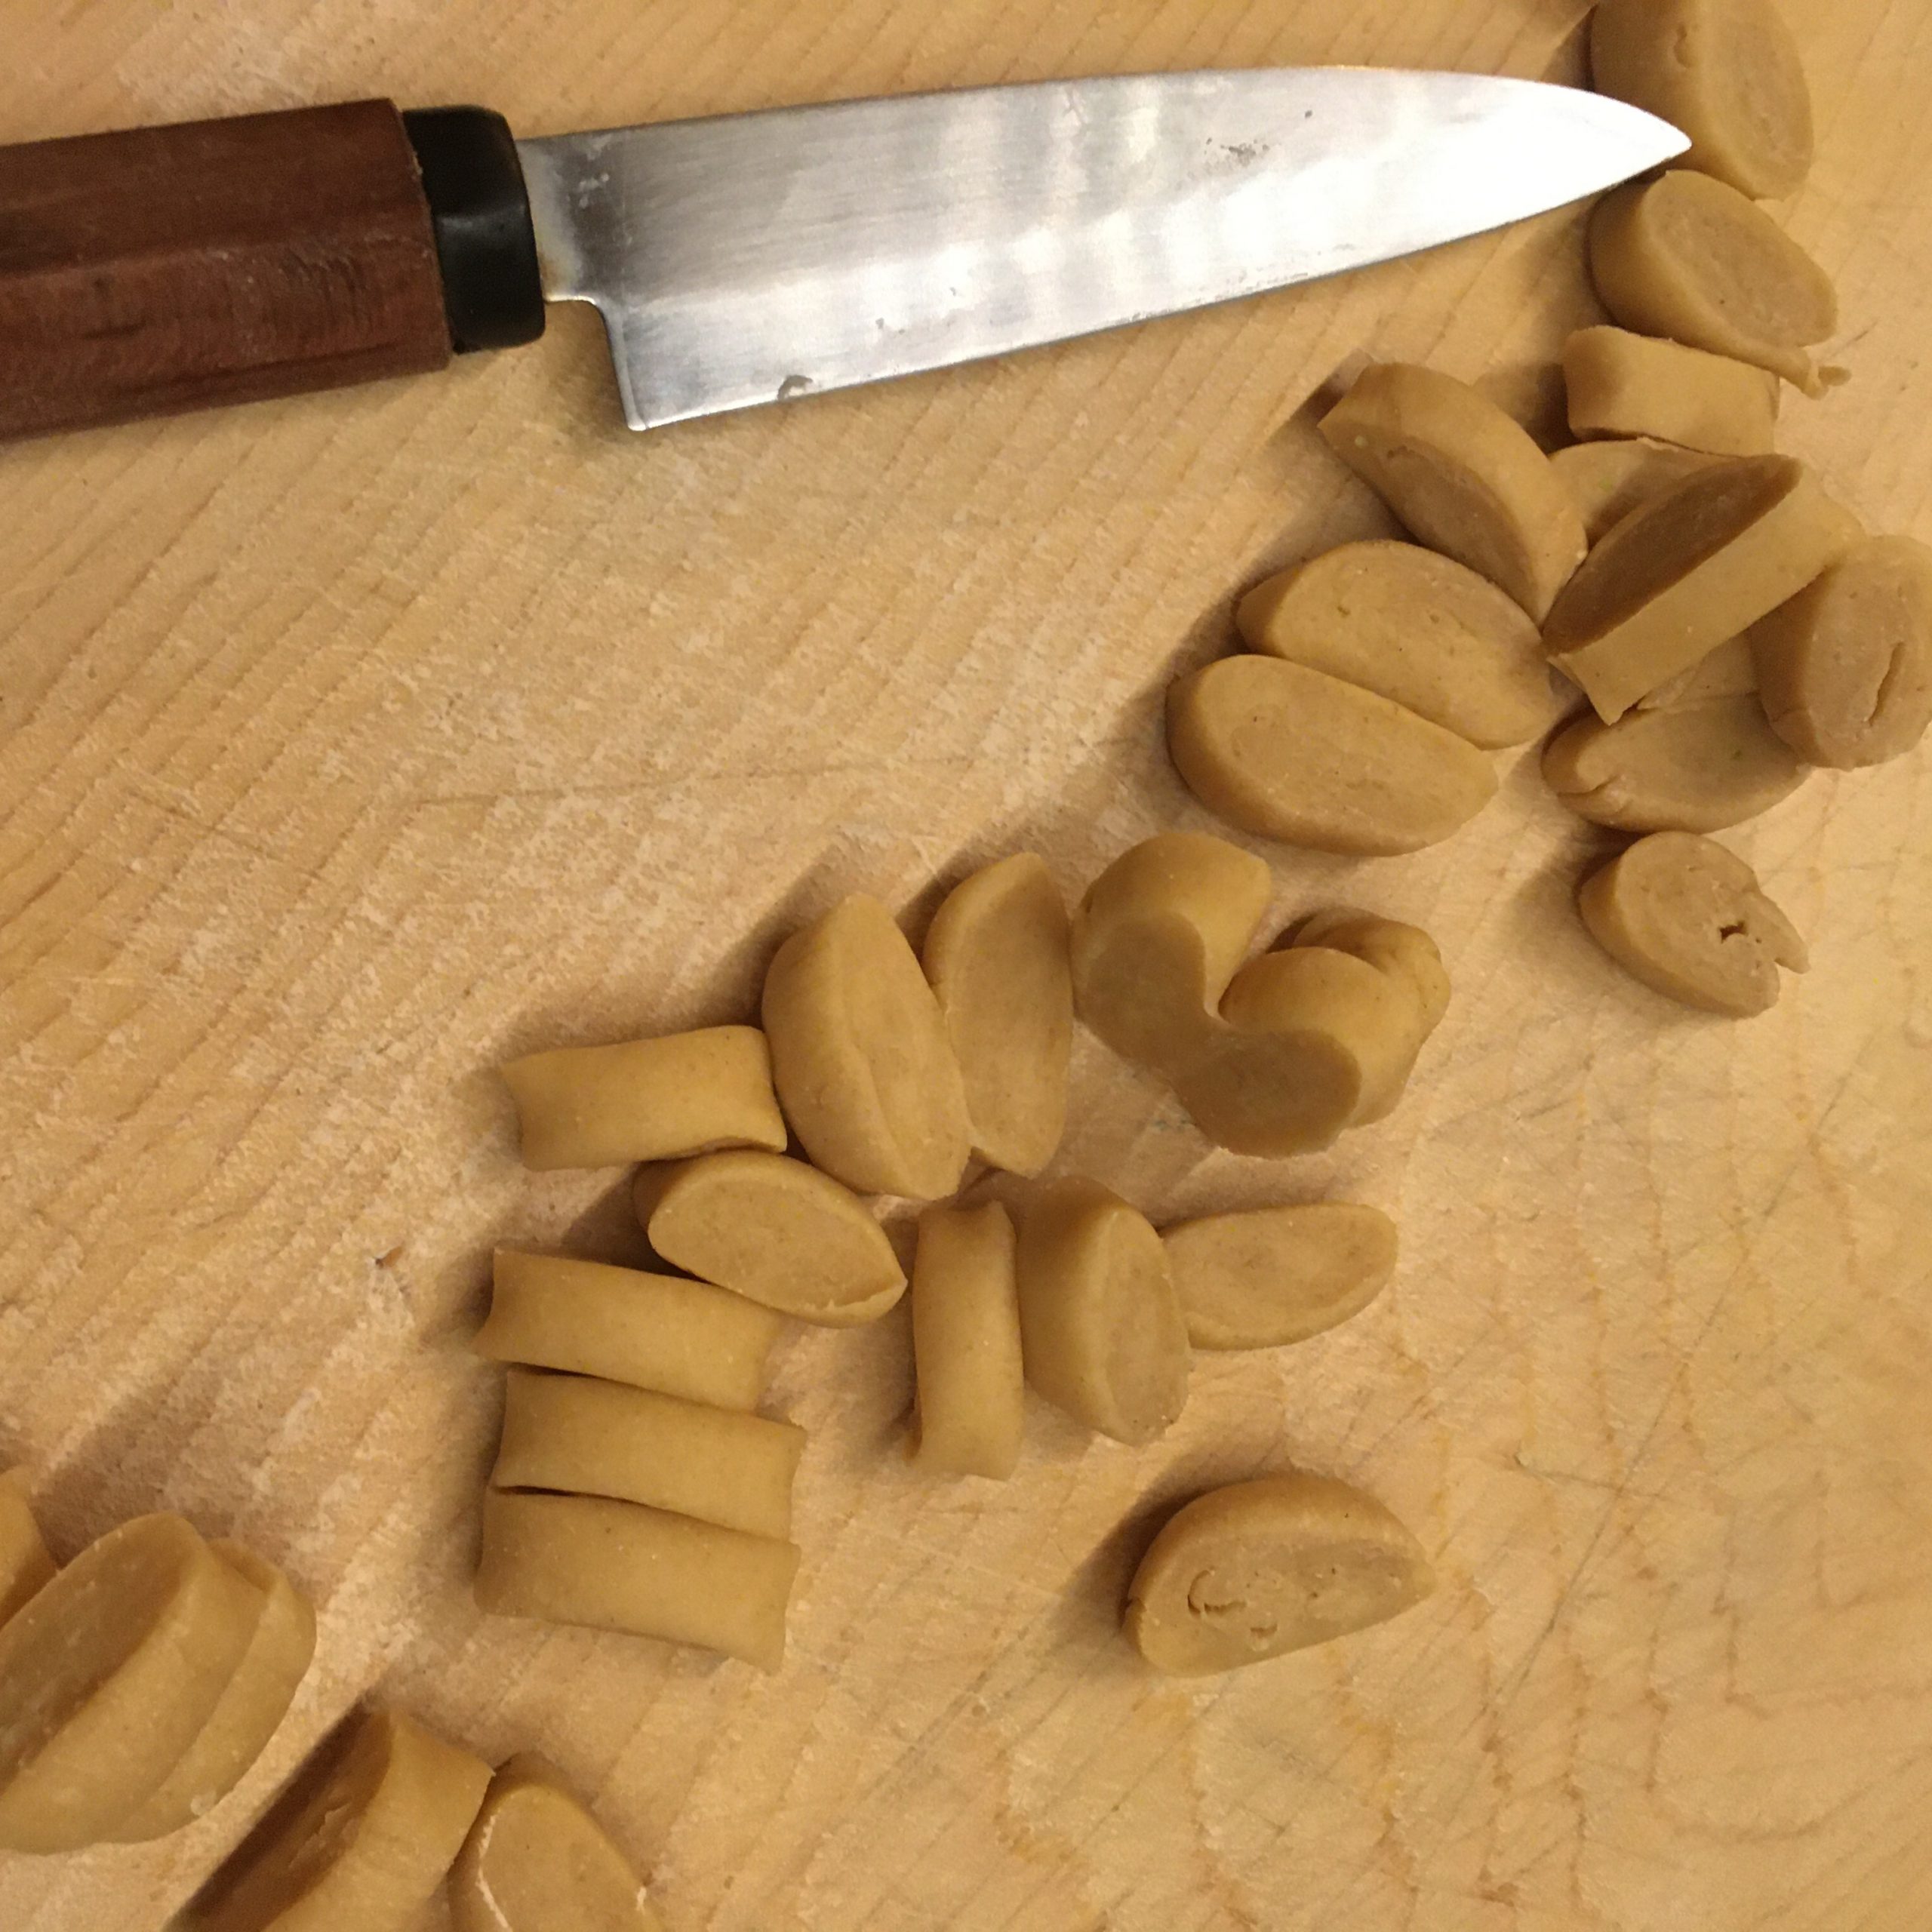
So I assembled all the remaining pasta in a ball, rolled it in a long stick.

Cut the stick in small pieces, and started rolling them on the board. That went just perfectly. No meed for additional flour, no sticky parts and beautifully shaped gnochetti came out one after the other. Bonus it is super relaxing to do this little gesture to roll the pasta on the board and see them pilling in front of me.

Since I made only a small amount instead of boiling them I cooked them in a little pan with olive oil and a bit of water, and waited for the water to go before lightly frying them, and served them as a little snack.

For sure I will make short pasta again soon! That was so nice!!
Edamame ravioli

Every week, I am hoping for a more quieter week and every week day is getting busier and I end up with very very little time to cook… for example today my lunch was some raw carrots, a piece of Comte cheese and some nuts… as I rushed between meetings and things to do. It is also often a bowl of rice topped with something rapidly cooked (more coming about that soon). So when I manage to have just a little more time to cook I jump on the occasion and I cook some more fancy things. “Fancy” being almost exaggerated!!
The season for edamame is starting now and I got some from the farmers market, which I was thinking I would just boil for a quick use in salad or with rice but then I had this little window of time for cooking and I was all set for making edamame gyoza, but then thought that as delicious it seems, it would be almost too conventional in traditional Japanese flavors, so I decided to opt for the Italian version: ravioli!!!

While making ravioli takes a little bit more time, it is so rewarding and we love them so much that it is always worth eating a bit late!!! For this edamame ravioli, I mixed in the filling the edamame and some pork meat and I dressed them simply with olive oil, salt and pepper. Here is my recipe.

Edamame ravioli

  • 100g of flour (I used whole wheat here)
  • 1 egg
  • a bit of water
  • 100g of ground pork meat
  • 200g of edamame
  • Salt, pepper olive oil

Prepare the pasta by mixing, as usual, the flour, the egg and a bit of water. Knead well and keep for 30min.

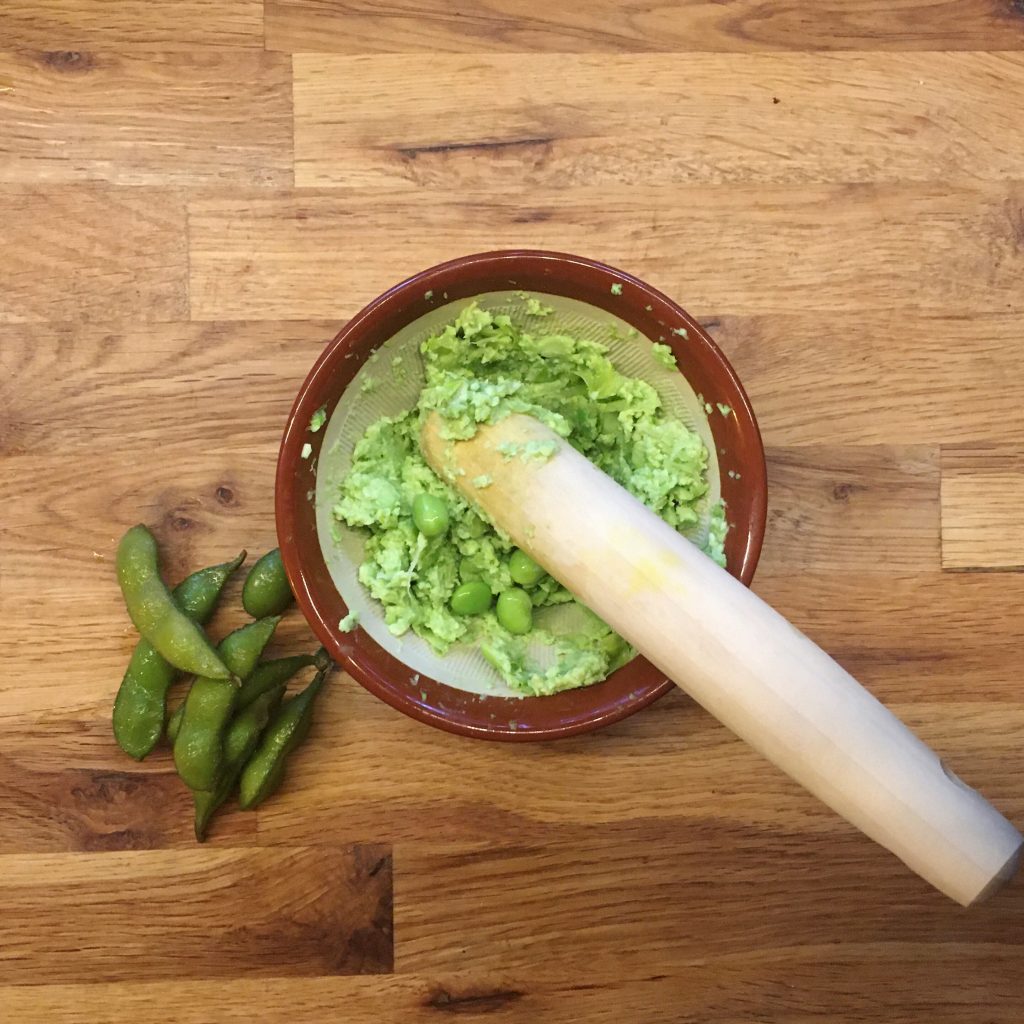
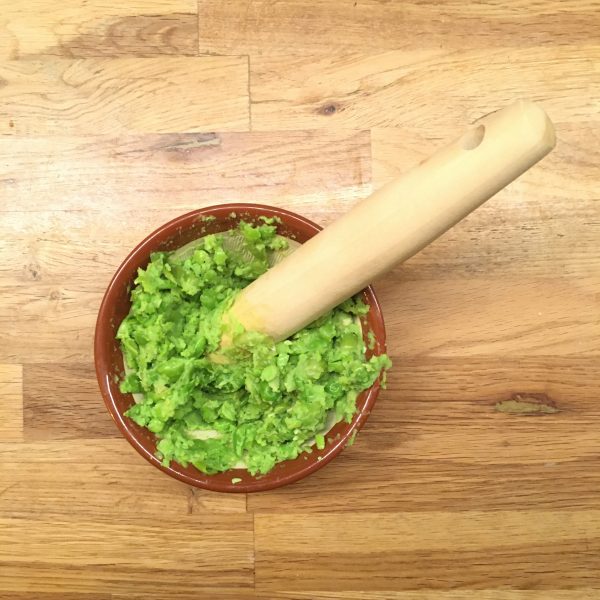
Boil the edamame. Once cooled down, shell them and remove the skin as much as possible. In a mortar puree them roughly (as on the above picture). In a frypan cook the pork meat then mix with the edamame. Add salt and pepper. Keep the frypan as it is.

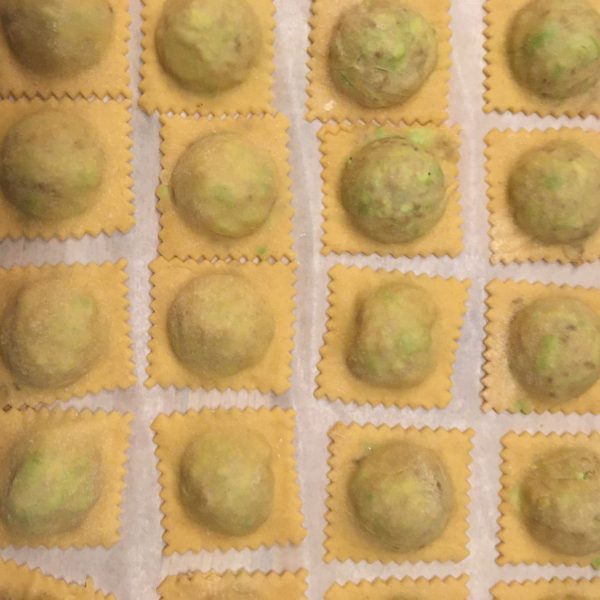
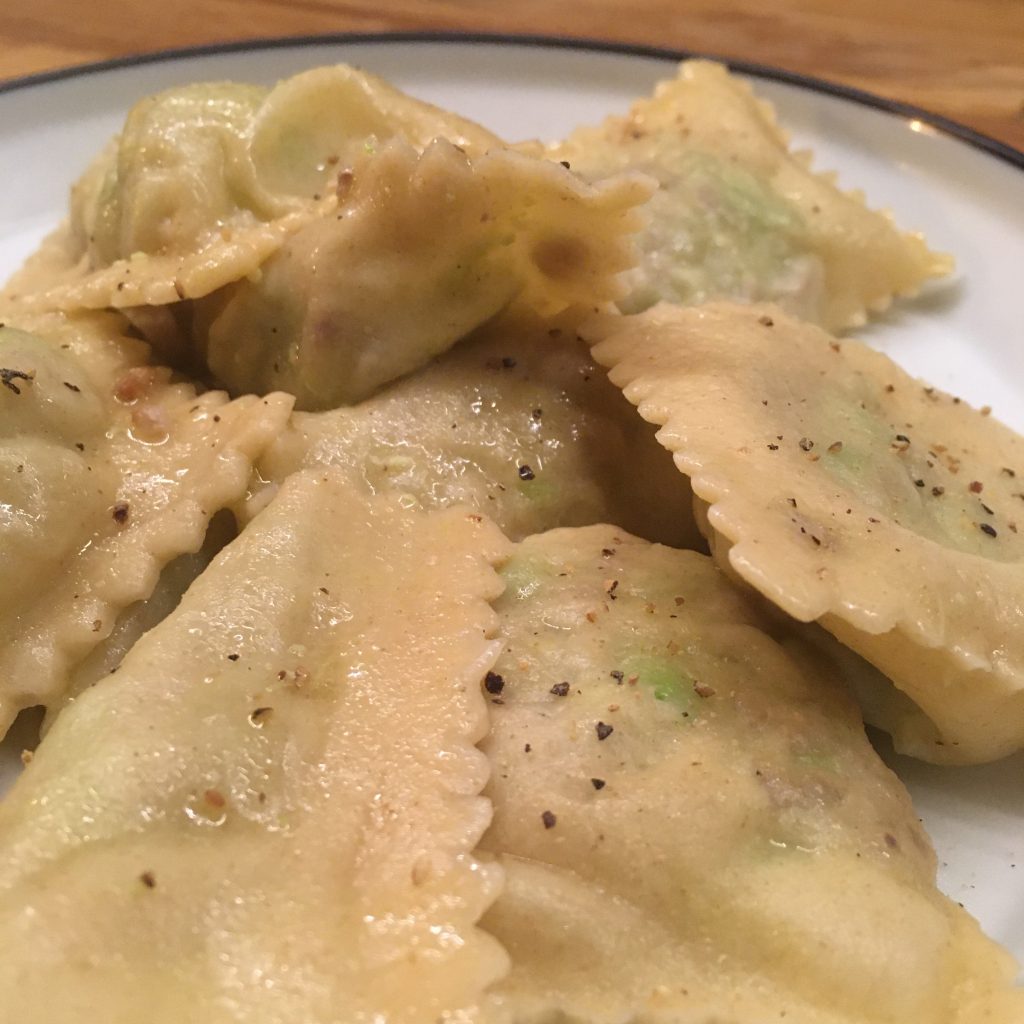
Roll the pasta. Fill the ravioli and close them. Boil a large pan of water and boil the ravioli. When they float move them to the frypan with half a ladle of cooking water. Add olive oil a bit and cook 2min before serving and enjoying immediately.

Edamame fougasse

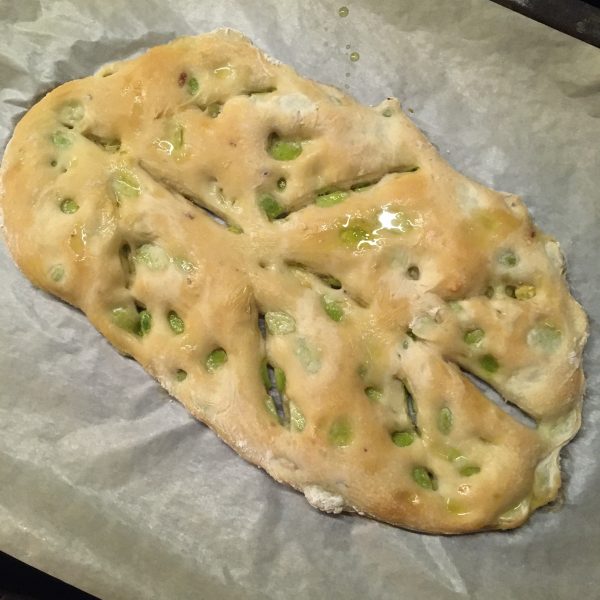
Ohoh! Exploring new possibilities with edamame will last the whole season!!! This recipe of fougasse came naturally to my mind as I love to bale fougasse for summer evenings drinks or summer lunches when I need something quick.

In Japanese bread shops you can sometimes find edamame and gouda breads, and I like them very much, but the idea of a simpler version (without the gouda for A.) and with olive oil and salt tempted me a lot, that the last batch of edamame I had was used to that purpose.

The result is really nice but my recipe needs a little improvements to emphasize more the edamame. So I am sharing with you the improved version but not tested yet… but I am sure it will be delicious.

Edamame fougasse (makes 1 bread)

  • 200g of flour
  • 3g of yeast
  • 7g of salt
  • Water
  • Olive oil
  • A handful of boiled, shelled and peeled edamame

I only use fresh edamame, so the recipe starts by boiling the pods in salted water. Once boiled and cool, shell and peel them. Add a bit of salt.

Prepare the dough of the fougasse: mix the flour, 5g of salt, the yeast, add 2tbs of olive oil, and water to obtain a soft, silky and smooth dough. Add the edamame and knead a bit. Let rest for it to rise. Once is has started to rise you can work it in the shape of the fougasse, and let rest about 30-60min depending on your room temperature.

Bake at 230deg until golden. When out of the oven spread a thin layer of olive oil and sprinkle a bit of salt. That’s it!!!

Variations around flat breads

I am always amazed by all you can do with just flour and water… and recently I’m getting addicted to flat breads… Remember when I first tried here? Well… the same person that makes the dried chickpeas that triggered my wish for flat bread to eat with falafels, well, also makes chickpeas flour… I use a lot chickpeas flour for socca, but I wanted a change so I decided to explore possibilities with flat breads.

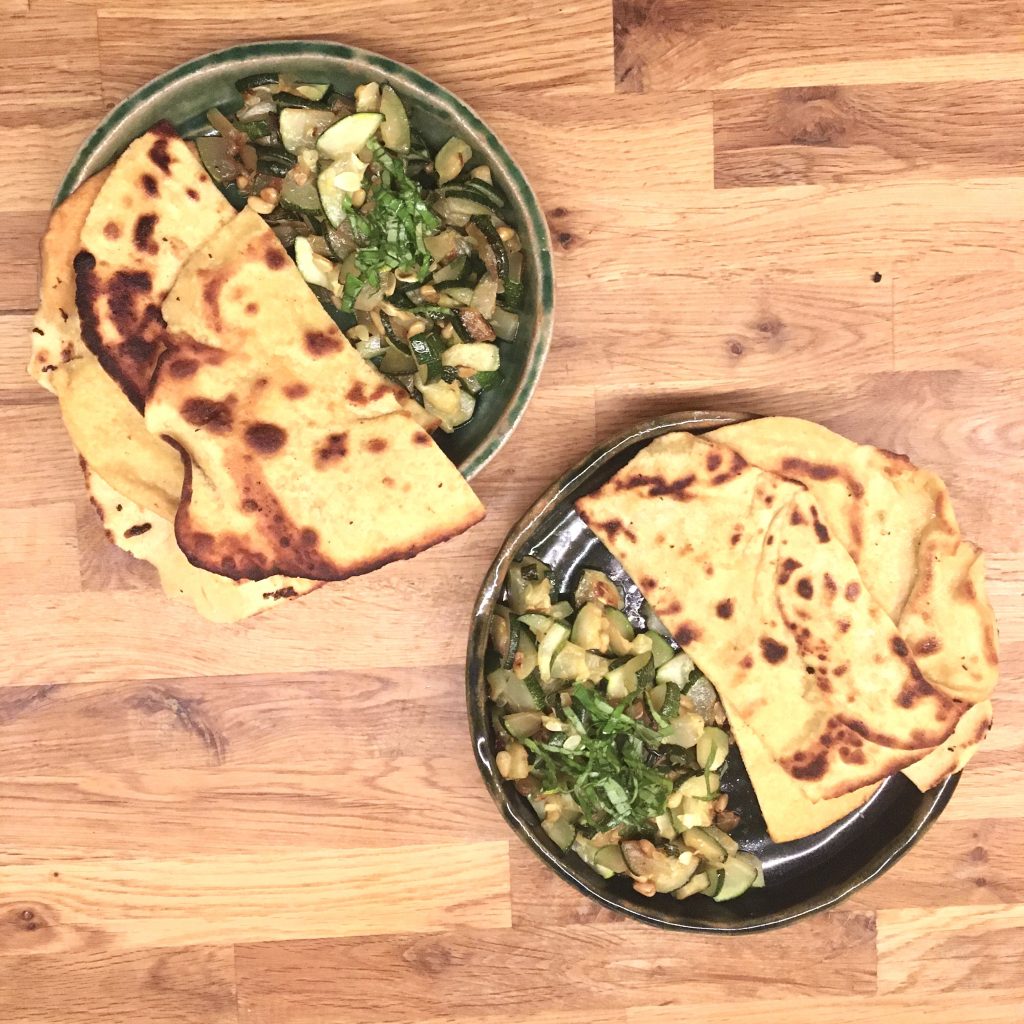
First, I made a trial by replacing 3/4 of the flour by chickpeas flour and that worked perfectly… served with zucchini and basil.

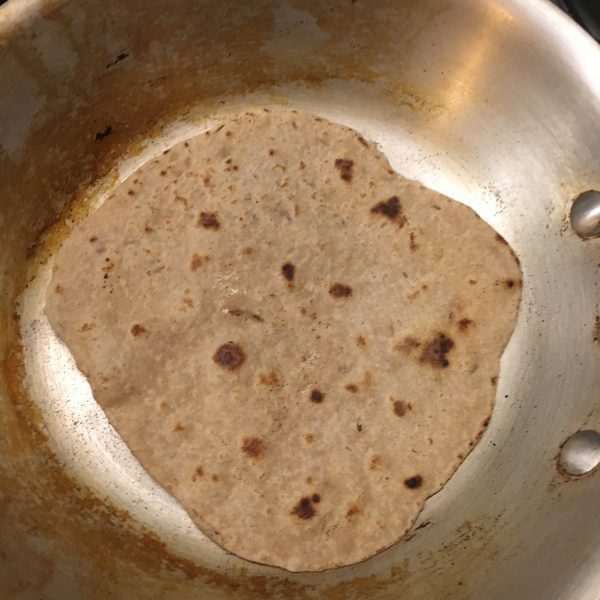
Then, another possibility I thought of was to replace half of the flour by whole wheat flour… and that’s all the same delicious.

Finally, I decided to add seeds to the dough. Caraway or cumin seeds are perfect.

As for cooking I tried two options. One is in the dry thick frypan. To obtain a soft bread, flexible and light. The other way, I added vegetal oil in the pan and fried them. It gives a crispy golden bread. Both were equally delicious but I have a preference for the dry soft ones, in particular when used to eat vegetables such as eggplants or zucchinis…

One thing is sure is that making flat breads is super simple, fast and requires no complex ingredients. They are delicious and fit super well summer vegetables or curry. They will be on our table often!!

Chickpeas flour flat breads

Japanese flavors meet mum’s classic recipe

In the late spring and early summer, back then when we lived in France, my mother would often cook a potatoes salad with green beans or broad beans and new onion. Or she would prepare broad beans with tomatoes. Broad beans, or Morocco ingen モロッコインゲン, are very easy to find in Japan. In Isumi they seems to be growing quite easily, it’s on the farmers market stall from early June. (Oh! By the way, it seems that the name “ingen” comes from the name of a monk that imported green beans to Japan a few centuries ago!!)

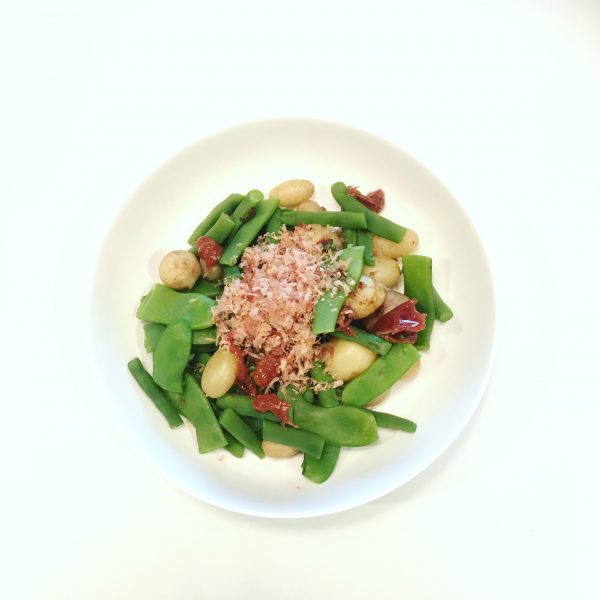
Like my mother, I like to prepare broad beans, and a potato salad is always handy because it can be prepared ahead of time and doesn’t need to be refrigerated. Perfect lunch for a busy day. Though I live the dressing my mother prepare for this salad – her classic recipe is here – I wanted to test the new katsuo flakes from Katsuura I bought recently and I am also trying to finish the last umeboshi from last uear to make space for the new ones that will be arriving in a few weeks. The dressing for my potatoes and broad beans salad was all set. The mixture of flavors, familiar yet newly combined made this recipe really super easy and delicious. So here it is.

Japanese flavors potatoes and broad beans salad (serves 2)

  • 150g of new potatoes
  • 200g of broad beans
  • 1 large umeboshi
  • A handful of katsuo flakes
  • 1tbs of soya sauce
  • 1tbs of olive oil

Boil the potatoes and broad beans. Do not over cook the broad beans. Drain. In a bowl add the vegetables, extract the flesh of the plum, scatter it on the vegetables. Add the olive oil, the soya sauce, top with the katsuobushi. Serve at room temperature or cold.

Bread in a pan…

Who would do that honestly???

I never thought I would… until we moved to our new apartment where the kitchen doesn’t have an oven yet and we are still not sure about the renovations we want to do and given the circumstances we prefer to wait a bit… I don’t see myself stopping telework, I’ve always loved it… and always hated train commute. Nor spending the whole week in the country, it would be too tempting to go surfing and work in the garden instead during the day… and I would start working at night…

So, no oven… I’ve tried to bake bigger breads on Sunday but they are so good that they barely last until Wednesday morning in the best of the best scenario… the rest of the week, I make pancakes… but I get board of plain pancakes, and nothing is better than bread (but croissants and pains au chocolat… but honestly they are just air and they feed us enough to not starve 2h later… and lunch is usually more 4 or 5h later…

Bread is the only option and I remember seeing recipe of breads in crockpot, in cocotte… so I was tempted to try. In Tokyo I have neither crockpot nor cocotte. I have a pan with a more less fitting cover… more less because my pan once felt and since then it is more an ovaloid than a perfect circle!!!!

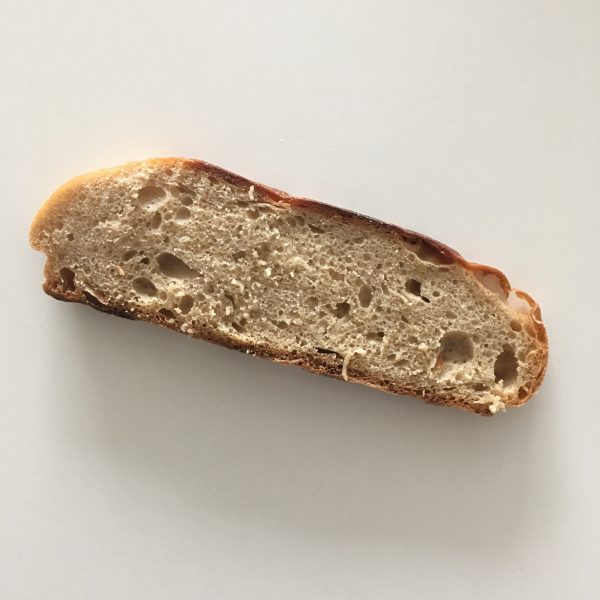
The bread making and kneading is just the same as usual. The rest time also for the first rise. For the second I read that it can be done while the pot is heating, and I tested the first time, but for me it didn’t work, so I just shaped my bread as a ball, laid it on kitchen paper in the pan and waited 1h. Then turn on the gaz rather high and covered and cooked until the bottom was golden. Then I flipped the bread and cooked on the other side. It avoids the thick crusty bottom and the risk of heart of bread not well cooked, and that’s what made my second pan bread perfect.

Cooking bread in a pot may not seems straightforward but it works very well… and I was surprised about it!!!

Inspiration from mom’s recipe

I call my parents at total random times, depending on my schedule, but because of the time difference it often falls before their lunch time/our dinner time. Often it is when I am on the move. Walking between appointments, walking back home. But it also happen when I’m in the kitchen kneading bread or washing vegetables to prepare dinner… the latter often drives the conversation towards food. We share our new favorite recipes, what is in season here and there (more than often the same things except for those that are specific to each country…)

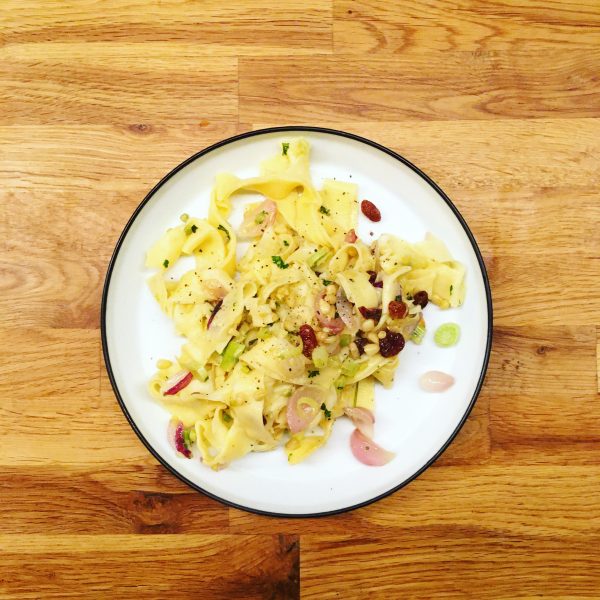
Last Sunday was mother day in France so I happened to call when I was thinking of preparing dinner, and my mother told me about her new favorite pasta recipe. Something very Sicilian to me, and with all ingredients I had in the fridge or in the garden… well all but the one that was key to her, which for me was optional: the sardines!!! I don’t mind skipping the proteins if the rest of the recipe seems worth. And it was… so here is my recipe largely inspired by the conversation with my mother. I didn’t know how it is called so I called it:

Pasta mom’s way

  • 100g of flour
  • 1 egg (for the pasta)
  • water (for the pasta)
  • 1 fennel fresh
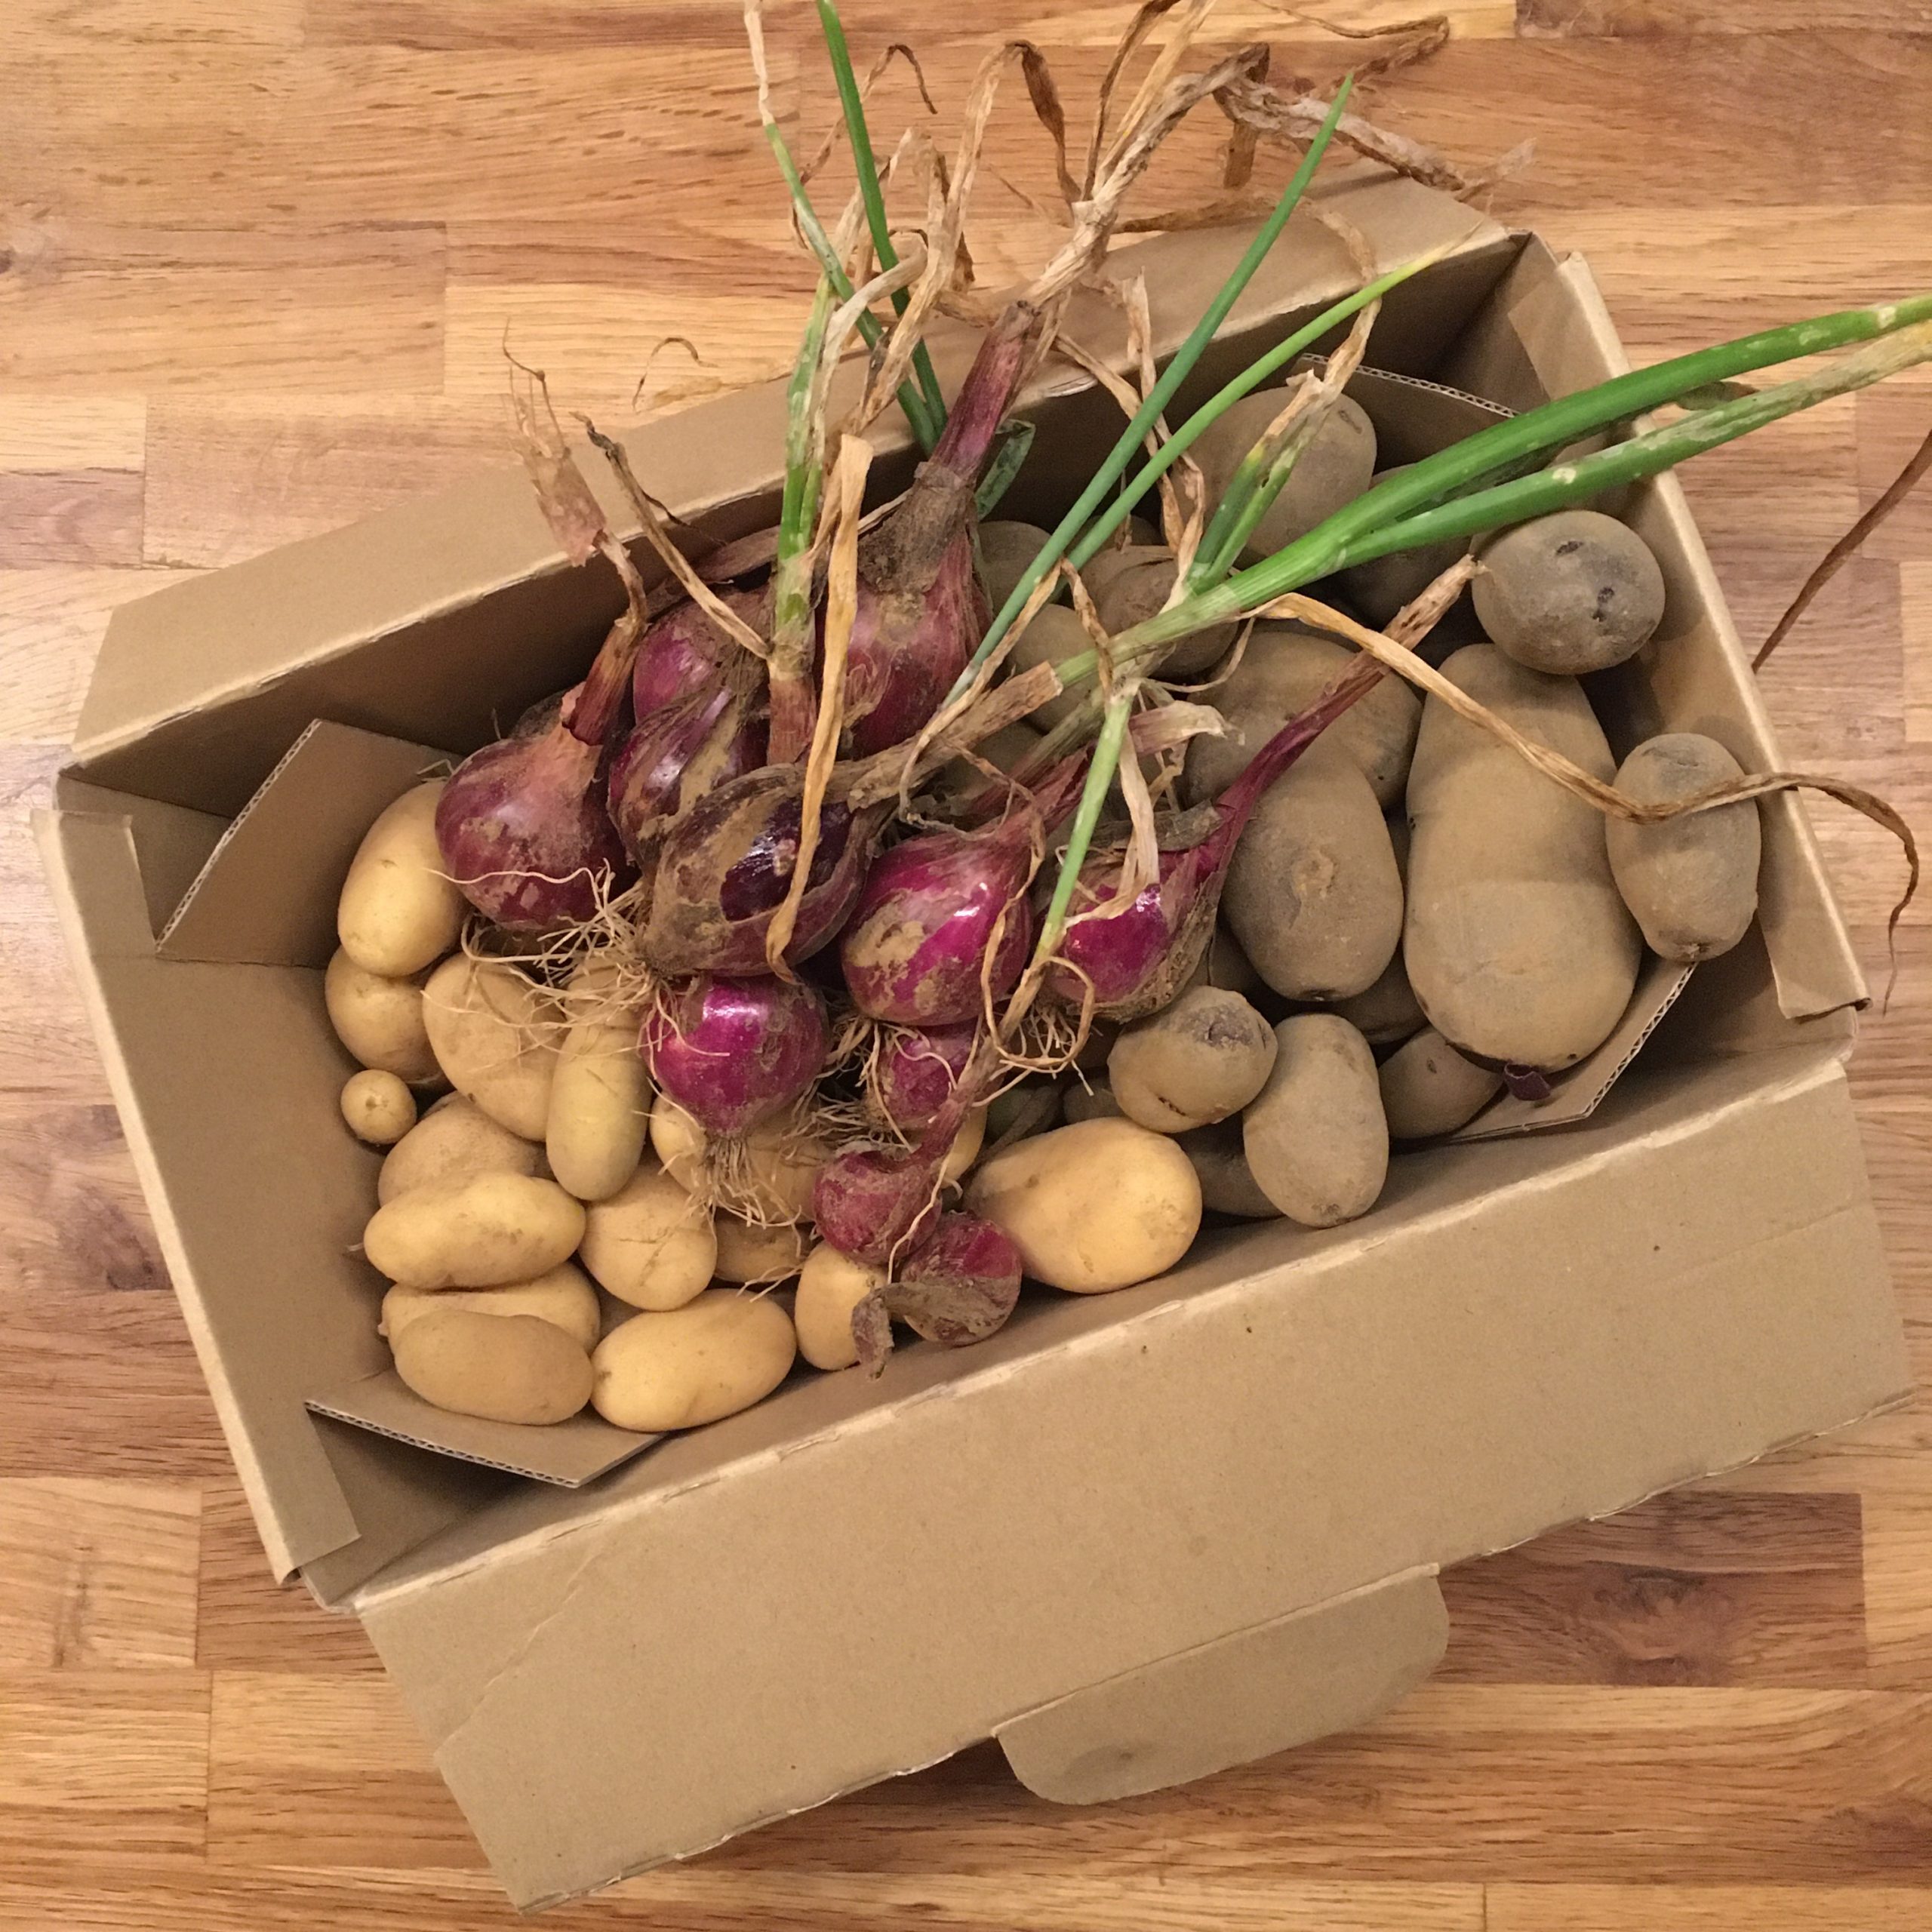
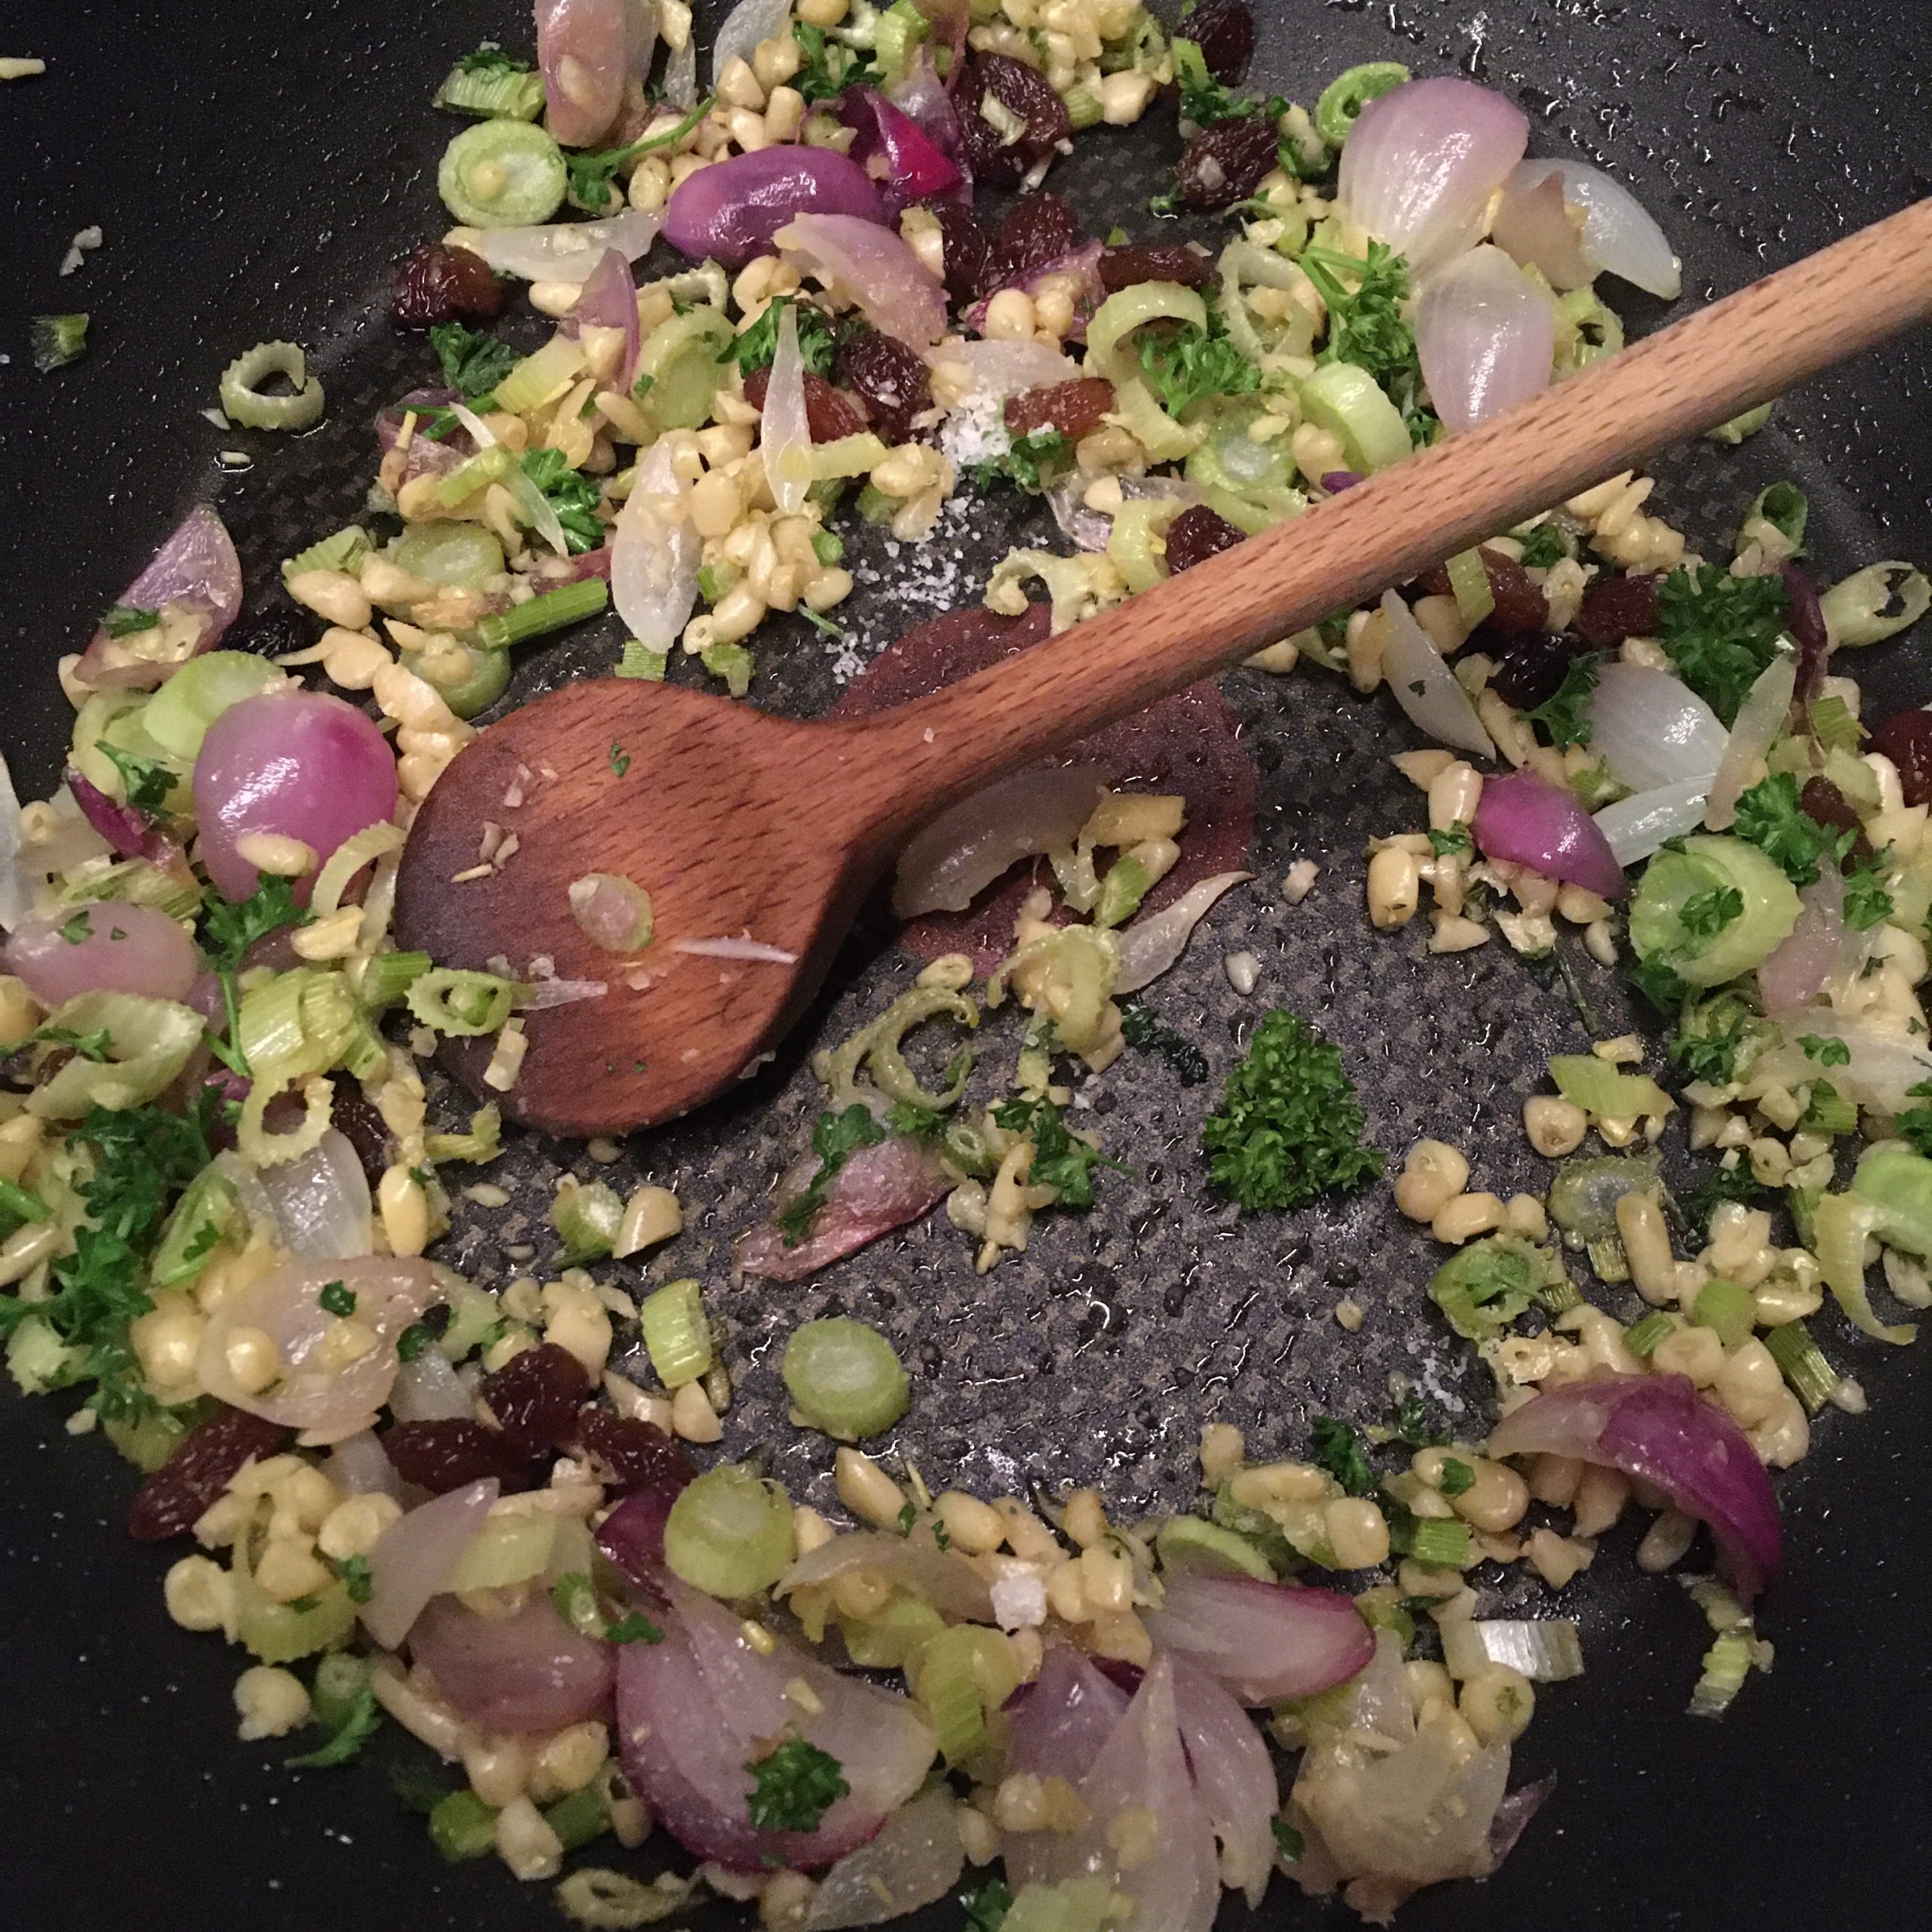
  • 4 little red onions as those on the picture above, can be one large…
  • 1 handful of pine nuts
  • 1 handful of raisins
  • olive oil
  • 2 branches of parsley

Prepare the dough for the pasta by mixing the ingredients. Leave to rest for the time to prepare the sauce.

Peel the onion and wash the fennel. Chop the size you like. Toss in a pan grease with olive oil and cook at low heat until soft.

Crush roughly the pine nuts. Add to the pan. Add the raisin. Cook at low heat and stir sometimes. Chop the parsley, and add. In the meantime roll your pasta. I made tagliatelle but you can make what you like. Boil them. Drain and add to the sauce stir and add salt pepper and a bit more olive oil. Stir and serve to eat right away!

That’s it! Thanks mom for the tip!

Fava beans

Now is the season and it’s always a feast for me!!! Well… it wasn’t always like that, it took me time to enjoy fava beans but now I love them and I was thinking of doing a fava beans week like I did in the past for many of my favorite ingredients: 5-7 days, 5-7 recipes, but by the time I got to actually seat and write a post I realize I published so many pictures of recipes with fava beans on IG that in the end it wasn’t making sense anymore. So once again the fava bean week has been postponed… I decided to go with a summary of my favorite recipes, may in one or two posts.

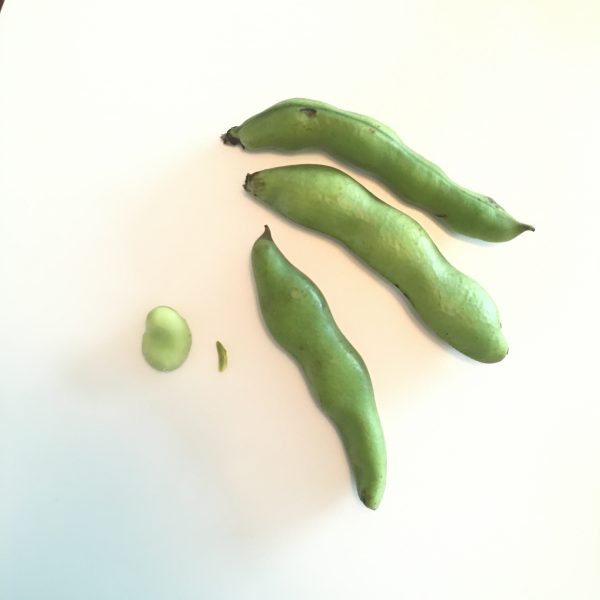
One thing that took me some time to understand was how delicious fava beans or sora-mame in Japanese そら豆 are when simply blanched and pealed. I use to eat them whole (don’t get me wrong not whole whole right! Just the beans inside the pod!!!)… but after preparing some Shojin cuisine recipes some years ago, I understood the difference between pealed and not pealed fava beans, and I would never not peal anymore.

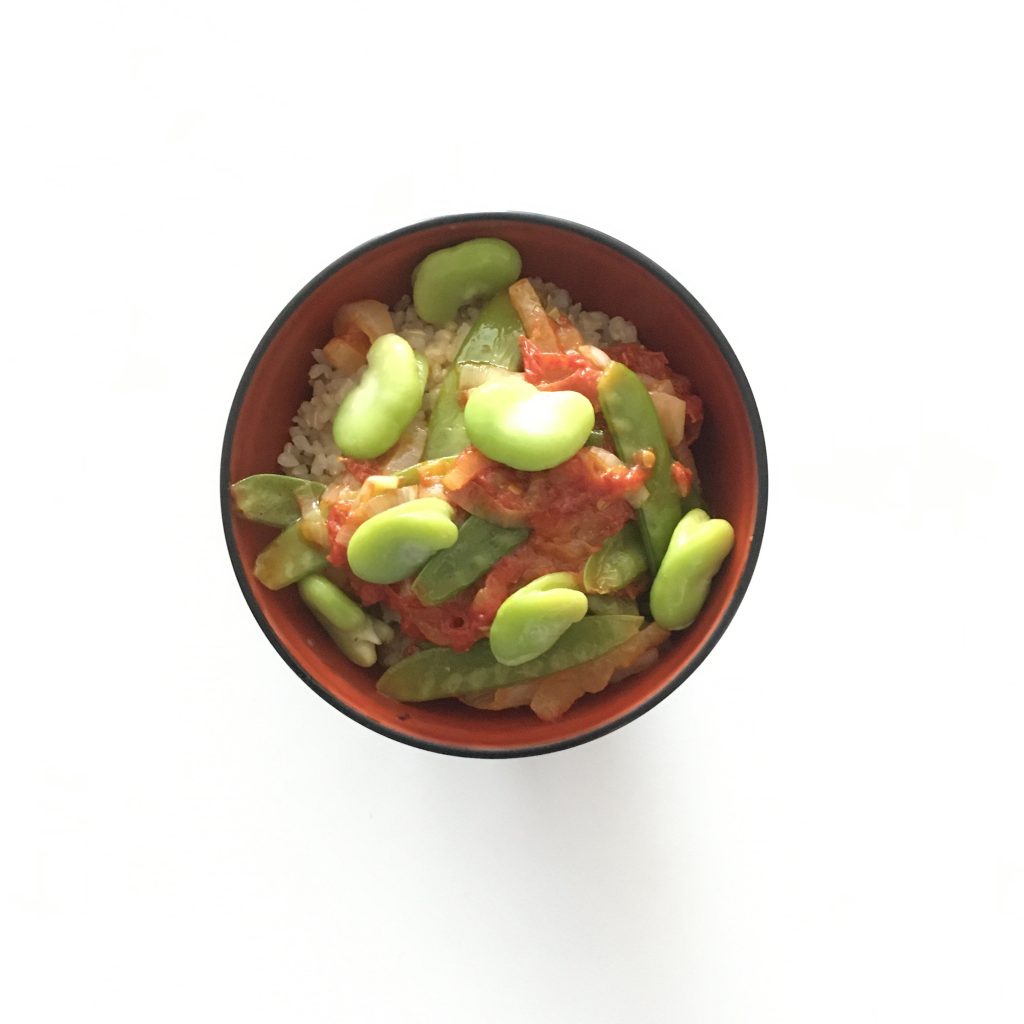
One of my favorite fava beans combination is with tomatoes. For some reason Isumi produces beautiful and delicious tomatoes. Very large and ripe ones, I love to cook them slowly with olive oil and reduced into a thick tomato sauce. They are sweet and tasty. Add a new onion to the preparation, soften by the long and slow cooking at low heat, and this is perfection!! If you have made tomato sauce last summer, my preparation is probably close to that, even thicker, so if you still cannot find proper tomatoes just use tomato sauce. I just then add blanched and pealed fava beans and use it for accommodating Japanese rice white and brown, or pasta, long and short or just a slice of made bread.

Tomato and fava beans topping brown rice

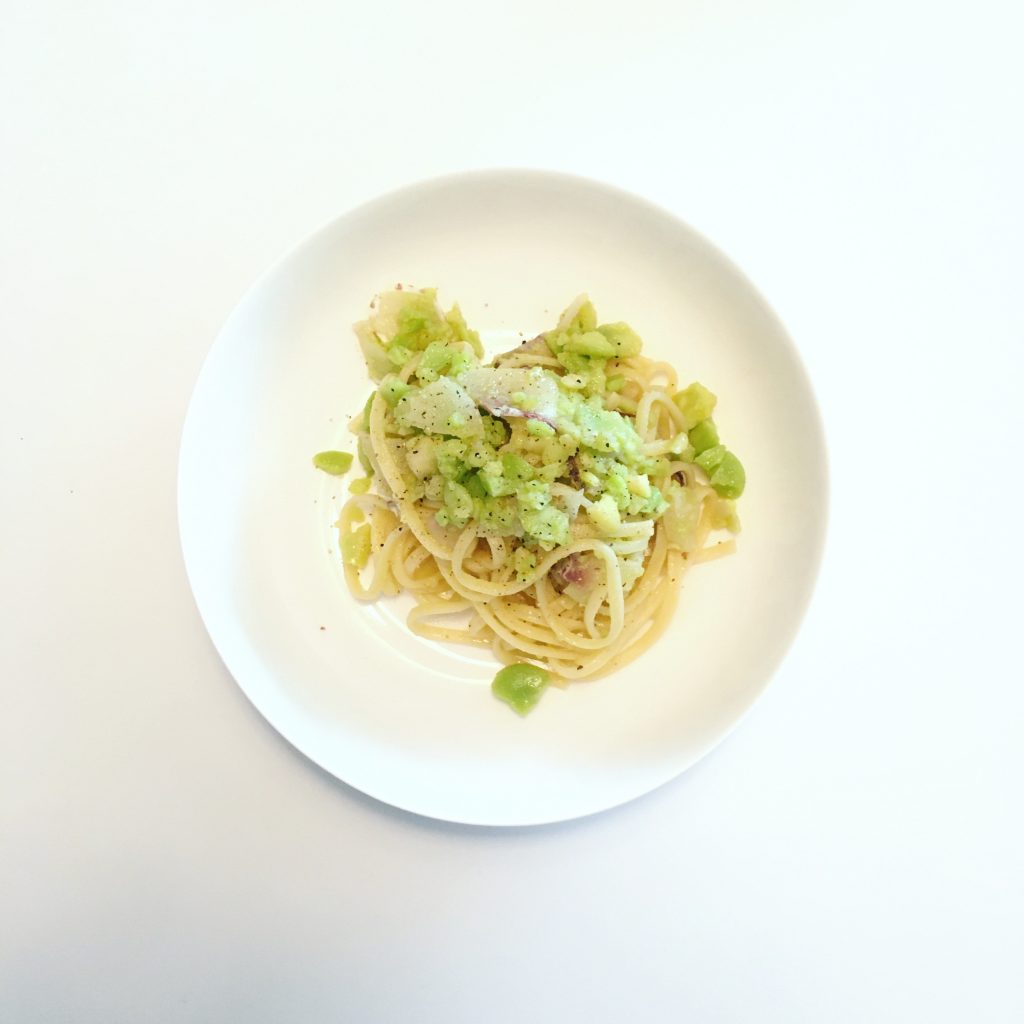
One other recipe is to use the fava beans as a base for pasta sauce. Instead of just blanching the fava beans I cook them a little longer so that they become creamy when pealed. Then mash them with olive oil, salt and pepper and add to pasta. Here I added a bit of smoked snapper.

Fava beans pasta sauce with smoked snapper

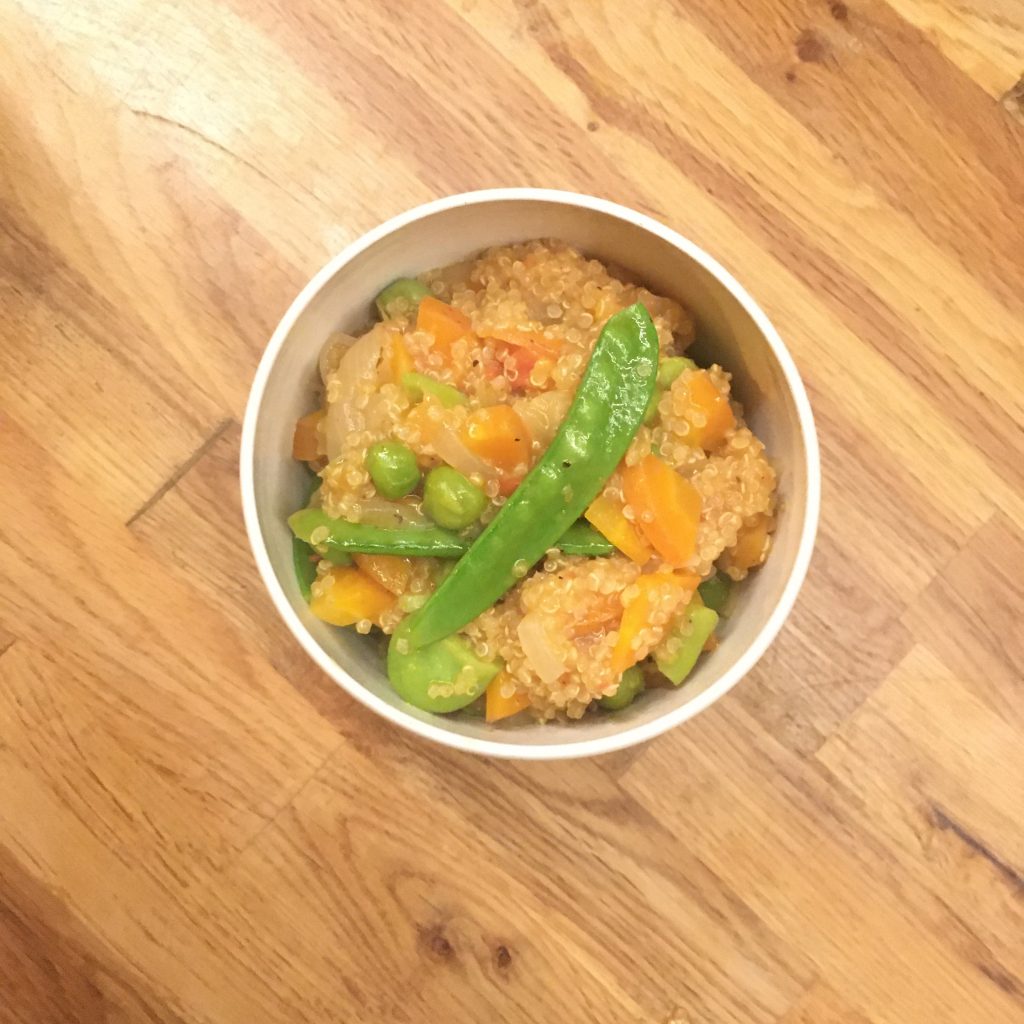
Finally, one of my favorite way of eating quinoa is to start as a soup, but let the liquid evaporate almost entirely and add plenty of vegetables from the start. I usually do this recipe in winter but spring is also good with all the spring vegetables, here a large tomato for the sweetness, a new carrot, and pealed fava beans and green peas. That’s it!

Have a good day!!!

Pastizzi tal pizzeli

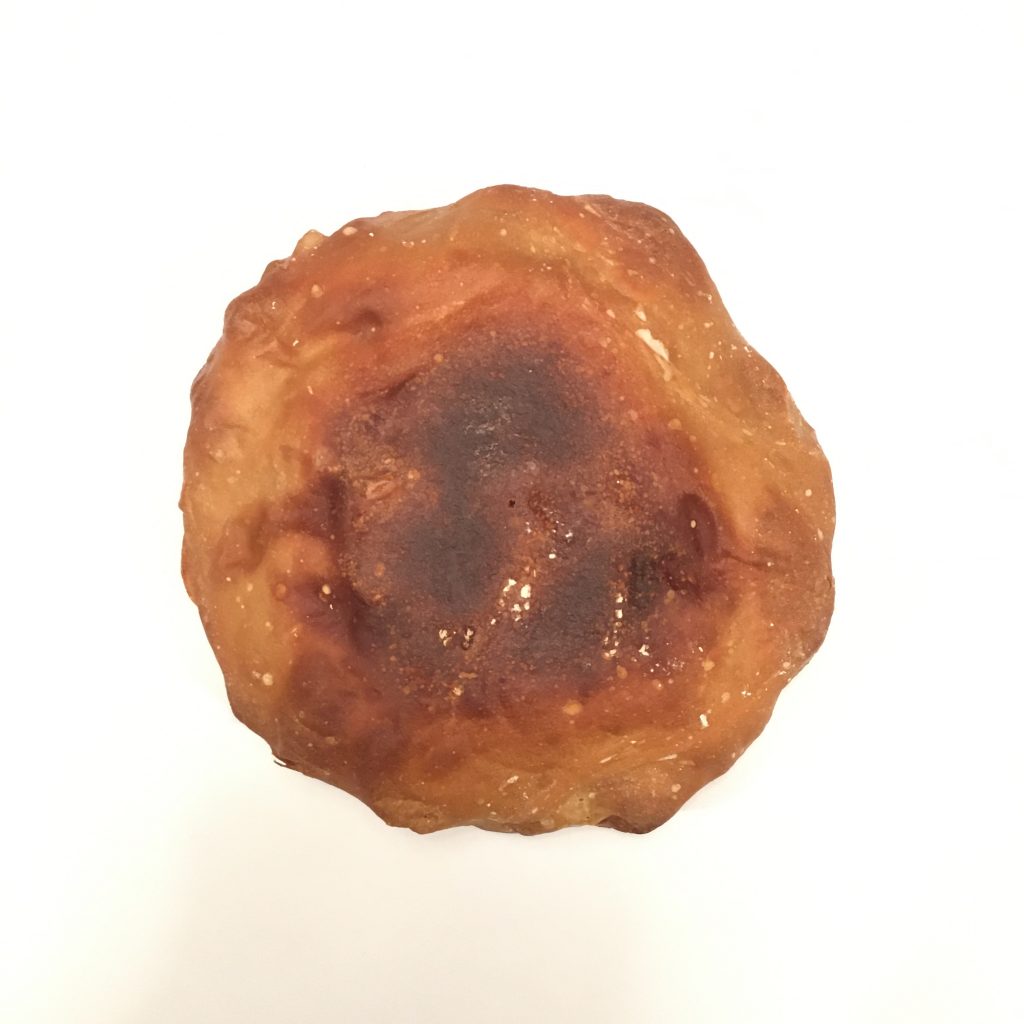
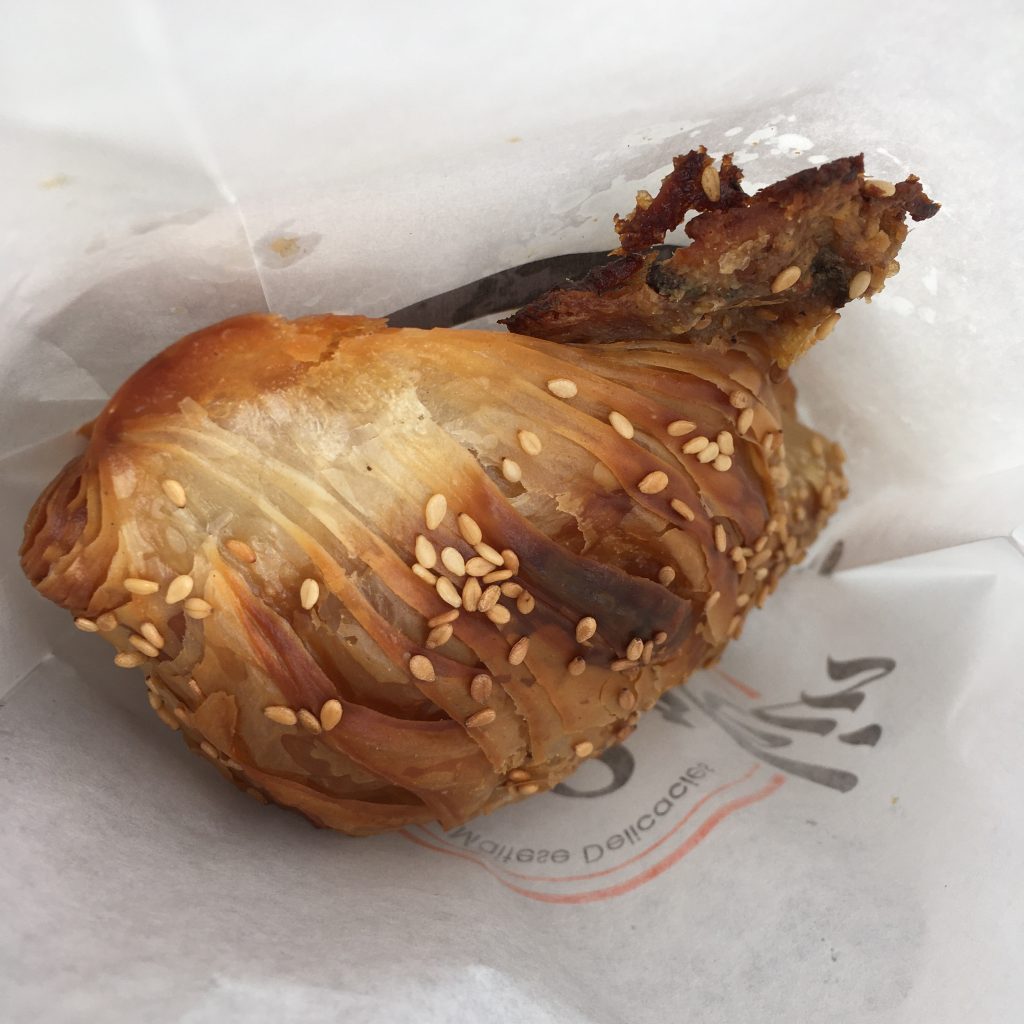
It is really interesting how much Maltese food has left a strong impression on me. I’ve already shared some of my favorite recipes from Malta, but one is still missing: that of pastizzi tal pizzeli, one of the three types of pastizzi, that with spicy peas. Why did it take me so long? Because I was waiting for the season of green peas to make them with fresh green peas. And now the season has come and I have gotten plenty of green peas so I tried making pastizzi. But for the genuine recipe you’ll have to wait longer, my attempt, though delicious, is a disgrace to the true Maltese pastizzi such that in the picture below.

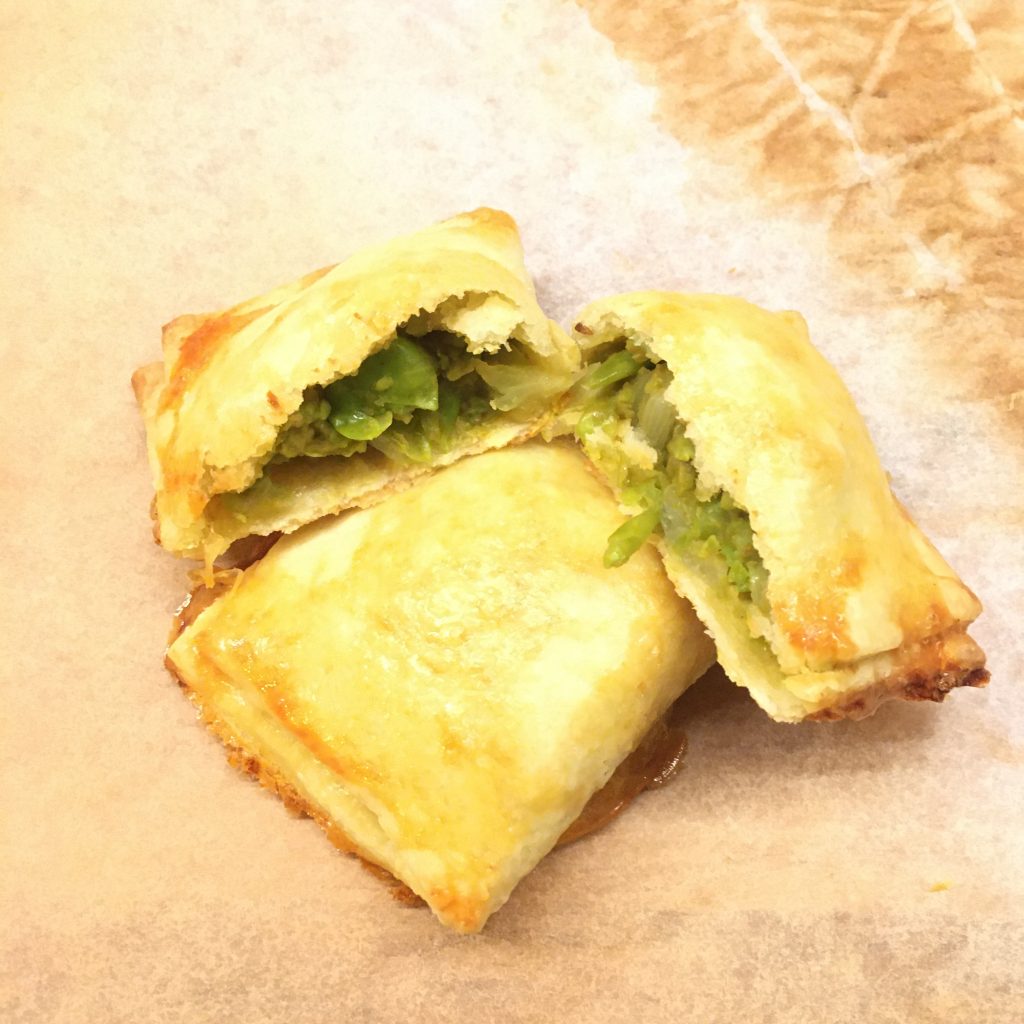
If you look on the internet you’ll find several different recipes for pastizzi, one of the main difference is those that use spilt peas, and those that use green peas, but they all have in common that they are prepared with puff pastry and the inly spice they use is curry, hence they are often called curried peas pastries, but in my memory the taste was more complex than that, or the Maltese curry is different than that we have here… hum… anyway, the challenge was to start with the puff pastry, not something I am confortable making (I need a serious training for that!), in particular when I remembered how thin and delicious it was in Malta, almost like filo (something I should also try to make!), so I decided to go with a rough puff to save some time, and spare me the disappointment of a poorly done puff pastry. As for the filling, I used half of a new onion, two handfuls of green peas, curry, a bit of clove (after all this is the Maltese spice by excellence), salt and pepper. I boiled the peas, I chopped the onion thinly and cook it in a pan with olive oil at low heat until just golden and soft. In a mortar I puréed the peas, add the spices and the onion. Stir well. Then roll and cut the dough in 8 squares of 12cm and filled them. I used an egg batter and baked at 200deg until golden. Well that was it. It was tasty, delicious but it was not a pastizzi!!!

I’ll try again! 😉

Proudly powered by WordPress | Theme: Baskerville 2 by Anders Noren.

Up ↑

Verified by MonsterInsights