Italy meets Japan again

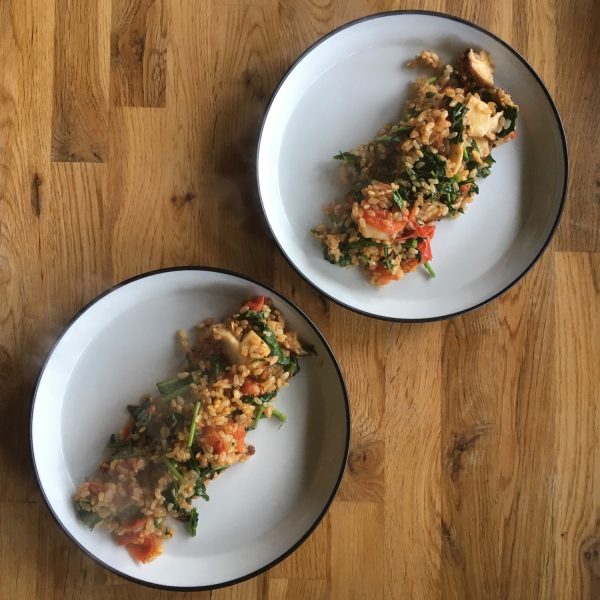
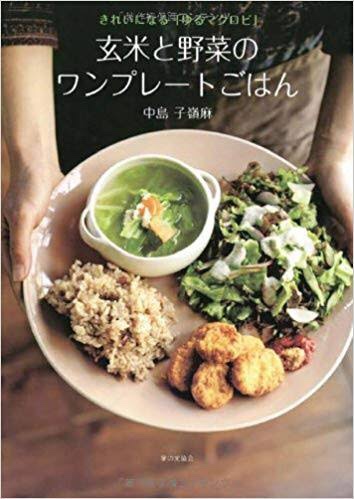
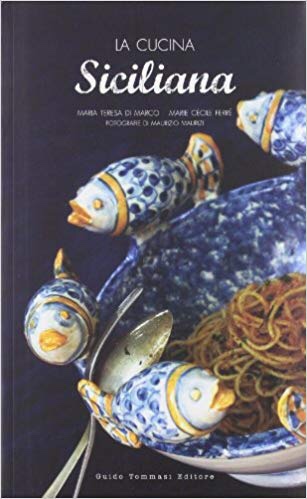
Saturday I spent some time browsing cookbooks, looking at their beautiful pictures and slowly moving from the winter mood to the spring mood. I was focusing on two very different books: a Japanese macrobiotic cookbook from Brownsfield owner elder daughter Shinema Nakajima, and a Sicilian cookbook by bloggers Maria Teresa di Marco and Marie Cecile Ferre. The first one reminded me its been too long since we last ate brown rice, the second one made me crave for tomatoes, fresh anchovies, fennels and artichokes. But from the mix of both came this very simple recipe of a macrobiotic risotto made from Japanese brown rice and fresh local vegetables. Here is my recipe.

Italian x Japanese risotto (2servings)

– 70g of brown rice

– 3 shiitake

– a handful of fresh rucola

– 3-5 small tomatoes, ripe

– olive oil, salt and pepper

First of all cook the brown rice in the Japanese way. Use left over if you have some.

In a large pan heat some olive oil, wash and slice the shiitake and cook them at low heat in the oil. That will make the base of the risotto stock. Add the rice and stir well, add a 2tbs of water. Then wash and chop the rucola and the tomatoes, add and stir well. Cook for a few minutes while stirring. Add salt and pepper. I served it with daikon pickled with yuzu, that was perfect!!
Making miso again

The time of making miso has come again… and just like last year I went to our neighbors’s S. and W., and made miso with them.

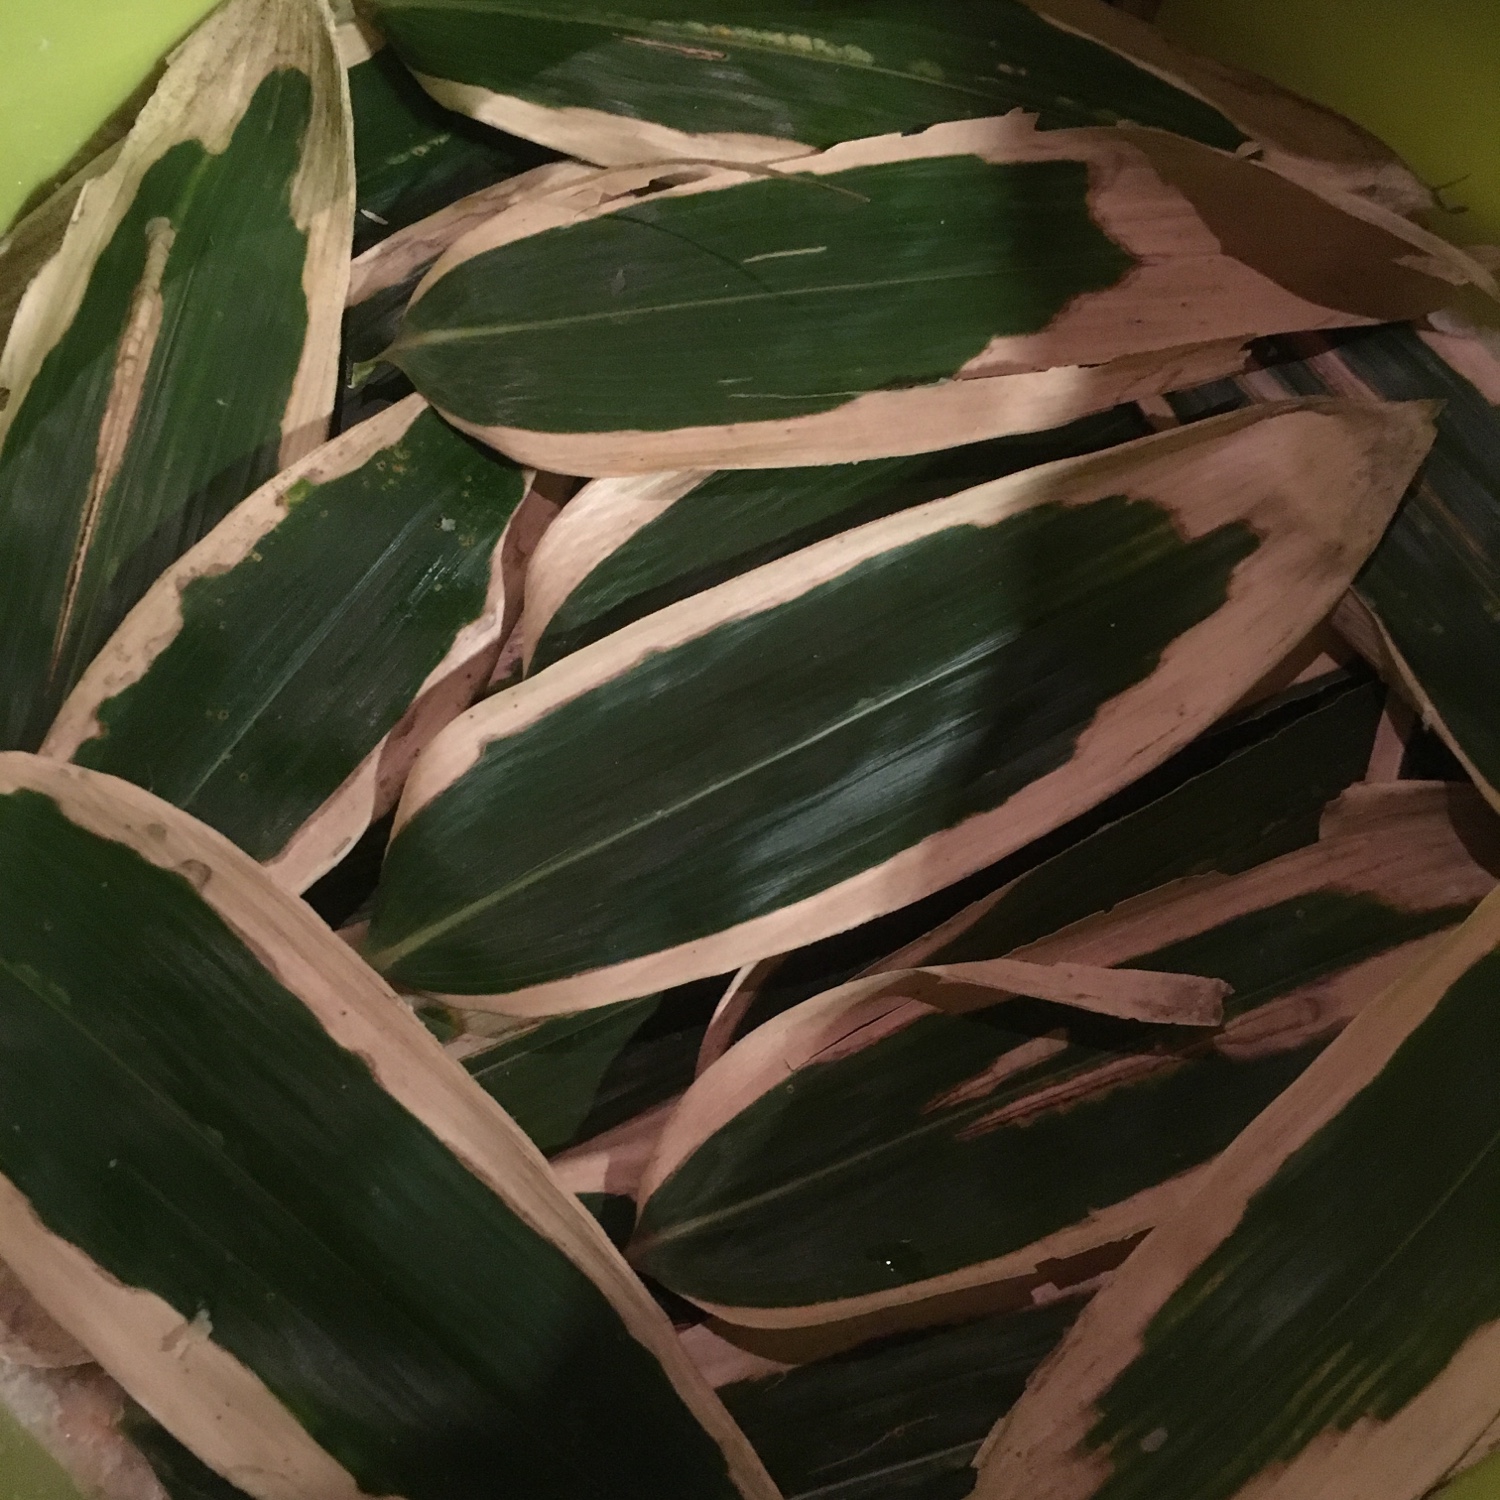
Below⬇︎it’s me equipped for this task with my gears: in the orange furoshiki, a large container with a loose lid that has been sterilized, a bowl and a pestle. On the other hand, freshly cut sasa bamboo to avoid the miso to rot on the top. Leaves only will be used after being sterilized. I was actually really surprised how it worked well last year! Only parts that were not covered got a bit of mold, the rest was perfectly clean!

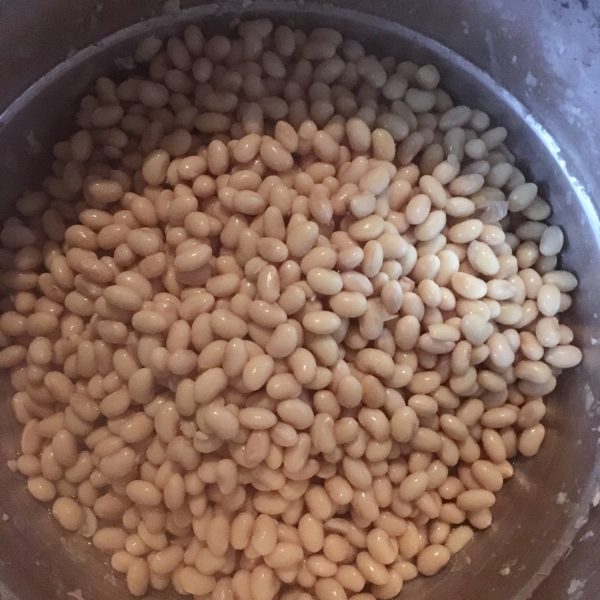
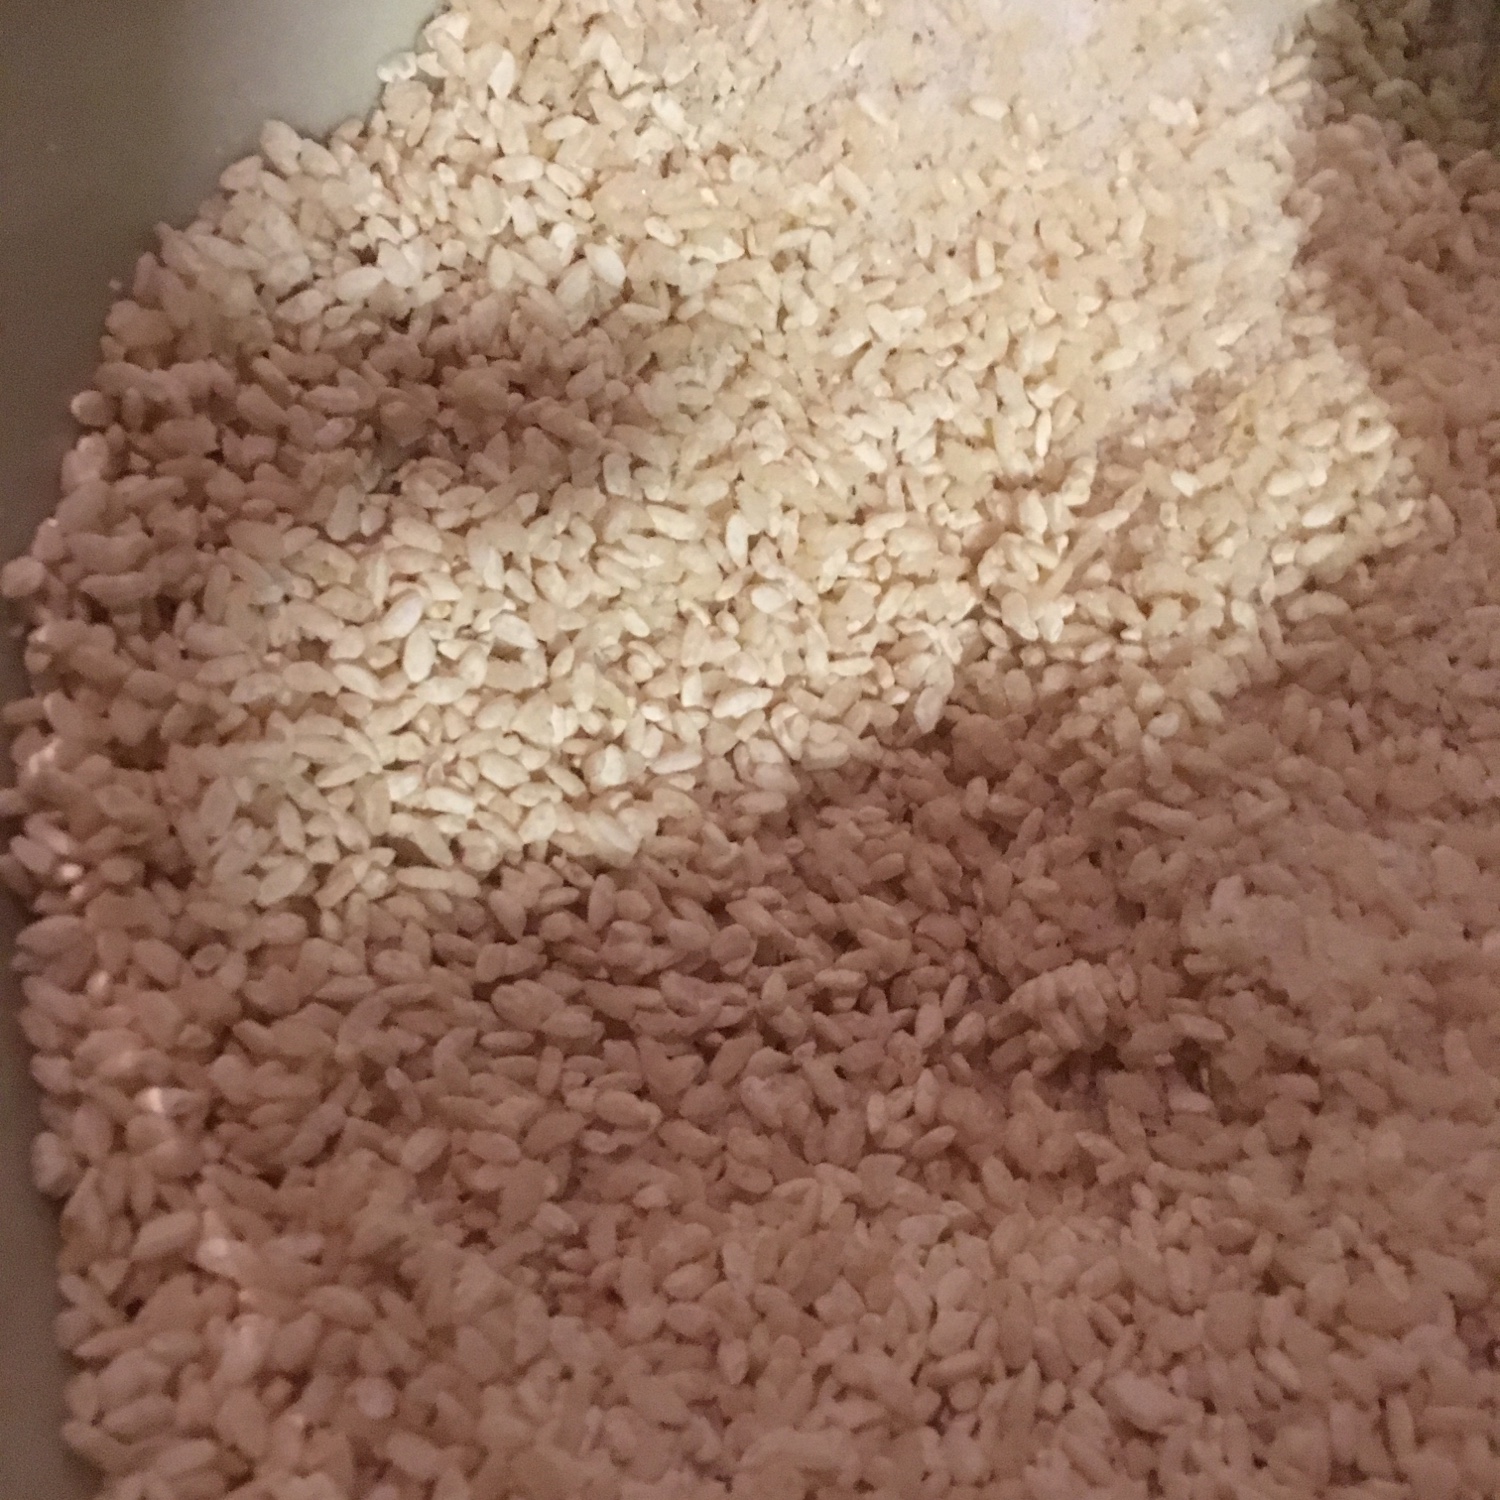
Now I am ready for a couple of hours In the warmth of the stove, chatting with S. and W., crushing boiled soya beans, mixing with koji and salt, making balls and crushing them in the container… but you know all that since I did it last year!

Now I am again waiting for 1year to try this new miso… but I also learned that 3years miso is very very delicious… can I wait 3years???

Koji
Miso in becoming, ready to wait one year or more under a large stone

Simple food: rice

Though when we were first traveling to Japan about 20 years ago, I would get tired of eating rice 3 times a day after one week, now I think I eat rice not enough and I am never tired of it, be it 3 times a day, every days!

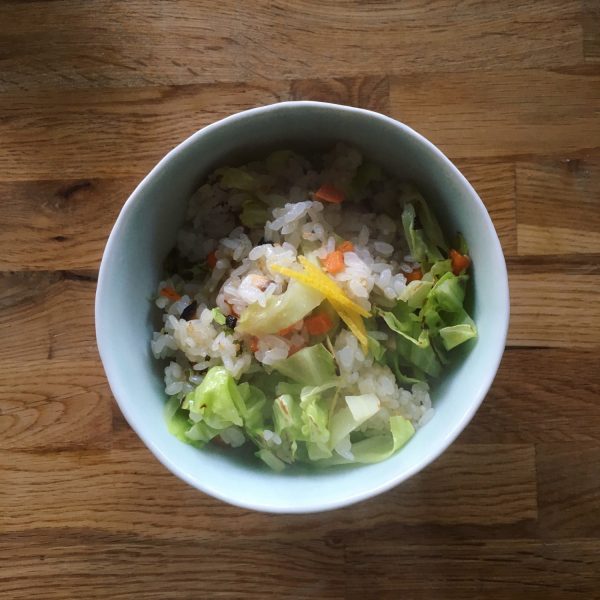
It can be plain white rice with just a pickled plum, konbu, miso or salmon, or more elaborated recipes. Everything is good for me as soon as the rice is good. My favorite rice is Koshihikari, as I’ve earlier said, be it from Tsunan or Isumi. But one thing I love to do is to cook more rice than needed so that the next meal can be prepared rapidly using this extra rice. Because if plain boiled rice is amazingly delicious, sautéed rice is also amazing. I love it prepared with sesame oil, and many different seasonal vegetables, it is as versatile as risotto. This time I cooked it with shiitake, carrots and cabbage, and added some sesame seeds and a few lemon peels from the last lemon of these season. A perfectly light combination for both lunch or dinner where the sesame and the lemon are well balanced and the vegetables textures play with crisp and melt…

How do you like your rice???

Fukinoto miso

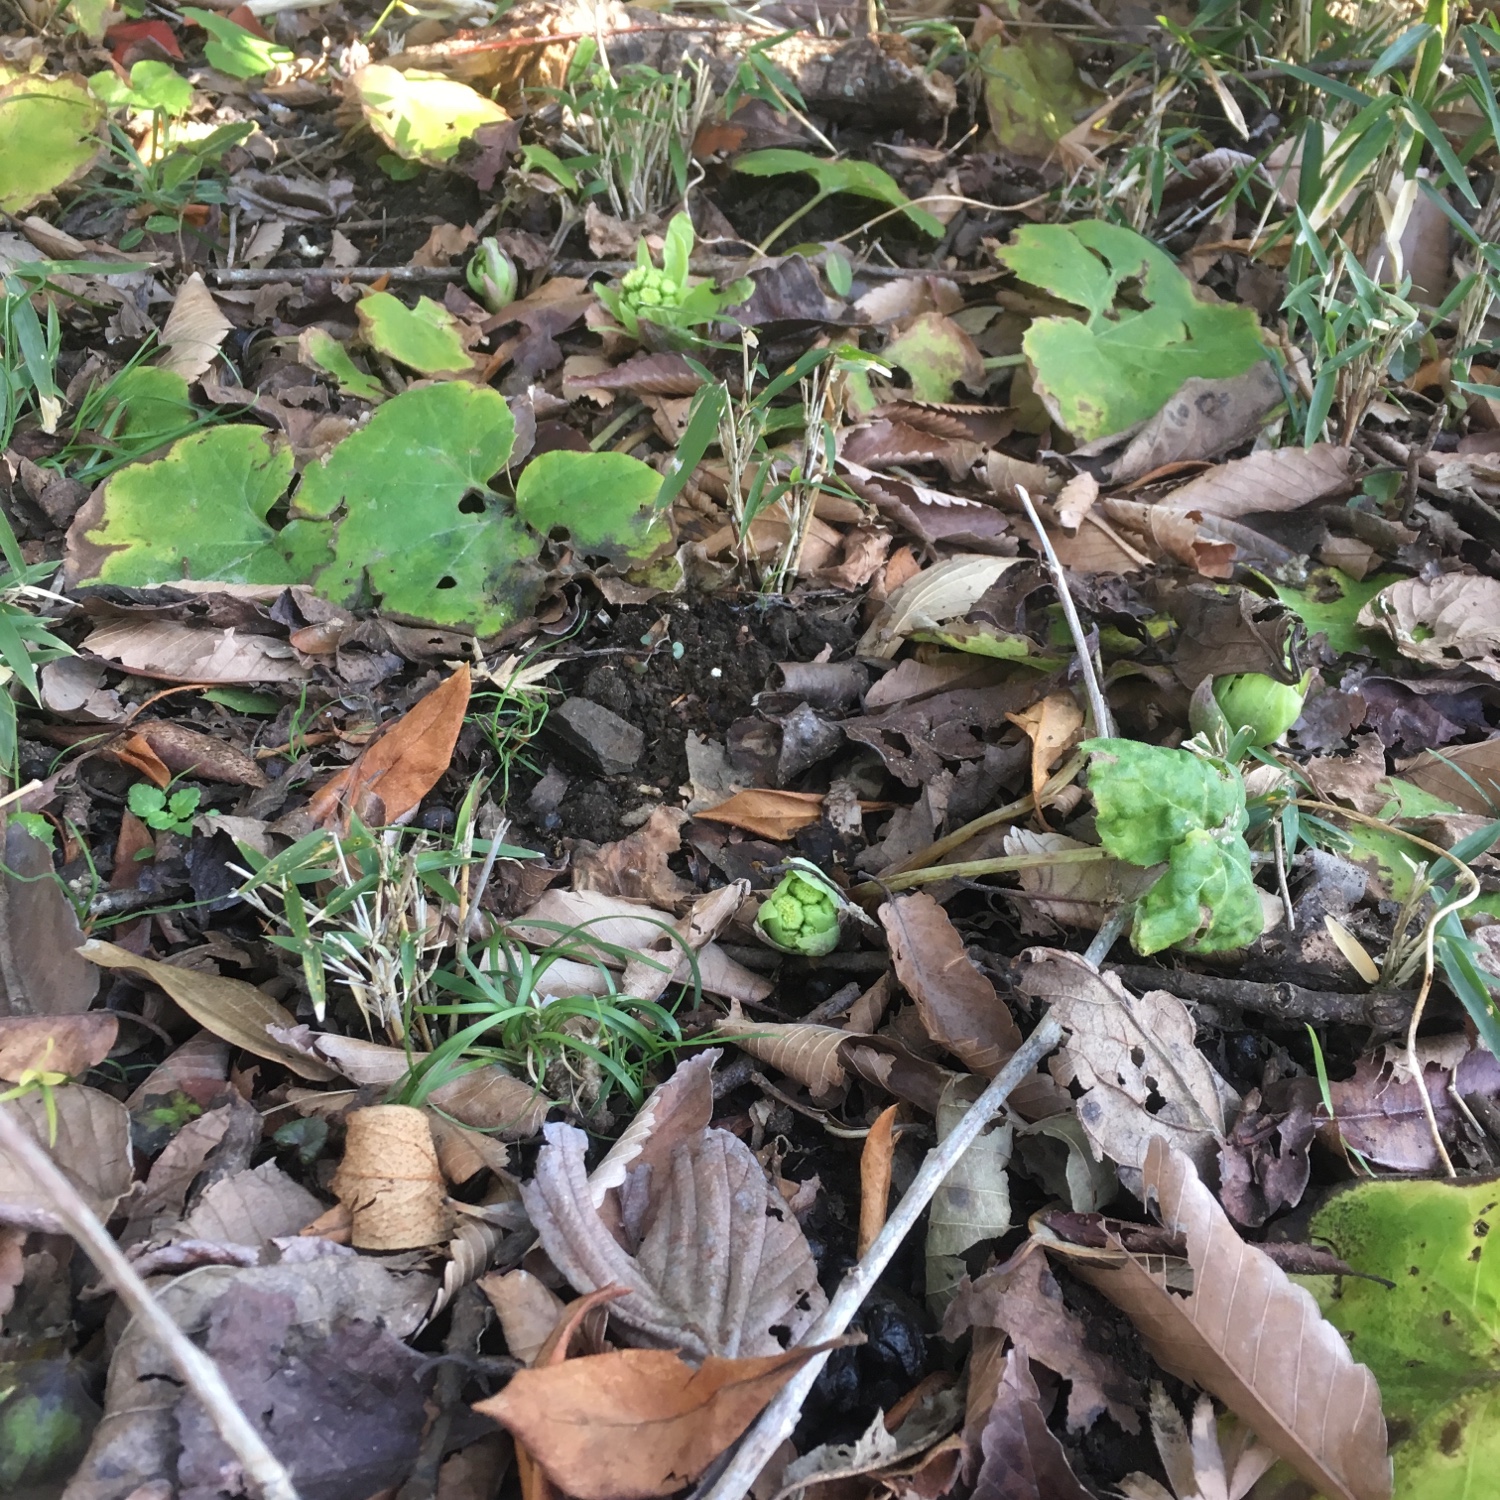
I harvested a few fukinoto very early in January, but now is the pick season in Isumi. We have quite a lot growing in the garden, so I just have to walk around where the fuki grow and search under the fallen leaves for the little yellow-green buds. Can you spot them in the below picture???

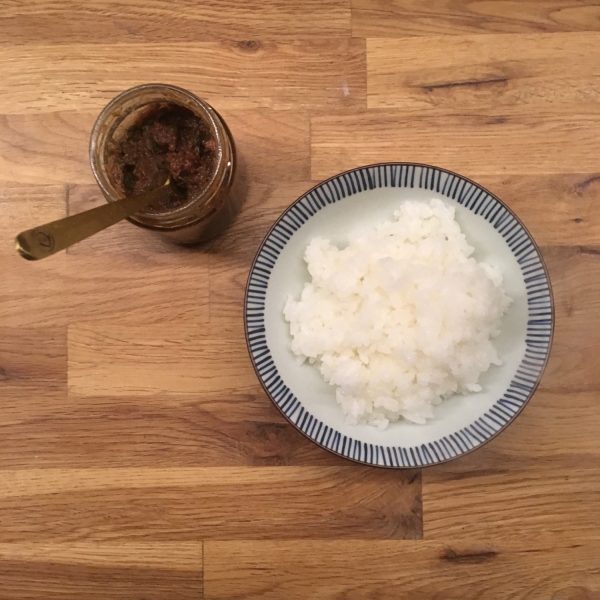
I usually prepare them in miso soup, but this year There were really many so I decided to prepare some fukinoto miso, a way to keep them for a week or two. Fukinoto miso is delicious with plain Japanese rice, tofu or with grilled pork.

Here is my recipe.

Fukinoto miso (makes a small bin)

– 50-70g of fresh fukinoto

– 6tbs of miso

– 1tsp of sugar

– 1tbs of oil

Wash gently the fukinoto to remove earth and fallen leaves pieces. Chop them in 5-10mm pieces.

In a heated pan with the oil, add the fukinoto and stir gently at medium heat. When all are shiny in oil add the miso and the sugar. Cook at medium low heat for 5min while stirring. Put in a sterilized jar and close with the lid. Eat when cold. Keep refrigerated for 1-2weeks.

White miso for the winter

There exists miso for each season and if red miso is for the summer, white miso is the one for the winter. I learned that at my cha-kaiseki cuisine classes a few years ago. And in an attempt to make some vegan pie crust I was tempted to replace butter by the creamy white miso, with a little addition of vegetal oil. The color is unchanged since the miso has almost the color of butter. The kneading is very easy, the rolling too, though it is more like olive oil base pie crust, it breaks easily, but it is easy to repair too!! I was worried it would be salty but it wasn’t (opening to not only savory quiches, but sweet pies and tart too) and it bakes in a very crispy manner. So the vegan pie crust with miso was perfect. Something I will use again for sure as it is sometimes easier to find miso than butter in Japan and the taste of miso was very mild rather that of olive oil.

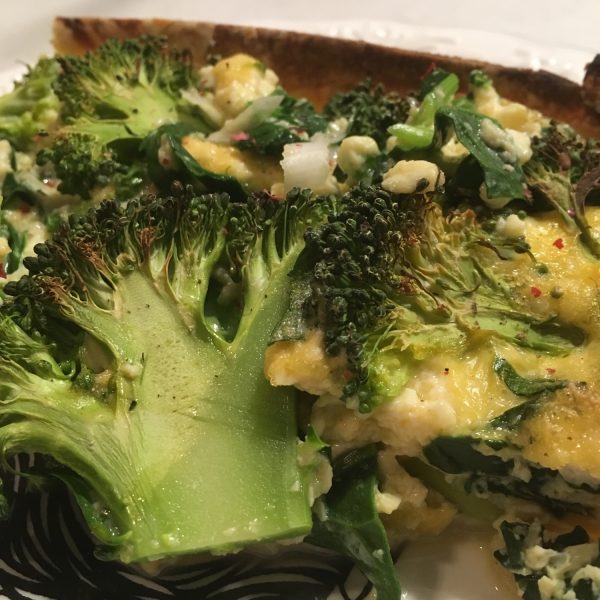
As for the filling I used leek, spinach and broccoli with tofu and eggs. I haven’t found something to replace the eggs in the quiche yet… If you have ideas, I’ll be happy to try…

Miso pie crust (for a 20cm, thin crust)

– 150g of flour

– 5tbs of white miso

– 1tbs of vegetal oil

– 1tbs of water

Mix all the ingredients together. Roll and bake or fill and bake… that’s it!!!

Miso

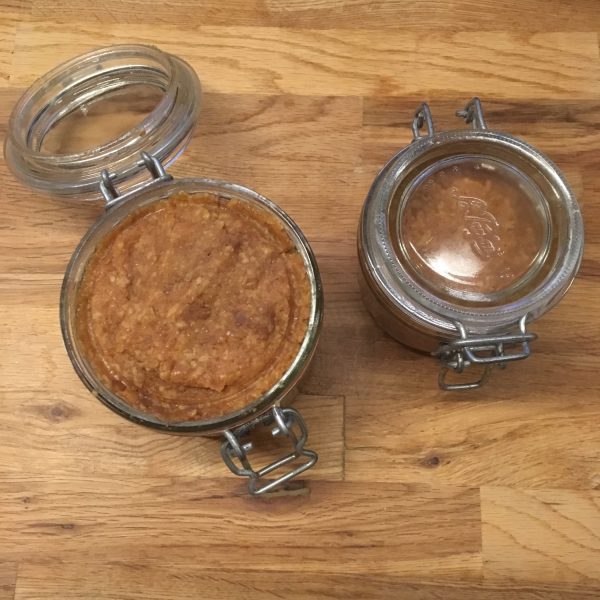
Remember last March? I made miso with our friends… and I had to wait about a year before being able to try it… actually our friends came home the other day and we talked miso, and they said that their miso was ready and 9month were sufficient… so I couldn’t wait to open my bucket and check what was under the big stone and the bamboo leaves… I totally didn’t sneak peek in during the whole time, worried that could prevent it from fermenting correctly.

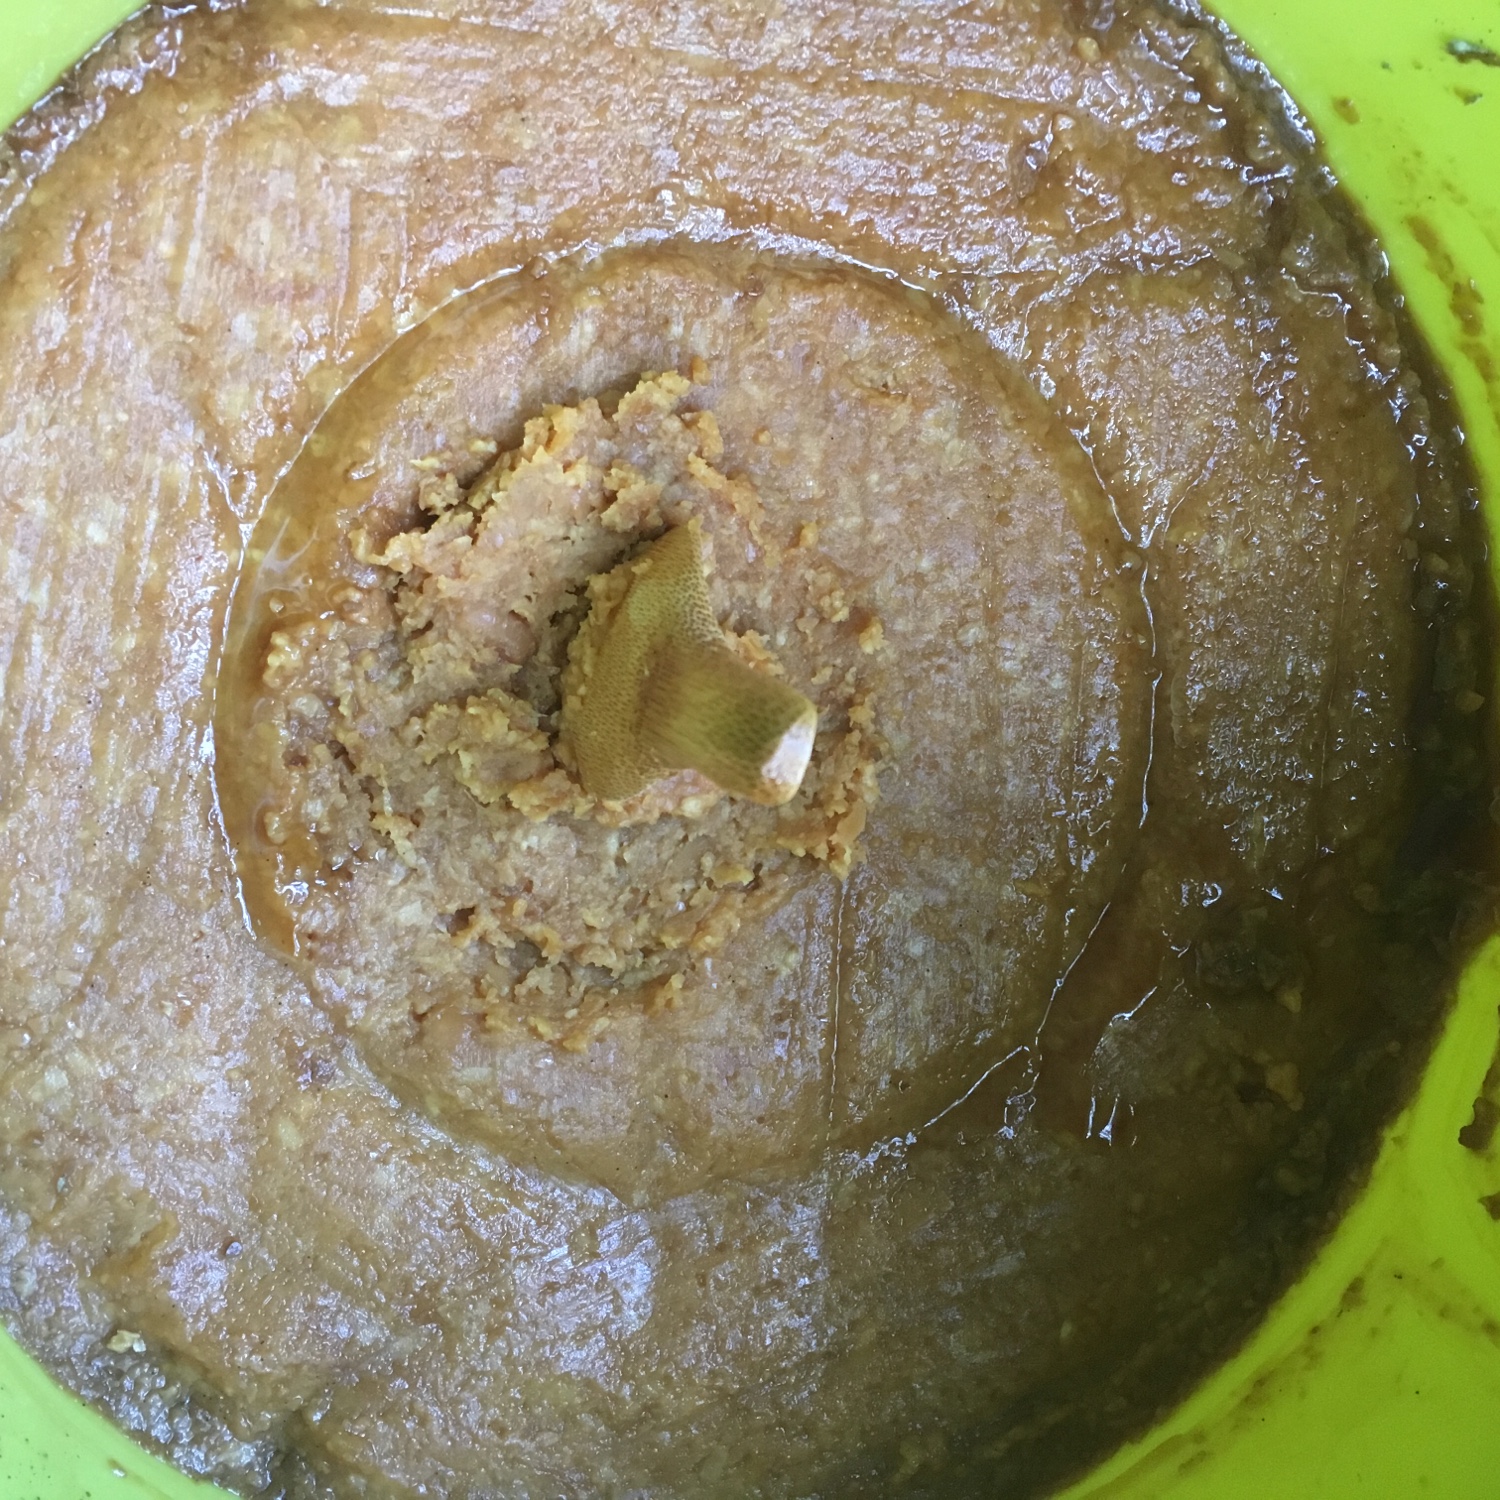
First there was a bit of beautiful blue mold on the edges of the bamboo leaves, but that is normal. Under the bamboo leaves there was a beautiful, clean and fresh miso waiting!!!

Just uncovered miso

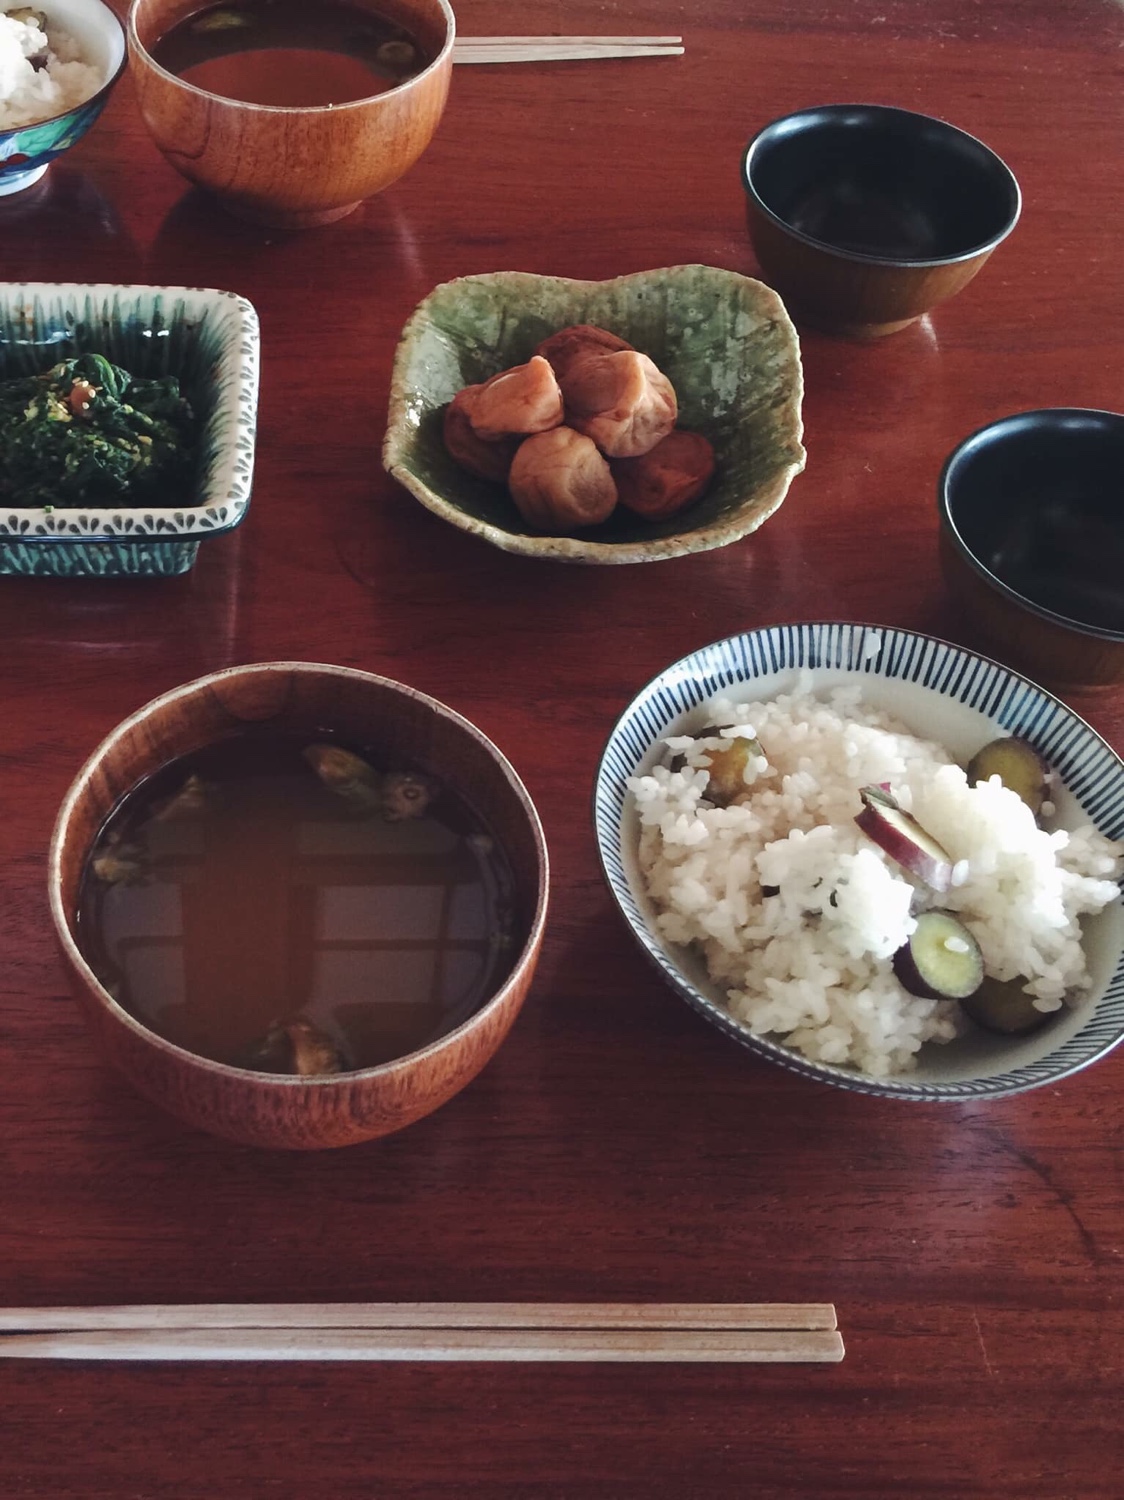
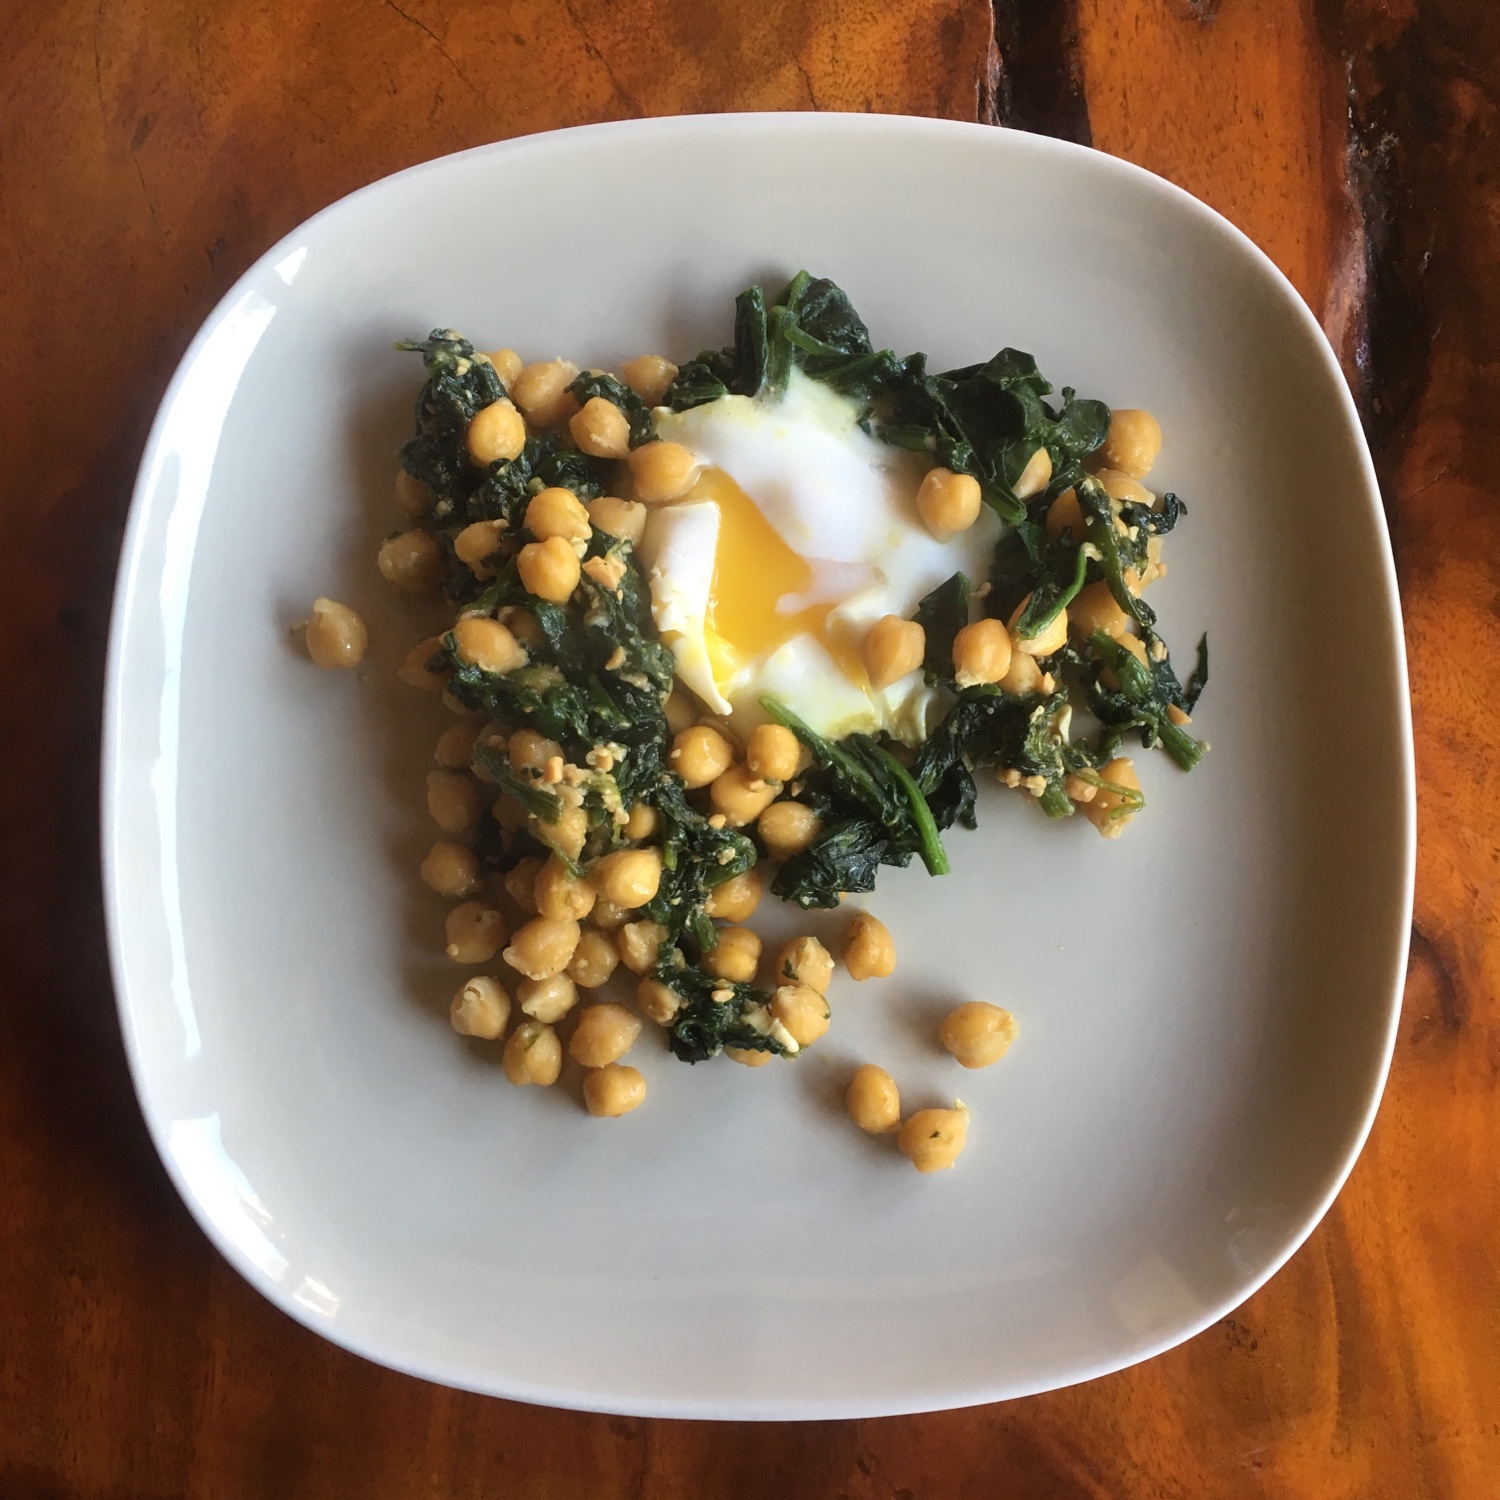
Without any delay I moved the miso from the plastic jar (I like better the old pottery for pickles… but mine was too small…) into bins and started using it right away. First of all with daikon and carrot sticks. It’s always the best way to test the real raw taste of miso. Then of course in miso soup, and with spinach and finally a simple recipe with chickpeas, spinach, and an egg. The miso I made is really nice. It has a texture where you can easily see the crushed beans and I love this texture for classic miso. Of course you don’t find this in white and red miso, which are much creamier. I found it a bit salty when I first tasted it, but now I don’t feel that anymore. I will definitely make miso again this year!!!

Miso soup and spinach with miso for our friends visiting. Picture from @Chinoshot

Chickpeas, spinach and miso

– 150g of boiled chickpeas

– 1 bundle of spinach

– 2tbs of miso

– 2 eggs (optional)

Wash and chop the spinach. Blanche them in very little water. Drain them. In a slightly olive oil greased pan put the chickpeas, the spinach and stir well, when the chickpeas are warm, in a small bowl dilute the miso in 2tbs of water and add to the pan and stir well. Cook a sunny side egg if you want. Serve the chickpeas and top (or not) with the egg. Enjoy and stay warm!!!

Ravioli with Japanese flavors

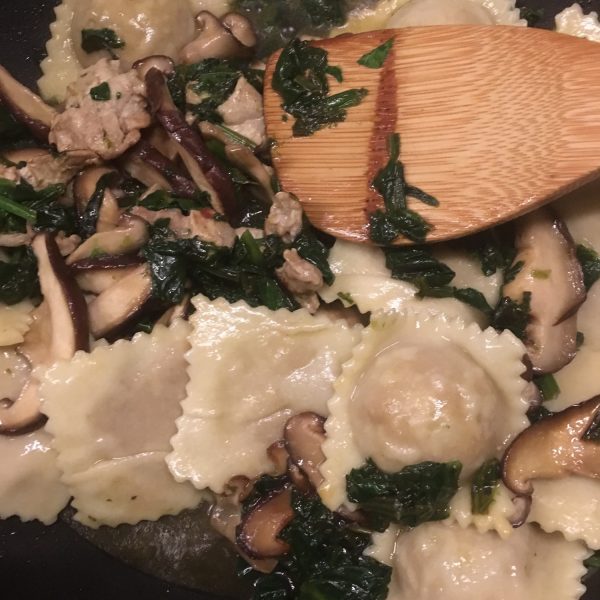
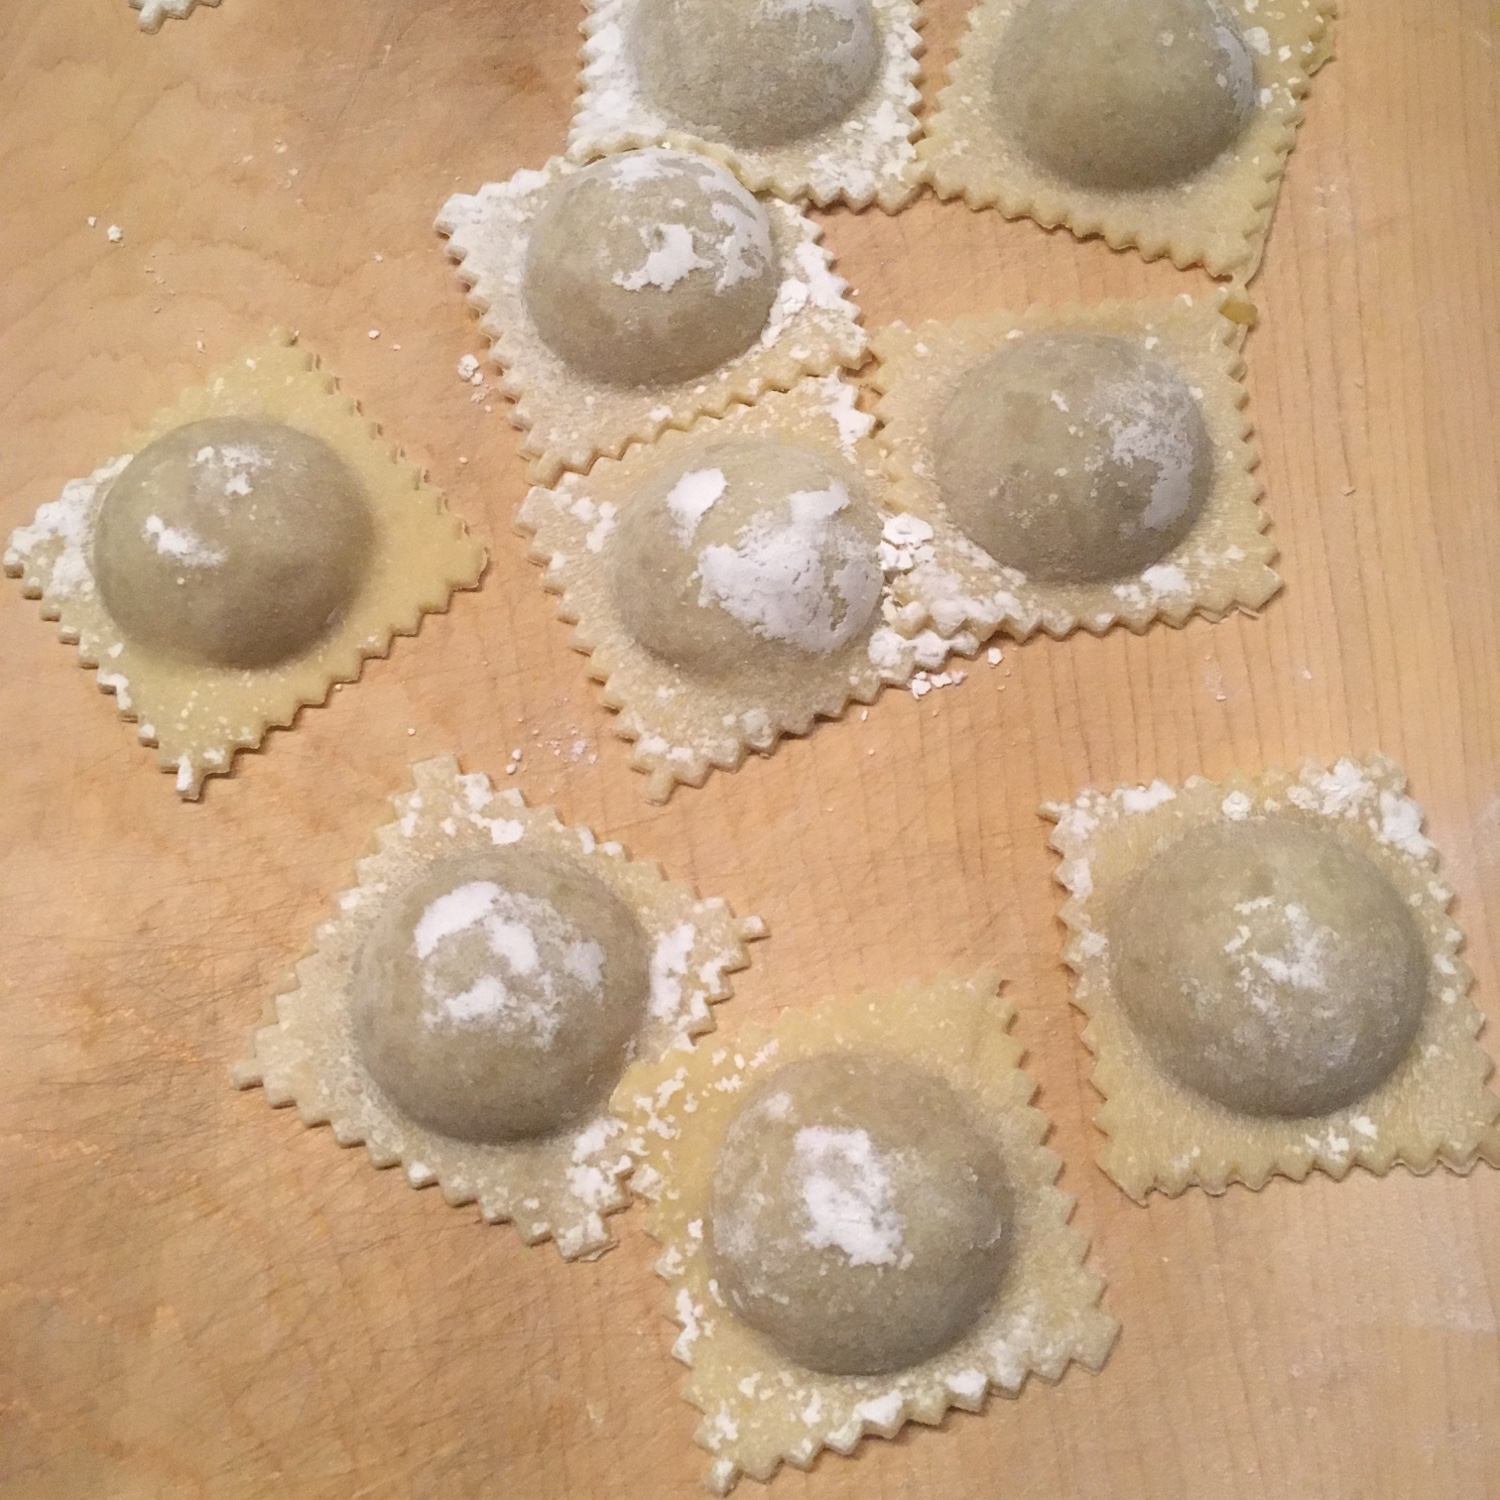
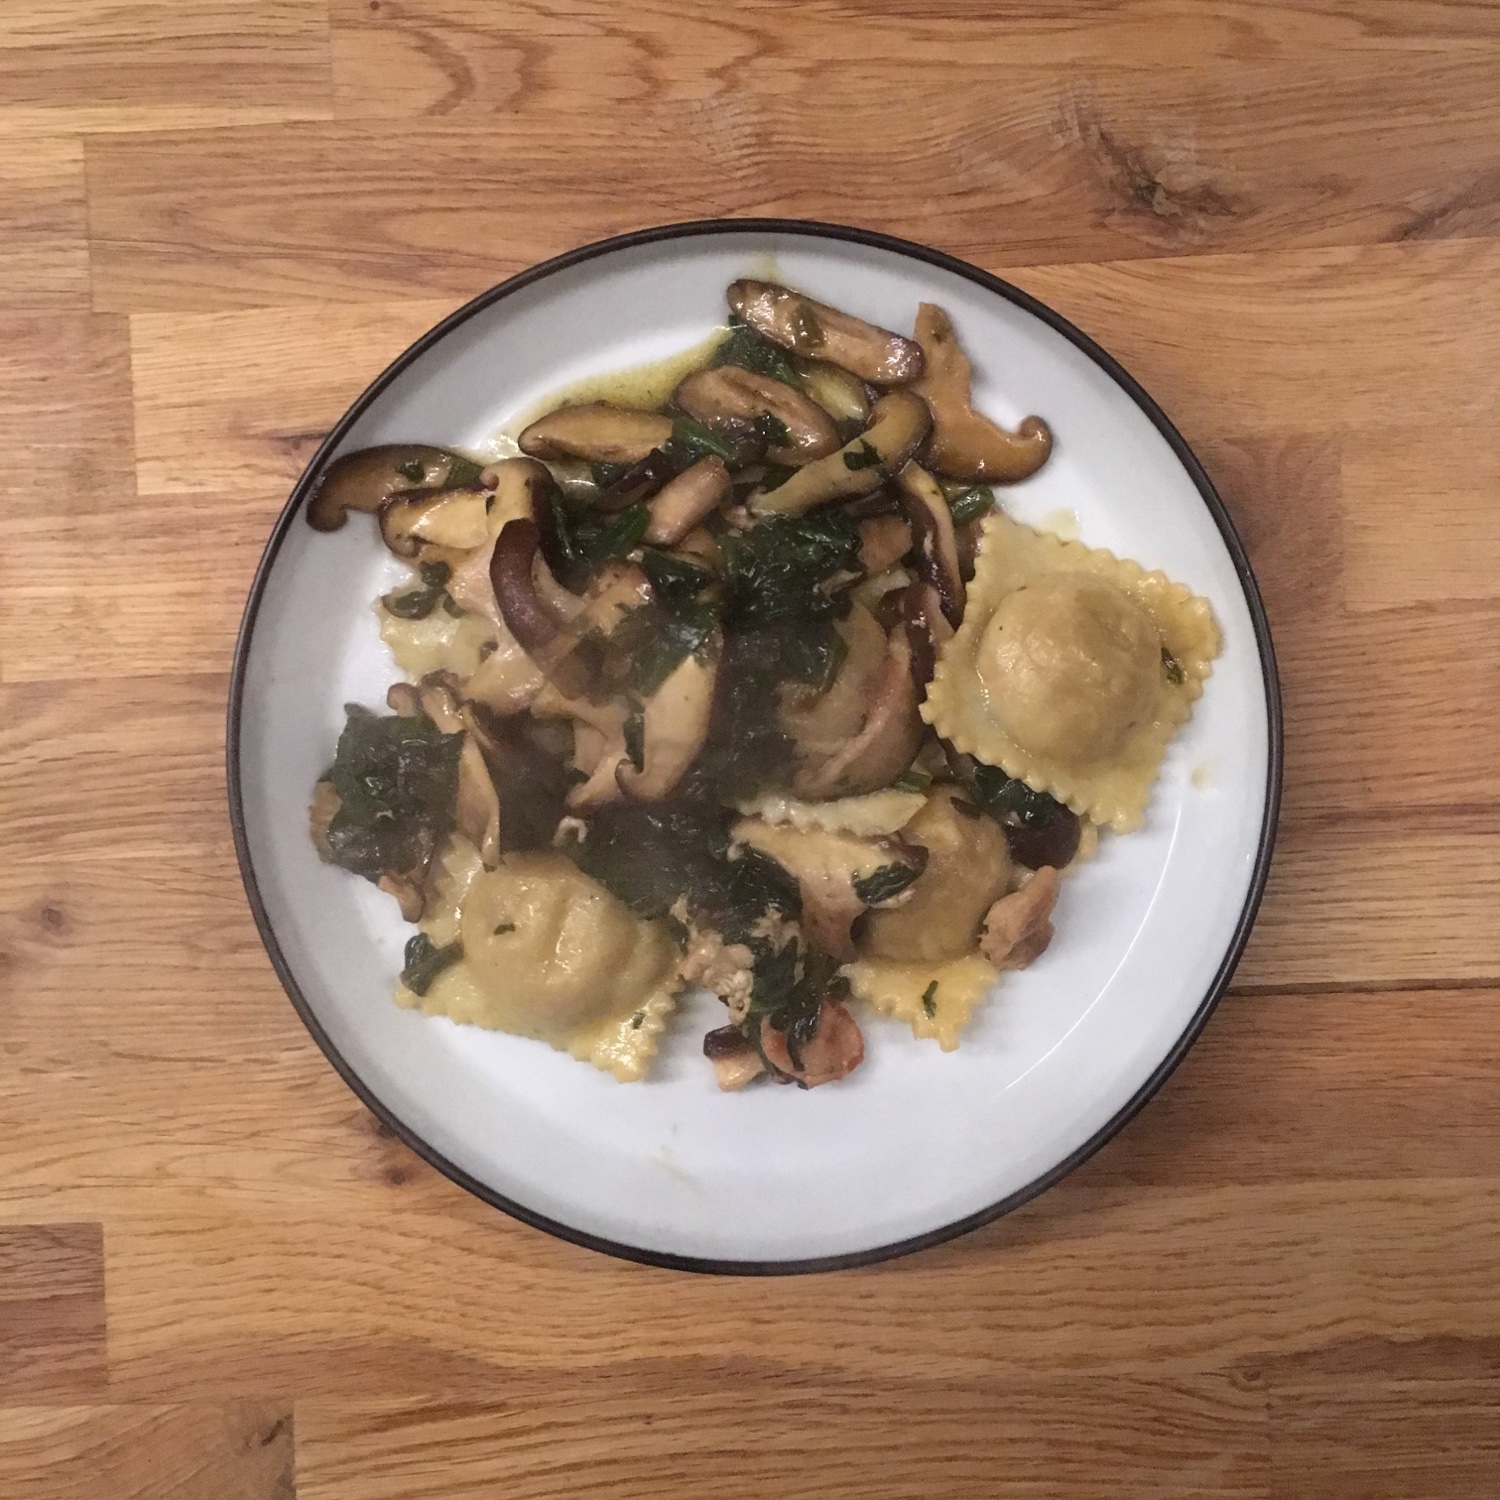
By now you must know that I love ravioli, that I love both making and eating them. With the end of year/new year holidays in Japan, most of the farmers market were off until today, so I had to buy some long lasting vegetables that would last 7-10 days and enough for having friends at home and unscheduled meals to cook, just in case… so I packed on shiitake, spinach, sweet potatoes, daikon, cabbages and carrots mainly. So when I wanted to make ravioli I was a bit falling short of options at first… but then I decided to use the ravioli recipe I learned in Florence last year: a base of potato and a sauce with mushrooms. I just twisted the recipe enough to make it Japanese style: filling of Japanese sweet potato and soya sauce, and the sauce with shiitake, spinach and a bit of grilled pork for those who like it. The result was really up to my expectations, even though I could have added a little more soya sauce. But each vegetable flavor and texture was remarkable and I and A. were both very happy with the result. So here is my recipe:

Sweet potato ravioli (2-4 servings depending on serving size, for it was 4)

For the pasta as usual:

– 100g of flour

– 1egg

– a bit of olive oil, a bit of salt

Mix all and knead until soft. Wrap and leave to rest for 30-90min.

For the filling:

– 2 medium sweet potatoes

– 2tbs of soya sauce

Boil them, when soft, drain, peel, and mash. Add a bit of water if too dry.

For the sauce:

– 1 bundle of spinach

– 4-6 large shiitake

– olive oil to your liking

– thin slices of pork if you like

Wash the vegetables, chop the spinach and slice the shiitake. In a heated pan with olive oil cook the vegetables, add the pork if you want. Add a bit of water if too dry. Keep.

Roll the dough and fill the ravioli. I used a 12-ravioli rack which has fairly large size ravioli (the dough quantities make for two racks: 24 ravioli). Mezze lune are also easy to make as in the recipe here. Fill them and boil them. Once they come to the surface take them out and add to the sauce. It doesn’t matter if a bit of cooking water comes too, on the contrary. Stir gently to cover the ravioli with the sauce and serve to eat right away.

Hand making

I’ve always loved making things with my hands… whether it’s been cooking, or small crafts, or drawing, but with a grand mother professional knitter, a mother and elder sister that know sewing, as the smallest one I didn’t really get a chance to learn any on these. Knitting I would probably be able to catch up, I did a little knitting when I was a child, but sewing… except for making squared pillow cases and the like, I really know nothing, and cutting is even worse, ask A. about my attempt of making a cylindrical pillow case… so when my old neighbor asked me if I wanted to learn how to make a traditional Japanese quilted jacket, I knew it would please her to spend some time with me chitchatting, I just couldn’t say no! I love learning new things to do with my hands. She told me what to buy and I prepared everything to be ready when the making day would come. She told me: “you’ll see it’s very easy” I understood “it will take one afternoon or one evening and you’ll have a new overcoat”… it was underestimating the skills needed and my total lack of them!!! It took me one evening just to cut and prepare the basic shape and she was guiding me all along, one other evening to add the filling and do the preparation sewing, and one evening to finally finish the hand sewing! But I did it!!! I am very proud of my first real piece of clothing! Hand sewing is yes time consuming but the cutting and mounting part were really interesting to learn!!! Learning how to make the best of the piece of fabric you have, how to avoid useless cutting and sewing, and how to optimize ease of mounting the whole thing together was really eye opening on knowhow and craftsmanship. I will definitely try again. The thing I found the best of all was that rather than watching an online tutorials I found that having someone experienced to show me was crucial in succeeding and in making the whole experience engaging and fun. Because not only did I learned how to make the jacket but also how to make small consistent knots, to use a supporter to make straight and regular stitches… and one million other things about Japan 70 years ago!!!

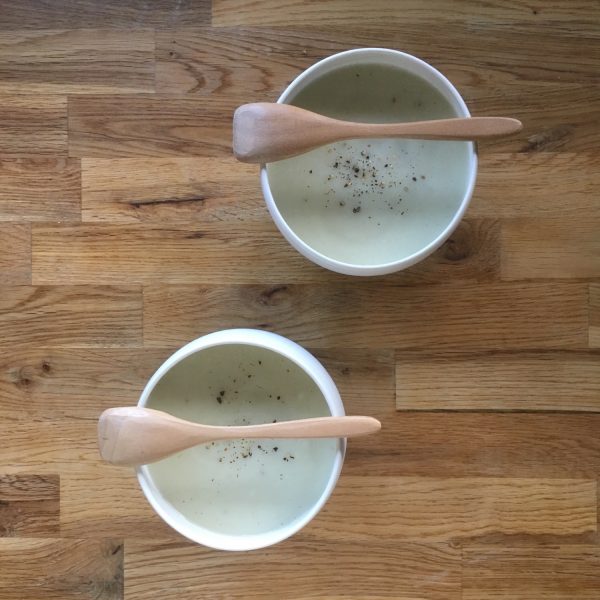
That said, you can understand that I had fewer time for cooking, so it was always simple. And with the chilly evenings, a warm soup was always welcome. I made a sweet potato and cauliflower soup. It’s so easy and requires so little work that it was perfect for me.

Sweet potato and cauliflower soup (2 large servings)

– 1 small cauliflower

– 2 small Japanese sweet potatoes (or 1/2 if it’s only big ones you can find)

– 200ml of milk

– salt and pepper

Boil the vegetables after washing/peeling and cutting them. When tender, move the vegetables in a blender, add the milk salt and pepper and mix. If too thick add a bit of the cooking water. Serve immediately and eat hot!

Moyashi – soya sprouts

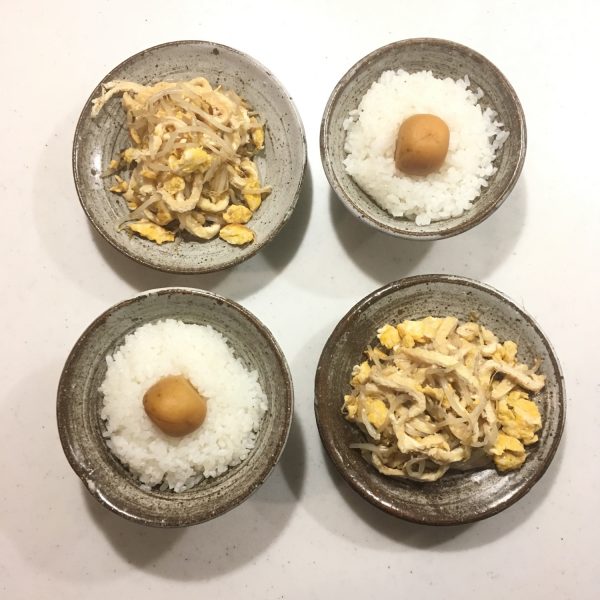
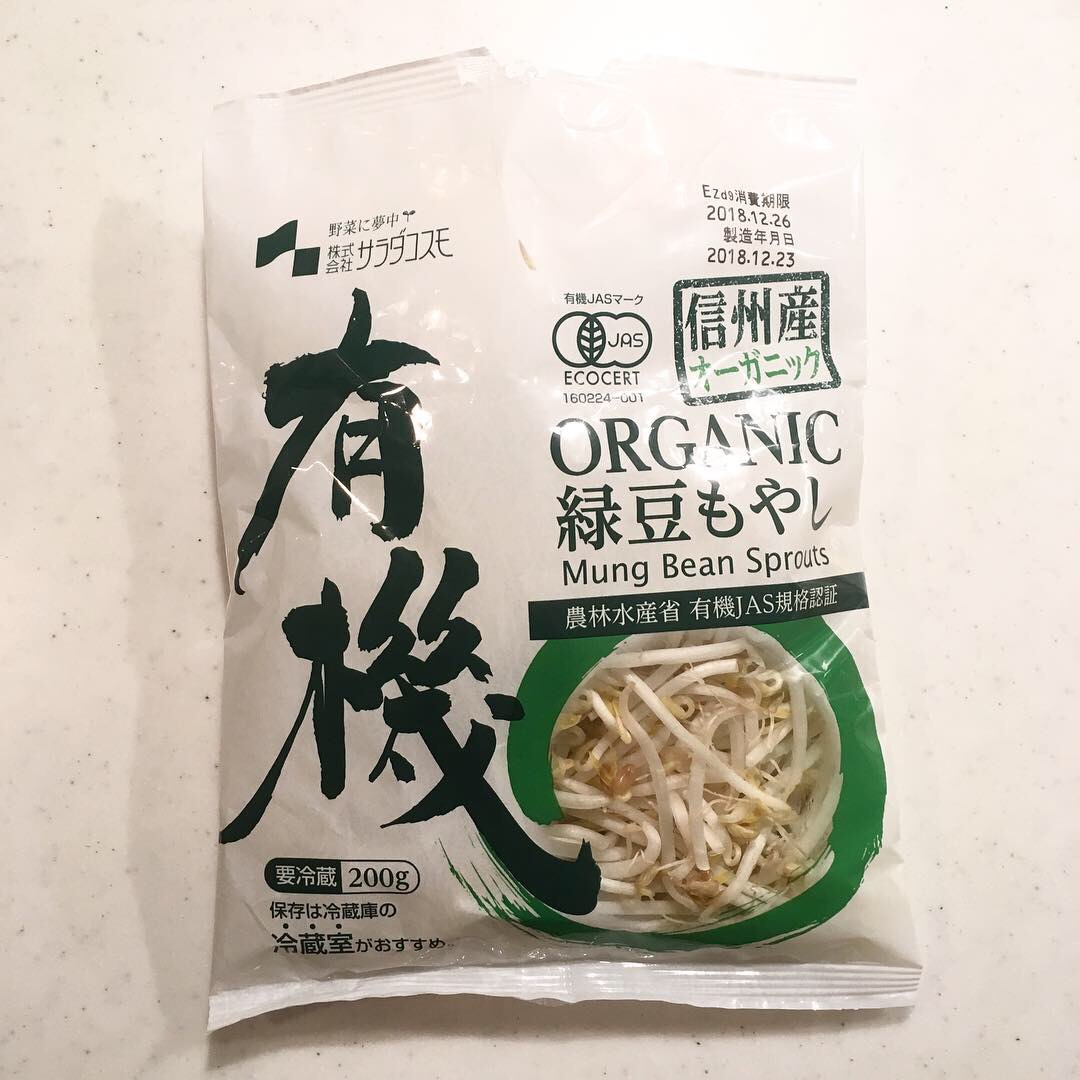
Soya sprouts (or moyashi) are one of these things I love but I hardly buy and cook because it’s hard to find some that are made properly. I remember reading about how they were made and stopped eating some. So last night when We went shopping after flying back from France, and I found organic moyashi at our local Seijo Ishi supermarket I couldn’t help buying them. Moyashi is a super food: easy to prepare, packed on protein and nutrients, and also it is very very cheap!!!! One of my favorite combination is moyashi and fried tofu. I love the mix of the crunchy and watery moyashi, with the soft oily tofu. This goes super well with simple rice or in chahan (fried rice). Here is one version of my recipe, it’s a vegetarian option that can be turned in a vegan one by removing the eggs or turned into a plain one if adding thinly cut chicken breast or pork slices.

Sautéed moyashi (for 3 small portions or 2 large portions)

– a bag of organic moyashi

– 2 slices of aburage

– 1tbs of sesame oil

– 1tsp of sesame seeds

– 2tbs of soya sauce (light colored recommended)

Optional: 2 eggs, 1 chicken breast or 5 thin slices of pork meat

Wash and drain the moyashi. In a pan greased with the sesame oil and heated add the moyashi. Cut the tofu in thin strips, add to the pan. Stir and cook at medium heat until l the moyashi is getting softer. Add the eggs or the meat if you want, and stir very well. Finish with the sesame seeds. Serve warm with rice.

Proudly powered by WordPress | Theme: Baskerville 2 by Anders Noren.

Up ↑

Verified by MonsterInsights