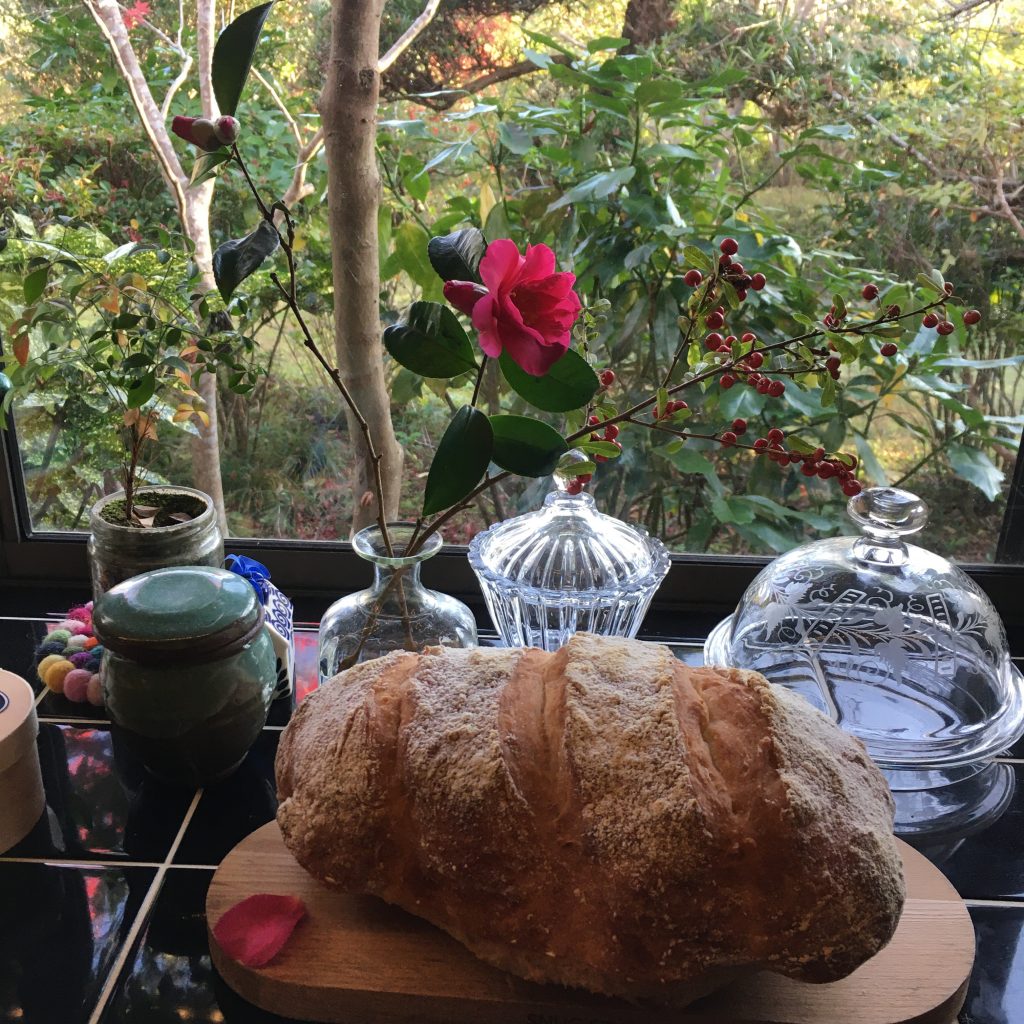
When I was a child, my mum would come to pick us at school for lunch, then we would walk to the car and somedays, on the way stop to buy some bread at Mr. Richard bread shop. And one bread in particular, fougasse. His signature fougasse unless most other bread shop was not the one with olives, or whatever else you can put in, it was the simplest plain fougasse, and instead of the classic shape it would little hearts cuts and you could pull the little hearts of bread. We lived to eat the little hearts on the way back to the car, and even more when the bread was still warm!!
While fougasse is eaten all year round, I like to have some ready in the summer. It makes the perfect meal with some fresh vegetables and a piece of grilled fish. And it is even more perfect when you have it ready when you get back home after a surfing session at sunset. I love to go surfing on Sunday evening after 17:30, when most day trippers are leaving and you get the ocean for just you, your friends and a couple of regulars. I love driving back home at dusk, seeing the sky becoming purple and the rice paddies turning yellow. And then I am hungry and the fougasse and a fresh cucumber from the garden are waiting to be eaten!
Fougasse
250g of flour
20g of olive oil plus some for the finish
20-30g of sourdough starter
8g of salt
70g of water (may need adjustment depending on flour and sourdough)
Mix all the ingredients and knead lightly. If the dough is too dry add a bit of water, if too wet a bit of flour. The dough must be rather hard and have not much moisture.
Wait a few hours until it has grown.
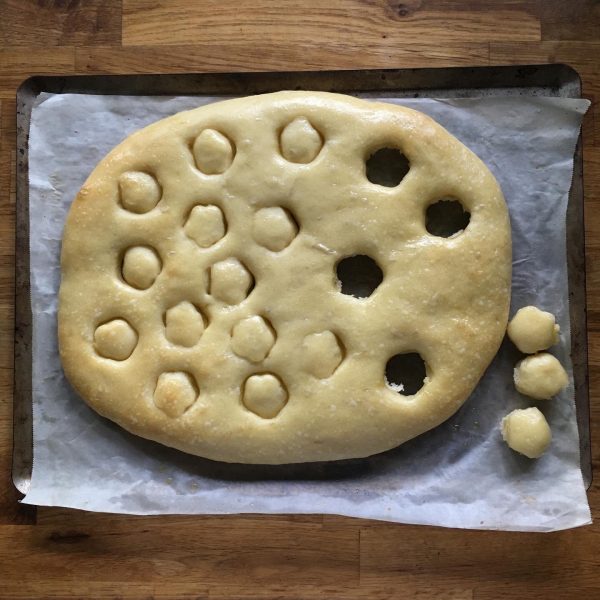
Then flatten the ball with the hand and wait 15 minutes. After that, roll the dough with a cooking pin to obtain an oblong shape of about 2-3cm thick. With a shaped cutter of the shape you want, I chose plum because I didn’t have hearts like Mr. Richard’s fougasse, cut a few places with the design you fancy.
Bake at 230deg for 15min or until golden. When out of the oven spread a layer of olive oil with a brush.
If there is one traditional food I don’t care much about it’s the Epiphany kings’ galette, the “galette des rois”. Whether the brioche or the frangipane, I don’t care much about them. Not that I dislike them but I don’t like them either. They are not part of my must-eat food. And since I am bad at making puff pastry, that’s even easier to forget about it… but this year IG was covered with galettes and though I was insensitive to them A. wasn’t… and he asked me why we never have galette though he loves it so much!
What???? Why on earth would you wait more than 20 years to tell me???
How could I have not imagined he would love galette. He who doesn’t like almonds but loves calisson and financiers, he who doesn’t love butter but loves croissants and brioches… of course he loves galette… of course I ignored that…
Well then… I took all the courage it takes to make an attempt at puff pastry when I have failed so often.
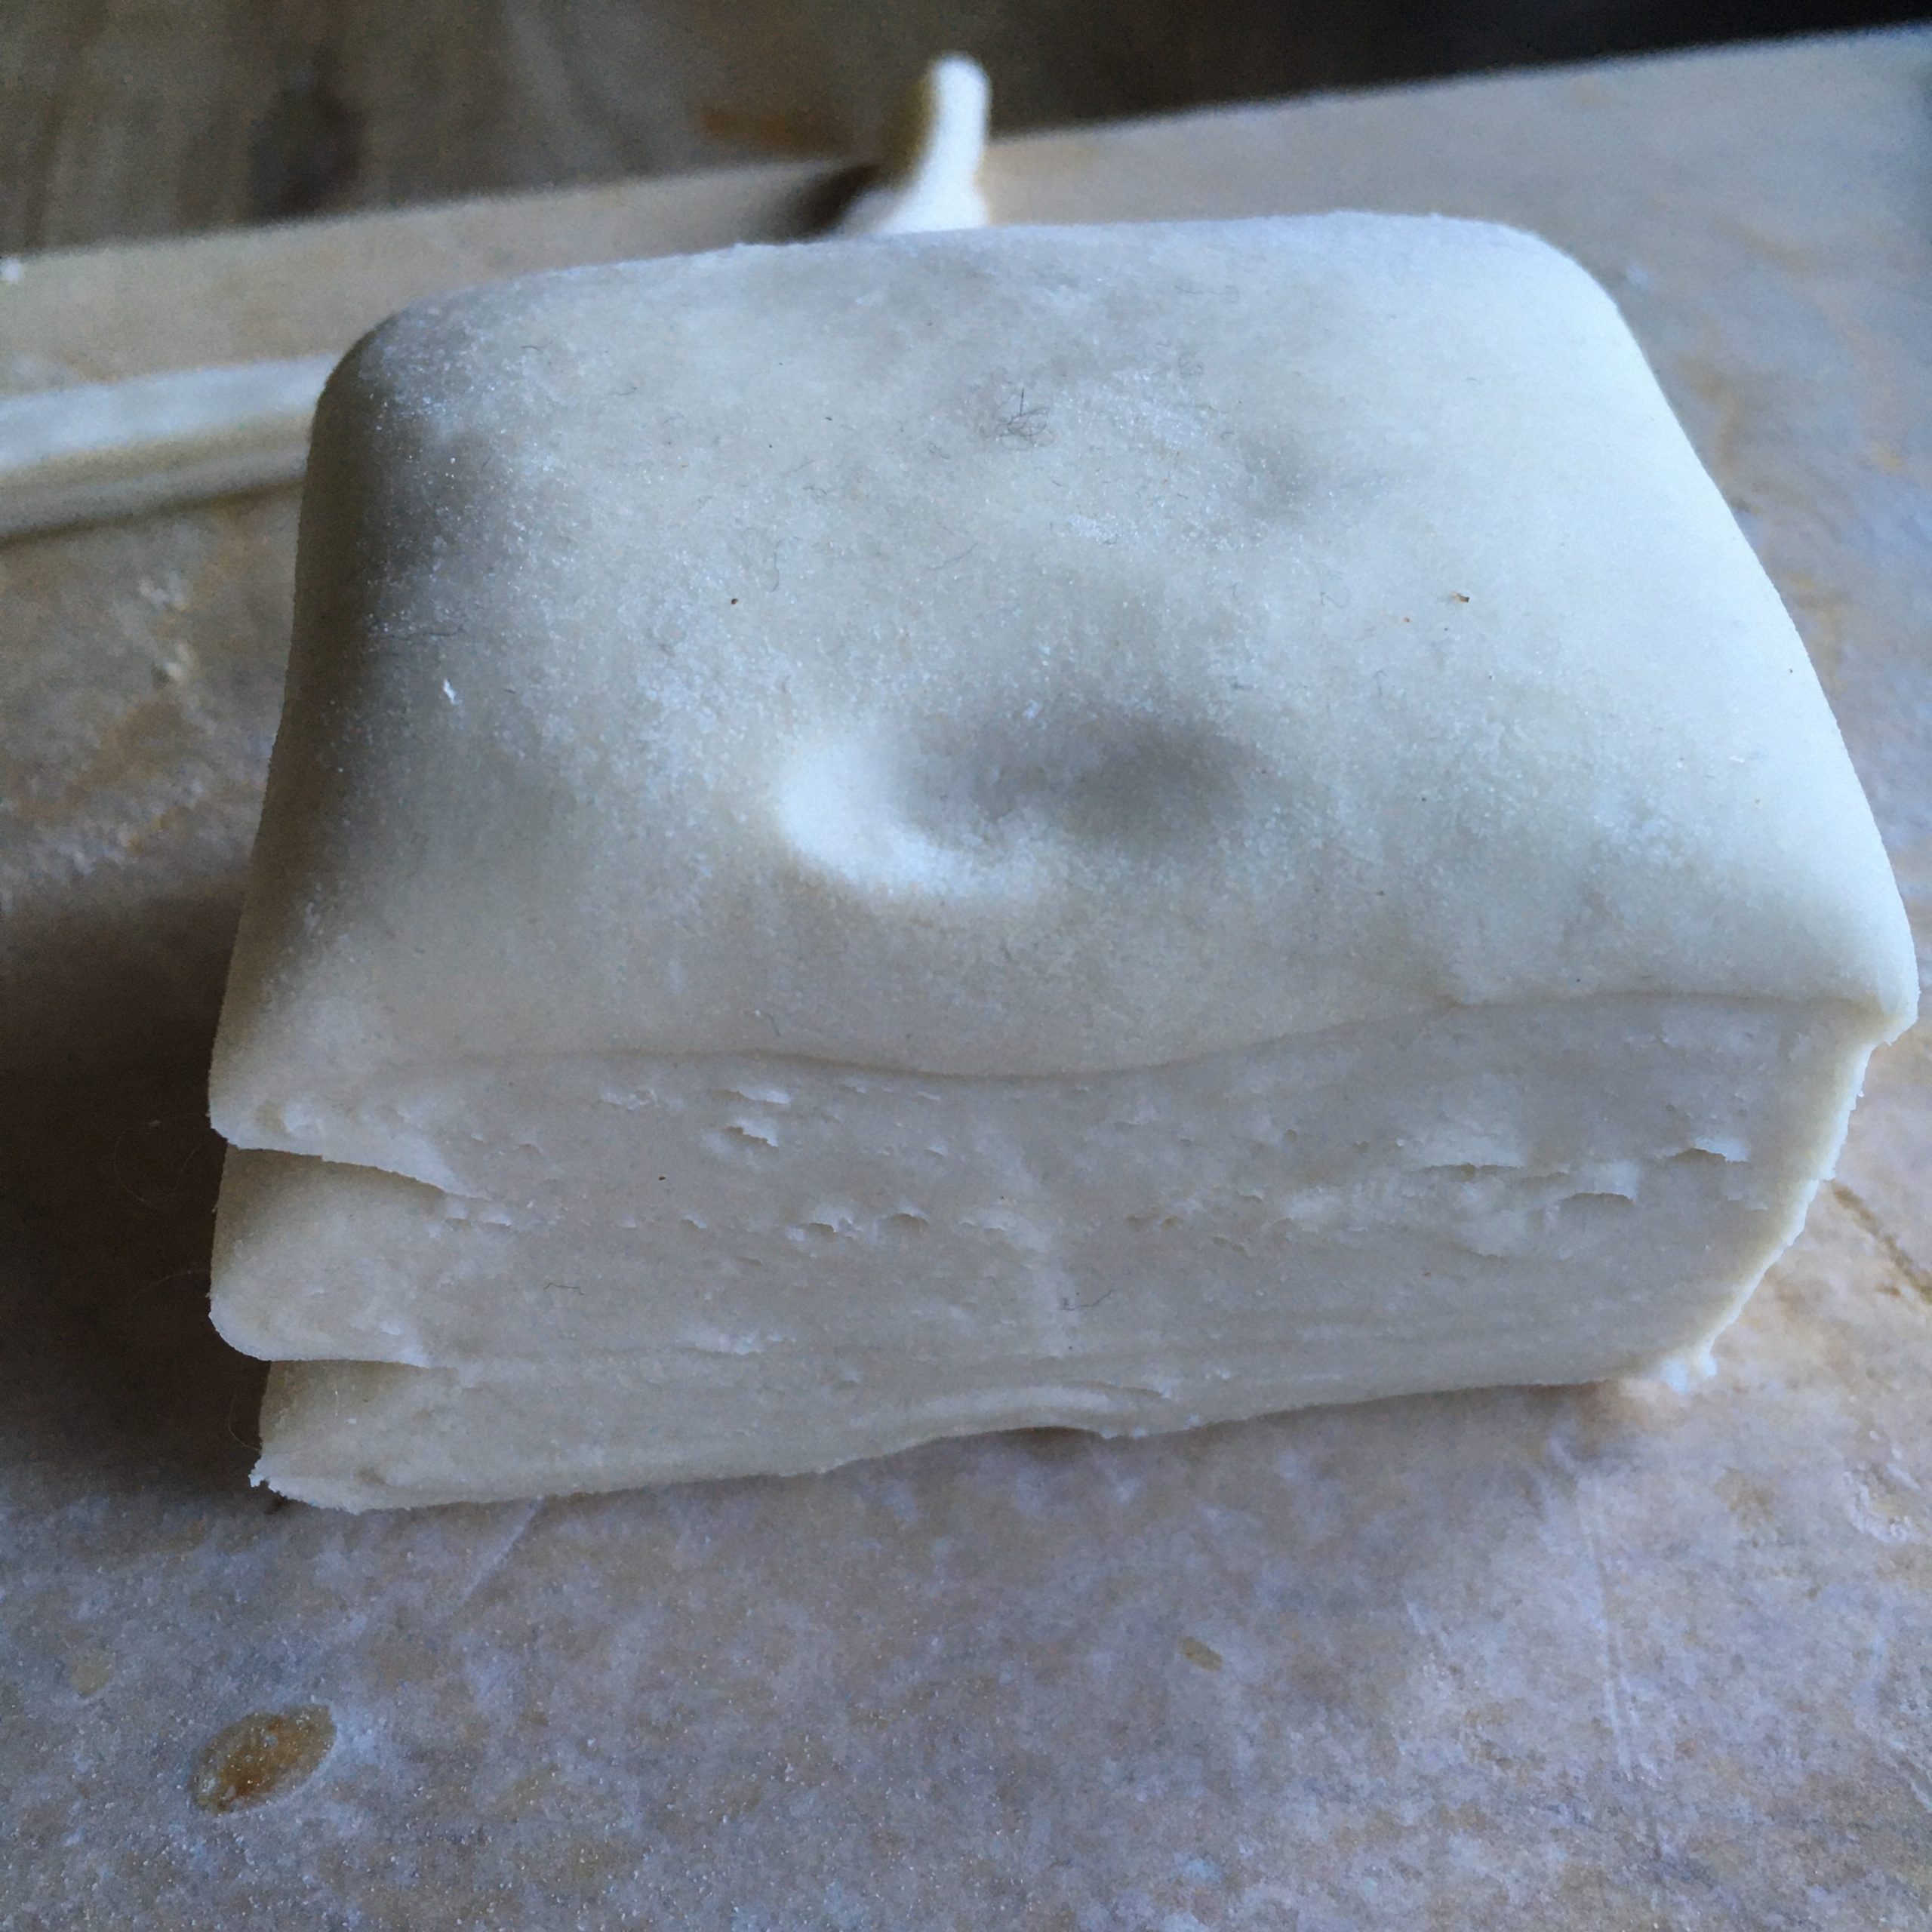
So here I am folding and rolling and turning every hour my puff pastry by the book, hoping it will become something… probably because of the cold temperature inside it is not as tedious as I remembered, and no butter spill.
For the frangipane I used a standard recipe: almond powder plenty, 1 egg, a bit of sugar and a tiny bit of butter, stirred into a dense pomade.
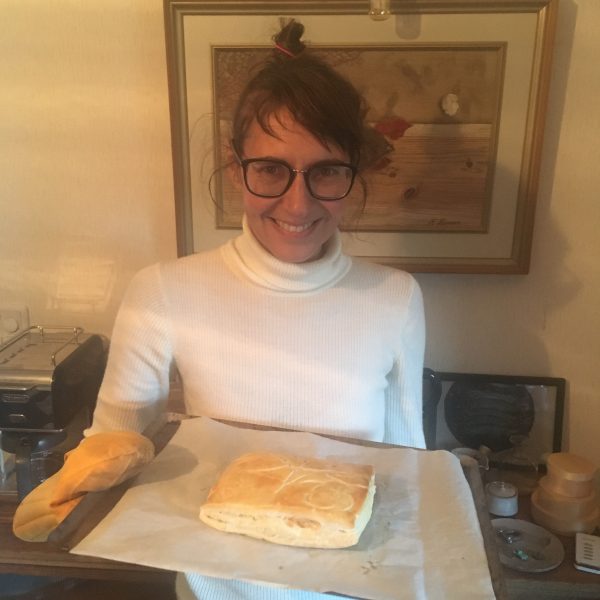
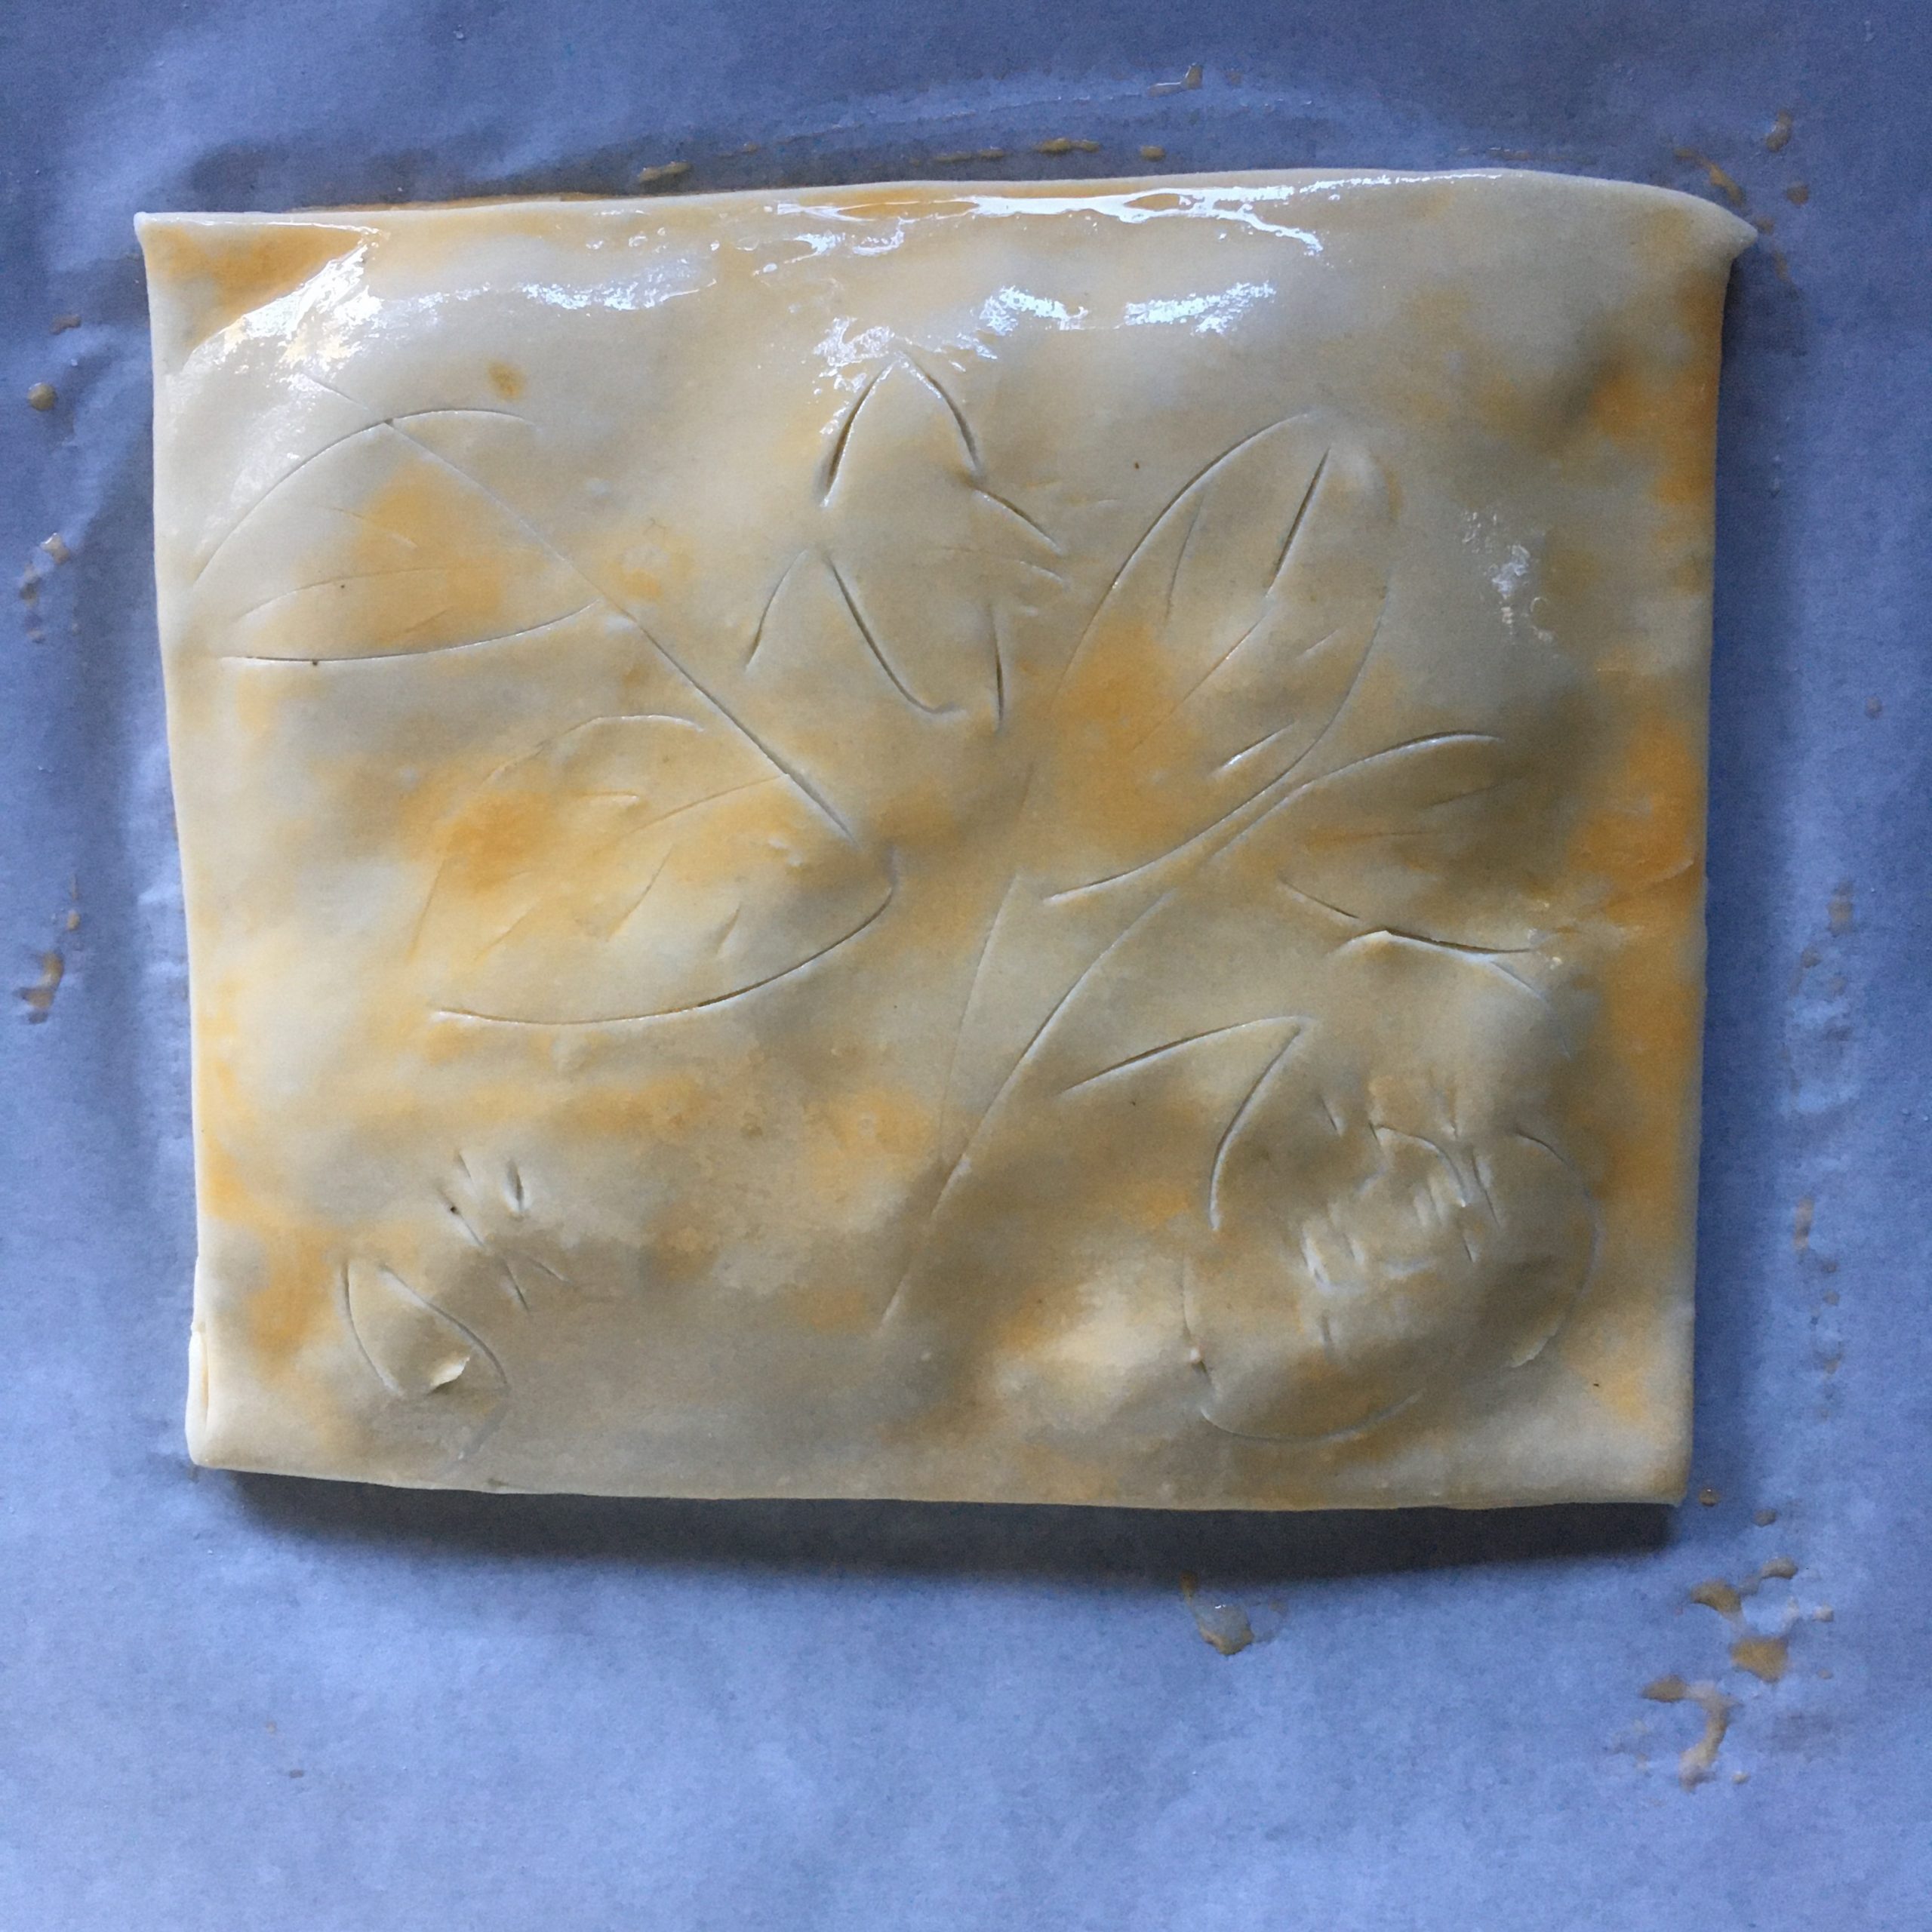
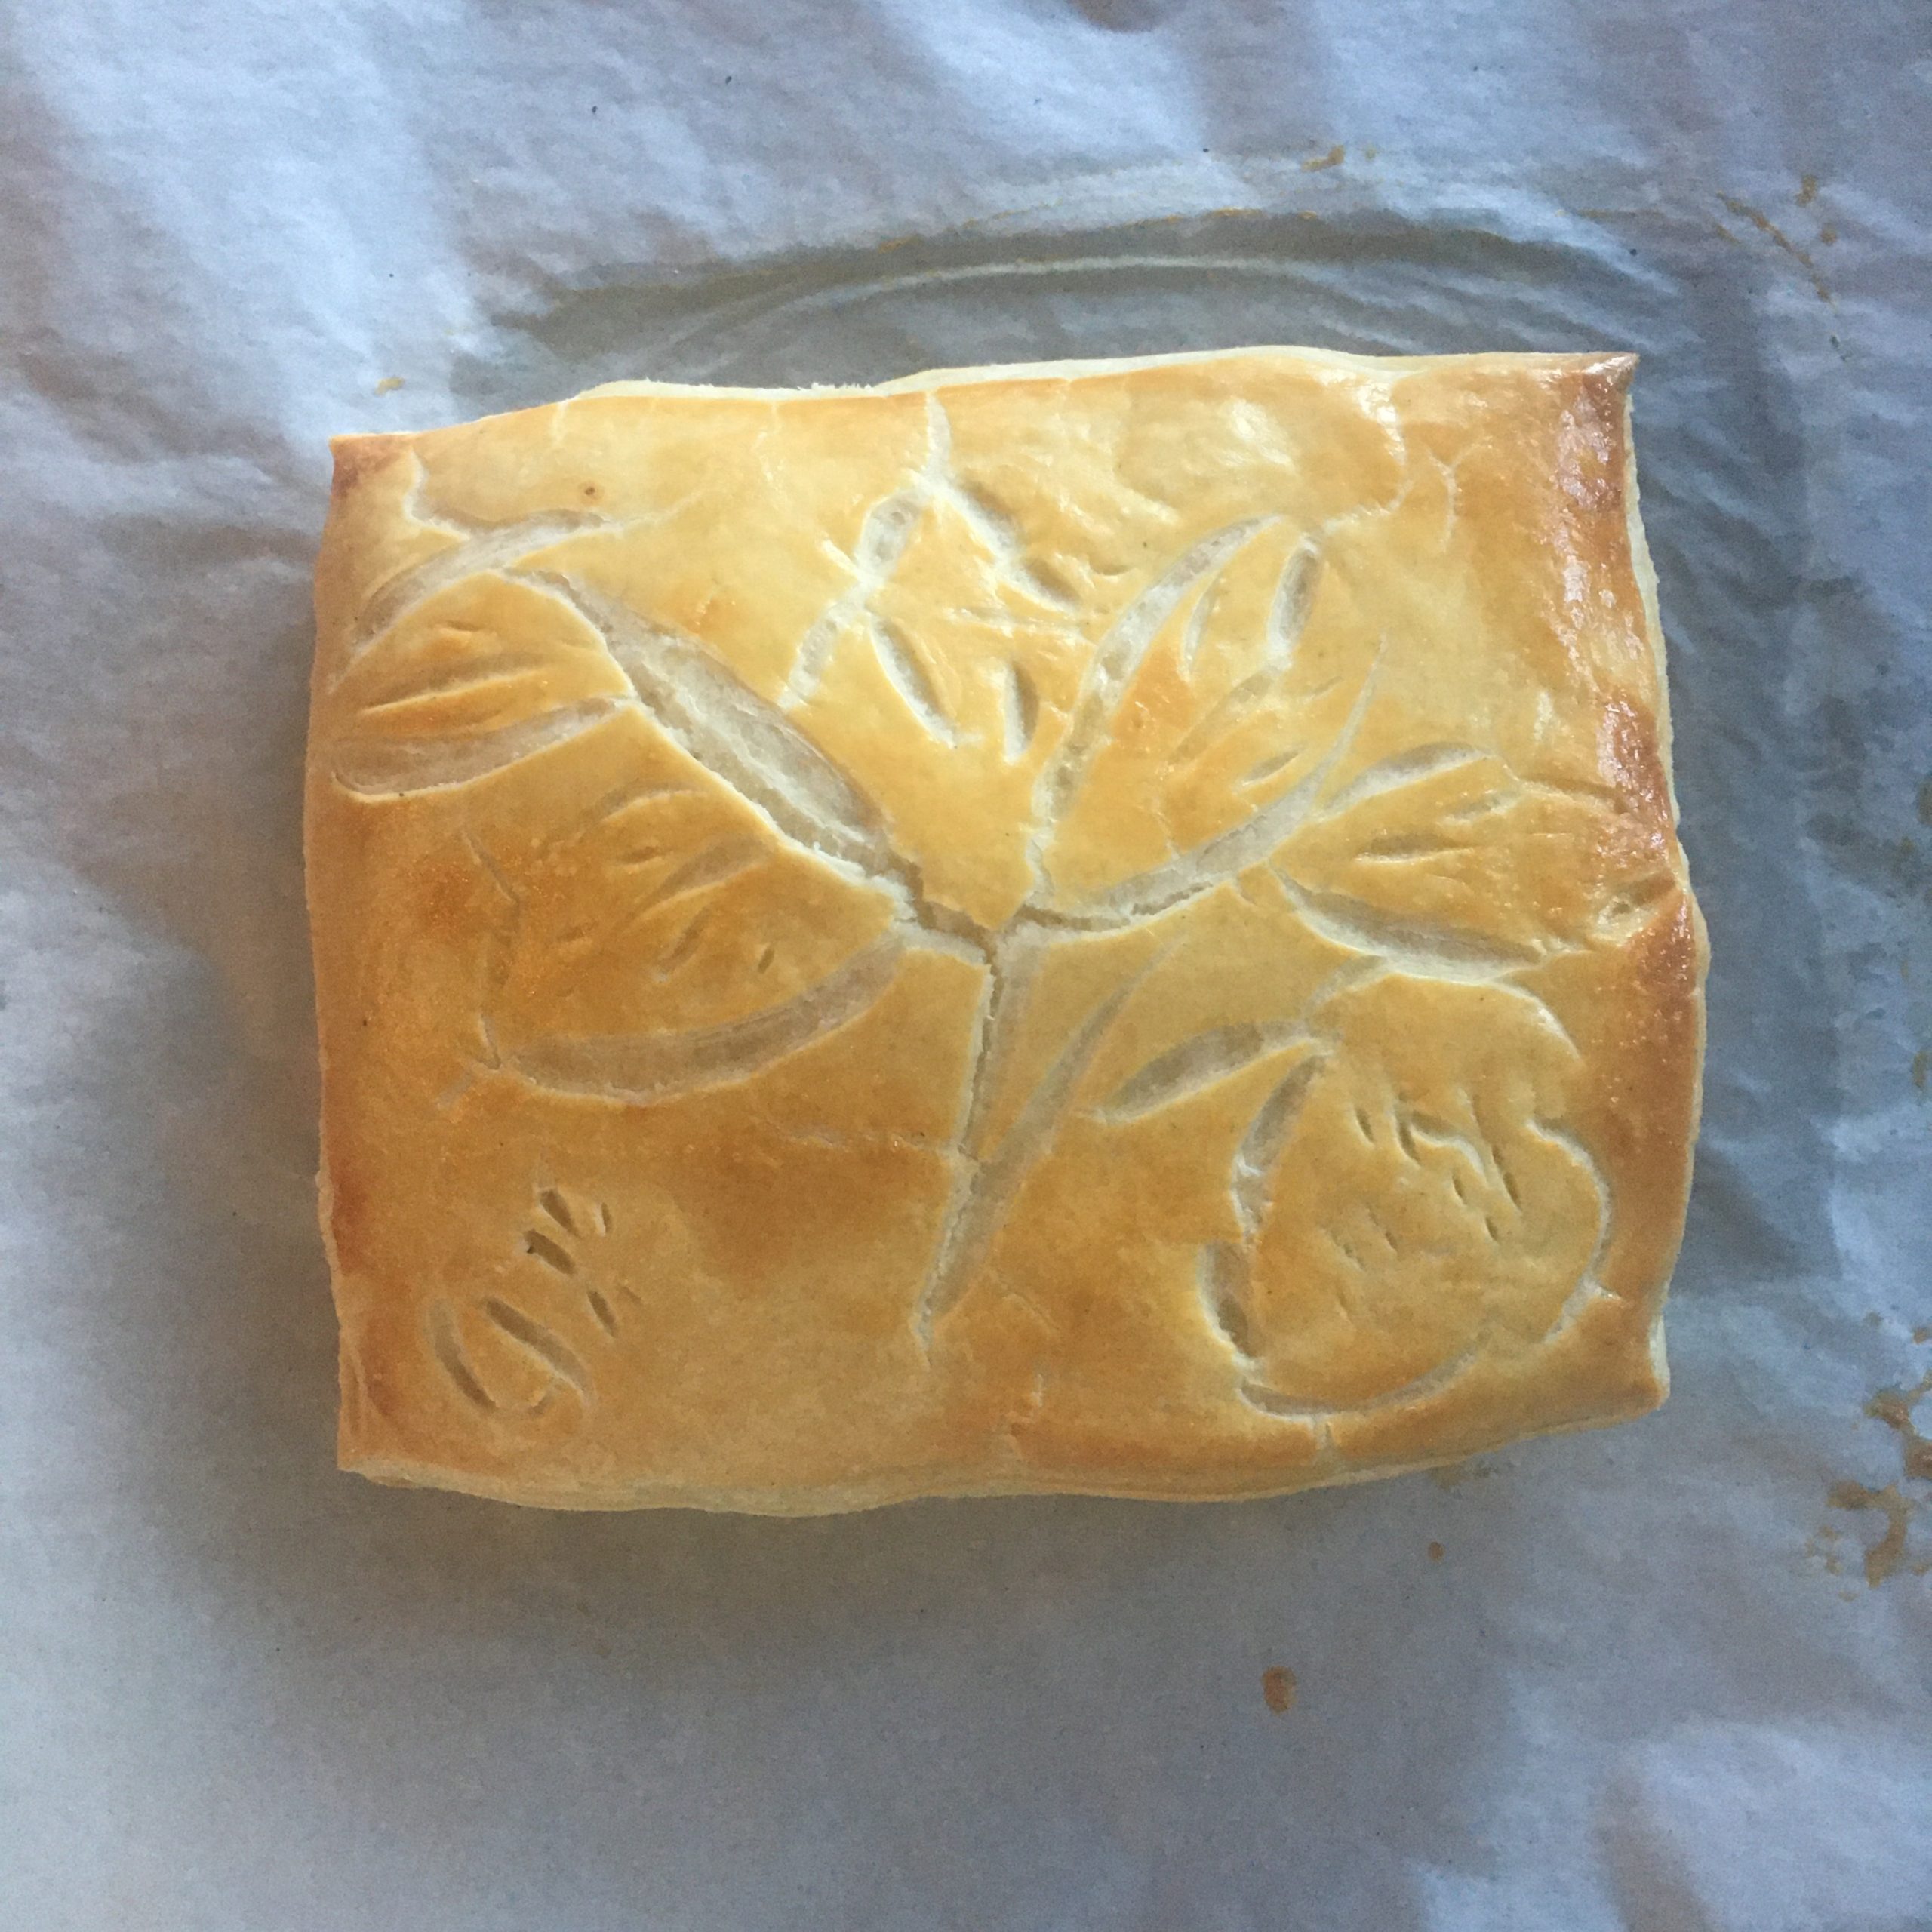
The rest is just simple. I decided for a square galette, rolled one layer of dough, topped with frangipane, leaving enough room to close it. Rolled another layer of dough to put on top, sealed the borders well. Paint an egg batter. Made a little seasonal drawing: blooming camellia japonica as we have so many in the garden, and 30min at 200deg. Until just golden. A. couldn’t wait any longer!!!
The result was surprisingly delicious. It didn’t have the sticky sugary top it too often has in shops, it was not too sweet, actually very nice, and the puff pastry worked well! Beginner’s luck!!!
A few weeks ago I started to think about how much I love the French gingerbread called pain d’épices, that I don’t recall seeing any in Japan and that I never made some… It is heavy in the hand, yet light when eaten, with a beautiful golden color and flavors and aromas that sparkle in the mouth, and the texture is a very melting one. One of my favorite pain d’ épices of all time is that of my horse ridding teacher. She has a gift not only for gardening but also for cooking sweets. In summer during intensive training camps, she would bake while we would play around with the horses, and make fruits charlottes with the fruits from the orchard. In the fall or winter she would make pain d’épices. I was so found of it that I remember asking her the recipe, and she told me she just mixes 1kg of flour with 1kg of honey. I was probably 12 when I asked but I still remember this recipe because it didn’t make sense for me at the time, honey and flour, that’s it, really??? and I never tried, too scared of wasting 1kg of honey!
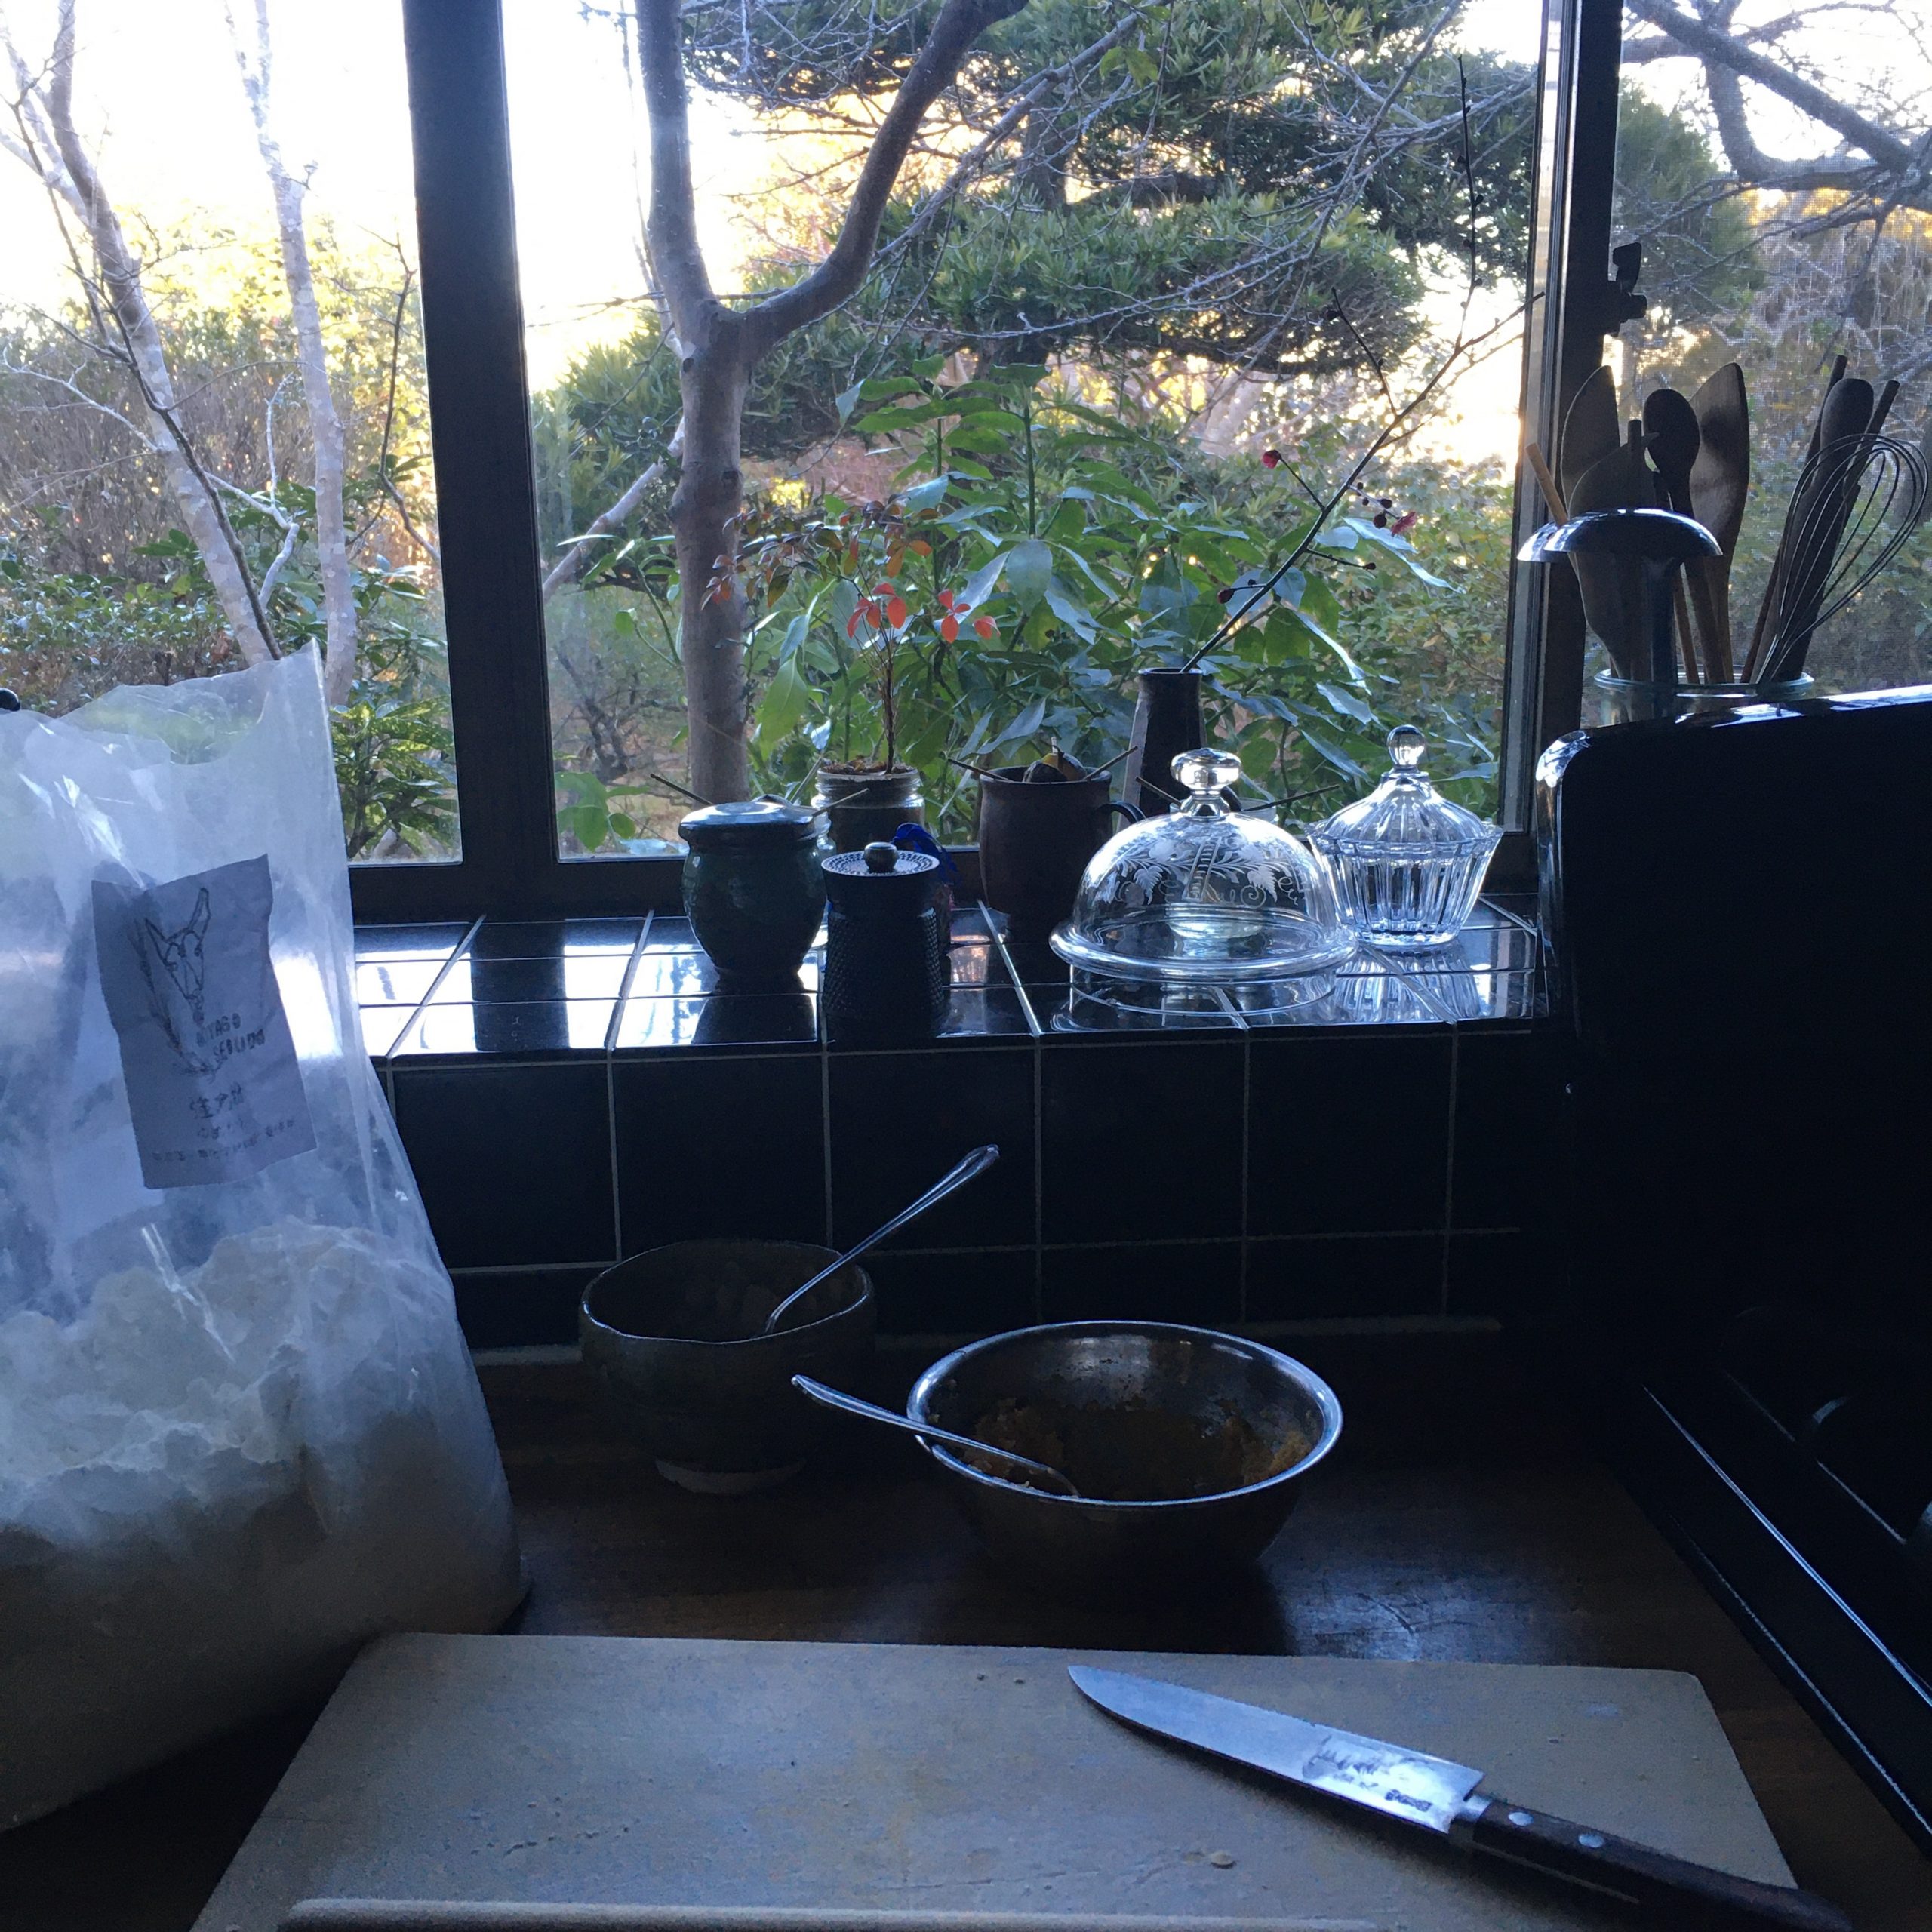
But when I started to look at how to make pain d’épices how surprised was I to see that, this is indeed the recipe for classic pain d’épices from Reims. What I didn’t know then was that the mix, with spices added, should be kept days or weeks to start the fermentation that will guarantee the fluffiness. Last year I would probably have been very skeptical trying such an attempt, as I was not very sure how all this fermentation worked, but since I made my sourdough Lois I feel a lot more confident to do flour base fermentation. Finally, last week I decided to start the experiment and prepared a mix of 600g of flour and 600g of honey together, some said that adding the spices at that stage would increase the development of aromas, so I added them too. I left the preparation in a container under a lid the whole week at home (with the winter temperatures settling in, the house temperature is about 5 to 9 now, so no big risk of seeing things rotting, or mold developing!!!!) And today I just found my mixture, it hasn’t changed much but it is not looking bad at all so I prepared it and baked it. The result???
A perfect pain d’épices! The look, the color, the texture, the smell… Exactly as you would find on in France, a happy A. and a happy me, eaten it with a cup of Christmas tea at tea-time or for breakfast. We even used it for toasts with cheese for me and some pork paté for A. and we were very satisfied. The recipe is very simple and except for the one week wait it is very simple to make. Definitely a must do again one. This recipe is will become a new classic like my pompe a l’huile.
Pain d’ épices (1 big loaf or 2 smaller)
600g of flour
600g of pure honey (liquid is easier but creamy can work too)
1tsp of ground cardamom
1tsp of ground cloves
2tsp of cinnamon
1 ping pong size piece of fresh ginger, pealed, grated or chopped thinly (I use fresh ginger because it is easy to find and I just chopped it roughly but you may use ground ginger, then 1/2tsp should be good enough)
water
additional 1/2tsp of baking soda (if your rise time is short)
About 5days to two weeks before you want to bake your pain d’epices prepare the dough. For that, in a container with a lid mix the honey the flour and the spice. If your honey is really to creamy and hard too work you can melt it in a pan at very low heat to liquify it. Stir to incorporate all ingredients. I used a spatula to do that as the mix is way to sticky to put hands in. One everything is well incorporated put the lid on the container, and let rest for as long as you want, but at least a few days.
After a few days, the spices may have start to color the dough a bit but it may not have changed much otherwise. When you want to bake your pain d’epices, pre-heat your oven to 150deg, just add a little of tepid water to the mix to soften it and knead. The dough is sticky but not terribly sticky. If you think your rise time is rather short (just a few days), you may want to add a little of baking soda now, to ensure perfect fluffiness. Knead and add water to obtain a compact yet smooth dough. Using parchment paper set in a cake dish or split in two and make two, or more. And bake for about 2h if you make a big one (check with a knife or stick if the dough is well cooked inside), for 2 smaller, about 1h should be enough.
I made a very large one and baked about 2h at 150deg, but wasn’t sure it was perfectly baked so I finished with 10 min at 180deg just to be sure. Let cool down before cutting and eating.
Pain d’epices normally keeps well, this is tone he purpose of the original recipe. But in our house, we didn’t had time to see how long it can keep!!! We’ve eaten it in a snap!!!
Look at this beautiful color and perfectly dense but bubbly texture!!!
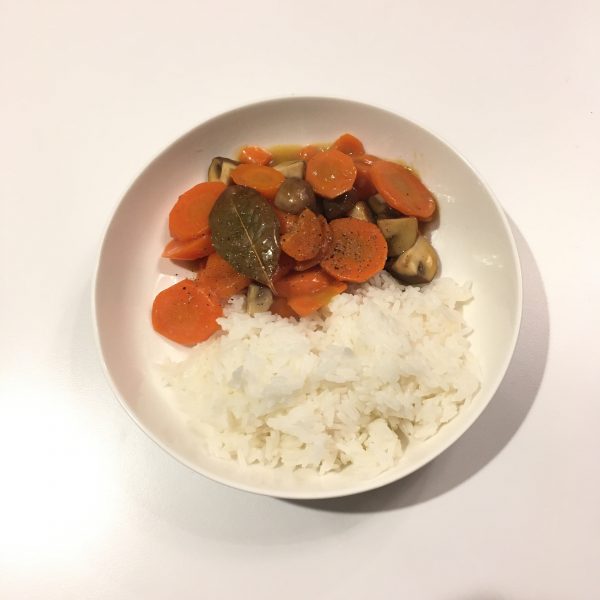
Blanquette (pronounce “blanket”, but don’t get confused) is a very French, very traditional dish that my grandmother would often prepare when we had family lunches. She would make it with veal meat. But I guess everyone has its own recipe. Hers would also includes some green olives. It’s been a long time since I have quit eating veal… and a few times, long ago, I prepared some with chicken breast, but to be honest this is something I have not prepared in years if not a decade!!! Yet with carrots and mushrooms in the fridge, it suddenly reminded me of blanquette, and felt like I would do a vegetable only version, and eat it with steamed basmati rice for a change. When you use only vegetables it is rather quick to prepare and ended up being a great dinner dish after work and workout. So here’s my recipe, and a few variations possible to twist it to your liking! Enjoy!
Blanquette (2 servings as main dish)
3 carrots
5-10 mushrooms depending on size
1 leaf of laurel
Salt and pepper
15g of butter
1tbs of flour
Water
All the following are optional
10 green olives
1 chicken breast
1 leak…
Melt the butter in a pan. Wash and cut the vegetables. Cut mushrooms in four, carrots in bite size, leak in small chunks, chicken in bite size. Add to the melted butter and stir well to coat them, at low heat. Add the flour little by little while stirring, to make the roux, then add water to just half cover. Add salt and pepper and the laurel. Cook at low heat until the liquid turns into a thick and creamy texture (if too thick just add a bit of water and cook a bit longer, same if you think you want your vegetables more tender). Add the olives if you use some, stir again. And serve hot with rice (not Japanese rice, better with long grain rice)
What is more comforting than a warm soup when you have spent the whole day outside and the temperature have suddenly dropped? Every year I am shocked by the sudden change of the temperatures in Japan in autumn. There is always one day in November when you start the day wearing tea shirts and short pants, and go swimming in the morning and then turn on the heater and cashmere sweat pants and sweater in the evening are more than necessary. When this time comes, I crave for warm vegetables soups. A. always complains as he prefers them to be velouté. I love any style, but rarely bother using the blender, and prefer listen to A.’s complaint… 😉
One thing that I love with soup is when they come with croutons, but I also have amazing memories of rural vegetables soup with fresh sourdough bread eaten at Mme Fages’s place in Mas Saint Chely. Something that I would be so happy to have, warming up near the fireplace after a mushroom hunt in the cold. That and her chocolate mousse!
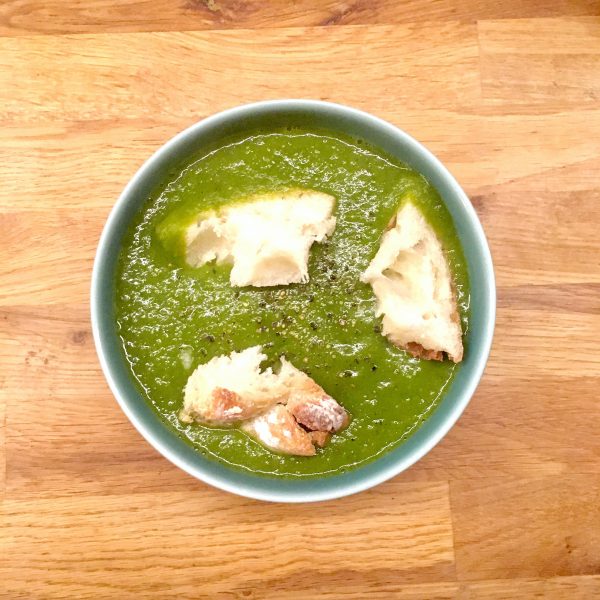
Now that I have Lois and make only sourdough bread, it was perfect for this kind of very simple dinner: a piece of bread remaining from breakfast, many vegetables waiting too long their turn to be prepared, a pan with the juice of a long cooked piece of pork. That’s what this soup is made of, and here is the recipe.
Vegetables soup and bread (2 servings)
1/2 sweet potato
A piece of kabocha (3cm slice)
1 little turnip
1 carrot
2 bundles of komatsuna or spinach
Water, salt and pepper
Bouillon of your choice, mine comes from the pan in which I slowly cooked a piece of pork
2 generous slices of sourdough bread
In the pan I cooked the pork I add about 600ml of water and heat. I wash, peel and chop the vegetables and add them to the bouillon in order: carrot, turnip, sweet potato, kabocha, greens. I cook at medium heat until the vegetables are soft or mushy. Add salt and pepper. Blend and serve. Top with the bread roughly cut, and eat right away.
That’s something I haven’t cooked for 4 years!!! Can you believe that??? The last time I made some was for that post back in 2016!!! And then… nothing… strange enough because (1) I like quenelle very much, (2) it’s not difficult to make, (3) it requires only simple ingredients I always have in the pantry… So with the weather getting chillier it was a good time for turning the oven on more than usual.
I used the recipe from my previous post and slightly adjusted it, it is for regular quenelles, they don’t become very fluffy… I still don’t know how to make them fluffier, I need to work on it. But even not fluffy it tastes great. This time also I used fresh cream, but I realized once again (I rarely use cream so I have a tendency to forget) that Japanese fresh cream sold in supermarkets is not very good for oven cooking, it dries out and only the fat remains, which looks buttery and not creamy anymore… Milk to cook the quenelles first and adding the cream later is probably a better solution…
Still here is the recipe adjusted.
Quenelles (2-3 servings)
For the quenelles
150 flour
2 eggs
50g of butter
a pinch of salt and nutmeg
For the sauce
6 large shiitake or the equivalent of other simple mushrooms
4tsp of fresh cream (if you like it) or olive oil can work…
1 cup of milk
salt and pepper
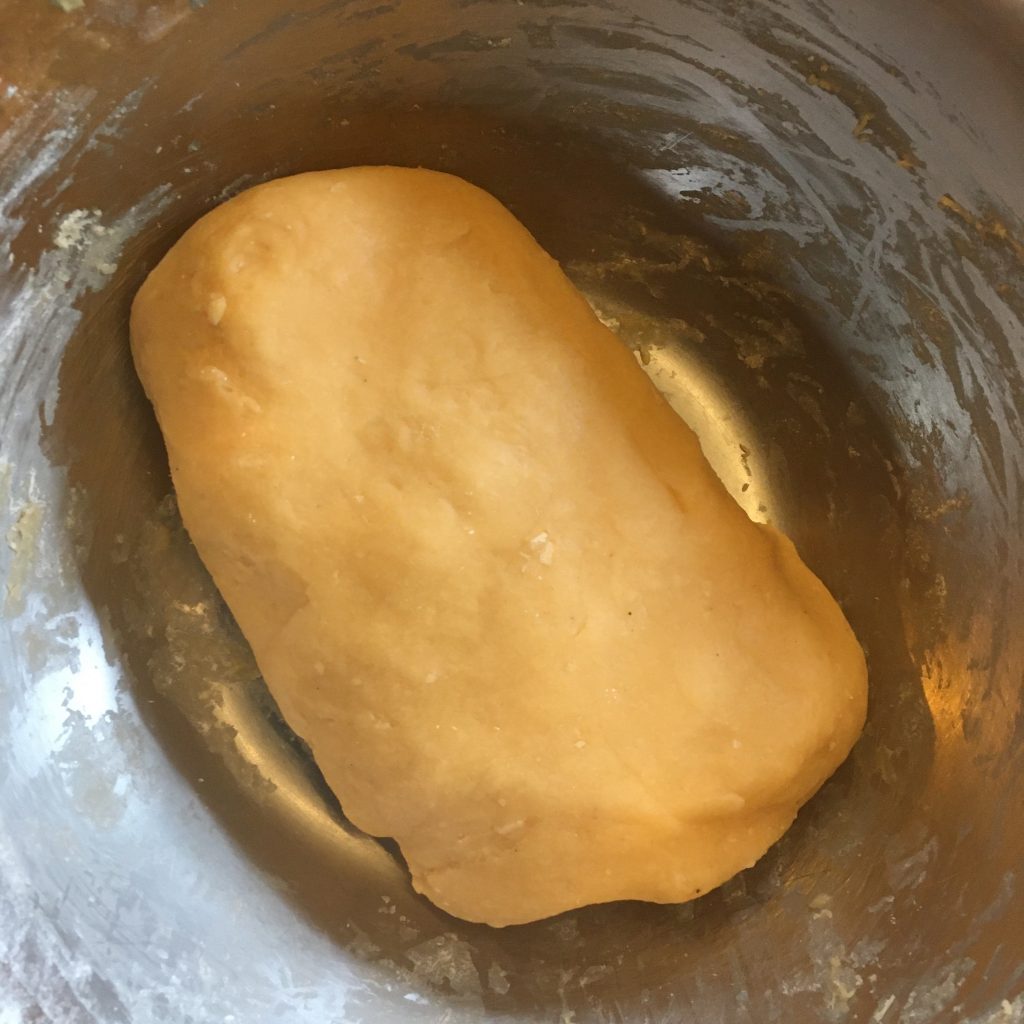
In a pan the butter. Heat until the butter has melted. Add the flour, and cook at low heat for 8min. If you have a hard time mixing in all the flour add a few drops of water.
The final dough after cooking and smoothing
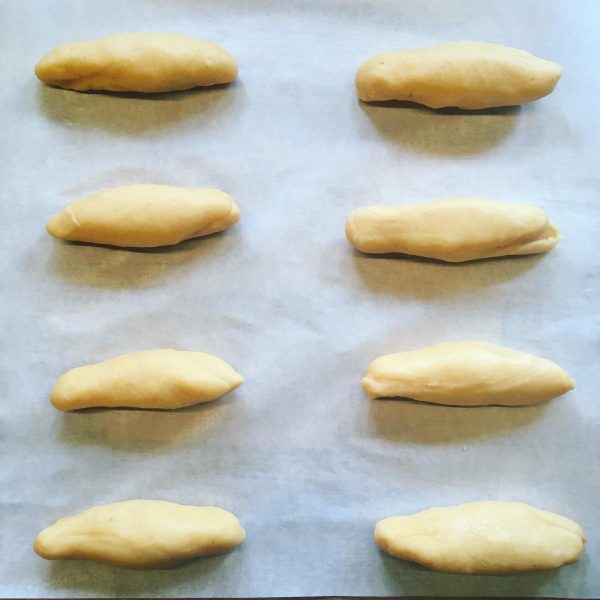
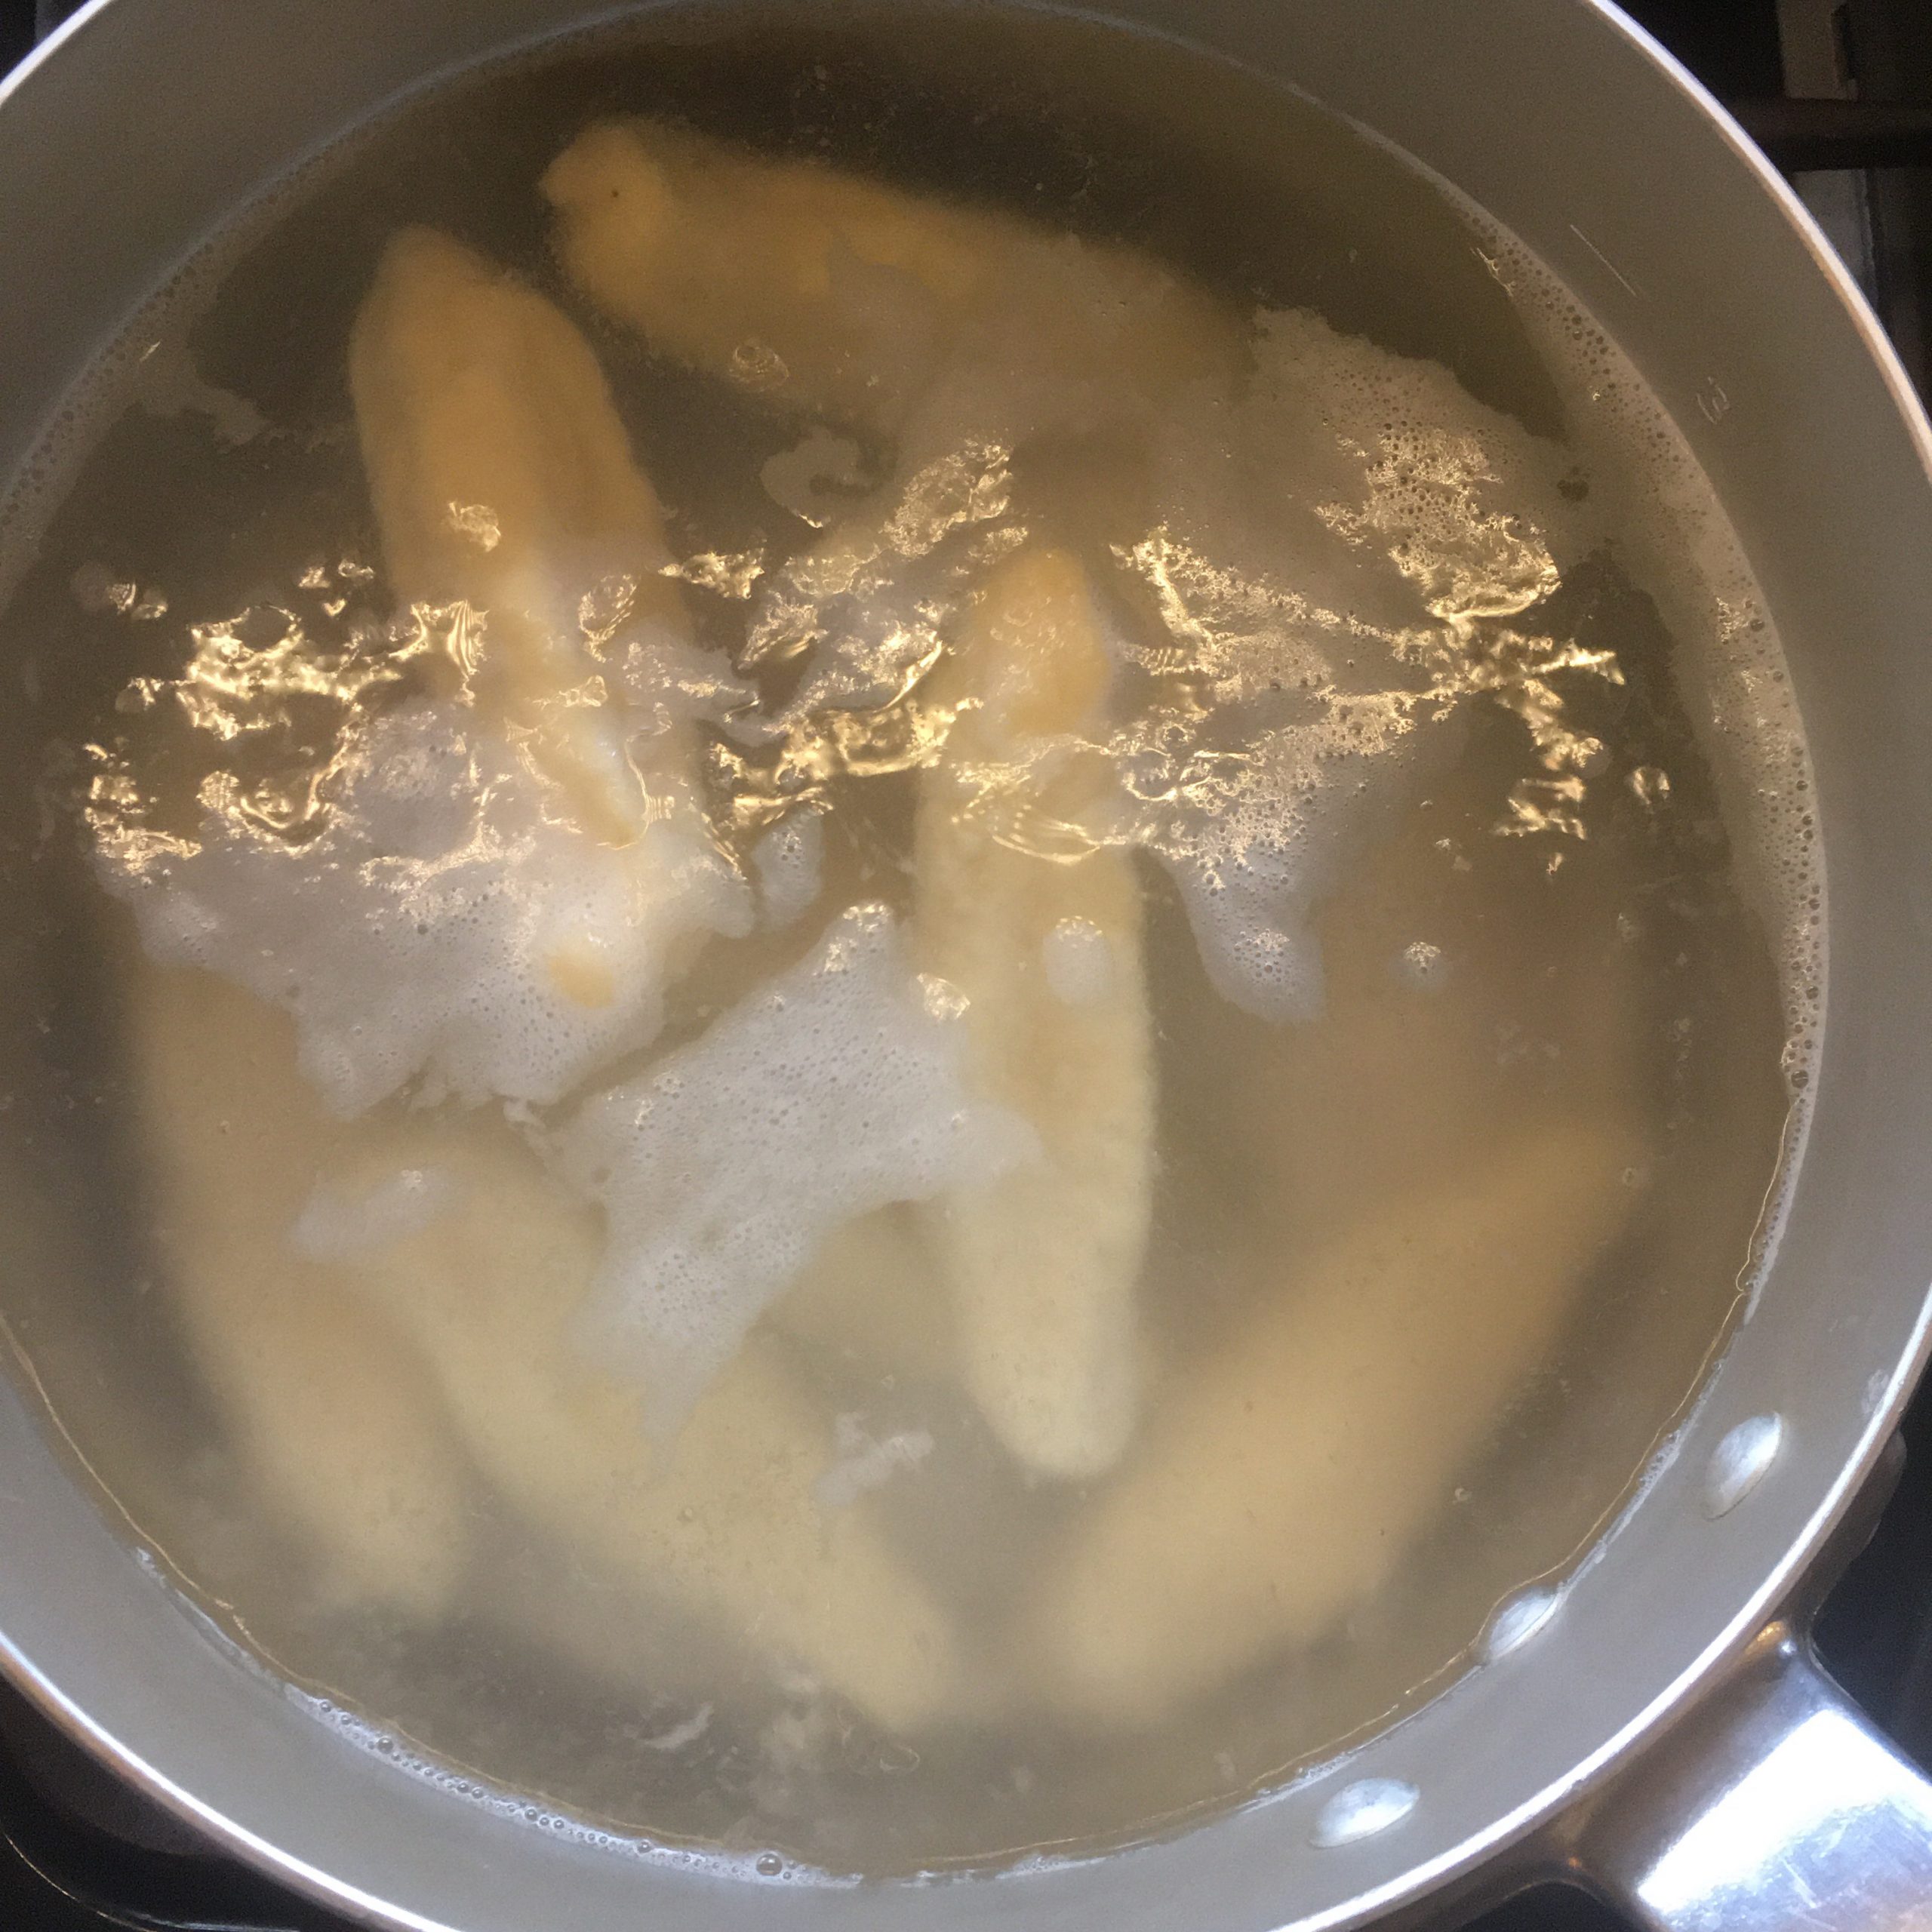
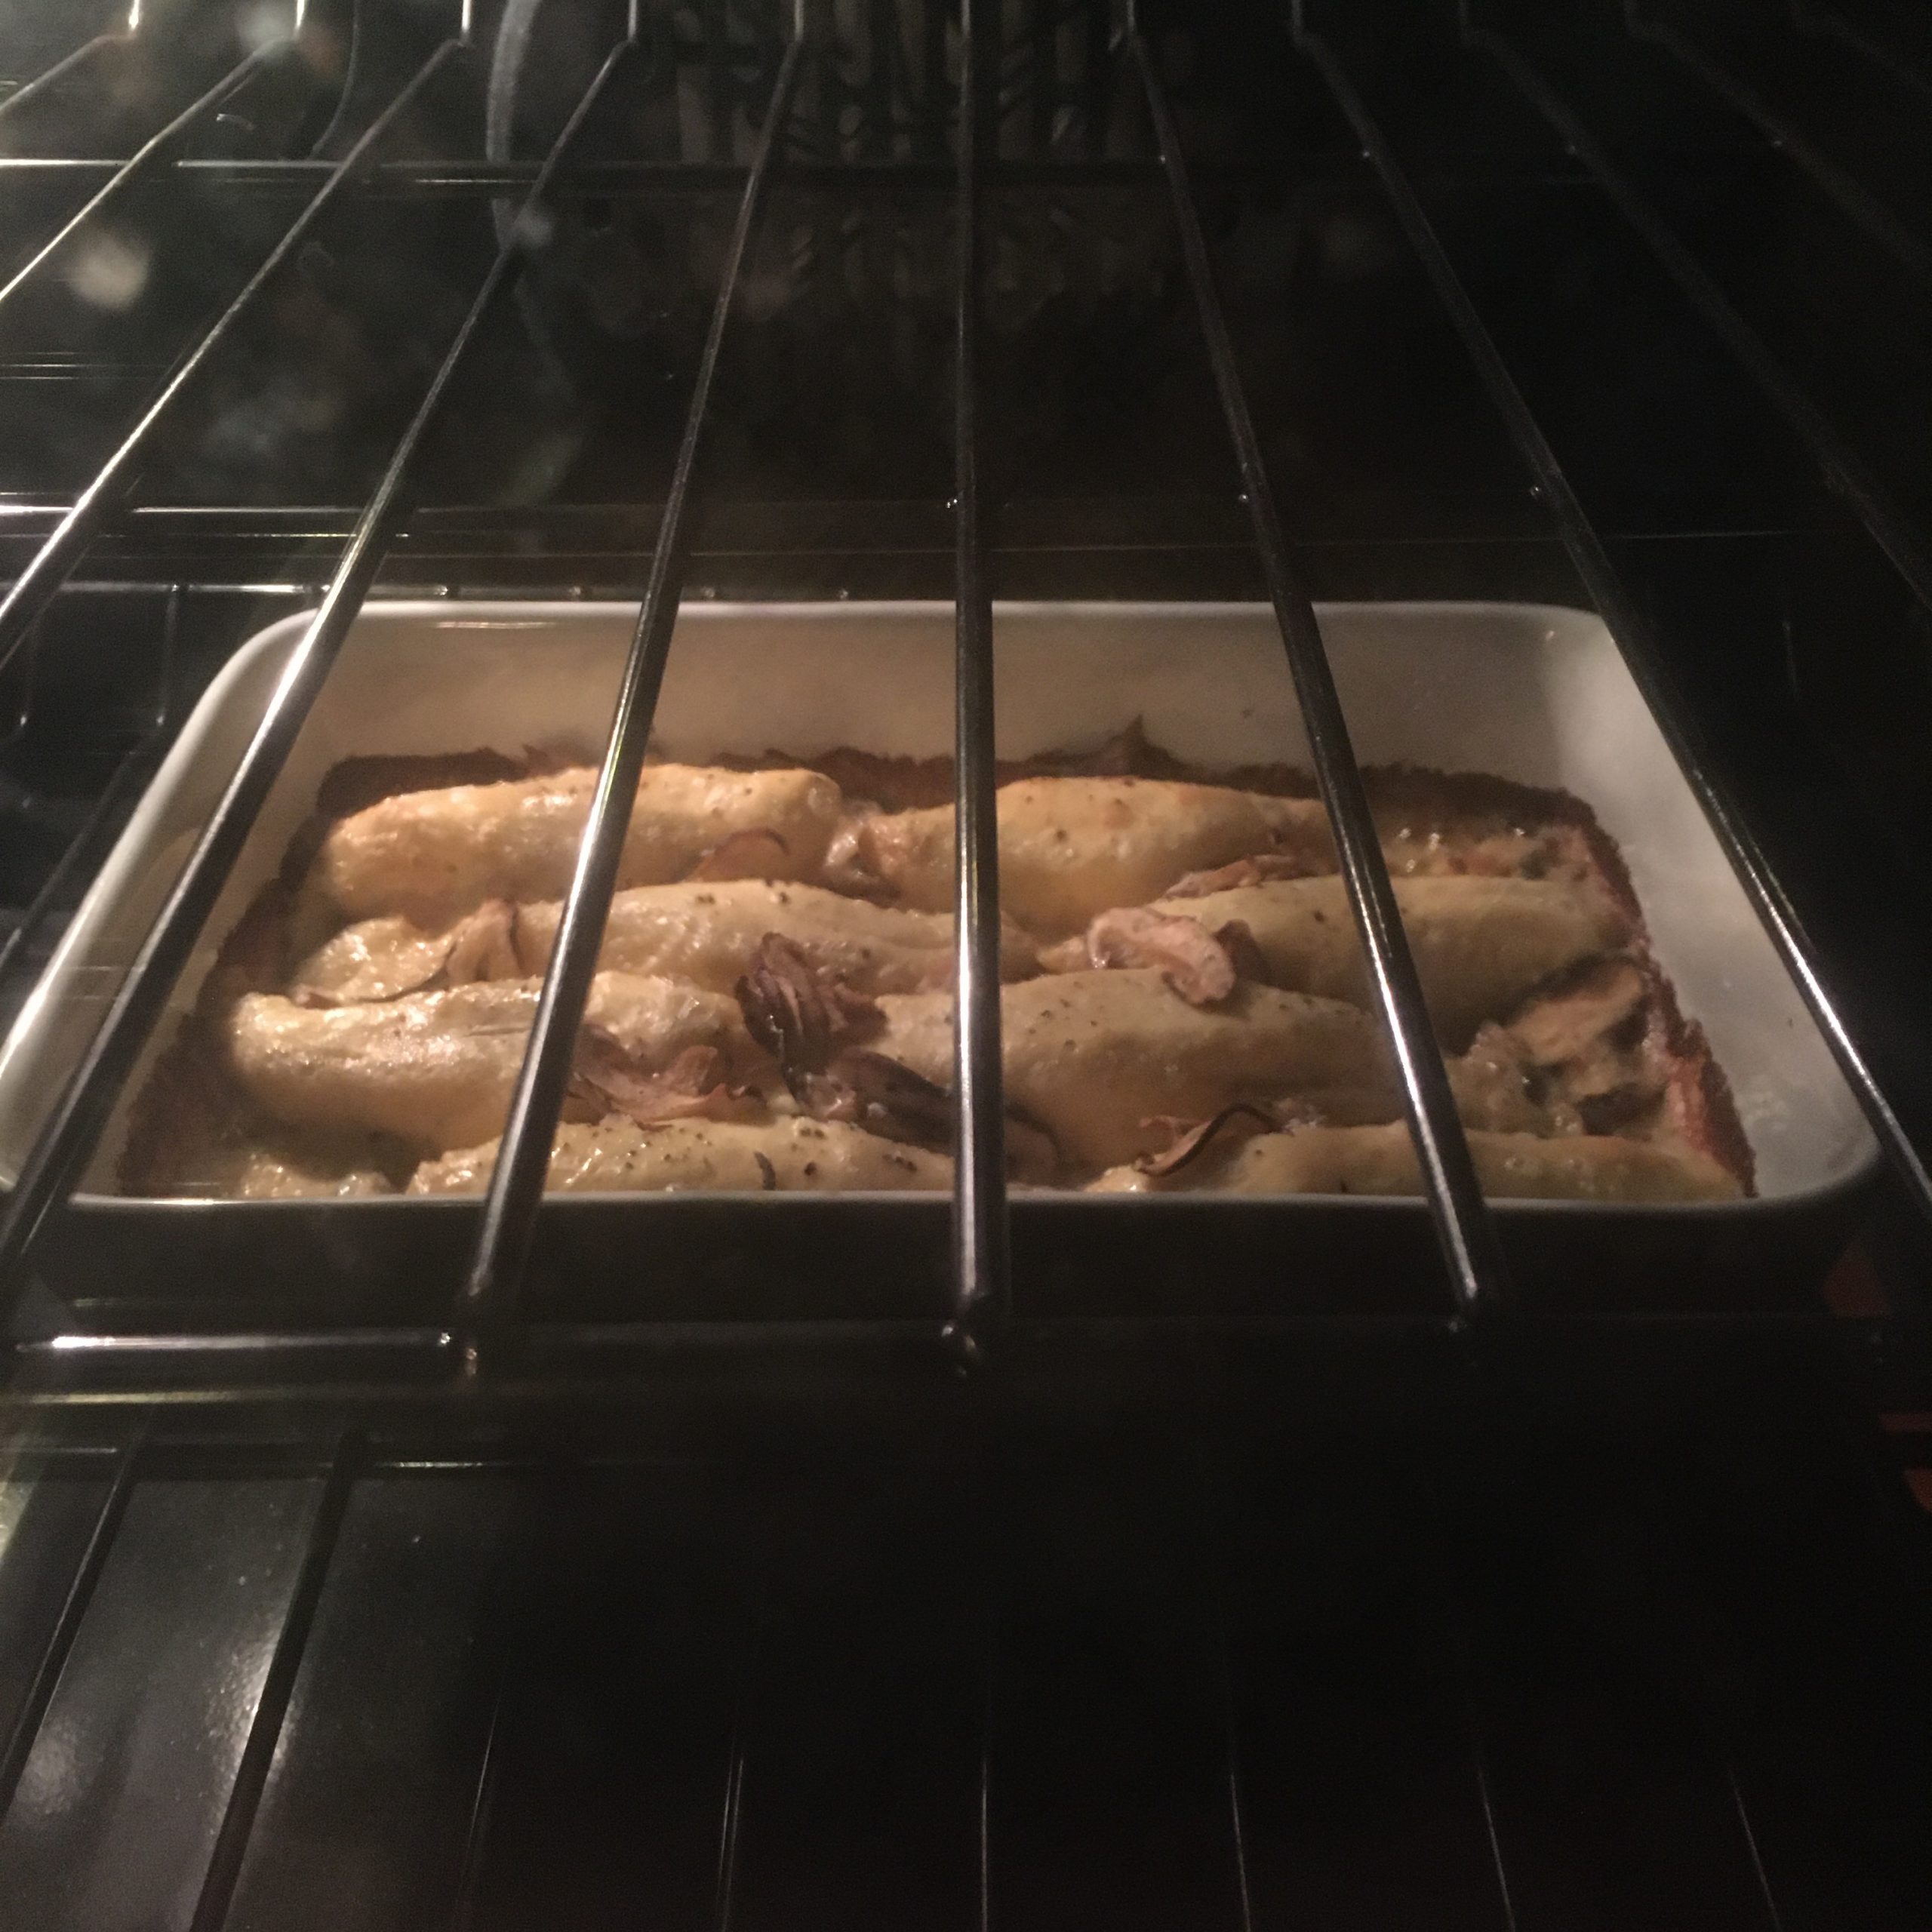
Cool down a bit and add the eggs, the salt, the nutmeg, and stir well. You should obtain a smooth dought that doesn’t stick. If it sticks add a little more flour, if too dry add a bit of water. Cut the dough in 8 pieces and form the quenelles as shown in the picture below. Boil a large amount of water and poach the quenelles until they float.
Set in an oven dish, add the milk. Wash and slice the mushrooms, add to the whole. If you use fresh cream (not Japanese) add it now. Add salt and generously add pepper. Pre heat the oven at 200 degrees. And bake for 30min. At 20min add the cream (if you use Japanese cream). They get golden brownish on the top when ready. Serve and eat immediately.
I’ve been baking a lot of breads these days but suddenly I felt like eating a variety of other baked things such as brioche, until A. saw a picture of a pan bagnat in a magazine and asked me to make one for him. I didn’t see the picture, and instead of thinking of the classic pan bagnat from the south of France, that you can eat in Saint Tropez or in Nice, in a kind of ciabatta bread, a little dry, I thought about the soft and melty version in a pain au lait, went straight to the kitchen and started making dough for pain au lait. I used to use the recipe from Kayser bread book, but decided to change, and opted for a mix and match version. The whole thing ended up in delicious, soft and tasty perfect little breads. And that’s when A. told me that the pan bagnat he saw was not in a pain au lait… 🙁
No problem I said, how about egg and ham sandwiches instead???
And that’s how they turned out… and it was damned delicious. So here is the recipe of the pain au lait.
For the egg sandwich filling, I simply hard boiled 3eggs, chopped them with a knife, add a table spoon of olive oil, a table spoon of mustard, that’s it.
Pain au lait (makes 8)
280g of flour
3g of dry yeast
70g of butter
35g of sugar
100g of milk
5g of salt
1 egg + 1 egg optional for cooking
In a bowl mix the flour, the sugar, the salt and the yeast, add the egg and the milk and knead. Add the butter and knead until smooth and not sticky, it may take a bit of time. Let rest under a cloth until it almost doubles. You can flip the dough once in the meantime. Rising time will depend on your room temperature, your yeast, and the original temperature of ingredients. For a faster rise, use ingredients at room temperature.
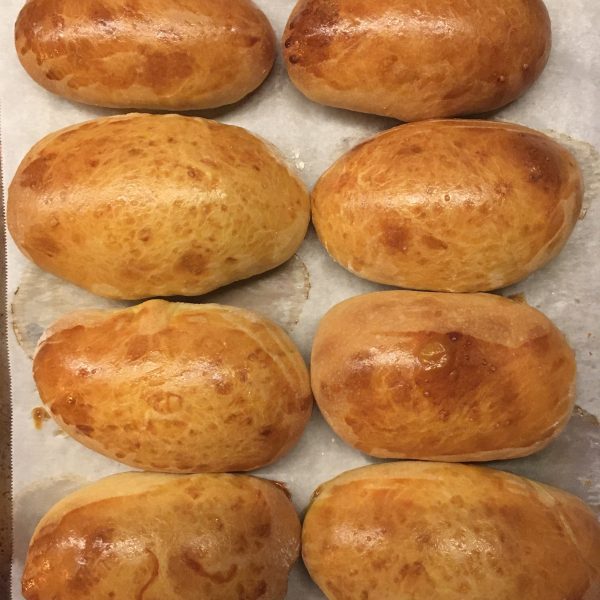
Once the dough has doubled almost, dust your working surface with flour and the ball of dough. Flatten it and then make a rough oblong shape. Cut pieces of 70g-90g each, shape roughly in sausage. Don’t work too much the dough. And set on a sheet of cooking paper. Leave for 1-2h. Pre-heat the oven to 175deg. If you want perfectly golden little breads, use an egg batter. I you don’t care about the color, just spare it.
Bake at 175deg 10min then at 170deg another 10min or until perfectly golden. That’s it!!!
Ohoh! Exploring new possibilities with edamame will last the whole season!!! This recipe of fougasse came naturally to my mind as I love to bale fougasse for summer evenings drinks or summer lunches when I need something quick.
In Japanese bread shops you can sometimes find edamame and gouda breads, and I like them very much, but the idea of a simpler version (without the gouda for A.) and with olive oil and salt tempted me a lot, that the last batch of edamame I had was used to that purpose.
The result is really nice but my recipe needs a little improvements to emphasize more the edamame. So I am sharing with you the improved version but not tested yet… but I am sure it will be delicious.
Edamame fougasse (makes 1 bread)
200g of flour
3g of yeast
7g of salt
Water
Olive oil
A handful of boiled, shelled and peeled edamame
I only use fresh edamame, so the recipe starts by boiling the pods in salted water. Once boiled and cool, shell and peel them. Add a bit of salt.
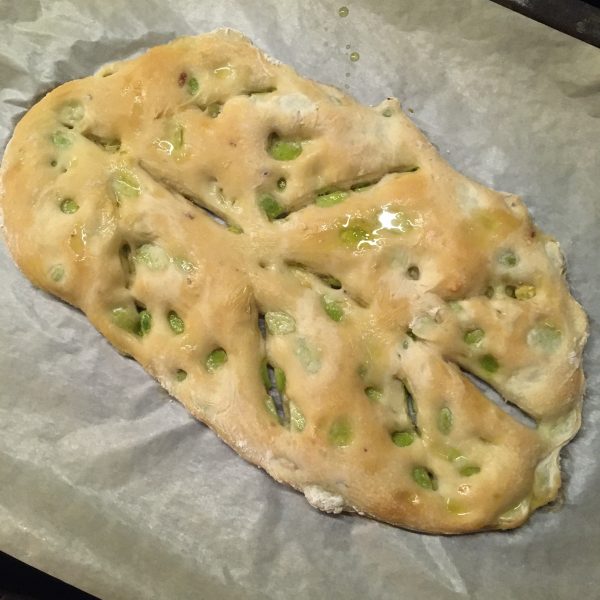
Prepare the dough of the fougasse: mix the flour, 5g of salt, the yeast, add 2tbs of olive oil, and water to obtain a soft, silky and smooth dough. Add the edamame and knead a bit. Let rest for it to rise. Once is has started to rise you can work it in the shape of the fougasse, and let rest about 30-60min depending on your room temperature.
Bake at 230deg until golden. When out of the oven spread a thin layer of olive oil and sprinkle a bit of salt. That’s it!!!
I use to hunt down the best croissants in Tokyo, I found some, but best shops making the best croissants change over time… Recently we went nearby our place at the factory, and they have probably close to the best pain au chocolat but definitely not the best croissants… and a space that maybe perfect for a gloomy morning but not for a bright sunny day, I preferred the park nearby.
Pain au chocolat from factory
Knowing that finding delicious croissants in Tokyo, you can imagine that in Isumi it is a bit of challenge. Grain makes delicious croissants and pains au chocolat but they open too late to have freshly baked croissants in the morning. The only option was that I tried making some again. Indeed after three or four miserable attempts in the past years, I decided that an ugly weekend would be the perfect timing for another attempt. And that’s just what we got: pouring rain for almost 2 days and strong winds, notwithstanding a drop in temperature back to a modest 5.
Instead of testing again a recipe I had in my books and didn’t work for me, I chose to go online and pick a video tutorial. After watching a few I picked the video by Domi patiss, because it was neither too short, nor too long, because her croissants look really fluffy and delicious, and she had a few hints that made sense to me. I followed her recipe almost to the letter except for quantities and I must say that for the first time I managed to make croissants that both have the taste and appearance of croissants from a boulanger… They were delicious!!!
So here is what I did… there is a lot of waiting/resting time, so it took 24h to make the croissants, but the actual “action” time is always very short. The video by Domi patiss is in French but quite visual to understand the folding and rolling tips she gives.
Croissants (make 6-8 pieces)
– 250g of flour
– 70g of water
– 60g of milk
– 6g of fresh yeast
– 7g of salt
– 20g of brown sugar
– 10g + 110g of butter
In a large bowl I mix the flour, the sugar, the salt, add the water, the milk, the yeast and 10g of butter. I knead until smooth, roll into a 25 by 15cm rectangle, wrap not too tight and set in the fridge for 12h at least. The dough should raise during that time.
Then I roll it onto a rectangle of about 25cm by 50cm. Cut the 110g of butter (cold) in thin slices and cover half of the dough. Flip the other half on top and roll again to obtain the same size again. Fold in four, wrap and refrigerate for 1h.
Roll again to the same size or larger and fold in three this time. Refrigerate for another hour.
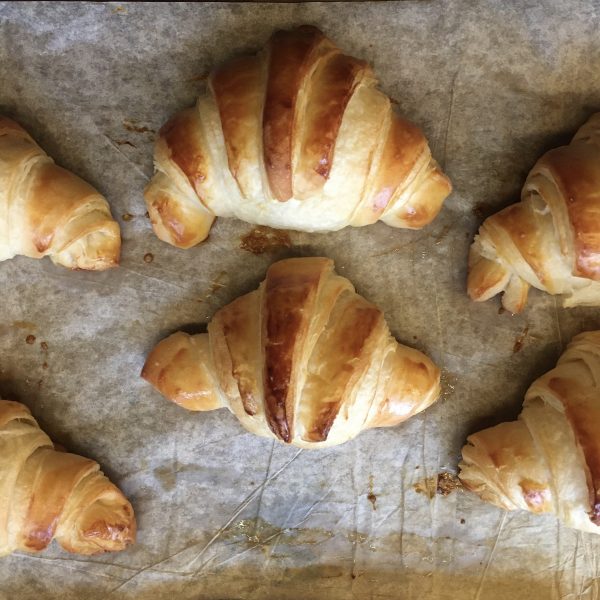
Finally roll again to the same size. Cut the edges to make apparent the feuilletage. Cut 6-8 triangles, roll them into croissant, set for another hour to rest at room temperature.
Apply an egg batter on the croissants and bake at 210deg for 15min or until perfectly golden. Enjoy!!!