Croissants!!!

I use to hunt down the best croissants in Tokyo, I found some, but best shops making the best croissants change over time… Recently we went nearby our place at the factory, and they have probably close to the best pain au chocolat but definitely not the best croissants… and a space that maybe perfect for a gloomy morning but not for a bright sunny day, I preferred the park nearby.

Pain au chocolat from factory

Knowing that finding delicious croissants in Tokyo, you can imagine that in Isumi it is a bit of challenge. Grain makes delicious croissants and pains au chocolat but they open too late to have freshly baked croissants in the morning. The only option was that I tried making some again. Indeed after three or four miserable attempts in the past years, I decided that an ugly weekend would be the perfect timing for another attempt. And that’s just what we got: pouring rain for almost 2 days and strong winds, notwithstanding a drop in temperature back to a modest 5.

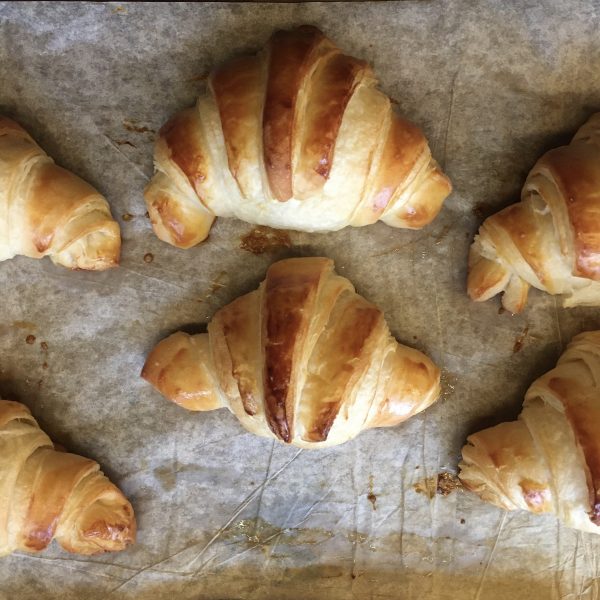
Instead of testing again a recipe I had in my books and didn’t work for me, I chose to go online and pick a video tutorial. After watching a few I picked the video by Domi patiss, because it was neither too short, nor too long, because her croissants look really fluffy and delicious, and she had a few hints that made sense to me. I followed her recipe almost to the letter except for quantities and I must say that for the first time I managed to make croissants that both have the taste and appearance of croissants from a boulanger… They were delicious!!!

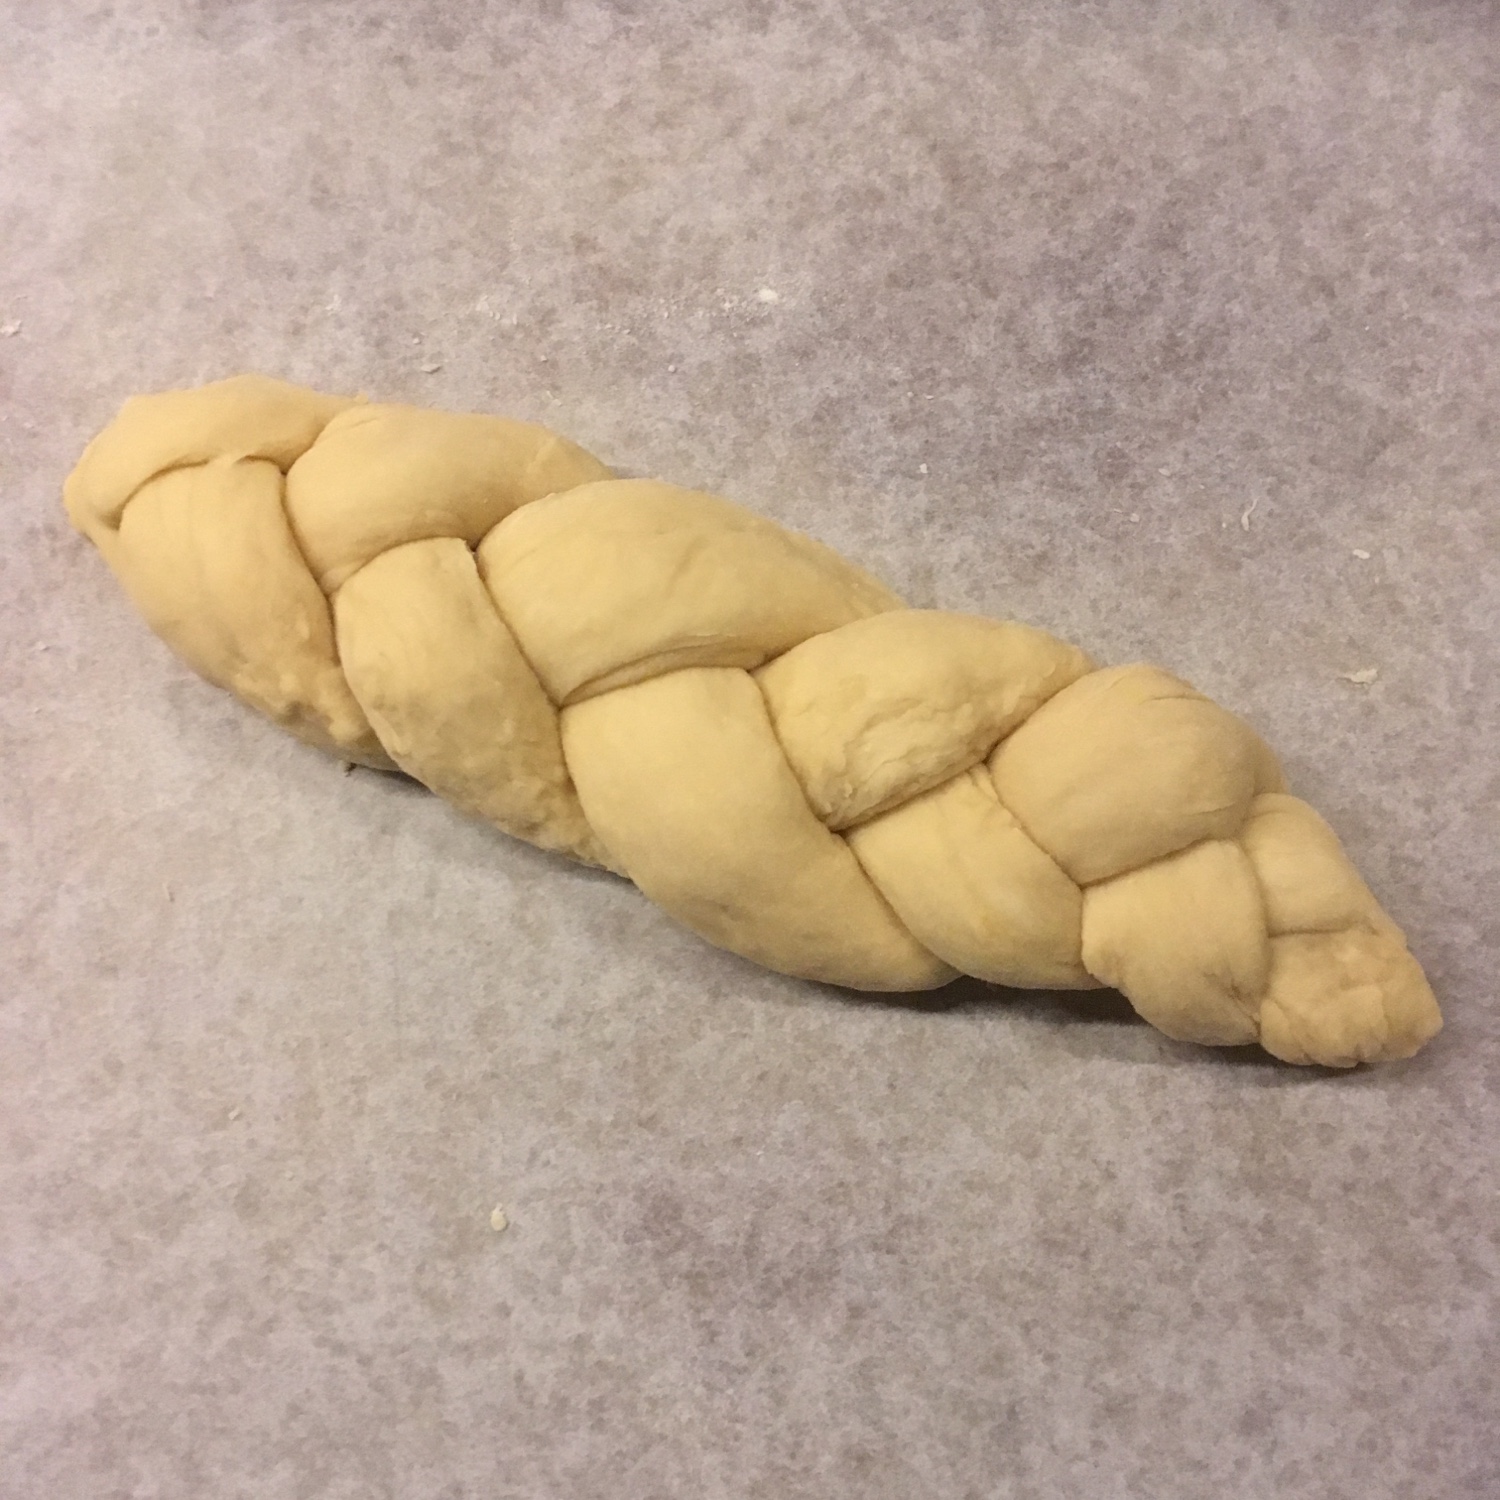
So here is what I did… there is a lot of waiting/resting time, so it took 24h to make the croissants, but the actual “action” time is always very short. The video by Domi patiss is in French but quite visual to understand the folding and rolling tips she gives.

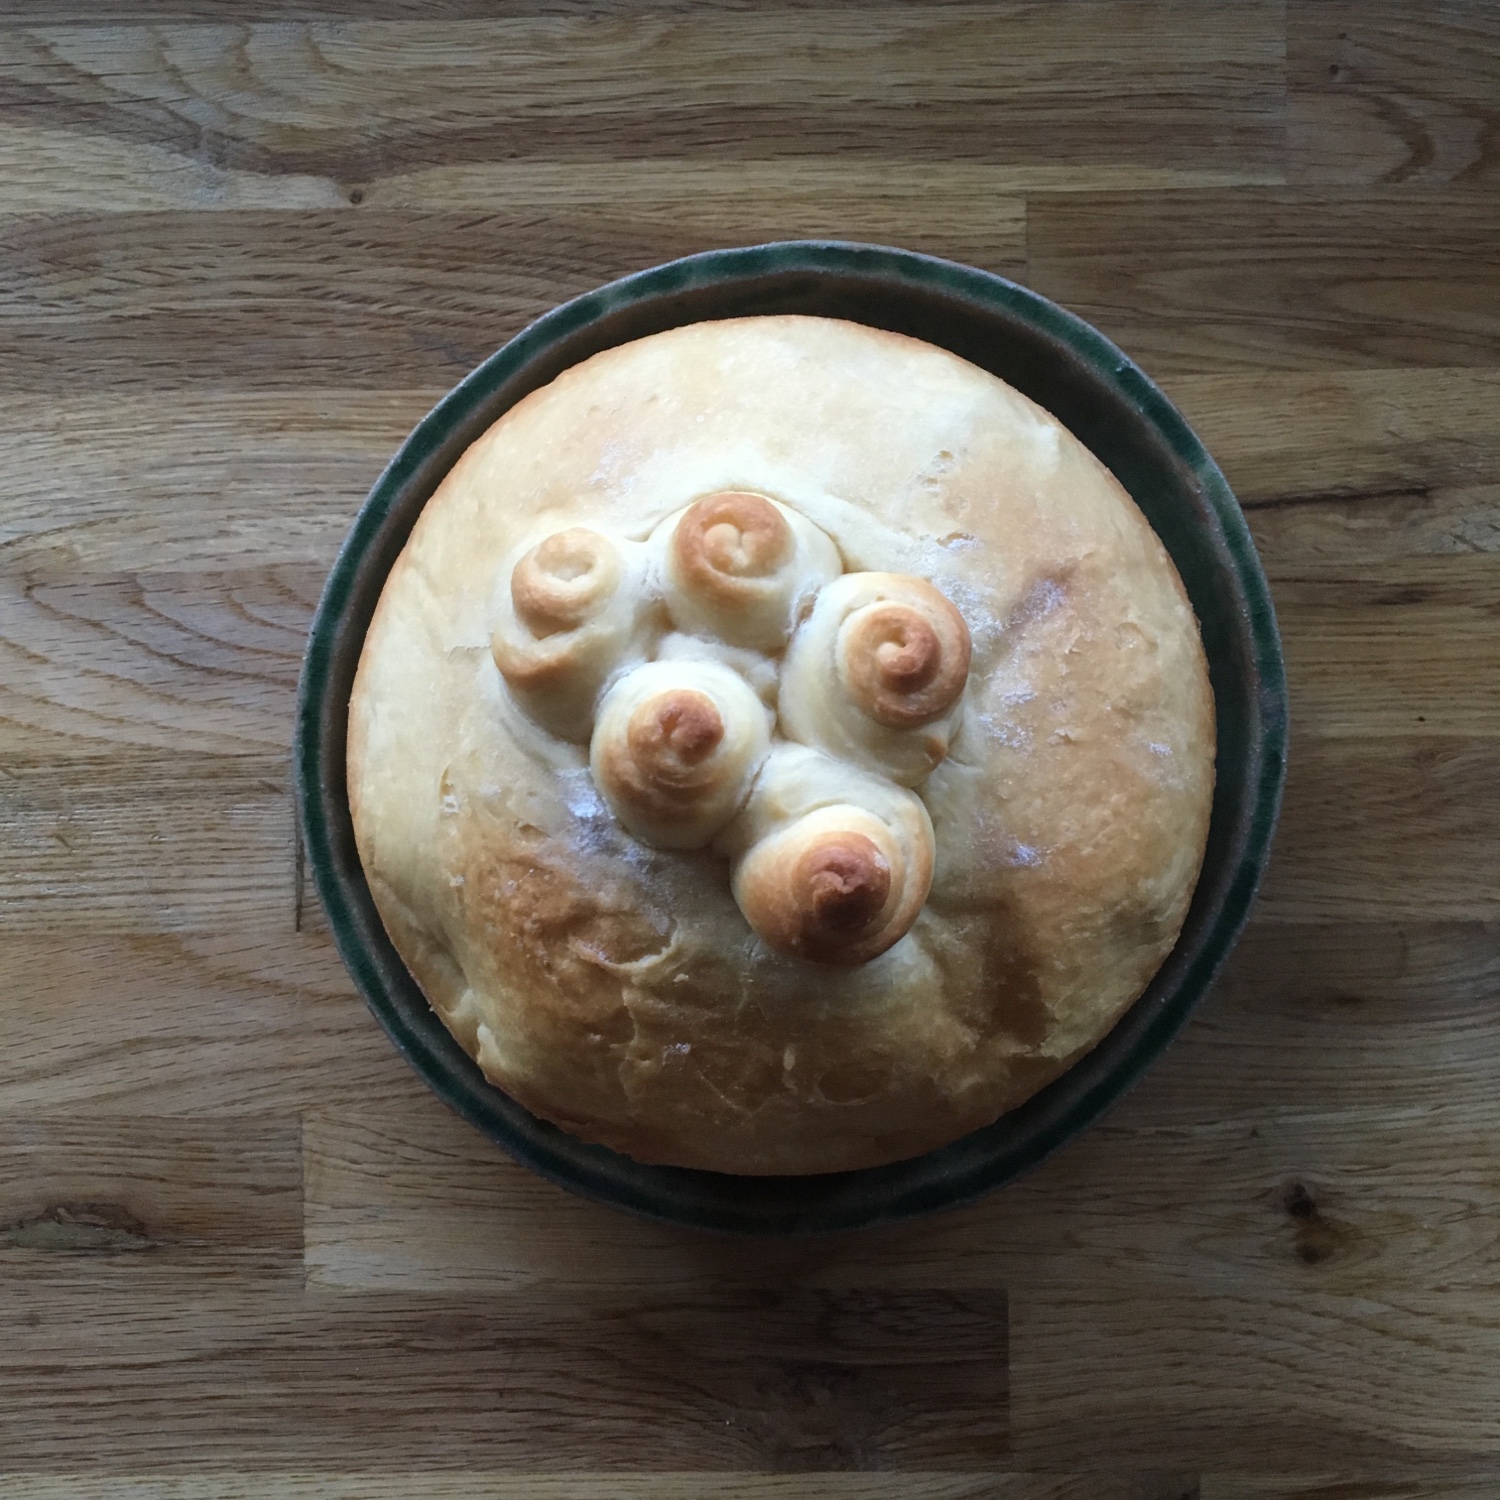
Croissants (make 6-8 pieces)

– 250g of flour

– 70g of water

– 60g of milk

– 6g of fresh yeast

– 7g of salt

– 20g of brown sugar

– 10g + 110g of butter

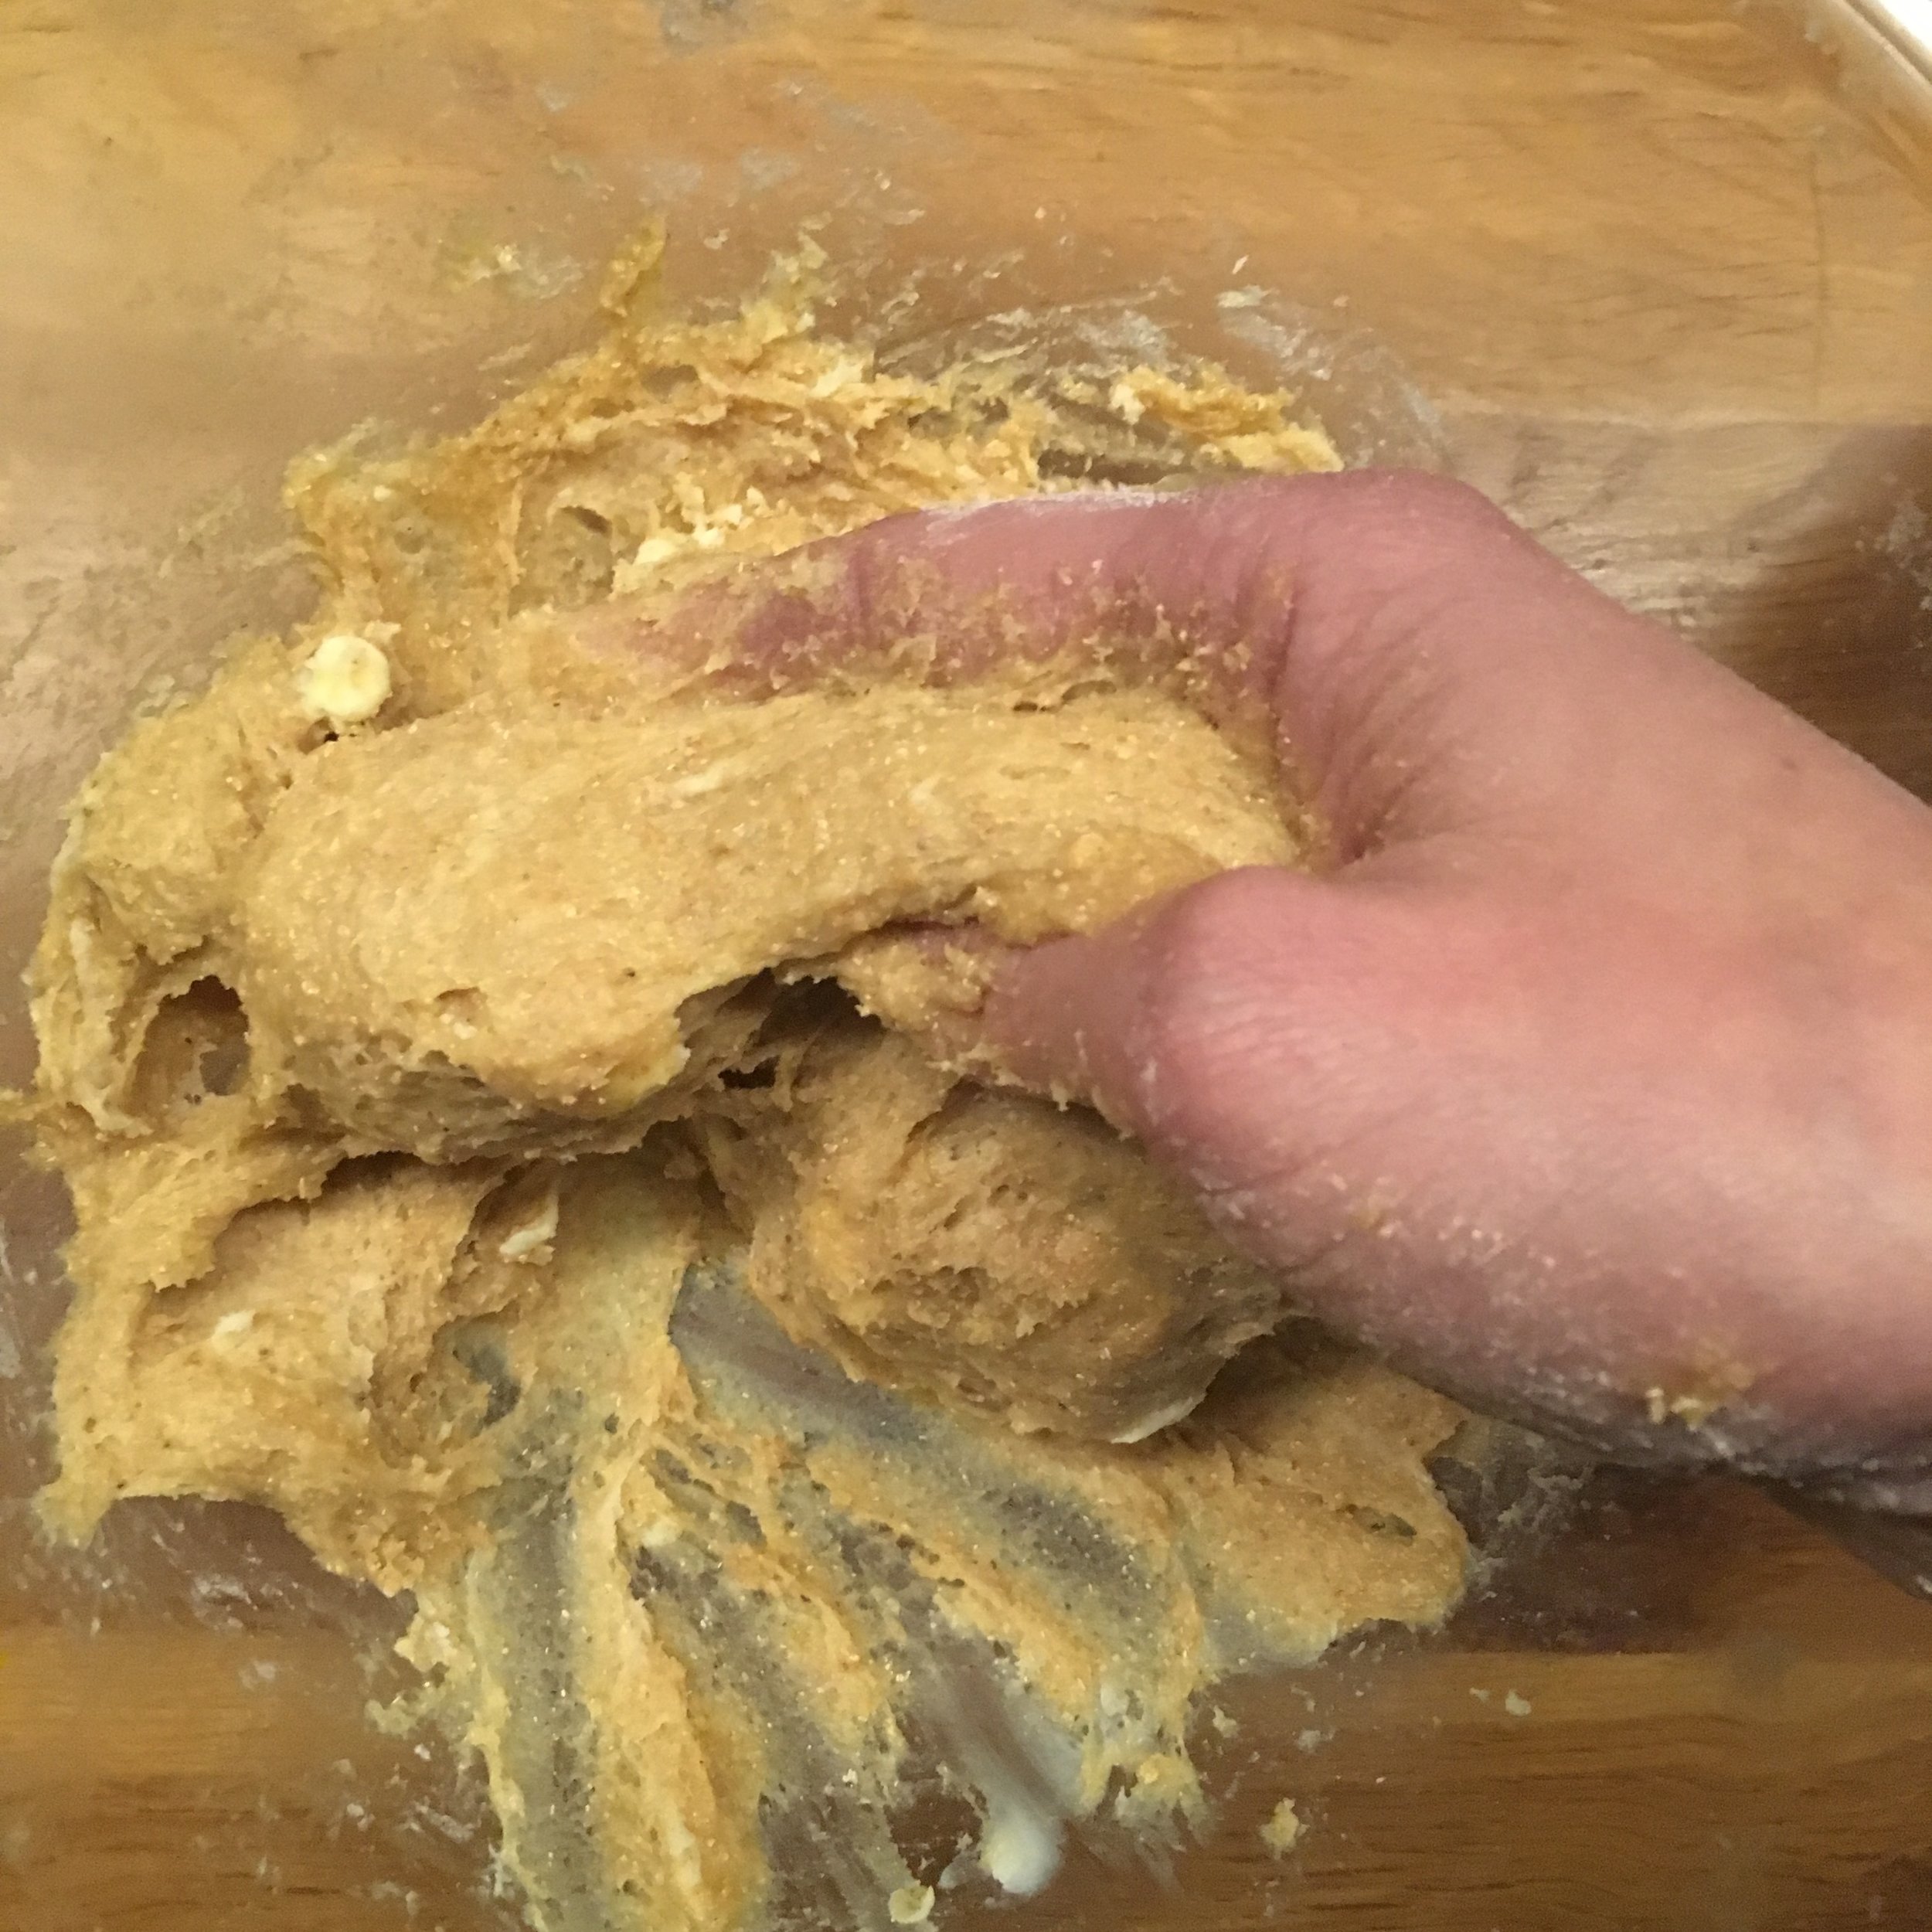
In a large bowl I mix the flour, the sugar, the salt, add the water, the milk, the yeast and 10g of butter. I knead until smooth, roll into a 25 by 15cm rectangle, wrap not too tight and set in the fridge for 12h at least. The dough should raise during that time.

http://gentianeetantoine.com/igk/wp-content/uploads/2020/03/video-1.mov

Then I roll it onto a rectangle of about 25cm by 50cm. Cut the 110g of butter (cold) in thin slices and cover half of the dough. Flip the other half on top and roll again to obtain the same size again. Fold in four, wrap and refrigerate for 1h.

Roll again to the same size or larger and fold in three this time. Refrigerate for another hour.

Finally roll again to the same size. Cut the edges to make apparent the feuilletage. Cut 6-8 triangles, roll them into croissant, set for another hour to rest at room temperature.

Apply an egg batter on the croissants and bake at 210deg for 15min or until perfectly golden. Enjoy!!!

Chocolate focaccia

Yes! You read well… I told you I was back to back to baking… When I was a first year PhD student the first international conference I attended and presented at was a huge conference held in Barcelona. At that time A. had plenty of holidays and surely plenty of time to take them, so we were always traveling together. We spent one week in Barcelona and a couple of days in Sitges. And one culinary thing that stayed for ever in our mind was the dinner, or more the dessert, we had on lovely terrace nearby the museum of contemporary art. The museum was still fairly young and the surroundings all in development. Using the base of the traditional pan con tomate it was a pan con chocolate. You can imagine with bread and chocolate in the same dish we would go for it, and this has surpassed our expectations by its simplicity and its tastiness. It was simply the same as pan con tomate replacing literally the tomatoes by dark chocolate: a toasted slice of bread with melting dark chocolate topped with fragrant olive oil and salt sprinkled. Back home I remember cooking some once in a while and always enjoying it. So this time while I was making the dough for my rosemary focaccia, I decided to keep a bit of the dough to test a chocolate focaccia. And like I though it would be, it was delicious. I’m sure you’ll see some more soon, in particular the picture doesn’t give a fair idea of how delicious it was!!

Braided brioche

When looking at Instagram and at breakfast tables, I was often seeing beautiful braided breads and brioches and was always intrigued by their realization. Not the braid itself, but how to obtain a dough that wouldn’t be too sticky to actually make a braid. I didn’t do much search. My recently acquired cookbook again helped me solving that problem. The Challah Dough from bread in 5 is really a nice alternative between bread and very rich brioche dough and I’ve come to use it often. And that’s how I learned how to make braided breads. It is actually extremely simple, much more than I imagined!

The book recipe can be found on that page but I slightly modified it to fit my pantry and taste. So here is mine:

Braided brioche bread (for one 400g bread)

– 250g of flour + for dusting

– 1 egg

– 1/2 cup of tepid water (add slowly as a little less may be required)

– 5g of yeast

– 5g of salt

– 2tbs of brown sugar

– 25g of melted salted butter

In a bowl, mix all the ingredients. The order has strictly no importance. For some reason (habit for sure) I almost always start with the flour, though the book recommends to finish with the flour… I tried both and the result is basically the same. To mix things altogether I use my hands or Japanese cooking chopsticks if I am on a rush or multitasking and want to keep my hands clean. I then leave the dough to prove and wait until it has almost doubled in volume.

Once the dough has risen, using flour to dust I move it to a sheet of cooking paper. Then flatten it and cut in 3 for long braided bread, or 4 for the round ones. I roll them into 20-40cm sticks to make the strands, and start braiding. The 3 strands, braiding is obvious, and don’t need a picture. The 4 strands in circle, it is a little more tricky but not much actually, it’s just that you have to twist and turn 90deg, go up the first strand and under the second. The braids don’t have to be too tight, as the dough will rise again.

Leave for the second rise about 45-60minutes and then bake at 180deg for 20-25minutes, or until golden. Don’t over bake, it will make the brioche too dry, in particular if, like me, you like to eat it warm, and plan to warm it up in the oven before eating if you don’t eat right after baking. Oh… and I don’t use egg wash and they always come out perfectly golden.

Vegan bagels

I love bagels a lot, but for some obscure reason I almost never make and bake any, hence my last posta about bagels is almost a year old…

So when I saw a recipe in my bread in 5 book, I just wanted to try it. What’s different from the previous one? Basically that it starts like regular bread, in which a little of oil is added to the dough, so it is vegan, the rest is pretty much the same. I kept my way of shaping them rather than the one in the book and same for cooking them. Bread in 5 boiling time was too short for my bagels, I kept with my previous cooking time.

The result was really bluffing. A little less sweet and buttery than with my old recipe, but with the same base I can also make focaccia and fougasse, because I used olive oil. So it makes the preparation very versatile. Of course the boiling and baking of bagels is a little extra effort, but so much worth it… with Isumi smoked ham and the new cheese factory (I’ll talk about this later) cheese I tested this weekend… perfect!

Vegan bagels (makes 6)

– 250g of flour

– 125g of tepid water

– 5g of yeast

– 7g of salt

– 15g of olive oil

Mix all the ingredients, and leave for the first rise for 2-3h at room temperature. When almost double in volume make a ball and cut in 6 pieces. Make 6 balls. Plant your finger in the middle and roll around your finger like a hula hoop until the hole is about 3cm. Leave to rest for another 30-60min. Prepare a pot of boiling water. Roll around your finger before plunging them in the boiling water. Don’t boil more than two or three at the same time. It’s better they don’t touch each other. Cook 90sec on each side and drain. Then roll them in what you want: sesame or any seeds, sugar, spices… bake for 15min at 200deg.

I don’t use egg batter but you can…

Enjoy!

Bread for every mornings

Earlier in December as I mentioned in my first post this year, I discovered a book thanks to Giulia @ Julskitchen that makes the promise to prepare fancy breads in 5min. I was skeptical at first but also curious so the only option was to try by myself a few recipes and see how it was actually feasible on regular working days. So during the holidays I started to get familiar with the processes and this week I have used the recipes and method non stop for breakfast mainly, sometimes dinners. So here are my thoughts and findings after almost 2 weeks of using the book bread in 5 on a daily basis.

First of all yes! it is undeniably making bread baking really easy and despite the rises that take time, but that is inherent to bread making and I didn’t expect to have this time reduced, it really takes 5min for most of the recipes to mix the ingredients and shape the bread(s). I tried both with fresh yeast and dry yeast and it is equally working well. I didn’t try with sourdough yet…

I have tried recipes for the classic breads, milk bread, brioche, panettone… I must admit that of all the brioche was really bluffing and when I remember how much time and effort it took me to knead my first brioche and that the result was so so… I can only recommend to use this recipe for people new to kneading and baking. I will definitely use the recipe again and again to make brioche for breakfast when we have friends over.

As I mentioned in my earlier post the breads are simples and can be easily upgraded: this morning I added vanilla, I made walnuts rolls, or salt rolls for dinner… but they are not French breads with a thick and hard crust, I never managed to obtain anything close and I don’t think it is possible. It is totally fine, you just need to know that. Rather the breads are fluffy but very nourishing and soft. A. told me they looked like breads his mom made with a bread machine once… I never really had bread from bread machine, so I couldn’t say… I finally enjoyed them more as individual rolls than bread to slice.

The one thing that was a great learning for me was the conservation of the dough after the first rise. Knowing that you can keep it refrigerated for up to a week was quite a finding. Though I found it worked well with breads with plain ingredients, I liked it much less for breads with butter, milk or eggs… in particular I found that after 3 days the milk bread I made had a stronger fermented taste that I didn’t like much… personal preference I guess… I also wonder if keeping the dough that way works with kneaded doughs… something I need to try to find out. Because for me the kneading part, in particular for French breads is actually something I like to do on Saturday evening. It is relaxing and a time for reflection that I need in my busy schedule. Some meditate and run… I knead and garden… yet having freshly baked bread on the breakfast table every morning is just fantastic… and it’s even easier than pancakes, once in the oven there nothing to do… oh! And there are many recipes of braided bread, something I find quite beautiful when well done…

So bread in 5 was a revelation for me but I need to adjust it to my habits and liking!!

Welcome 2019!

How are you starting this new year? I am welcoming the new year as a normal day in our country house, with a garden harvest of lemons, natsu-mikan, daffodils, camellia flowers and maple leaves… and a lot of cooking and baking. I also started learning cutting and sewing with my old neighbor. Regarding baking, this week I am trying some recipes from my new baking book: bread in 5, that my parents offered me for my birthday, and the new flours I bought at Cuoca in Mitsukoshi Nihonbashi.

I was indeed interested by the book when I first read about it from Giulia @ Julskitchen IG. I thought how wonderful it could be sometimes to have fancier breads than regular French breads, and to be able to prepare them faster. I also got fresh yeast which makes bread so much better, fluffier and they have less the taste of yeast. So far both the book and the ingredients have delivered amazing results. I’ll talk about that in detail in a later post, after I have tried a little more recipes. But simply the introduction and the tips page were full of teachings!

For this first morning of the year, I wanted something rich, sweet and fancy, as A. loves them. In winter I really love cinnamon rolls so I was first going to make some when I found the recipe of this Swedish tea ring in the Christmas bread sections. Indeed, Christmas was just last week!! The recipe uses a brioche dough as base and I was really intrigued by how to shorten the extremely long hand kneading time of the brioche and what it would give. To shorten kneading the recipe uses melted butter, smart indeed. And it worked perfectly for the ring (I need to work on my shaping!!). I modified slightly the recipe of the rolls, and didn’t use neither the egg wash or the icing as I thought it was rich enough that way for breakfast. This for sure was a hit! A. was very pleased with the result and so did I!

I wish you a beautiful year 2019 from my kitchen!

Bagels!

Last weekend. I thought it was a real long time I haven’t cook bagel and it’s been a while I wanted to come some… then I checked out my recipe online and realized it was actually 3 years since I cooked any… so it was indeed a really long long time!!! I used the same recipe, and since I was preparing them for breakfast I used very simple toppings: plain, brown sugar, sesame seeds, and mixed seeds. Actually I used half of the ingredients of the recipe and since I didn’t have sourdough I used 7g of yeast; and made 7 bagels, so I guess the recipe makes more 14 than 10 bagels, unless you like giant bagels!!!

Again I was surprised how simple it is and it seems quite impossible not to succeed. I poached them on the evening and baked them in the morning because there’s nothing like eating freshly baked bread in the morning!

It was the perfect start for a Sunday before spending time in the garden cleaning and taking weeds.

Yuzu-choco cookies

Sudden rainy and chilly days, after some really warm and sunny weeks call for some sweetness… and since we’ve recently planted a yuzu (and also a lemon) tree in the garden, to broaden our range of homemade citrus fruits, I’ve started to harvest a few yuzu fruits. It’s late for the yuzu season but they are none the less delicious and juicy. That’s how the idea of making yuzu cookies came from. The recipe I used for my cookies is rater simple, and you can add whatever pleases you inside.

So here is my yuzu-cholate cookies recipe. If you cannot find fresh yuzu, you can replace by dry yuzu peels rehydrated, or orange.

Yuzu-chocolate cookies

– 110g of butter (at room temperature)

– 150g of flour

– 40g of sugar

– 1 tea spoon of baking powder

– the juice of 1/2 yuzu and the peel of 1/4 yuzu

– 50g of dark cooking chocolate

– a pinch of salt

Mix the flour, sugar, baking powder, salt, add the butter and knead well. Add the yuzu juice, cut the peel in tiny pieces and add. Knead a little more. With a knife cut roughly the chocolate in chunks, add and knead. Keep refrigerated for 20min (or 10min in the freezer). Preheat the oven to 180deg. Make small balls of dough and squeeze them flat on baking paper. Bake until golden or hard enough. Cooking time should ne around 10min but it depends on the actual size and thickness of the cookies.

After baking the cookies until golden at 180 degrees I kept them in a cool dry place before eating them.

Dirty hands

I love to put my hands in gooey mixtures quite a lot, and this weekend is what I did!! I first started bu making some brioches for our breakfast. The dough for brioche is always a hard kneading wirk because of the egg and butter the dough gets really really gooey and it takes a good 30-40min of string kneading to obtain the silky soft and smooth dough expected. I could use a robot you could tell me, but kneading is really part of the fun for me, if not most with eating together the final product. The result: 6 little brioches was really great, all warm out of the oven for breakfast. And when they we finished for tea time, I regretted not to have made more…

The other gooey mixture I worked with this weekend was clay for ceramics. After our experience of making pottery in Kurashiki, we wanted to do some more, and finally by chance the other day at some event in Isumi we found Ezonoco a potter which work I like very much and who is also having some classes at her workshop. So we finally went there and spent the afternoon with hands in the clay and shaping our creations. It was tough work but it was great to work side by side and tease each other and I can’t wait to see the results after they will be out of the oven in a few weeks and we can work on them again. I also thought about the so many things I want to make and that it may finally happen! It makes me really happy!

Proudly powered by WordPress | Theme: Baskerville 2 by Anders Noren.

Up ↑

Verified by MonsterInsights