It has been two years since I made Lois, my sourdough, and even though we had our ups and downs, overall, Lois was a great fun to use and taught me a lot. It even survived quietly our absence during our trip to France. So what happened? Why did suddenly things got strange… a few weeks ago my bread started to not rise as much as it would. I naively thought that my rising time was not adequate… and then last week when I was about to feed Lois it was all strange, and I spotted mold on the side of the bottle. I did a rescue operation, which seemed to work. Baked a beautiful brioche, and hopeful that everything was back to normal. But then, Lois died. I didn’t even think that would happen. All a sudden it became liquid, stinky and covered in a white… it was over.
So I had no other choice but start a new one. So here I am back at it… starting again.
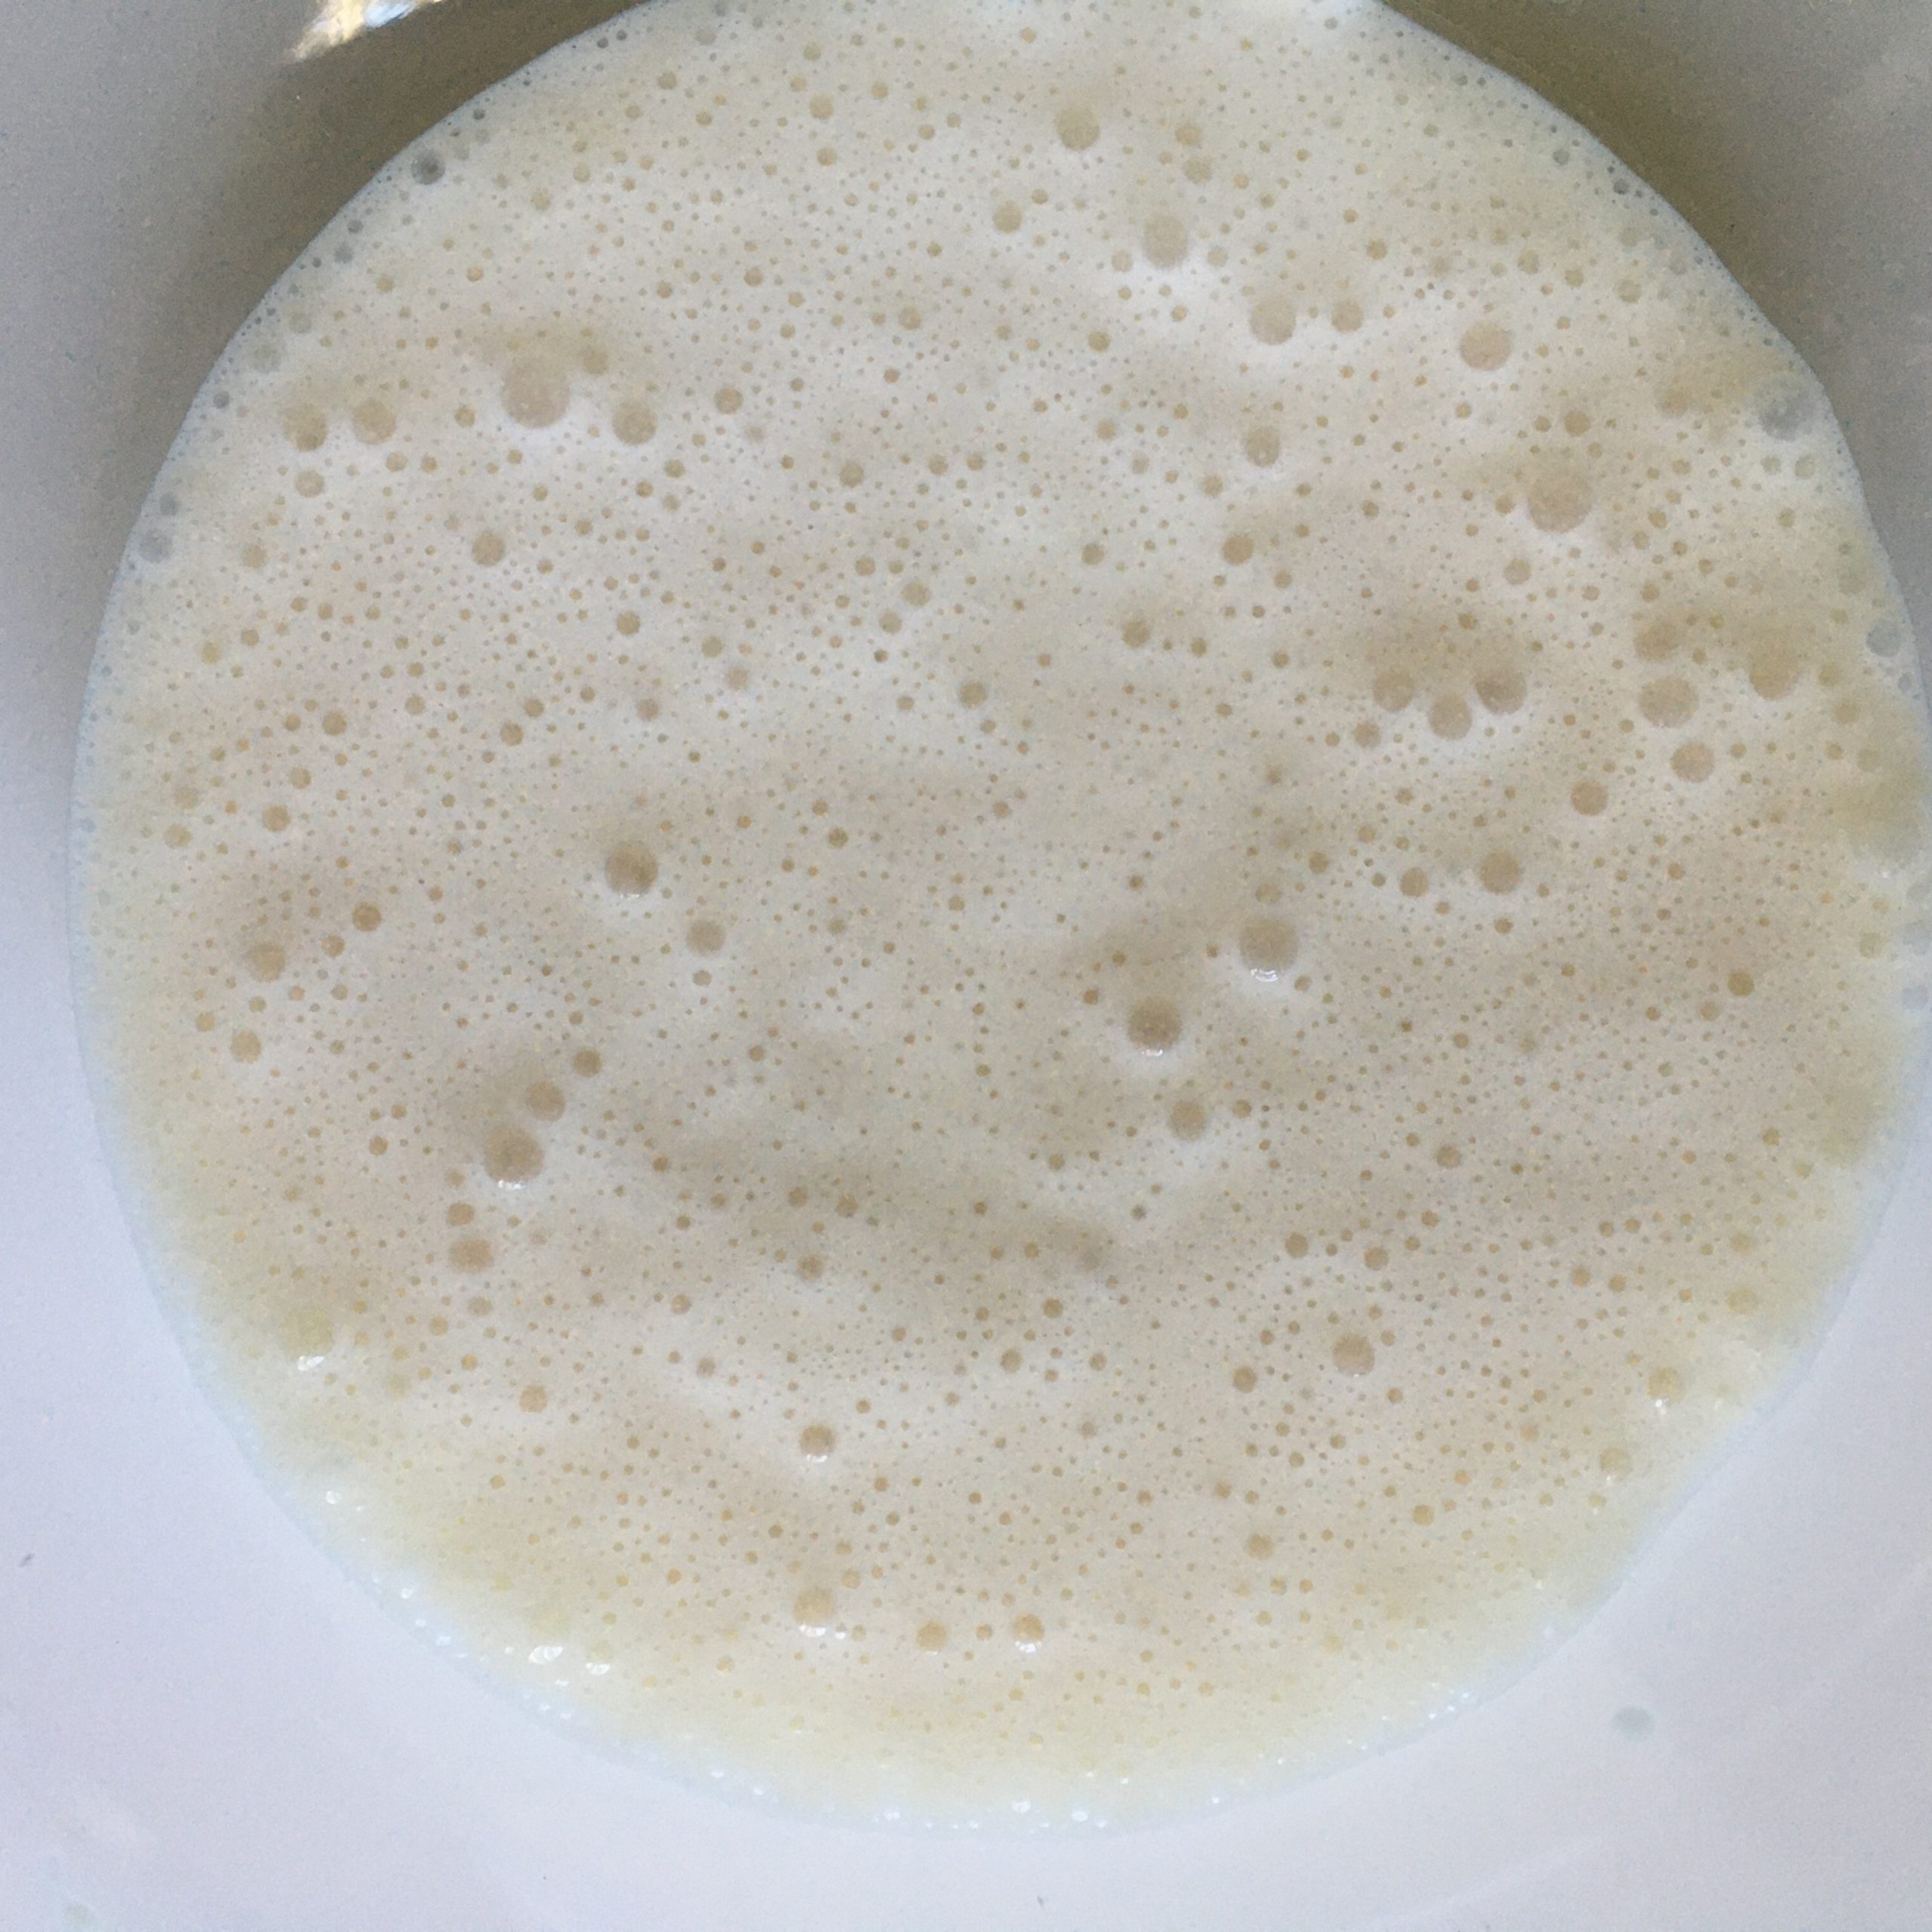
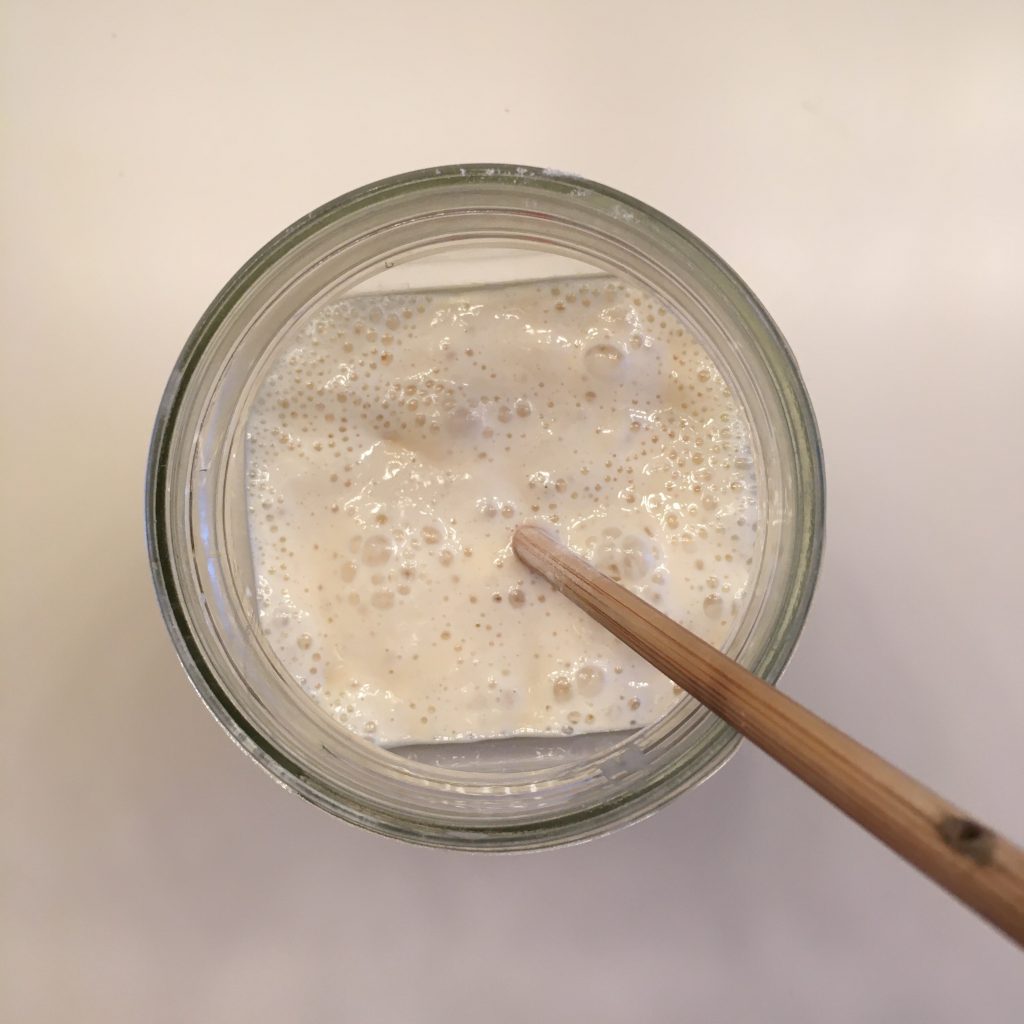
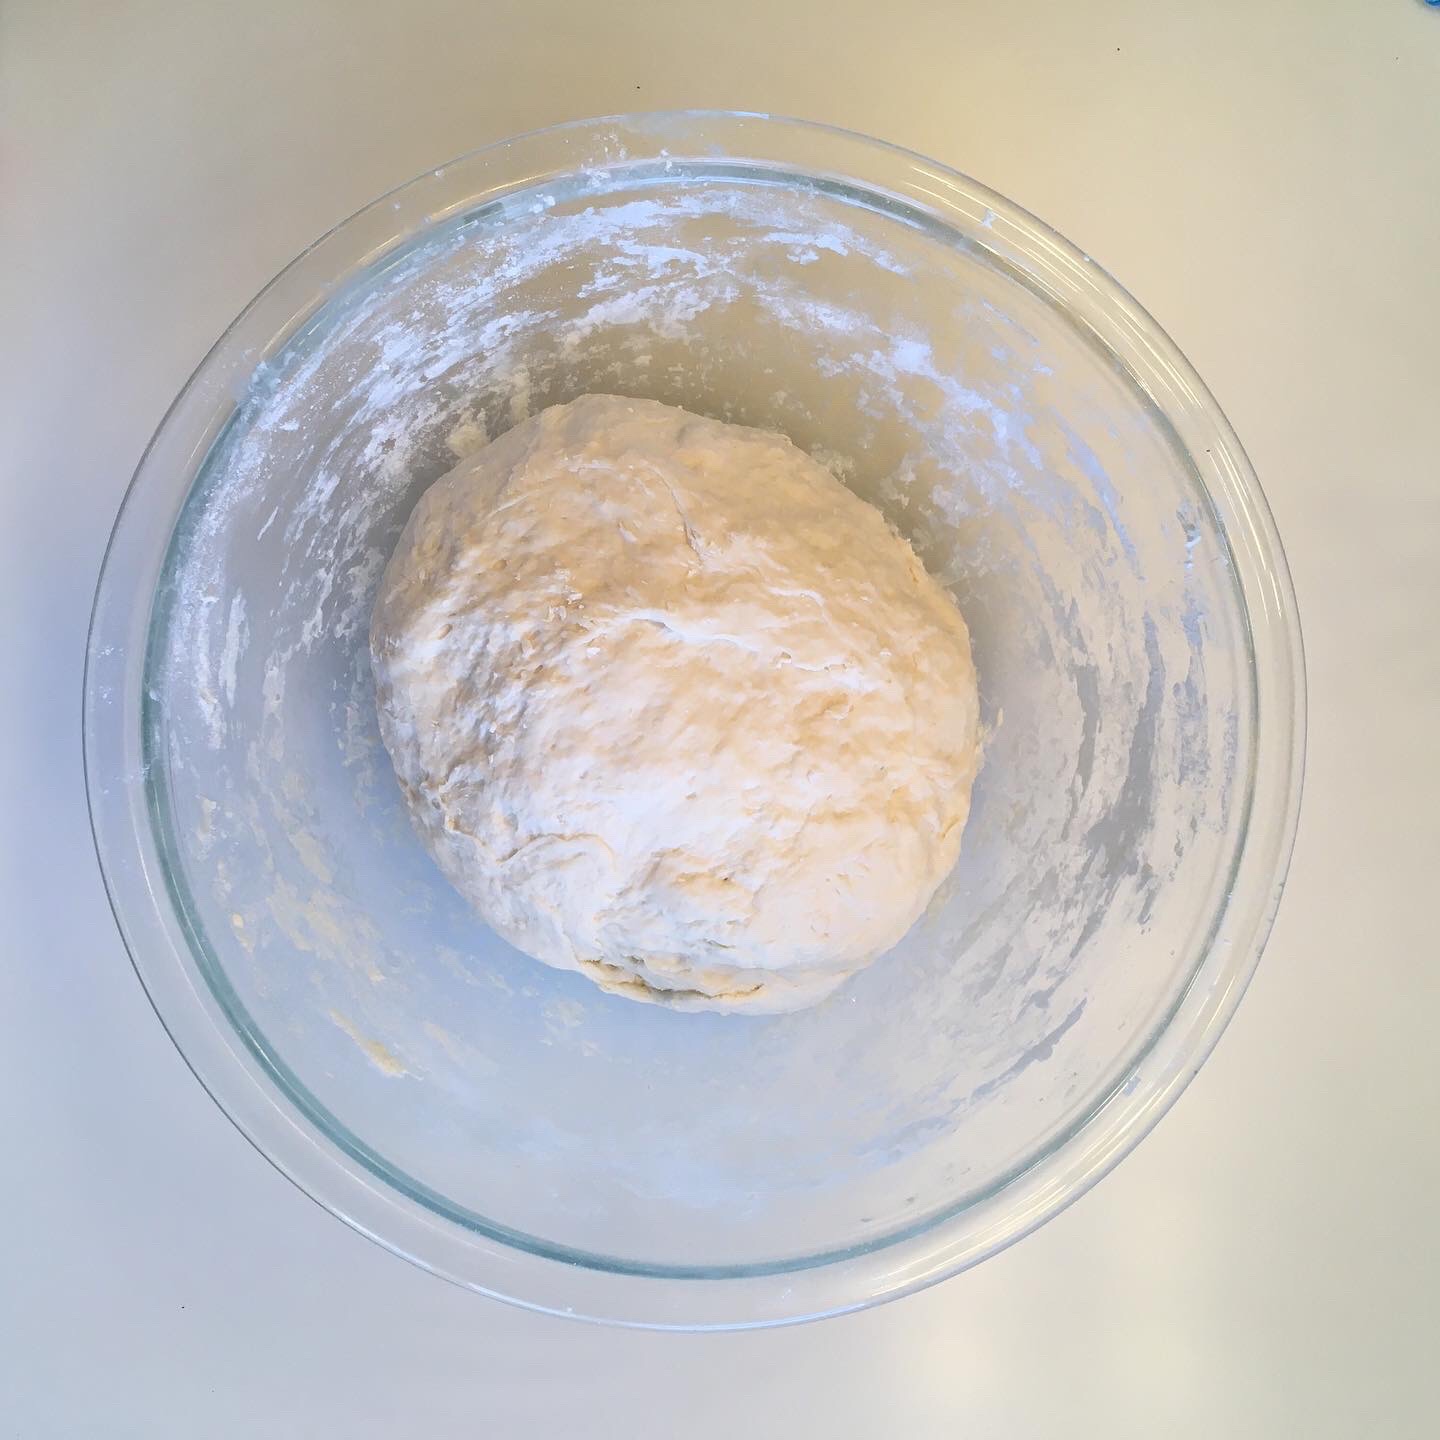
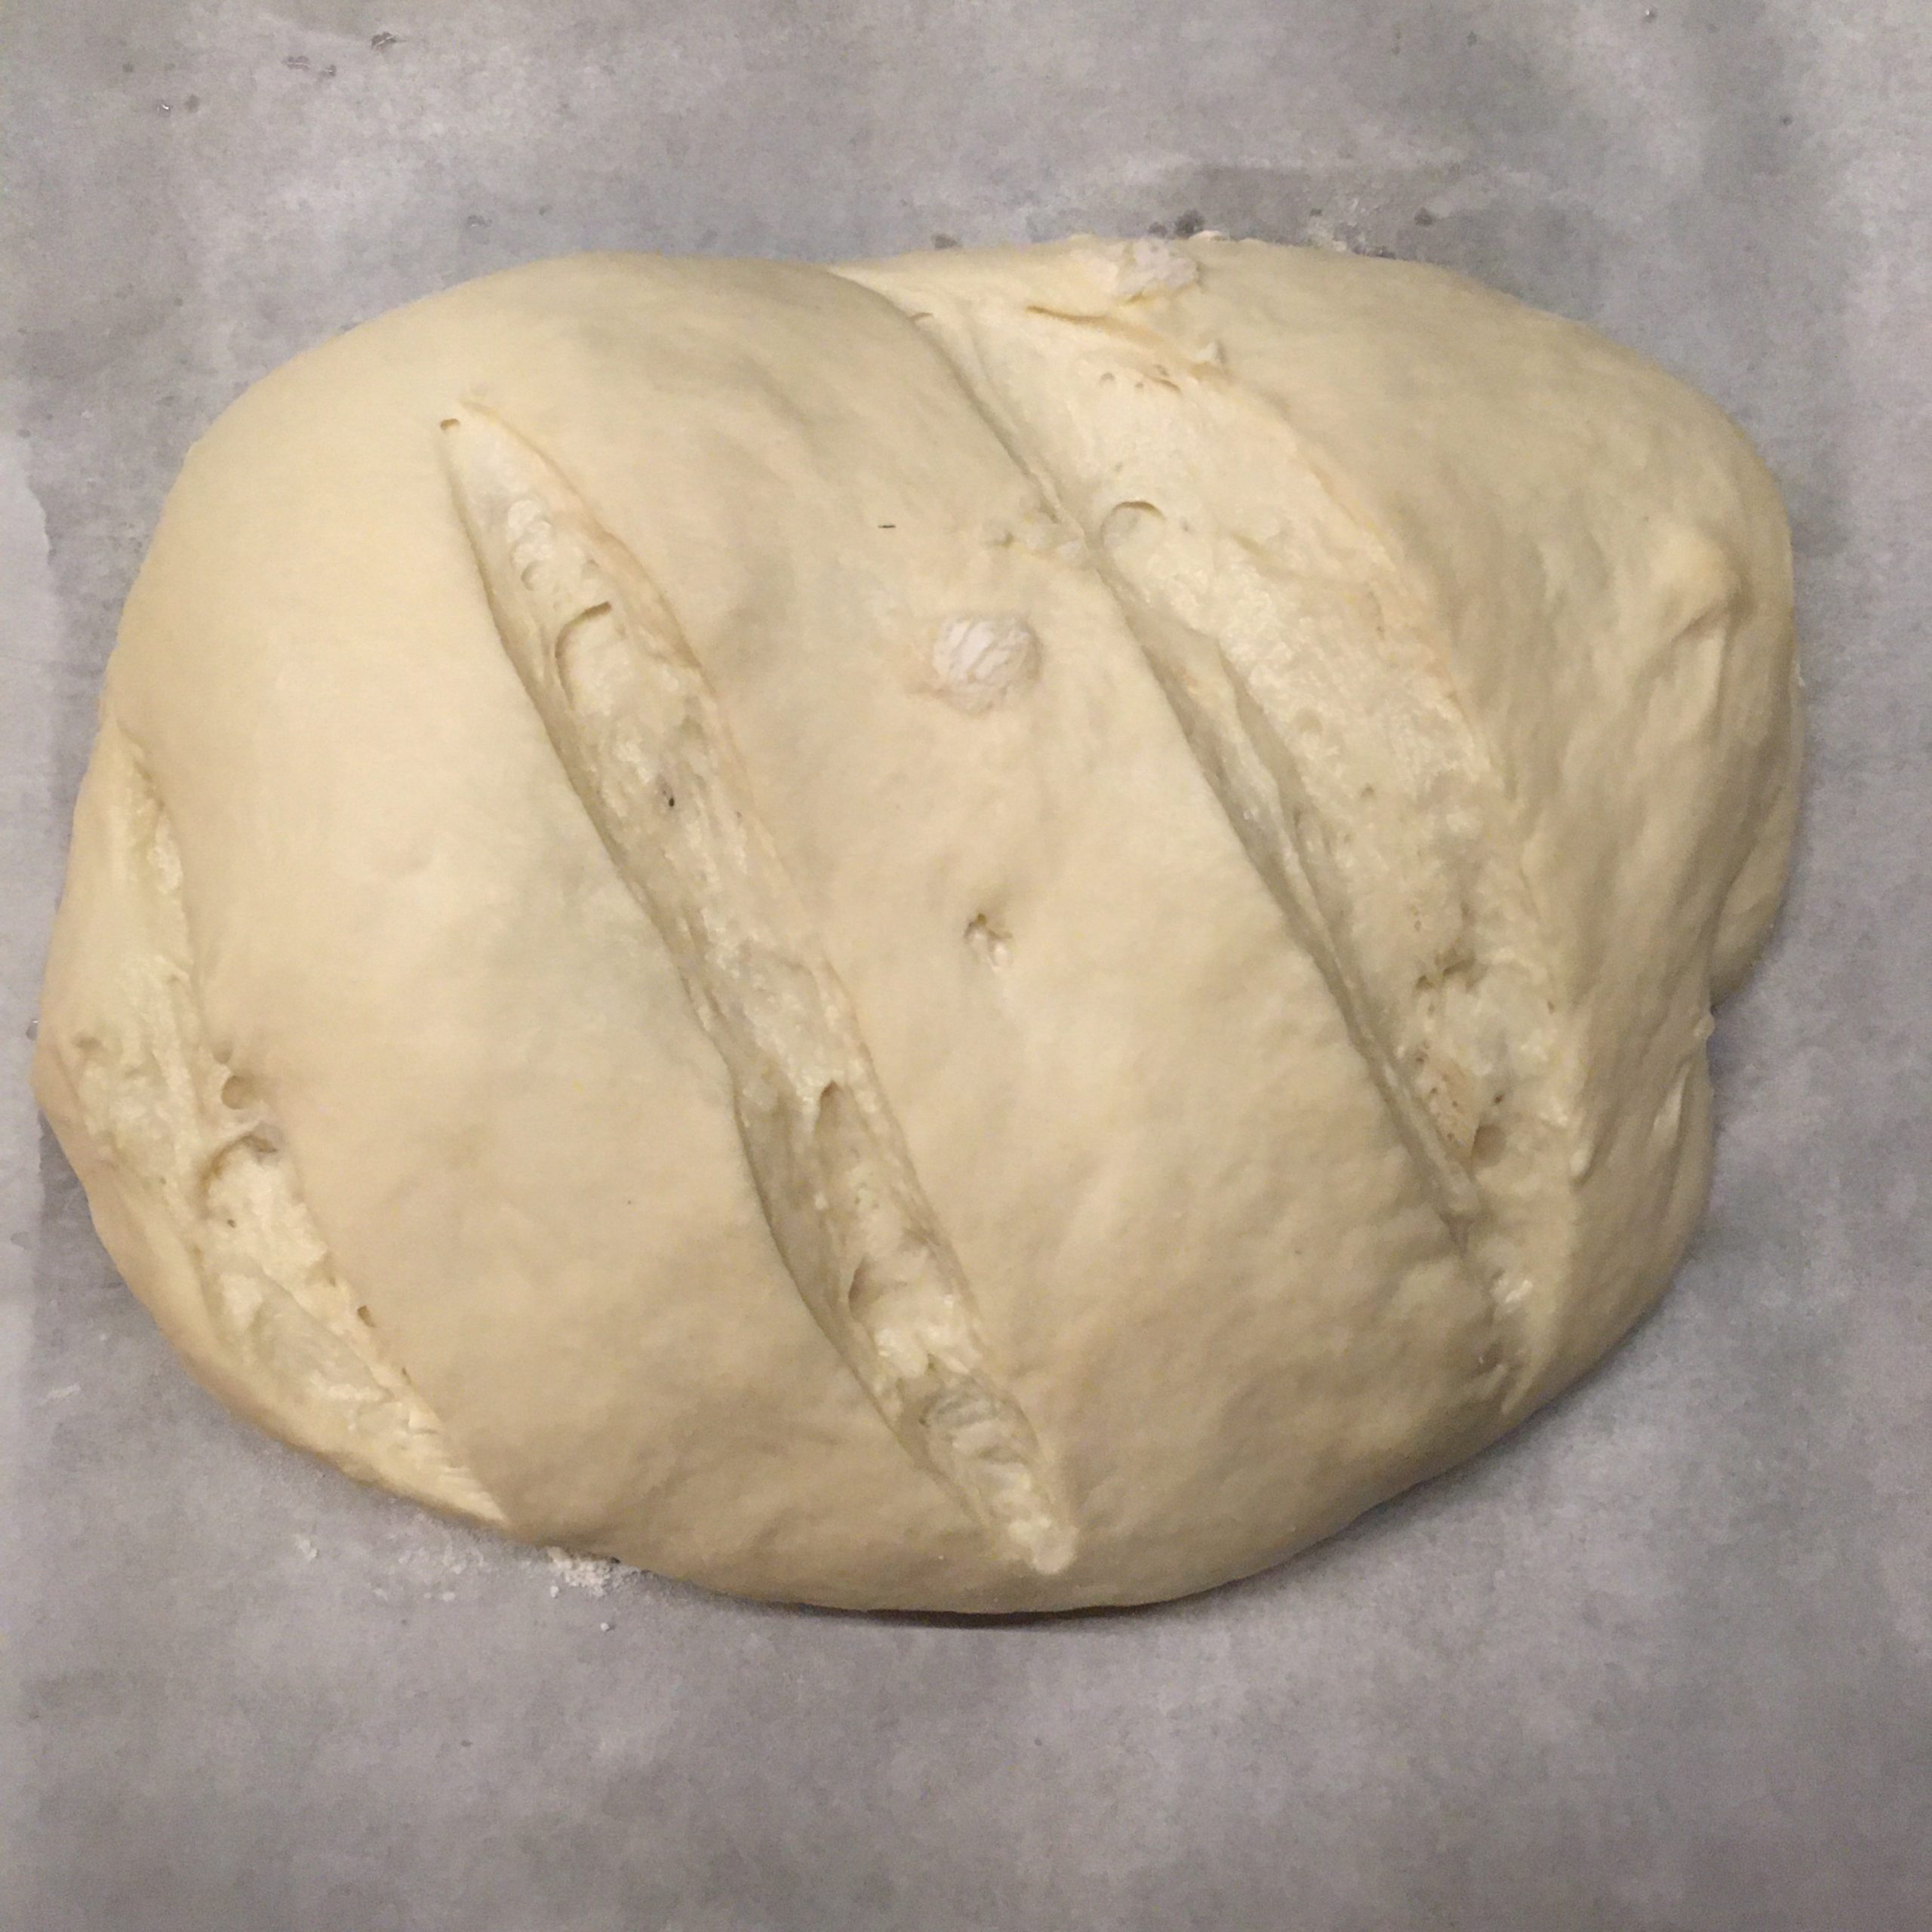
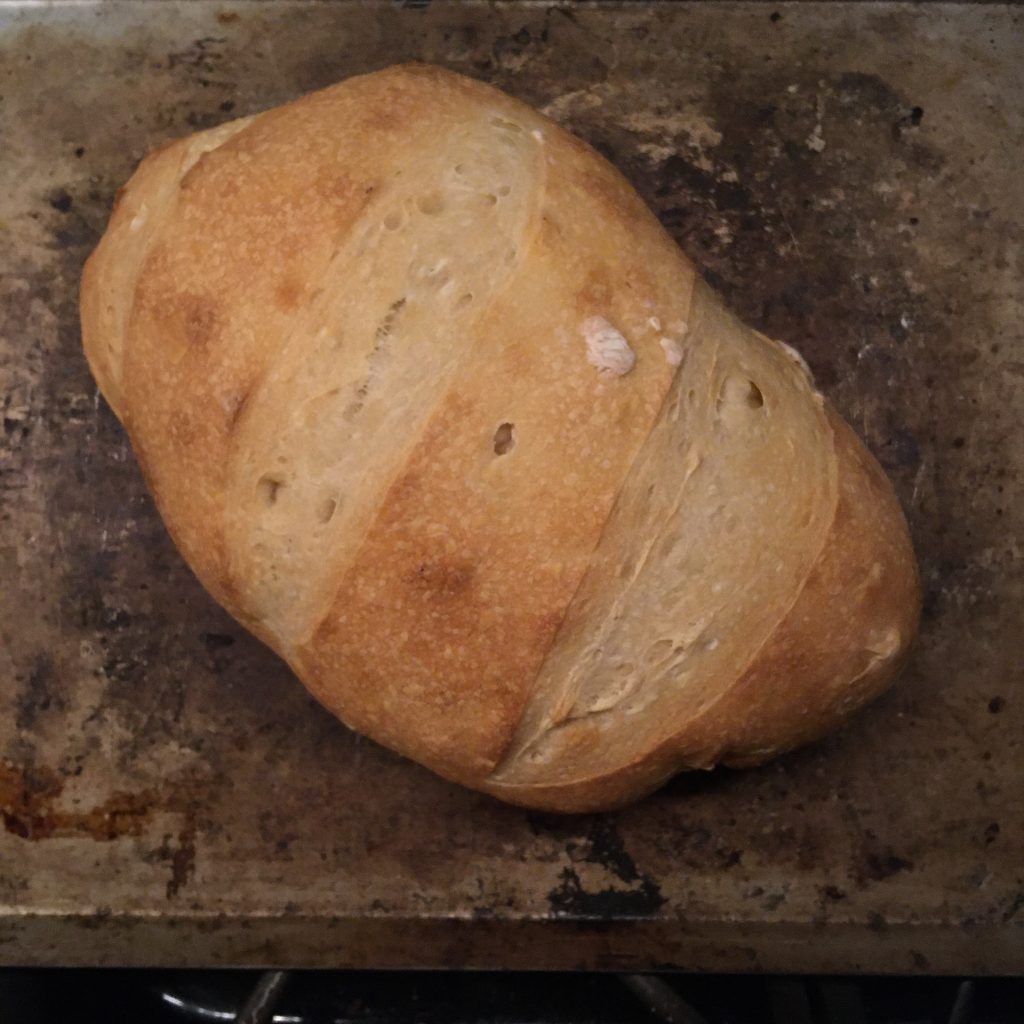
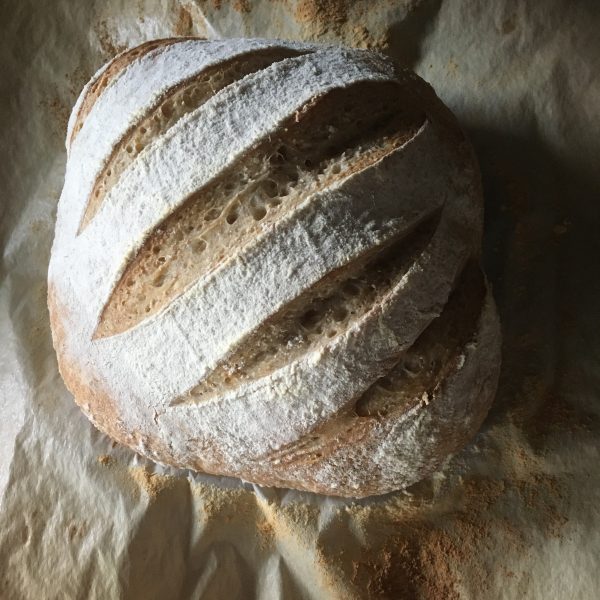
But maybe it’s the two years with Lois, the perfect weather, it’s been working like magic and Baden is born in no time, smelling divine. Very active compared to Lois, who has never been a super active kind, and which smell was so so. And after 3 days I made my first bread with it. Smooth and easy!
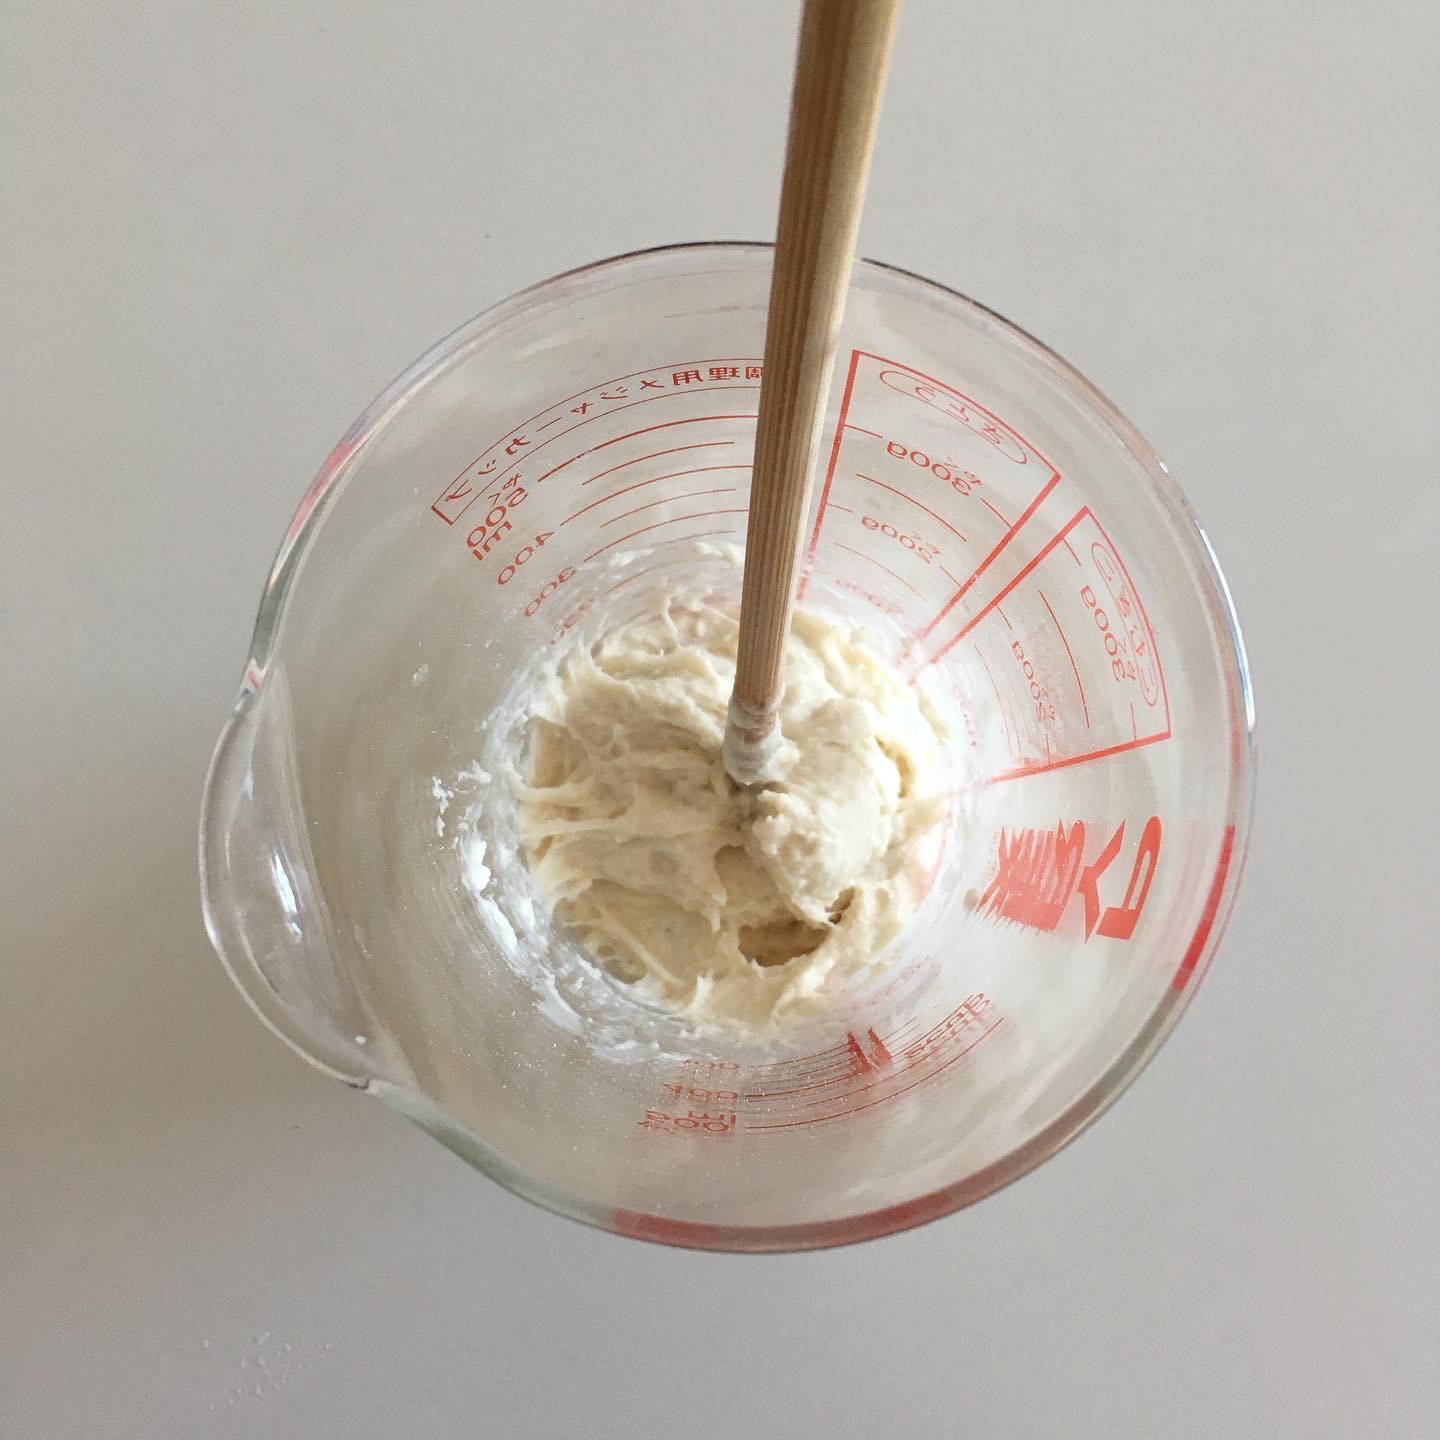
Day 1
Day 2
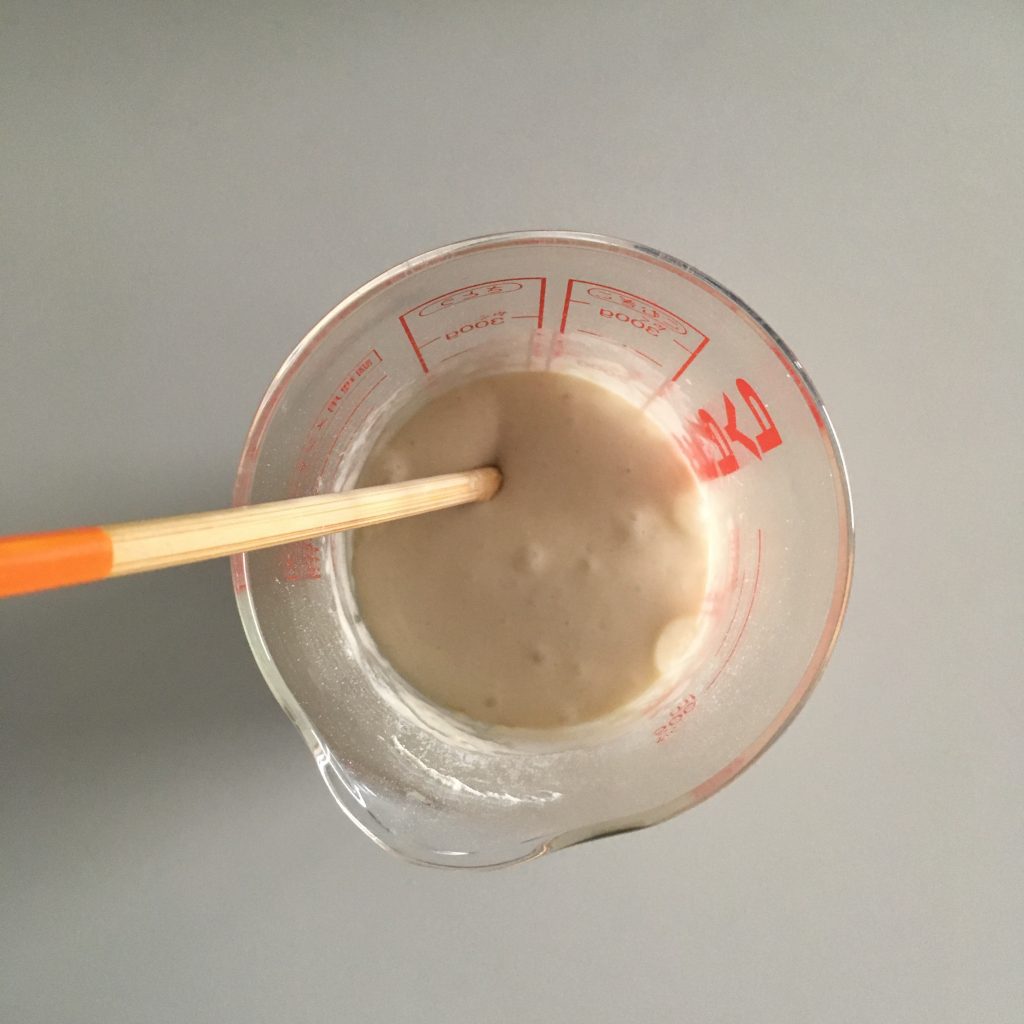
Day 3
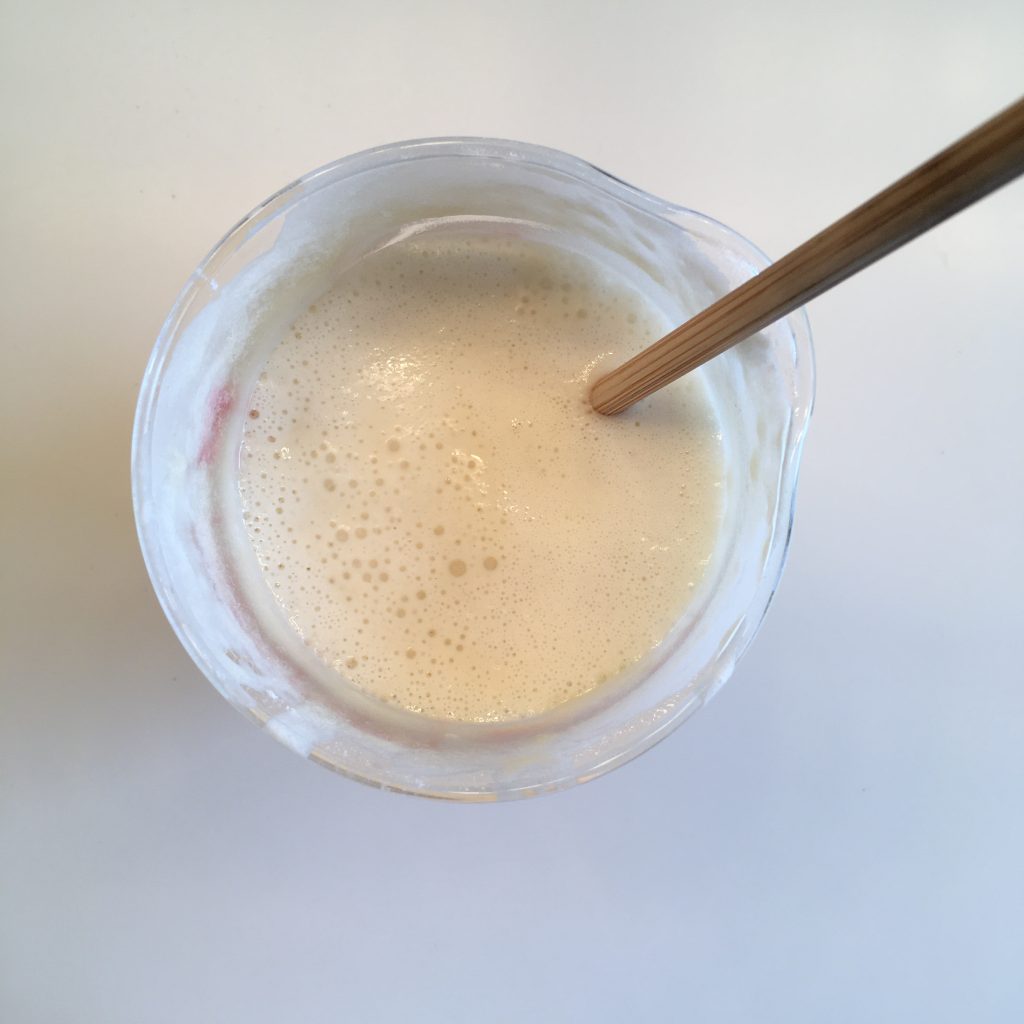
Day 4
Day 5
I hope Baden will be living for a long time and we will have many breads together!!!
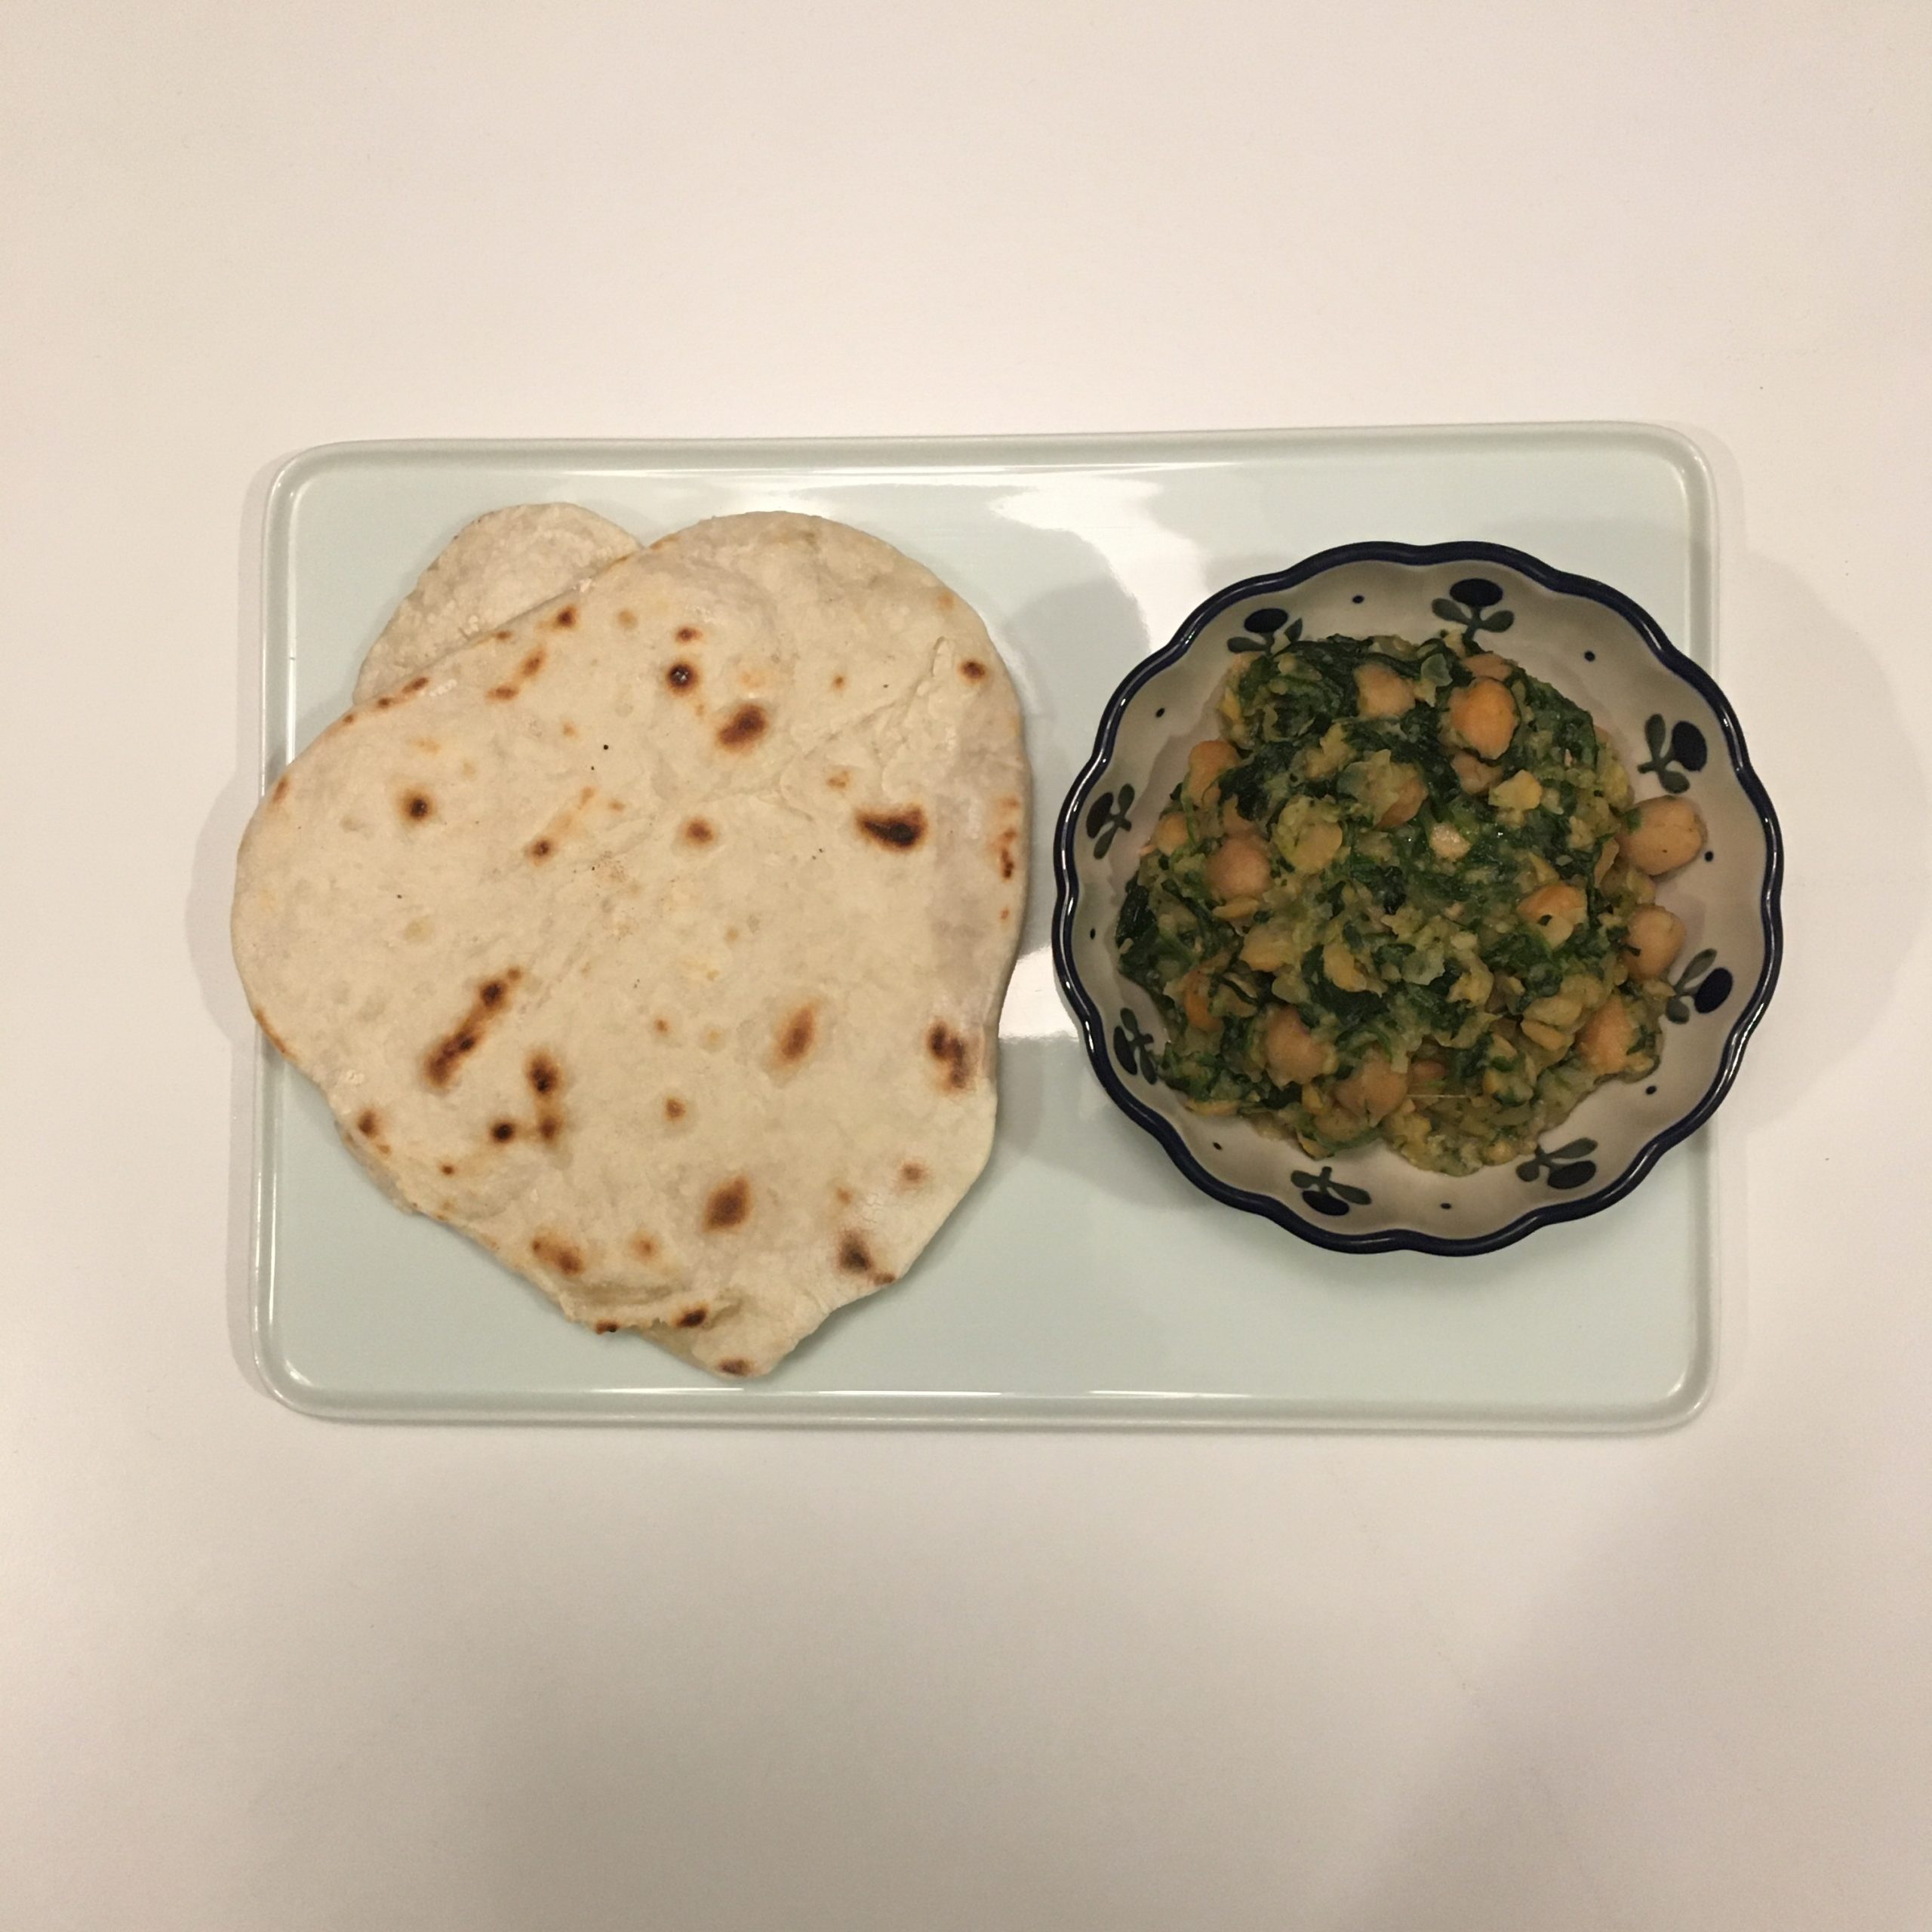
Some days are just like these… you have an idea in mind and it just doesn’t get away… it sticks in your head and even though work is busy the idea keeps lingering until satisfied. This is exactly what happened with this giant bundle of leek I had sitting on the kitchen table. I pictured them nicely cooked and golden and set on a dough… but what kind of dough??? A puff pastry would have been good but then that would postpone eating the leeks… a pizza dough would be the same… a regular sable or short crust pastry would be too crispy…
That’s when I remembered about a leftover of brown rice I had. And I love brown rice dough. It gives texture and a delicious flavor. But that still wouldn’t make it soft as a pizza dough. No problem, I added a bit of baking powder, resulting in a new texture for the dough rolled 2mm thin. The rice gave a granular texture as plan, the baking powder a fluffy one as plan too. This totally improvised recipe was a total hit! And we were so curious about trying it that I didn’t even took a good shot of it! 🙁 but I surely will make some again soon, before the leeks are gone for good, because spring is just around the corner. The red plum tree is in full blossom and the other plum trees are in full bud ready to burst at anytime now!
Leek tart (4 servings)
1cup of brown rice, cooked
100g of flour
4tbsp of oil (or butter)
a bit of water
1tsp of baling powder
Salt and pepper
5 large leeks
Attention the brown rice needs to be cooked prior to starting the recipe!!!
Wash and cut in strips the leeks. In a pan grease cook then at low heat until soft and golden. If you want to make the process a bit faster add a bit of water now and then.
While the leeks are cooking, pre-heat your oven to 200deg, and in a bowl mix the flour, oil, brown rice. Add the baking powder and a bit of water. Knead until the down is homogeneous. You can water if you fill it is too stiff. Roll the dough to the shape you want about 2-3mm thick. Top with the golden leaks, and set in the oven for 15-20min. Enjoy!
I am not good at welcoming new years… Probably because it is too close to my birthday, and I just myself turned one more year and still try to understand what it means… also we celebrate more personal events than any other: birthdays, anniversaries… For many it is a time to look back at achievements and look forward to goals. I have no regrets , and as long as I can remember I never made a good resolutions list. I have no bucket list, nor list of things I want to fix in my life, bad habits I need to get rid of, diets I need to start, addictions I need to quit or things I could do better. Not that I am perfect of course not, but I don’t make lists. Usually when I need to do something I just do it and organize myself to stick to it! January 1st wouldn’t be the time I would particularly change and set goals for myself. So the welcoming of the new year is not so important for me. And for the past 17 years we’ve spent a lot of the new year eves either in a plane or with a big jet lag in the countryside, when it is cold and we usually go early to bed and wake up early too. Though I like the Japanese celebration of new year at a nearby temple or shrine for the festive simplicity of hatsumode 初詣, the first visit of the year to a shrine or temple, and have nice memories of so many spent with friends or family in so many different places in Japan they are also often memories of hours in the cold, waiting in crowded lines for the time to arrive, with bonfire to warm us once in a while. So we now often skip the midnight visit and go later in the day, when it’s less crowded.
Even though we don’t celebrate much, I prepare a nice dinner (as I do every day ;)) and we spend a quiet evening together, as we always do. Nothing fancy… and I like it that way very much.
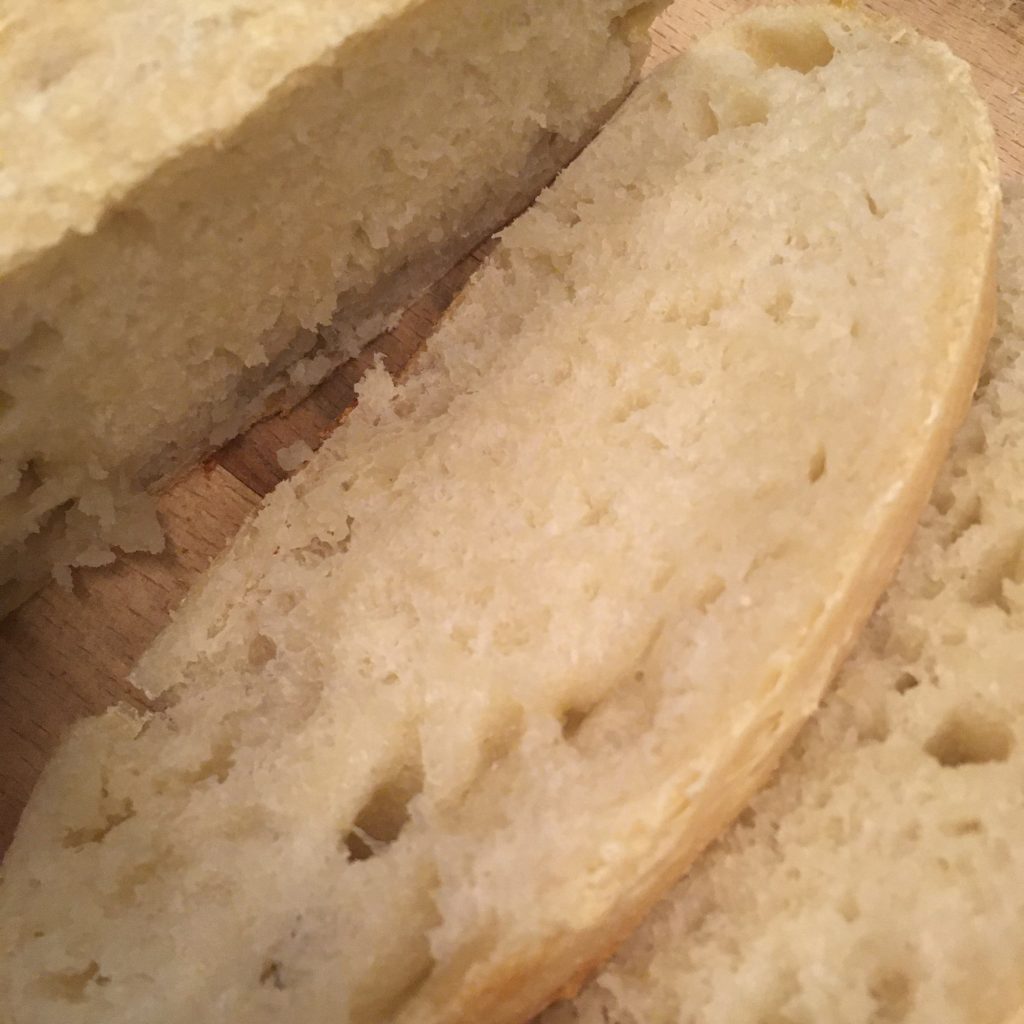
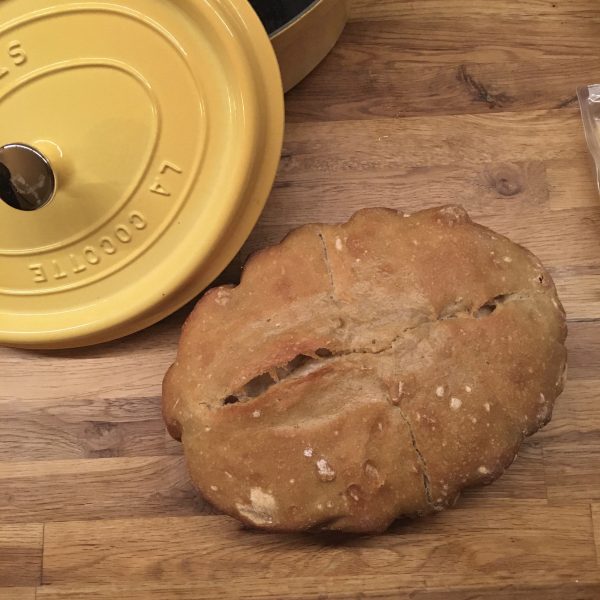
This year is just the same. At the time I write, everything is quiet outside, though the shrine is all lit up to welcome a few visitors during the night. A. is fast asleep, I am struggling to keep an eye open. We will wake up when the day breaks tomorrow. It will be cold and sunny. I have already baked the bread for our breakfast as I tested a new (to me) baking method using a cast iron pot, which has helped me understand why my breads are often too pale. I have an issue with moisture when I bake them. The cast iron pot just solved the problem and I finally could bake a golden bread, with a crust crunchy outside and well balanced crumbs.
So now I can sleep tight, wish you a good end of the year and see you in 2022!
A few weeks ago I started to think about how much I love the French gingerbread called pain d’épices, that I don’t recall seeing any in Japan and that I never made some… It is heavy in the hand, yet light when eaten, with a beautiful golden color and flavors and aromas that sparkle in the mouth, and the texture is a very melting one. One of my favorite pain d’ épices of all time is that of my horse ridding teacher. She has a gift not only for gardening but also for cooking sweets. In summer during intensive training camps, she would bake while we would play around with the horses, and make fruits charlottes with the fruits from the orchard. In the fall or winter she would make pain d’épices. I was so found of it that I remember asking her the recipe, and she told me she just mixes 1kg of flour with 1kg of honey. I was probably 12 when I asked but I still remember this recipe because it didn’t make sense for me at the time, honey and flour, that’s it, really??? and I never tried, too scared of wasting 1kg of honey!
But when I started to look at how to make pain d’épices how surprised was I to see that, this is indeed the recipe for classic pain d’épices from Reims. What I didn’t know then was that the mix, with spices added, should be kept days or weeks to start the fermentation that will guarantee the fluffiness. Last year I would probably have been very skeptical trying such an attempt, as I was not very sure how all this fermentation worked, but since I made my sourdough Lois I feel a lot more confident to do flour base fermentation. Finally, last week I decided to start the experiment and prepared a mix of 600g of flour and 600g of honey together, some said that adding the spices at that stage would increase the development of aromas, so I added them too. I left the preparation in a container under a lid the whole week at home (with the winter temperatures settling in, the house temperature is about 5 to 9 now, so no big risk of seeing things rotting, or mold developing!!!!) And today I just found my mixture, it hasn’t changed much but it is not looking bad at all so I prepared it and baked it. The result???
A perfect pain d’épices! The look, the color, the texture, the smell… Exactly as you would find on in France, a happy A. and a happy me, eaten it with a cup of Christmas tea at tea-time or for breakfast. We even used it for toasts with cheese for me and some pork paté for A. and we were very satisfied. The recipe is very simple and except for the one week wait it is very simple to make. Definitely a must do again one. This recipe is will become a new classic like my pompe a l’huile.
Pain d’ épices (1 big loaf or 2 smaller)
600g of flour
600g of pure honey (liquid is easier but creamy can work too)
1tsp of ground cardamom
1tsp of ground cloves
2tsp of cinnamon
1 ping pong size piece of fresh ginger, pealed, grated or chopped thinly (I use fresh ginger because it is easy to find and I just chopped it roughly but you may use ground ginger, then 1/2tsp should be good enough)
water
additional 1/2tsp of baking soda (if your rise time is short)
About 5days to two weeks before you want to bake your pain d’epices prepare the dough. For that, in a container with a lid mix the honey the flour and the spice. If your honey is really to creamy and hard too work you can melt it in a pan at very low heat to liquify it. Stir to incorporate all ingredients. I used a spatula to do that as the mix is way to sticky to put hands in. One everything is well incorporated put the lid on the container, and let rest for as long as you want, but at least a few days.
After a few days, the spices may have start to color the dough a bit but it may not have changed much otherwise. When you want to bake your pain d’epices, pre-heat your oven to 150deg, just add a little of tepid water to the mix to soften it and knead. The dough is sticky but not terribly sticky. If you think your rise time is rather short (just a few days), you may want to add a little of baking soda now, to ensure perfect fluffiness. Knead and add water to obtain a compact yet smooth dough. Using parchment paper set in a cake dish or split in two and make two, or more. And bake for about 2h if you make a big one (check with a knife or stick if the dough is well cooked inside), for 2 smaller, about 1h should be enough.
I made a very large one and baked about 2h at 150deg, but wasn’t sure it was perfectly baked so I finished with 10 min at 180deg just to be sure. Let cool down before cutting and eating.
Pain d’epices normally keeps well, this is tone he purpose of the original recipe. But in our house, we didn’t had time to see how long it can keep!!! We’ve eaten it in a snap!!!
Look at this beautiful color and perfectly dense but bubbly texture!!!
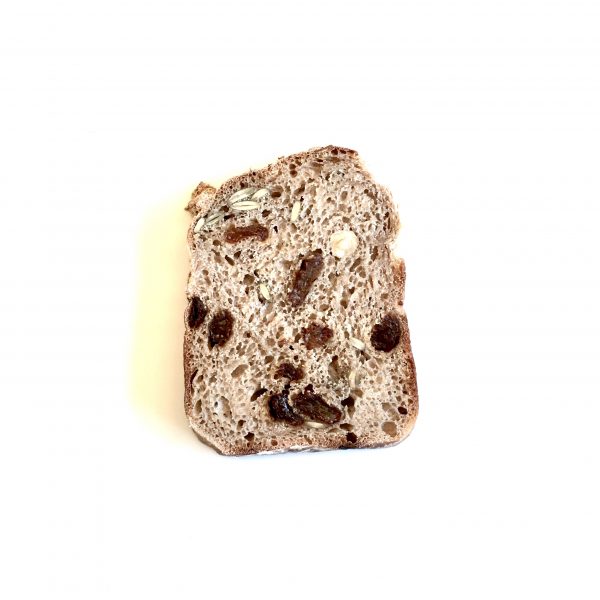
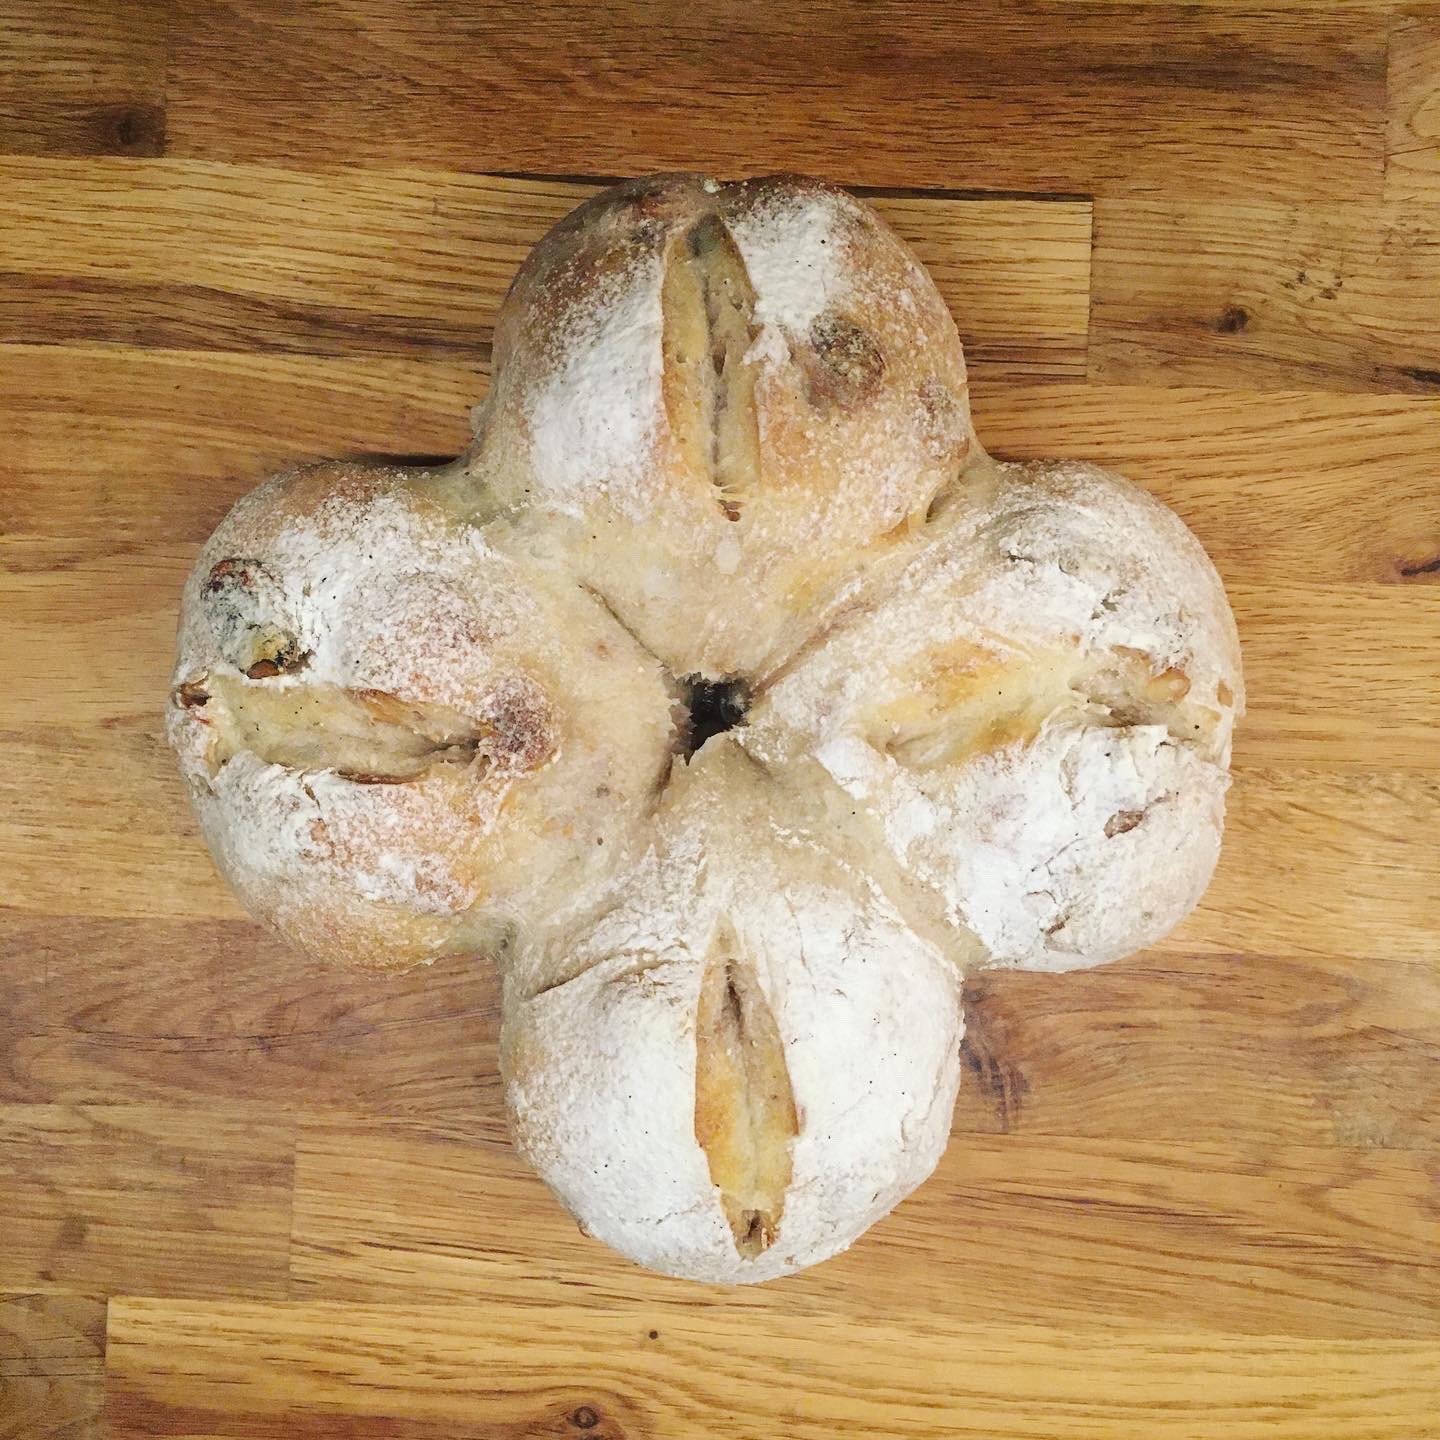
Having a nice loaf of bread waiting for you for breakfast is one of the many reasons I started making bread. Controlling what is inside and where ingredients come from is also as much important. I have had a hard time finding nice flour, I started with using flour I would bring back from France and shifted to Japanese flour, but honestly finding organic or chemical free local flour has been quite a challenge. And when I finally found it (アオヤギ製粉), discussing with the owner to see if they provide me with whole wheat flour, he told me there will be no harvest for the next 3 years because they need to replace some of their equipment… huge deception… so I order pretty much all their stock to support them (hoping it would enable them to fix their equipment faster) and be sure I would have enough for a year (that’s how long I think I can keep it in the Japanese weather). But I am pretty sure I won’t, now that I realized I use about 5kg of flour per month!!!! So I have turned back to the more commercial organic flour I’ve been finding at the supermarket, made in Japan but sold in tiny 500g bags (and this is the big size, the normal being 300g!!!). But at least there is some whole wheat flour which makes me happy. Indeed one of my favorite bread is pumpernickel and the other is a rich whole wheat bread with nuts, seeds, raisins etc… very dense, energetic and delicious! It reminds me some of the breads we often had at home, toasted with butter. So let me share my recipe.
Some of my flour stock… 20kg of flour is basically 4 months of bread making and pasta, quiche, scones, crepes…
Energy packed bread
500g of whole wheat flour
10g of salt
150g of sourdough
30g of brown sugar
70g of sultanas
70g of whole hazelnut
30g of pumpkin seeds
You can add more but I like it that way….
Water
In a large bowl mix together the flour, the sourdough, the salt and sugar. Add water as needed when kneading to obtain a soft slightly wet dough. Then add the nuts, seeds, sultanas. Knead to obtain an homogeneous mixture. Leave to rest for 6 to 24h depending on temperatures. After it has grown, shape it and leave again for another 2-3h. Bake 30 min at 230deg.
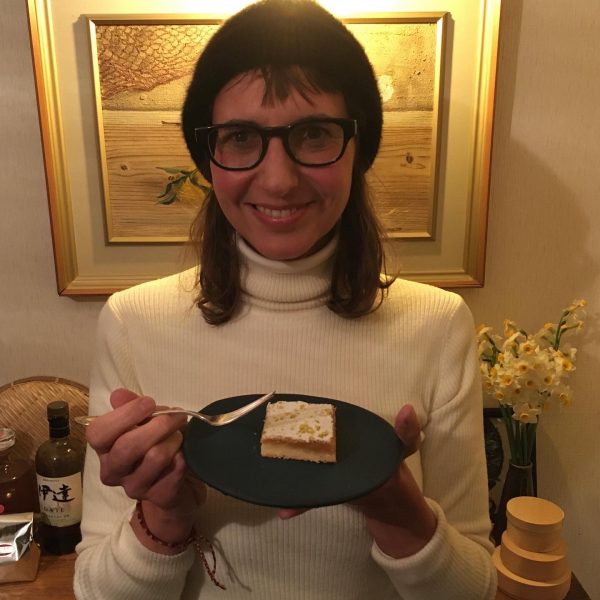
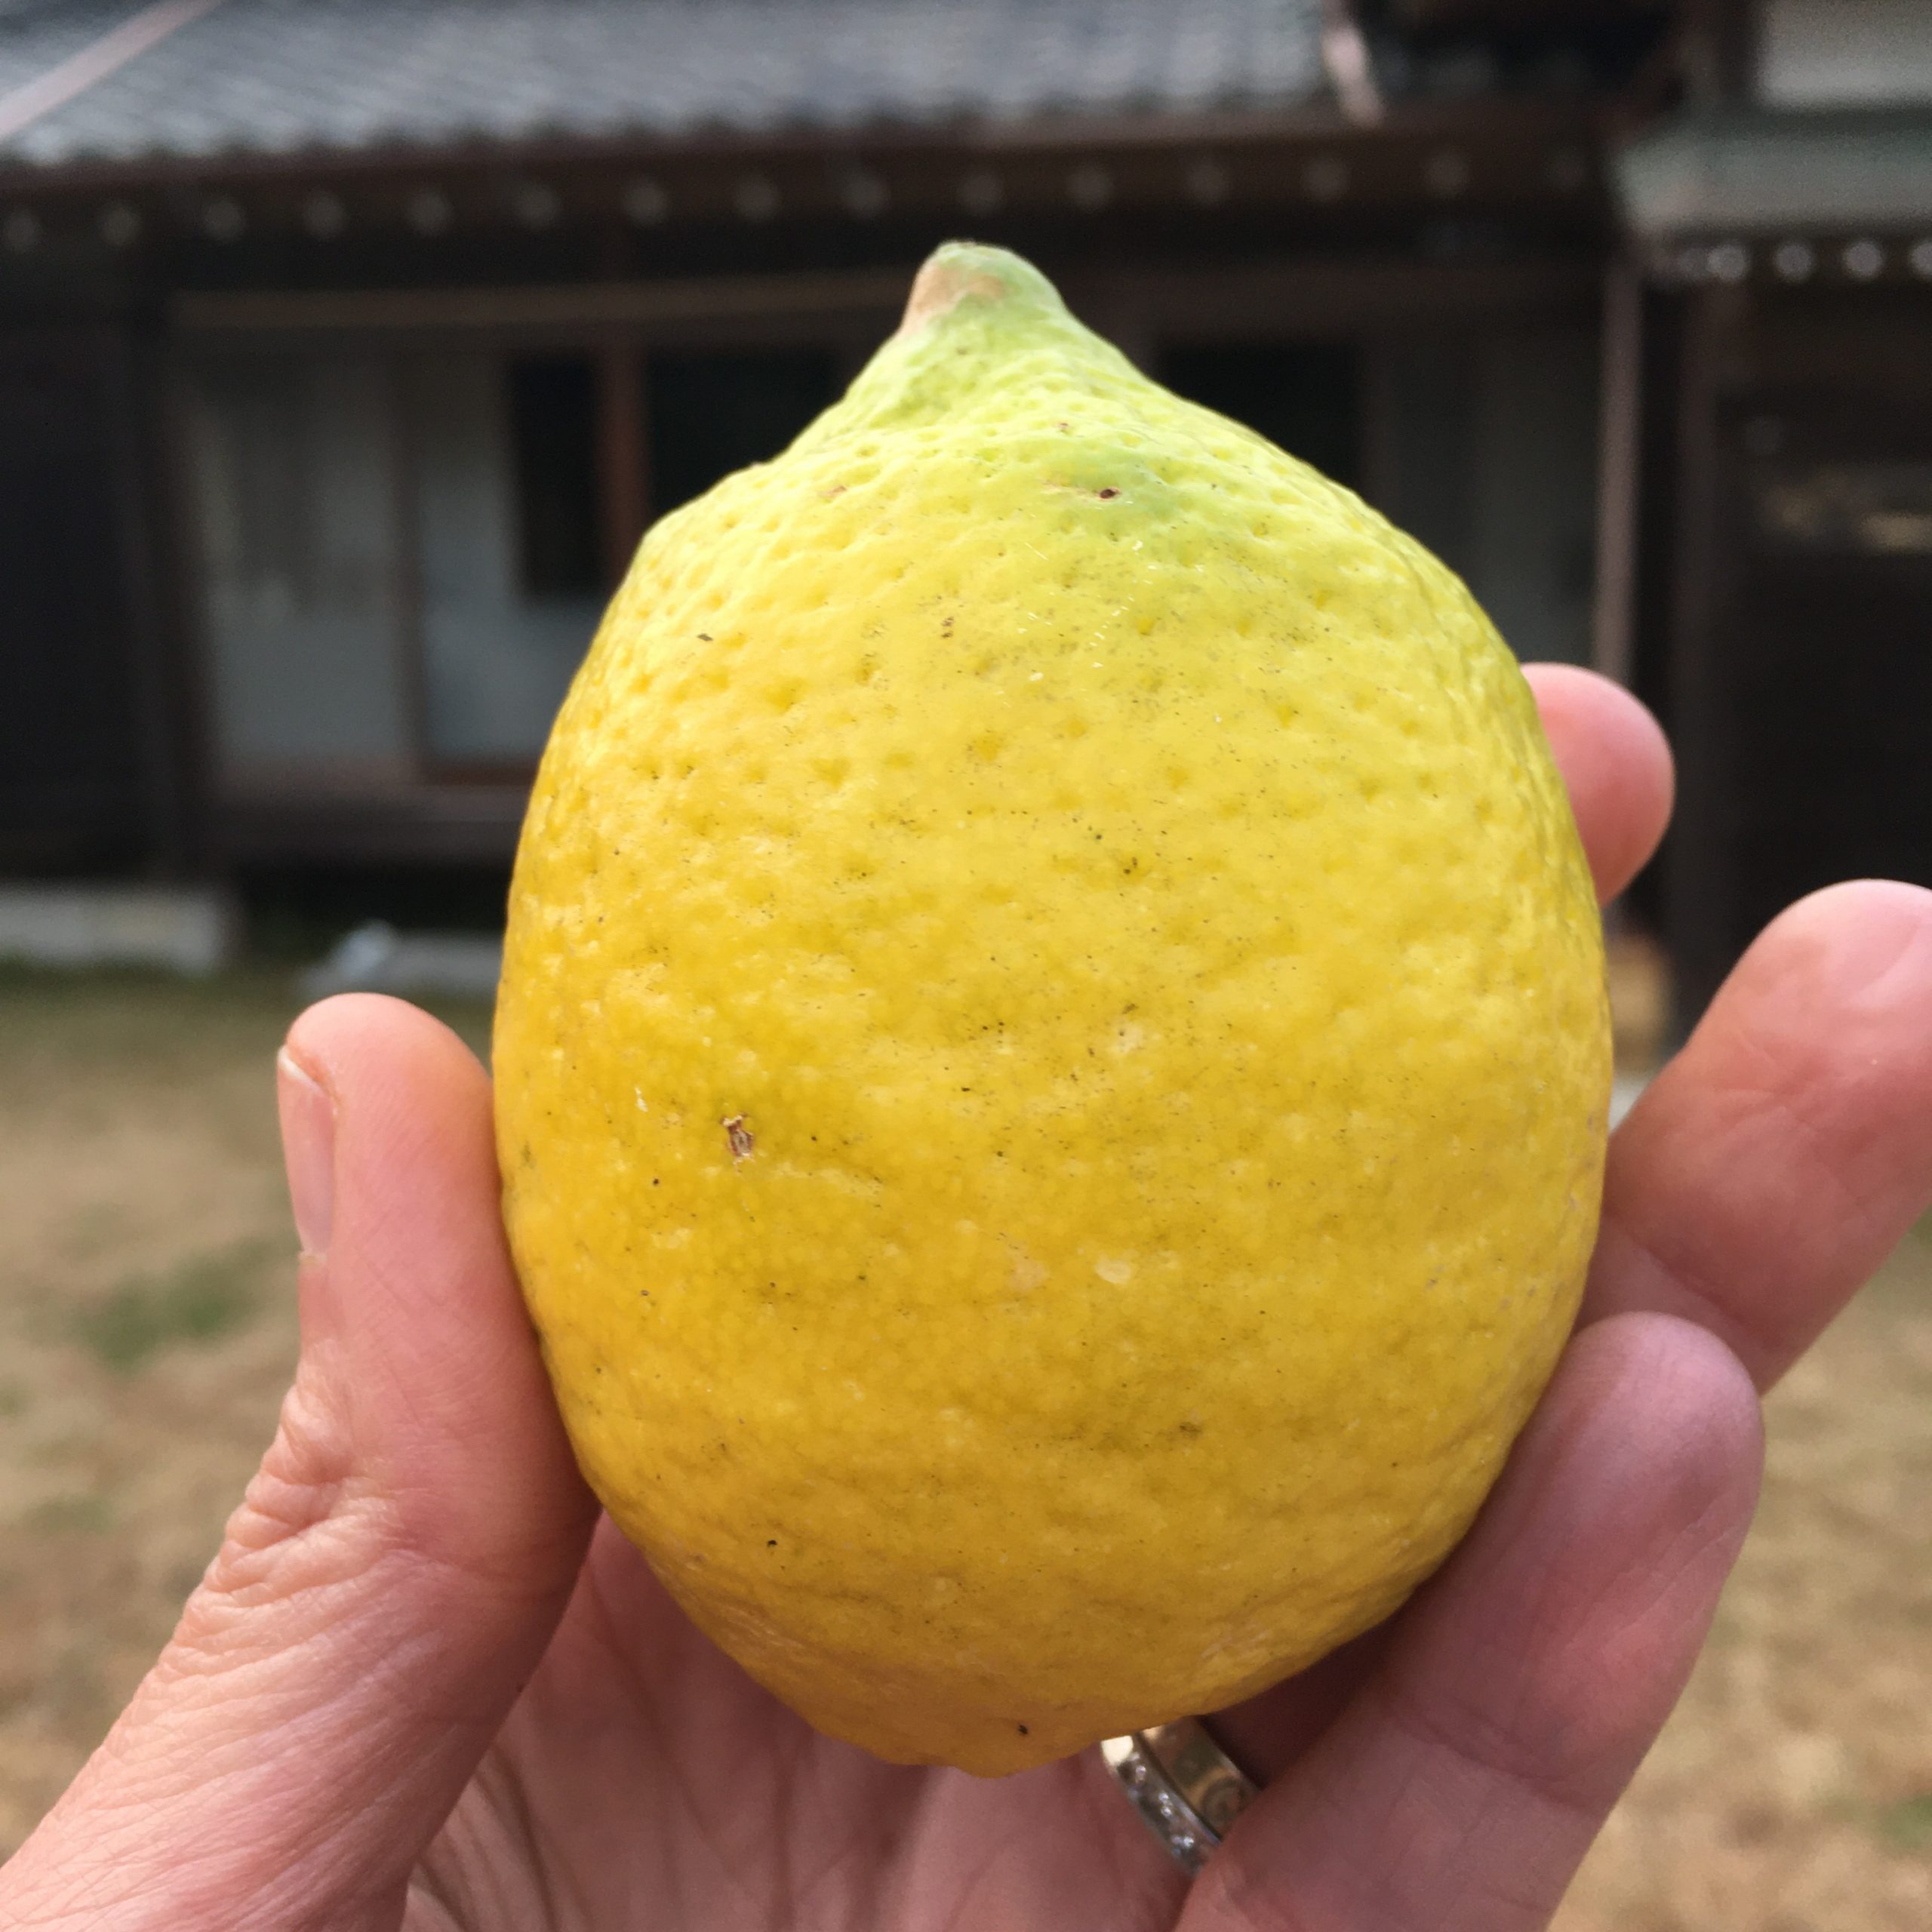
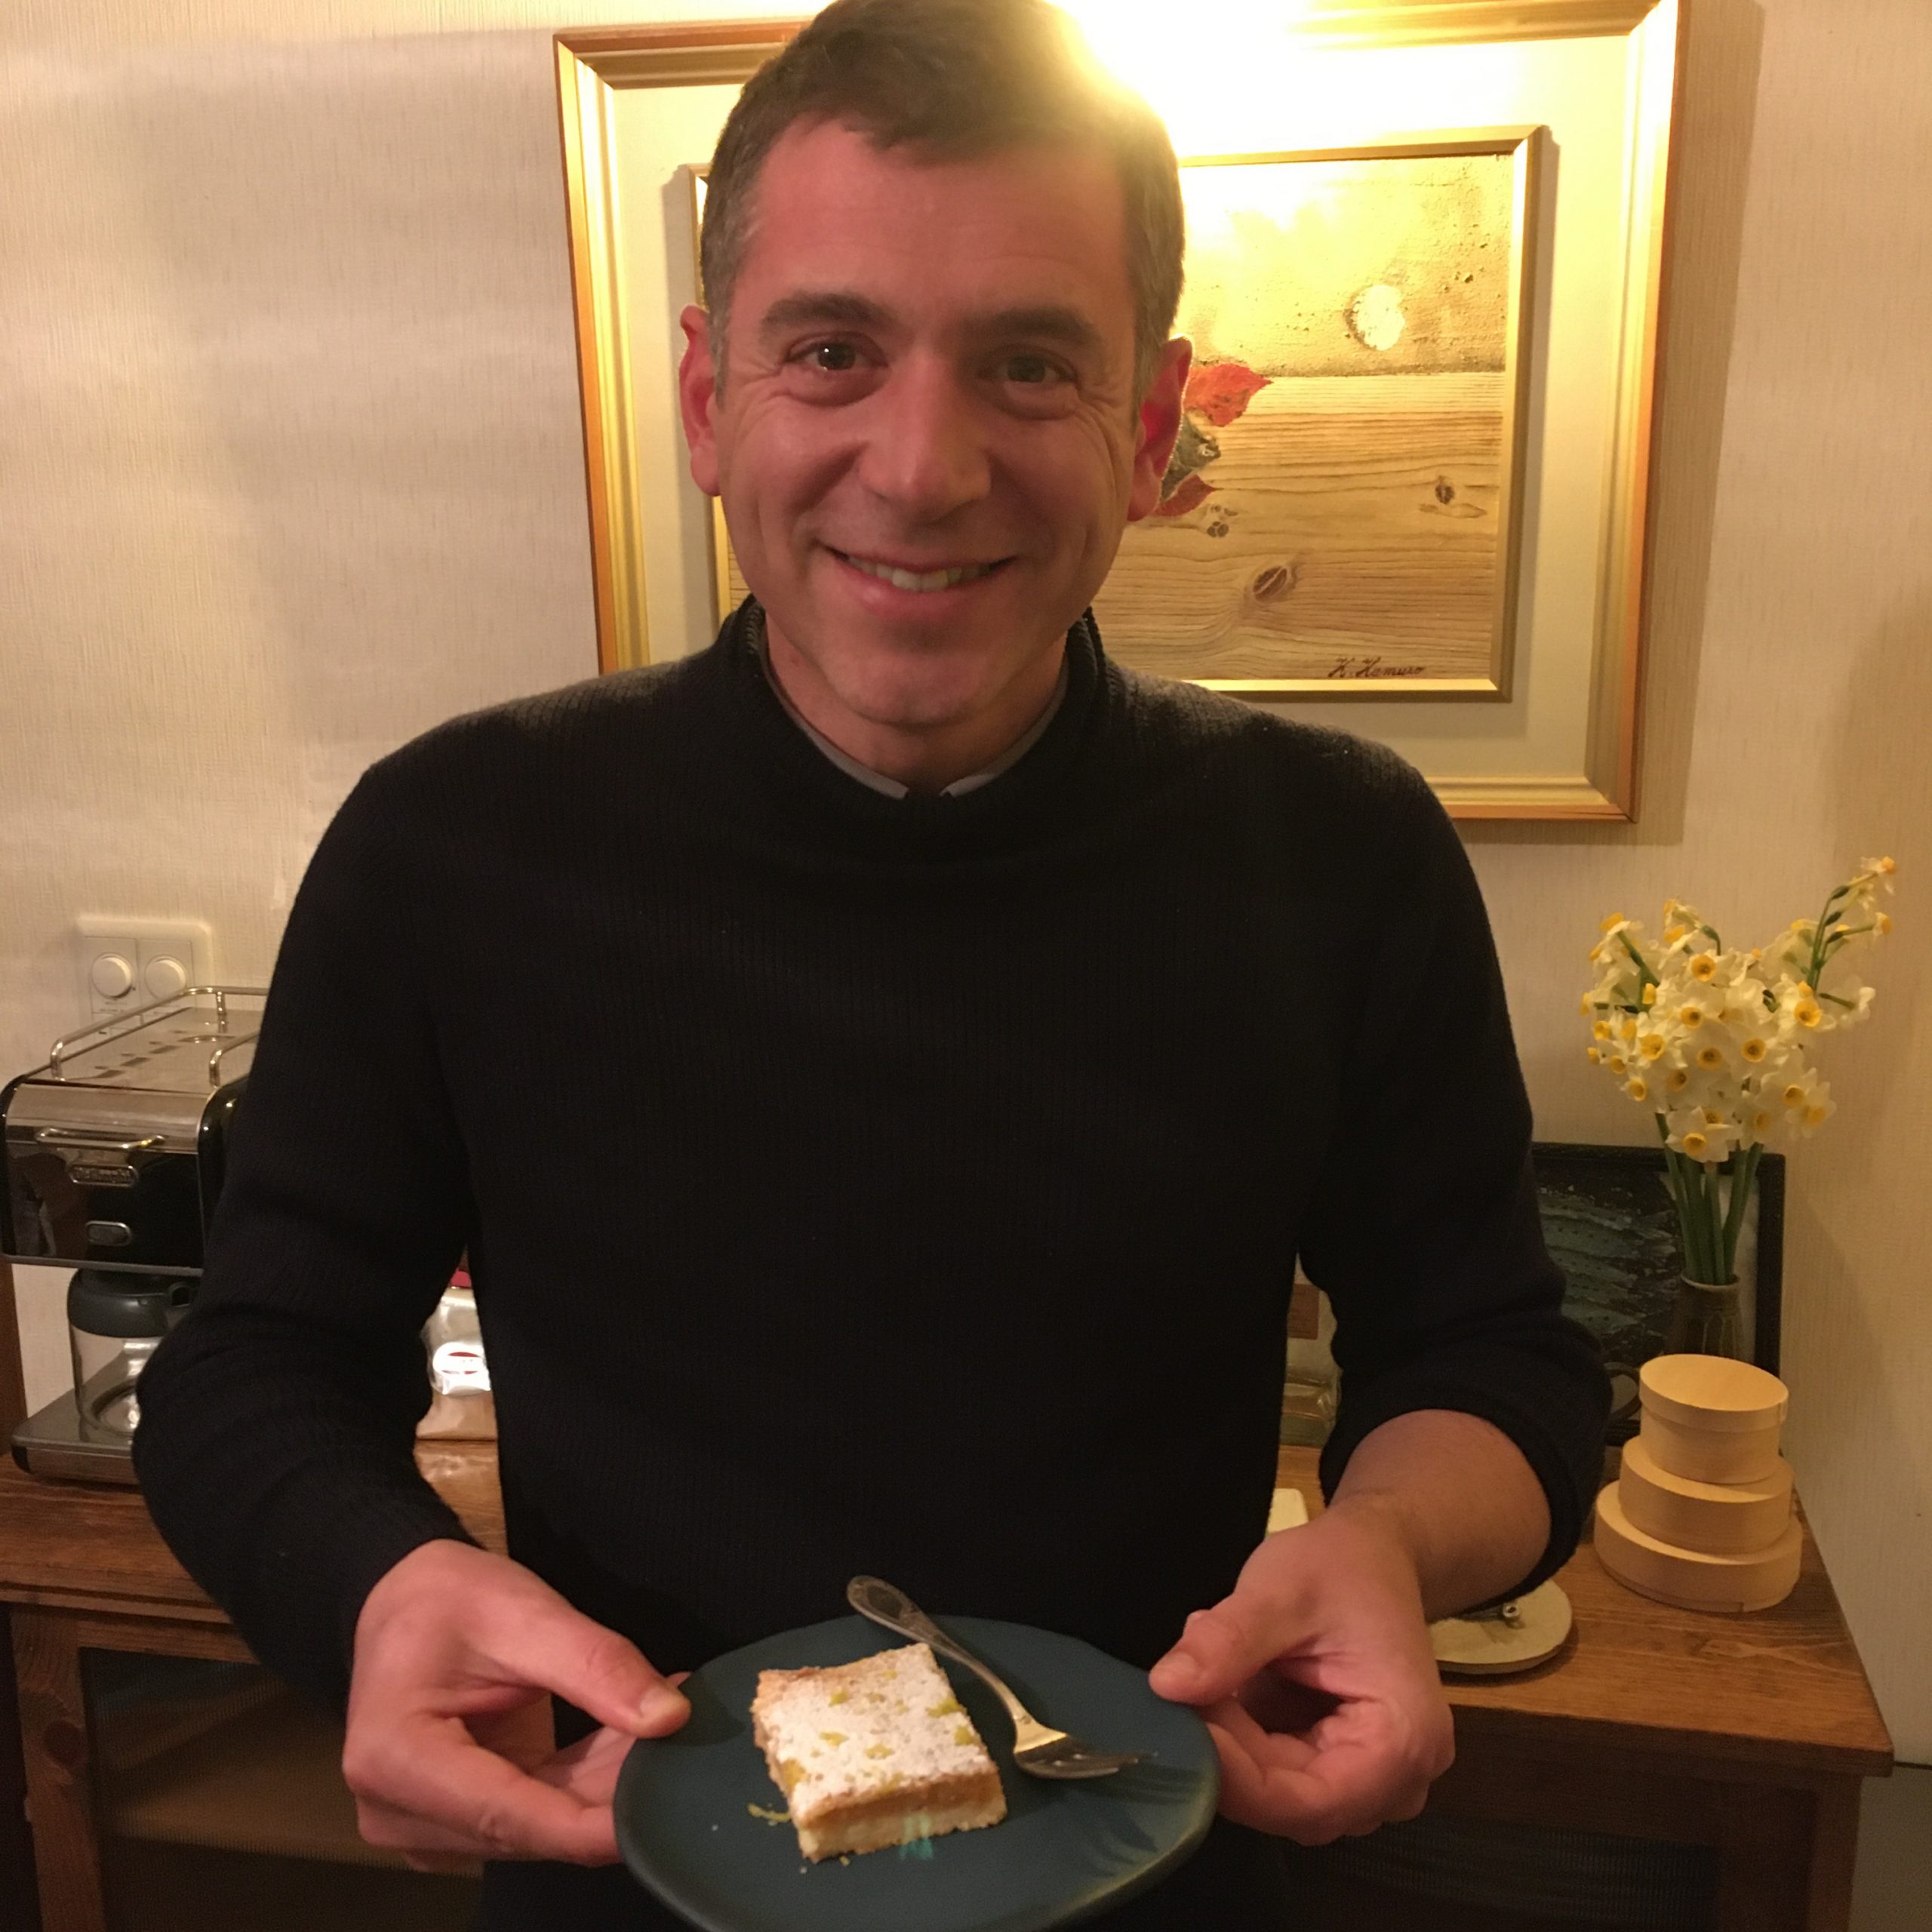
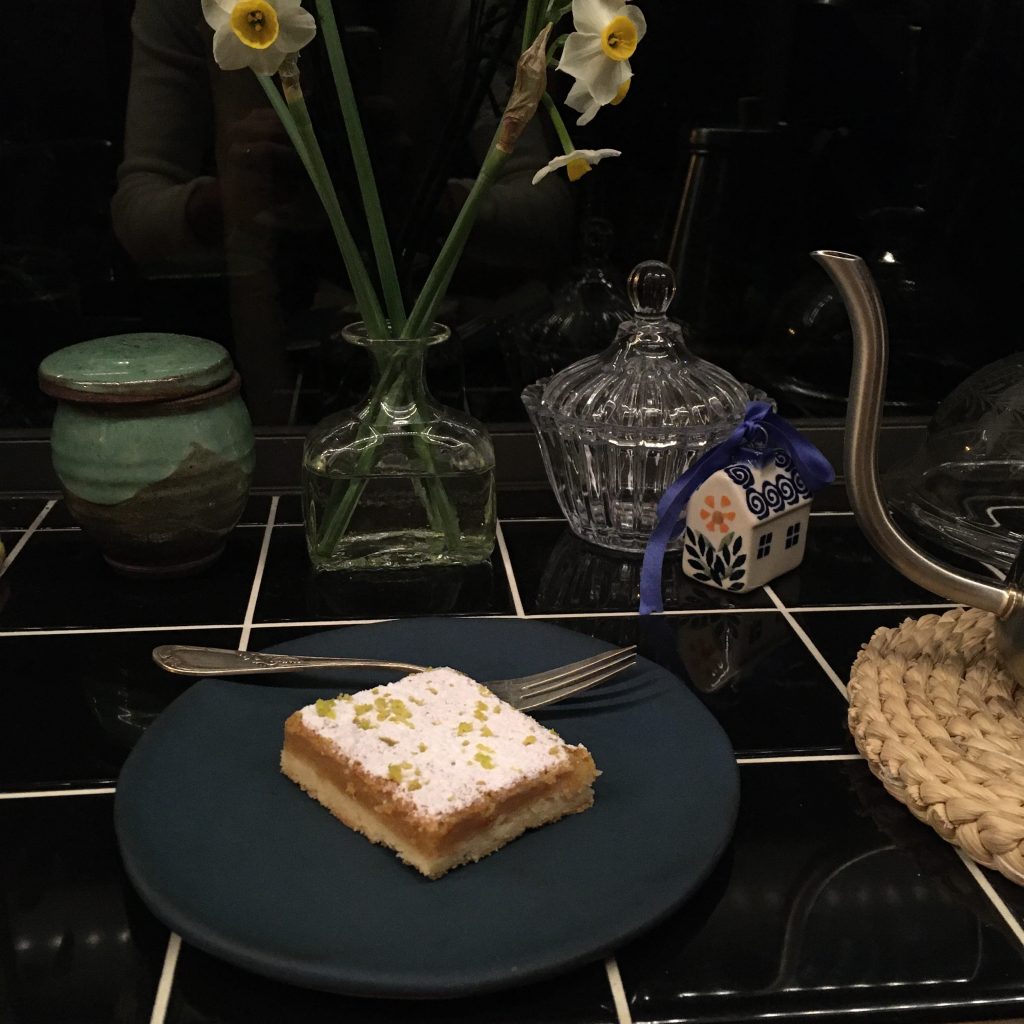
It’s a kind of rule at home that A. cooks only when I am too sick to cook, which happens every 5-10 years or so, and for my birthday tea-time. I would select a cake and he would make it, usually with a little help of my mother when we are together at this time, or with mine when that’s the only help he can get. My favorite birthday cakes involve usually fruits: apples 🍎 or lemons 🍋. This year our lemon tree gave only one lemon, which we preciously watched growing and yellowing until we could harvest it just for my birthday. A recipe that would use the whole fruit was my target, and I have seen many but never tried lemon squares so I opted for it. Difficulty minimum, preparation quick enough for A. to get through it. The basic idea of the recipe comes from this french website, with a few adjustments made on the spot as we were not satisfied with it. So here is my version of it. For those who have never had lemon squares (like me until yesterday, as it hasn’t really made its way to Japan) or seen any (they are everywhere so I hardly can believe it!!!), they consist on a sweet sable dough topped with a kind on custard made with the whole eggs. So it’s kind of close to a lemon tart but a lot easier to make… maybe it could be called lazy lemon tart.
Lemon squares (9 large squares, 16 medium)
1 lemon
100g of brown sugar
150g+40g of flour
125g of butter at room temperature is easier
2 eggs
40g of icing sugar plus a bit to sprinkle for finishing
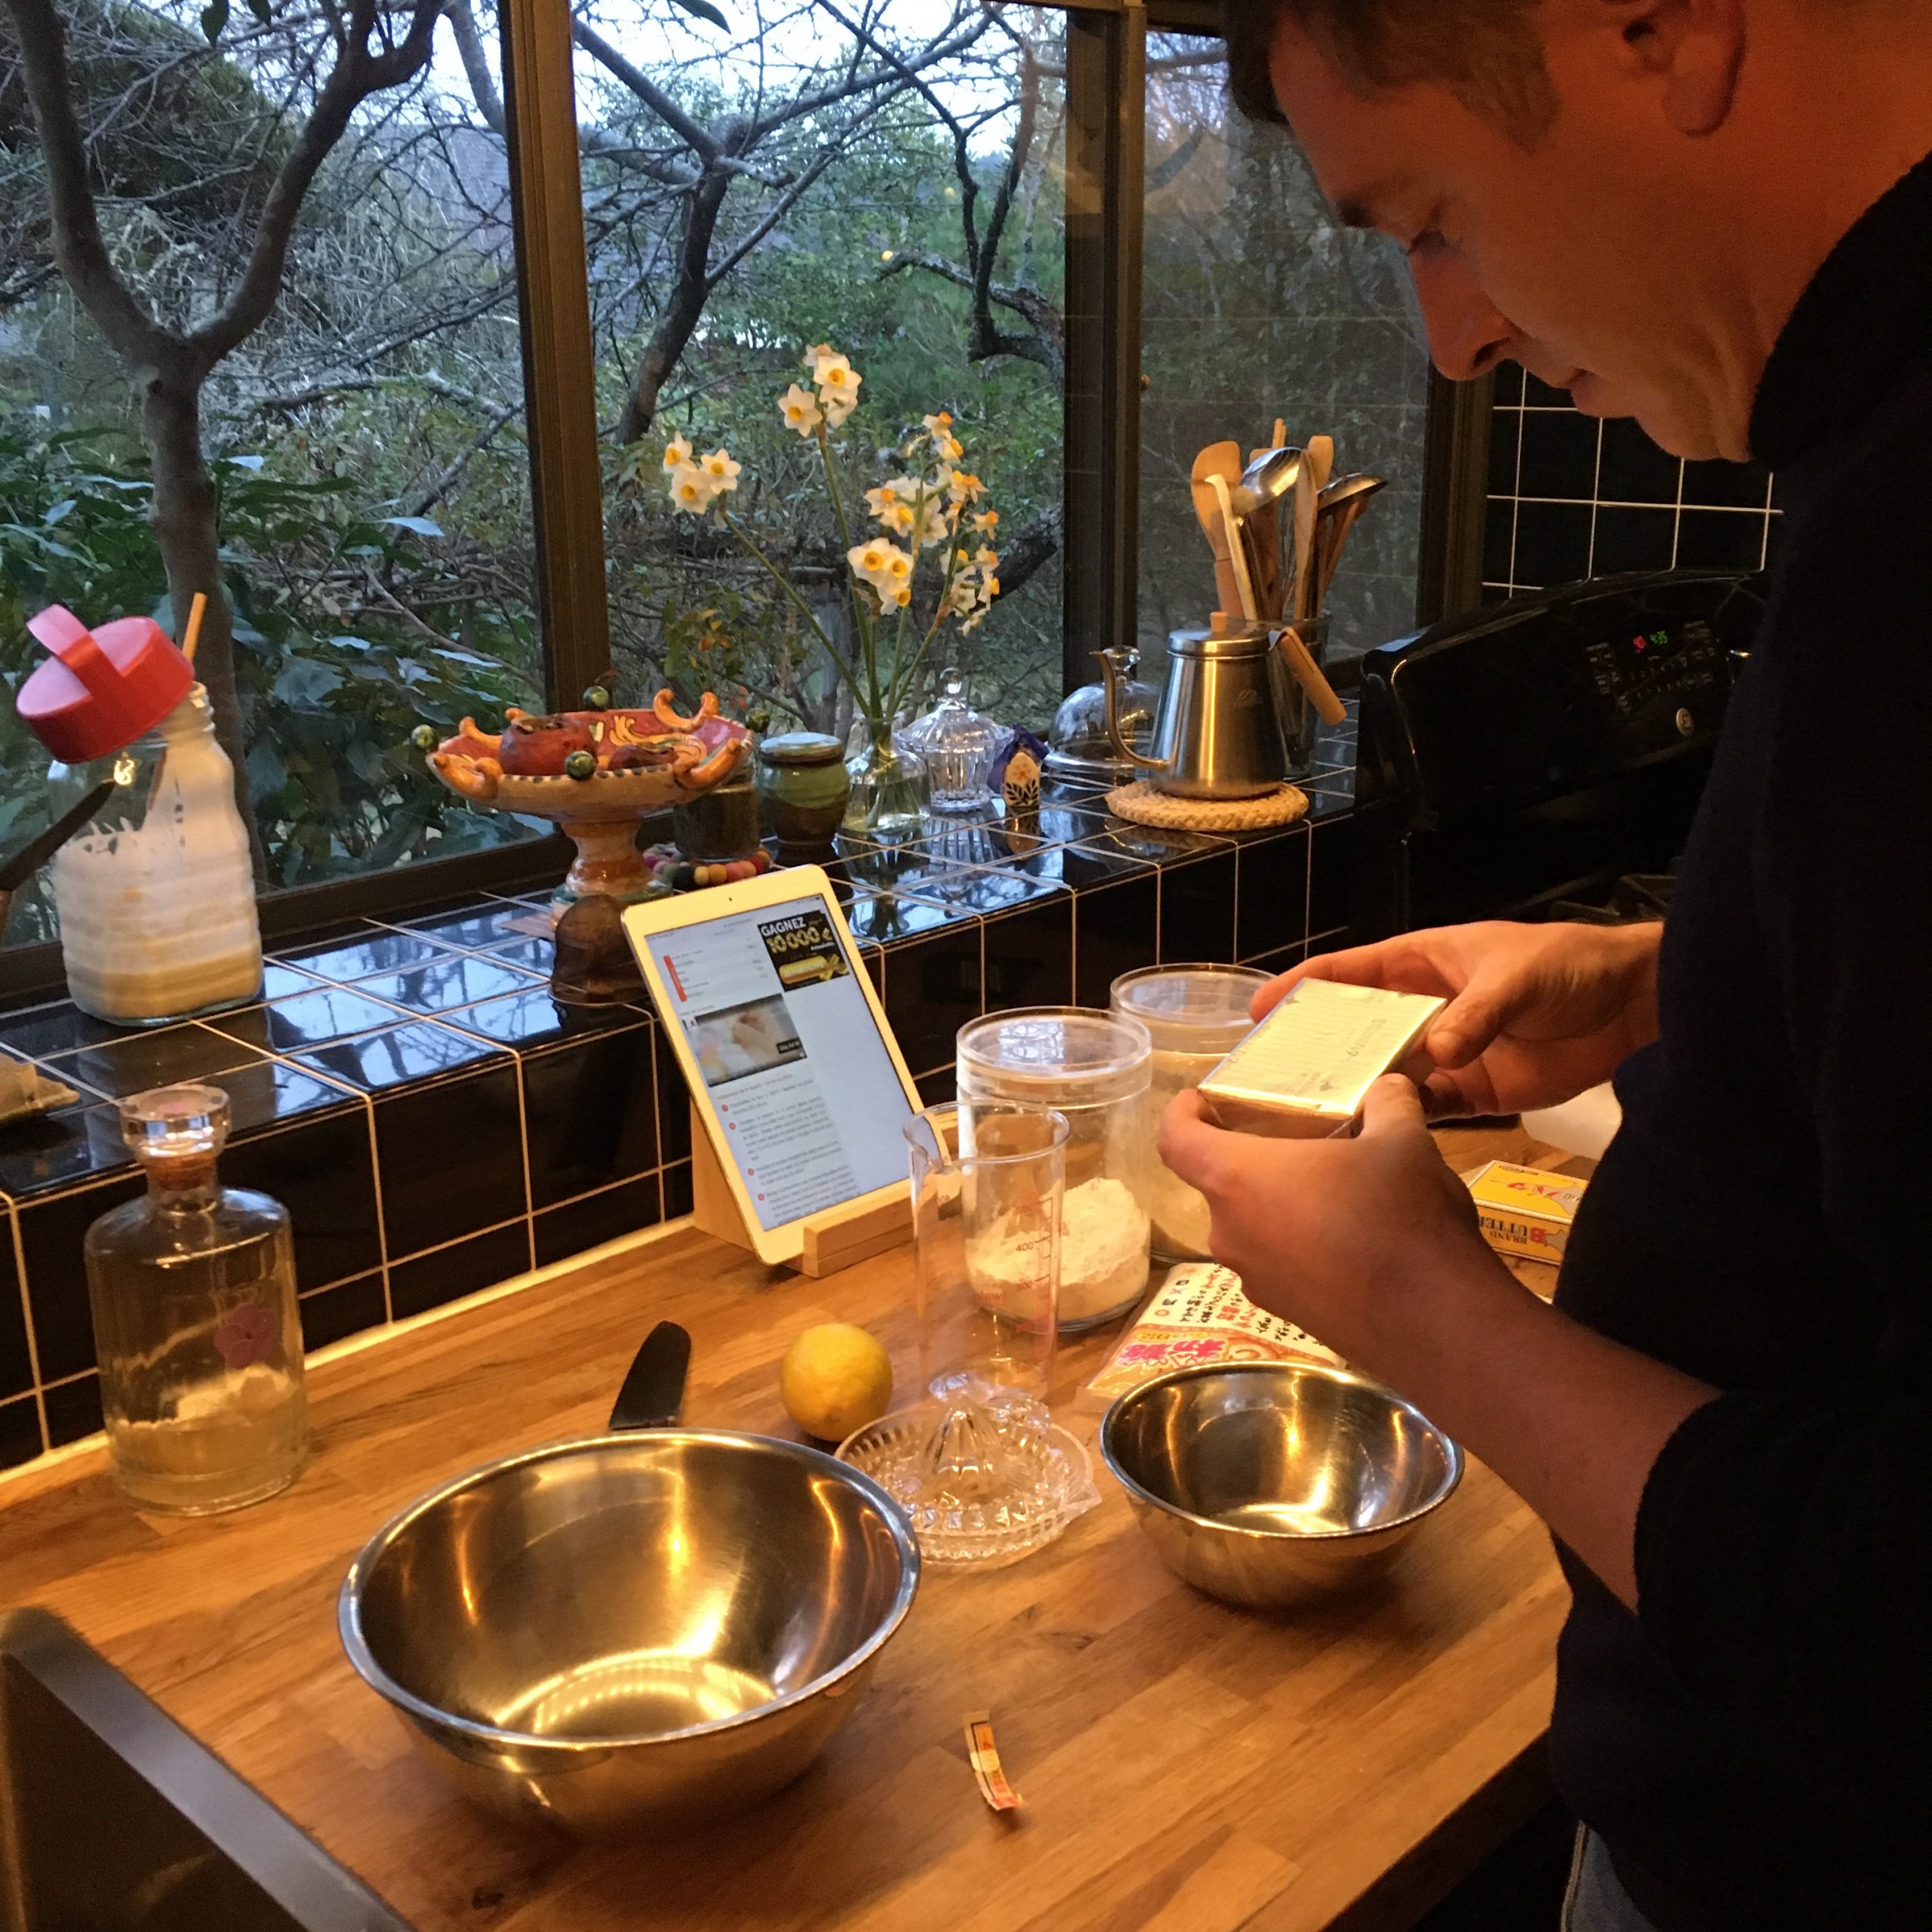
First task is to prepare the sable dough. Pre-heat the oven at 180 degrees. In a bowl put 150g of flour, the icing sugar and the butter and knead to obtain an homogeneous mix. It maybe rather sticky. Try making a bowl of it and move to a sheet of cooking paper 30cmx30cm. Gently squeeze flat and lay another similar sheet of cooking paper on top. Roll to a 25x25cm square and set on oven proof receptacle of that size (mine is Pyrex). If you don’t have a square oven dish of that size you can use a rectangle one. The sharper the edges the nicer the cuts will be. Bake in the oven until it starts to slightly become golden. It should take 15-20min.
While the first layer is baking prepare the second one. Take the zest of the lemon, the juice. In a bowl beat the eggs and the sugar, add the lemon zest (keep just a bit for decor )and juice, the 40g of flour and stir well. As soon as the first layer is baked, take out the oven, add the second layer evenly and bake for 18min or so. If you overcook it’s going to be dry, undercooked it will be hard to have clean cuts.
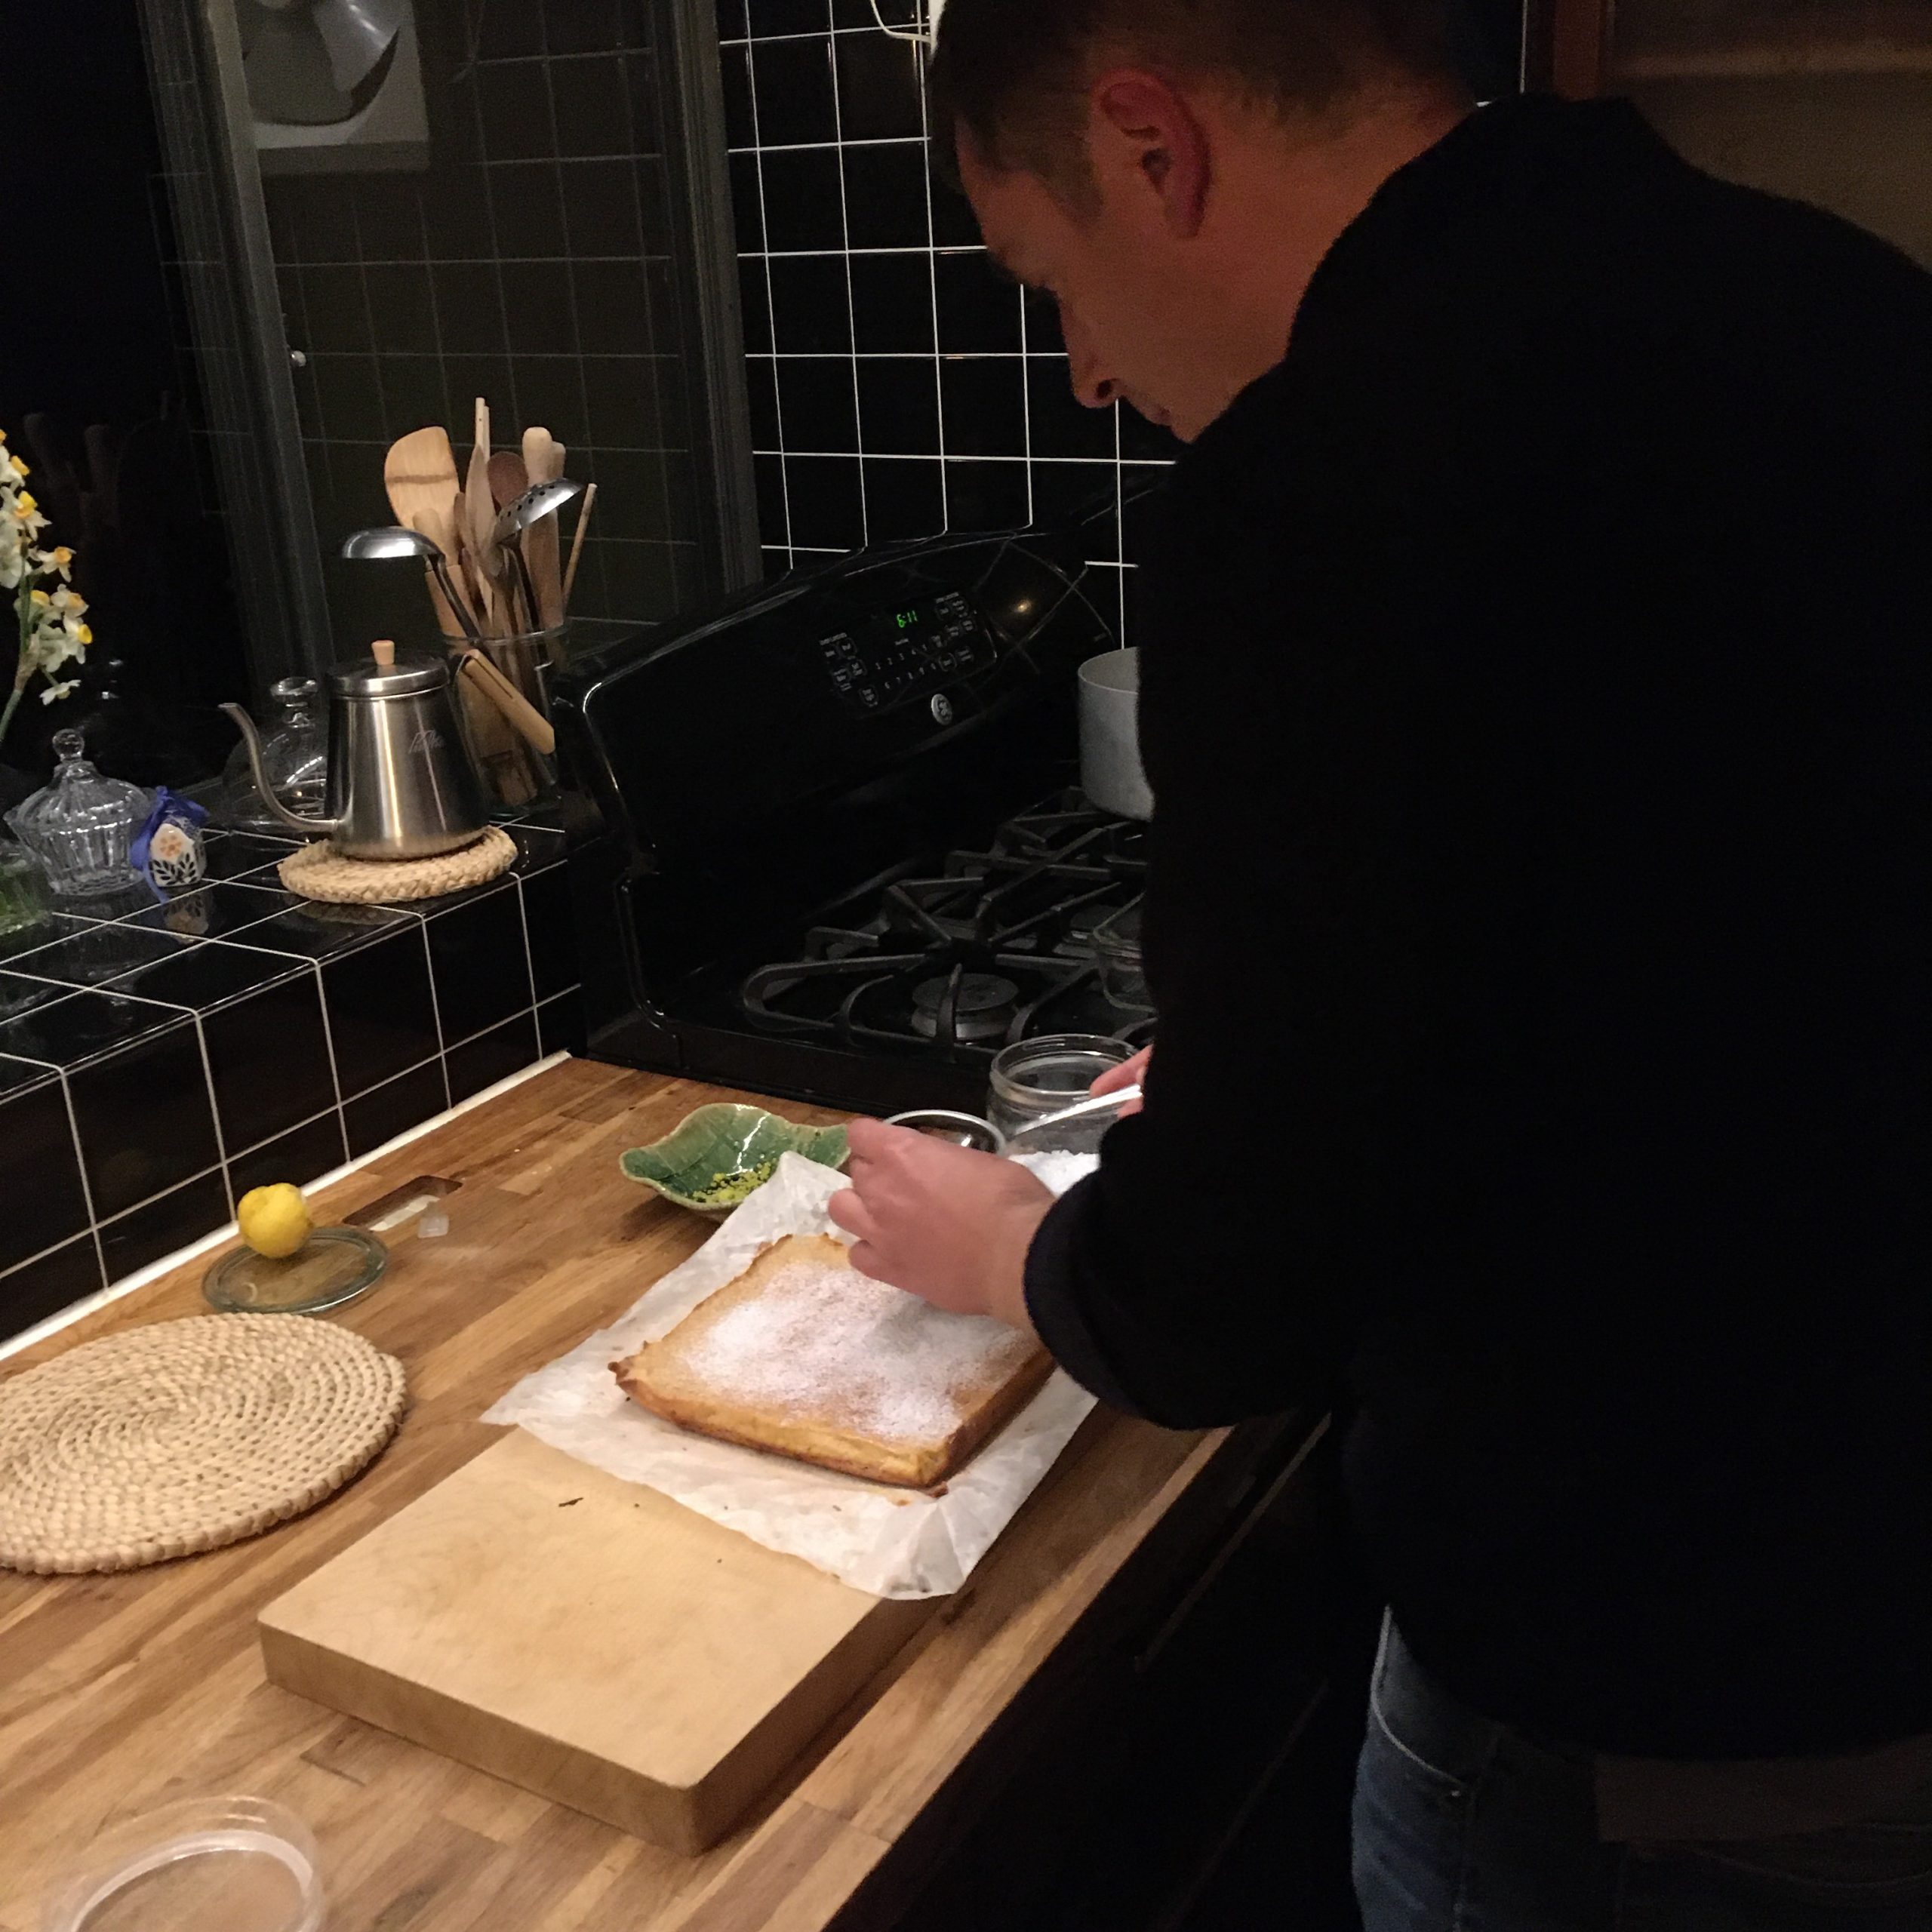
Wait until it has cooled down to move to a cutting board, sprinkle with icing sugar and a few zests, and cut to squares the size you like. Enjoy!!!
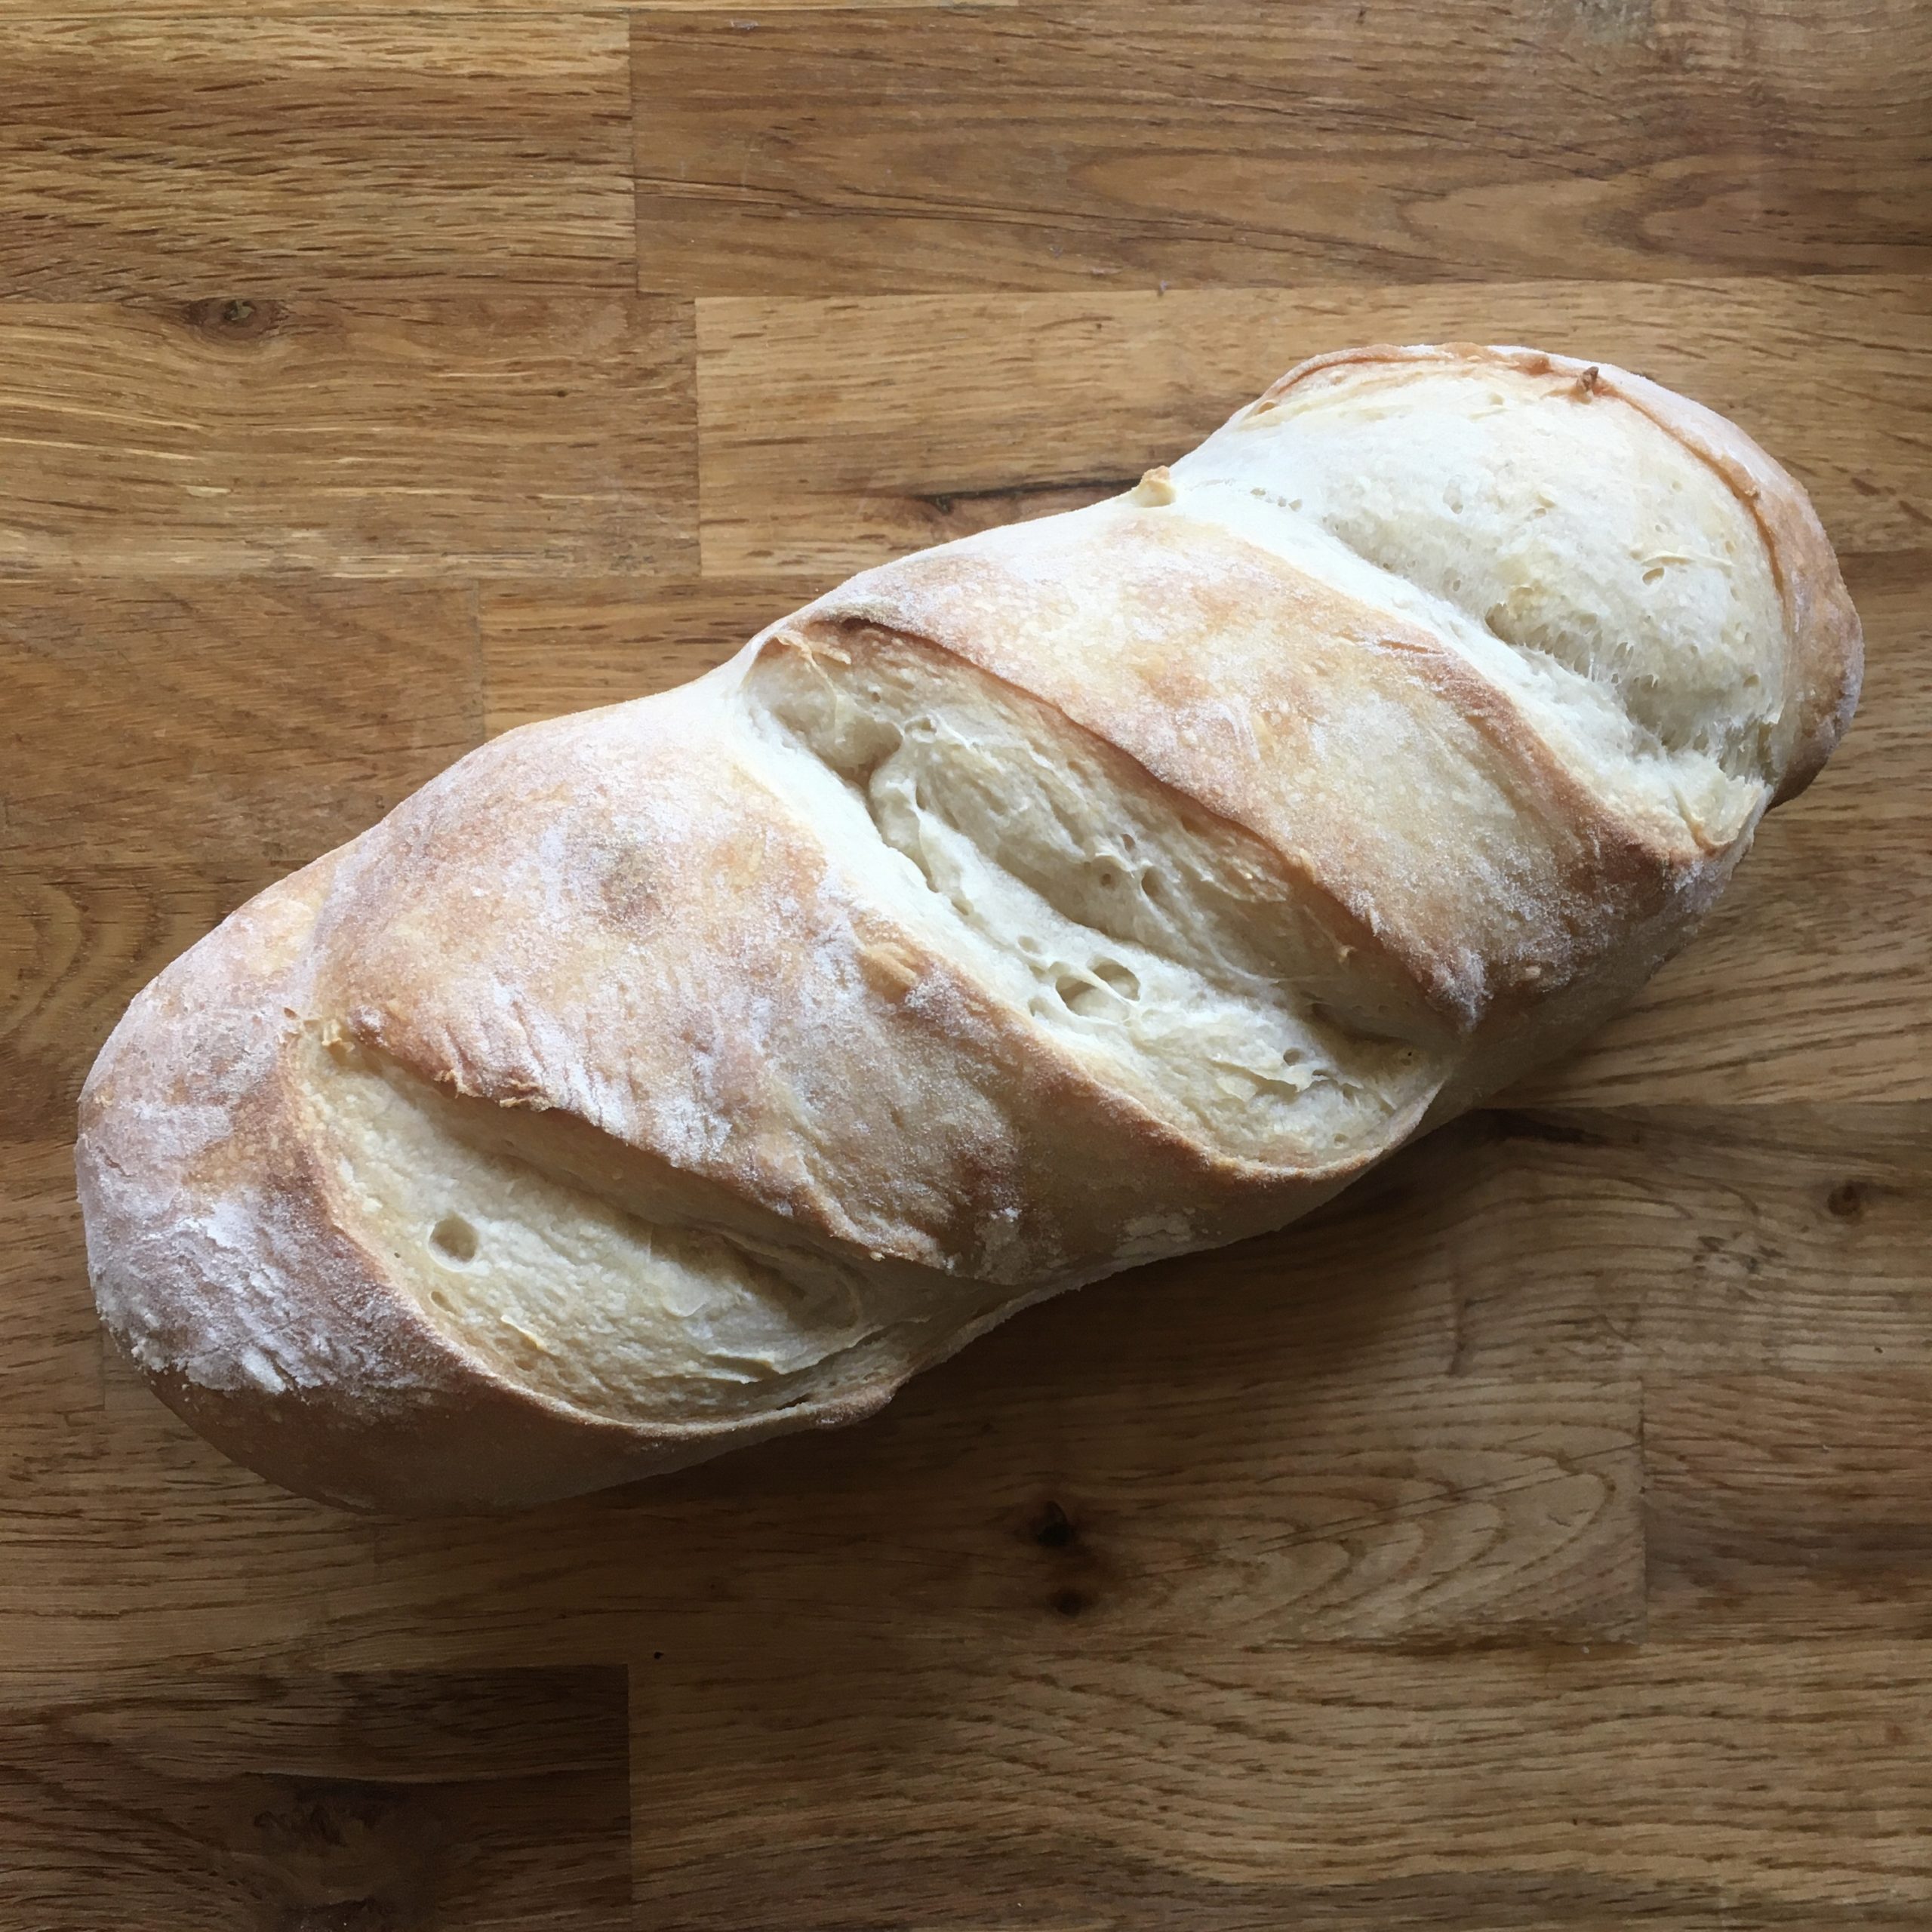
After the slightly difficult beginnings with my sourdough starter Lois, it’s been almost 2months and we have reached a nice cruising speed, I use it all the time now. I’m still a bit surprised that my starter hasn’t done any crazy bubbling so far, on the contrary, it’s been behaving very very well, doing regular foaming but to a reasonable volume, and when in need for food it smells a nice apple flavour.
Cooking bread with my sourdough starter at first was quite tedious, with the impression of starting from the scratch, in particular, I had to relearn how the proving and rising worked, cooking at higher temperatures, with many of my first breads that just imploded when baking, ending up with big cracks on the bottom rather than on the top, or being too dense. I also needed a bit of adjustment with the flour I was using. I am still searching for a steady supply of organic local flour (and I will make a post as soon as I find something that is worth mentioning). The ones I have used during the summer are now out of stock and it seems unsure when they will have stock again. Together with searching for supply, I steadily continued and learned from my mistakes, and now they are all fixed or so, and I have started to obtain a regular shape and beautiful crusts with fluffy crumble on a regular basis. I started playing again with whole wheat, wheat bran,nuts etc… In the end, it seems that lower room temperature and longer times work very well for my sourdough starter. That to say that the sourdough adventure is a beautiful one and the flavour of the breads are uncomparable with those made with yeast (dry or fresh), so even if it took me so long to make up my mind, that it is a hassle to travel with my sourdough back and force between Tokyo and Ohara, it is just a new habit. And if while in Tokyo I use little of the sourdough for baking (until I get my kitchen redone with an oven…), but the one thing that I find really amazing is to use the extra sourdough I have for flat breads and for pancakes. It brings the flavour to a new level, something quite addictive.
Flat breads
Hazelnut and walnut bread
Plain white bread
So if you have a sourdough starter that you don’t use much for bread baking like me, I highly recommend you continue feeding it every day and use it for anything that needs flour and water. If you have other tricks to use your sourdough please let me know I am curious about other uses. Indeed Lois is quite gluttonous and in 4 days it gets quite voluminous! Actually I have already starting giving parts of it away to friends so if you are interested in a stable sourdough starter, please let me know!
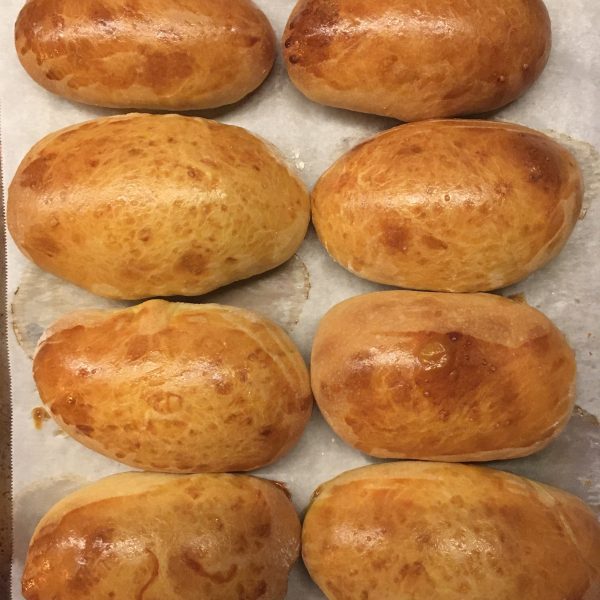
I’ve been baking a lot of breads these days but suddenly I felt like eating a variety of other baked things such as brioche, until A. saw a picture of a pan bagnat in a magazine and asked me to make one for him. I didn’t see the picture, and instead of thinking of the classic pan bagnat from the south of France, that you can eat in Saint Tropez or in Nice, in a kind of ciabatta bread, a little dry, I thought about the soft and melty version in a pain au lait, went straight to the kitchen and started making dough for pain au lait. I used to use the recipe from Kayser bread book, but decided to change, and opted for a mix and match version. The whole thing ended up in delicious, soft and tasty perfect little breads. And that’s when A. told me that the pan bagnat he saw was not in a pain au lait… 🙁
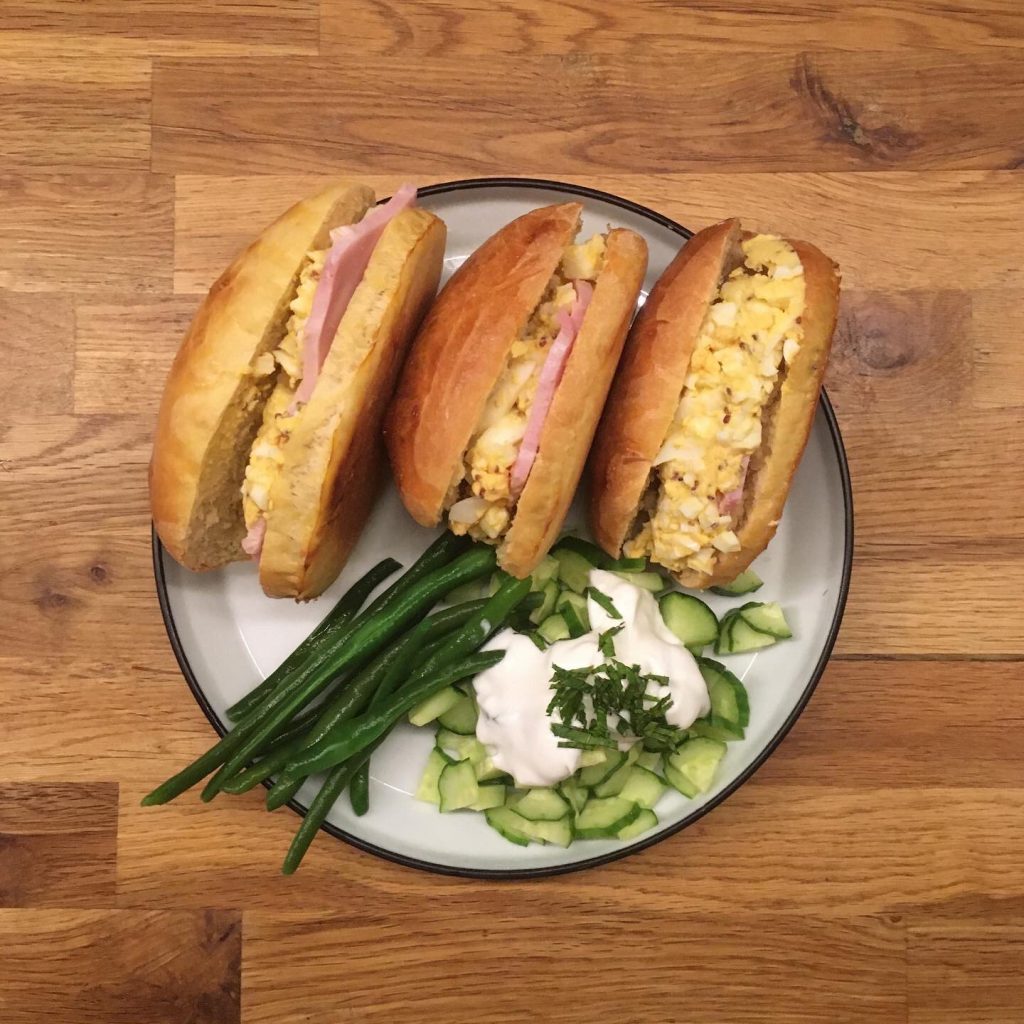
No problem I said, how about egg and ham sandwiches instead???
And that’s how they turned out… and it was damned delicious. So here is the recipe of the pain au lait.
For the egg sandwich filling, I simply hard boiled 3eggs, chopped them with a knife, add a table spoon of olive oil, a table spoon of mustard, that’s it.
Pain au lait (makes 8)
280g of flour
3g of dry yeast
70g of butter
35g of sugar
100g of milk
5g of salt
1 egg + 1 egg optional for cooking
In a bowl mix the flour, the sugar, the salt and the yeast, add the egg and the milk and knead. Add the butter and knead until smooth and not sticky, it may take a bit of time. Let rest under a cloth until it almost doubles. You can flip the dough once in the meantime. Rising time will depend on your room temperature, your yeast, and the original temperature of ingredients. For a faster rise, use ingredients at room temperature.
Once the dough has doubled almost, dust your working surface with flour and the ball of dough. Flatten it and then make a rough oblong shape. Cut pieces of 70g-90g each, shape roughly in sausage. Don’t work too much the dough. And set on a sheet of cooking paper. Leave for 1-2h. Pre-heat the oven to 175deg. If you want perfectly golden little breads, use an egg batter. I you don’t care about the color, just spare it.
Bake at 175deg 10min then at 170deg another 10min or until perfectly golden. That’s it!!!
The current situation is forcing us to work from home, and there are a few minor changes in our daily activities but in the meantime I don’t feel it affects us that much. One thing though has been a bit annoying, is the closure of our tennis courts in Isumi since the beginning of February. As I believe there is a season for everything, the season for surfing for me has not yet started: the ocean is yet too cold and the weather too, we are not equipped for cold water and I don’t feel like going for a dip in the ocean at the moment. Gardening kept us busy outdoors, but not enough to really free our busy minds. So one day we decided to go for a bicycle ride and just loved it, so we upgraded our foldable tiny bicycles to proper bicycles and we took on riding. Every Saturday and Sunday we go for a 25km ride in the neighborhood and run some errands… Riding, even for only 90min, makes us very hungry. And with the weather doing ups and downs having a few sweets in the pantry is not a bad idea!!! Not to mention that I forgot to refill our chocolate cabinet on an Easter weekend… oups… what was I thinking??? So I decided to prepare some financiers, A. loves them. (Well what is it he doesn’t like when it comes to sweets and treats? ;))
The problem is that financiers recipe uses only the egg whites, so I was wondering what to with the yolks, and found the recipe of helenettes, an other almond based treat that uses only the yolks. Basically the same ingredients as financiers one has the egg yolk, the other the egg white!! Both are really super easy to prepare and very quick! So was I preparing both and baking both and making every body very happy!
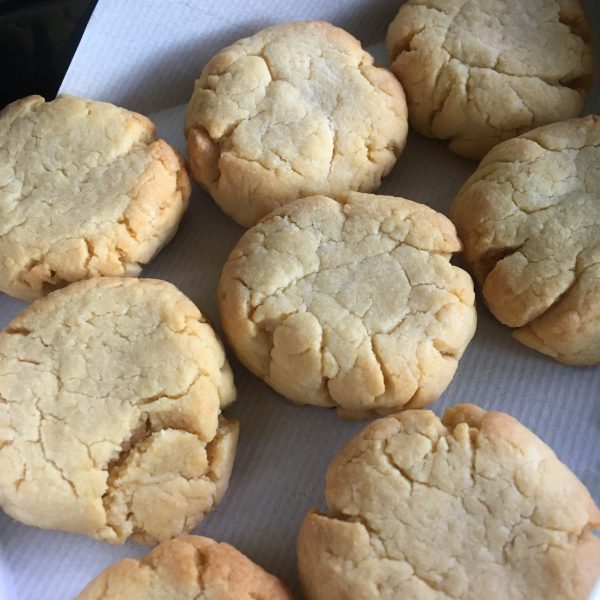
While I have been making financiers for a long long time, it was my first time making helenettes and even more, hearing about this little cookie so I was preparing them in a very simple manner, following almost blindly the recipe I found there (in French), I only changed very slightly. So here are my recipes of helenettes and financiers.
Helenettes (15-20 pieces 3cm each)
– 2 egg yolks – 100g of flour – 100g of almond powder – 80g of sugar – 60g of butter
Melt the butter. In a bowl mix the egg yolks and the sugar. Add the butter, stir well. Add the flour and the almond powder and stir well. Knead a little and make balls of 20g each and slightly flatten them. Set on a sheet of cooking paper and bake for 10 min at 200deg. Don’t over cook them, they will lose there softness and become really hard.
Finish with a bit of icing sugar if you want to make them really beautiful!
Financiers (25 tiny pieces)
– 40g of almond powder – 50g of butter – 20g of flour – 75g of icing sugar – 2 egg whites
Melt the butter. In a bowl mix the flour, the almond powder and the sugar. Add the egg white one after the other and stir well. Finally add the butter and stir well. If you have financiers molds this is perfect (I have very tiny ones), if you use paper molds be careful not to fill them too much as they might collapse. Fill half to 2/3 of the molds and bake at 240deg for 5 minutes then decrease the temperature to 180 and bake for another 10min. The smaller the shorter, if you use large molds, it may take a bit more time. They must be golden, but not over cooked neither undercooked.
Et voila! Have a good week! The next almond treats are going to be some Maltese sweets… coming soon! Stay tuned!