Planned leftovers…

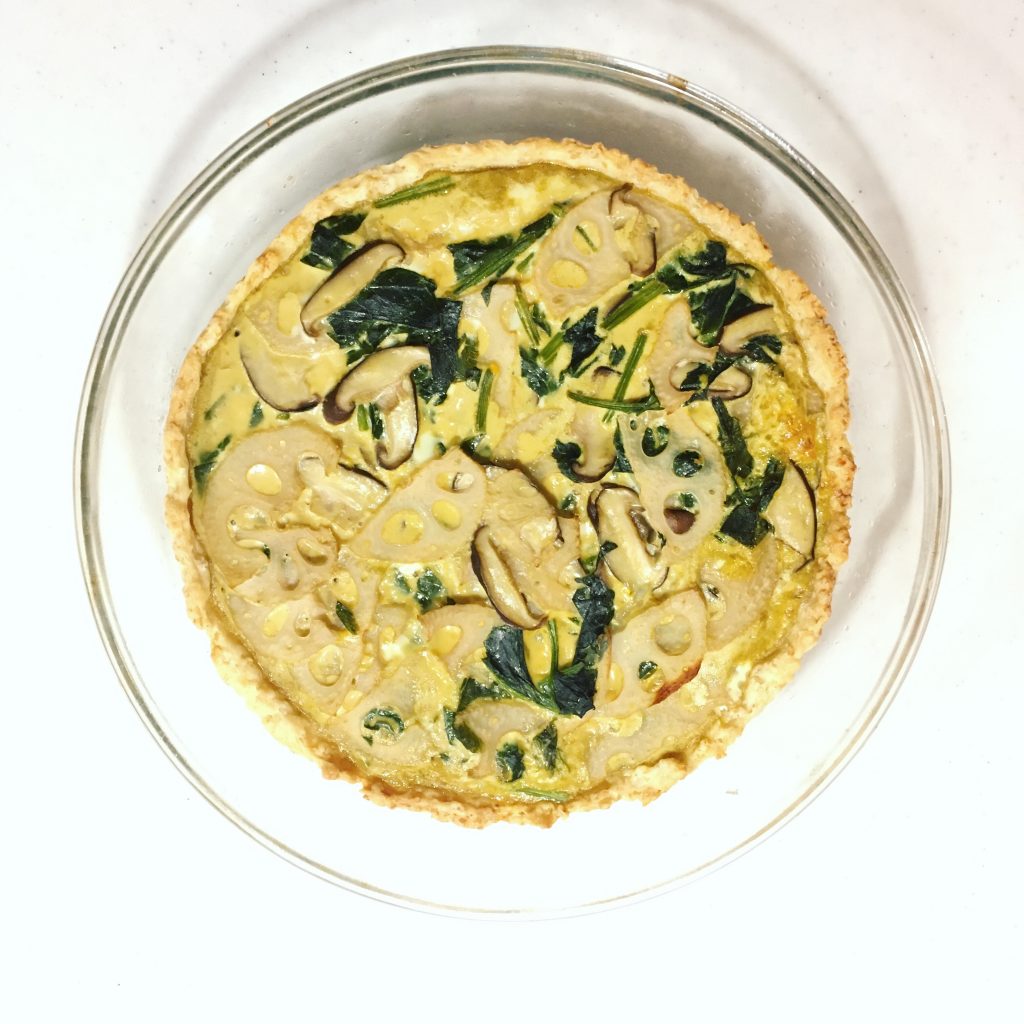
While in Japan we are far from being locked down like many in the west, the spike in covid-19 cases in Tokyo has pushed us to action. In the lab I’ve been preparing for weeks for telework and remote access to our equipment, and also consignment out of some devices to our teams to limit the impact of a possible lockdown on our activities, the university finally decided on Monday evening to close down all research activities on campus starting the next day, and that meant telework for all students. I decided that should also apply to me and my secretaries, so since Tuesday, it’s been telework everyday! I must say that taking the train to commute didn’t make me happy, and when I could I would cycle, but going to the uni. By bicycle is not an option. So, at home I stay. A. is basically following the same regimen, so we’re two at home for breakfast, lunch, teatime and dinner! Luckily I had prepared a bit (actually I was more thinking of a city lockdown last weekend than just telework!!!) and I had packed a little more than usual on fresh vegetables at the local farmers last weekend, so we were not in need for any food. Actually, given that eating out is not recommended, and having friends over either, planning food quantities becomes a lit easier! But the logistics of it requires a bit more planning than usual, as I make lunches for two while working and A. and I didn’t have time to synchronize our agendas, our window time for lunch was quite small. When I’m alone I just eat what and when I want/can. It’s easy, it’s only me. So to avoid wasting time waiting for each other to eat, overcooking or undercooking food, rushing lunch, I decided to do something I rarely do: generate leftovers. Actually it’s not only time efficient, but probably energy efficient as well, but it requires planning ahead… and requires a bit of creativity as you use ingredients you’ve eaten the previous meal and that is no longer “freshly” cooked… I don’t talk about leftovers of a fully prepared dish (that would be totally boring to eat twice the exact same thing…) but rather leftovers of an ingredient that otherwise would take 30-120min to cook. Generally carbs: pasta, rice, brown rice (which takes the most time to cook), sometimes meat, or broth… and to cook things that can keep warm, and require little attendance once in the pan or the oven. Today I’ll share two recipes made with brown rice and rice. They are really simple and quick and provide a perfectly balanced meal. The first one is a quiche with a brown rice crust and Japanese flavors, the second is a vegan sautéed rice or chahan (top picture). I hope you’ll enjoy them.

Brown rice crust Japanese quiche: (makes a Φ28cm quiche)

For the pie crust:

– 1/2 to 1 cup of cooked brown rice

– 1/2 cup of flour

– 50g of butter

– a bit of water

– a pinch of salt

For the filling:

– a few shiitake

– a piece of lotus root

– a few spinach

– 1/2 cup of dashi

– 3 eggs

Make the pie crust by mixing all ingredients. Roll with a pin or with the hand to the size of the pie dish you have with a 2cm high edge. Bake in the oven for 10min at 200deg.

In the meantime, wash the vegetables, peel the lotus root. Cut the vegetables and cook them a bit to soften them. In a bowl, mix the dashi and the eggs, add the vegetables. Pour in the pie crust and back in the oven at 180deg for 30 to 40min. Better eaten warm for maximum crust crunchiness.
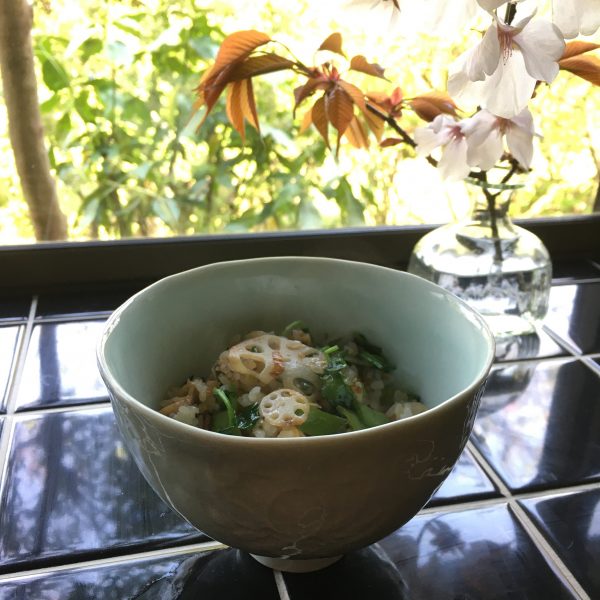
Rice sautéed (2 servings)

– 1 cup of leftover rice, white or brown

– 1 little leek

– a little piece of lotus root

– some greens: radish tops, spinach, cresson (I used the latter)

– a piece of thin aburage (leftover as well)

– a handful of snap peas

– a tsp of sesame seeds

– 2tsp of sesame oil

Wash, peel if necessary the vegetables. Cut them in thin or tiny pieces. In a pan, heat the sesame oil, add the leek. Then the lotus root, the greens, the snap peas. The aburage. Stir gently. When all warm add the sesame seeds, stir again gently. Add a little of salt if you need. Enjoy warm.

Have a good Sunday!!!
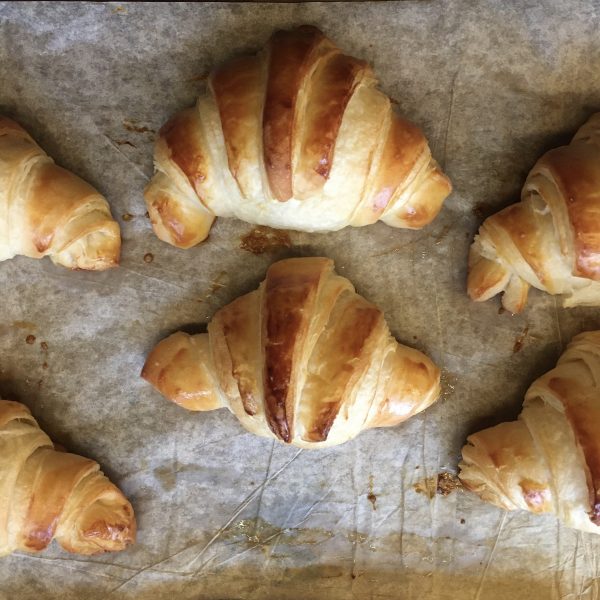
Croissants!!!

I use to hunt down the best croissants in Tokyo, I found some, but best shops making the best croissants change over time… Recently we went nearby our place at the factory, and they have probably close to the best pain au chocolat but definitely not the best croissants… and a space that maybe perfect for a gloomy morning but not for a bright sunny day, I preferred the park nearby.

Pain au chocolat from factory

Knowing that finding delicious croissants in Tokyo, you can imagine that in Isumi it is a bit of challenge. Grain makes delicious croissants and pains au chocolat but they open too late to have freshly baked croissants in the morning. The only option was that I tried making some again. Indeed after three or four miserable attempts in the past years, I decided that an ugly weekend would be the perfect timing for another attempt. And that’s just what we got: pouring rain for almost 2 days and strong winds, notwithstanding a drop in temperature back to a modest 5.

Instead of testing again a recipe I had in my books and didn’t work for me, I chose to go online and pick a video tutorial. After watching a few I picked the video by Domi patiss, because it was neither too short, nor too long, because her croissants look really fluffy and delicious, and she had a few hints that made sense to me. I followed her recipe almost to the letter except for quantities and I must say that for the first time I managed to make croissants that both have the taste and appearance of croissants from a boulanger… They were delicious!!!

So here is what I did… there is a lot of waiting/resting time, so it took 24h to make the croissants, but the actual “action” time is always very short. The video by Domi patiss is in French but quite visual to understand the folding and rolling tips she gives.

Croissants (make 6-8 pieces)

– 250g of flour

– 70g of water

– 60g of milk

– 6g of fresh yeast

– 7g of salt

– 20g of brown sugar

– 10g + 110g of butter

In a large bowl I mix the flour, the sugar, the salt, add the water, the milk, the yeast and 10g of butter. I knead until smooth, roll into a 25 by 15cm rectangle, wrap not too tight and set in the fridge for 12h at least. The dough should raise during that time.

http://gentianeetantoine.com/igk/wp-content/uploads/2020/03/video-1.mov

Then I roll it onto a rectangle of about 25cm by 50cm. Cut the 110g of butter (cold) in thin slices and cover half of the dough. Flip the other half on top and roll again to obtain the same size again. Fold in four, wrap and refrigerate for 1h.

Roll again to the same size or larger and fold in three this time. Refrigerate for another hour.

Finally roll again to the same size. Cut the edges to make apparent the feuilletage. Cut 6-8 triangles, roll them into croissant, set for another hour to rest at room temperature.

Apply an egg batter on the croissants and bake at 210deg for 15min or until perfectly golden. Enjoy!!!

Eclairs & choux

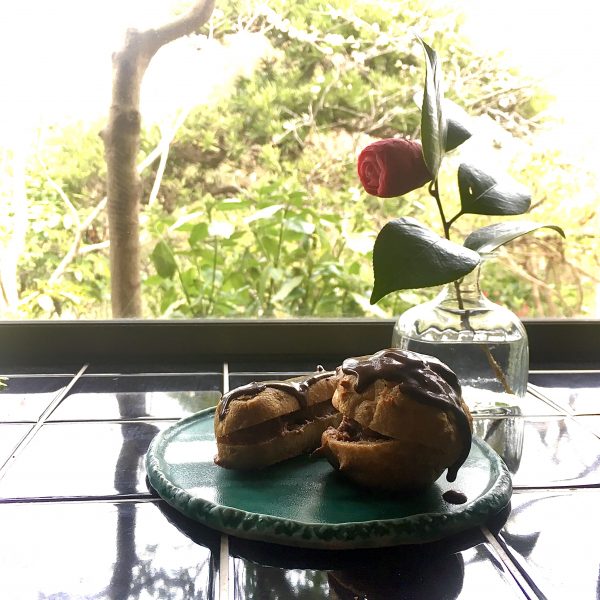
Why while the recipe is always a lot simpler than I remember, I prepare eclair only once every 2 or 3 years???… These and millefeuilles are probably my favorite French traditional patisseries, with strawberry tart. (I don’t count simple fruit tarts, cobblers, and crumbles… they do not really count!!! 😉 What the three have in common is a delicious custard, and I love custard… with vanilla, cocoa, macha…

While my puff pastry is never really good, I have never been presumptuous enough to make an attempt at baking millefeuilles, but eclairs, choux are perfectly at the level of my abilities. And each time I am decided to make some, each time I prepare myself for a tedious task, and each time I am surprised by how quick and easy it was!!! And wonder why really I don’t make some more often!!!

I always use the same recipe that I wrote sometime ago here, beware that the custard ingredients quantities fill about 2/3 of the choux, so if you want to fill all of them, you need to multiply by 1.3 the custard quantities or use 2/3 of the pate a choux ingredients. I use these quantities because sometime a choux doesn’t bake with the perfect shape, and because A. and I like to test the choux out of the oven! And I realized it is always almost at the same time of year I make it and only when we have friends visiting!!! The recipe makes quite a lot of them actually so that may explain the second point… as it is better not to keep them more than 24h!!! They are so much better fresh!

Have a good day!

Flat breads

My parents were supposed to come from France to Japan to visit us last week, but things had obviously to be postponed. But they insisted in still sending a parcel with some essential staples I cannot find in Japan with the quality I want. In particular, I love to cook with the chickpeas one of their relatives make, until I manage to produce my own… one day…

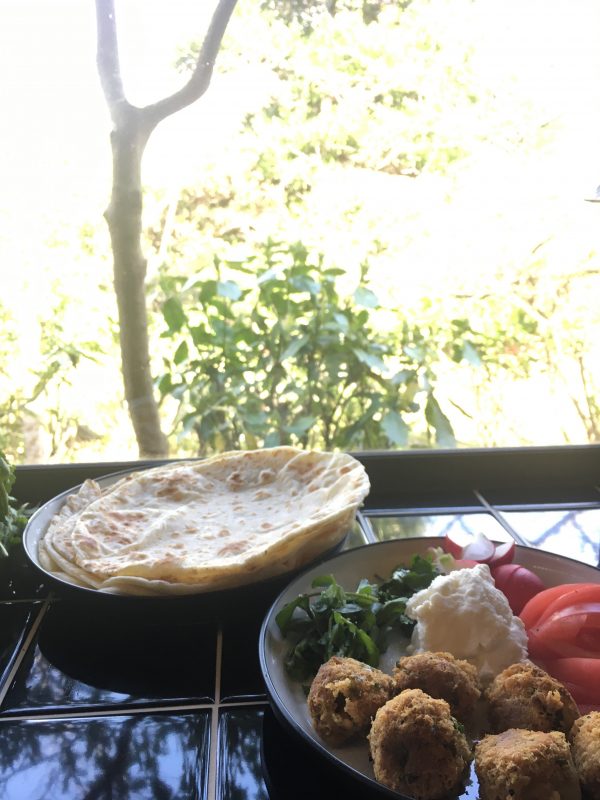
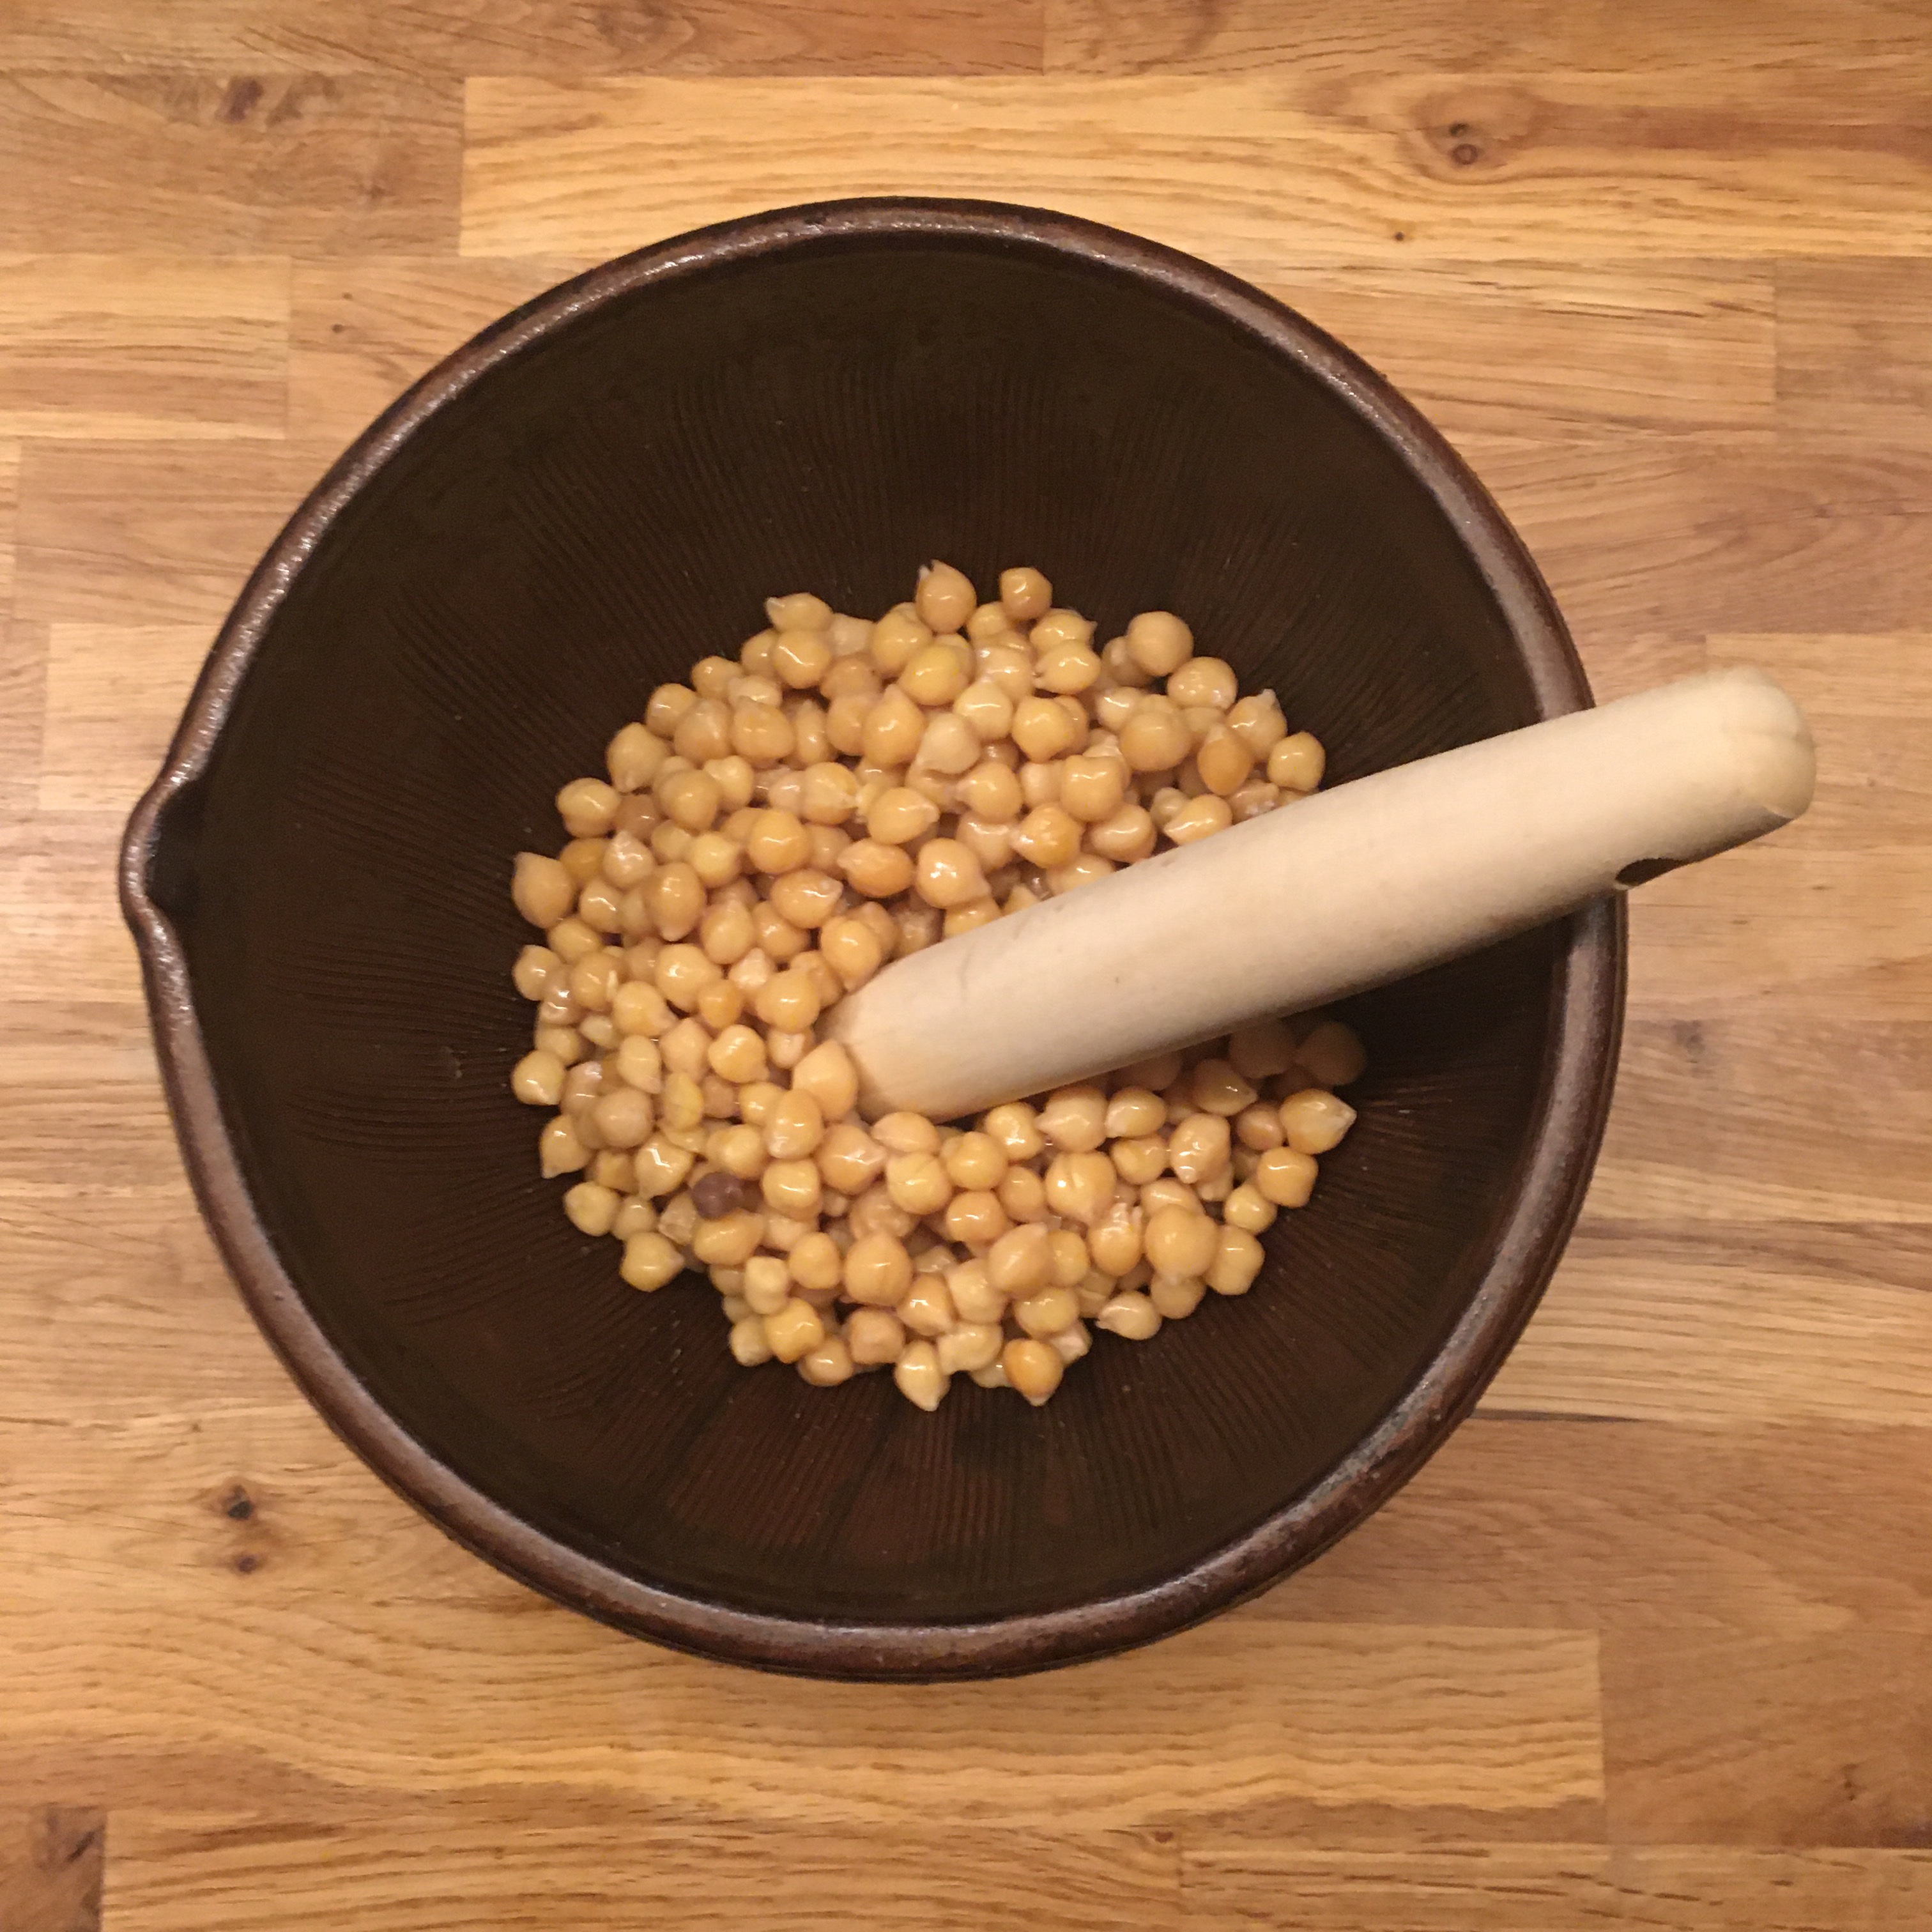
So I was very happy to have some in my parcel and start preparing them almost right away. Since they are dried natural chickpeas you need first to soak them into water for at least 24h before starting anything cooking or sprouting… So you can’t really improvised until you’ve done that… but while they soak you have all the time to consider options though… and this time I set my mind on falafels. I know A. loves them, and so do I!! Yet when I told A. we’ll have falafels, he asked if we’ll have also pita bread… I didn’t expect that and didn’t have time to prepare for a proper pita bread, but I recalled seeing recipes of flat breads that didn’t need yeast and raising and could be made in less than 30min. So I decided to make my first flat breads. I used the first tutorial I found that looked simple a quick and it was perfect and it takes only 5min to knead, 20min rest (time I ised to make the falafels) and 2min per flat bread to cook, in a pan, so you don’t even need to turn on your oven!!

For the falafels, I simply mashed the chickpeas, added some potato starch for the crispness, chopped fresh mint and parsley, cumin powdered, coriander powdered, a bit of chili pepper powdered and salt and pepper. And fried them in a small pan. I served all with some fresh vegetables, fresh cheese, and chopped coriander… simple and really delicious!!!

Have a good week!

Magic ingredients

While many places in the world now have braced for the virus impact, life in Japan has been pretty good and simple for what concerns me. I can totally live without attraction parks, without stadiums, and for a certain extent without concert halls, jazz bars etc… I barely go shopping as well… So, so far, except for a few days a week of remote work for A. things haven’t changed much for me. Of course, there has been a lot of fuss with foreign students supposed to come to the lab and local students to go abroad, but once I realized the situation was way to dynamic to make plans I just decided to take it easy and try to minimize the impact to the student and our activities, and because this is the spring break I have no teaching for the moment and fewer students in the lab. We’ll see how things turn out in April with the new term… Well, in the meantime many friends in many countries are now fully locked down, and that’s for them that I am making this post today. Among all products they could have at home or needed to pack I recommend flour. I bake a lot so I almost always have 5kg of flour at least at home if not 20 (I buy it on internet in 5kg bags). Flour and water are two ingredients that can make magic when you’re in short supply of everything else and work even better if you have a bit of time!

With these two sole ingredients you can make a dough for vegan pasta, dumpling skin, ravioli skin, biscuits, flat breads, batter for tempura, you can even make sourdough… once you have sourdough you can make bread… If you have a bit of baking powder, add it to water and flour and make pancakes… If it’s olive oil you can make a dough for a quiche or simple crackers… if it’s butter how about baking sablés and cookies… if you have both sourdough and olive oil a focaccia or a fougasse. With an egg even better pasta! Oh! If you have milk with the egg, crepes, add a bit of sugar and you have a clafoutis or a far… and I am sure I am missing quite a lot of things we can do with these simple ingredients… such as boiling potatoes and making gnocchi!

So wear your nicest apron and rush to the kitchen!!! I must admit that I’m a bit envious of those locked down now, as for us life is just business as usual… if I were stuck at home for a few days I would so much enjoy myself with all the things I don’t have time for!!!

Miso, again…

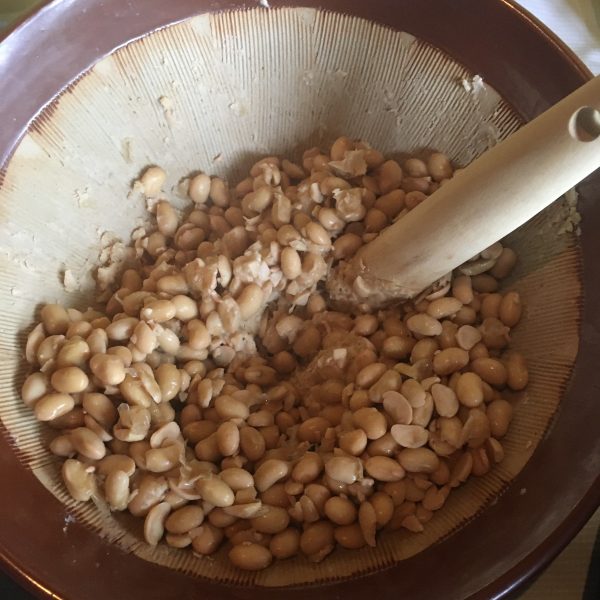
Making miso every winter is now a tradition. Our friend S. prepares everything for the event and we gather together for a couple of hours to chitchat and squeeze soya beans. Well, for non Japanese people or not used to Japanese cuisine, miso may be a rather intriguing ingredient and not so easy to use except in the traditional miso soup, and even then, using fresh miso in a soup may be a bit challenging when not used to. But the truth is that miso is quite versatile. We easily eat 2or 3kg of miso every year at home! You can see my past posts about miso here, but let me summarize some of the things you can do with miso again.

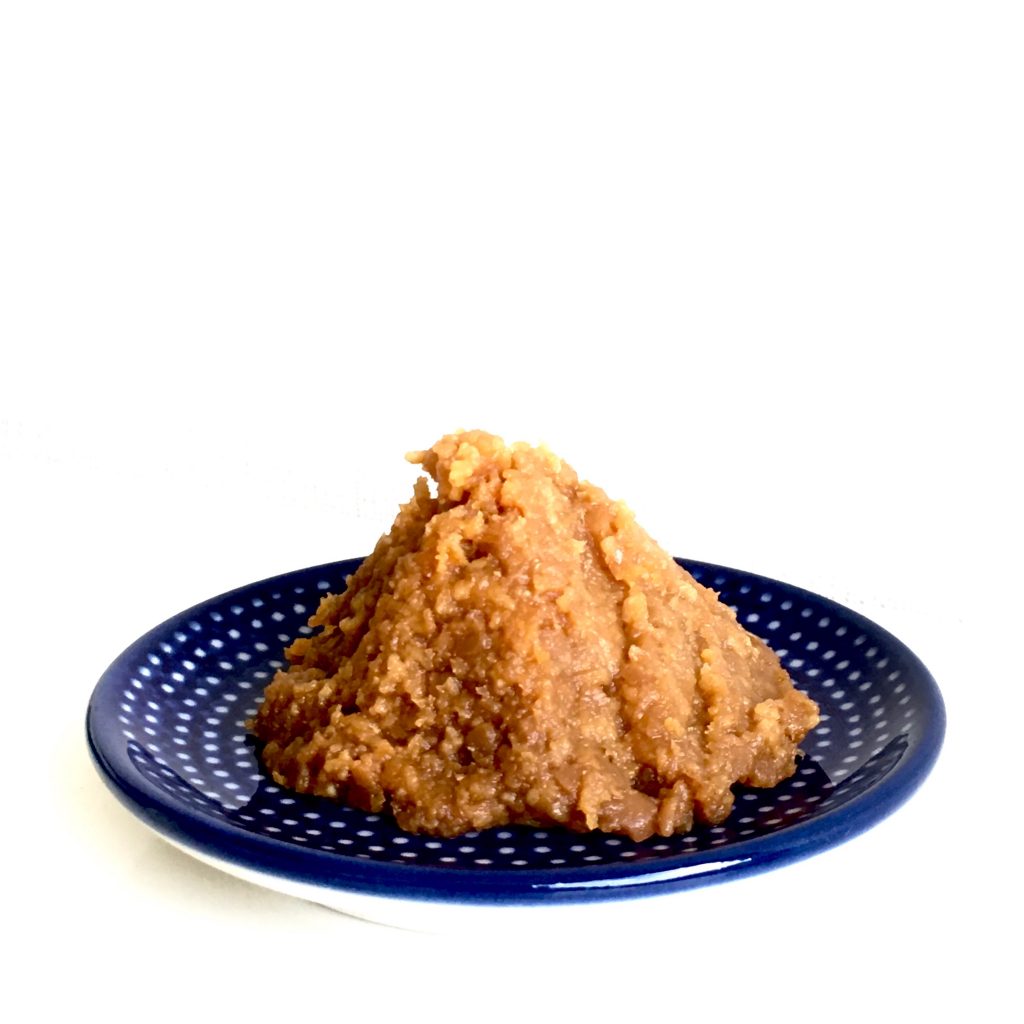
2019 miso

Miso can be used in soup, dips, to pickle vegetables and flowers, in marinade for fish, a spread on rice balls, to replace butter in pie crust, to replace cream in quiche flan, just to give a creamy texture to a sauce, and in many other places I am forgetting!

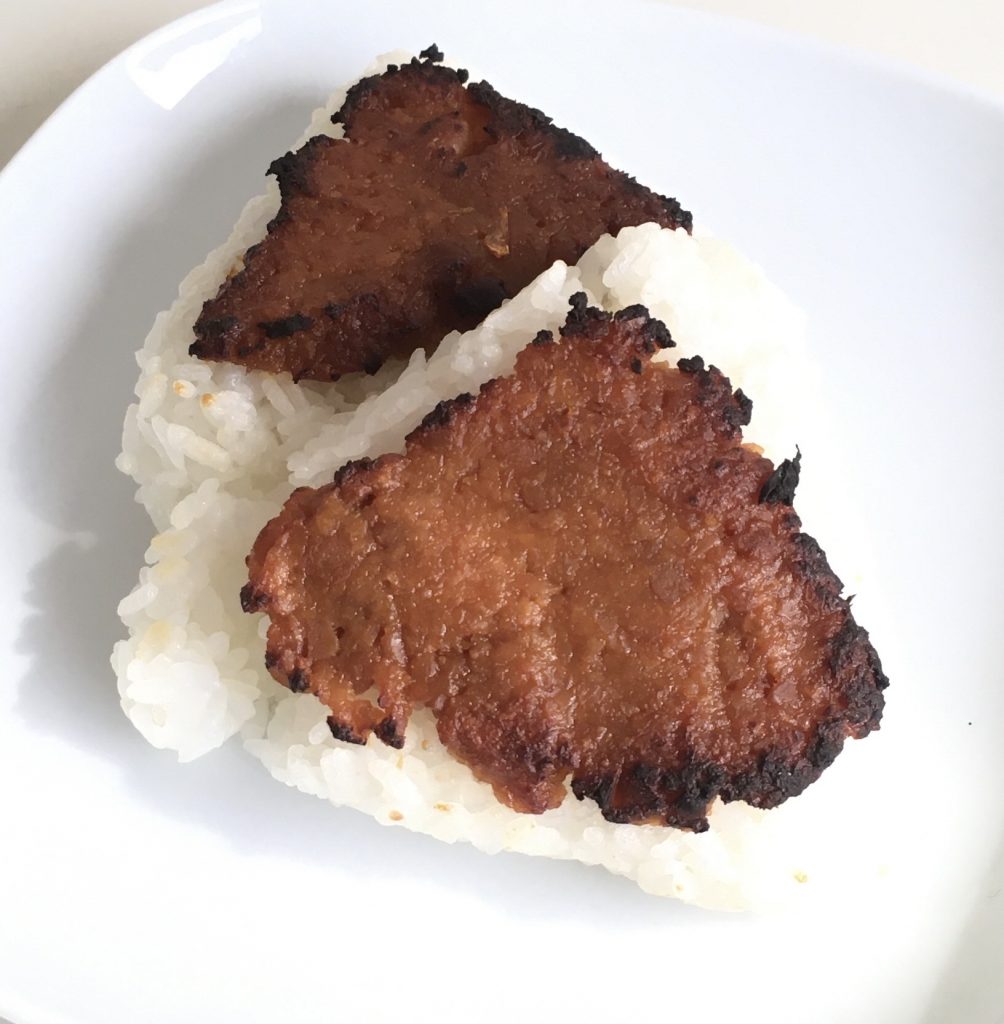
Today two super simple recipes with miso: in pie crust and in spread. Both are very straightforward. Let’s start with spread, a classic in Japanese cuisine: yakionigiri. You need just some plain white Japanese rice and a two tea spoon of miso per serving of rice. Cook the rice to obtain a sticky japanese classic rice. Prepare a sheet of cooking paper. Wash your hand under cold water and don’t dry them. Take half a serving of rice in your hand and form a ball (if your sensitive to heat let it cool down before doing that, you may burn your palms). Put the ball on the cooking paper. Gently flatten it by pressing with your palm. Spread one tea spoon of miso on top. Put under the grill until the miso starts darkening. Eat right away.

2 miso yakionigiri

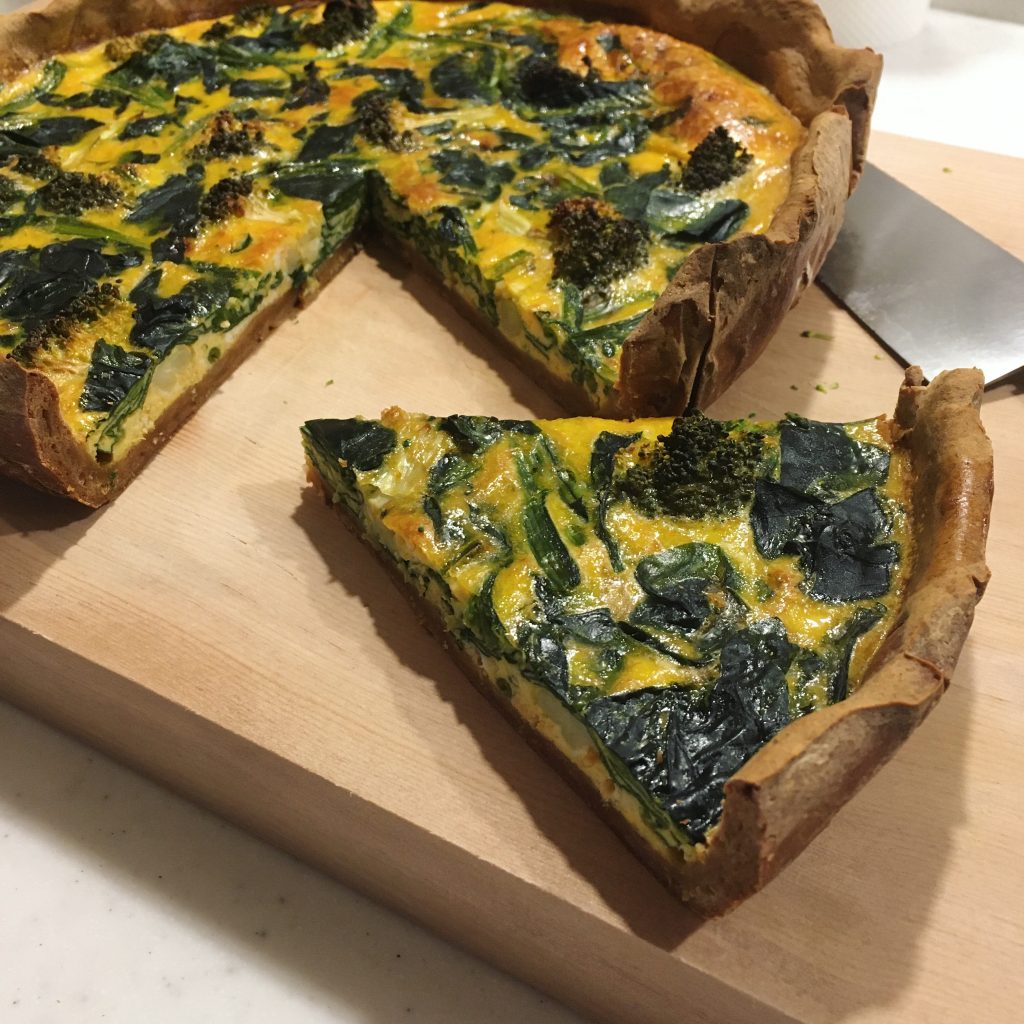
The second recipe is just to replace butter in a pie crust by miso. This changes of course the pie crust consistency to a more crispy on the edges and chewy on the bottom, with the characteristic flavor of miso. You can make quiche with it (vegetables such as spinach, broccoli, canola… are perfect), or tiny sesame crackers.., or be creative and use it for a chocolate tart!!!

Miso pie crust for a broccoli and spinach quiche

Cheese, cheese, cheese…

In these kind of gloomy days of grey skies and new Corona virus outbreak, even very recently with the pick of new cases in Japan that starts to impede our work activities: events I was invited to got canceled, events I have been working hard to organize are going to be canceled as well… a bit of slowness, time shared with the loved one and delicious cheese was more than welcome.

Saturday morning, after a few days separated for work, it was high time for having breakfast together again for real. So we headed to cafe No. 4 in Yonbancho for breakfast. Indeed after trying croissant at Factory the other day, and finding way too salty, we tried the avocado toasts from No. 4 and they were really delicious! The kale and fresh fruits salad that accompanied them was also great! A very good place to start the day and honestly there are not so many in Tokyo that open early enough.

Avocado toast for breakfast at No. 4

But that that’s not the point of today’s post to review early breakfast spots in Tokyo, though I should make one, one day…

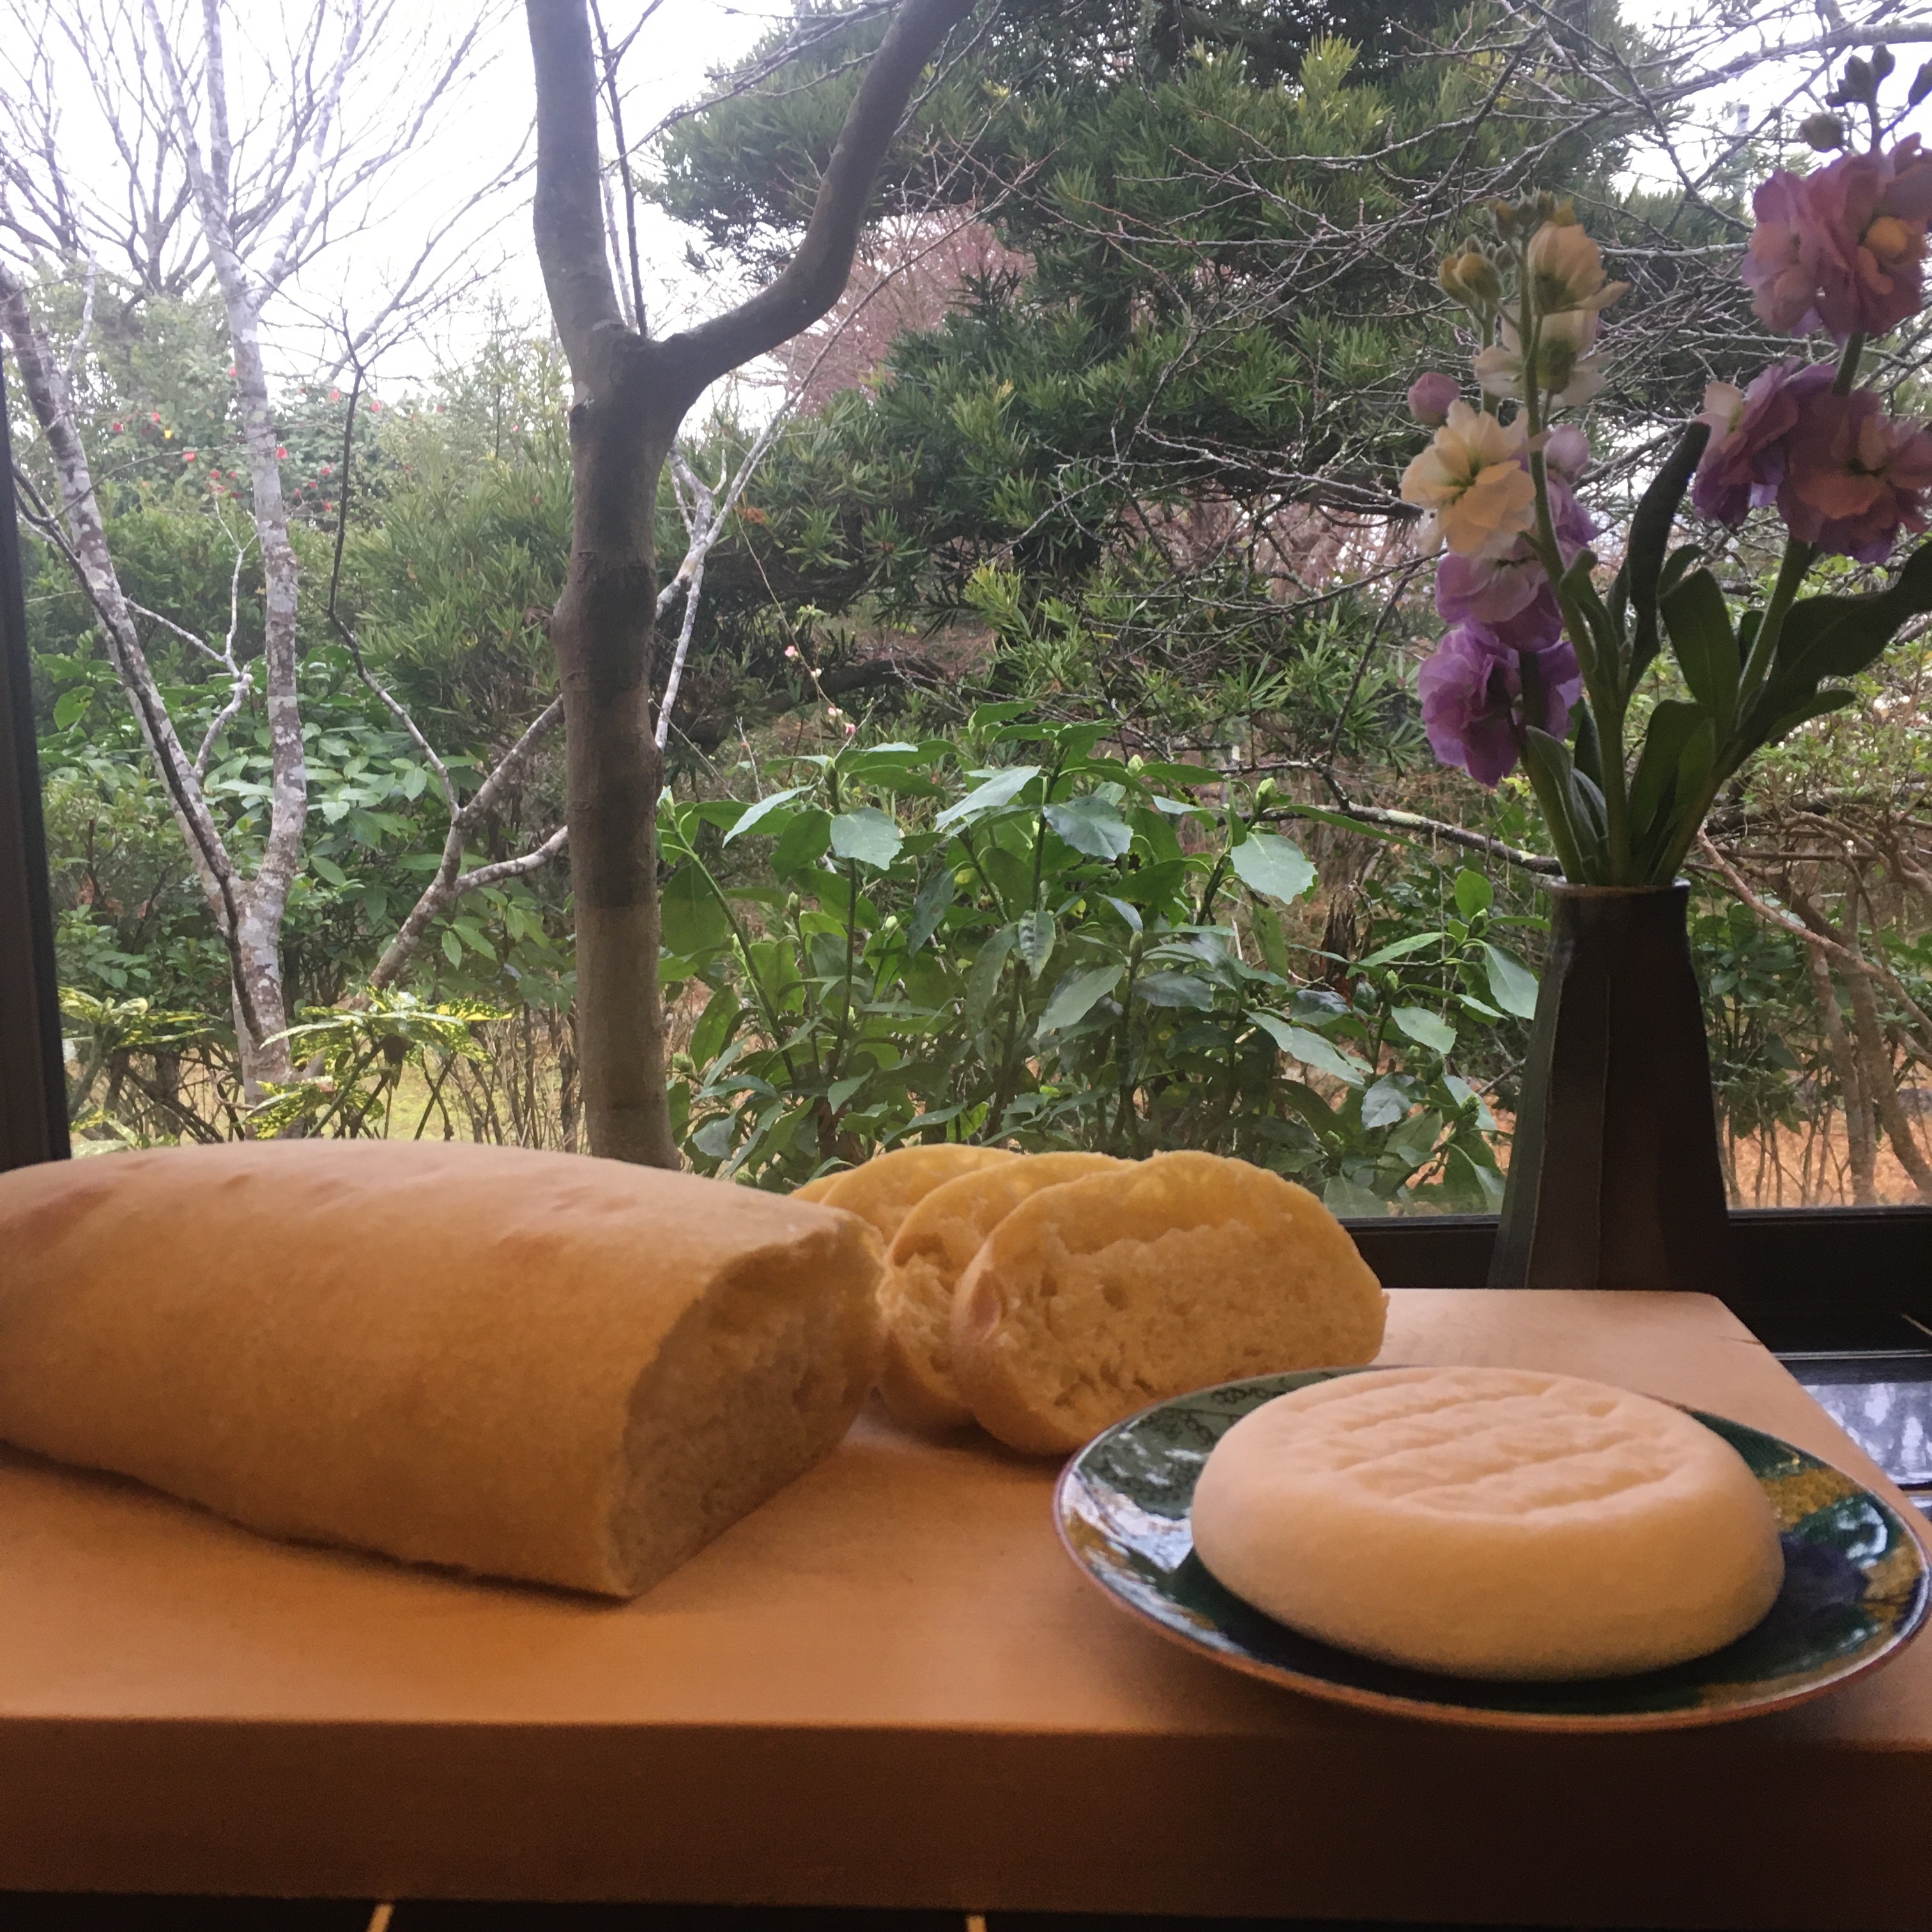
The point is this little gem we found on our way to the countryside later that morning. A few kilometers before arriving home A. wanted a coffee. So we stopped at the one opened on the way: Haru. A small place I knew was making galettes and crepes, but, I don’t go out to eat crepes and galettes, that’s what I cook when we’re in a rush and starving!!! That’s why we’ve never been before… what I didn’t know is that they are also making cheese!!! What a surprise! Indeed, the owner used to work at Takahide farm, a place I really love, and he had spin of, but still uses the milk from Takahide farm. He learned one year in Auvergne, France. He makes a few different types of cheeses, different from Takahide, great! A good reason to shop at both. I bought the “souple” cheese which is a semi-hard cheese that has a very soft taste. Loved it, with some freshly baked bread, or just like this… I didn’t try the blue cheese but knowing that he studied in Auvergne I am guessing it should be nice for blue cheese lovers (which is not really my case).

Homemade bread and cheese “souple”

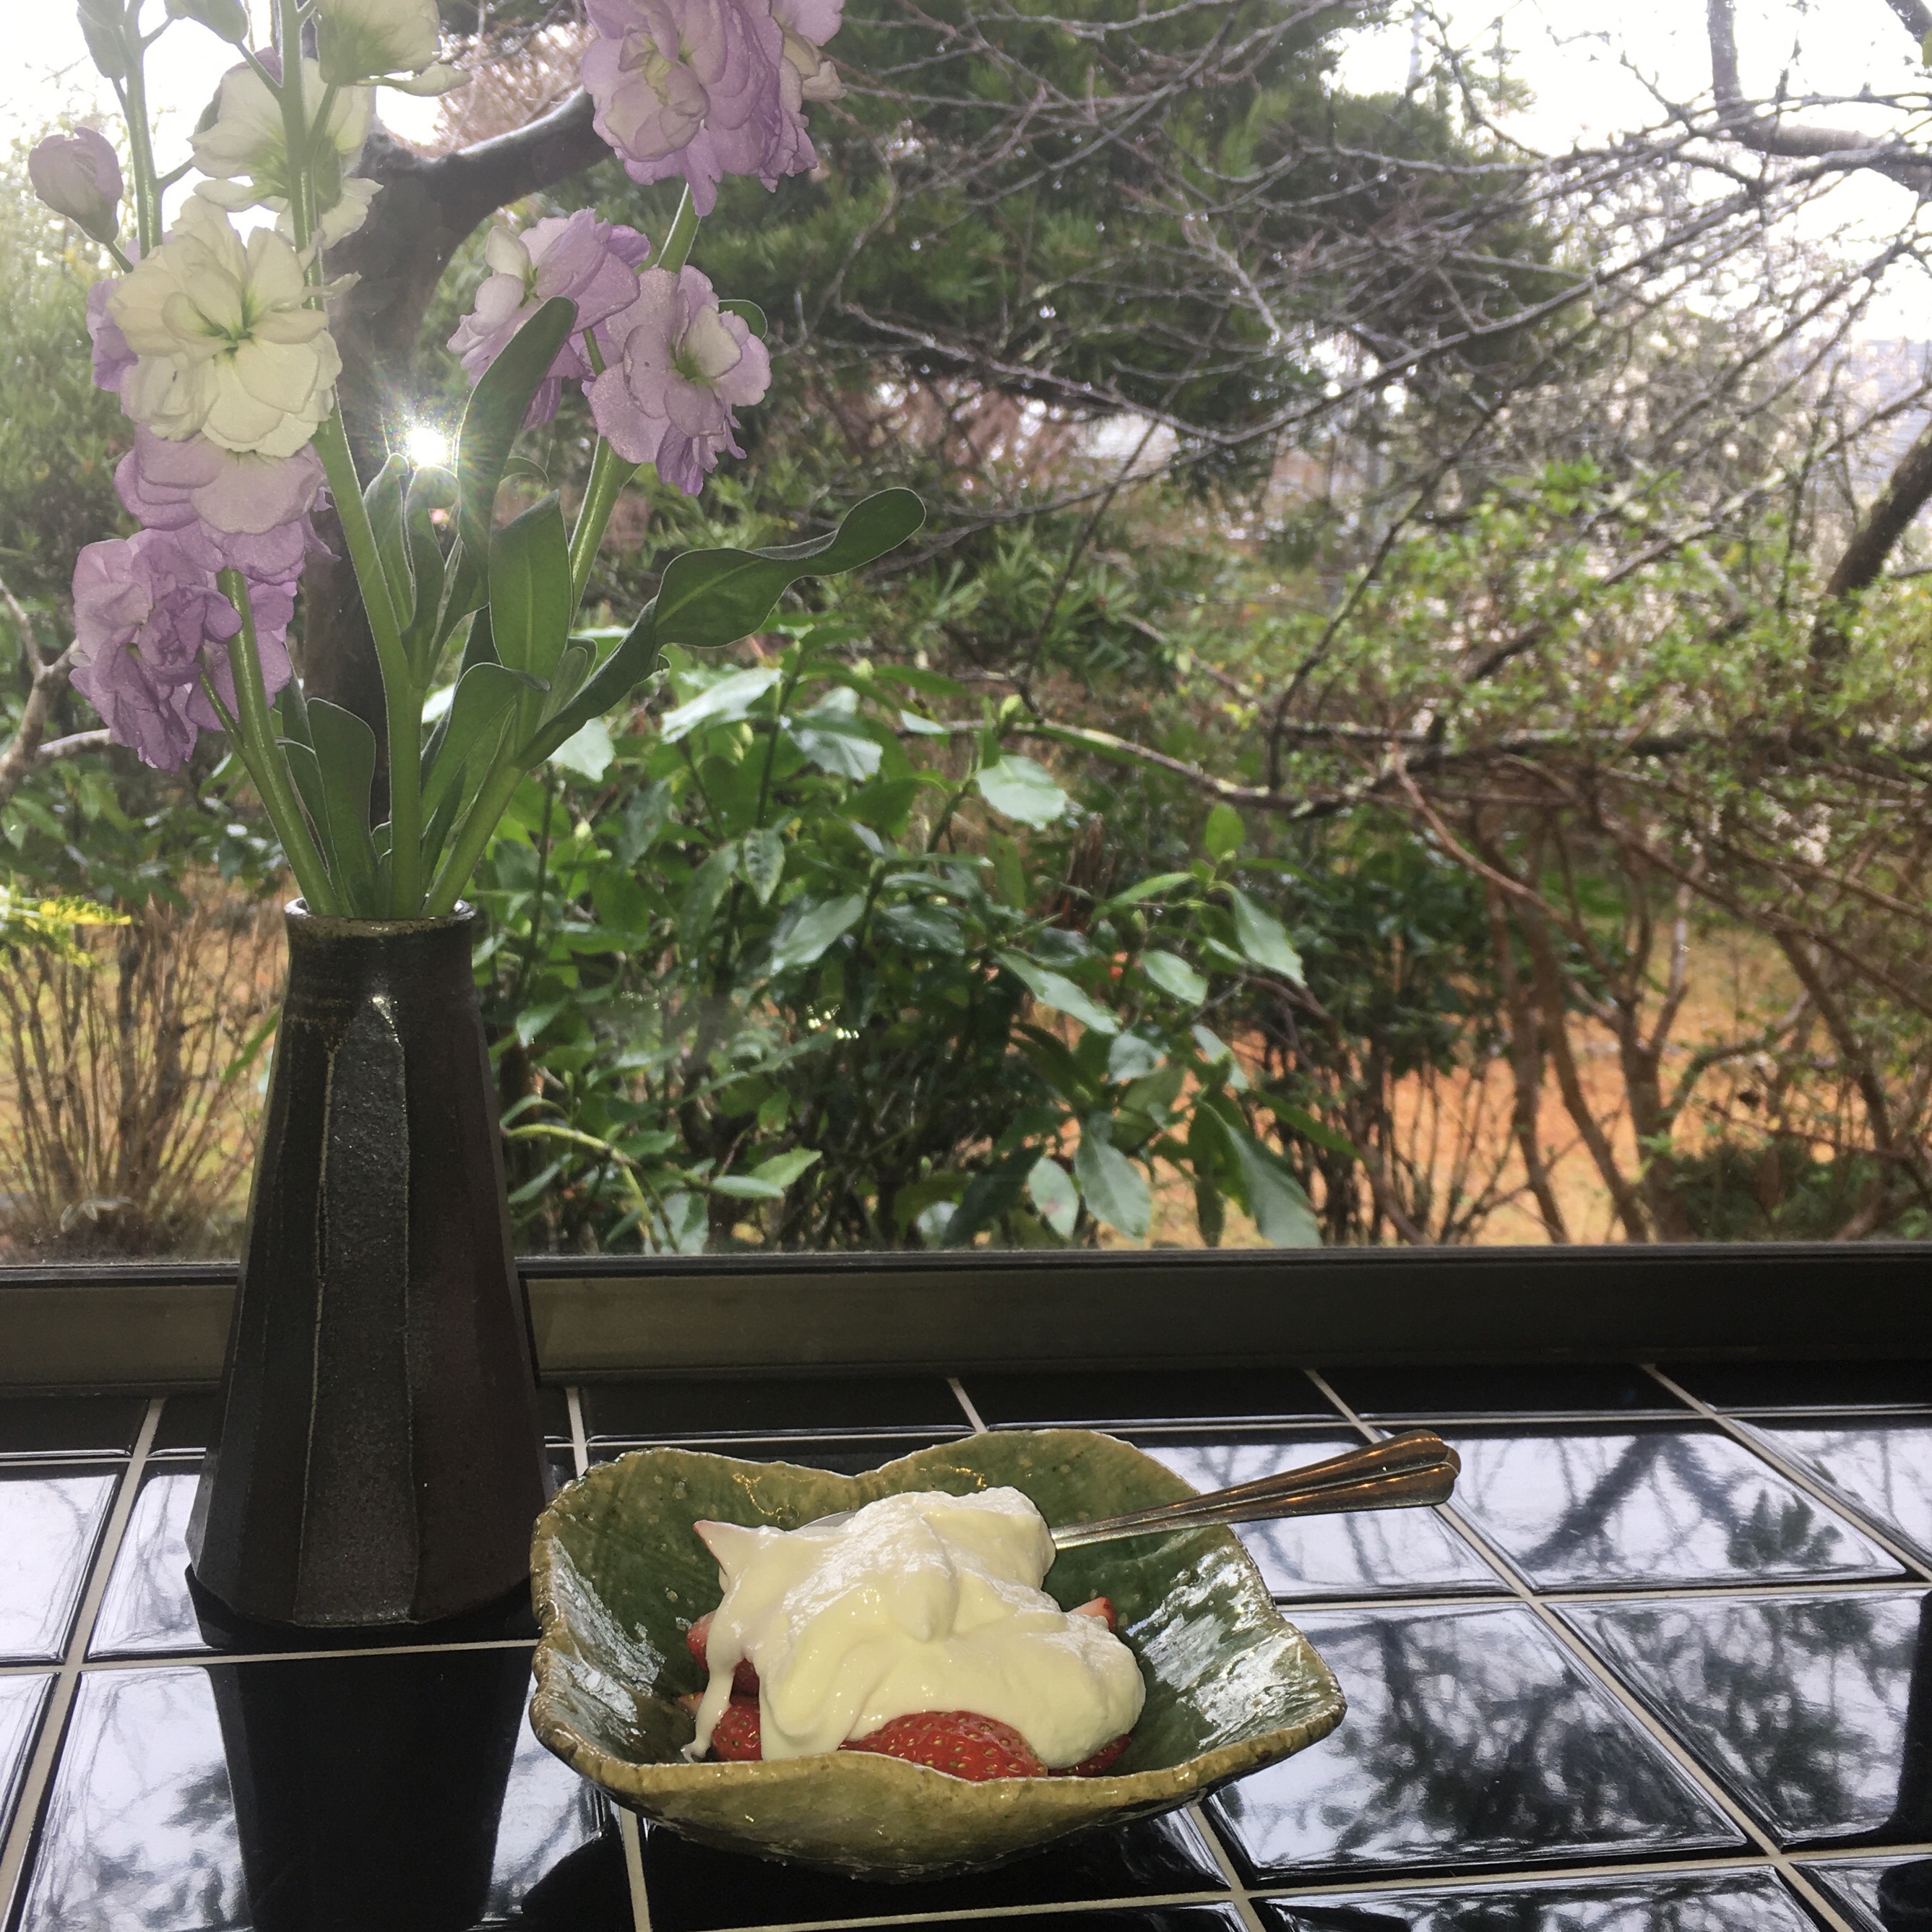
But the best of the best was their fromage blanc. They sell it in 350g pack which is a great size for making several servings, it reminded that in France we buy fromage blanc by 1kg!!! Haru fromage blanc is light and creamy, very mild in taste and melty in the mouth… scrumptious. And with the strawberry season starting in Chiba it’s the promise of many delicious breakfasts and desserts! And many visits at Haru! And when there you can try the Houji cha latte… really good too!!!

So you can bookmark the address as I did! I am sure there a few more remarkable cheese makers in the region, just need to find them… and by chance is surely the best!

Fromage blanc and strawberries

Top picture of the cheese is from Haru website.

Romanesco

As you may have discovered along my posts and even more on Instagram, I am a big fan of all cruciferous vegetables. I couldn’t name my favorite!!

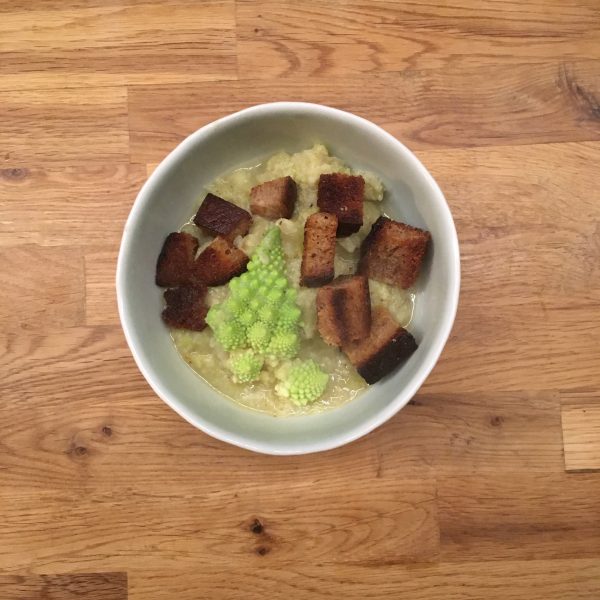
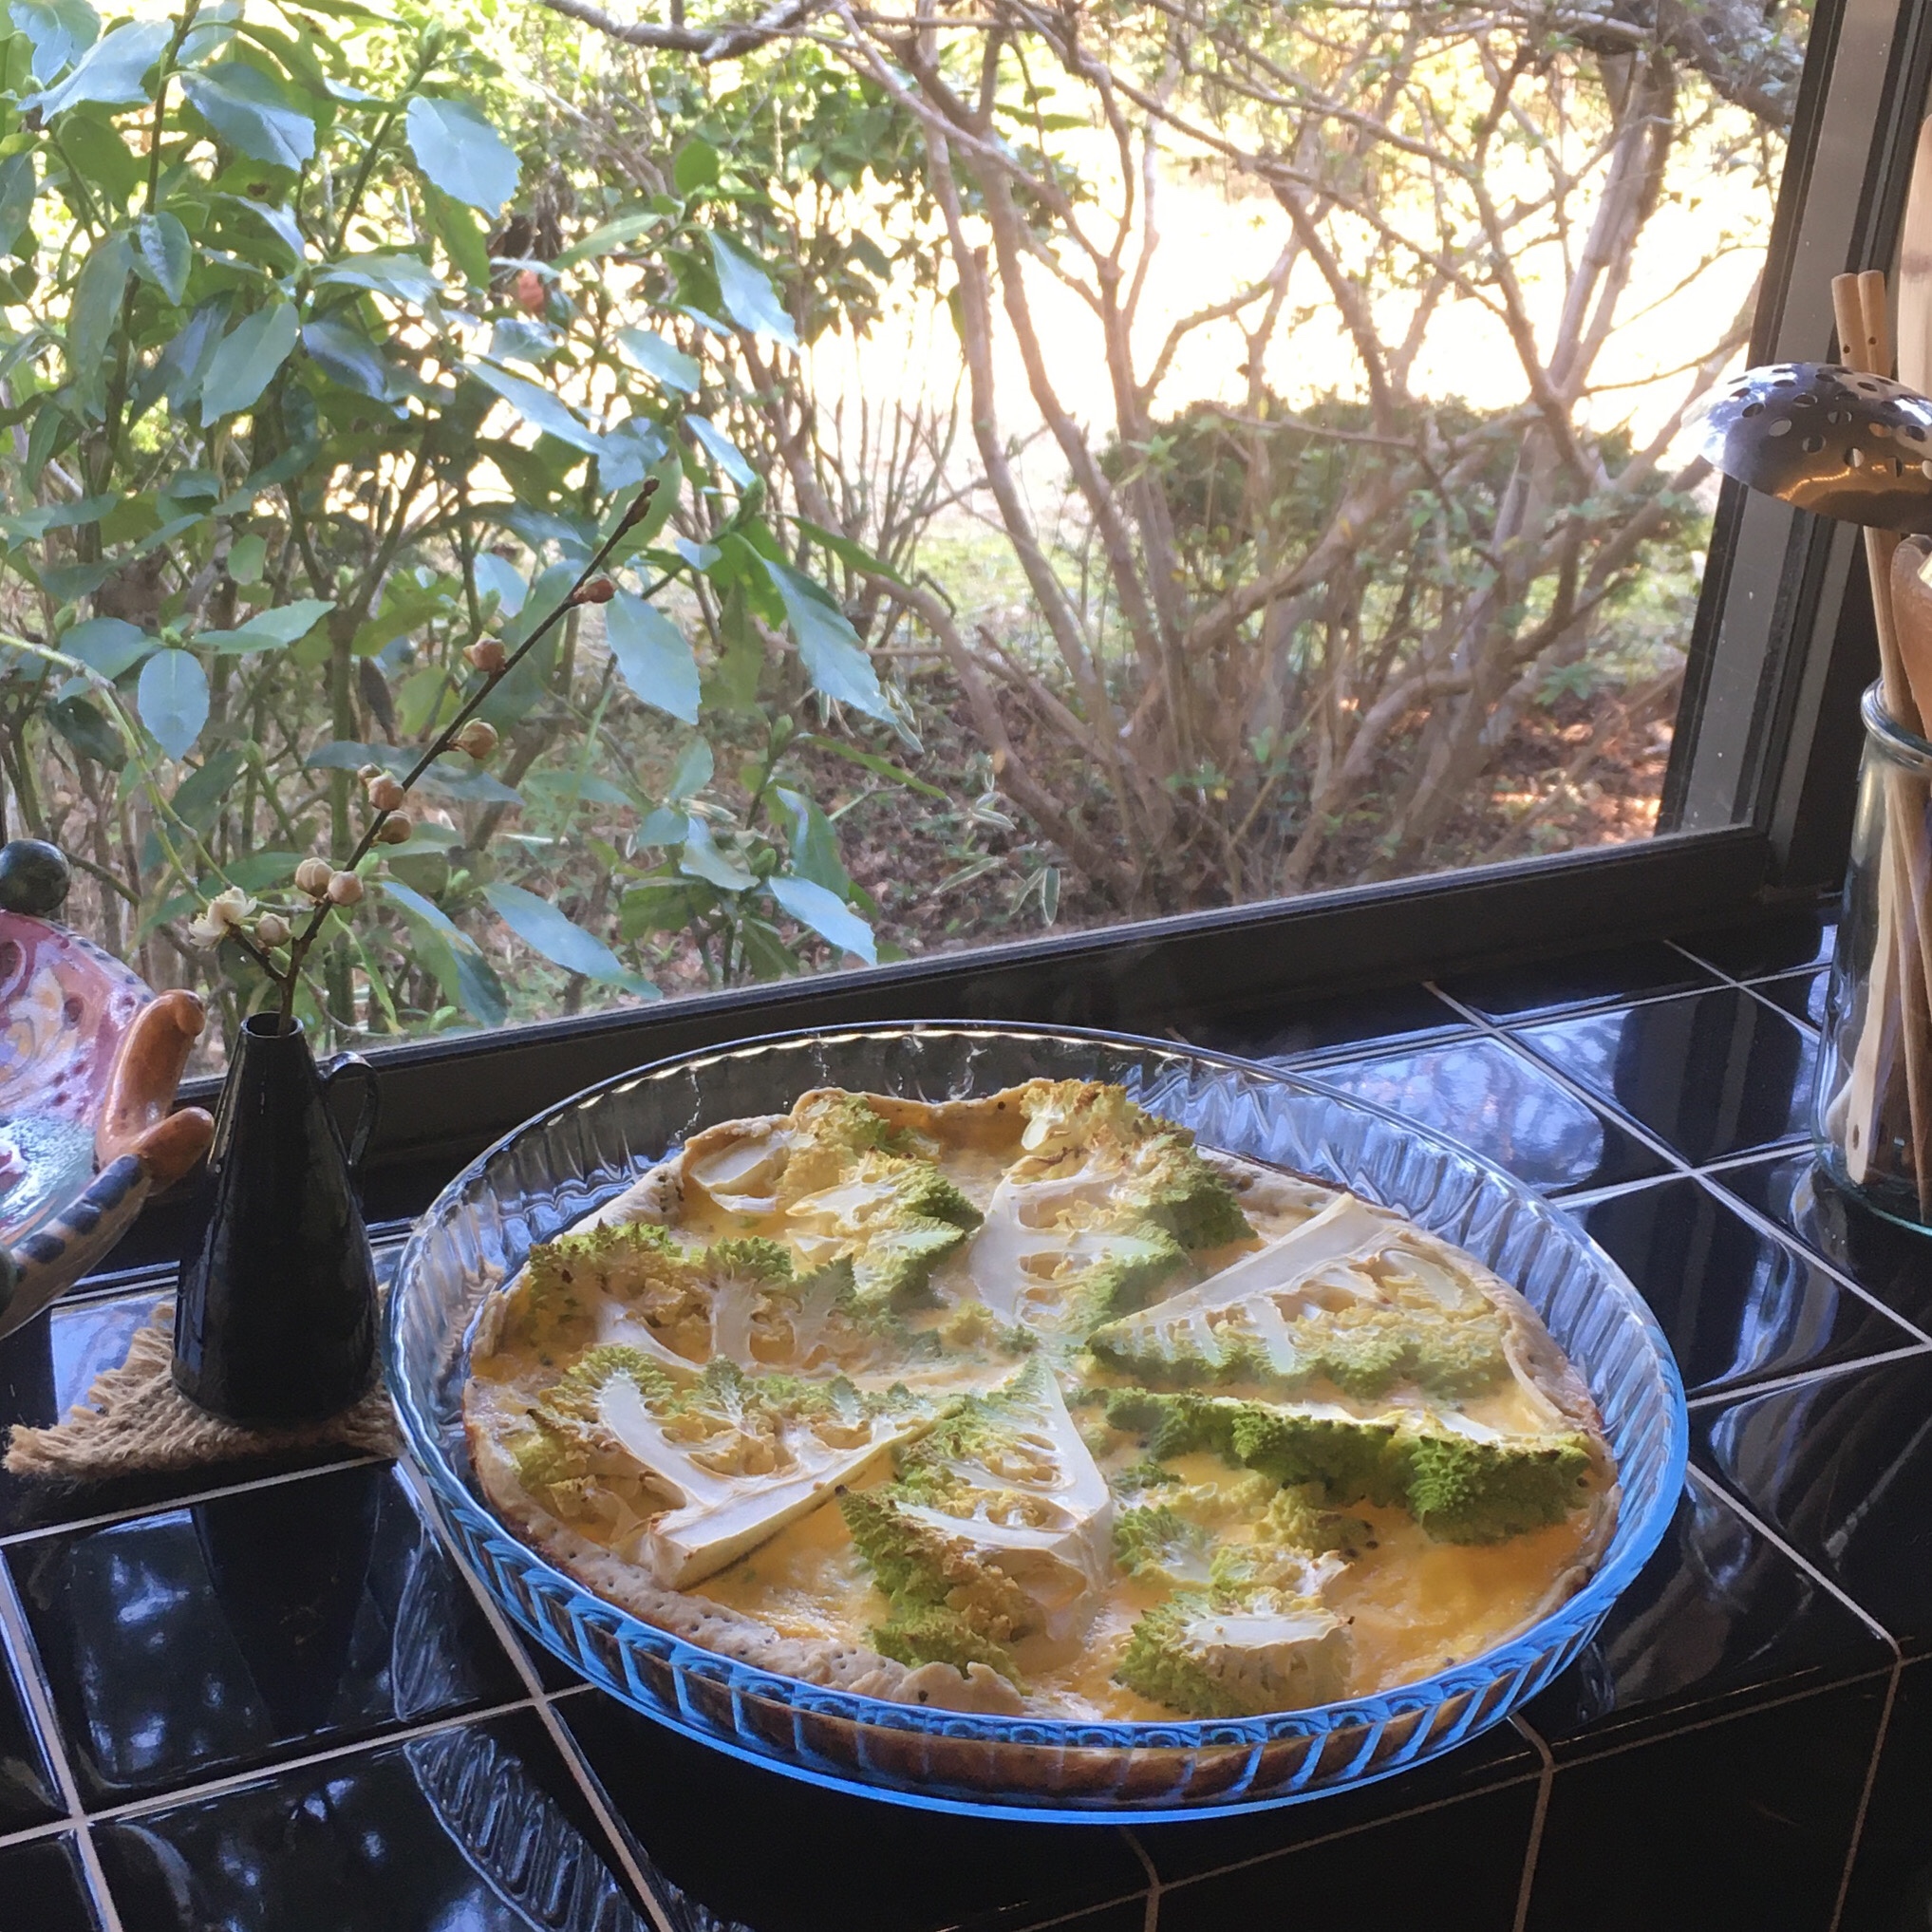
But when it comes to prepare romanesco cabbage I always feel sorry to crush the beautiful fractals. What’s the point of buying a romanesco to make a soup or a gratin out of it… a cauliflower would have been as good, even better as the color is nicer. So usually my romanesco end up boiled or steamed or slightly sautéed… but this week I was bored with this and wanted something that changes a bit. So I made a quiche with a special pie crust: very thin and crunchy, with garam masala and mustard seeds. The crunchiness was perfect with the softness of the baked romanesco just sliced and the egg flan. The slight spicy flavor of the crust was really nice and warming and we could still enjoyed the beautiful fractals.

One other thing I cooked then with the remaining half, was a soup… I could resist. I boiled the romanesco (but kept 2 slices for decor that I simply blanched to soften). Then crushed it with a fork… sorry beautiful fractals… Made a roux with a bit of butter and flower, then a bit if milk and then continued on with the cooking water. Once I obtained a light creamy texture I added the boiled cabbage and stirred well. Made some croutons and served.

What is your favorite romanesco recipe???

Almost there

While I’m hoping that the doctor will tell me I’m good to go tomorrow I’m still taking it easy, resting a lot and trying to sleep a lot. But the one thing that makes me confident that I am recovering is that now my appetite is gigantic. Indeed in the first few days when I was sick I had very little appetite and I couldn’t eat much but now I’m feeling hungry all the time. Like really all the time!!! And I have a craving for energetic food, in particular super high carb. So, I eat Christmas breads and pasta all the time. And I came up with a few new recipes that I’d like to share with you today.

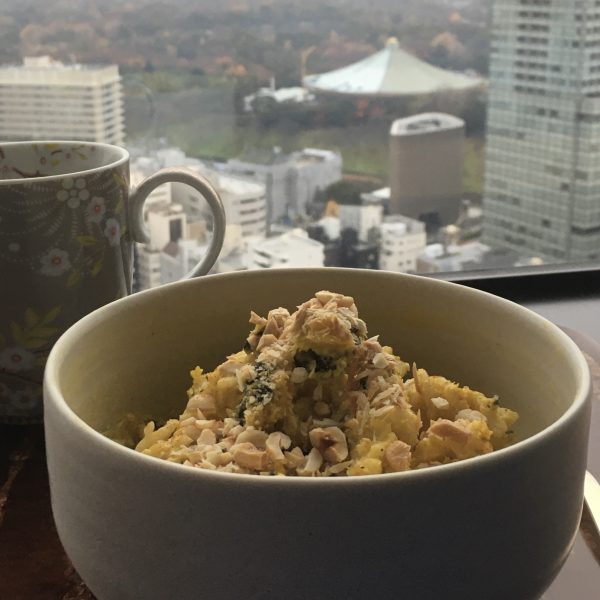
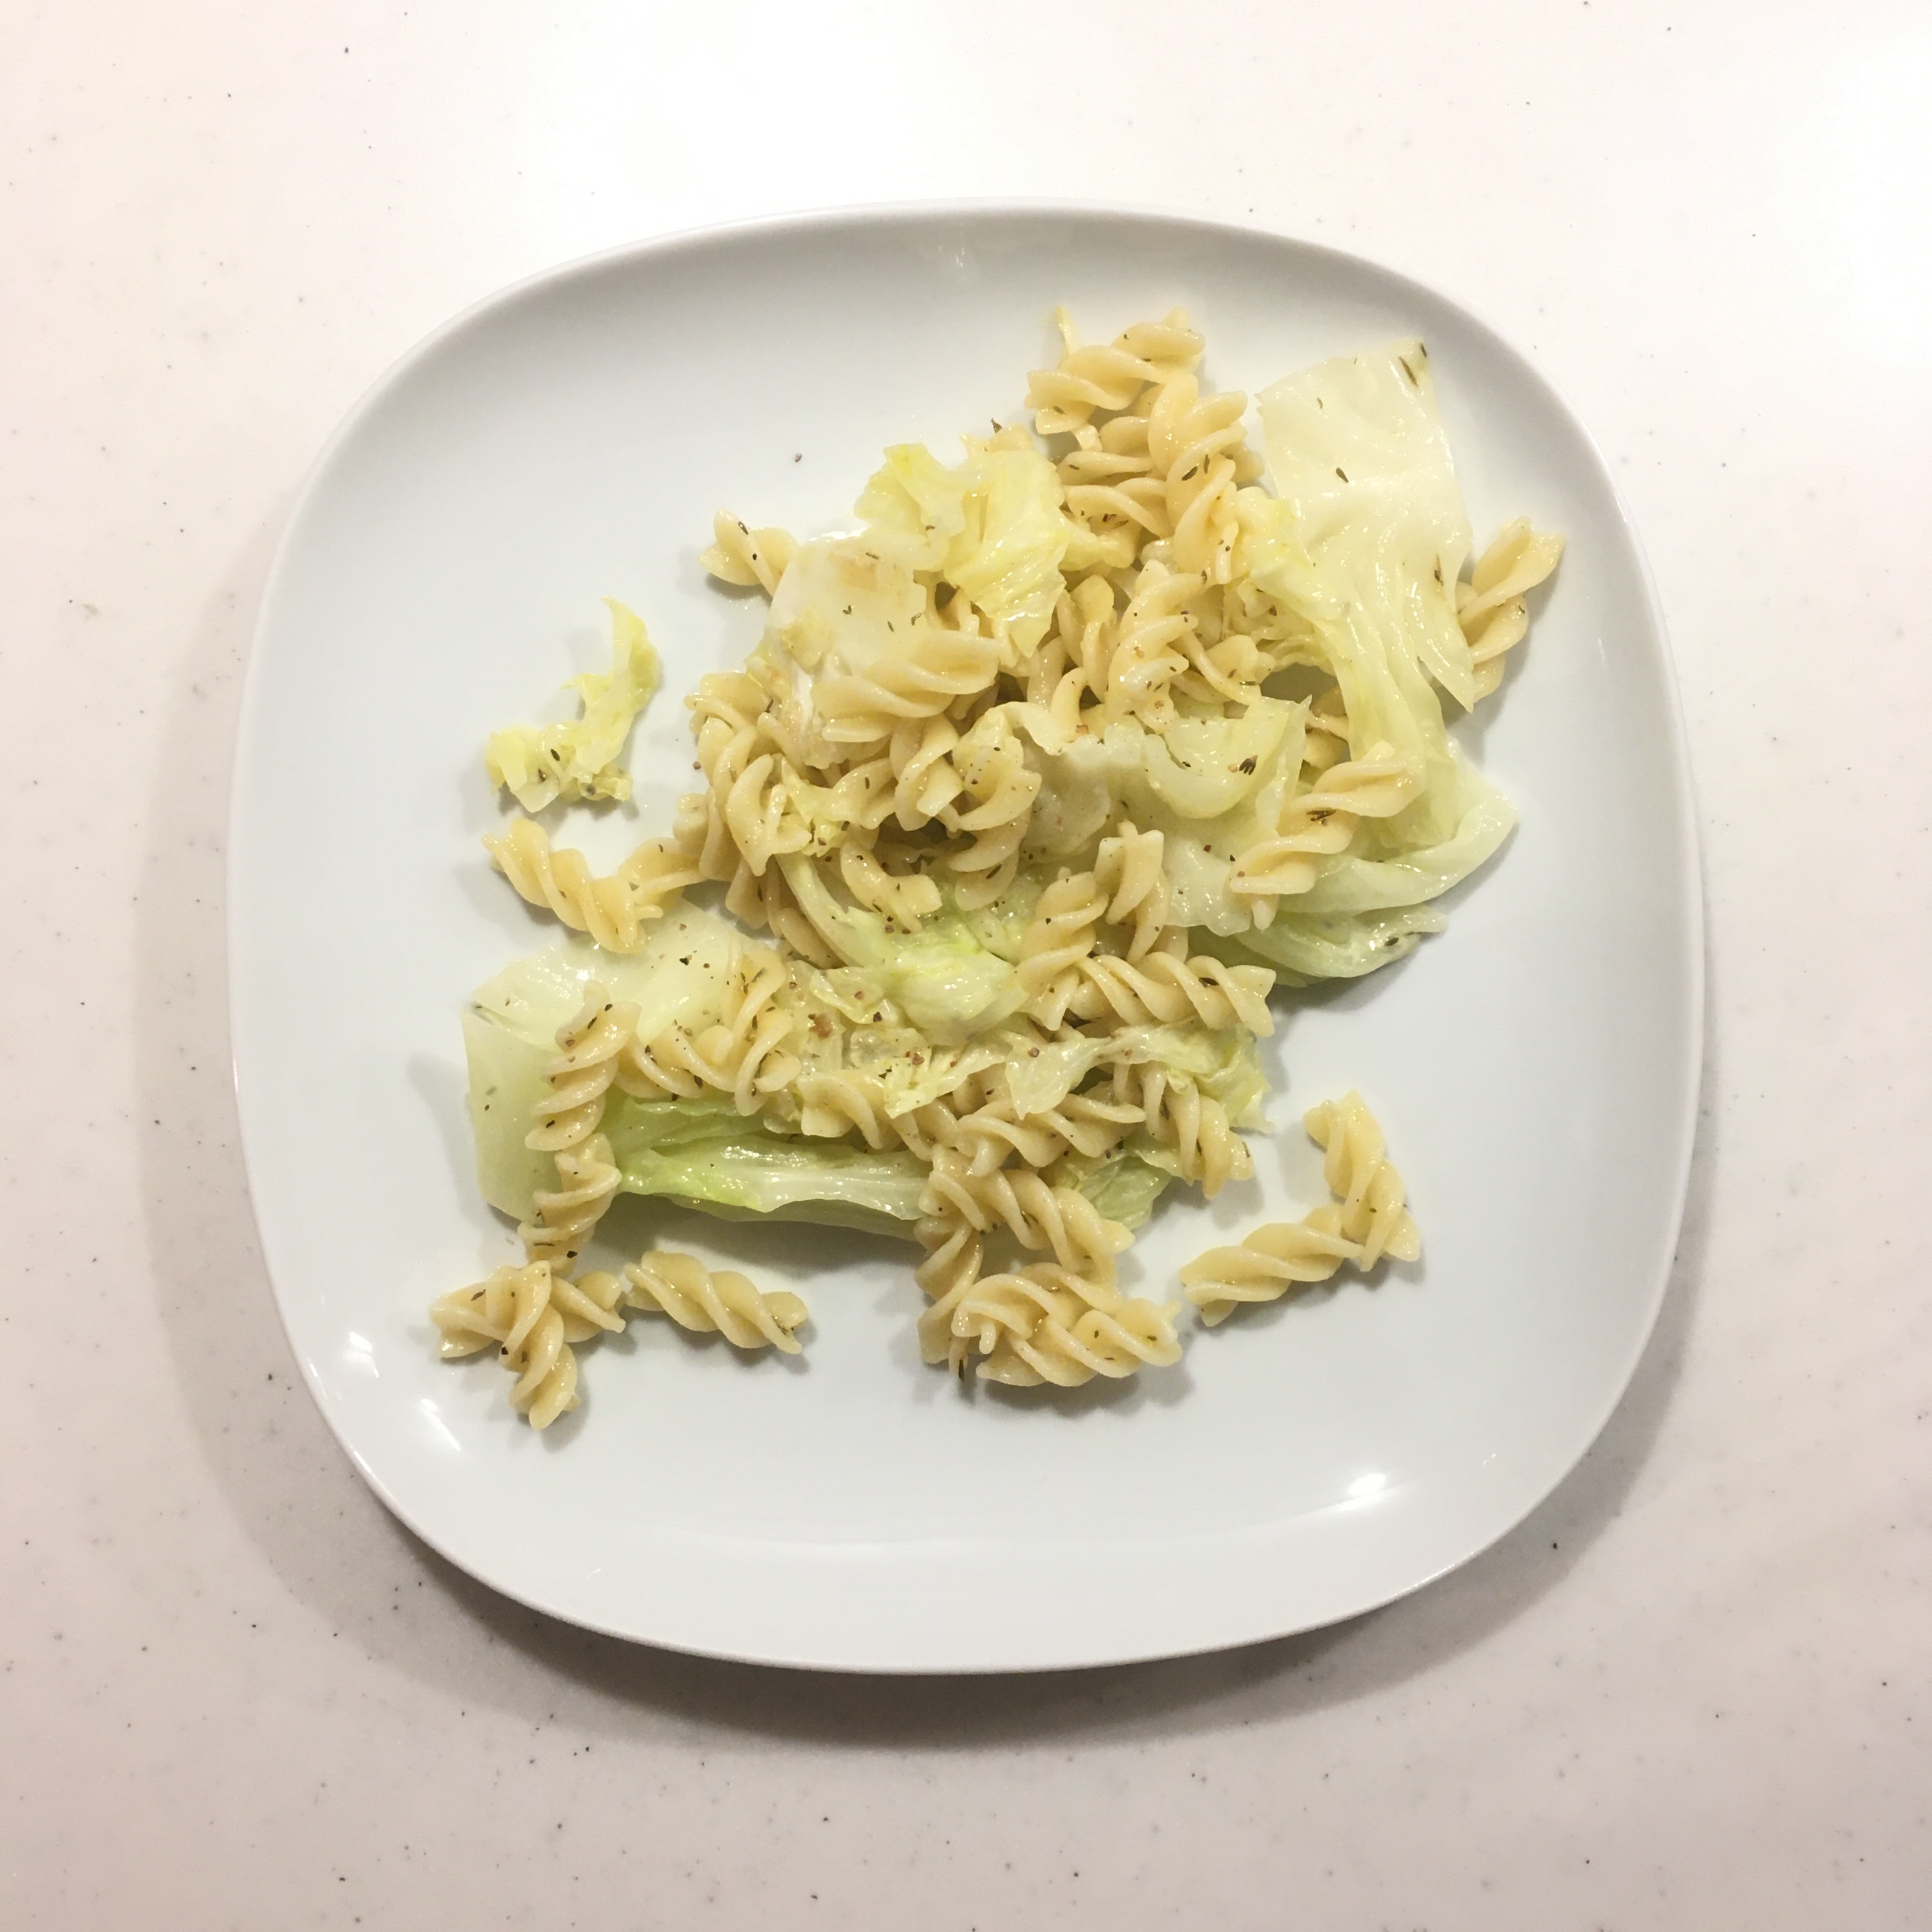
One is a vegan recipe very simple and perfect if you have a very fragrant olive oil. The second one is an adaptation of the classic Japanese kabocha salad and pasta salad. A vegetarian, warm version that is becoming a new favorite.

Cabbage pasta: (2 servings)

– 1/4 of a cabbage

– 125g of pasta of you choice

– olive oil

– thyme

– salt and pepper

Steam the cabbage for a few minutes, it should stay in shape but become just a bit translucide. Boil the pasta al dente, drain.

Cut the cabbage in large slices. In a pan greased with a bit of olive oil add the cabbage, the pasta, the thyme, salt and pepper and stir well at low heat. When well stirred add a bit of olive oil and serve to eat immigration.

Kabocha pasta warm salad (2 servings as starter or side, 1serving as main)

– 60g of pasta

– 2 kiri (equivalent to 2 tbs of cream cheese)

– 1/6 of kabocha

– salt, pepper, paprika

– 3-4 hazelnuts and 3-4 cashew nuts

Boil the pasta and the kabocha separately. Drain. In a bowl mash the kabocha with a spatula or a fork, add the cream cheese, salt, pepper and paprika. A pinch of each. Stir until creamy, add the pasta and stir well again. Top with a few hazelnuts and cashew nuts chopped. Enjoy!

Proudly powered by WordPress | Theme: Baskerville 2 by Anders Noren.

Up ↑

Verified by MonsterInsights