I am lucky to work with one of my students on the development of a system that proposes variations to things someone do depending on preferences… for developing such a system we decided to chose a concrete example, and the first idea that came to our mind was a system that could help you in making new recipes by trying adding popular ingredients. And to do a first real life experiment we needed something easy enough to prepare and with many possible variations. We picked omurice. The whole time we were meeting and discussing it reminded me how much I live omurice, and how little I cook it.
I also remembered that a long long time ago I promised to post the recipe of this popular wa-yo 和洋 recipe. But for some reason it seems I never did… so let’s fix this right now!!!
First of all let’s talk wa-yo food a bit. While Japan opened to the west for many things in the 19th century, it had continually had this very specific way of not copying but adapting to its own taste or resources the cultural elements of another civilization, such that in the end it creates a genuine Japanese part of culture. Food has many examples: curry-rice, castella, dorayaki, and omurice. It seems to be born in a cafe in Ginza in the early 20th century.
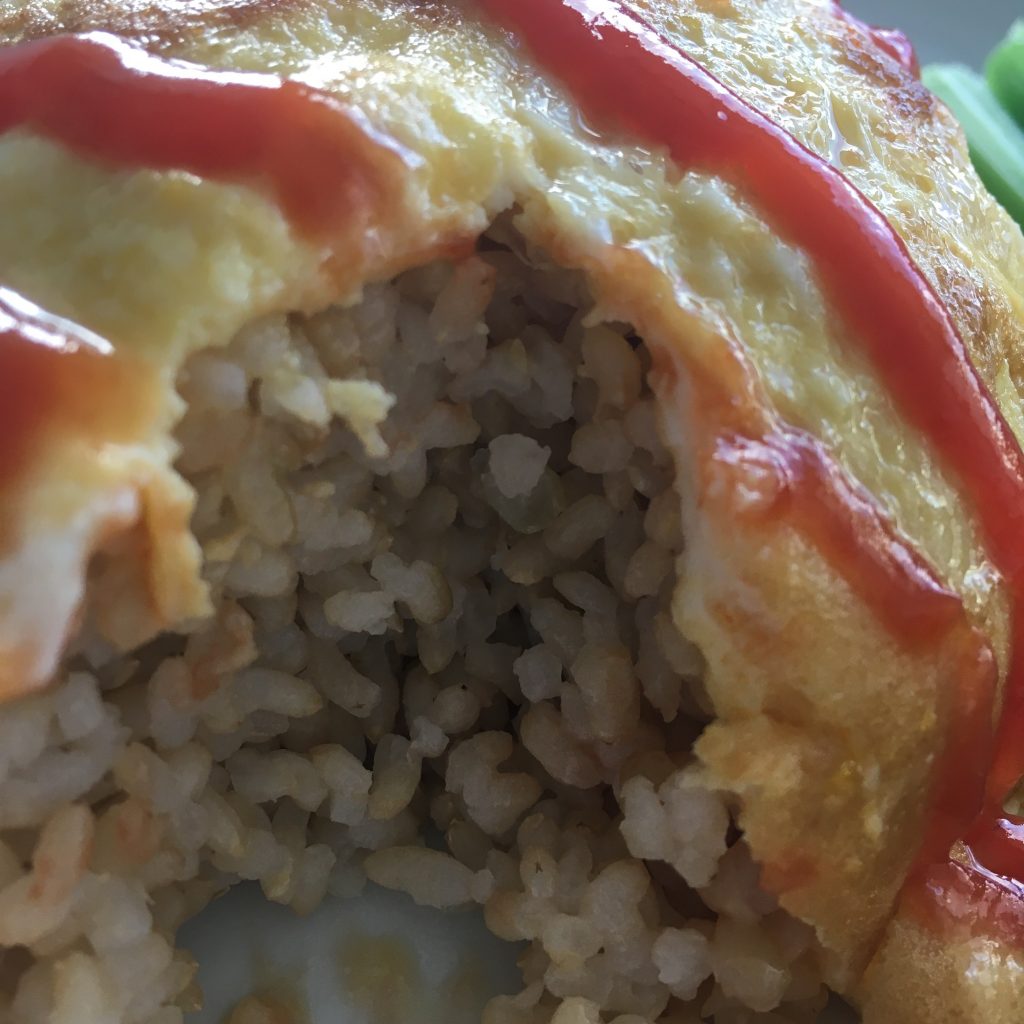
The first time I heard about omurice was when reading one of Murakami Ryu‘s novel: “coin lockers babies”. The translation and the way it was presented was that of a rice omelette. In my mind I imagined a batter of eggs with cooked rice in it, cooked in a frypan. How far from the truth I was!!! Omurice is a simple preparation for sure but with many variations. Each place that serves om-rice has its own recipe. It consists in three parts: the rice, the omelette and the sauce.
The rice: usually plain white rice, but can be also sautéed with green peas (my favorite) and small bit of pork… tomato sauce or tomato ketchup can also be added to the rice to give it a nice pink color. Mushrooms, chicken are also other options.
The omelette: it can be a rather straightforward omelette, or a more runny one, or something like very runny scrambled eggs. Usually plain. It is nice to have it a bit runny in any case as it mixes well with the rice.
The sauce: that’s where most of the creativity is, and often too much for me. One popular sauce in fancy om-rice recipe is the demiglass sauce デミグラスソース, made from red wine, beef consommé etc… but my ultimate favorite is just a splash of tomato ketchup. The simplest the better.
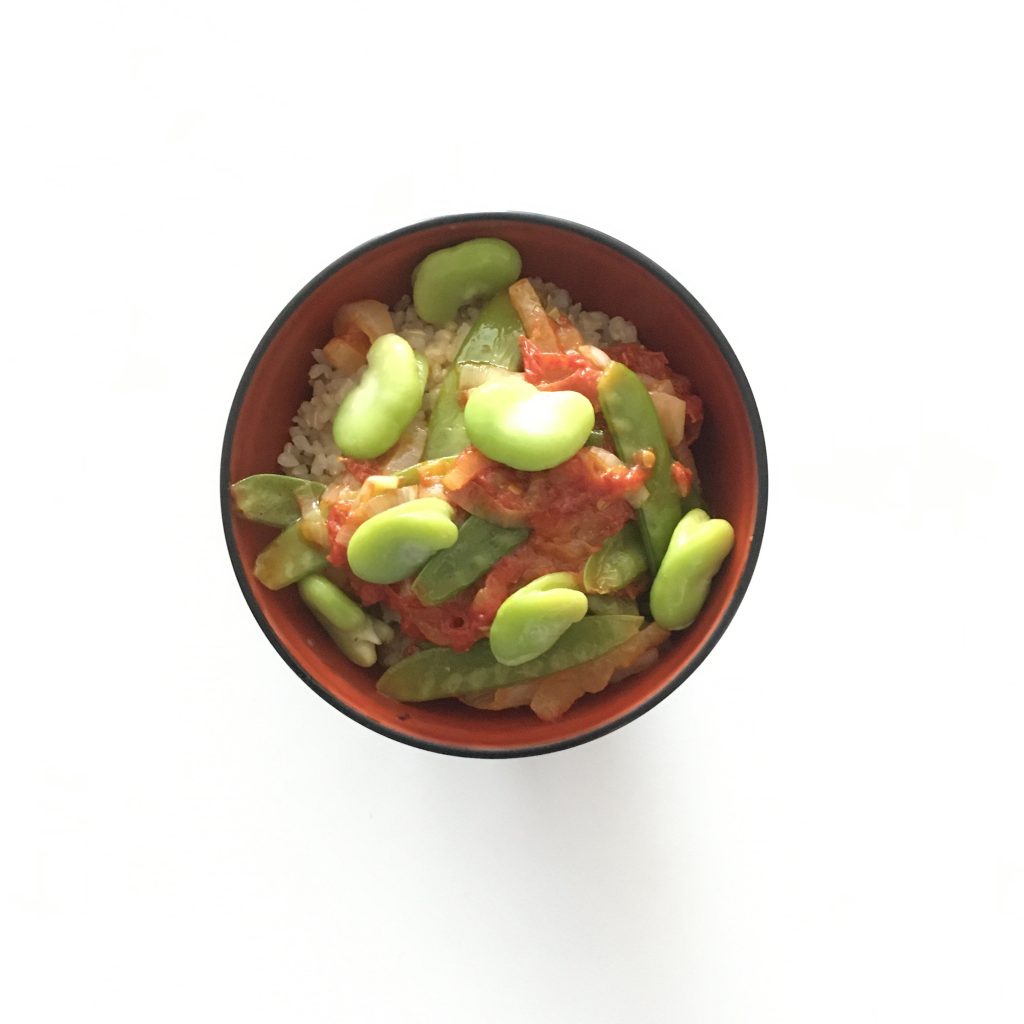
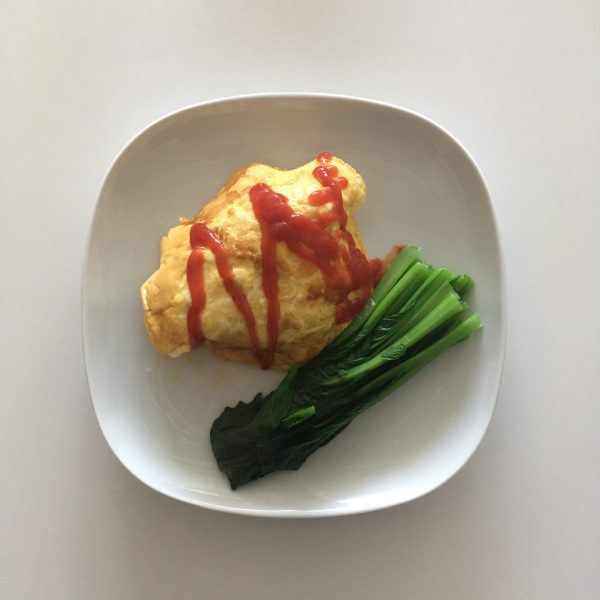
This time, I made omurice with brown rice and that was super delicious. A runny omelette on one side with 2eggs, a splash of tomato ketchup, and a side of blanched komatsuna.