Tarte au chocolat

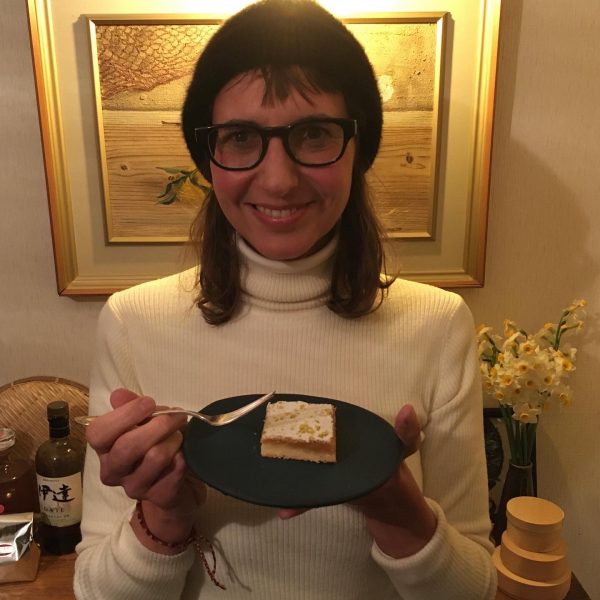
Every year, for more than 20 years I have made a strawberry tart for A.’s birthday. With a birthday in the prime of spring I always thought it was a great moment to celebrate strawberries and A.. Many times waiting for the cherry trees to bloom. This year, the cherry trees are in full bloom already and I always thought traditions are meant to be changed or twisted when opportunities are there.

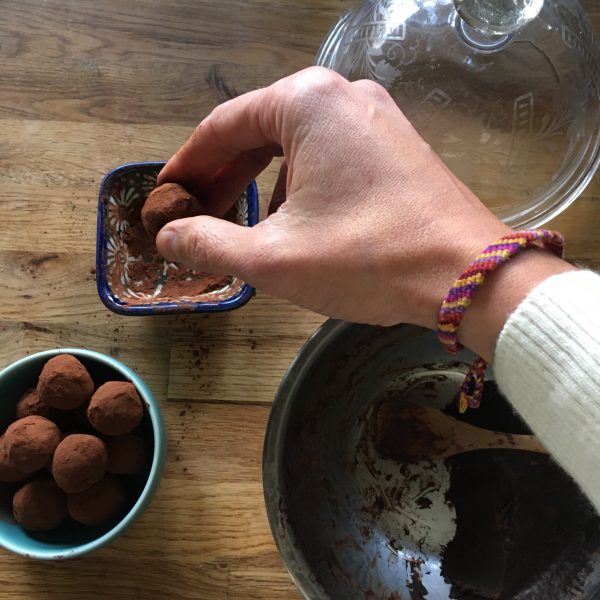
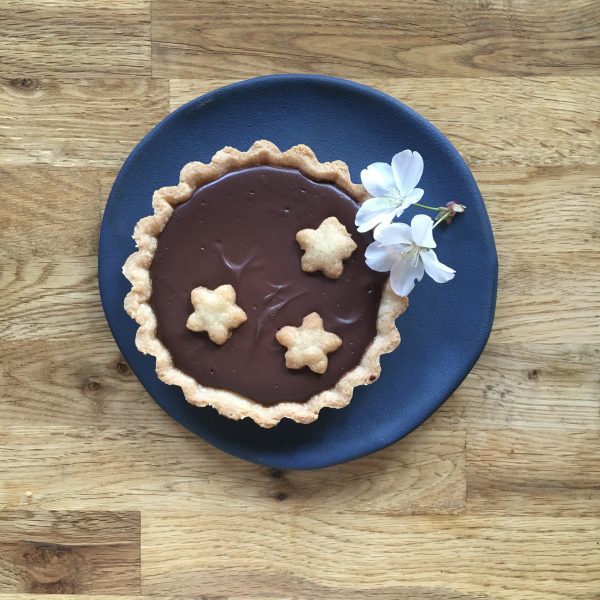
Two weeks ago I received a little package from France, from my childhood friend M. with a little cookbook and some bean to bar chocolate from a shop in our old neighborhood in Paris: Plaq. M. knows very well how much we love chocolate and well sourced products, together with a delicious bar of chocolate there was also some cocoa to cook. A.’s birthday strawberry tarts was all forgotten and it would be chocolate tart instead.

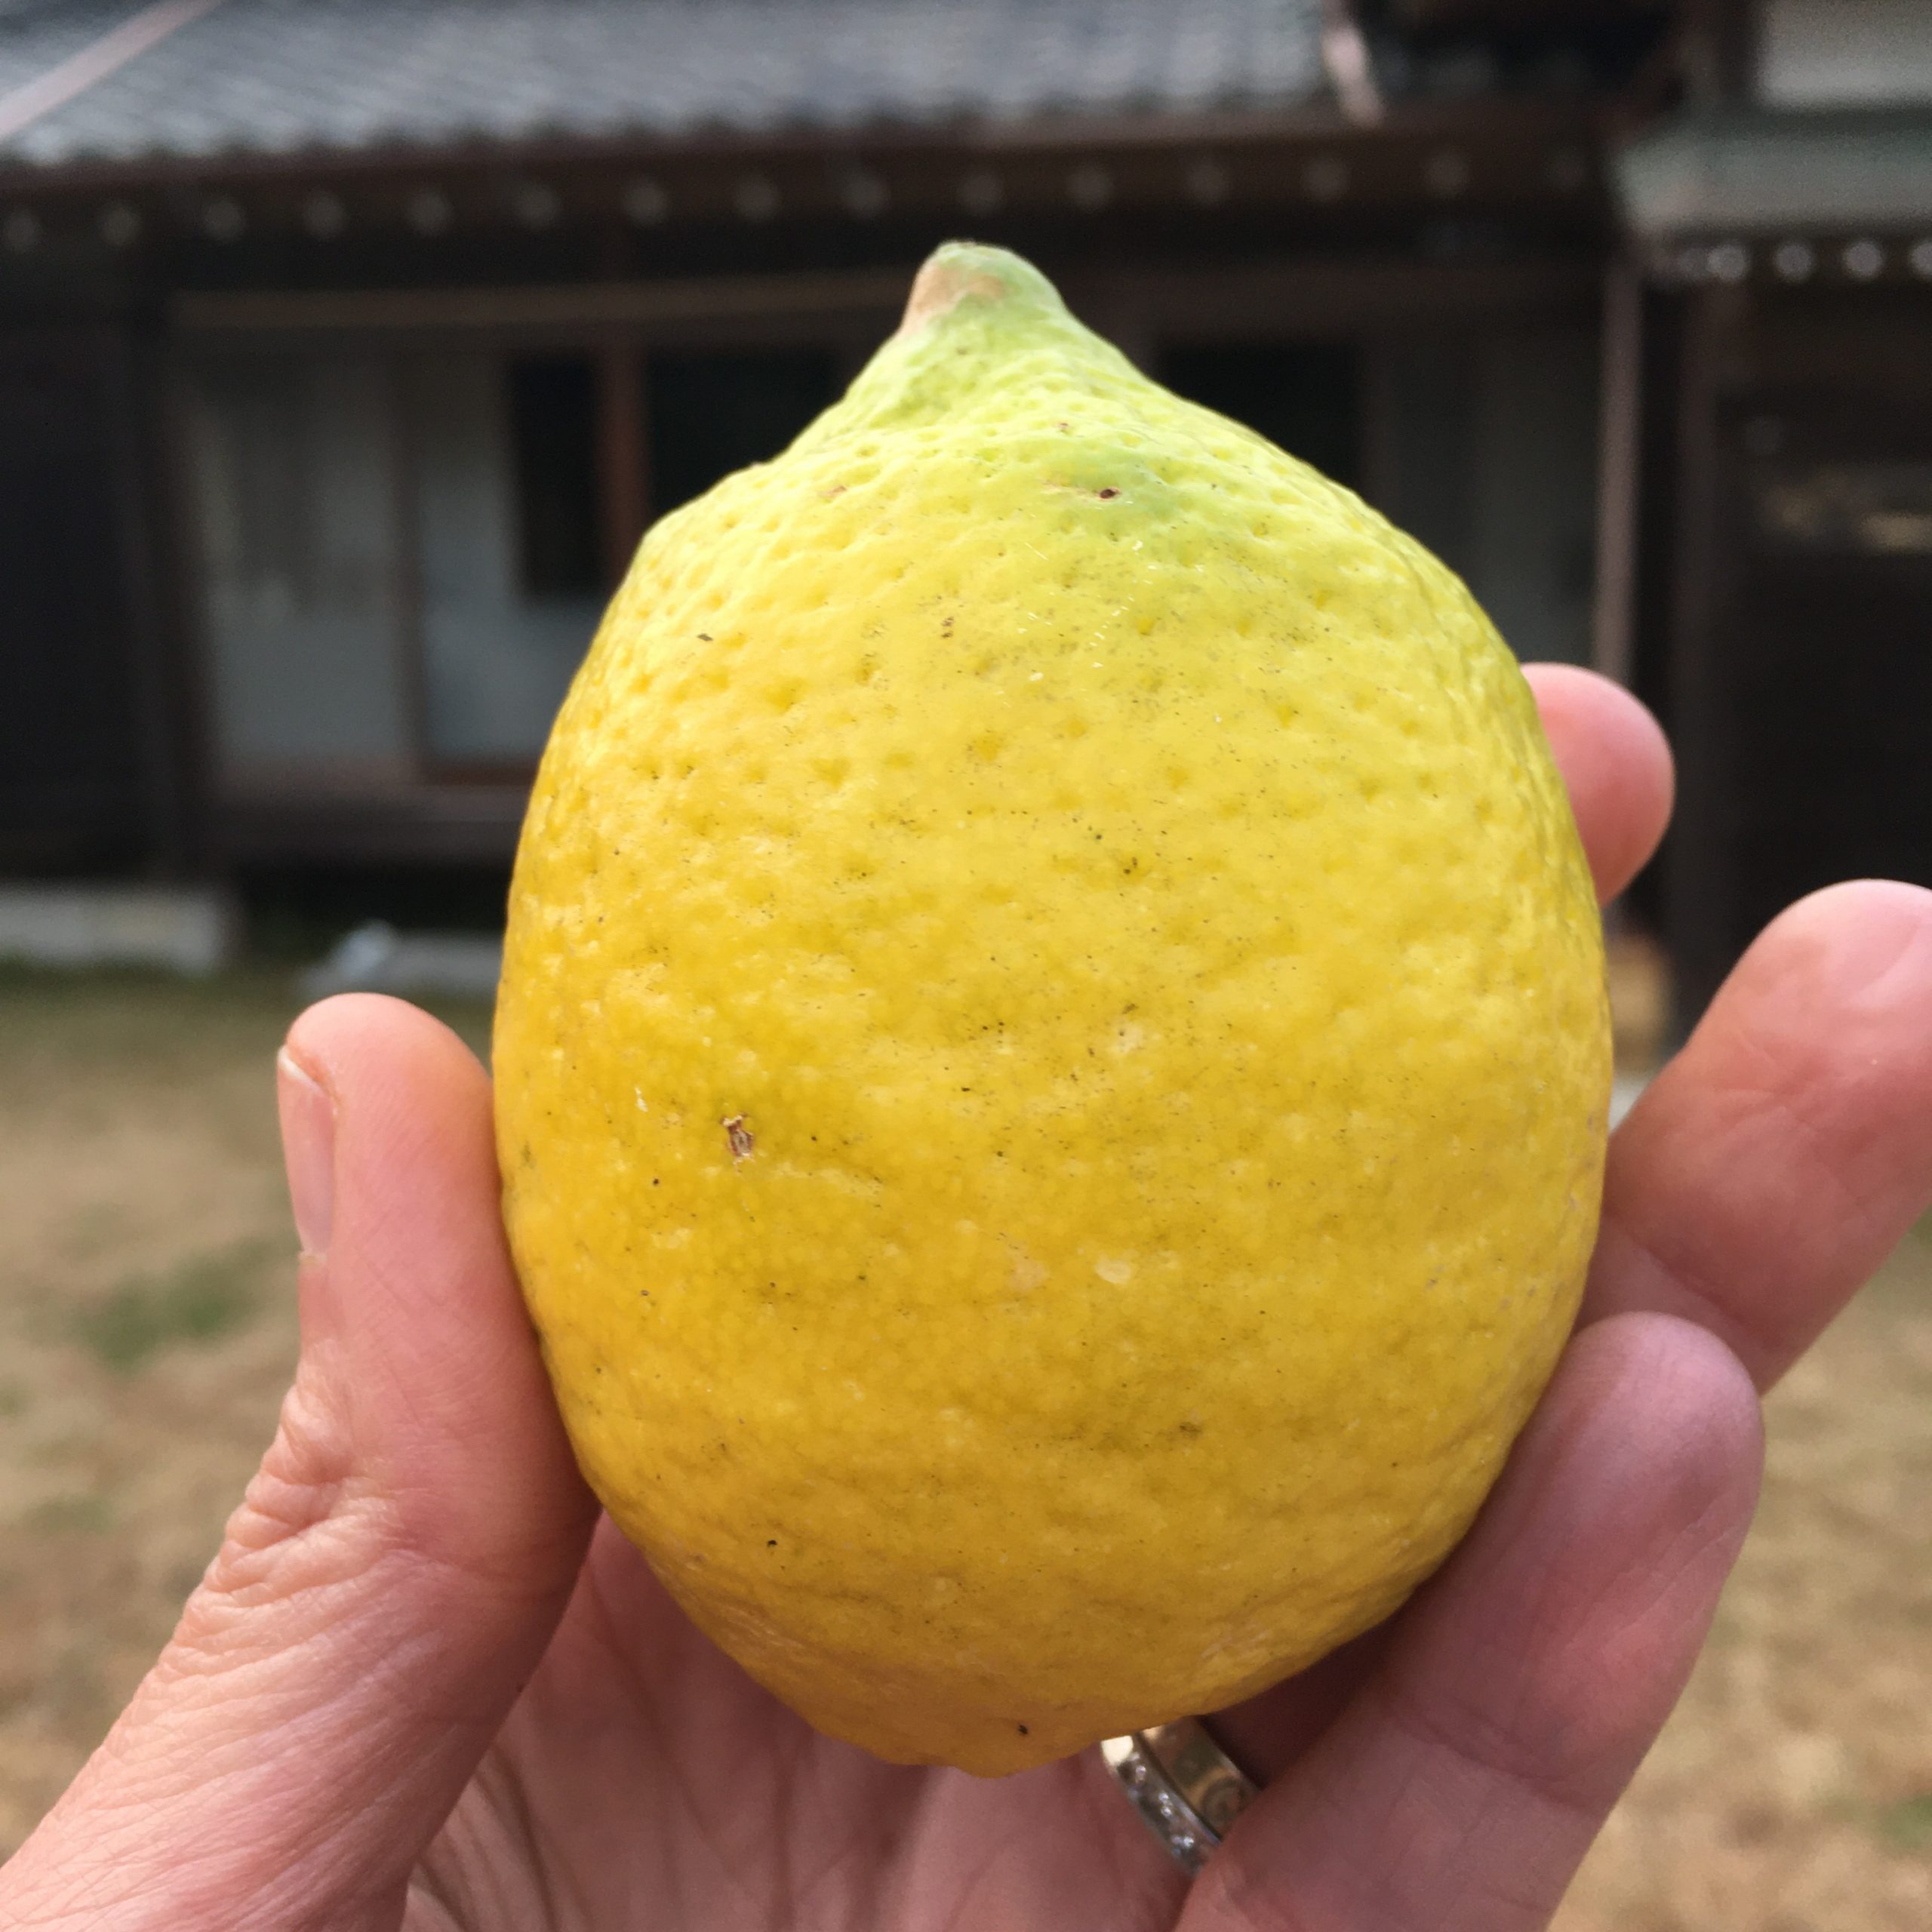
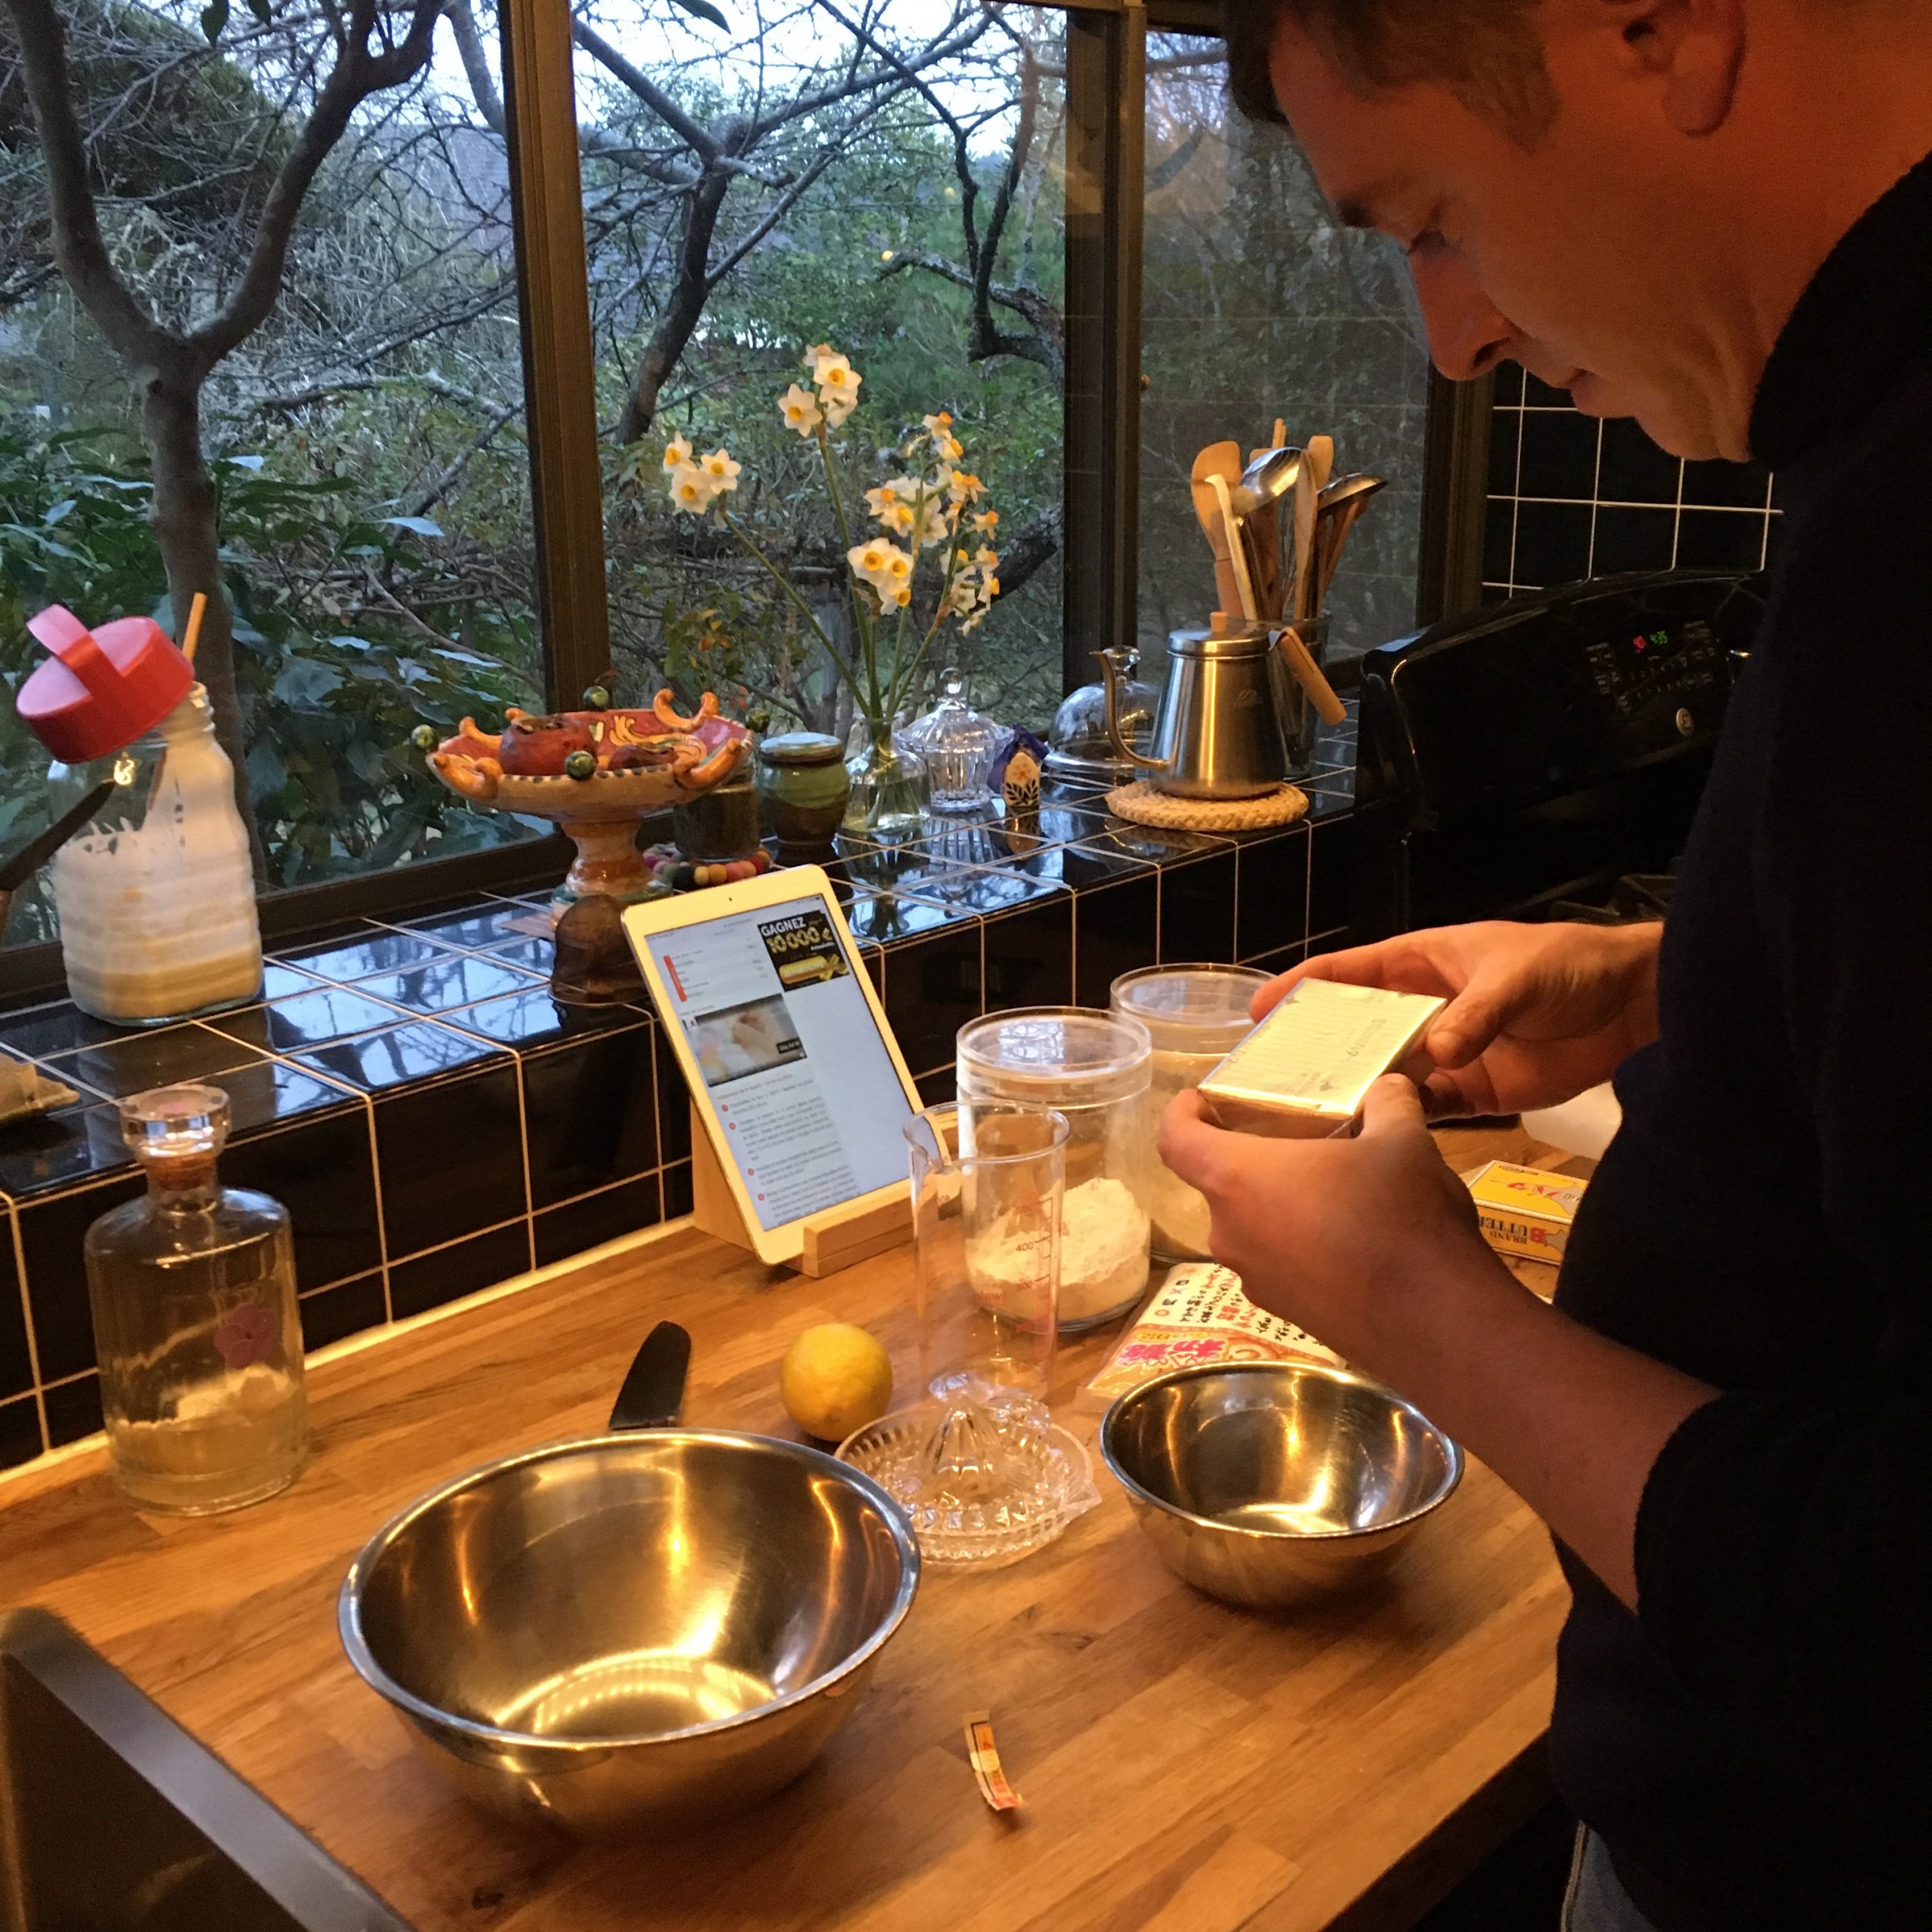
The plan was, and I browsed a few recipes online to get an idea of how to make the chocolate filling. The whole thing is very simple and requires fresh cream, so since the morning I had on my mind to buy some, except that we went grocery shopping we were on a rush, a bit more traffic than expected on the road, and A. was about to be late for a meeting. So fresh cream I forgot… damn… Hopefully I had some coconut cream so I decided to replace the fresh cream with it, and it added a very gentle twist in the taste, without being overwhelming. So met me share my recipe, I hope you’ll like it, we did, and it is soooo simple that I wonder why I never tried earlier!

Tarte au chocolat (makes 6 servings)

  • Flour-butter-sugar for the dough
  • 150g of chocolate, dark, for cooking or of cacao powder
  • 200ml of coconut cream
  • A bit of milk (if you use cocoa)
  • 1 egg

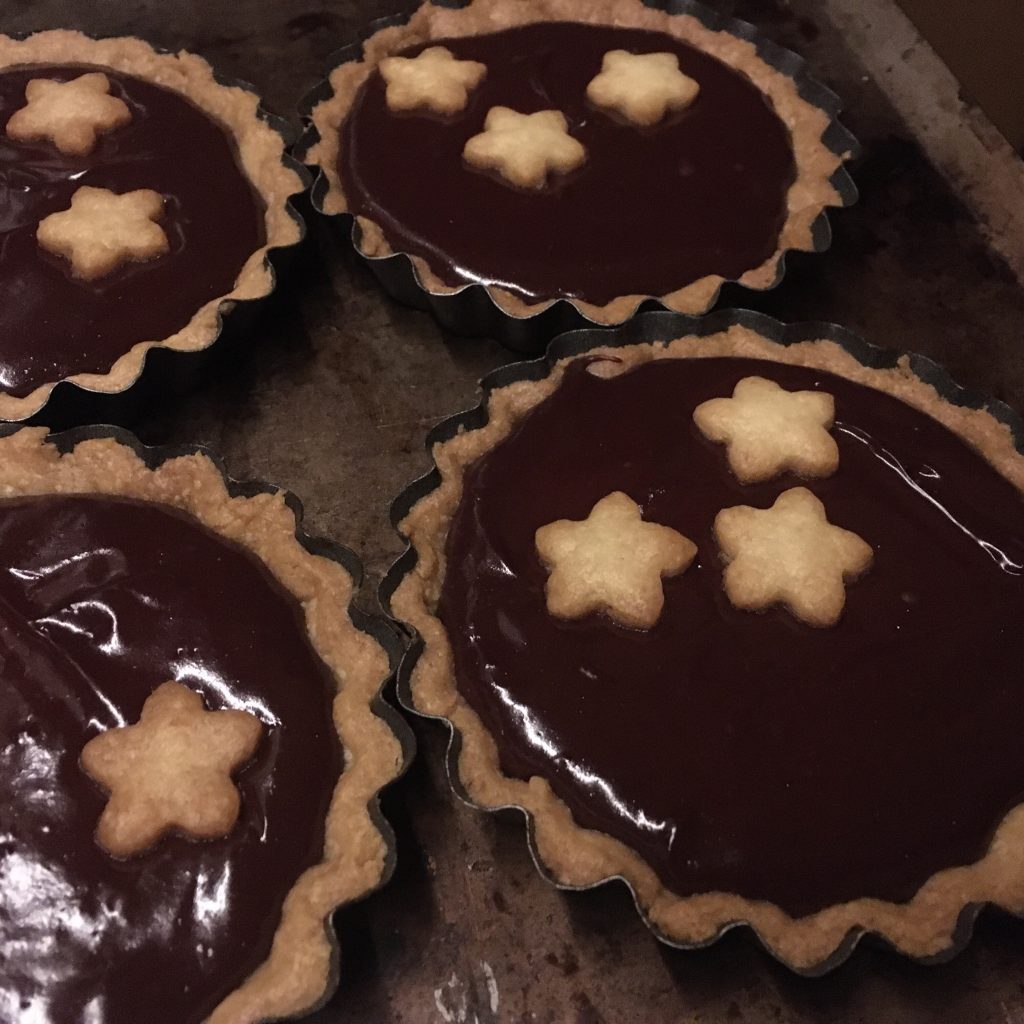
Prepare the sable dough the way you like it. I made mine very buttery and rather sweet as my cocoa was bitter and unsweetened. Set in individual shapes or a larger one also as you wish. With the cut parts I made sakura shaped little sablés. Cook at 180deg until just golden. Let cool a bit and remove from the pie dish if the bottom of the dish is not removable. Other with you may struggle once it if filled. Set on a baking sheet, as you’ll need to cook them again once filled.

In a pan warm the coconut cream and the chocolate or cocoa and stir until creamy. If you use cocoa you may want to add a bit of milk to make it creamier as it may bit a bit dry. But really just a bit. Stir well. Let

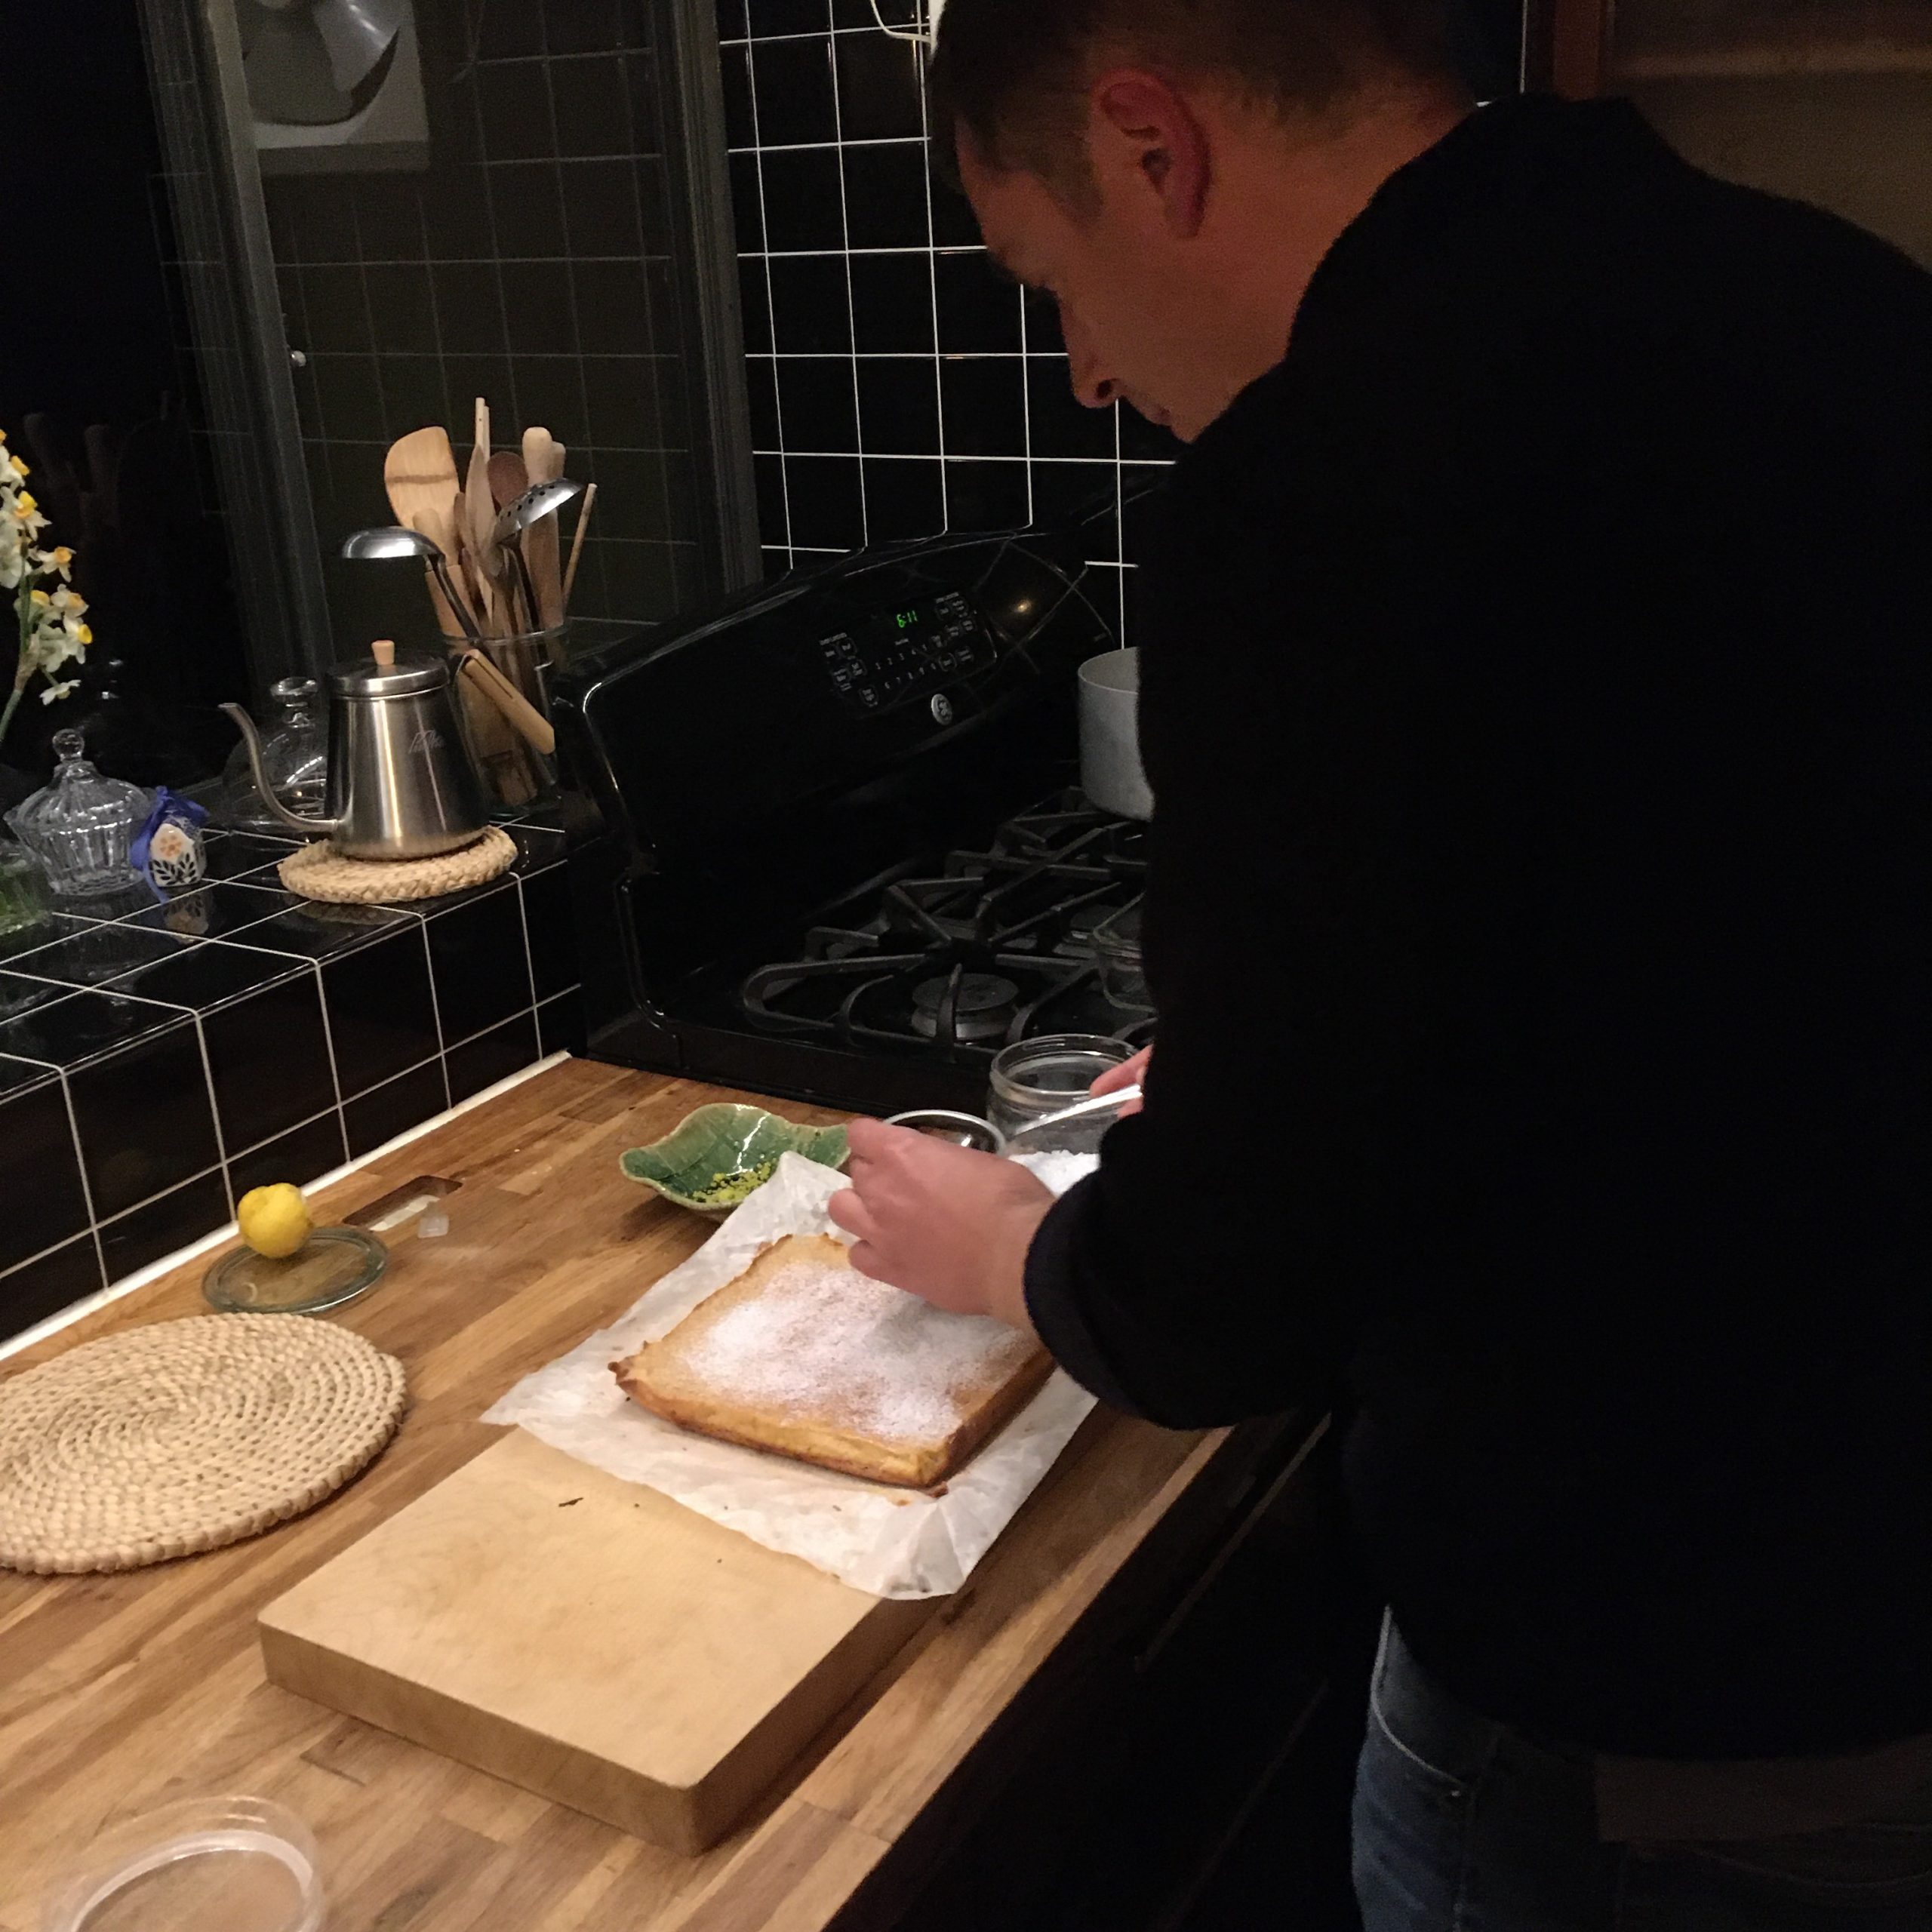
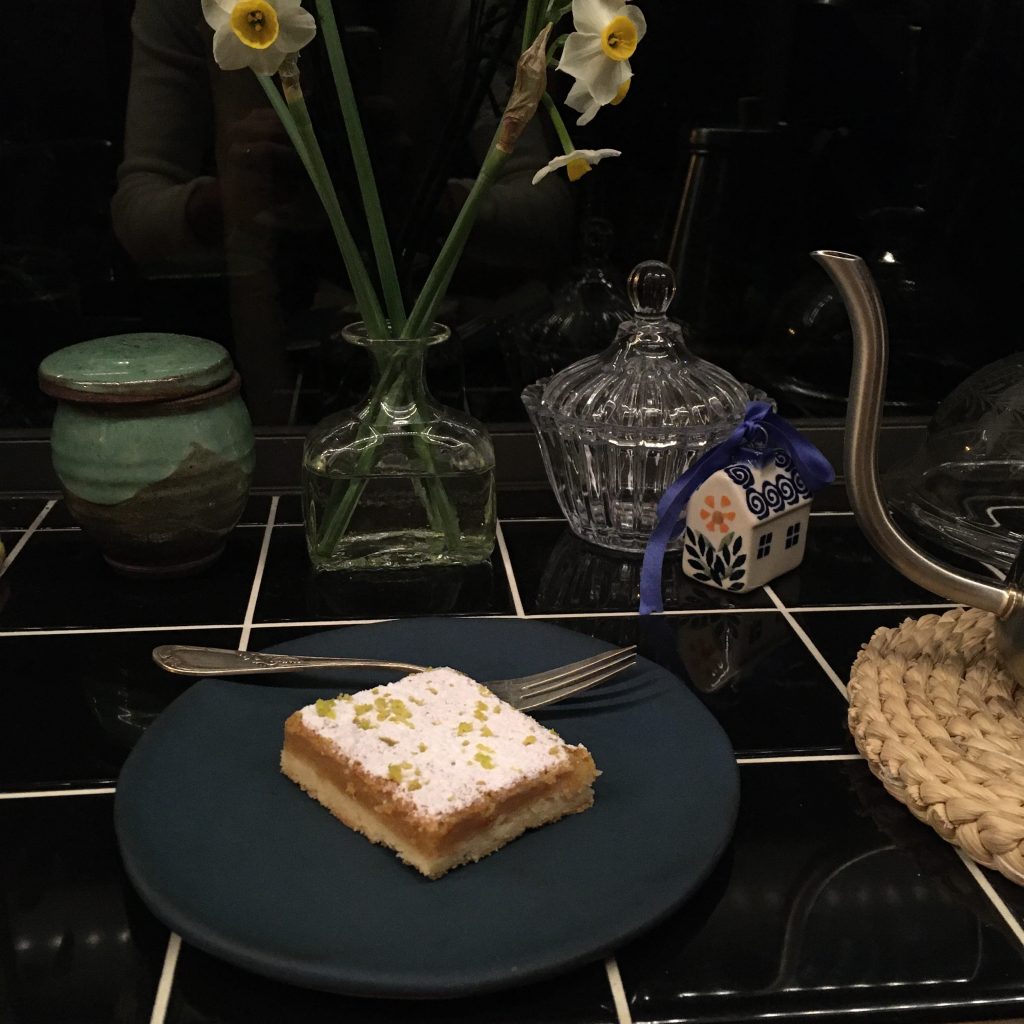
cool a bit and add the egg and stir again very well. Pour in the pie crust(s) you just baked. Decorate with the little sablés if you made any. Cook at 140 deg for about 15min, but this will depend on the size of your tarts. Best is to check visually: no bubbles on the side or very few, and when gently shaken it should look like an egg pudding (flan) and gently move. Serve warm or at room temperature. And enjoy!

Stuffed bread or kind of calzone

It’s past 20:00 and A. is done working. I know because I can hear him play a tune on his guitar from my “office”, meaning he is waiting for me to stop working and he is hungry… now is going to be a good time for me to think about dinner if we want to eat anytime soon! I am not in the mood for a Japanese recipe, nor for pasta… I was thinking about a quiche but that will take too much time to bake… so what then?

The rainy day makes me crave for a sunny recipe… I have this ball of campagne bread proving since the morning that has risen to a lovely volume. And this mozzarella from a local cheese farm I am slowly eating into bites as I think… diner is all decided! It will be a stuffed bread or a kind of calzone, with fresh vegetables in and mozzarella.

I turn on the oven to 250deg. I take a piece of my dough, about 10cm diameter ball, and roll it into a 4-5mm thin circle of 40-50cm diameter. Cut my mozzarella into slices, top half of the dough. Wash a tomato, a bundle of spinach, cut them and continue topping the half. Then I fold gently the second half and close it. It kinda look like a giant gyoza!! A bit of olive oil on the top, a pinch of salt, a few tiny pick to make some holes and in the oven for 20min!

The result was really great, crispy crust on the outside, but still a bit melting on the inside, infused with the vapors of the vegetables. Something I will do again for sure!!!

Scones x Qagħaq tal-Ħmira

The very special blend of spices, citrus fruits zest and sesame seeds of Maltese Qagħaq tal-Ħmira is still floating around me and inspires me a lot, but it’s not always that I can wait for my sourdough Lois to work slowly a dough which in this still cold season can be 12 to 24 hours… sometimes we need something to eat, QUICK!!!! So I came up with a scone version of Qagħaq tal-Ħmira… it may be a blasphemy to the true Maltese tradition, so I apologize for this rather crude recipe. But to my defense, this scone recipe brings in all the flavors of Qagħaq tal-Ħmira in only 25min: 10min of kneading & shaping and 15min of baking. The softness of the famous slightly brioché bread is replaced by a more crumbly dry scone one. Add jam, honey or butter to it, or it alone in bite version… it is truly nice! Really!!! Try it and tell me what you think!

Scones Qagħaq tal-Ħmira way

  • 150g of flour
  • 50g of butter
  • 30g of sugar
  • 1tsp of baking powder
  • 1 pinch of salt
  • 1tsp of ground cloves
  • 1tsp of anis seeds
  • 1/4 of orange zest
  • sesame seeds for the topping
  • a bit of water or milk

Pre-heat your oven at 180deg.

In a bowl mix all the ingredients except for the last two: sesame seeds and water/milk. Start kneading. Add a bit of water/milk while kneading until you obtain a homogeneous dough. Roll to 3cm thick and top with sesame seeds. Roll a little bit thinner and be sure the sesame seeds are well incrusted. Cut to the shape and size you want, and put on a sheet of cooking paper. Bake 15min, and enjoy as soon as you like.

Isn’t that super simple???

No need to wait for Valentine for a chocolate truffle!

While there is a tradition for girls to offer chocolate for Valentine in Japan and I usually prepare chocolate truffles for that occasion for A., I recently come with a truffle recipe that is so simple that I make some almost every month or so!! So there’s no need for me to wait for Valentine anymore to make truffles!!! Not that like them much, I usually don’t touch them, but this recipe finally makes them tolerable for me so I surprised myself eating a few!

Contrarily to another truffle recipe I published that I found was simple, this one is taking simplicity to another level. It requires only three ingredients: chocolate, cocoa powder and butter and is really quick. And because of the nature of the ingredients it keeps easily 3-4 days probably more but I never manage to pass that, it’s all gone before!! So if you like chocolate, simple sweets recipes and don’t have much time, this one is really a hit!

Chocolate truffles

  • 150g of dark chocolate
  • 10g of butter (I use salted one, I like the little touch it gives)
  • Cocoa powder for rolling

In a pan heated at low heat, melt the buter and the chocolate, and stir well to obtain an homogeneous texture. This is the ganache. Let it cool down. When it has, in a little bowl put some cocoa powder, with a spoon take a bit of ganache, roll it in your hands and then in the cocoa powder. And that’s one truffle! (Upper picture) Continue with the rest. Keep at room temperature if not too hot, or refrigerated. Don’t forget to take them out 1h before eating. Isn’t that simple???

Chandeleur VS Setsubun

In France, on February 2nd, it’s Chandeleur. A quick search on the internet told me that it’s Candlemas, a Christian celebration, 40 days after Christmas, the presentation of Jesus to the temple (thanks Wikipedia for enlightening my ignorance), but for me Chandeleur was just the day we ate crepes. A most awaited time as for some obscure reason my mum wouldn’t flip crepes often and we would for sure have some on February 2nd!!! One of my mother traditional savory filling was béchamel and ham, while I did like it then, I now barely prepare béchamel. A. doesn’t like it and I find it a bit heavy unless it is to eat with leeks or mushrooms only. My crepes filling is usually very simple: spinach, mushrooms, ham or prosciutto, eggs, cheese. Usually no more than two at the time, we are eating crepes not a kind of “put it all”… and it’s s good excuse to have a few crepes with different filling combinations!!!

To be honest, I care a lot less now of Chandeleur, because, as you may know if you follow me on Instagram, I flip crepes more often then I don’t! Crepes are my quick fix for a snack treat and A. loves them. And once in a while we also have savory crepes, or more precisely galettes, because I cannot help but love buckwheat crepes. I like them simple, with some vegetables and eggs, or ham and melted cheese. So over time I realize I have been skipping Chandeleur quite often, but who cares? As soon as you have a good crepe basic recipe you can make them anytime and realize how easy it is! You can easily change the wheat flour by 2/3 of buckwheat in my recipe to make galettes, you can even increase more the percentage of buckwheat, but don’t forget that with wheat comes gluten and with gluten comes consistency and firmness, so going gluten free means more cooking time before flipping and extreme carefulness in handling.

I don’t have a shallow crepes pan so I simply flip them in a large non sticky frypan slightly greased with butter, and it works perfectly well, no need to clutter the kitchen with this kind of goodies!

Have a good crepes flipping if you are planning to make some! I made some last week so I’ll pass today! Oh! And this year Setsubun 節分 is on February 2nd (it usually is on 3rd or 4th)… a celebration to welcome the new season (spring) that I love very much. I prefer by far traditions that are linked to seasons cycles or natural events rather than religions, so let’s throw beans to chase the evil out and hope for a quiet and peaceful home and year for everyone.

Lemon squares for my birthday

It’s a kind of rule at home that A. cooks only when I am too sick to cook, which happens every 5-10 years or so, and for my birthday tea-time. I would select a cake and he would make it, usually with a little help of my mother when we are together at this time, or with mine when that’s the only help he can get. My favorite birthday cakes involve usually fruits: apples 🍎 or lemons 🍋. This year our lemon tree gave only one lemon, which we preciously watched growing and yellowing until we could harvest it just for my birthday. A recipe that would use the whole fruit was my target, and I have seen many but never tried lemon squares so I opted for it. Difficulty minimum, preparation quick enough for A. to get through it. The basic idea of the recipe comes from this french website, with a few adjustments made on the spot as we were not satisfied with it. So here is my version of it. For those who have never had lemon squares (like me until yesterday, as it hasn’t really made its way to Japan) or seen any (they are everywhere so I hardly can believe it!!!), they consist on a sweet sable dough topped with a kind on custard made with the whole eggs. So it’s kind of close to a lemon tart but a lot easier to make… maybe it could be called lazy lemon tart.

Lemon squares (9 large squares, 16 medium)

  • 1 lemon
  • 100g of brown sugar
  • 150g+40g of flour
  • 125g of butter at room temperature is easier
  • 2 eggs
  • 40g of icing sugar plus a bit to sprinkle for finishing

First task is to prepare the sable dough. Pre-heat the oven at 180 degrees. In a bowl put 150g of flour, the icing sugar and the butter and knead to obtain an homogeneous mix. It maybe rather sticky. Try making a bowl of it and move to a sheet of cooking paper 30cmx30cm. Gently squeeze flat and lay another similar sheet of cooking paper on top. Roll to a 25x25cm square and set on oven proof receptacle of that size (mine is Pyrex). If you don’t have a square oven dish of that size you can use a rectangle one. The sharper the edges the nicer the cuts will be. Bake in the oven until it starts to slightly become golden. It should take 15-20min.

While the first layer is baking prepare the second one. Take the zest of the lemon, the juice. In a bowl beat the eggs and the sugar, add the lemon zest (keep just a bit for decor )and juice, the 40g of flour and stir well. As soon as the first layer is baked, take out the oven, add the second layer evenly and bake for 18min or so. If you overcook it’s going to be dry, undercooked it will be hard to have clean cuts.

Wait until it has cooled down to move to a cutting board, sprinkle with icing sugar and a few zests, and cut to squares the size you like. Enjoy!!!

New local cheeses 🧀

On rainy days when we can be outside in the garden, in the ocean or elsewhere there are a few things we like to do. One of them is to look at real estate agencies websites (that’s actually how we found our house), and simultaneously look at google map satellite view and see the properties, the local terrain… and usually find new things around, hiking spots or roads to explore by bicycle. That’s exactly what happened the other day. While we were searching for woods to acquire (without success) we found the cheese factory called Ikagawa that is just 8km away from home on a nice small road, so a perfect short ride by bicycle. Not that Ikagawa farm is new. They’ve been around for at least 10 years. Just we never found out before…

As soon as the weather got better we took out bicycles, went up and down the hills inland and found the place. From the website it seemed tiny, but it looked like the cows were there. They weren’t, they are in the farm 10min ride away, and as it was late and getting dark we didn’t go. We only saw a very friendly dog and a goat. And the tiniest “shop” that is barely a counter. We were nicely welcomed and presented with the cheeses. A few varieties, but the ones I came for were the hard cheeses 🧀. They have two varieties of hard cheese. I got both.

I baked a sourdough bread back home. Oh! Yes! Sourdough… you read well. I cook everything sourdough now and I am very pleased with it. I start to get things well now!!! And breakfast for the next day was all set! Both cheese were delicious and we’ll be back for sure! We are so lucky that Isumi has such delicious cheeses factories and it is really great to see that there are many farms doing different cheeses. If you come around Isumi, I recommend you get a cheese factory tour!!!

Quick ravioli

“Lucky” store in Isumi not only sales wines, sakes and rare whisky (they still have some aged Hibiki, which is quite rare to find now), they also sale a few local products with a small stall of cheeses. So while A. browses the liquor shelfs, I usually check the local cheeses from a tiny cheese factory. I like their ricotta, their cottage cheese and the sort of dried mozzarella they make. More than often the shelf is rather empty… but last time I got lucky as there was some ricotta. Ricotta… hum… together with the spinach season starting… that means ravioli!!!

I planned to do them on Saturday night originally but I got busy and wanted to sleep early before my first bodyboard contest, meaning waking up before sunrise… so ravioli making was postponed… until last night when A. was having meetings until rather late so I had a bit of time to cook.

The longest wave I’ve ever ridden and got the highest score with in the first round of the contest!!

But I had not too much time either, so it had to be quick… and in Tokyo my kitchen is tiny and my pasta machine is in Isumi so it would be hand rolled pasta… I also realized I was out of eggs so that would be vegan pasta, a bit more difficult to roll, adding to the challenge. I decided that paper thin pasta would be for another time, so I prepared something almost like some Russian pelmeni… It was truly delicious!!! So here is my recipe below, enjoy!

Quick ravioli (2 servings)

For the vegan pasta

  • 100g of flour
  • 2tbs of olive oil
  • A bit of water

For the filling

  • 100g of fresh ricotta
  • A few bundles of spinach
  • A handful of walnuts
  • Salt and pepper

Mix the flour and the oil, add a bit of water and knead to obtain a smooth dough. Add water if needed drop by drop. This shouldn’t take more than 10min to make. I did it between two meetings!!! Let to rest for 1h or 2 under a moist cloth. That gives time to work a little longer!!!

For the filling, wash the spinach and blanched them. Drain very very well. In a bowl mix with the ricotta, salt and pepper. Squeeze the walnuts as fine as possible, and to the mix, and stir well.

30min before dinner time, roll the dough of a surface tipped with flour. Set about a tea spoon of filling for one ravioli. Save a tbs of filling for the sauce. Cover with a layer of dough, close and cut the ravioli. Cook a large pan of boiling water. In the meantime in a frypan add olive oil and the leftover filling, stir. When the ravioli are boiled move them to the pan without draining them properly, and cook them two more minutes in the pan, covering them well in the sauce. Serve and eat! You can add a bit of freshly grated parmegiano.

Chestnut flour pancake 2-ways

Funnily Japanese are very found of chestnuts 栗 kuri, and the fall comes with all sort of chestnut preparations savory and sweet. The most famous is probably 栗ご飯 kurigohan (rice with chestnut) or 栗の渋皮煮 kuri no shibukawa ni (boiled chestnut in syrup). The use of chestnut flour though is more restricted, and often limited to some mochi preparations. So finding chestnut flour in Japan is not an easy task… luckily my parents once in a while send me a package from France, and chestnut flour, and green lentils are often on my order list!!! To be honest, I’ve never seen chestnut flour in any of our trips to the mountains in Japan, or in regions where they might produce some, though I always stop at local shops and markets or farmers cooperatives.

So this recipe may not be the most local one, but for me it is something that I really love in autumn. It is naturally very sweet, yet flavorful. It reminds me of Cevennes, Corsica or Tuscany. It is rustic yet refined because so rare now.

Chestnut pancakes

  • 100g of chestnut flour
  • 50g of wheat flour
  • 1tsp of baking powder
  • 1 egg
  • water

Simple as it is to make pancakes… simply mix all the ingredients to obtain a silky but thick dough by adding water little by little. Cook in a non-sticky fry pan. I use a small-medium one and made one at a time for the savory ones, and made two at once for the sweet ones.

For the savory ones, I cooked in a pan with a bit of olive oil: mushrooms (nameko for their beautiful color!), kabocha and komatsuna. Add cheese from Takahide farm for me and sausages from Isumi for A..

For the sweet ones I topped with dark chocolate, melted in the last minute of cooking, a sprinkle of brown sugar and a splash of olive oil.

Cheese version for she
Sausages version for he

Proudly powered by WordPress | Theme: Baskerville 2 by Anders Noren.

Up ↑

Verified by MonsterInsights