Chickpeas and orrecchiete, an heresy?

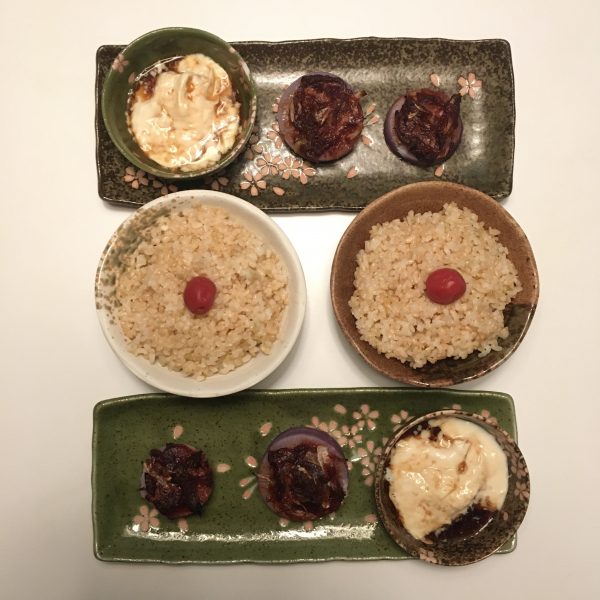
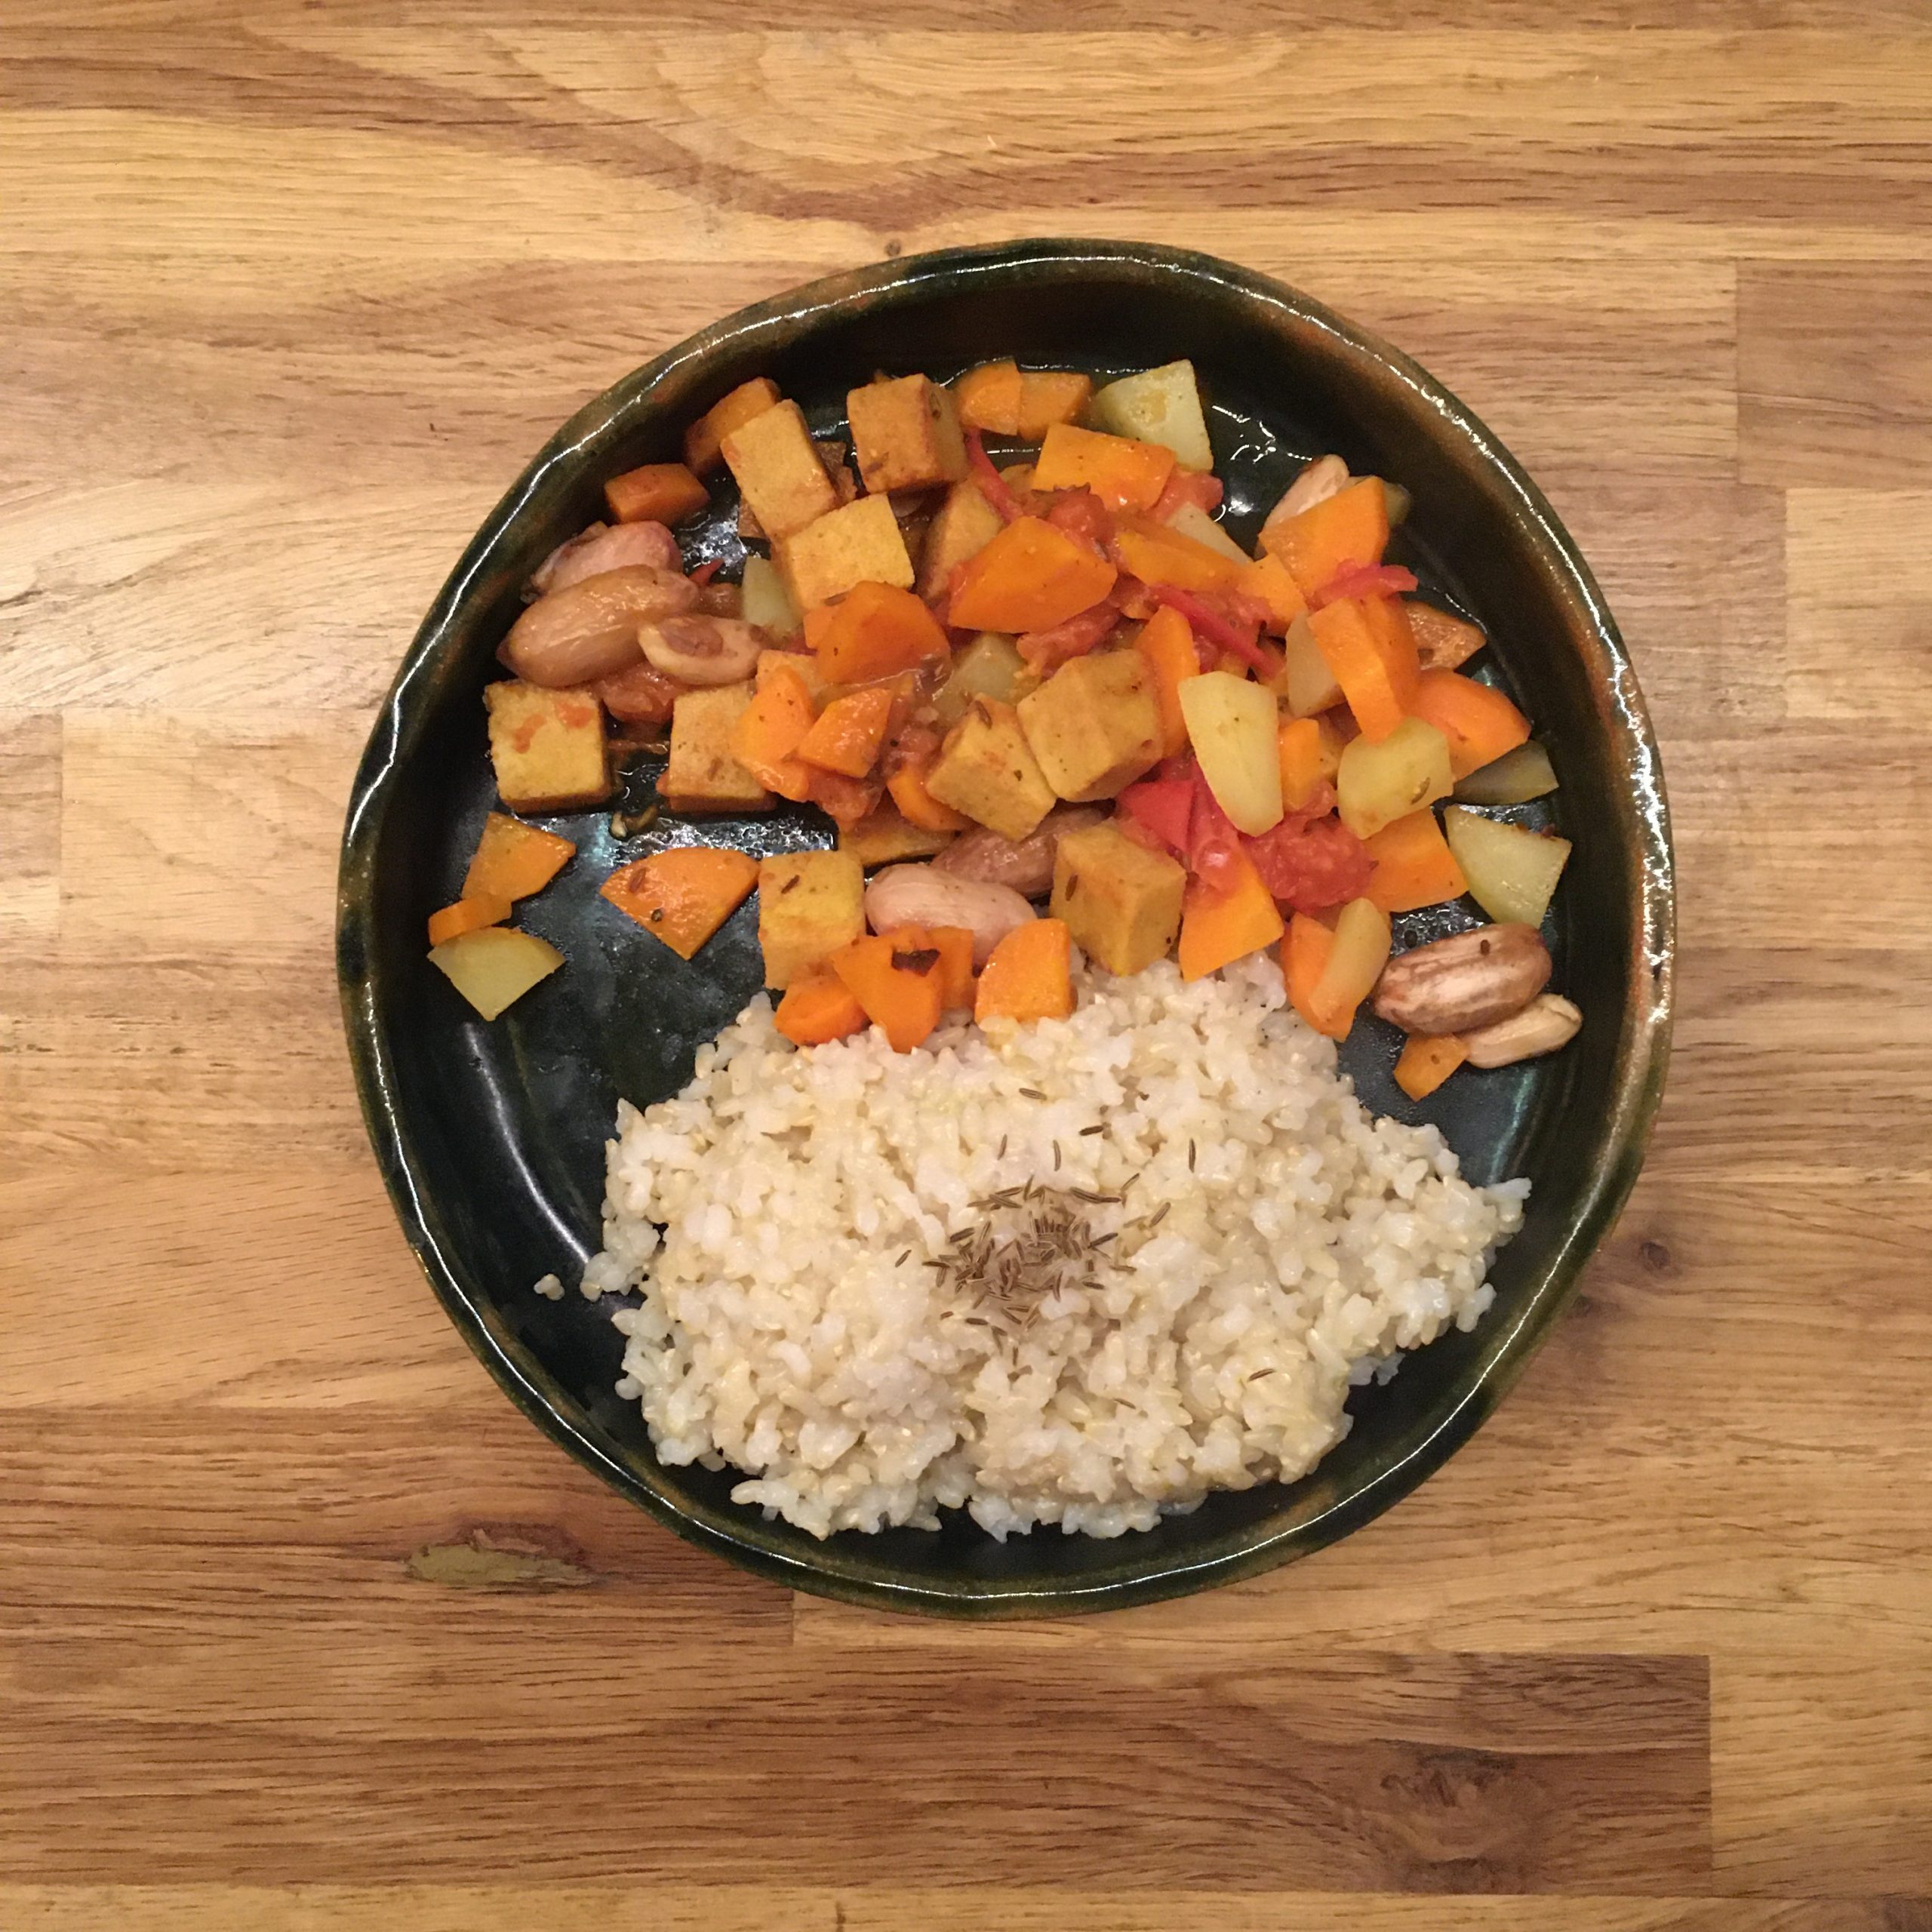
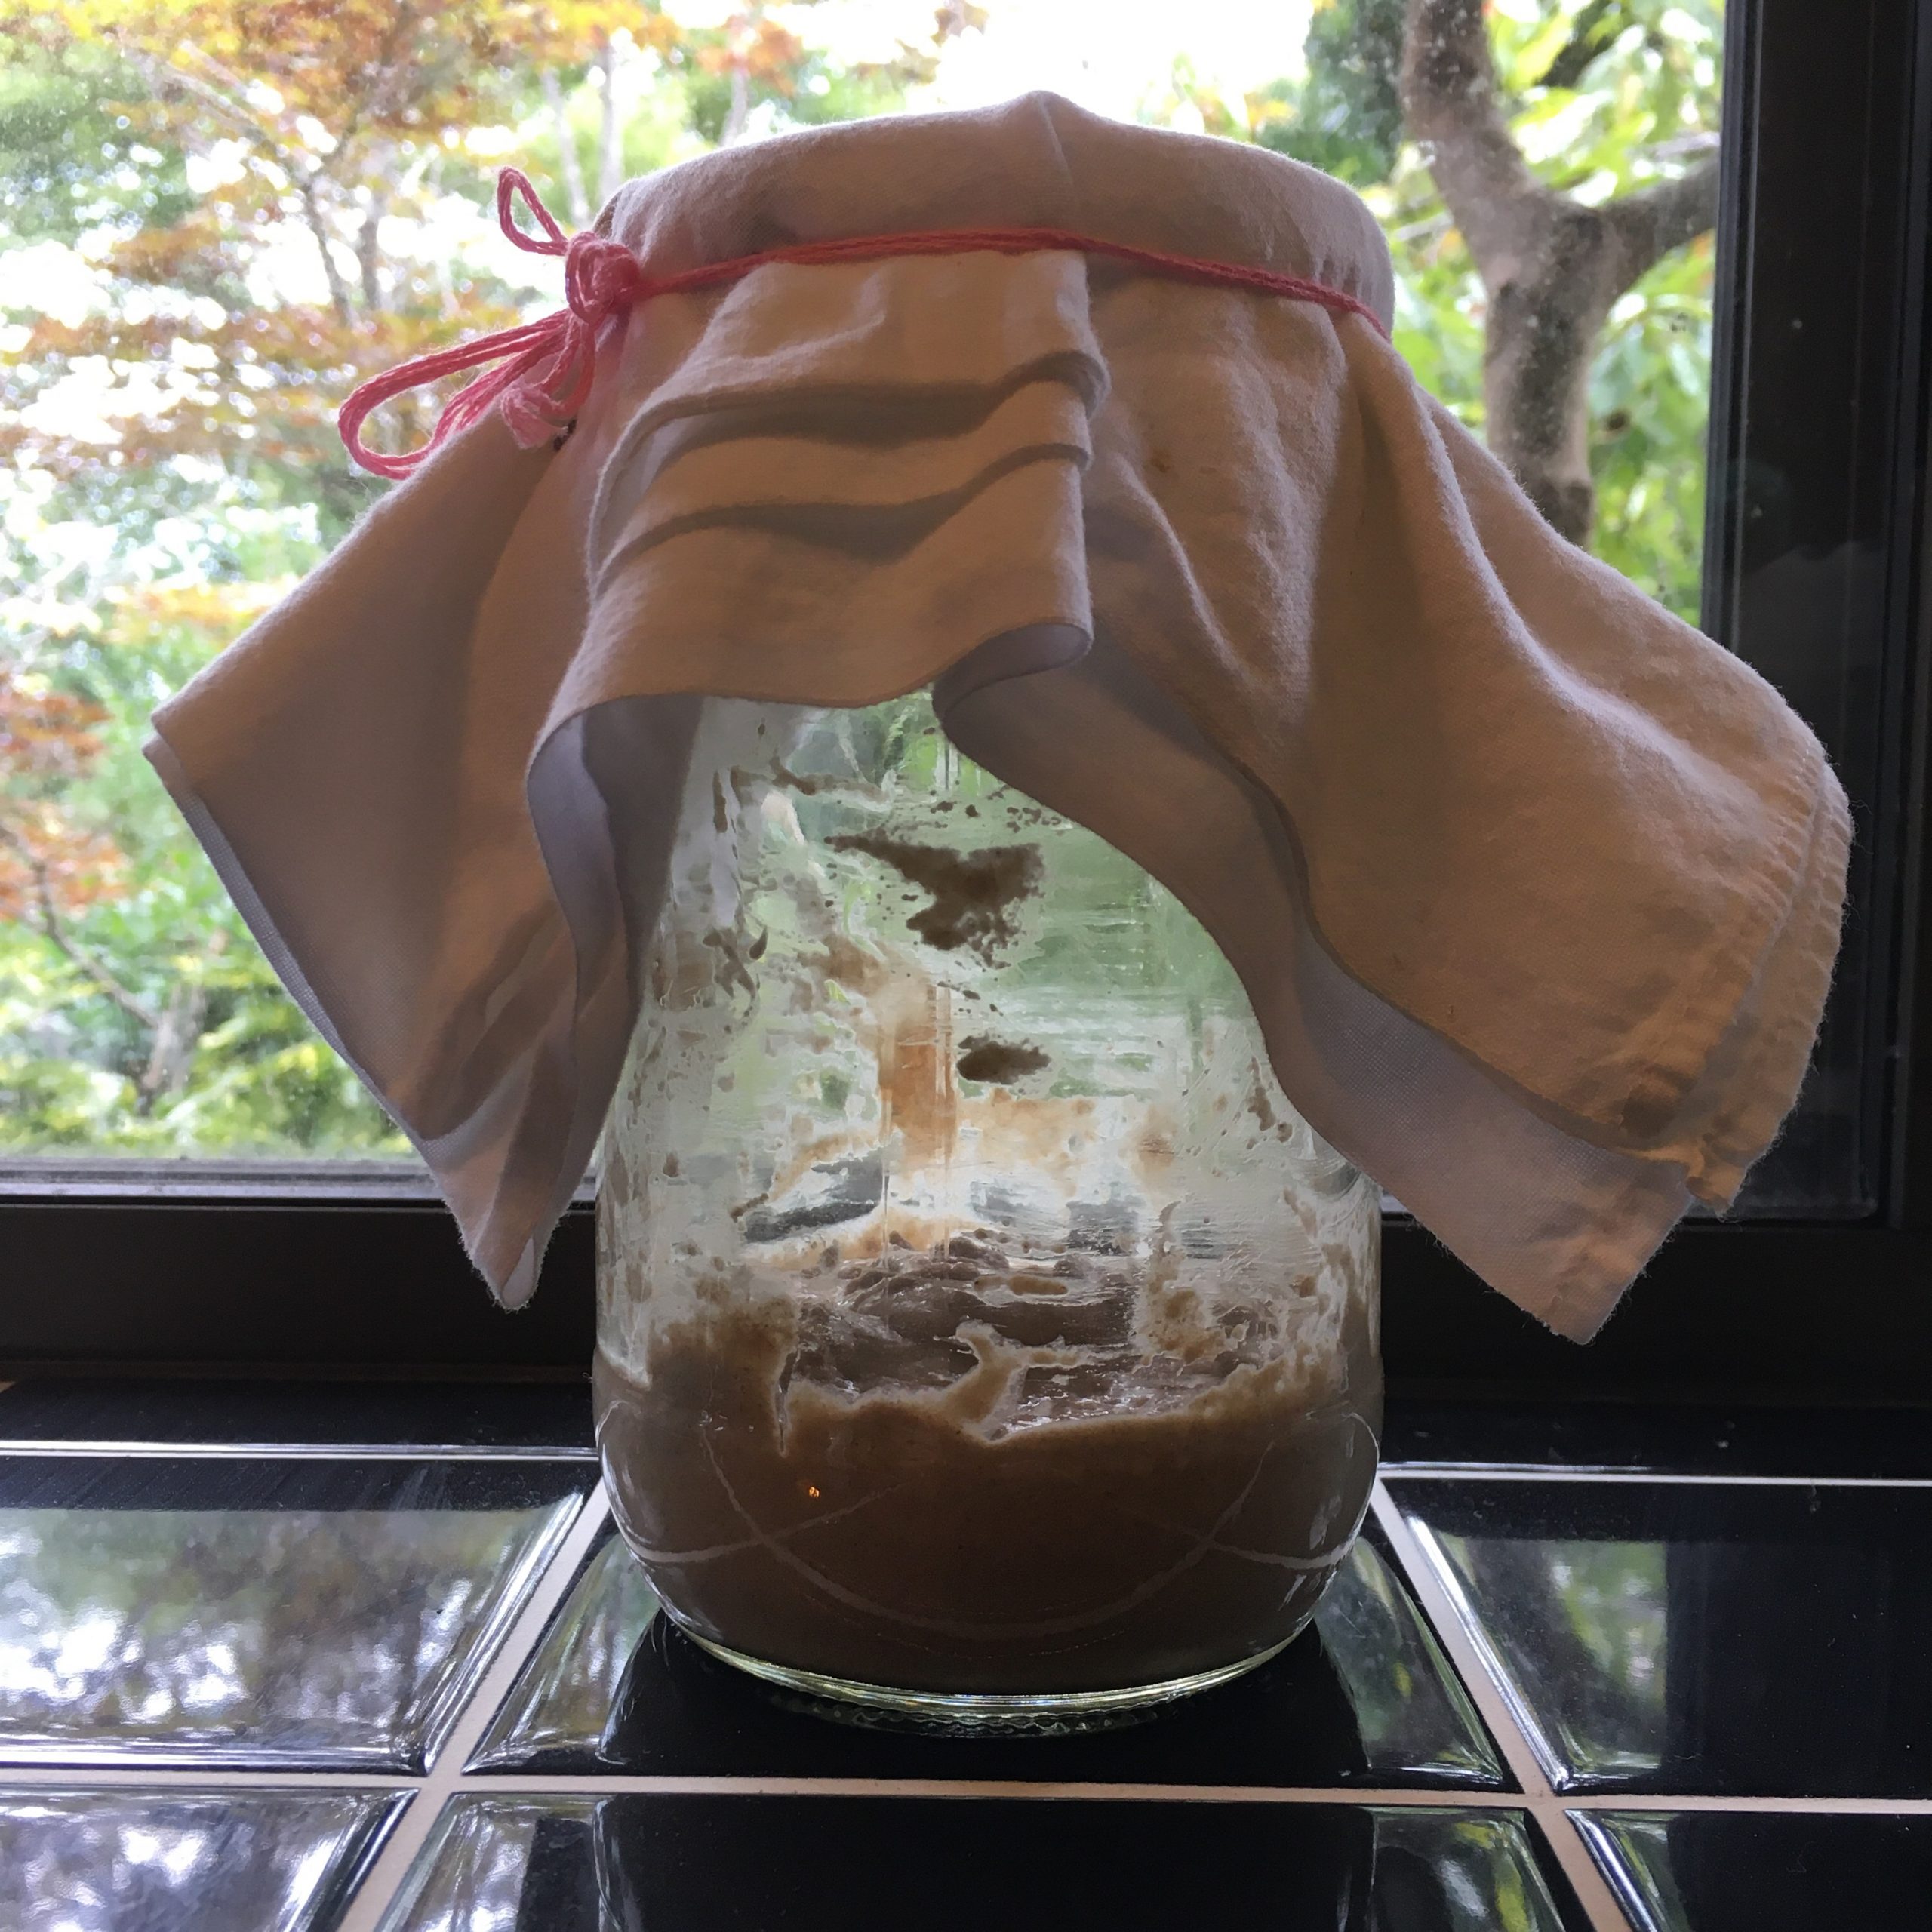
There are culinary rules I grew up with that are long lived… Such that we don’t eat bread with pasta, potatoes or rice, or we don’t potatoes with pasta or rice, or rice with pasta… basically one and only one source of carbs is enough for one meal. A. would confirm that pasta and rice are definitely not a good mix, despite the famous dish called Turk(o) rice from Nagasaki, that to be honest seems more like a terrible mix… Indeed, a long long time ago, I was working on the weekend and really busy and I didn’t have much time to prepare A. a lunch. At that time, probably the last time after the incident, I was using a bit the freezer to freeze some leftovers to use in cases of emergency, and I was sure I had a bit of pork ground meat there, so I told him to boil himself some pasta, add the meat and enjoy! But the meat wasn’t meat, it was brown rice, and apparently spaghetti with brown rice was a terrible mix (more so when you’re a meat eater and you think you will have pork…!!!)

Sorry mum, but there are rules that I discovered can be broken and lead to delicious preparations such as having potatoes in curry rice, or sweet potato rice, or potato ravioli. And that’s how mixing chickpeas and pasta came to my mind… But not all pasta would work the same and I found that Orecchiette would be great for their little cup shape would be the perfect size for that of chickpeas. I knew they would made a great pair and they did. Perfect for a nutritious lunch after 2 hours in the ocean surfing and body boarding and before another 2-3 hours in the garden trimming trees. Yes, weekend in the country are very active and warm and comforting food is much necessary to face the elements.

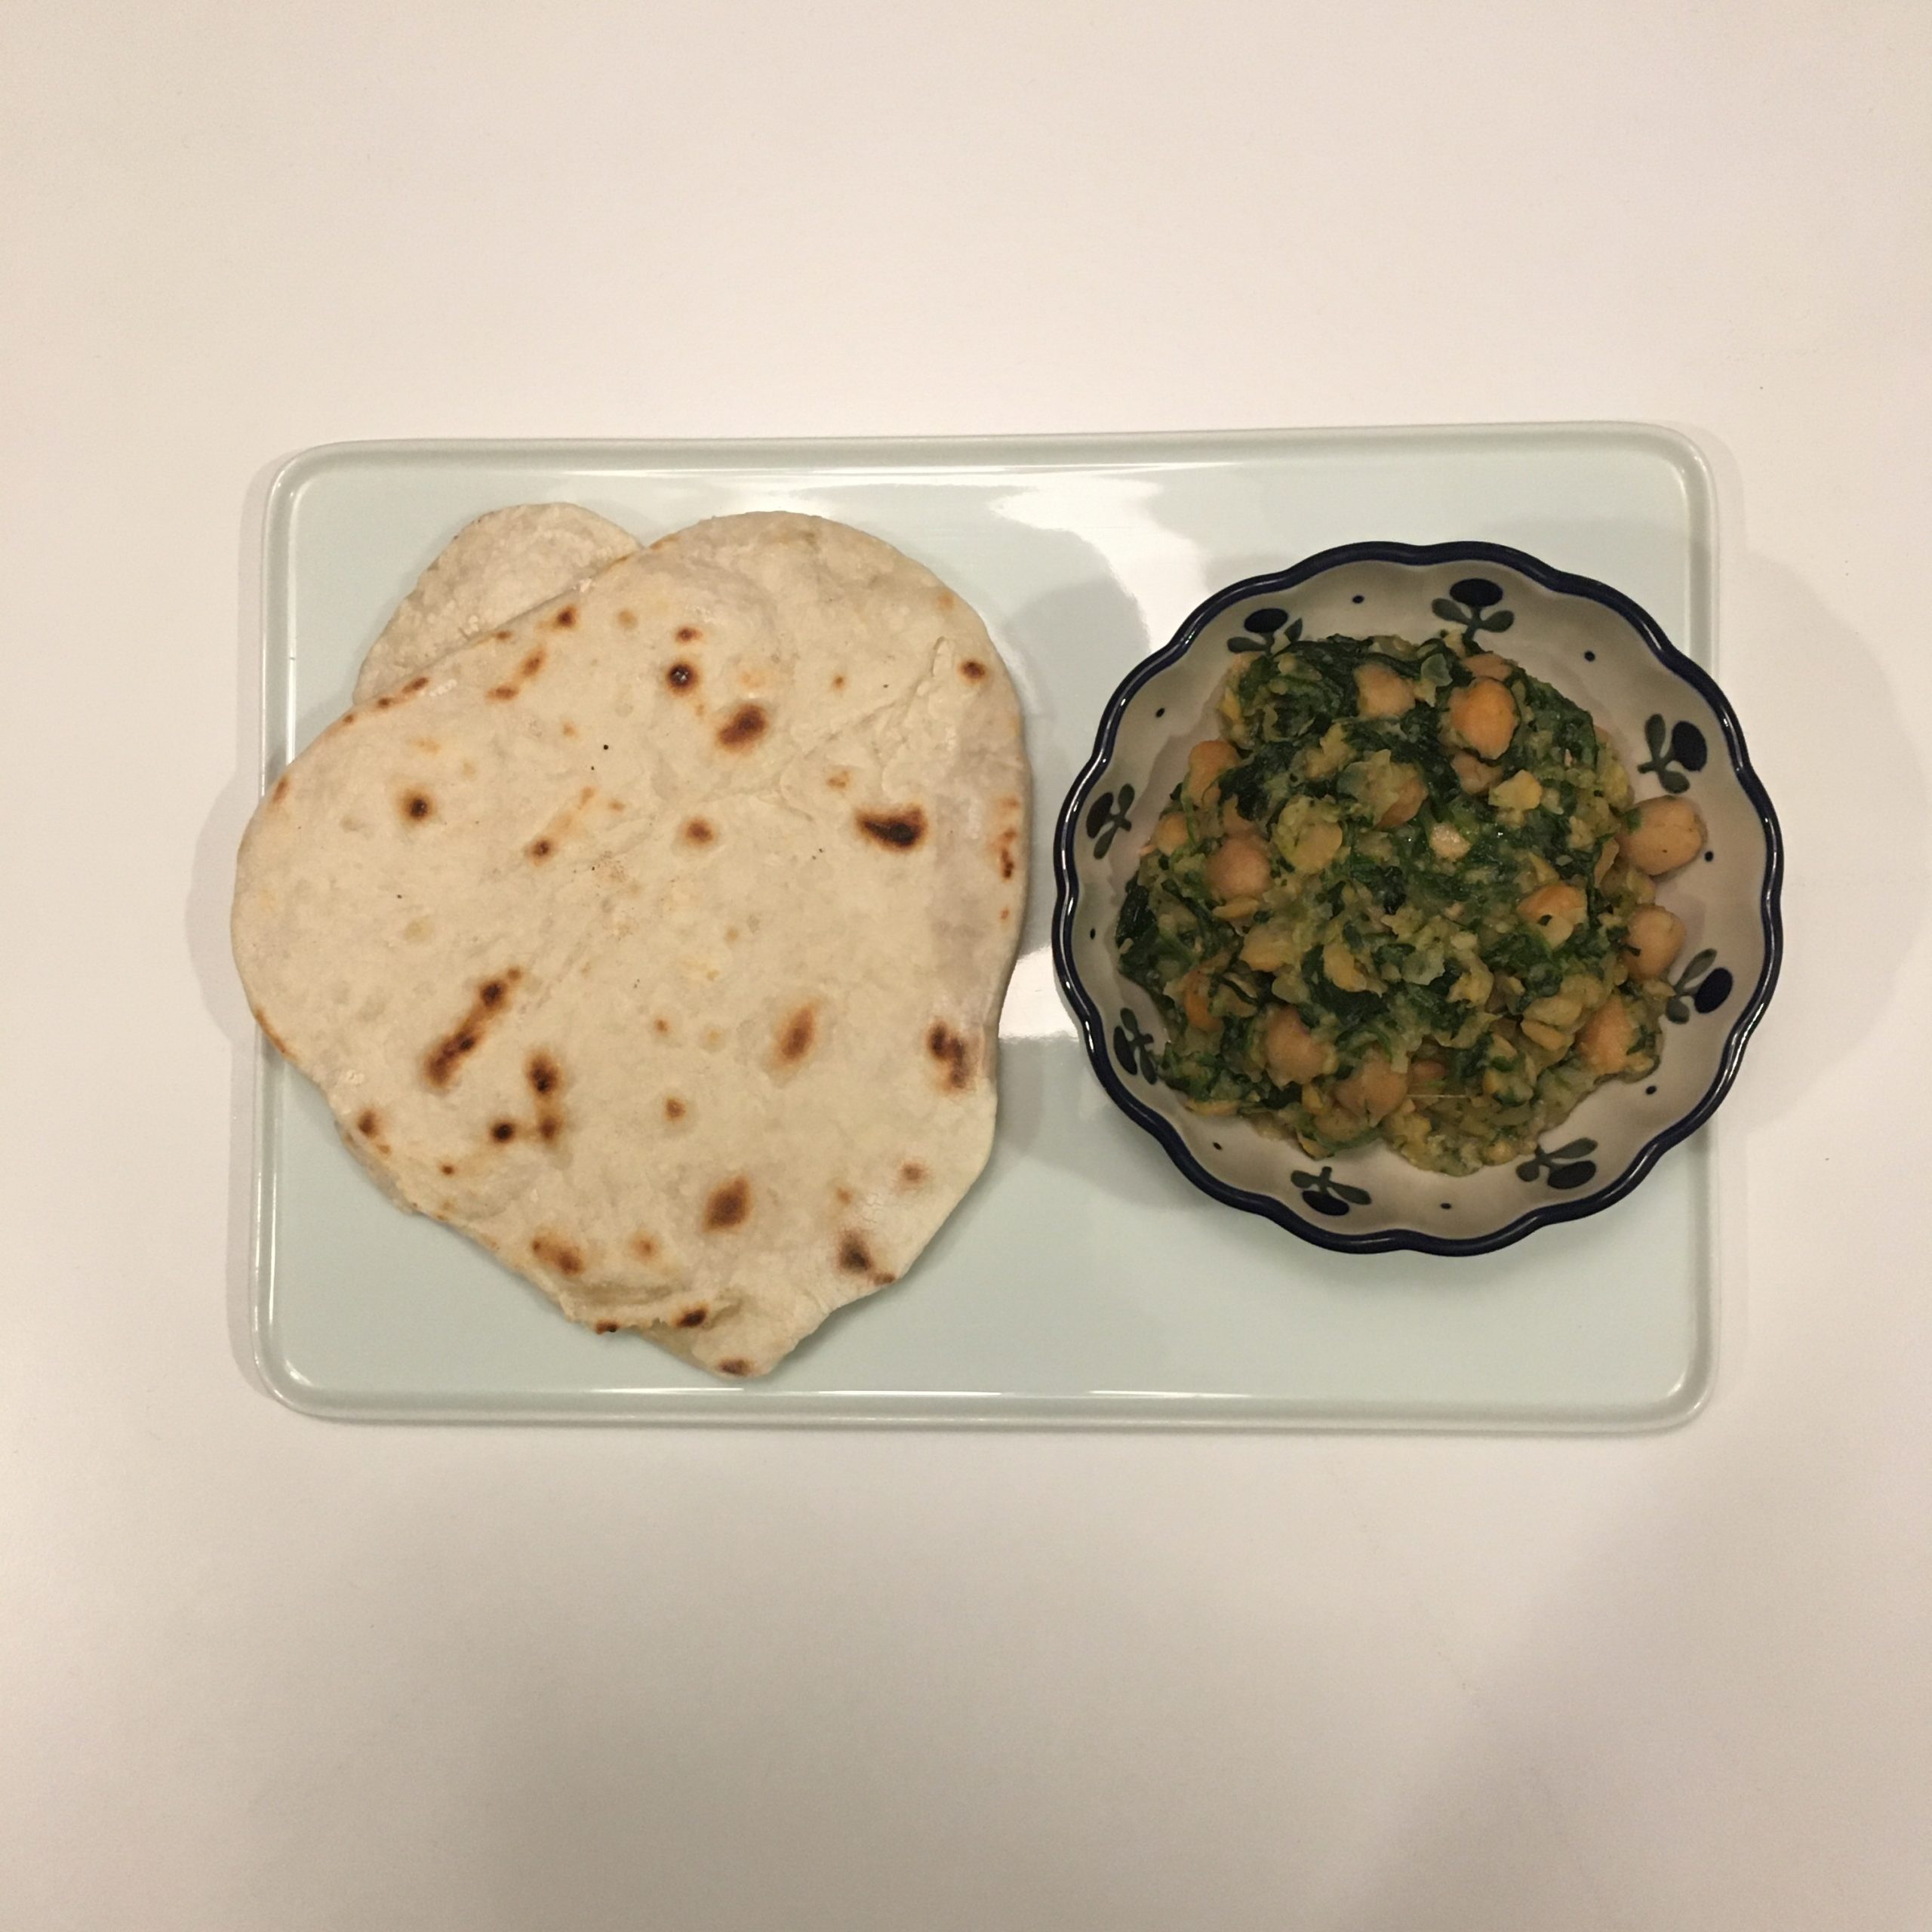
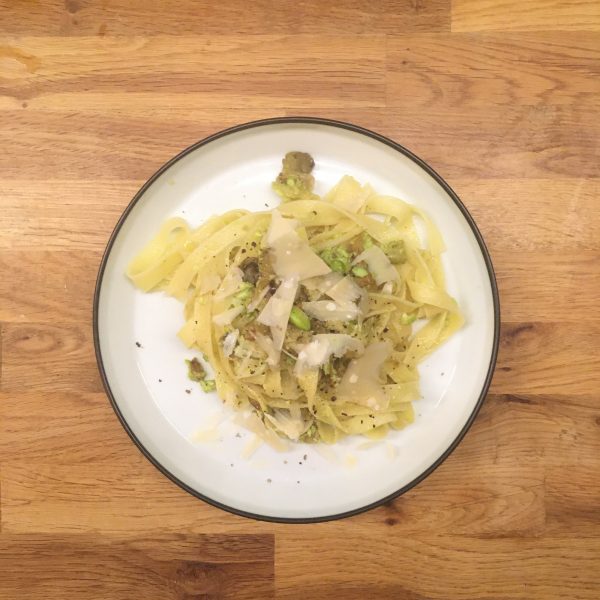
For the recipe I used a Mediterranean variation of flavors, I used some greens (I used turnip tops, but it can be anything green and leafy: spinach, chard…), a fragrant Italian olive oil and a few chopped Maltese dried tomatoes, ample pepper. So here is the detailed recipe, I hope you’ll enjoy it.

Orecchiette and chickpeas (for 2 servings)

  • 125g of dried orecchiette, boiled
  • 70-90g of boiled chickpeas (a small cup)
  • a nice bundle of green of your choice and in season: spinach, radish tops, turnip tops, chard or whatever you like
  • 2-4 dried tomatoes depending on the size. Mine are giant sun dried tomatoes I brought back from Malta
  • deliciously fragrant olive oil as much as you like
  • black pepper freshly ground

Prepare you chickpeas the day before if they are dry. and boil them until tender. If your pasta aren’t boiled yet boil them.

Wash and chop roughly the green. In a large pan or wok, put a bit of olive oil, and at low to medium heat soften the greens in the oil. when soft enough and brightly colored, add the pasta and the peas and stir well. to obtain a well balance mix of all the ingredients. Chop the dry tomatoes, and stir again, still cooking at medium heat. Add a last splash of olive oil, ground black pepper and serve. That’s it! Simple isn’t it?

Completely in love with my sourdough 🤍🤍🤍

After the slightly difficult beginnings with my sourdough starter Lois, it’s been almost 2months and we have reached a nice cruising speed, I use it all the time now. I’m still a bit surprised that my starter hasn’t done any crazy bubbling so far, on the contrary, it’s been behaving very very well, doing regular foaming but to a reasonable volume, and when in need for food it smells a nice apple flavour.

Cooking bread with my sourdough starter at first was quite tedious, with the impression of starting from the scratch, in particular, I had to relearn how the proving and rising worked, cooking at higher temperatures, with many of my first breads that just imploded when baking, ending up with big cracks on the bottom rather than on the top, or being too dense. I also needed a bit of adjustment with the flour I was using. I am still searching for a steady supply of organic local flour (and I will make a post as soon as I find something that is worth mentioning). The ones I have used during the summer are now out of stock and it seems unsure when they will have stock again. Together with searching for supply, I steadily continued and learned from my mistakes, and now they are all fixed or so, and I have started to obtain a regular shape and beautiful crusts with fluffy crumble on a regular basis. I started playing again with whole wheat, wheat bran,nuts etc… In the end, it seems that lower room temperature and longer times work very well for my sourdough starter. That to say that the sourdough adventure is a beautiful one and the flavour of the breads are uncomparable with those made with yeast (dry or fresh), so even if it took me so long to make up my mind, that it is a hassle to travel with my sourdough back and force between Tokyo and Ohara, it is just a new habit. And if while in Tokyo I use little of the sourdough for baking (until I get my kitchen redone with an oven…), but the one thing that I find really amazing is to use the extra sourdough I have for flat breads and for pancakes. It brings the flavour to a new level, something quite addictive.

So if you have a sourdough starter that you don’t use much for bread baking like me, I highly recommend you continue feeding it every day and use it for anything that needs flour and water. If you have other tricks to use your sourdough please let me know I am curious about other uses. Indeed Lois is quite gluttonous and in 4 days it gets quite voluminous!
Actually I have already starting giving parts of it away to friends so if you are interested in a stable sourdough starter, please let me know!

Negimiso – ネギ味噌

There are plenty ways of eating miso in Japanese cuisine: miso soup of course but not only! I have quite a lot of miso remaining from the past years I made some and in 2-3 months the miso I made last year will be ready, so it is time to start emptying a few pots.

One thing I like very much is grilled miso, either on onigiri or on vegetables. Turnips and daikon are great for that, and the season is now starting. So when I bought a cute purple daikon at the farmers market, I decided it would be eaten with miso. Normally it would have been plain miso but I happened to have bought also leeks, and it reminded me that there is a nice recipe called negimiso ネギ味噌 of miso with leek, and I decided to make some. Negimiso can be eaten as a dip, or as I did here, to be grilled with rice or vegetables. It is really delicious and easy to prepare. Here is my recipe. You may find others with more ingredients, but this one fit my liking: no uncooked sake, and no mirin.

Negimiso

  • 1/2 leek
  • 2tbs of miso
  • 1tsp of sesame oil or flavorless vegetal oil
  • 1tsp of sugar
  • Optional: a bit of katsuobushi

Cut thinly the leek and cook it at low heat in a pan with the oil until soft bug not golden. In a bowl mix the miso, the sugar and the katsuobushi. Add the leek. Stir well. It’s ready!!!

Now to use like me, you need a piece of daikon and dashi of your choice. Peel the daikon and cut 2-3cm slices. Boil them in dashi until soft. Drain and pat dry, spread negimiso on top and grill until the top starts to become golden brown. Enjoy! Alternatively replace the boiled daikon by plain onigiri.

Koyadofu – 高野豆腐

There is more than one ingredient in Japanese cuisine that is intriguing, konyaku, fu and koyadofu are some of them. So let’s talk about koyadofu this time…

Koyadofu 高野豆腐 or freeze-dried tofu is a product that has been used in temple vegan cuisine and for traveling warriors for about 500 years. It is a way to preserve tofu for long times in a compact way, and very rich nutritionally. Indeed koyadofu is packed with proteins and fat. It’s a kind of space food in a sense, or one of its ancestors. To be honest, at first koyadofu doesn’t look like an attractive food: it is truly like a very thin sponge, and usually served soaked after simmering or in some kind of bouillon. For those that find tofu insipid, and I know many may think so, they should probably pass on Koyadofu because taste is even thiner and lighter. However, when well prepared it is a very nice ingredient to use and it adds an interesting texture to dishes. Most recipes of koyadofu will be found in buddhist and macrobiotic cookbooks. I find my inspiration from my two favorite of the kind: “good food from a Japanese temple” and “玄米と野菜のワンプレートごはん”. And the recipe I present today is inspired by both, it’s a curry with seasonal vegetables koyadofu served with brown rice. It is really simple and delicious.

Koyadofu curry-rice (serves 2)

  • 1 cup of brown rice, cooked
  • 6 blocks (2cmx2cm) of koyadofu or one large
  • seasonal vegetables of your choice: carrot, potatoes, butternut squash, tomatoes
  • a handful of peanuts (it’s a seasonal and local product in Isumi, so I used fresh ones simply boiled)
  • 1tsp of curry powder
  • 1tsp of ground coriander
  • 1tsp of ground turmeric
  • 1tsp of cumin seeds (carvi seeds or anis seeds can work…)
  • 1 pinch of ground red pepper
  • 1 pinch of salt
  • 1tsp of cooking oil of your choice

Koyadofu always needs to be returned to a moist status. So put the blocks in tepid water for 5min, then drain by squeezing gently, and rinse/squeeze under running water until the water turns clear. It’s basically like washing a sponge… now it’s ready to use.

Peel, wash, cut the vegetables. In large pan or wok greased with cooking oil, toss the vegetables in order of cooking time. And stir once in a while. Add the koyadofu. Stir. Then cover with water, add all the spices, and the peanuts. Cook at low heat until the liquid is almost gone, by then the vegetables should be just cooked. You don’t want to overcook them, to keep an interesting mix of texture. You can serve with the brown rice and enjoy!!!

Have a good day!

I knew it…

Well… while this week has been crazy busy with work, I also was very excited with my sourdough experiment… and things turned out almost as I expected they would… with utter fun when Lois grew and foamed and in utter disappointment when it stopped, finishing in a nauseous mess that stunk like I couldn’t imagine it would. Sourdough is not for me, I knew it…

Lois on the 2nd day, gently bubbling

I read books, blogs, websites about sourdough before starting (it took me 5 years to get ready for the commitment!!!!) and while I was observing it growing. I wanted to do right, not to waste precious time and resources. Then I was almost desperate when it started to stink, read even more about all the possible tricks, tested them all: sugar, malt, fridge, not fridge, more food, more mixing, rest, splitting it and starting afresh… nothing seemed to have worked truly. Almost 1kg of mixture went down the drain in a terrible smell. The rest is sitting in the kitchen in a desperate hope I can still save it. The smell is gone but no foaming and bubbling as I thought it would… part of the passive mixture was used for pancakes this morning…

But before things went south I had on the third day just enough to make a tiny bread to test it when it was still good! And damned! Even if I rushed it a bit ( temperature went down with the rain so the rising was too slow for the impatient me!) the crust was perfectly crusty, the crumbs were moist and soft, and the taste of whole wheat and sourdough was amazing. Enough to keep me trying to save what is left of Lois… so now I am in this terrible situation where I want to stop hoping I can grew a stable relationship with my sourdough, but I can’t take the final decision to trash it all, as the taste of sourdough bread was so perfect…

Edamame and eggplant

Whether on weekdays, when we have little time to have lunch or on the weekends when we are busy with surfing/bodyboarding, playing tennis or gardening, having a good lunch easily ready is important. Moreover, if that can be prepared in advance it is even better! Fresh pasta have been quite a good candidate as they can be accommodated easily, be eaten warm or cold… and since it it is the end of the summer we want to continue enjoying the summer vegetables a little longer, in particular, enjoy the last edamame of the season. I know that we will have eggplants and tomatoes for quite a few weeks or even months but they add a real summer touch to a dish. So I came up with a recipe of edamame pasta with eggplant that is all creamy and divine and I couldn’t wait sharing that recipe with you, as if you want to try you’ll have to hurry!

Edamame, fava beans, and similar are a good match with eggplants and are traditionally used together in Japanese cuisine. I revisited this classic combination in a more western style.

Edamame and eggplant creamy pasta (2 servings)

  • a handful of edamame
  • 2 eggplants
  • fresh pasta
  • olive oil
  • salt and pepper
  • grated Parmigiano (optional)

Boil the edamame, grill the eggplants to be able to peel them. Once the edamame have cooled down peel them completely and in a mortar puree them. Add a bit of olive oil, salt and pepper. Peel the eggplant and add to the mix and pure roughly. Boil the fresh pasta, once drained add the mix, stir well ad serve. Add grated Parmigiano if you like.

Yes! that’s it! Isn’t that simple? And you’ll see it is truly delicious!

Super easy pickles

In the summer it is nice to enjoy refreshing pickled vegetables. After many attempts of different methods to make pickles there are a few that I find particularly not adapted to our life style, and some others that require too much equipment. But there are two that I really like and that are very simple, can be done everywhere, require little ingredients or equipment and work in a few hours. Today I want to introduce the simplest and most efficient way, that works with many of the green summer vegetables such as cucumber, uri, or togan, but also with radishes and daikon. It is called shiozuke 塩漬け in Japanese, and as the name suggested it is a method of pickling vegetables in salt. As a matter of fact it is the same method as making umeboshi or pickled Chinese cabbage… expect that with summer vegetables it takes only a few hours instead of several days or weeks! Today I present the recipe with uri 瓜 a kind of melon/cucumber that is very popular in summer in Japan and that just made its entry in the glossary.

Shiozuke summer vegetables

  • 1/2 uri or 1 Japanese cucumber
  • 1/2 tsp of salt
  • a little piece of konbu (optional)

Wash and cut the vegetable. It is not really necessary to peel them. Slice them thinly. Cut the konbu in thin pieces. in a bowl large enough, add the sliced uri, the konbu, sprinkle the salt on top. Use a piece of wrap to top and set a weight the size of the inside of the bowl (I used a honey pot filled with water) on top to press the mix. Wait for a few hours before enjoying, and keep in the fridge in the liquid for a few days.

Beware that the liquid when pressing may overflow the bowl, so set the bowl in in a tray or the sink, or use a rather large bowl compared to the amount of vegetable that can receive all the liquid. Another option is to make them in a sealed plastic bag (ziploc…), but I don’t use such plastic bags…


Edamame fougasse

Ohoh! Exploring new possibilities with edamame will last the whole season!!! This recipe of fougasse came naturally to my mind as I love to bale fougasse for summer evenings drinks or summer lunches when I need something quick.

In Japanese bread shops you can sometimes find edamame and gouda breads, and I like them very much, but the idea of a simpler version (without the gouda for A.) and with olive oil and salt tempted me a lot, that the last batch of edamame I had was used to that purpose.

The result is really nice but my recipe needs a little improvements to emphasize more the edamame. So I am sharing with you the improved version but not tested yet… but I am sure it will be delicious.

Edamame fougasse (makes 1 bread)

  • 200g of flour
  • 3g of yeast
  • 7g of salt
  • Water
  • Olive oil
  • A handful of boiled, shelled and peeled edamame

I only use fresh edamame, so the recipe starts by boiling the pods in salted water. Once boiled and cool, shell and peel them. Add a bit of salt.

Prepare the dough of the fougasse: mix the flour, 5g of salt, the yeast, add 2tbs of olive oil, and water to obtain a soft, silky and smooth dough. Add the edamame and knead a bit. Let rest for it to rise. Once is has started to rise you can work it in the shape of the fougasse, and let rest about 30-60min depending on your room temperature.

Bake at 230deg until golden. When out of the oven spread a thin layer of olive oil and sprinkle a bit of salt. That’s it!!!

Variations around flat breads

I am always amazed by all you can do with just flour and water… and recently I’m getting addicted to flat breads… Remember when I first tried here? Well… the same person that makes the dried chickpeas that triggered my wish for flat bread to eat with falafels, well, also makes chickpeas flour… I use a lot chickpeas flour for socca, but I wanted a change so I decided to explore possibilities with flat breads.

First, I made a trial by replacing 3/4 of the flour by chickpeas flour and that worked perfectly… served with zucchini and basil.

Then, another possibility I thought of was to replace half of the flour by whole wheat flour… and that’s all the same delicious.

Finally, I decided to add seeds to the dough. Caraway or cumin seeds are perfect.

As for cooking I tried two options. One is in the dry thick frypan. To obtain a soft bread, flexible and light. The other way, I added vegetal oil in the pan and fried them. It gives a crispy golden bread. Both were equally delicious but I have a preference for the dry soft ones, in particular when used to eat vegetables such as eggplants or zucchinis…

One thing is sure is that making flat breads is super simple, fast and requires no complex ingredients. They are delicious and fit super well summer vegetables or curry. They will be on our table often!!

Chickpeas flour flat breads

Proudly powered by WordPress | Theme: Baskerville 2 by Anders Noren.

Up ↑

Verified by MonsterInsights