What is more comforting than a warm soup when you have spent the whole day outside and the temperature have suddenly dropped? Every year I am shocked by the sudden change of the temperatures in Japan in autumn. There is always one day in November when you start the day wearing tea shirts and short pants, and go swimming in the morning and then turn on the heater and cashmere sweat pants and sweater in the evening are more than necessary. When this time comes, I crave for warm vegetables soups. A. always complains as he prefers them to be velouté. I love any style, but rarely bother using the blender, and prefer listen to A.’s complaint… 😉
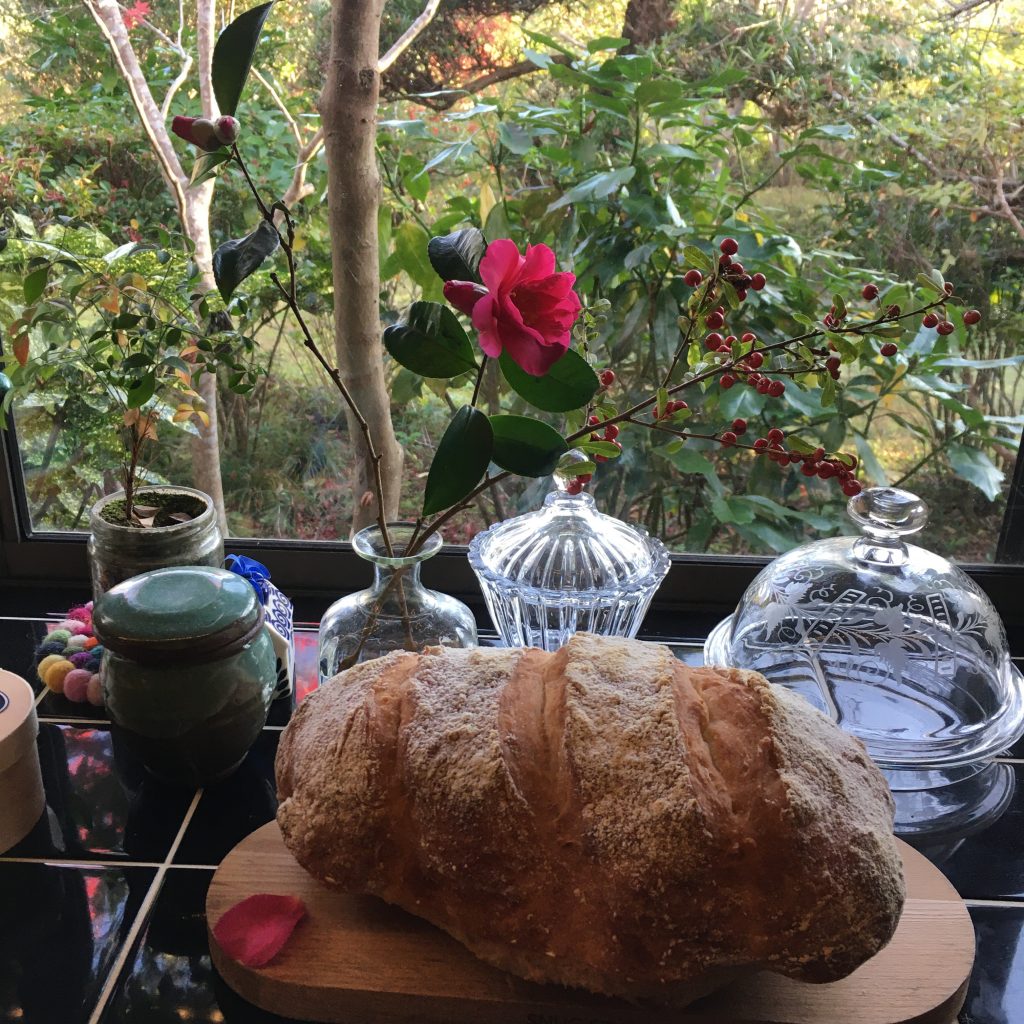
One thing that I love with soup is when they come with croutons, but I also have amazing memories of rural vegetables soup with fresh sourdough bread eaten at Mme Fages’s place in Mas Saint Chely. Something that I would be so happy to have, warming up near the fireplace after a mushroom hunt in the cold. That and her chocolate mousse!
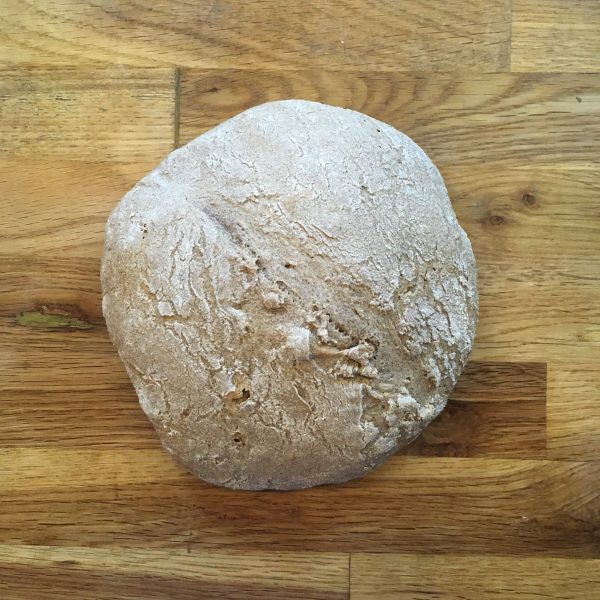
Now that I have Lois and make only sourdough bread, it was perfect for this kind of very simple dinner: a piece of bread remaining from breakfast, many vegetables waiting too long their turn to be prepared, a pan with the juice of a long cooked piece of pork. That’s what this soup is made of, and here is the recipe.
Vegetables soup and bread (2 servings)
- 1/2 sweet potato
- A piece of kabocha (3cm slice)
- 1 little turnip
- 1 carrot
- 2 bundles of komatsuna or spinach
- Water, salt and pepper
- Bouillon of your choice, mine comes from the pan in which I slowly cooked a piece of pork
- 2 generous slices of sourdough bread
In the pan I cooked the pork I add about 600ml of water and heat. I wash, peel and chop the vegetables and add them to the bouillon in order: carrot, turnip, sweet potato, kabocha, greens. I cook at medium heat until the vegetables are soft or mushy. Add salt and pepper. Blend and serve. Top with the bread roughly cut, and eat right away.
No need for butter, olive oil, no nothing.