Extravagant bread!!!

Last night I asked A. what he would like for breakfast, or more precisely what kind of bread, brioche etc… ans he said I want an extravagant bread!!! But not extravagant because there are fancy things inside… hum… that didn’t really help so I started kneading a 1/3 whole wheat 2/3 white wheat and decided it would be extravagant in the shape…

With the chilly evenings now and our house rather cold I have tested over the years many options for the first rise of my doughs. If like me your house is not very warm (20-25deg) and your dough has difficulty rising and you don’t want to invest in a machine for that or use your oven and waste energy you have three options:

1. Prepare your dough 6 or 4h earlier than usual and give it enough time to rise. This only work is the temperature is higher than 18.

2. Soak the bottom your bowl in a sink or larger bowl filled with warm water (35-45 deg). Change the water once or twice if your house is really cold.

3. If like in Japan (and like me) you have the habit to take a bath in the evening, keep the dough in the warm bathroom. It’s very nice because the air in the bathroom is very humid usually and it doesn’t dry the top of the dough.

Personally option 2 and 3 are my favorite options and they work 100% of the time. I tried many others that I found in cook books and on internet but they were not as good: drying too much the dough, not very efficient, wasting too much unnecessary energy…

So back to the extravagant bread, after a beautiful rise, I shaped it as a ring. Indeed, I find that the ring is a more extravagant shape than the classic shapes, it gives a good balance between crust and crumbs and it bakes evenly. So ring it was! And A. was satisfied with the result!

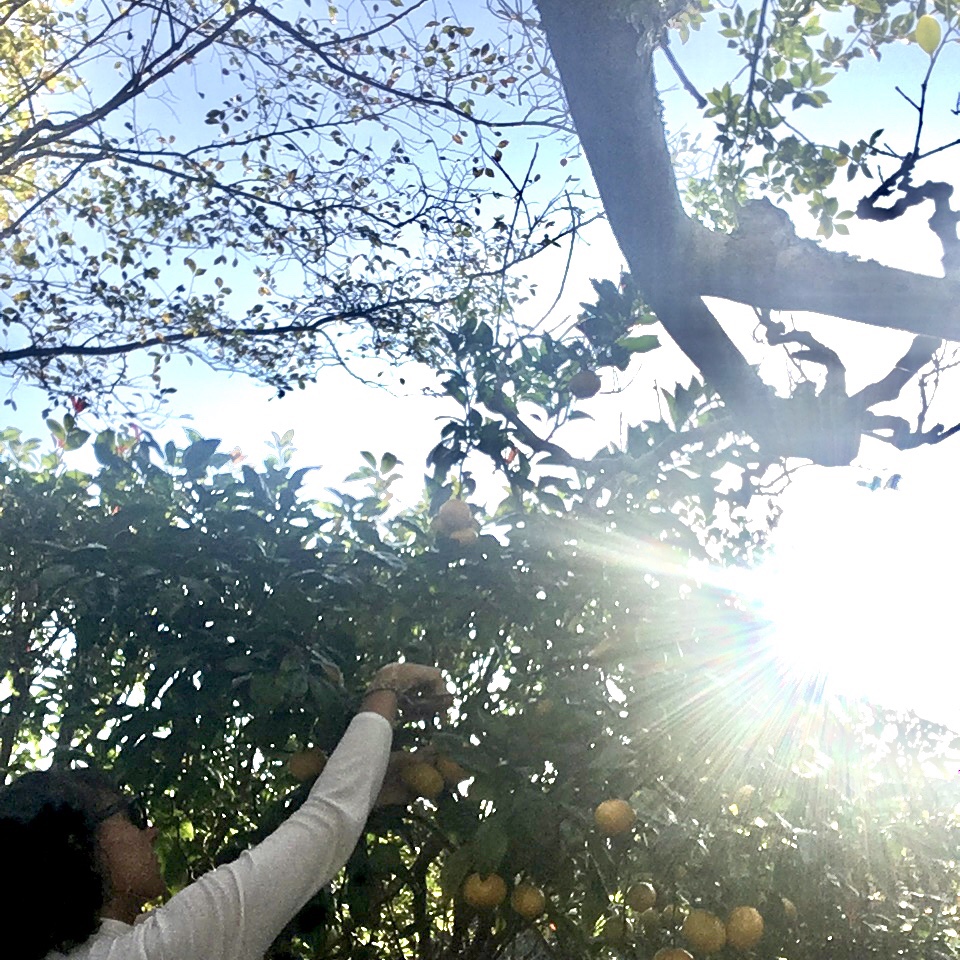
While the bread was finishing to bake I just went in the garden to pick some tangerines (we have plenty this year) and breakfast was ready!

Have a good Sunday!!!
Oh! And the bread shape was perfect to make sandwiches to go for our picnic on the beach after surfing!!! I just prepared an omelet with plenty of greens and a bit of grilled pork.

Persimmons

When the season for persimmons comes it means that autumn is clearly here and with shorter days, the chilly evenings will be coming soon. And here they are. Not cold enough to tuen the heater on yet, but it’s coming.

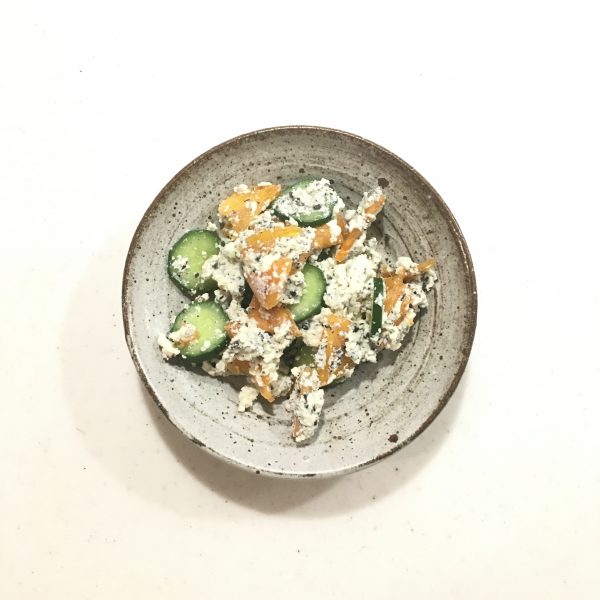
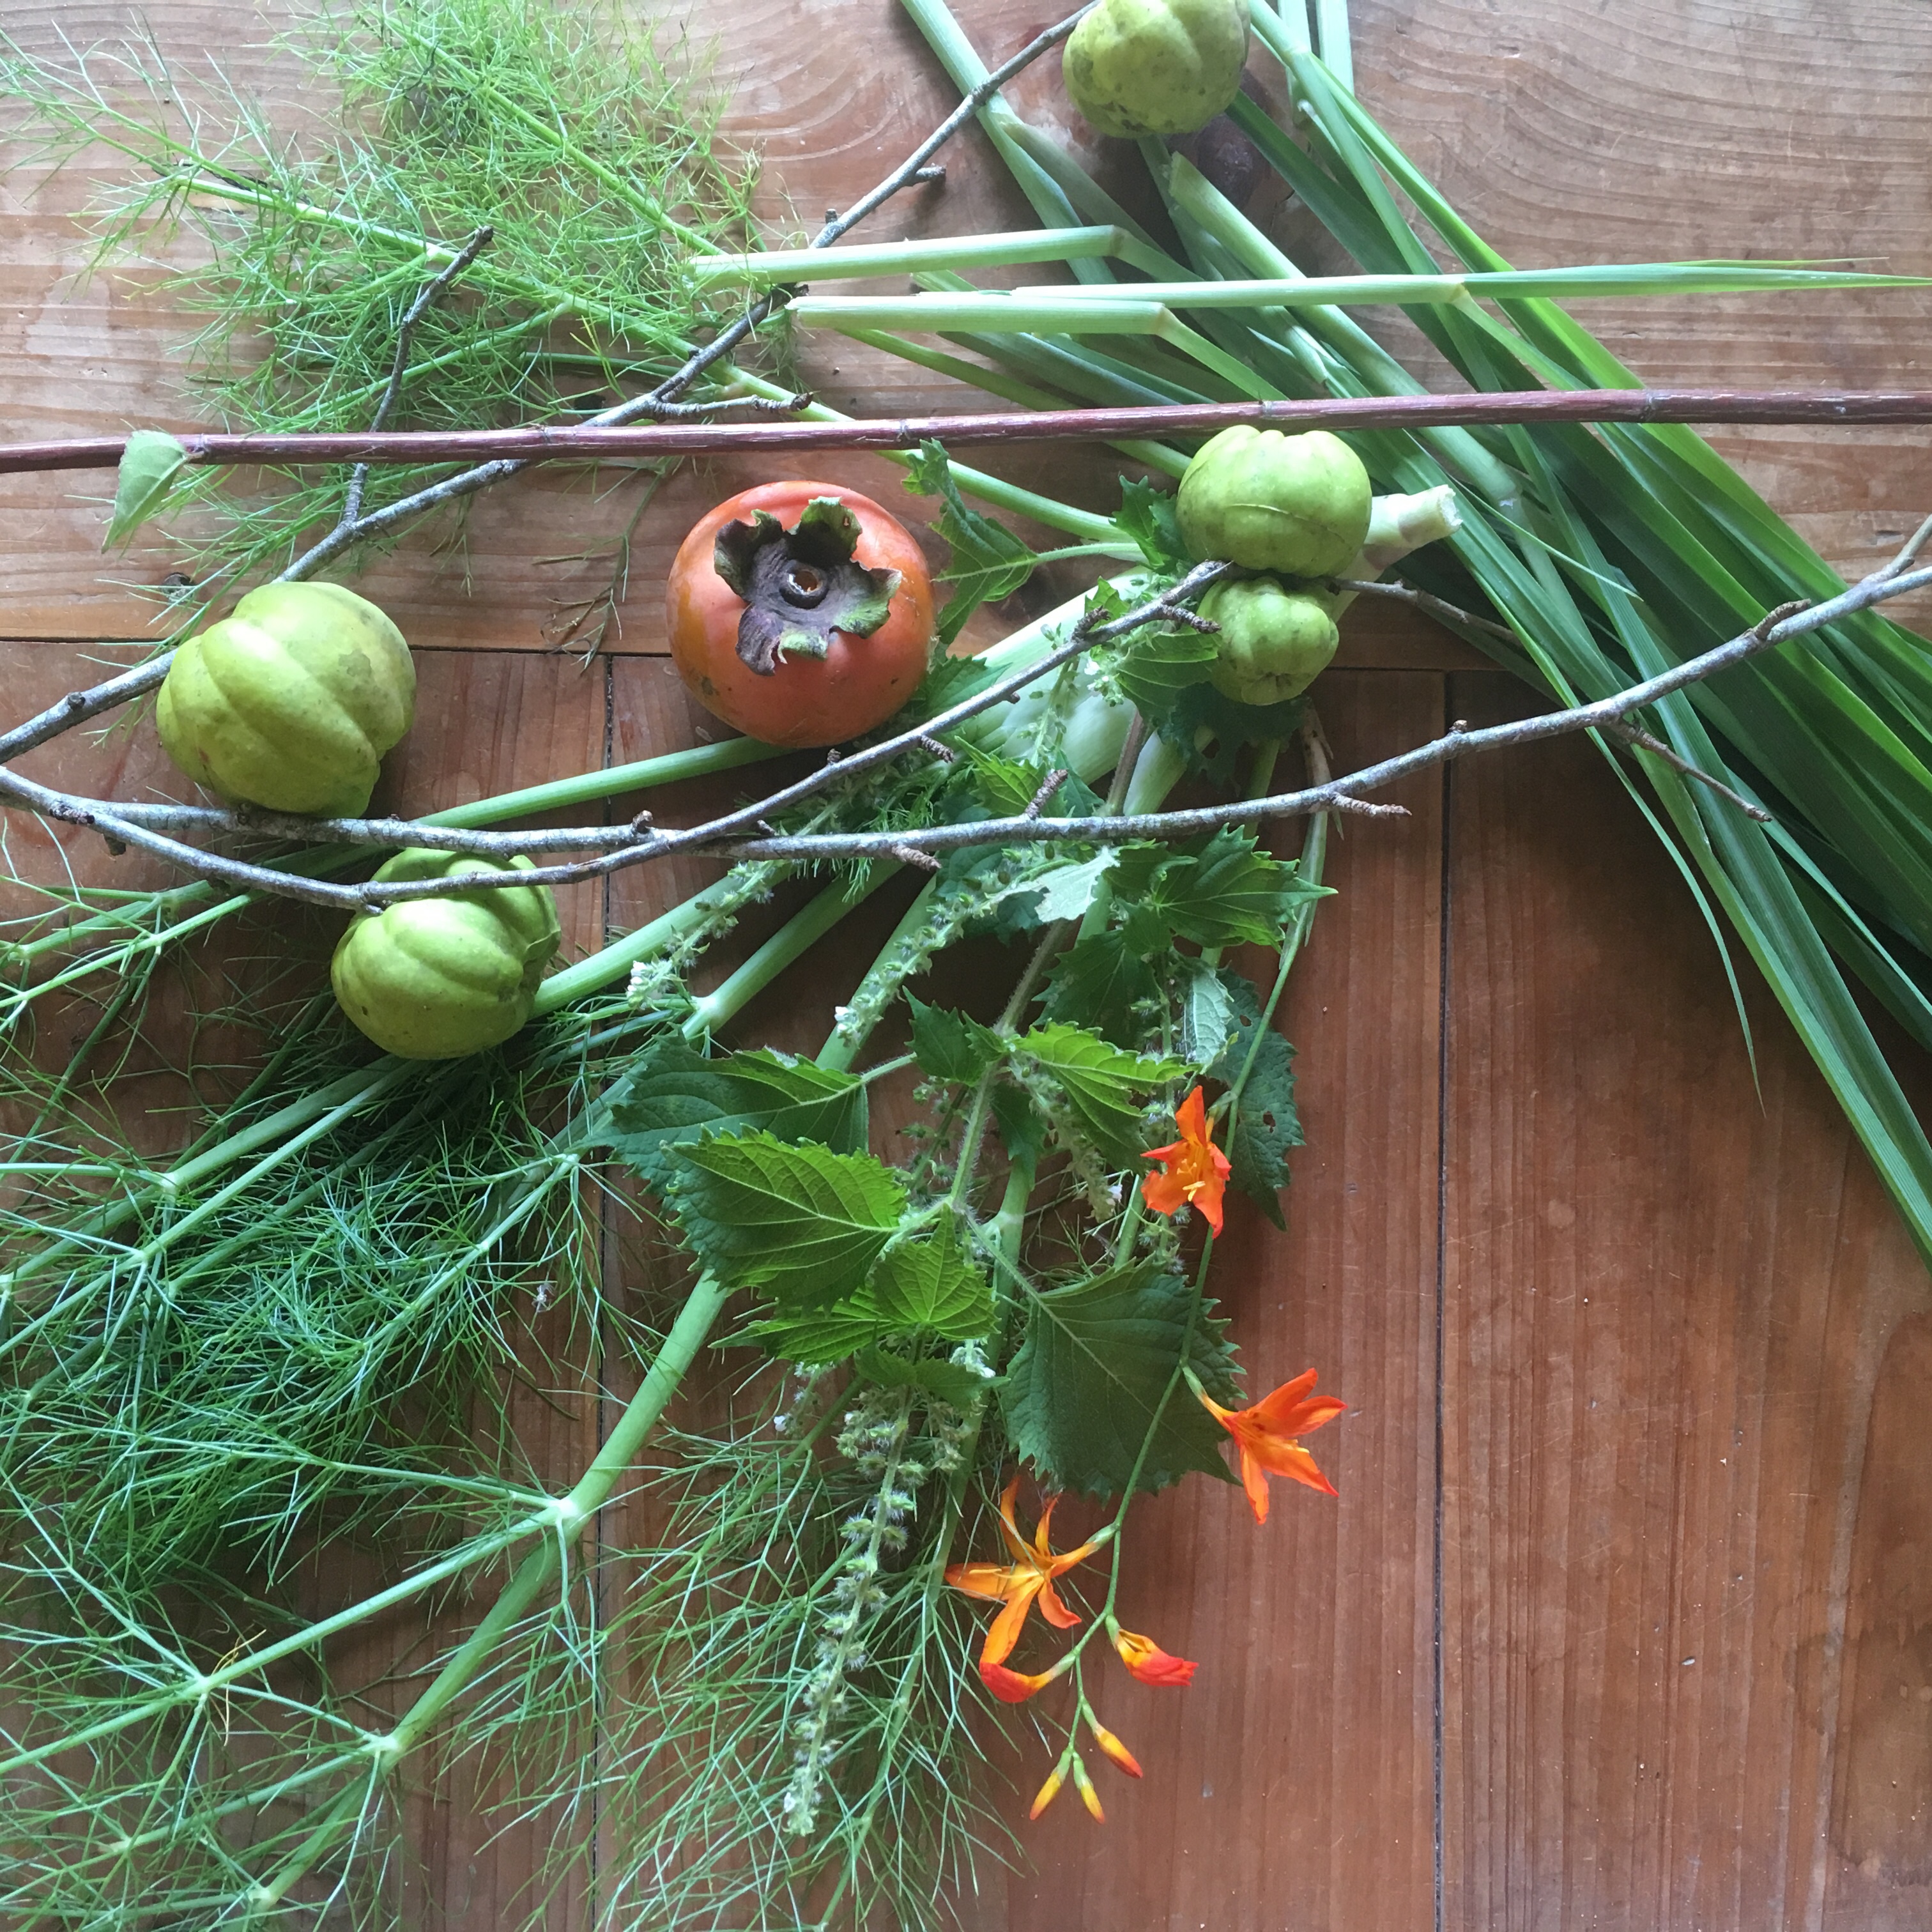
While we are not big fans of raw persimmons, like pretty much everyone in Chiba Sotoboso, we have persimmon trees in our garden, two that give sweet persimmons and one that gives bitter ones. Persimmons are like plums in June, impossible to give away!!! Most people don’t even harvest them and their leave-less branches are decorated with beautiful orange fruits. I our gardens the fruits don’t last long as birds happily eat them and that is great. Still I always harvest a few fruits for us as there is one recipe that is my total preferred way of eating persimmons: tofu ae with cucumber.

So here it is:

Persimmon, cucumber and tofu ae: 

– 1 persimmon not too soft

– 1 Japanese cucumber  

– 1 small block of drained tofu

– 2tbs of sesame seeds

– a bit of salt

Peel and dice the persimmon, slice the cucumber. Grind the sesame seeds, drain very well the tofu* and mix with the salt. Add the persimmon and the cucumber. Stir well and it is ready to serve.

Oh! By the way, I’m testing new mini videos to explain the recipe… checkout below and on IG!!!

* draining tofu is crucial to obtain the perfect creamy consistency. To drain tofu (hard or soft) first press it gently between two boards with a weight on top. Gravity will make it work perfectly for you after 1h. Then in a clean cloth with thin weaving press the tofu to remove the water has shown in the third video below.

http://gentianeetantoine.com/igk/wp-content/uploads/2019/11/video.mov

http://gentianeetantoine.com/igk/wp-content/uploads/2019/11/video-1.mov

http://gentianeetantoine.com/igk/wp-content/uploads/2019/11/video-2.mov

http://gentianeetantoine.com/igk/wp-content/uploads/2019/11/video-3.mov

Call it cooking… or not

But damn… this was a super delicious combination…

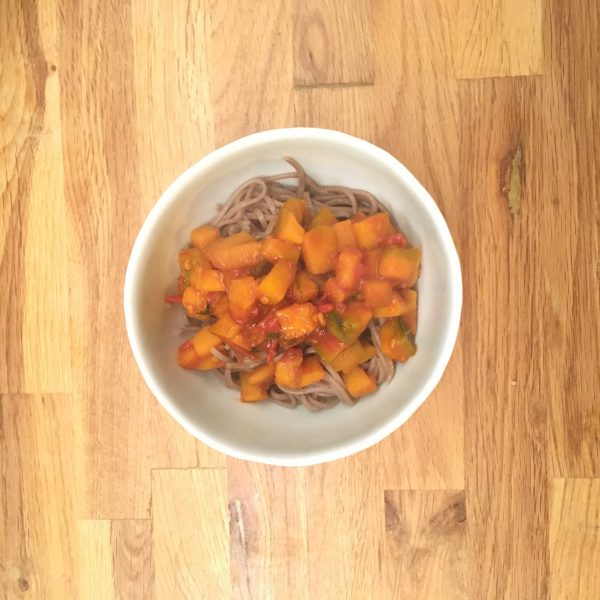
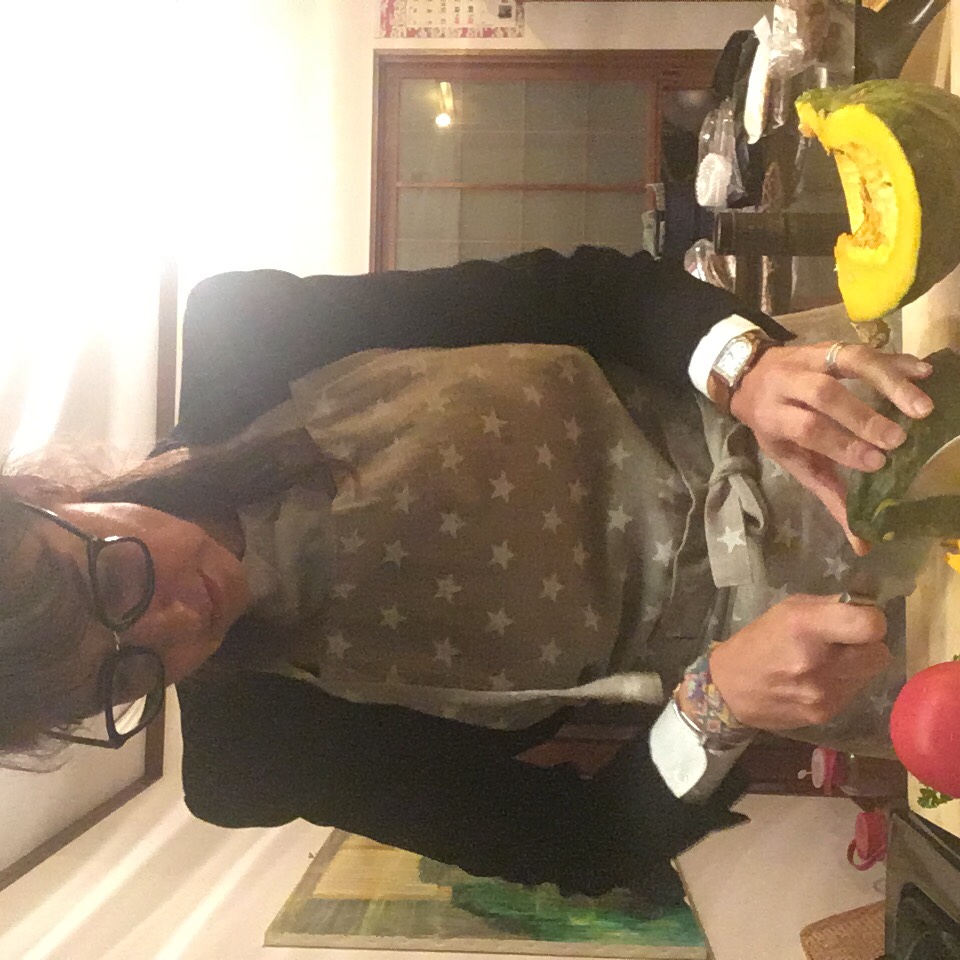
You remember me cooking in apron over my suit right after work? Well I was preparing dinner with the leftover veggies: kabocha and tomatoes. I also picked some fresh parsley in the garden and was thinking about what to do with them when the crave for soba noodles just came. All was decided… And that’s how this recipe of kabocha soba was born. It was so delicious that I really need to share it with you! Moreover because it’s been a while I haven’t shared a proper recipe!!
Kabocha-soba (for two regular servings)

– 125-150g of dry soba noodles (I use 100% buckwheat flour noodles)

– 1/4 kabocha

– 1 large very ripe tomato (if not the season anymore where you are use a tomato preserve without any seasoning)

– a few sprigs of fresh parsley

– 1tsp of soya sauce

– a bit of olive oil

While the water to cook the soba is heated, wash and cut in small cubes (5-10mm) the kabocha. Wash the tomato and dice. In a pan grease with a bit of olive oil, start cooking the vegetables. Add 1/4 cup of water if the tomato is not juicy enough. Cook under cover until the kabocha is soft but not too much. Add the chopped parsley and stop cooking but keep warm. The sauce shouldn’t be liquid or juicy. Just moistened a bit.

Cook the soba as detailed on the package. Serve in bowls. Top with the vegetables, add the soya sauce. Eat immediately and enjoy the perfect balance between the rustic soba flavor, the freshness of the parsley, the sweetness of the tomato and the creaminess of the kabocha, enhanced by the salty taste of the soya sauce!

Perilla – shiso

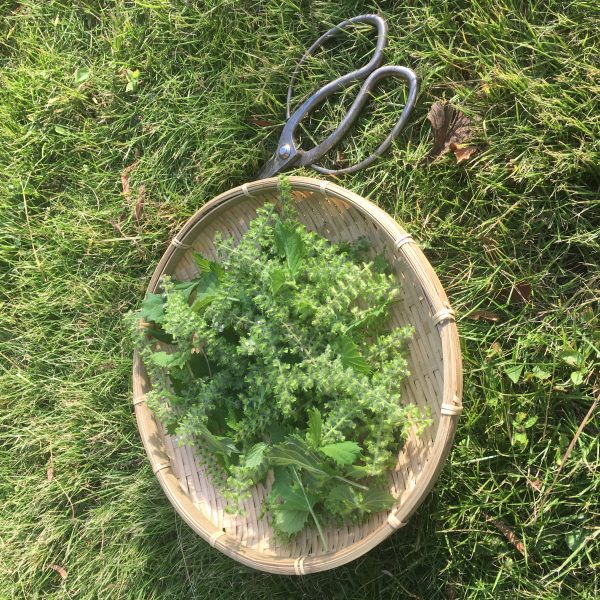
If you like Japanese food or have traveled to Japan you that green leaf for sure!! Perilla, or shiso 紫蘇, or ooba 大葉 grows very easily and spreads like weed in both planters and the garden. It requires very little maintenance and grows every year with more and more plants, only the caterpillars seems to like it. I never planted any in our garden but it’s been growing steadily every year. It blooms in the early autumn and the flowers are really delicious. And this year I harvested plenty of flowers so it’s time to prepare them. So far I was using them always the same way: in miso and to make some kind of tempura. I call them fake tempura because they are deep fried, but I use a simple mixture of flour and cold water just like for tempura.

This year I am also trying something new: I want to make syrup. For that my plan is to use the same recipe as the lavender syrup and replace the lavender flowers by shiso flowers. I’ll update you in a few days when it’s ready!!

In the meantime have a good week!!

Lemongrass

With the terrible summer the garden hasn’t produced much since August. My eggplants are having a hard time growing, same for the celeriac, and the ukon. The beets have disappeared… only the peanuts, the celery branch, and the herbs are doing fine. Regarding the fruits… the jujube are few and very tiny, the persimmons are very small too, I have no lemons and a dozen of yuzu that are not yet mature so will see how this ends up. But little is not nothing so let’s enjoy what we got! And among the harvested products I kind of enjoyed a lot the lemongrass. It was my first year planting some and it easily picked up and produce quite a bit. Well for a plant that loves water must have been satisfied this summer!!!!

I have not a lot of experience cooking with lemongrass and my favorite preparation it definitely herb tea. I found it simple to harvest and dry lemongrass naturally. I just cut in 3cm long the leaves and they dried in 2 days. I use a pinch for a large mug of drink.

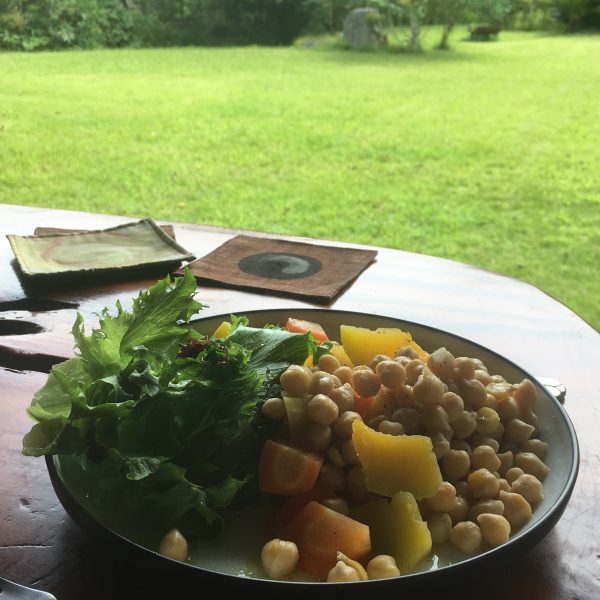
In food, I remembered using quite a lot lemongrass back then when we lived in Paris and also getting tired with the too strong flavor. But a few things I remember loving it for was in clear soups and in vegetables preparations. Remembering that last one I prepared us a very simple meal with simmered chickpeas, carrots, kabocha and I using lemongrass to give a nice fresh flavor to eat. Served with a fresh leaves salad, and a bit of olive oil… it was very nice!

Enjoy the autumn, it’s official now!

Panisse

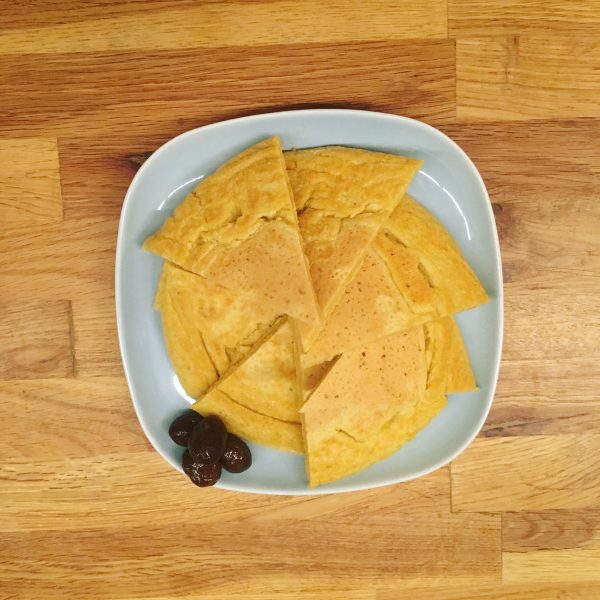
Probably very few of you know what panisse are… you only know if you’ve been to Provence long enough or have a specific interest in regional cooking… Panisse are an other traditional recipe based on chickpea flour and that cones from Italy apparently, but is also famous as far as Marseille. I’ve already shared the recipe of socca from Nice, panisse are something different. They are thicker and fluffier. Most recipes I’ve found are just using the same ingredients as socca but cook it in a pan with a lot more water, and then wait for it to cool down before frying them. I wasn’t too happy with these recipes and tried one I found in one of my vegetarian cookbook. The reason I was interested in that recipe is because you need to add a bit of baking soda to the mix… and you can cook it immediately and eat it immediately too. I still cooked it in a frypan like the socca but it resemble a giant fluffy pancake.

So here is my recipe.

Panisse

– 100g of chickpea flour

– a pinch of salt

– 1tbs of olive oil

– 1tsp of baking powder

– water

In a bowl mix all the ingredients and add water little by little until the mix is thick but not dry.

Heat a frypan of 15cm diameter, grease slightly with olive oil, pour the mix and cook at low heat, under cover, until it’s almost dry on top. Flip, and cook 2more minutes. Cut and eat!

You can use a lot more oil when cooking the panisse, but this is not mandatory… you can also add a bit of salt after too… enjoy!

Ginger

For most people outside of Asia, ginger is this wrinkled beige root that can be found all the time, but in Asia, even if you can find more or less fresh ginger all year round in supermarket, there is still a season for harvesting fresh new ginger, and it’s now!

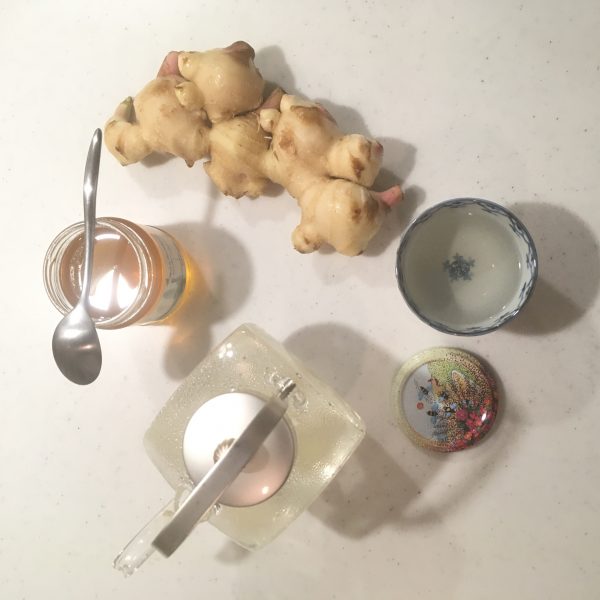
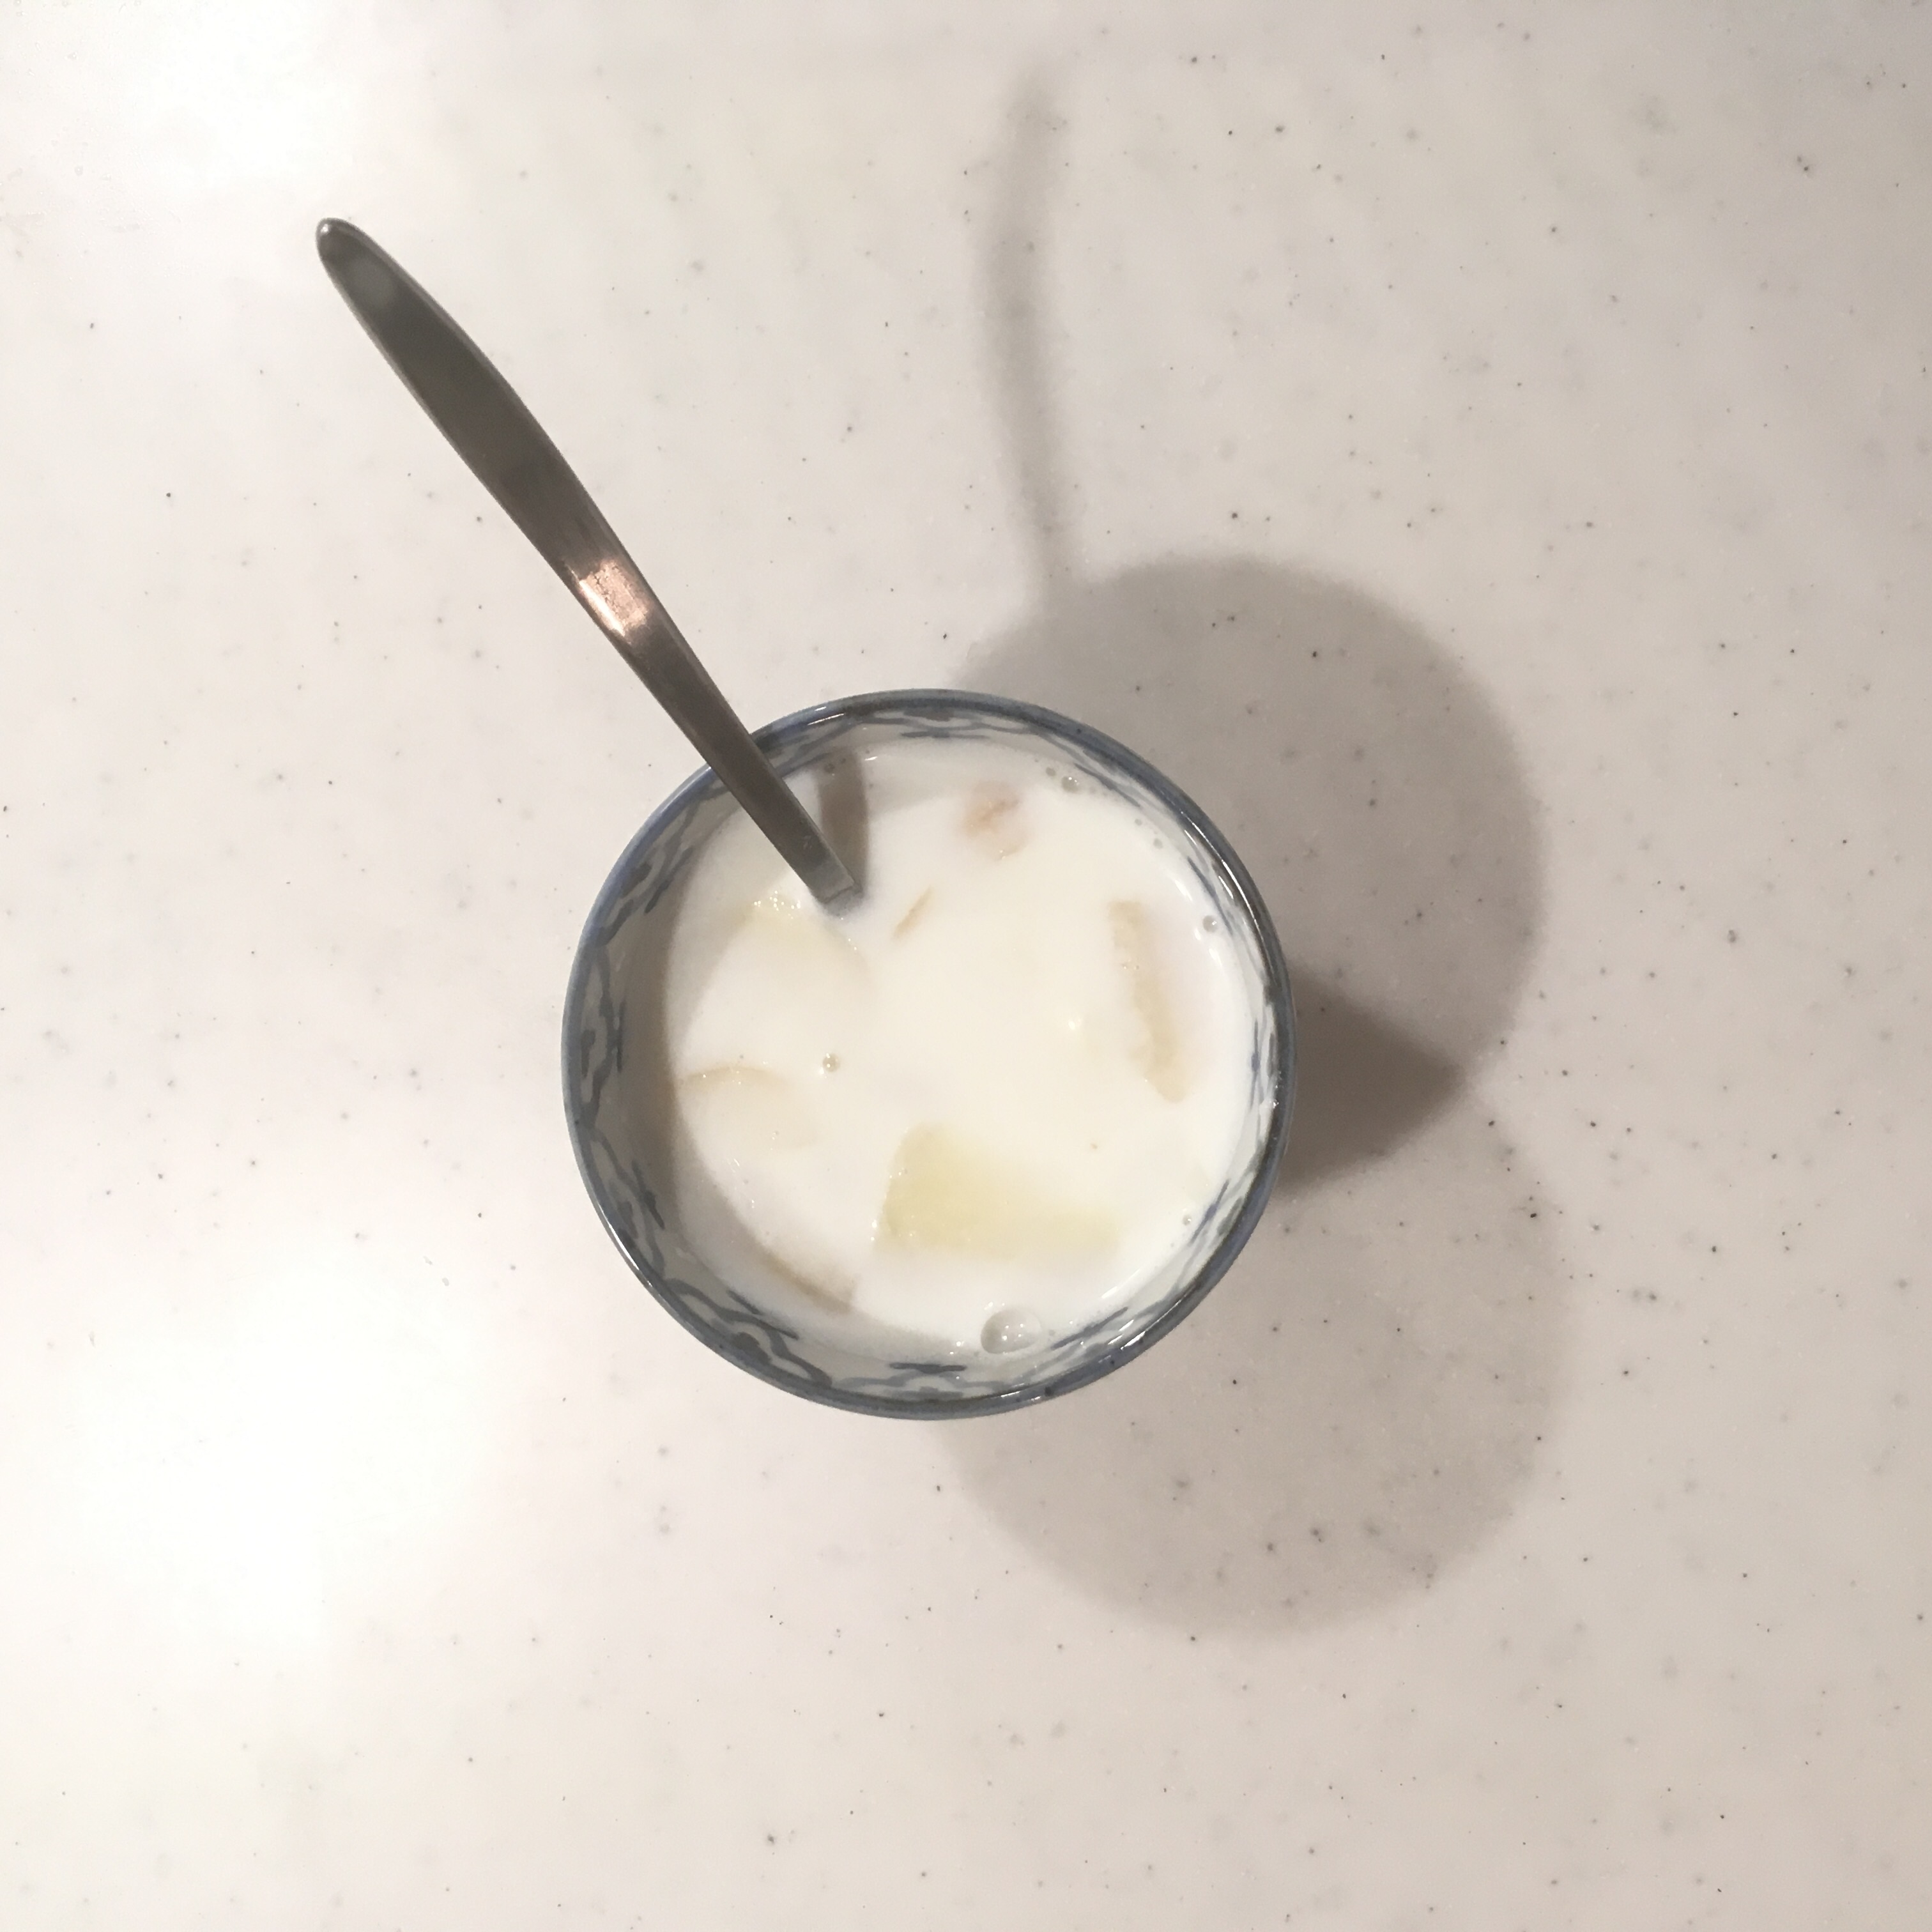
Ginger is often use as condiment in cooking, with tofu, pork… or even more often pickled or candied in a savory preparation. In Japan contrarily to other Asian countries it is rarely used in sweets: not savory candied ginger is not so easy to find. I made some, quite a long time ago and plan to make some again this weekend. There is one thing I particularly love ginger for it’s for preparing drinks. Remember the apple ginger cider? And the honey ginger? Well these are some classics and honey ginger is so easy to make. Well this time I mage a variation of it. It’s ginger milk and honey. It’s of course richer then the herb tea but it has something less stringent and more comforting. For making it, it’s simple. You need a piece of juicy fresh ginger, milk and honey. Wash the ginger and slice it thinly. New ginger skin is so thin you can keep it. In a pan pour the milk and add the ginger. Let sit for one hour. Then boil the milk, serve and add honey. You can serve without filtering and enjoy the ginger while drinking.

One other way to do it is to extract the juice of the ginger by grinding it, add to the milk and boil immediately. This method is faster but I find that extracting the juice of ginger is quite messy… or maybe it’s just me!

And did you know that ginger is good for sore throat and when you are tired too?

Umeboshi tasting

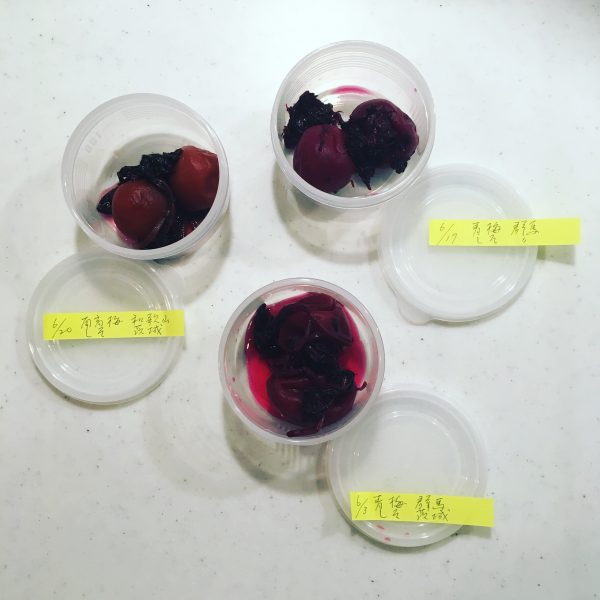
Remember, I told you about my pathetic failure with one batch of umeboshi a few weeks ago… well when we came back to Tokyo I had a little surprise: I had a tasting set of umeboshi!!! Three types of red shiso umeboshi, with slightly different preparations and different kinds of plums all prepared by K. san. I think she was sympathizing with my failure… Her recipes are slightly different than mines so it was interesting to try them. One is very juicy and pink, the two others are more traditional, yet delicious and juicy. Of course they are umeboshi from the year nothing to compare with the 25year old umeboshi I got from my neighbor which are much drier. All to say that umeboshi may be something that seems first weird, too salty or too sour… But they are a very traditional Japanese food, rather unique, super healthy and side products have many virtues. I am sure that among the many varieties there must be one for everyone’s palate! If you don’t like the juicy and flush flesh jumbo ones, try the small and crunchy: karikari ume カリカリ梅. They are personally not my favorite but I like them too.

Also to get used with the taste maybe try ume flavored food. I use to like the ume potato chips, but I stopped buying potato chips 5 years ago… I’m sure there exist other snacks of the like: age mochi, kaki no tane with ume flavor, it can be a good introduction. I any case never buy cheap ones and those with non natural coloring or other ingredients than just salt and plum and shiso.

Special guest: Eliane

The Causse Mejean doesn’t have too many places to eat out and enjoy local products nor sleeping options… but it wasn’t always the case… until 15 years ago there was a magic place where to eat and that was also an inn. The place where my parents went while looking for a place to sleep when they were honeymoon touring the region. I have never known the name of the inn it has always been “chez madame Fage”. This place was where you could have delicious soup made from the kitchen garden vegetables, a salad just freshly taken and dressed simply, the marvelous chocolate mousse the daughter Eliane would make for dessert. It had the rustic flavors while being perfectly prepared and fresh. I keep beautiful memories of this place. The aperitif under the wisteria, the big wooden tables, the check table cloth and napkins… a picturesque place. Mas Saint Chely, where “madame Fage” was is just a 30min walk from our house through a pasture track, and of course we decided to take the walk up there, not knowing what to expect as madame Fage closed 15 years ago, the bread-shops and the other very few places in the village also closed down more than 20 years ago.

As we were making our ways through the village I instantly recognized the kitchen garden, the winding street and the terrace covered with the wisteria. Nothing had changed. I climbed up the stairs and knocked and Eliane opened the door as she would always do! For a moment time had stopped!

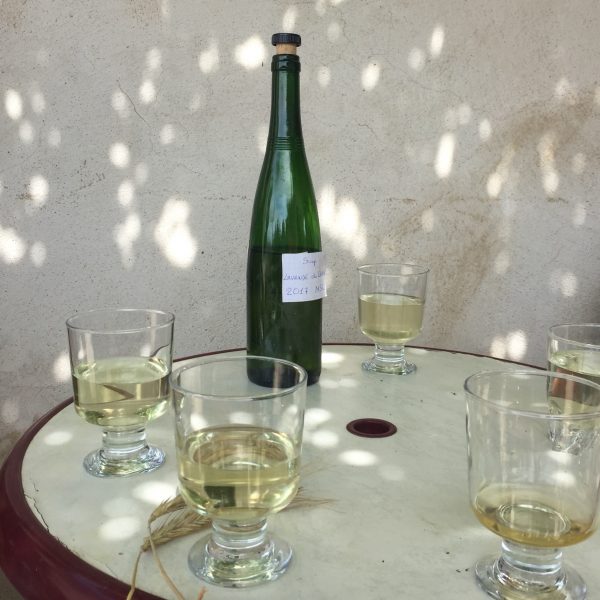
She offered us drinks on the terrace, with the same glasses and the same fresh water, what was new for us was her lavender syrup. Made with the wild lavender flowers found on the causse, it was devine so I needed to ask her recipe and share it with you.

Lavender syrup

– a large handful of lavender flowers rather fresh

– 1L of clear water

– 600g to 1kg of sugar

Wash the flowers gently. In a large pan filled with the water, bring them to a boil for 2min then stop and leave for 24h. Add 600g to 1kg of sugar for 1l of liquid depending on how sweet you like it and how long you want to keep it (the longer the sweeter). Bring to a boil and cook at low heat for 10min. Let cool down and bottle the syrup… that’s it!! Drink diluted with water or use in cooking… with grilled white meat, desserts…

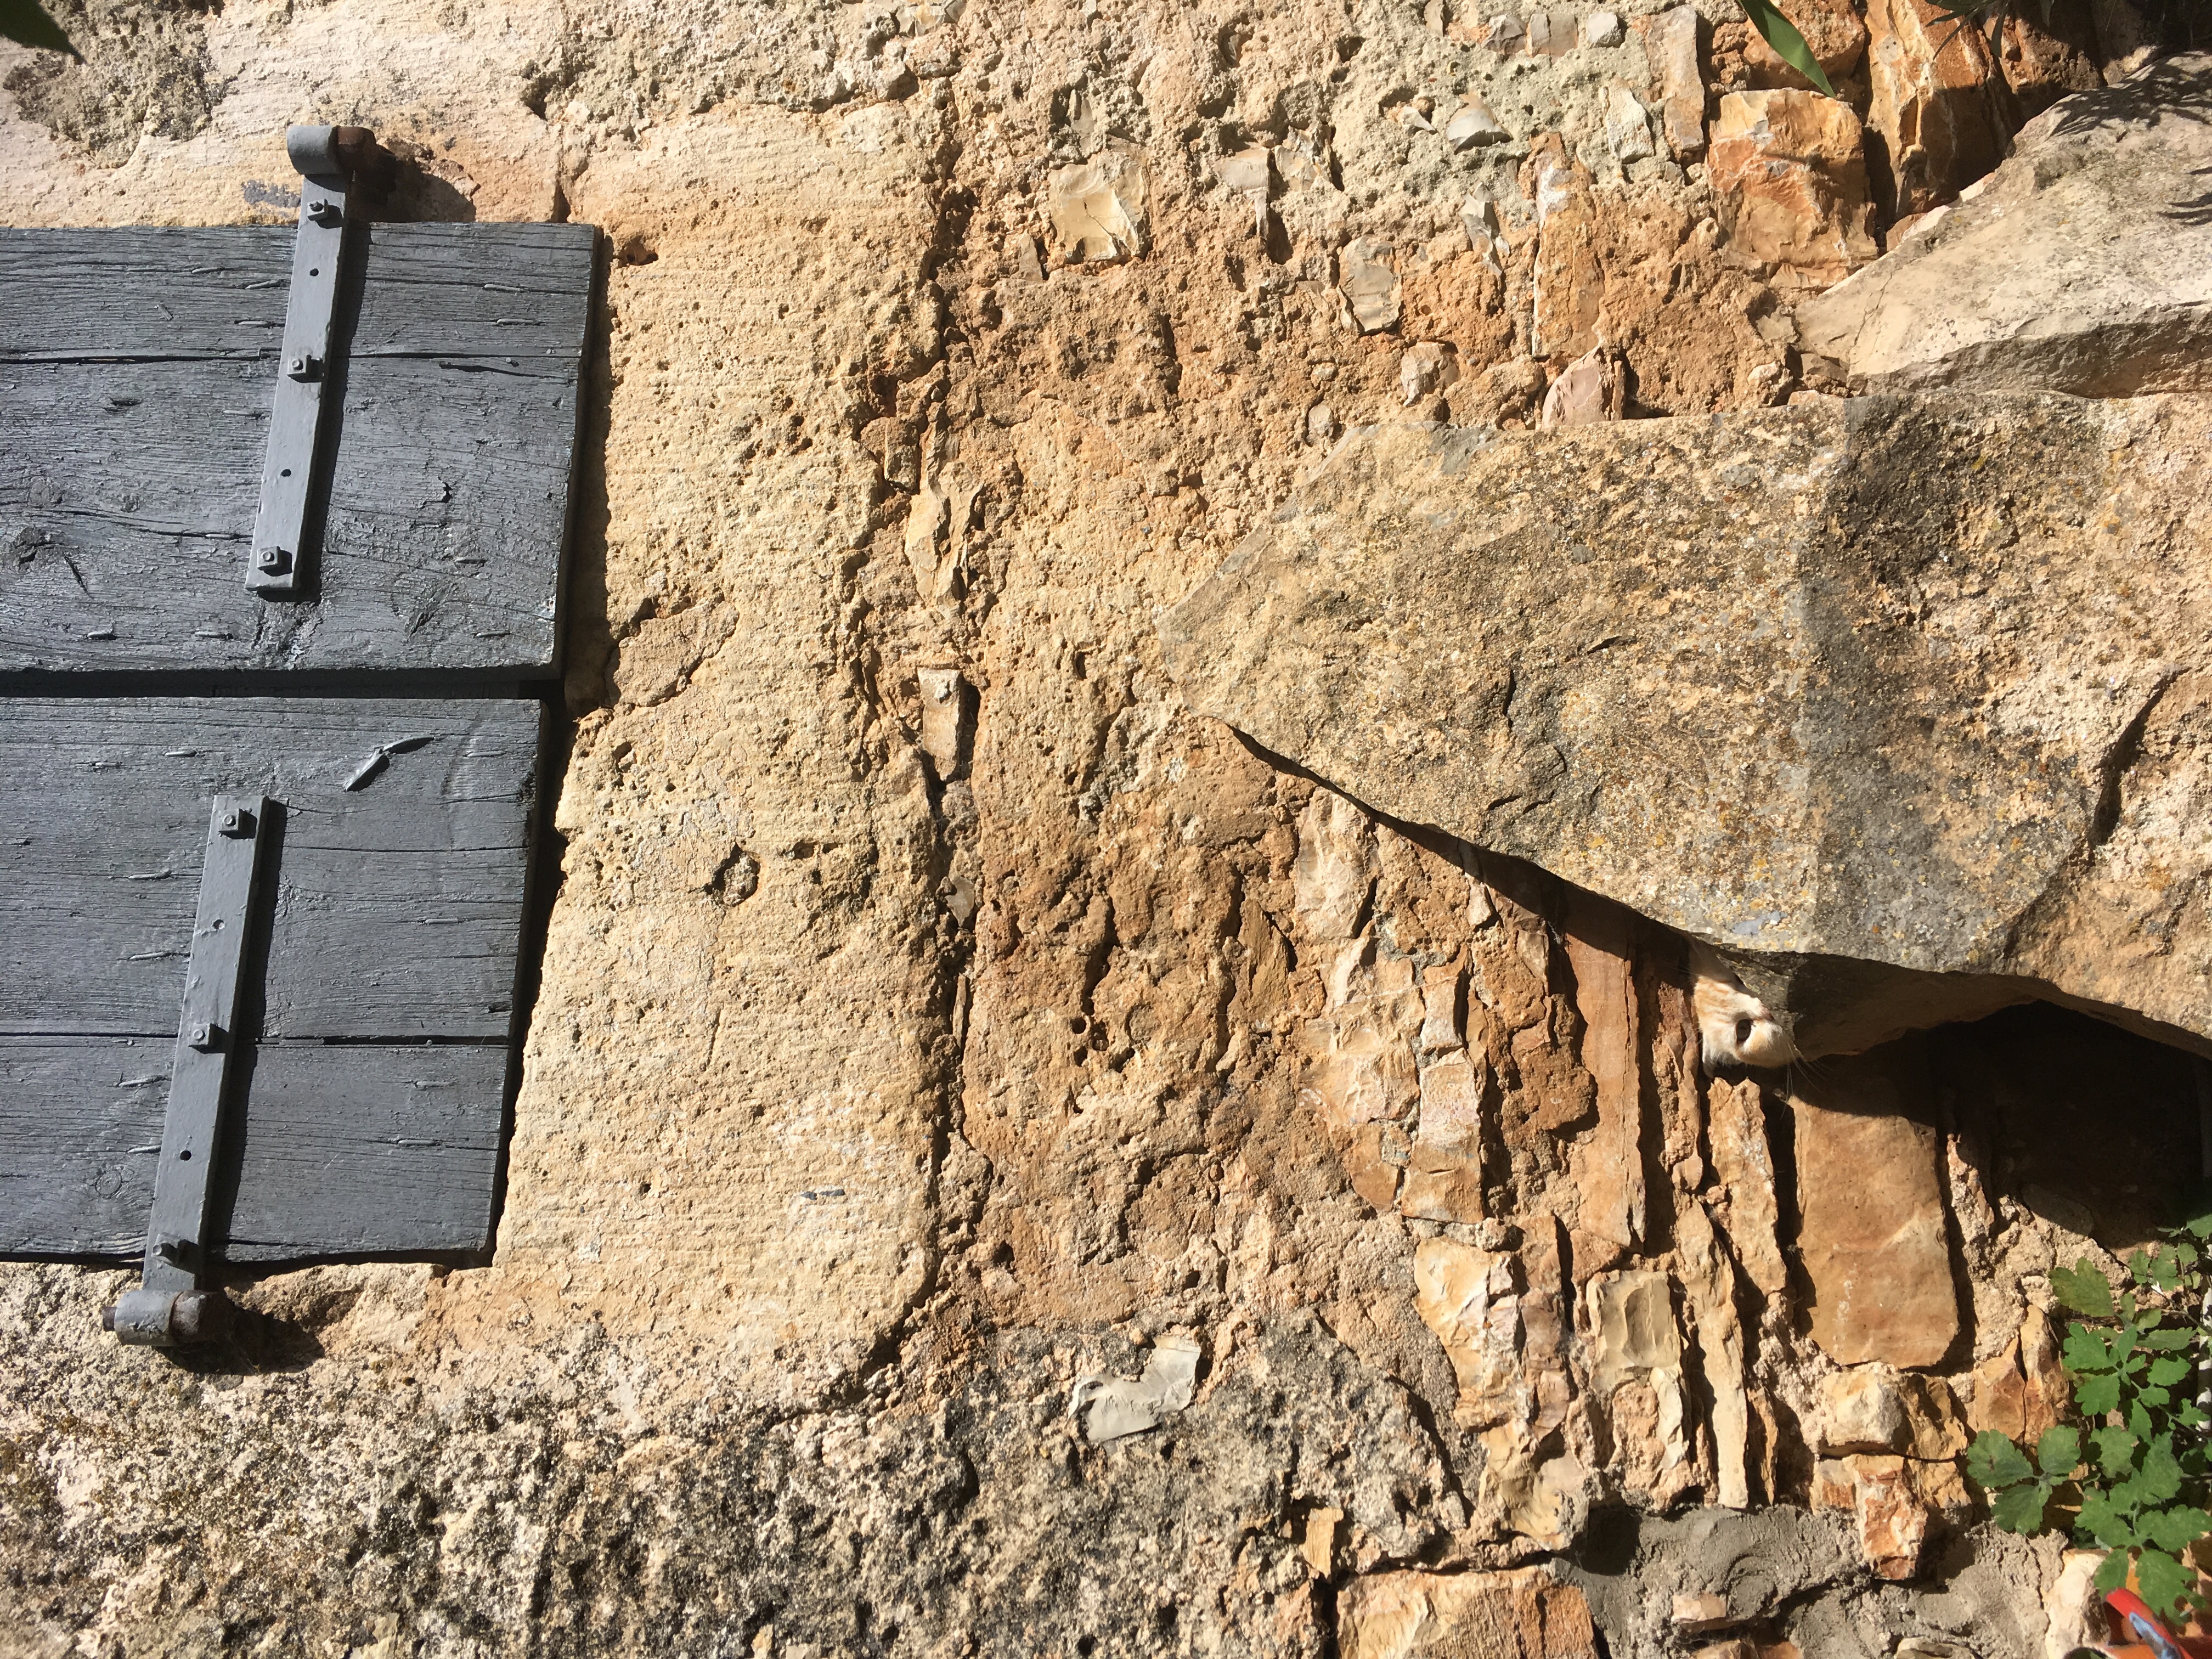
Cat hiding in a street of Mas Saint Chely

Proudly powered by WordPress | Theme: Baskerville 2 by Anders Noren.

Up ↑

Verified by MonsterInsights