I don’t know if it’s because of the sunny and warmer days, the abundance of vegetables that I love, or seeing the rapid growing of the plums on the trees that are the prospect of a new harvesting season and making plum fermented syrup 梅シーロップ, and salt fermented plums uneboshi 梅干し, but I’ve recently been in a mood for pickling. I think it is also because I realized I need to clear space for the new bins that will populate the shelf and the fridge soon, so it means emptying all almost finished jars and bottles. Rather than just tossing the precious ume zu in the drain, or the beautiful red shiso (parilla) leaves after they have served for the plum and their conservation I thought of a recipe I was taught by our Hakuba’s favorite restaurant owner and cook which consists of pickling cucumber in ume zu. I then extended it to red shiso leaves too. So my pickling repertoire is rather simple. Nothing about nuka, that stinks and is sometimes a bit difficult to control. As I said, I use the simplest pickling methods: salt pickling 塩漬け shiozuke, ume zu 梅酢 pickling called shibazuke 柴漬けand red shiso ume zu pickling. It is really quick to make if you do asa zuke 浅漬け which a rapid and “shallow” pickling and the result is always a nice add-on to a Japanese meal. I pickle only a small amount at a time and to make the process faster I usually cut the vegetables (otherwise the pickling time is longer and I forget that I had pickled something!!!). So simple and delicious that I’m not sure why I don’t pickle much! Anyway… here are a few very simple recipes to make your own Japanese pickles. You can adjust the amount of salt to you liking.
Salt “shallow” pickles 浅漬け
- 1 Japanese cucumber
- 1/2tsp of salt
Wash and pat dry the cucumber. Slice thinly. In a bowl, put the cucumber slices, sprinkle the salt on top. Put a weight on the cucumber slices to slightly squeeze them. What I would usually do is cut a piece of cooking wrap or similar and put a tinier heavy bowl on top. Keep for 2-4h at room temperature depending on the season and the pickling level. Beware, the amount of liquid in the bowl may increase quite dramatically, so either use a large enough bowl, or put in a tray to avoid overflow catastrophe! After 4h the pickles will be ready to eat. The longer the softer. Keep in the fridge after 12h and eat rapidly because it is already sliced.
You can use the same recipe with other vegetables that contain less water, in that case you may want to do a 5% salt brine with 5g of salt and 100g of water, and use the brine to just cover the vegetables. You can also pickle for longer, or not cut the vegetables and pickle the whole vegetables (pickling time would be 8-12h). In that case the weight to apply on the preparation is about twice the weight of the pickled vegetables and once pickled they apparently keep for a few days in the fridge, in a airtight container without the brine. Honestly I pickle just the quantity I want us to it, so never keep them!
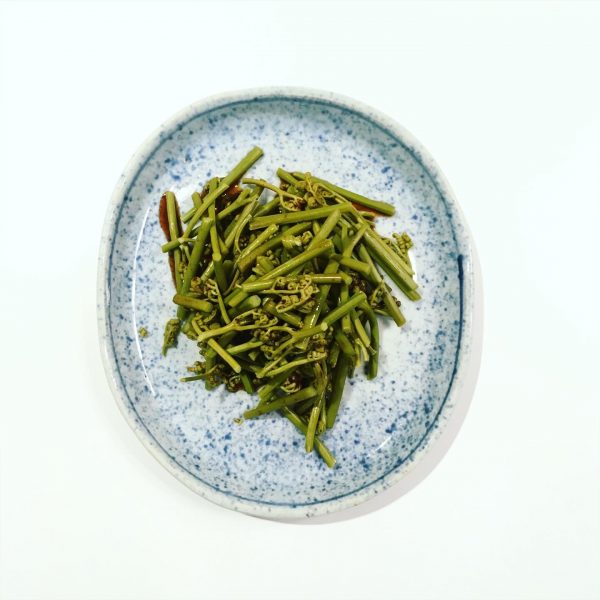
Ume zu pickles shibazuke 柴漬け
- Cucumber, turnip, daikon…
- 2tbs of ume zu
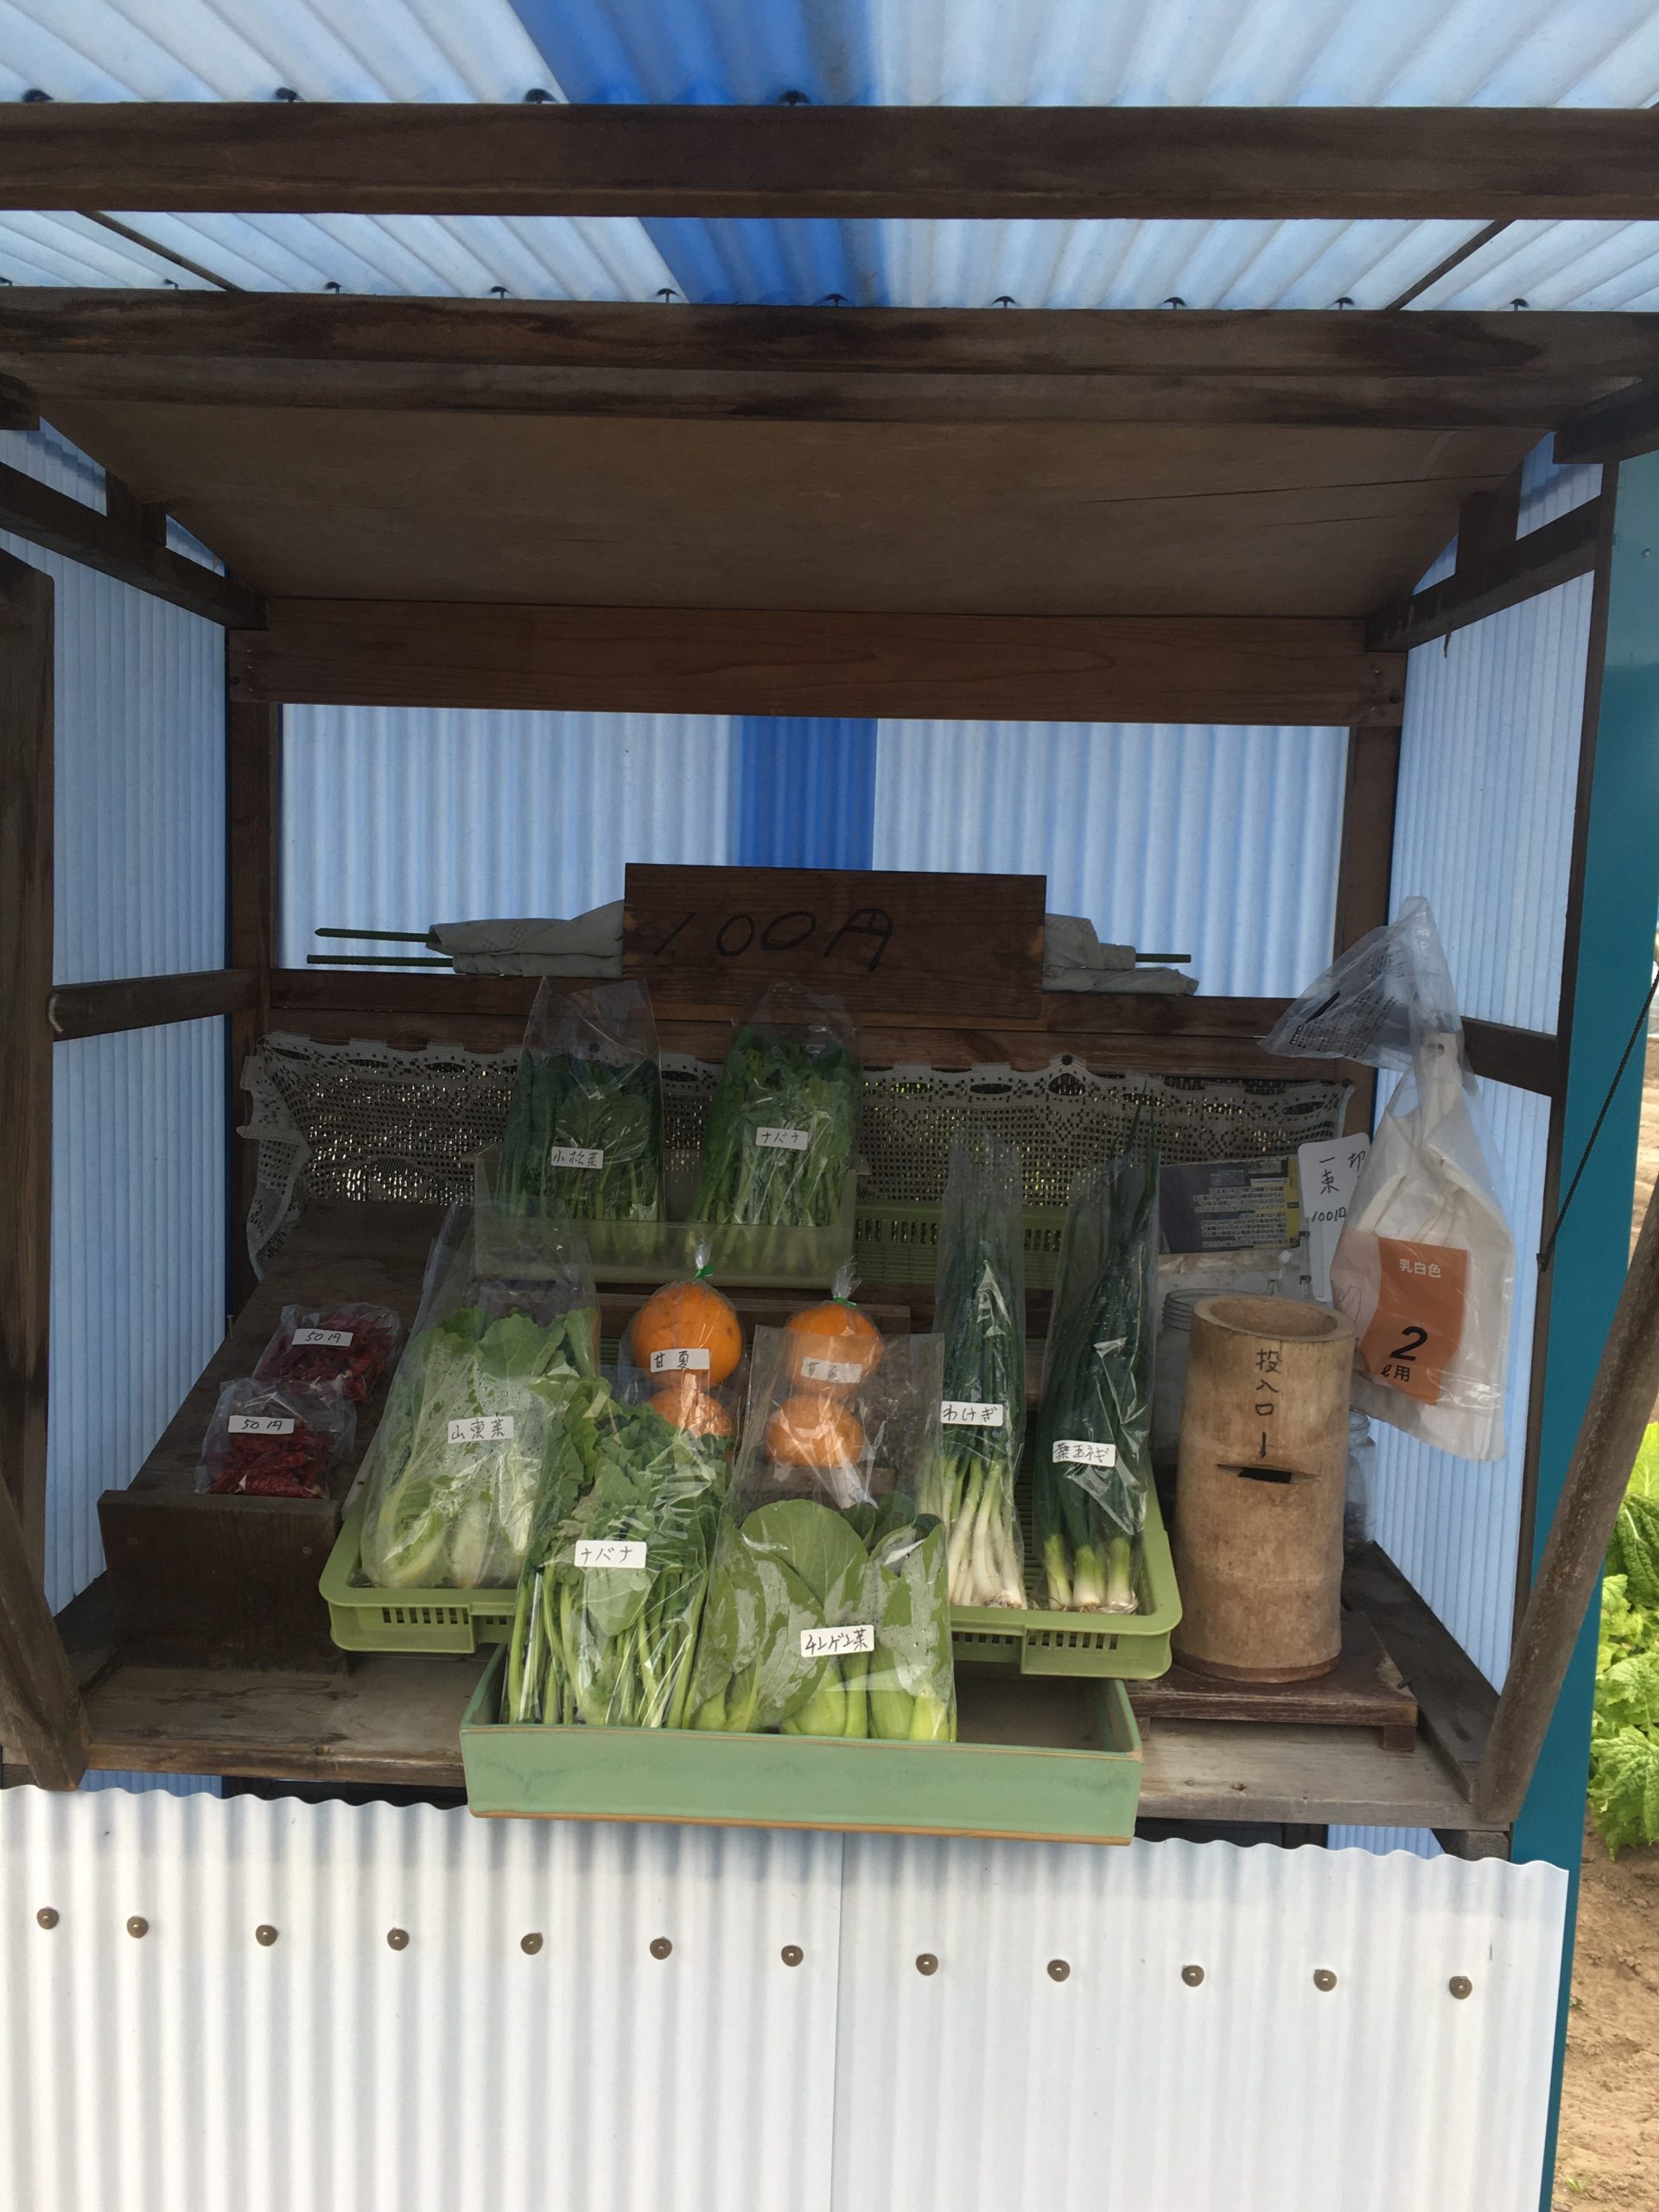
While this recipe requires ume zu, the salty juice produced by the plum when pickling them, it is a very delicious and simple recipe. Ume zu can be bought in local farmers markets in Japan or at cooperative. I use the one I kept from my plum pickling.
For rapid pickling I wash and cut the vegetables, pour the ume zu and then put a weight on top.
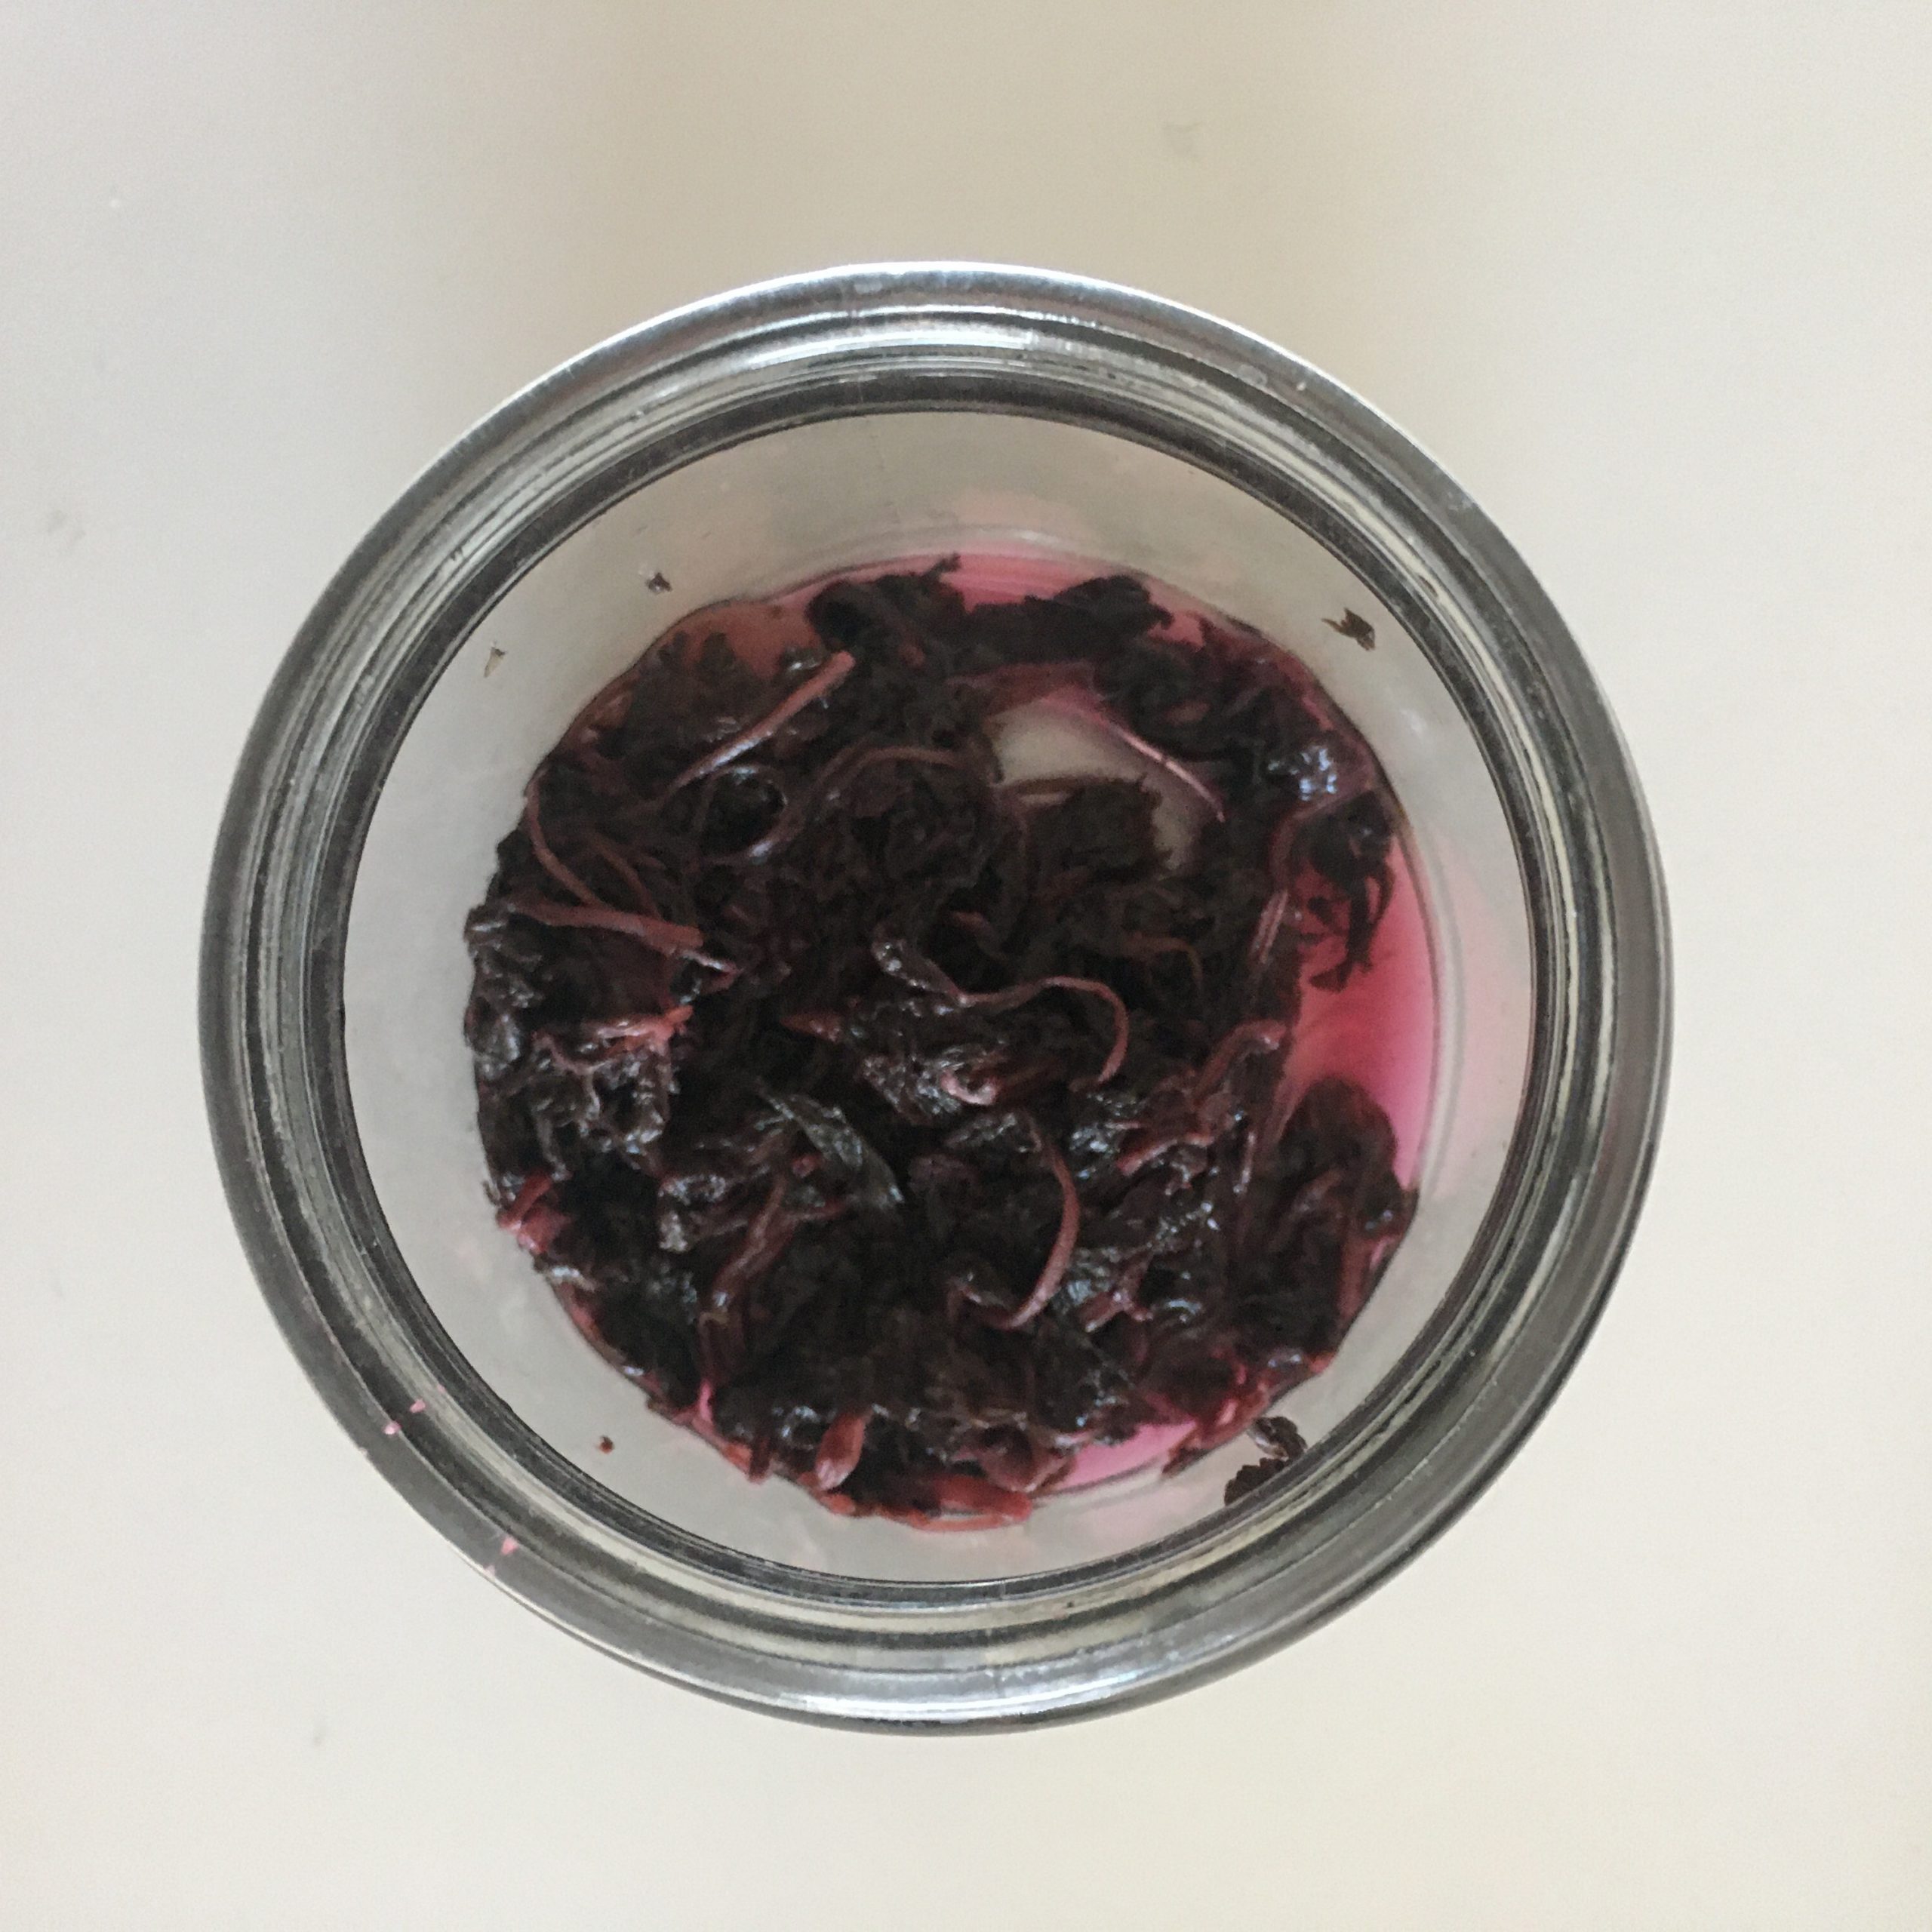
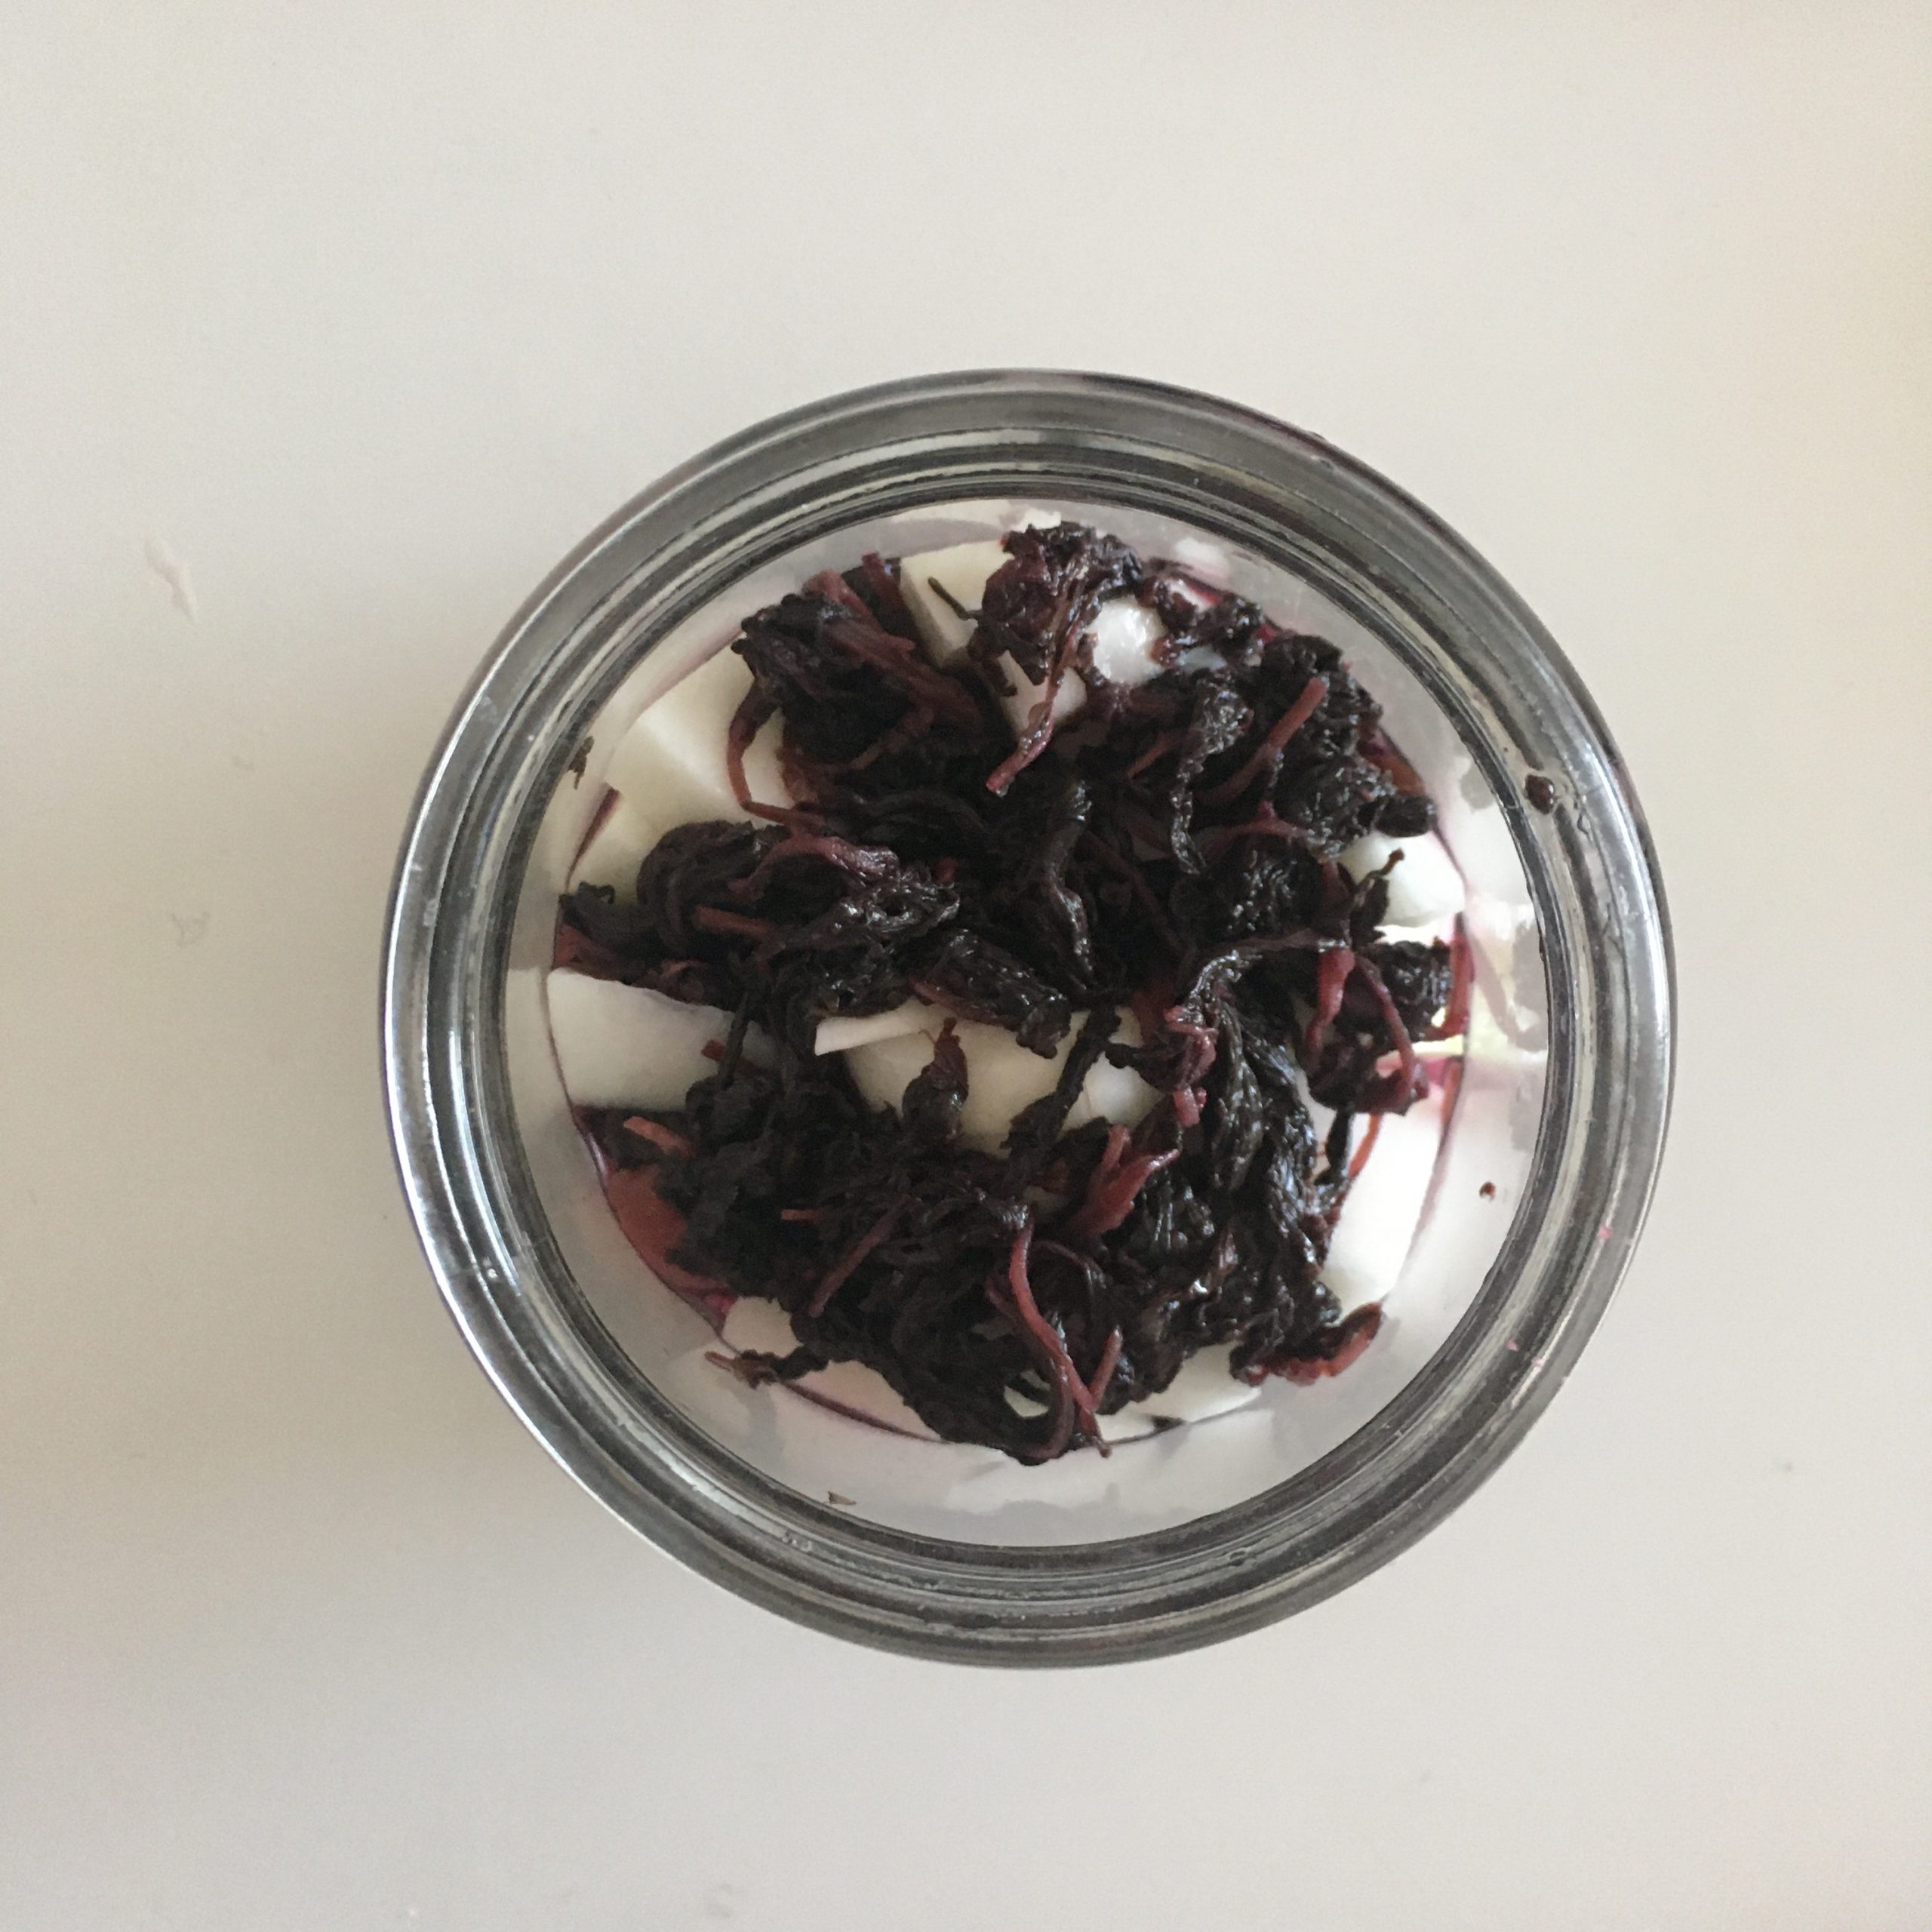
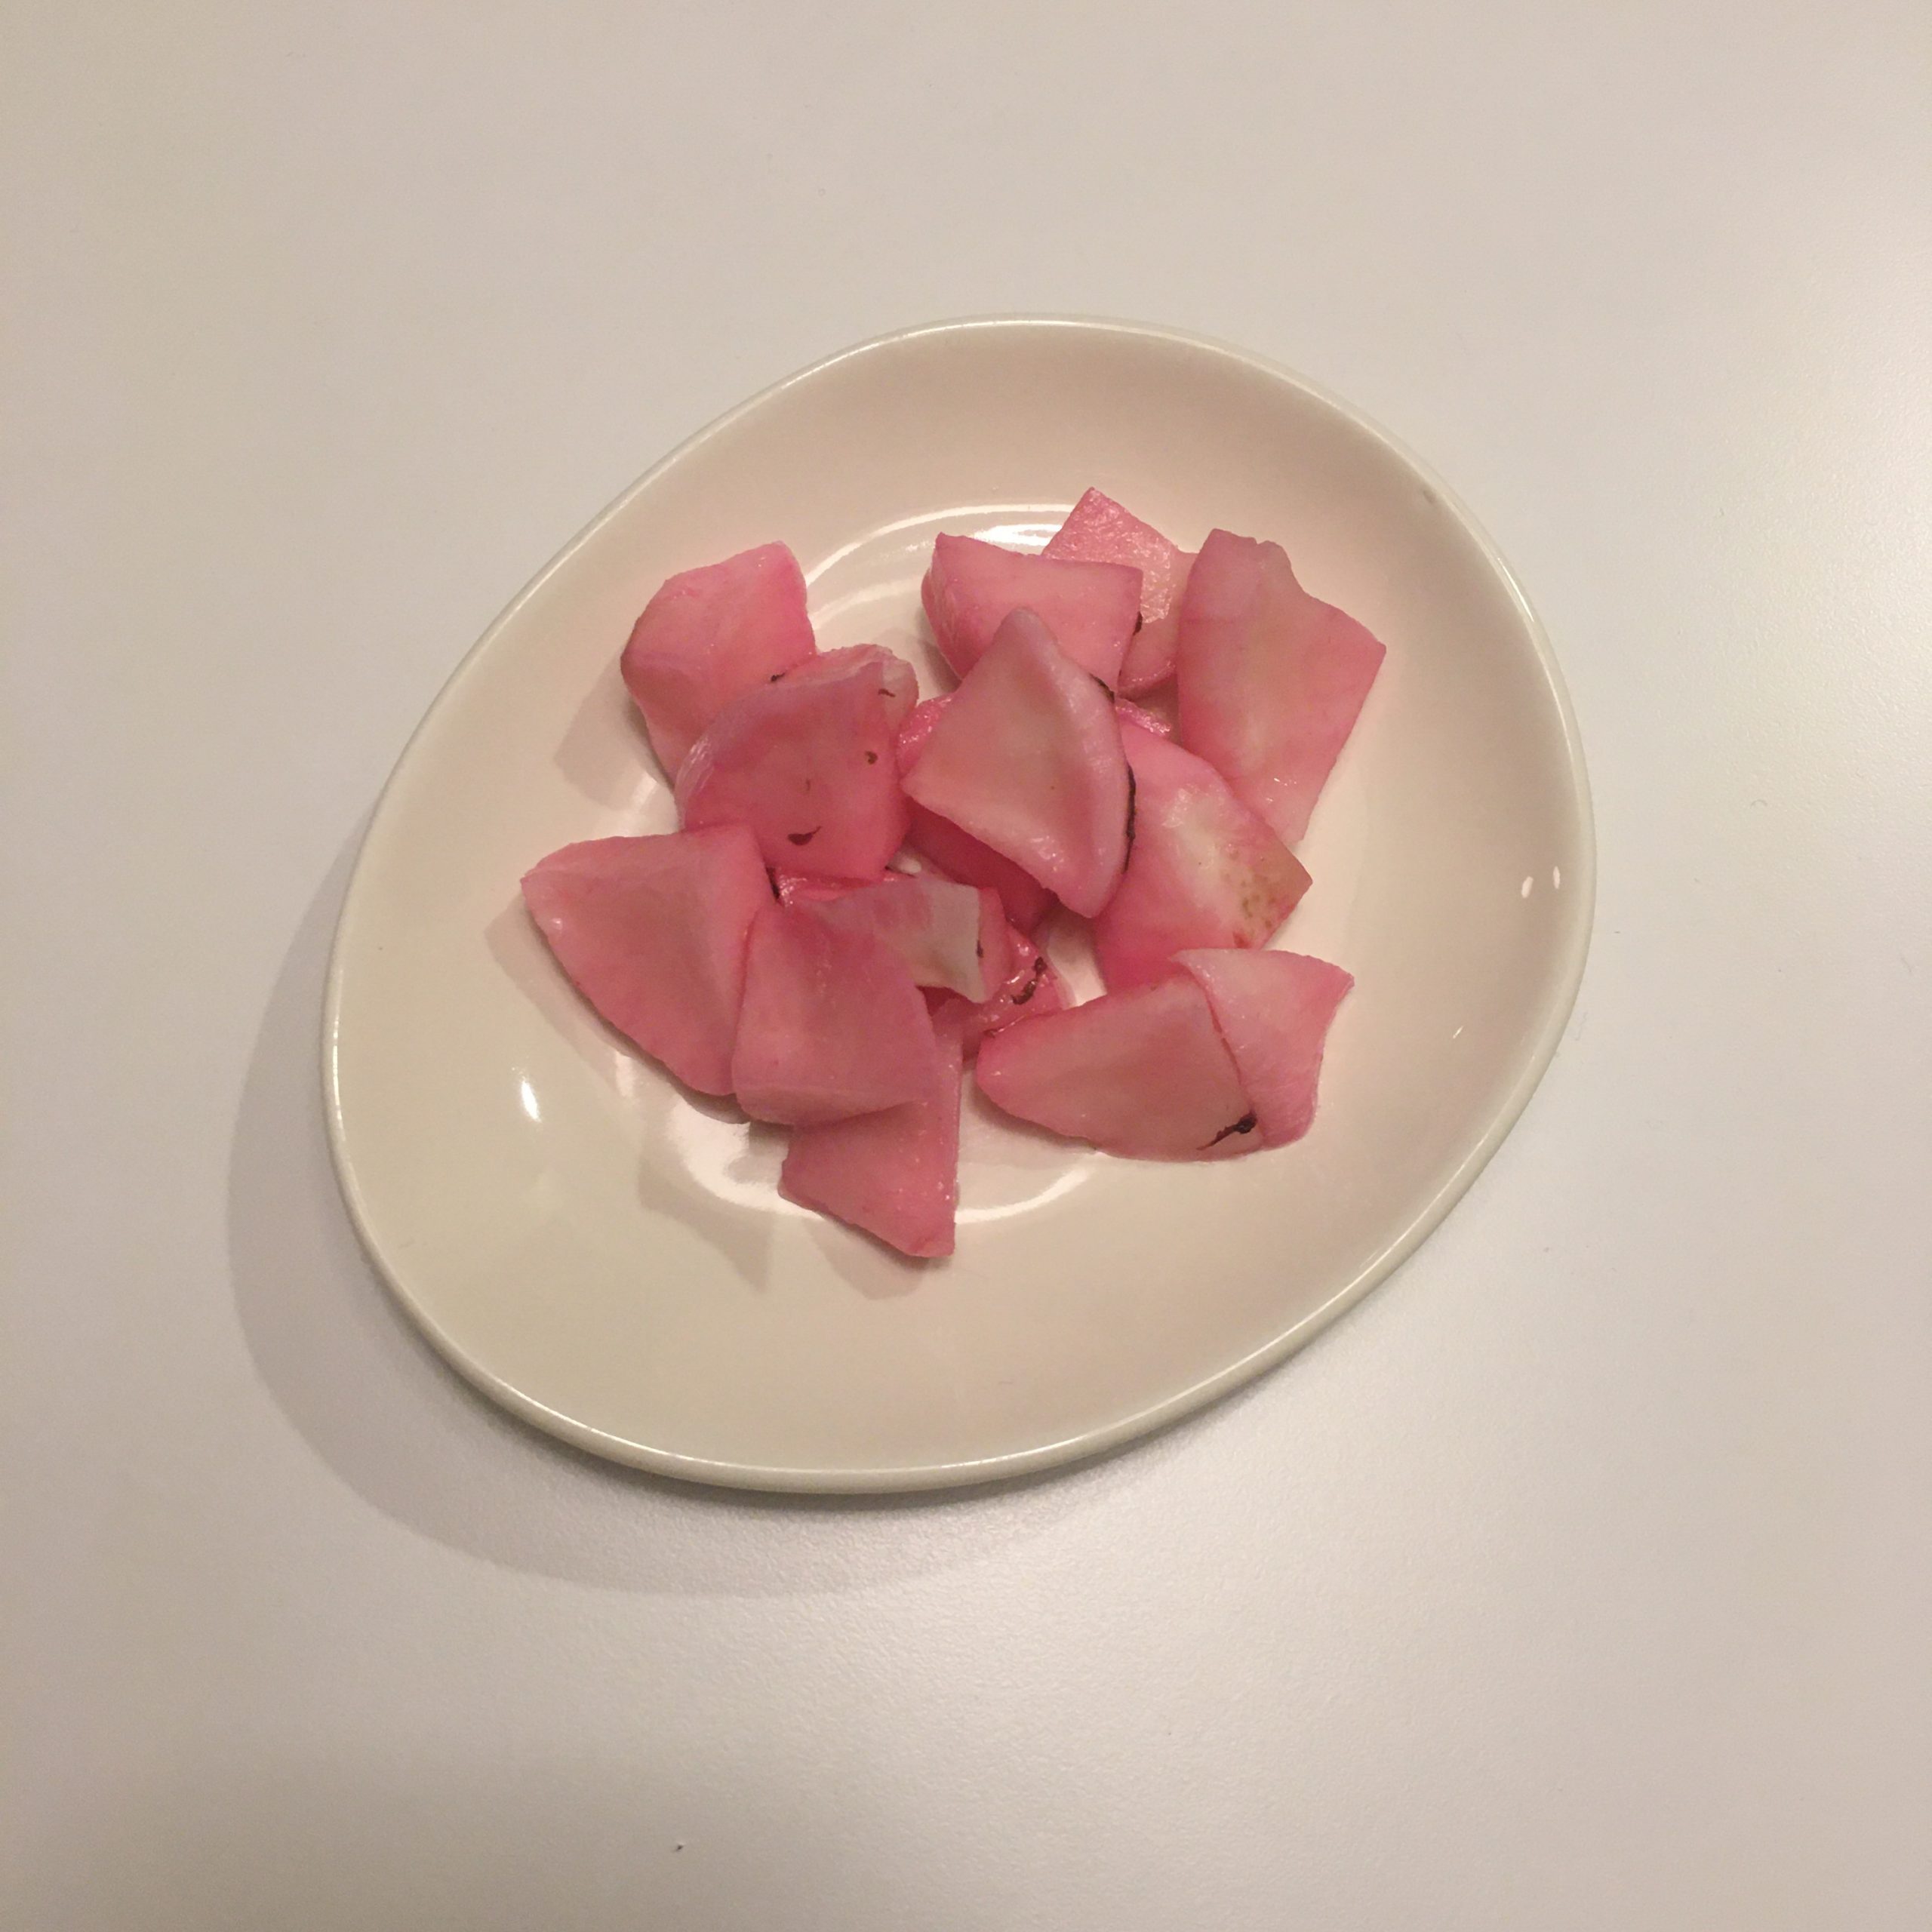
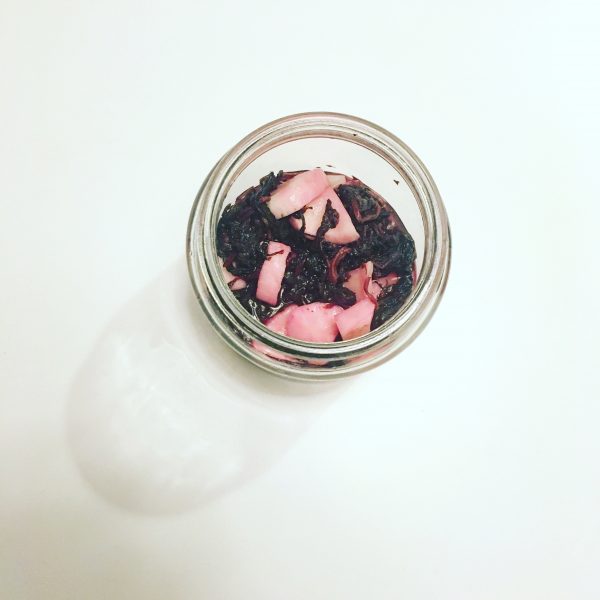
Red shiso ume zu pickling
- White vegetables of your choice: daikon, turnip…
- Red shiso leaves that have already served to pickle plum
Same as above, this recipe uses a by-product of plum pickling: the red shiso leaves that are added to plum to add flavor and color. This may not be easy to find of the shelf. But next time you pickle plums think about reusing it!
Same here, wash and cut the vegetables. Set them in a container top with the shiso leaves. Apply a weight on it for a few hours and enjoy!