Edamame ravioli

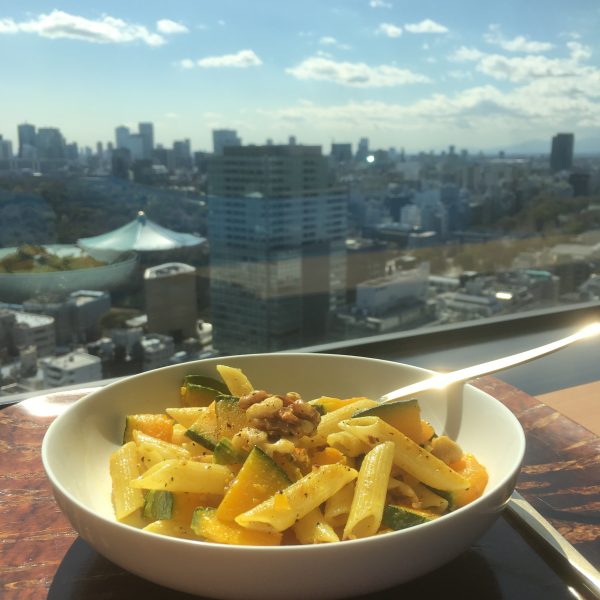
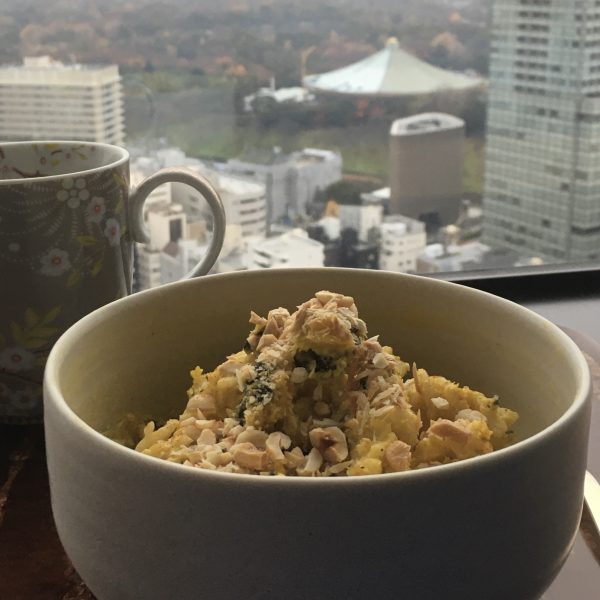
Every week, I am hoping for a more quieter week and every week day is getting busier and I end up with very very little time to cook… for example today my lunch was some raw carrots, a piece of Comte cheese and some nuts… as I rushed between meetings and things to do. It is also often a bowl of rice topped with something rapidly cooked (more coming about that soon). So when I manage to have just a little more time to cook I jump on the occasion and I cook some more fancy things. “Fancy” being almost exaggerated!!
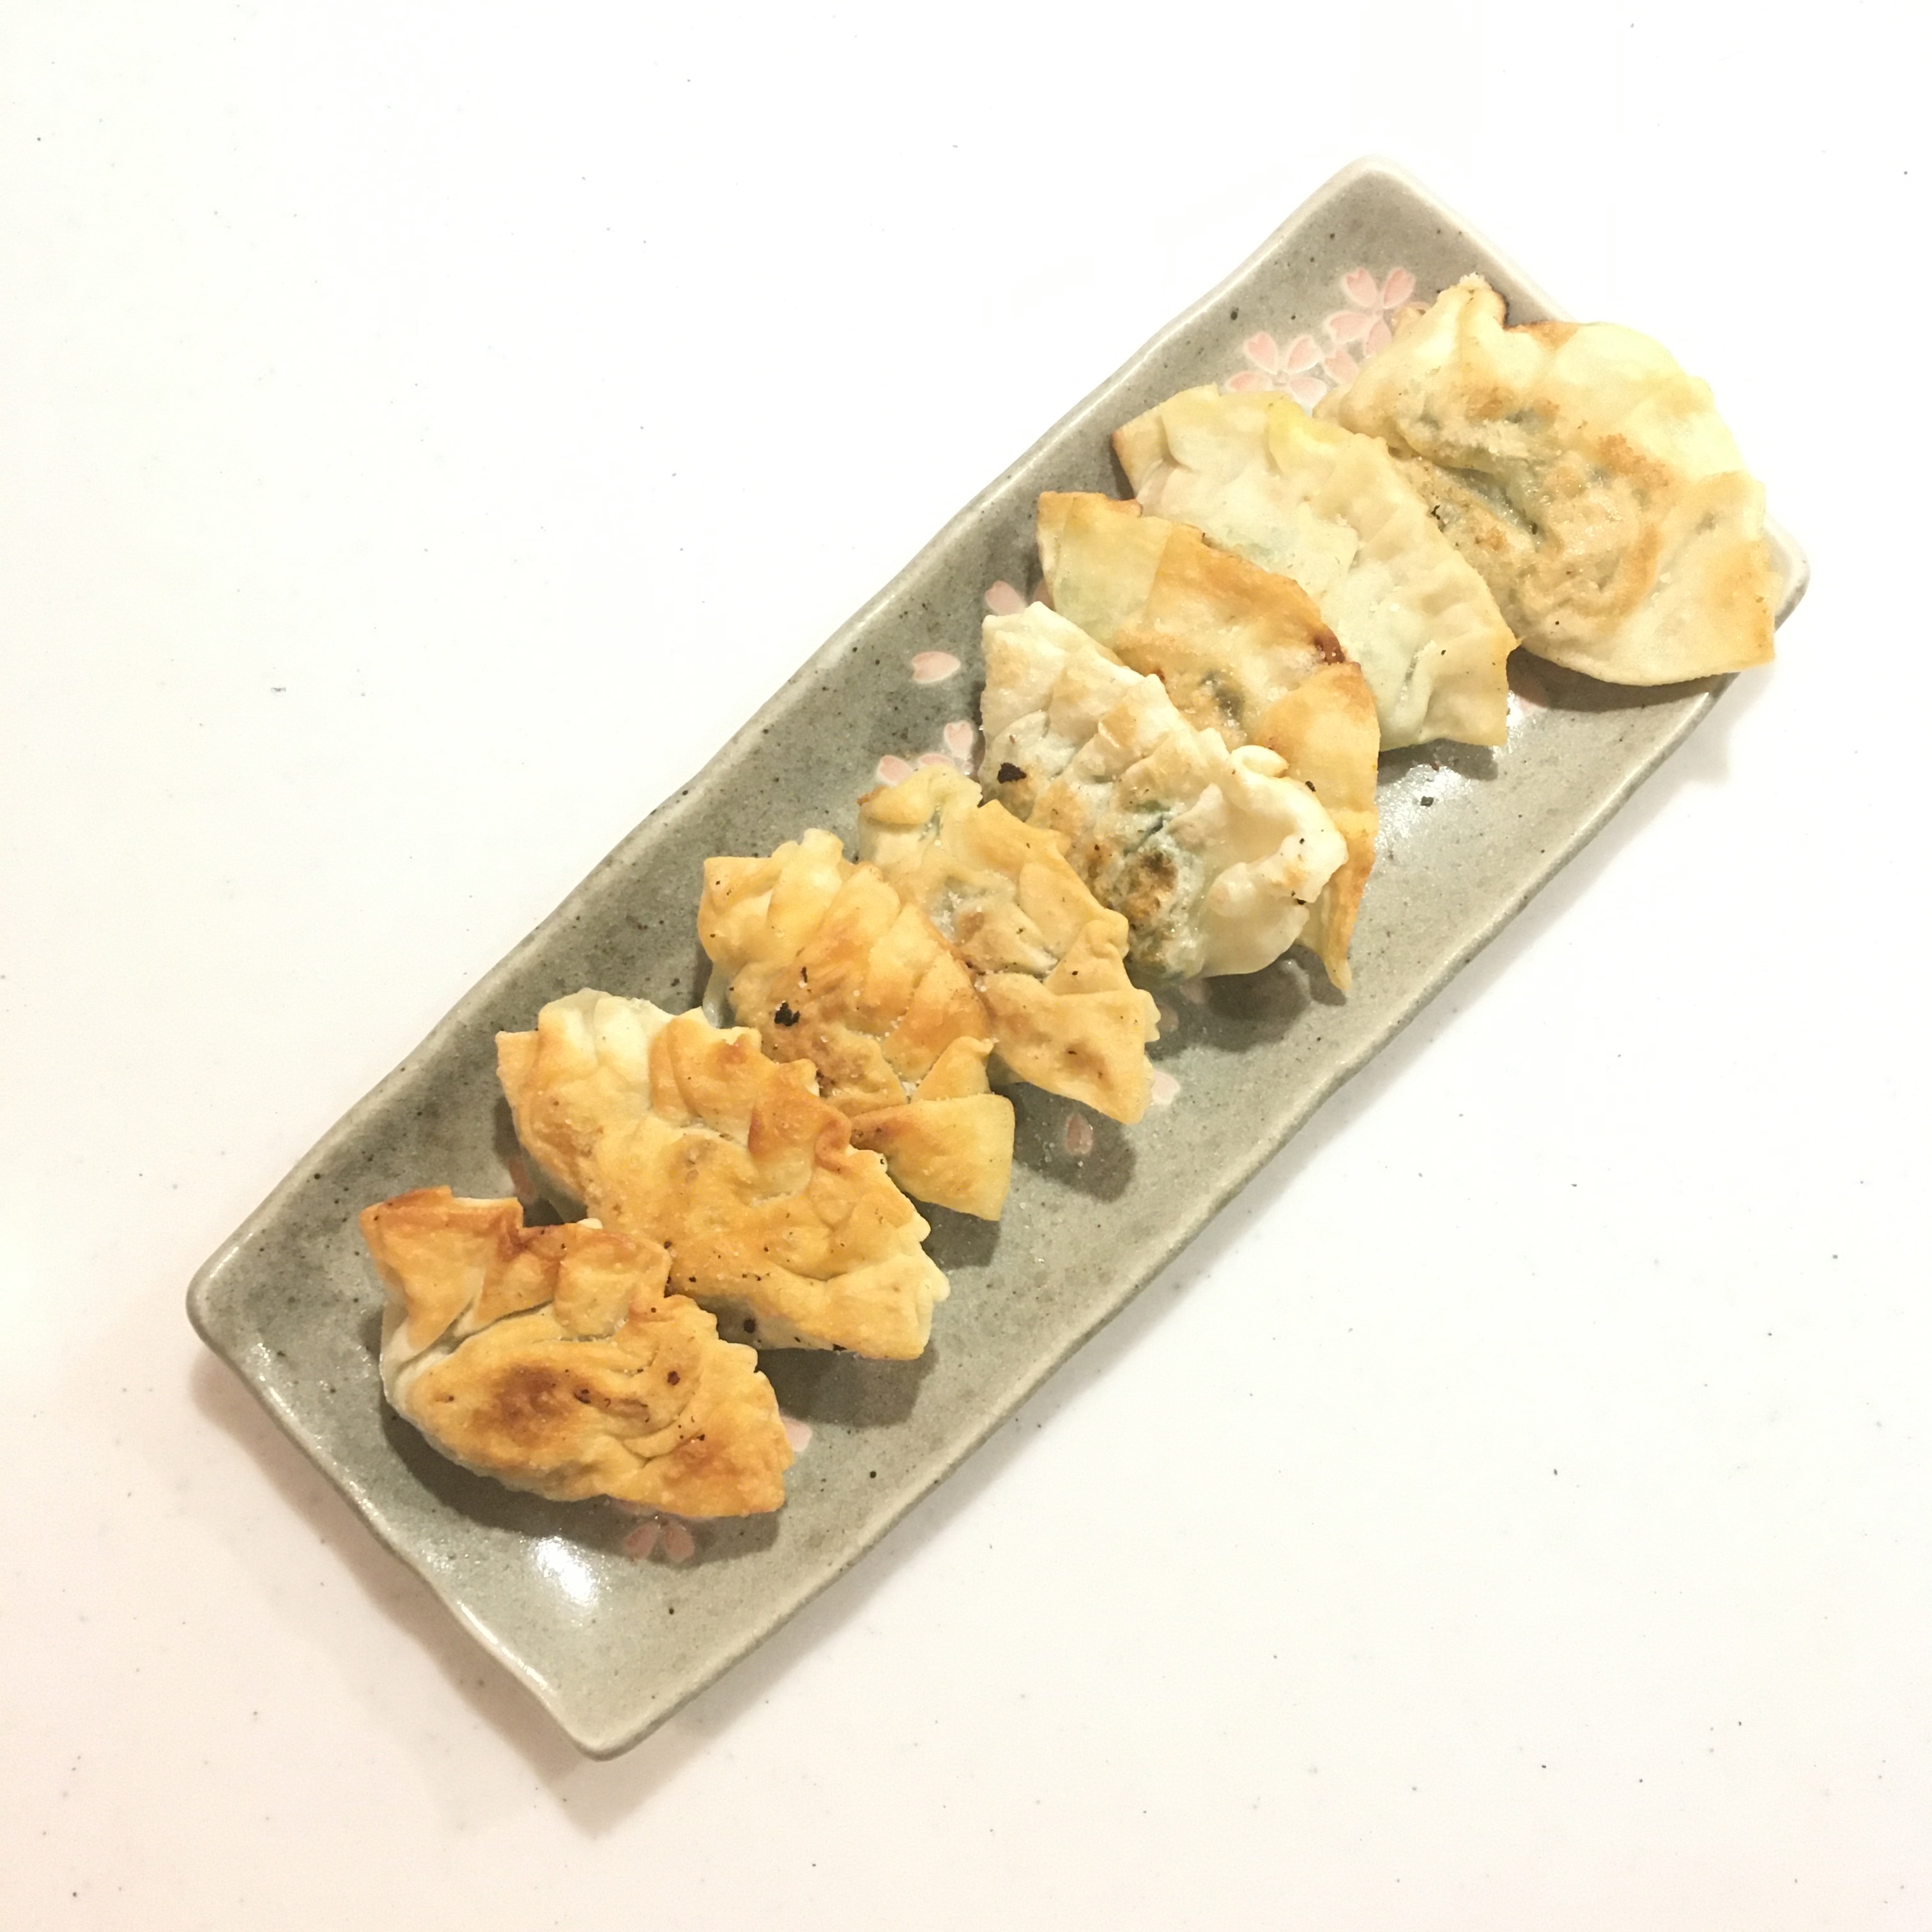
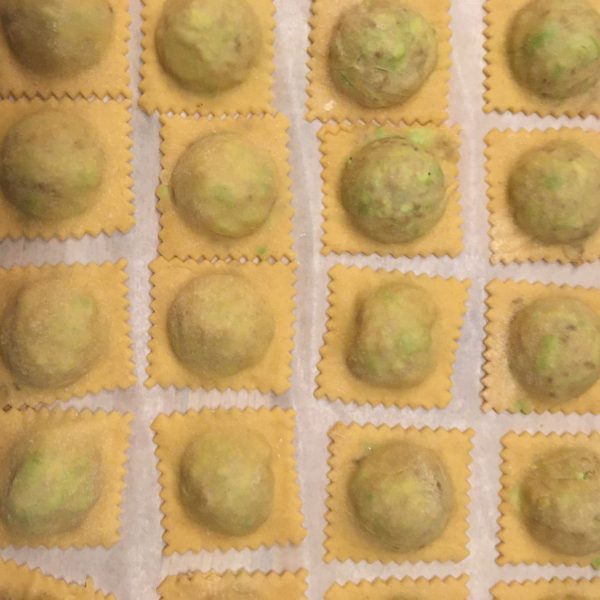
The season for edamame is starting now and I got some from the farmers market, which I was thinking I would just boil for a quick use in salad or with rice but then I had this little window of time for cooking and I was all set for making edamame gyoza, but then thought that as delicious it seems, it would be almost too conventional in traditional Japanese flavors, so I decided to opt for the Italian version: ravioli!!!

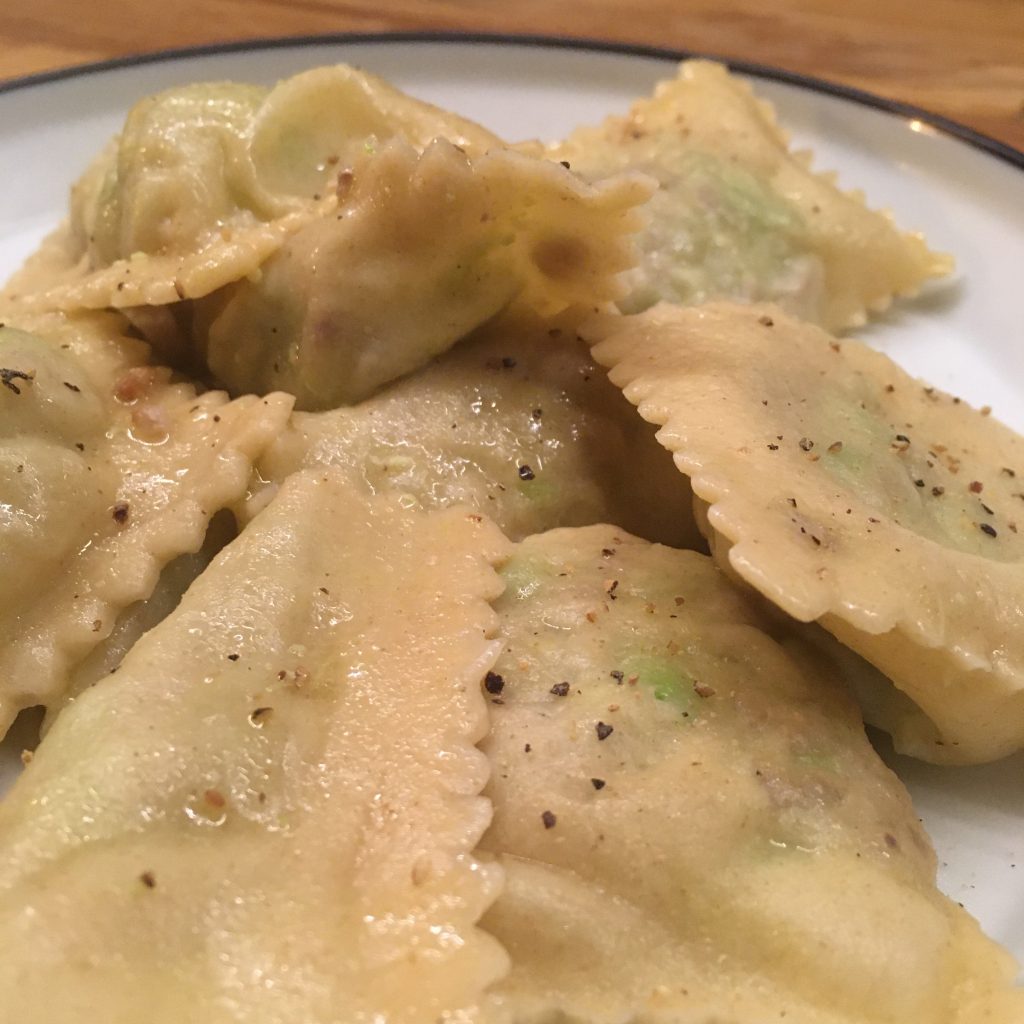
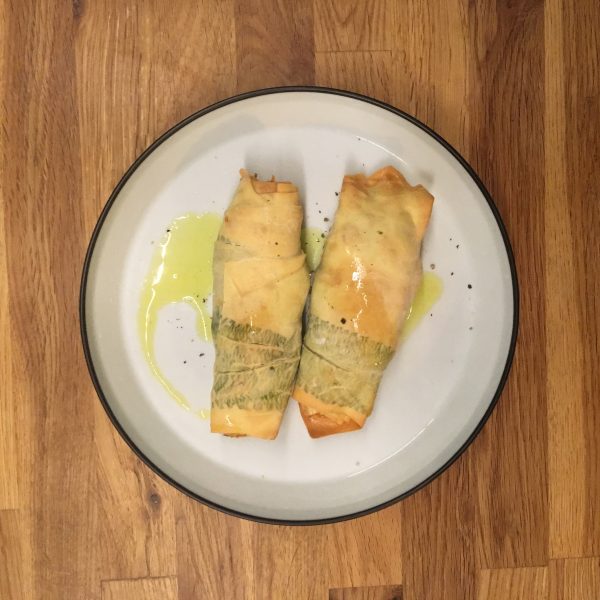
While making ravioli takes a little bit more time, it is so rewarding and we love them so much that it is always worth eating a bit late!!! For this edamame ravioli, I mixed in the filling the edamame and some pork meat and I dressed them simply with olive oil, salt and pepper. Here is my recipe.

Edamame ravioli

  • 100g of flour (I used whole wheat here)
  • 1 egg
  • a bit of water
  • 100g of ground pork meat
  • 200g of edamame
  • Salt, pepper olive oil

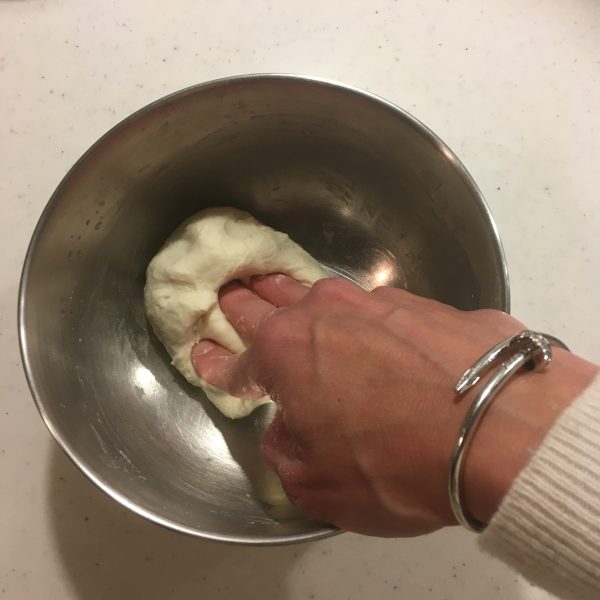
Prepare the pasta by mixing, as usual, the flour, the egg and a bit of water. Knead well and keep for 30min.

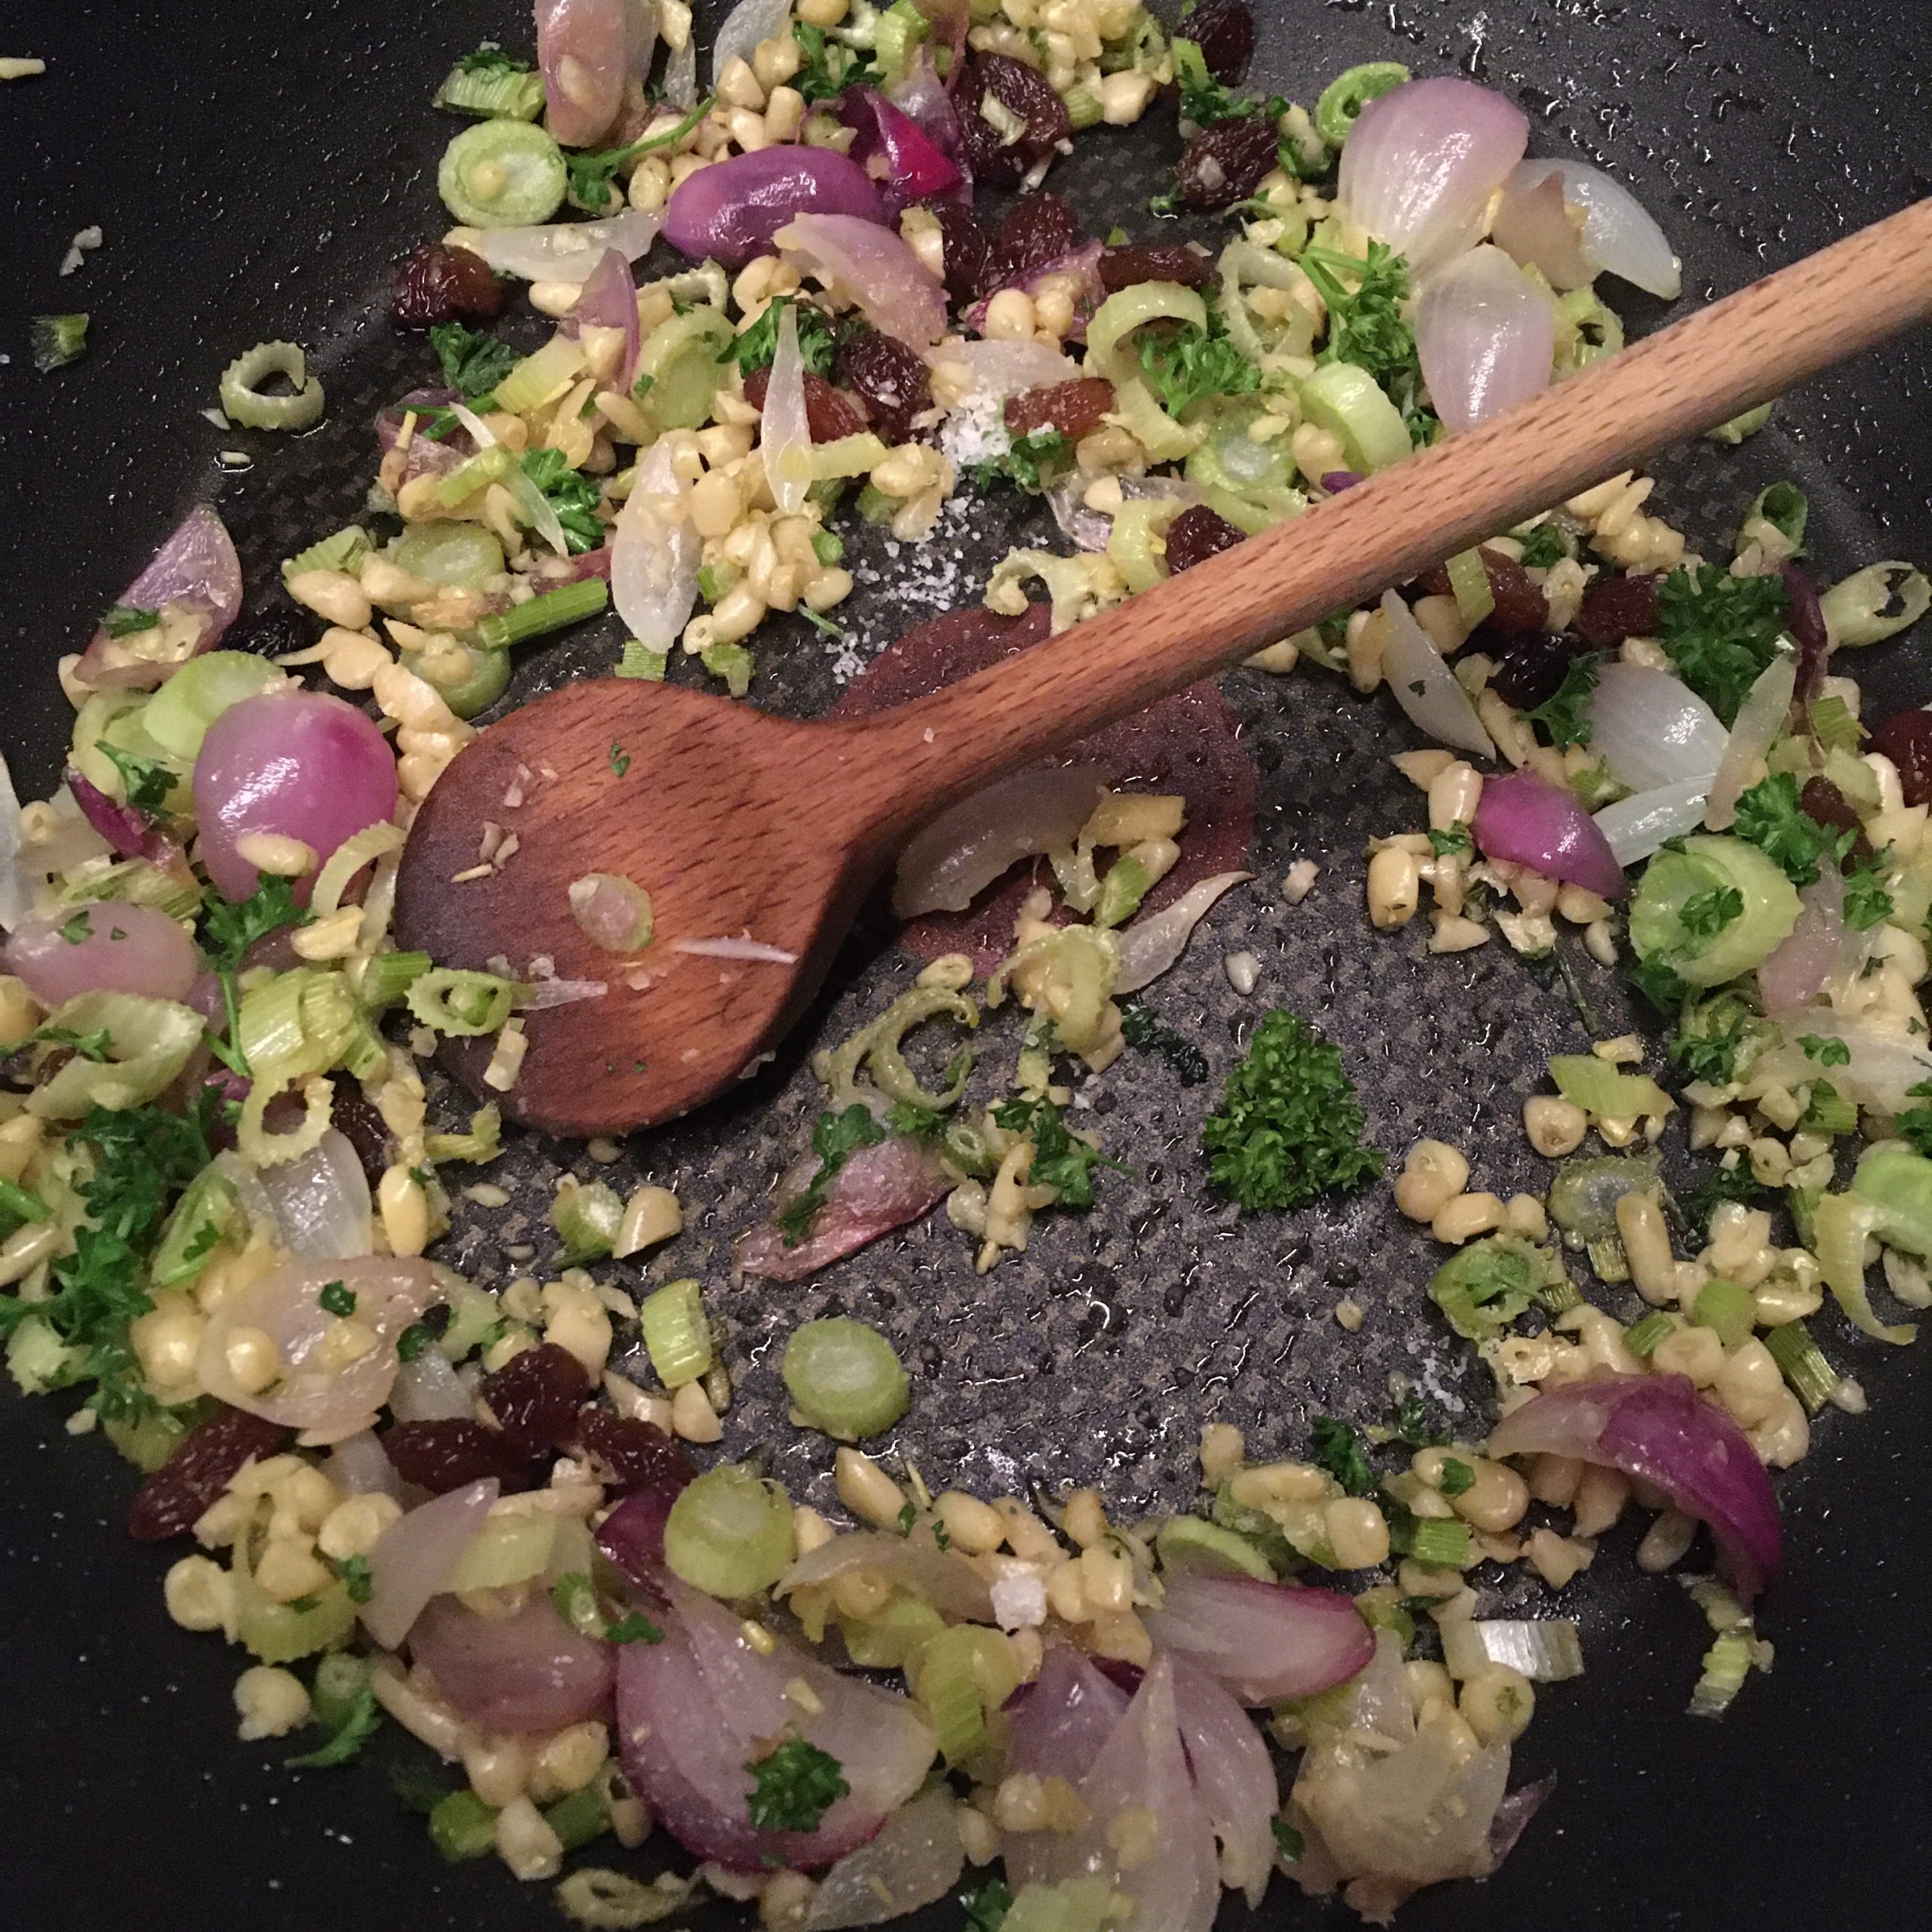
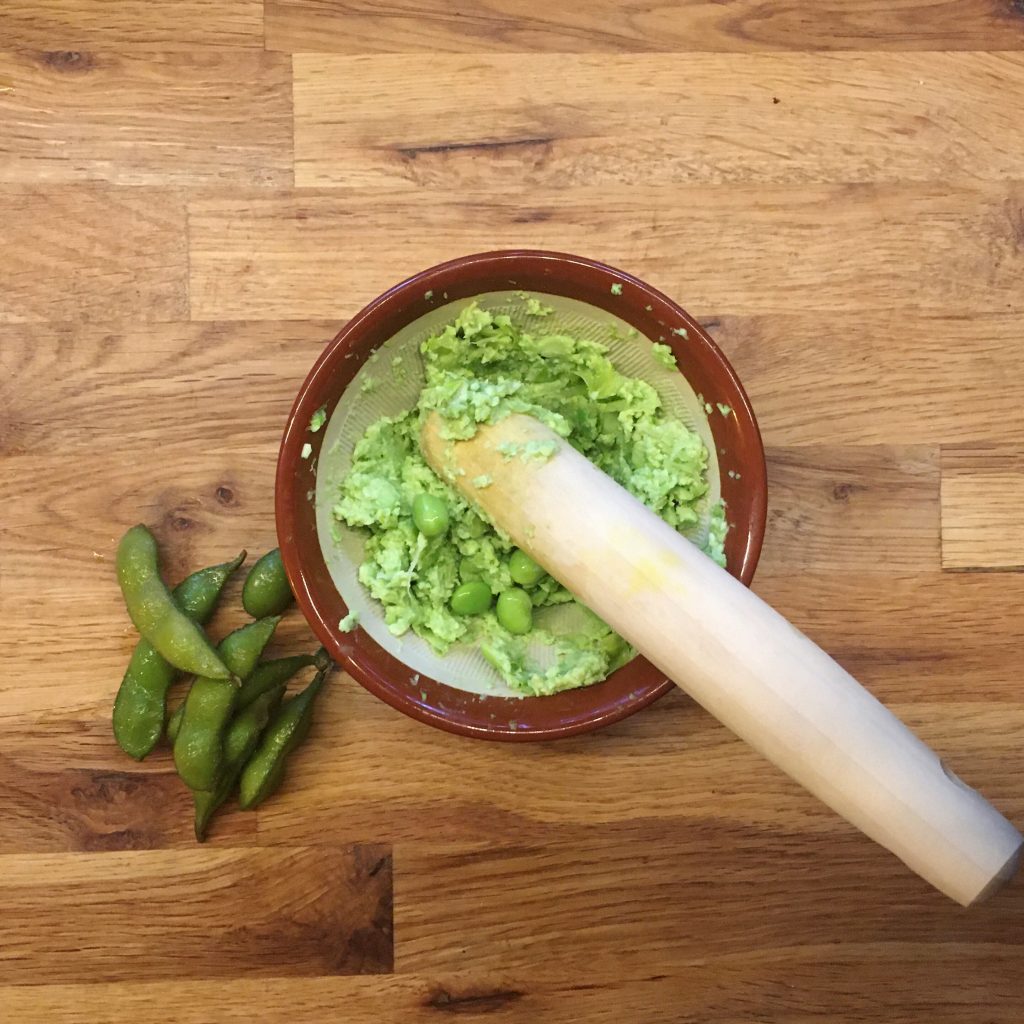
Boil the edamame. Once cooled down, shell them and remove the skin as much as possible. In a mortar puree them roughly (as on the above picture). In a frypan cook the pork meat then mix with the edamame. Add salt and pepper. Keep the frypan as it is.

Roll the pasta. Fill the ravioli and close them. Boil a large pan of water and boil the ravioli. When they float move them to the frypan with half a ladle of cooking water. Add olive oil a bit and cook 2min before serving and enjoying immediately.

Inspiration from mom’s recipe

I call my parents at total random times, depending on my schedule, but because of the time difference it often falls before their lunch time/our dinner time. Often it is when I am on the move. Walking between appointments, walking back home. But it also happen when I’m in the kitchen kneading bread or washing vegetables to prepare dinner… the latter often drives the conversation towards food. We share our new favorite recipes, what is in season here and there (more than often the same things except for those that are specific to each country…)

Last Sunday was mother day in France so I happened to call when I was thinking of preparing dinner, and my mother told me about her new favorite pasta recipe. Something very Sicilian to me, and with all ingredients I had in the fridge or in the garden… well all but the one that was key to her, which for me was optional: the sardines!!! I don’t mind skipping the proteins if the rest of the recipe seems worth. And it was… so here is my recipe largely inspired by the conversation with my mother. I didn’t know how it is called so I called it:

Pasta mom’s way

  • 100g of flour
  • 1 egg (for the pasta)
  • water (for the pasta)
  • 1 fennel fresh
  • 4 little red onions as those on the picture above, can be one large…
  • 1 handful of pine nuts
  • 1 handful of raisins
  • olive oil
  • 2 branches of parsley

Prepare the dough for the pasta by mixing the ingredients. Leave to rest for the time to prepare the sauce.

Peel the onion and wash the fennel. Chop the size you like. Toss in a pan grease with olive oil and cook at low heat until soft.

Crush roughly the pine nuts. Add to the pan. Add the raisin. Cook at low heat and stir sometimes. Chop the parsley, and add. In the meantime roll your pasta. I made tagliatelle but you can make what you like. Boil them. Drain and add to the sauce stir and add salt pepper and a bit more olive oil. Stir and serve to eat right away!

That’s it! Thanks mom for the tip!

The last kabocha

While spring is definitely in the air, and I am craving for spring greens which are not yet quite there (the one available come from the far away south of Japan), I was thinking that before entering that green season, eating a last kabocha would be great. Indeed since December I cooked cauliflowers, romanescos, broccolis, and many carrots and sweet potatoes and shiitake as well, but no kabocha. So before the season ends I decided to take that last opportunity to eat some. I use kabocha in many places: pot of vegetables, curry rice…

Grilled kabocha with curry-rice

There are two things I really love, at least, and I wanted to prepare with kabocha. One was kabocha pasta, the other is sui gyoza with kabocha. But I made a variation of the recipe I proposed in December, a vegan version. And it was so delicious that I can’t wait to share this new ultra simple recipe!!!

Super easy kabocha pasta (1 serving)

– 60g of dry penne

– 100g of kabocha (a 3cm thick slice)

– a little handful of nuts (I use a mix of almonds, walnuts, hazelnuts, cashews, pecan) so it’s basically 2-3 of each

– a flavorful olive oil

– salt and pepper

Start boiling the pasta, in the meantime wash and cut the kabocha. 4min before the pasta are ready add the kabocha. When pasta are cooked drain well. In the pan used to boil the pasta start roasting the nuts and crush them roughly.

Add olive oil generously and put back the drained pasta and kabocha. Stir well to have an homogeneous mix and add salt and pepper. Serve immediately and eat. Delicious also prepared in advance and re-heat in the pan until the nuts and kabocha caramelize a bit…

That’s it!!!

Pan fried ravioli

In an attempt to practice my gyoza dough making and rolling I decided to make some pan fried ravioli using a vegan dough recipe which is only water and flour, and therefore the recipe of gyoza skin, and filled with Japanese salted salmon, spinach and ricotta. So I found it hard to know how to call them… these are not strictly speaking ravioli, nor gyoza either… but a kind of mixture of both. Well what is important is that they were really delicious and it doesn’t take much time to make them and it was a good rehearsal for making gyoza soon. Indeed, ravioli are made from a flat sheet of pasta, but for gyoza they are rolled one by one, so I needed a bit of practice to remind myself how much dough is needed to roll one skin. All you need is just a nice top well dusted to roll them quickly. So here is my recipe…

Pan fried ravioli (for 16-20 pieces)

For the dough:

– 100g of flour

– water

– a pinch of salt

– more flour for dusting

In a bowl mix the flour and salt, add water bit by bit while kneading. Stop when the dough is soft and smooth. Leave to rest for an hour if you have time.

Filling:

Choose what pleases you, I used Japanese salted salmon, spinach and ricotta. I boiled and drained very well the spinach. Add the salmon, and a bit of ricotta. As the salmon is already quite salty, I used nothing but a bit of black pepper.

Ok, then! Now the fun can start!!!

You need a clean top or a wide wooden cutting board. Dust it generously. Pick a 1cm diameter ball of dough and roll it with a rolling pin to the thinness and diameter you like. I like thin, but not too thin as filling is then a pain. So I rolled to about 8cm diameter. Then filled and closed the ravioli. When I made enough pieces to fill a frypan I heated it, and greased it with olive oil. Then throw the ravioli. I cooked at medium heat until golden, flipping them regularly. That’s it!

Almost there

While I’m hoping that the doctor will tell me I’m good to go tomorrow I’m still taking it easy, resting a lot and trying to sleep a lot. But the one thing that makes me confident that I am recovering is that now my appetite is gigantic. Indeed in the first few days when I was sick I had very little appetite and I couldn’t eat much but now I’m feeling hungry all the time. Like really all the time!!! And I have a craving for energetic food, in particular super high carb. So, I eat Christmas breads and pasta all the time. And I came up with a few new recipes that I’d like to share with you today.

One is a vegan recipe very simple and perfect if you have a very fragrant olive oil. The second one is an adaptation of the classic Japanese kabocha salad and pasta salad. A vegetarian, warm version that is becoming a new favorite.

Cabbage pasta: (2 servings)

– 1/4 of a cabbage

– 125g of pasta of you choice

– olive oil

– thyme

– salt and pepper

Steam the cabbage for a few minutes, it should stay in shape but become just a bit translucide. Boil the pasta al dente, drain.

Cut the cabbage in large slices. In a pan greased with a bit of olive oil add the cabbage, the pasta, the thyme, salt and pepper and stir well at low heat. When well stirred add a bit of olive oil and serve to eat immigration.

Kabocha pasta warm salad (2 servings as starter or side, 1serving as main)

– 60g of pasta

– 2 kiri (equivalent to 2 tbs of cream cheese)

– 1/6 of kabocha

– salt, pepper, paprika

– 3-4 hazelnuts and 3-4 cashew nuts

Boil the pasta and the kabocha separately. Drain. In a bowl mash the kabocha with a spatula or a fork, add the cream cheese, salt, pepper and paprika. A pinch of each. Stir until creamy, add the pasta and stir well again. Top with a few hazelnuts and cashew nuts chopped. Enjoy!

Salsola

This little herb okahijiki オカヒジキthat I discovered only 2 years ago is definitely one of my summer favorite. I was surprised to see on IG that it is also an Italian classic, though salsola is much of a spring herb there than in Japan where it rather a summer plant. Anyway, one more way to link my love for both Italian and Japanese cooking in one recipe! Though this one is definitely on the western side! Salsola have a very distinctive texture and bring to dishes a beautiful English green color. Yet the flavor is extremely subtle. So I decided to mix them with another vegetable that has a distinctive flavor but less texture, and that would bring in some new color, while keeping the tone. I used yellow bell pepper. But to be sure that they won’t overrule the salsola I cut them quite thinly. The result, with or without parmigiano was really delicious. So here is my recipe.

Salsola and bell pepper pasta

– 1 yellow bell pepper

– 1 large handful of salsola

– 125g of whole wheat spaghetti

– olive oil

– salt and pepper

Boil the pasta. In the meantime wash the vegetables. Cut thinly the bell pepper, cut in 5cm long pieces the salsola. In a pan with olive oil heated low, add the bell pepper, and stir once in a while until they soften. Add the salsola and stir once in a while too for about 5min. Add the cooked pasta, stir. Add salt and pepper, and serve. You can top with grated parmegiano or not…

Handkerchief pasta…

The other day on my instagram feed I got surprised by a beautiful pasta. The art of plating IG feed had this “handkerchief pasta” picture of flowers rolled between two layers of lasagna. The result was for sure beautiful. And since it’s been some time I didn’t roll pasta it was a good time to try. Though fresh flowers surely make a very colorful and elegant plate, usually I find that the flavor is very thin or inexistant, except for chrysanthemums and a few other few flowers. So I wasn’t going to try flowers. Rather leaves. Indeed, I had a bit of jute mallow and I was thinking of making lasagna or cannelloni. I opted for cannelloni as I could use different filling for mine and A.’s. The filling for A’s was jute mallow and grilled salmon, mine had an addition of cream cheese.

But let’s get back to this handkerchief pasta… it all starts like a normal pasta or lasagna, that I rolled with my mercato to the thinest level: 9. I washed the jute mallow, removed the hardest and thickest parts, then set the leaves on on a piece of lasagna, cover with another one and roll two size thicker: 7. The result is quite interesting! The leaves rolled in the pasta machine and trapped between the lasagna extend significantly! The result was really nice, but I made a few mistakes:

  1. I rolled the pasta too thin, 8 would have been better, to have a stronger pasta
  2. Rolling 3 size down rather than 2 would have avoid to stretch the leaves so much and to have the pasta cut along the hardest parts of the leaves.
  3. Put a lot more leaves, and much smaller ones.
  • Otherwise it was quite easy and straightforward to make and the result was really beautiful. I think the lasagna would have been a better choice in the end.
  • Jute mallow and salmon, dressed with olive oil was a great combo!!
  • I’ll try again for sure rolling lasagna with decorations!!
  • Close up on the leaves enclosed in the pasta, and the cut from rolling to thin…

  • Korinky creamy summer pasta

    Creamy and summer don’t necessarily get along well together I reckon, but it’s not like we’re in Europe and temperatures are very high for the moment in Japan. It’s still the rainy season and the “real” summer will only start in 2 weeks (hopefully not later!!). While in the meantime the summer vegetables and fruits are not to be seen everywhere: tomatoes, eggplants, cucumbers, melons, peaches, apricots… So how resisting in preparing some summer dishes?

    Two years ago I felt in love with malabar spinach and really starting preparing many last year. So when I started seeing some at the farmers market I was really happy. This year, at the Blind Donkey, I discovered korinky コリンキー, this summer pumpkin also called サラダカボチャ which can be eaten raw. I tested it in the potatoes and cucumber salad I served to my guests last Friday. But with still quite a bit to eat I decided to cook it and mash it roughly, to eat with pasta. And because once in a while I like to eat light creamy pasta, I added cream and malabar spinach to obtain a delicious topping. Below follows my recipe.

    Enjoy the rainy season if your in Japan!

    Raw korinky in salad

    Korinky creamy pasta (for 2 servings)

    – 1/2 korinky

    – 4 branches of malabar spinach

    – 150ml of cream 45

    – salt and pepper

    – 125g of pasta of your preference or gnocchi

    While boiling pasta. Peel the korinky and remove the seeds. Steam. When sift enough mash roughly in a pan with a fork or a wooden spoon. Add cream, salt and pepper and mash again. Cook at low heat for five minutes. Wash the malabar spinach and chop roughly. Add to the mixture. Cook an other 5 minutes. The cream should reduce by half. Add the pasta drained to the mixture and stir well. Serve and eat immediately or wait until it has cooled down and eat at room temperature.

    Garden greens

    After one week cooking potatoes in many different ways, we started missing pasta. So it was time for a change to cook some. I love all sort of pasta and often forget how delicious spaghetti are, in particular when well dressed. So with the garden producing a little more than potatoes, though I must admit we had quite a bit of failures… I harvested more peas, celery, and basil, and decided to prepare some pesto with a touch of celery and serve it with blanched peas to top my spaghetti. And it was damn good!

    Well now the week is not yet over and it’s been a bit crazy with some traveling for the upcoming days, so I’m not sure I’ll be able to post as often as I would like… we’ll see!

    Proudly powered by WordPress | Theme: Baskerville 2 by Anders Noren.

    Up ↑

    Verified by MonsterInsights