Negimiso – ネギ味噌

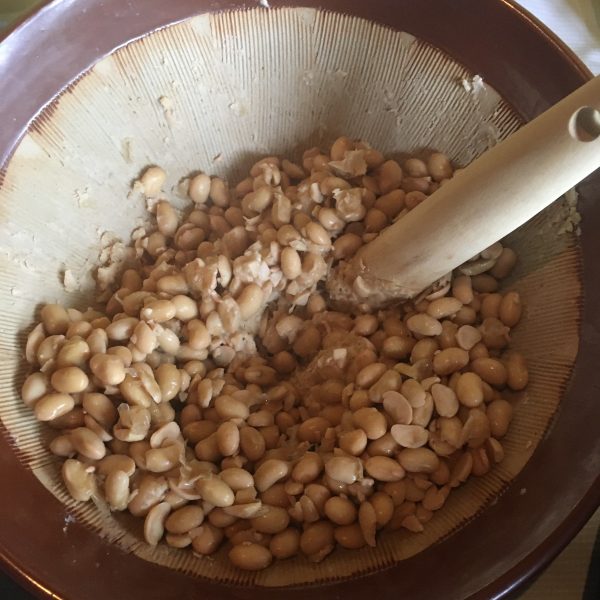
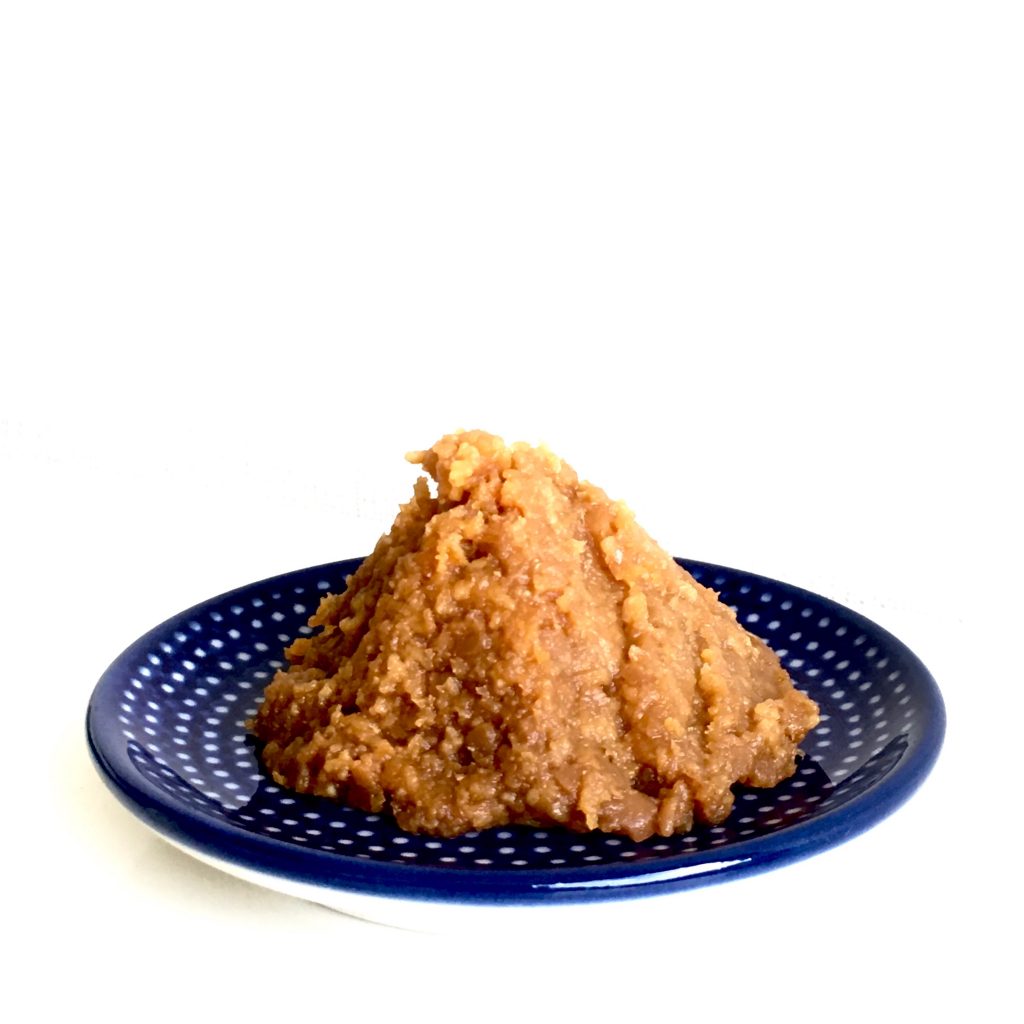
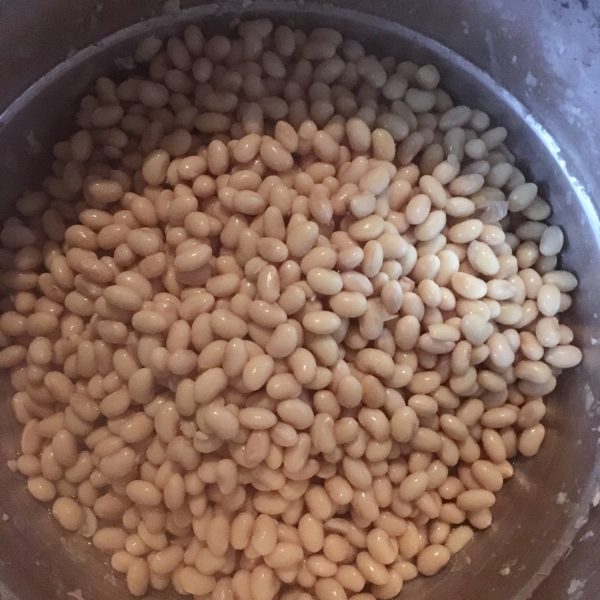
There are plenty ways of eating miso in Japanese cuisine: miso soup of course but not only! I have quite a lot of miso remaining from the past years I made some and in 2-3 months the miso I made last year will be ready, so it is time to start emptying a few pots.

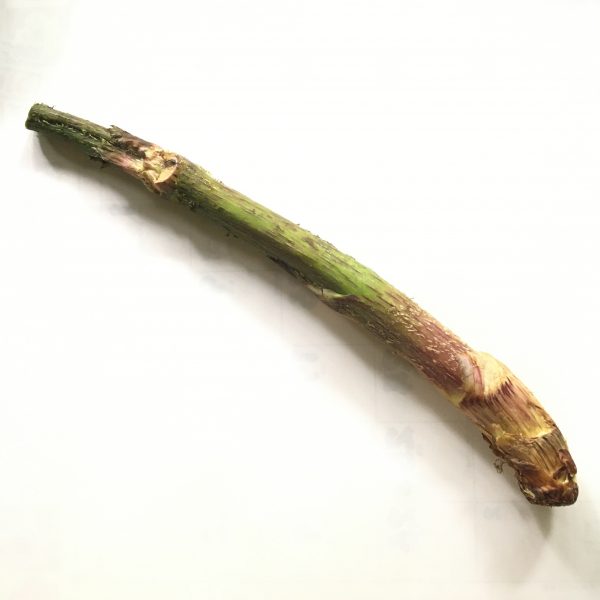
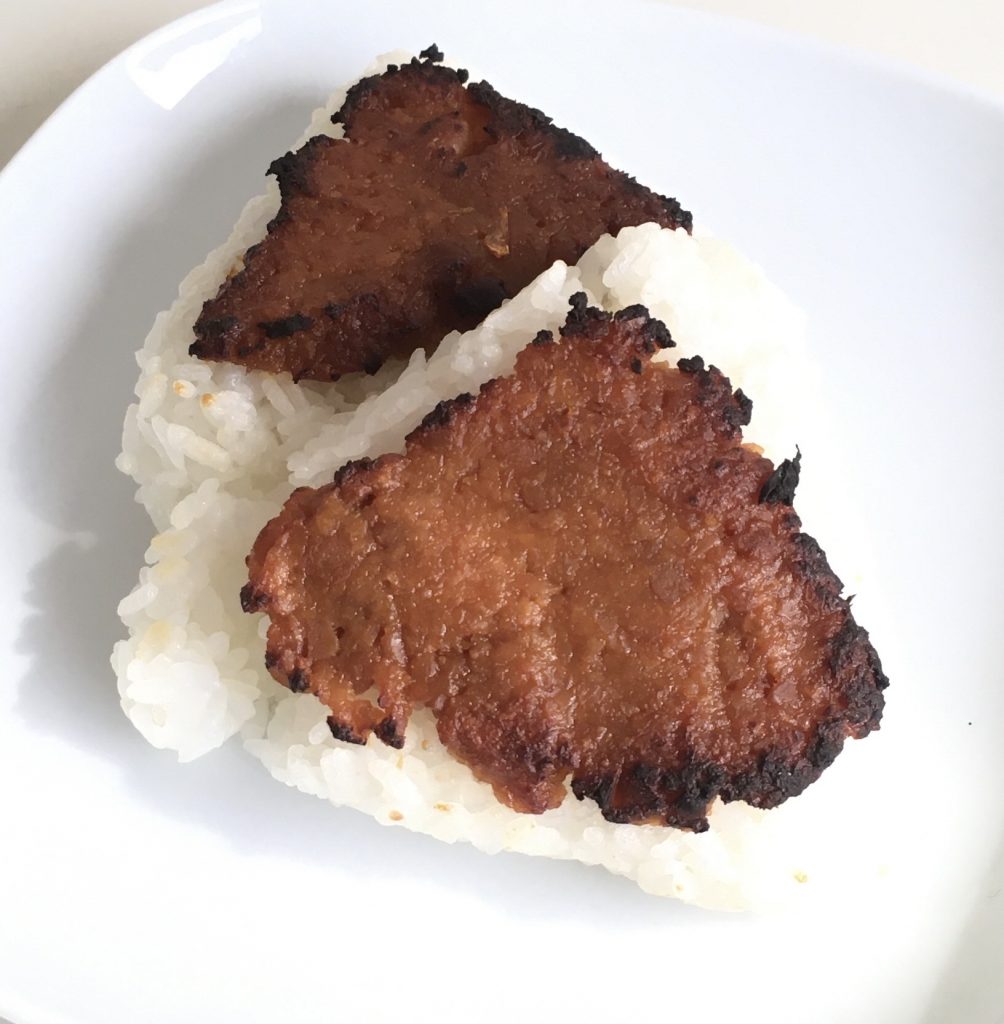
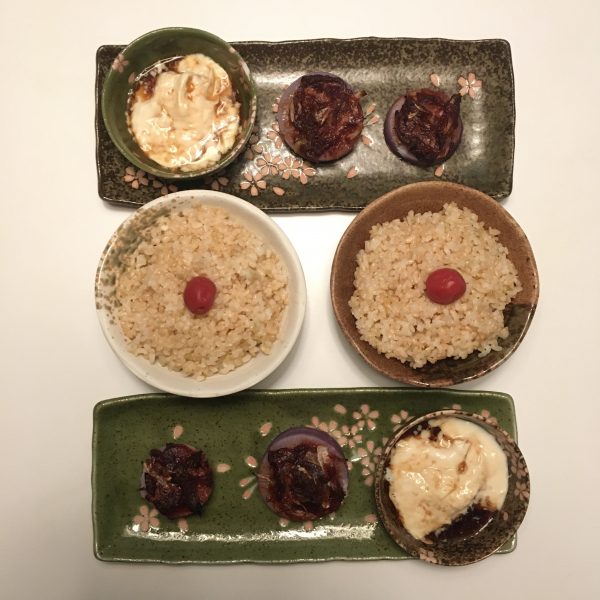
One thing I like very much is grilled miso, either on onigiri or on vegetables. Turnips and daikon are great for that, and the season is now starting. So when I bought a cute purple daikon at the farmers market, I decided it would be eaten with miso. Normally it would have been plain miso but I happened to have bought also leeks, and it reminded me that there is a nice recipe called negimiso ネギ味噌 of miso with leek, and I decided to make some. Negimiso can be eaten as a dip, or as I did here, to be grilled with rice or vegetables. It is really delicious and easy to prepare. Here is my recipe. You may find others with more ingredients, but this one fit my liking: no uncooked sake, and no mirin.

Negimiso

  • 1/2 leek
  • 2tbs of miso
  • 1tsp of sesame oil or flavorless vegetal oil
  • 1tsp of sugar
  • Optional: a bit of katsuobushi

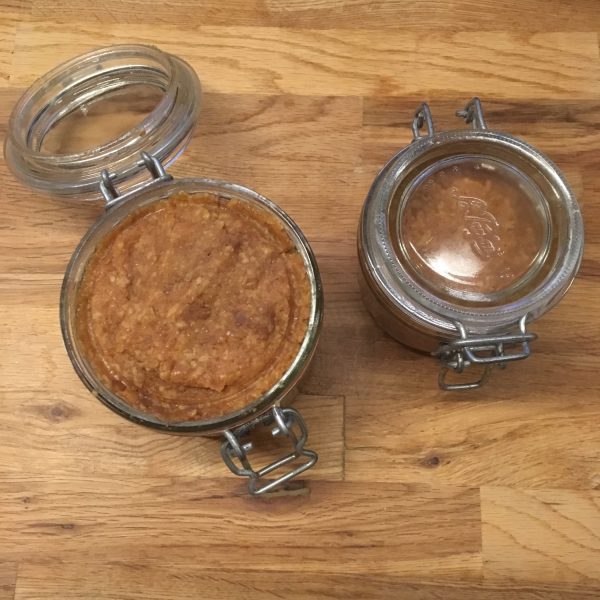
Cut thinly the leek and cook it at low heat in a pan with the oil until soft bug not golden. In a bowl mix the miso, the sugar and the katsuobushi. Add the leek. Stir well. It’s ready!!!

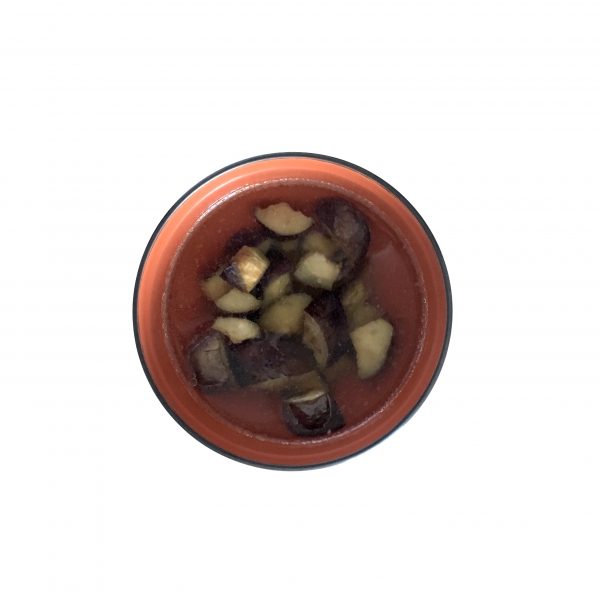
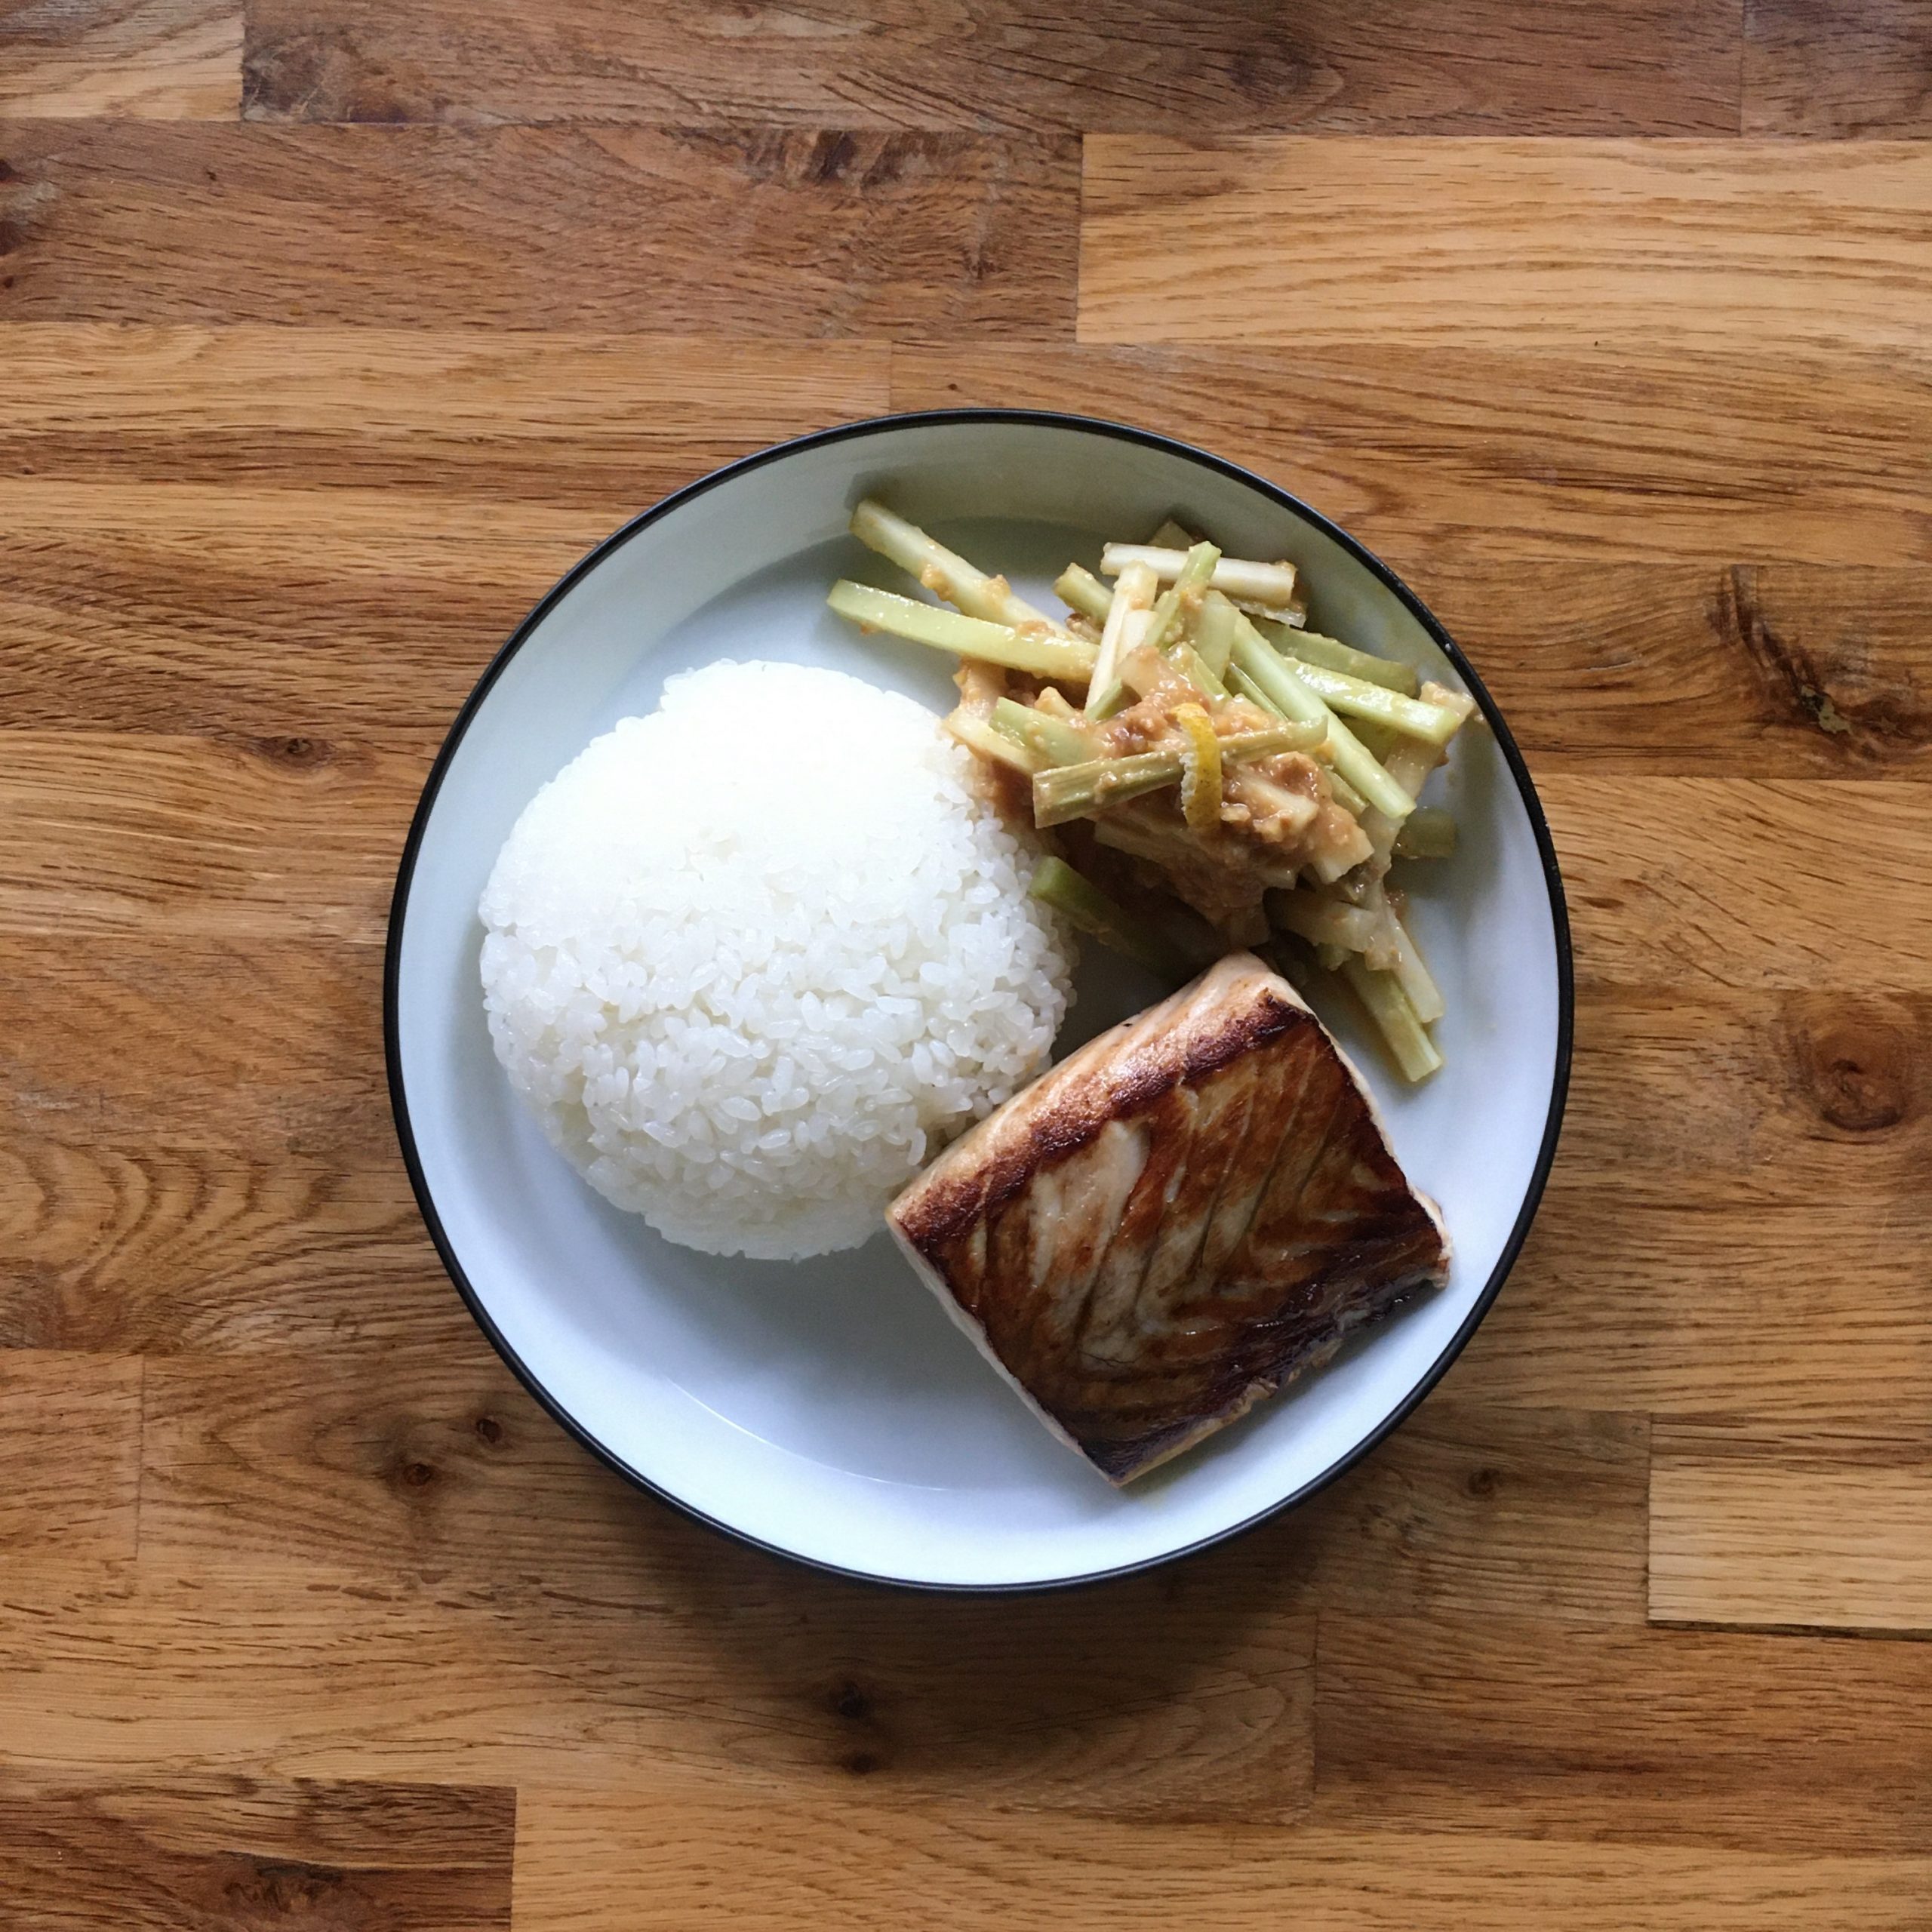
Now to use like me, you need a piece of daikon and dashi of your choice. Peel the daikon and cut 2-3cm slices. Boil them in dashi until soft. Drain and pat dry, spread negimiso on top and grill until the top starts to become golden brown. Enjoy! Alternatively replace the boiled daikon by plain onigiri.

Japanese simplicity

Who said that cooking Japanese cuisine was complex???

I have the simplest and most delicious recipe of miso soup for you today and an ultra easy ochazuke recipe. Of course both require basic Japanese ingredients: dashi, and miso for the first one, and Japanese rice, dashi and umeboshi for the second one. Indeed now is the time rice harvesting in Isumi is just finished new rice of this year harvest is now available. Delicious brown rice, slowly cooked to be just perfectly soft goes perfectly well in ochazuke recipes I find, almost better than plain white rice.

For the dashi of both recipes you can choose from katsuobushi, ichiban dashi, konbu dashi or shiitake dashi. Personally I love ichiban dashi. Ichiban dashi 一番だし is a basic in Japanese cuisine and particularly in cha-kaiseki 茶懐石, so I mostly make ichiban dashi, so let’s start with its recipe.

Ichiban dashi – 一番だし

  • 1L of water
  • 15g of katsuobushi blakes (not too thin)
  • 15g of konbu

In a pan set 1cm of water, add the konbu and bring to a boil at low heat for 10min. Add the bonito and the rest of the water. Keep boiling at low heat for 5 minutes. Let rest and filter. Your ichiban dashi is ready, you can use it as a base for soup, cooking vegetables, fish, tofu, rice etc…

With the dashi made, we can then move to the other recipes. First the eggplant miso soup. Then below the ochazuke.

Eggplant miso soup (for two servings)

  • 2 little Japanese eggplants
  • 1 tbs of miso
  • 600ml of dashi
  • a bit of neutral frying oil

Wash and cut the eggplants (see top picture fir cut). In a frypan greased with the frying oil, cook the eggplants until just golden and soft, serve then evenly in two large miso soup bowls.

Heat your dashi if it was prepared ahead, or use the one you just prepared. Top the eggplants with the dashi. Set half a tbs of miso in each and stir gently. That’s it!!!

Simple ochazuke (2 servings)

  • 1 cup of Japanese brown rice or white rice cooked
  • 400ml of dashi
  • 2 pickled plums
  • 1 bundle of komatsuna or other green (water spinach, spinach…)

Serve the rice in a large bowl. Heat the dashi. In the meantime wash the green vegetable, cut in 5cm long and blanche. Drain well.

Top the rice with the vegetables, then serve the dashi, add the pickled plum. That’s it!

Have a good day!!!

Yama udo

One of the wild spring green I like to cook is udo or rather yama udo ヤマウドウ. It is a kind of long stick that likes to grow on steep road sides and is very easy to prepare, with a distinctive taste but not strong such that of fukinoto. One preparation that is really easy is with miso in miso ae. Usually I would blanched it to soften it a bit and remove its bitterness or tartness, but I realized while doing a bit of reading, that vinegar water would work as well, which for the lemon-miso ae I wanted to make was more than perfect. Indeed, while I am waiting for my lemon tree to bear fruits (I lost all last year in early strong winds and heavy rains), I found some delicious lemons at the local market. Hence, recently there has been a lot of lemon in my recipe, the lemon cake, lemon pancakes, lemon pasta… The vinegar miso ae is taken to a new level of rich flavors with the addition of the lemon. It works the same way as yuzu miso. That said my recipe today is really super simple, and if you can’t go to pick yama udo yourself or find some, you can try with regular udo. Its taste is much milder but that works very nicely too. And if there is no udo where you live, try with wild asparagus or green asparagus, that will work fine as well.

Yama udo with lemon miso ae (2 servings as side)

  • 1 udo
  • 2tsp of miso (I used my homemade miso)
  • 3tsp of vinegar (I used rice vinegar)
  • 1tsp of sugar
  • a little bit of lemon zest
  • a little of lemon juice (about 1tsp)

Peel the udo and cut in 3cm long pieces. Then slice vertically with about 2-3mm thick, then make sticks. Set in a bowl with water and 2tbs of vinegar for 15min.

In the meantime, in a bowl, mix the miso, 1tbs of vinegar and the rest of the ingredients. Stir well.

Drain well the udo and add to the miso mix. Stir well and serve. That’s it, really simple isn’t it?

I served it with grilled sawara (Japanese Spanish mackerel) and plain white rice.

Miso, again…

Making miso every winter is now a tradition. Our friend S. prepares everything for the event and we gather together for a couple of hours to chitchat and squeeze soya beans. Well, for non Japanese people or not used to Japanese cuisine, miso may be a rather intriguing ingredient and not so easy to use except in the traditional miso soup, and even then, using fresh miso in a soup may be a bit challenging when not used to. But the truth is that miso is quite versatile. We easily eat 2or 3kg of miso every year at home! You can see my past posts about miso here, but let me summarize some of the things you can do with miso again.

2019 miso

Miso can be used in soup, dips, to pickle vegetables and flowers, in marinade for fish, a spread on rice balls, to replace butter in pie crust, to replace cream in quiche flan, just to give a creamy texture to a sauce, and in many other places I am forgetting!

Today two super simple recipes with miso: in pie crust and in spread. Both are very straightforward. Let’s start with spread, a classic in Japanese cuisine: yakionigiri. You need just some plain white Japanese rice and a two tea spoon of miso per serving of rice. Cook the rice to obtain a sticky japanese classic rice. Prepare a sheet of cooking paper. Wash your hand under cold water and don’t dry them. Take half a serving of rice in your hand and form a ball (if your sensitive to heat let it cool down before doing that, you may burn your palms). Put the ball on the cooking paper. Gently flatten it by pressing with your palm. Spread one tea spoon of miso on top. Put under the grill until the miso starts darkening. Eat right away.

2 miso yakionigiri

The second recipe is just to replace butter in a pie crust by miso. This changes of course the pie crust consistency to a more crispy on the edges and chewy on the bottom, with the characteristic flavor of miso. You can make quiche with it (vegetables such as spinach, broccoli, canola… are perfect), or tiny sesame crackers.., or be creative and use it for a chocolate tart!!!

Miso pie crust for a broccoli and spinach quiche

Making miso again

The time of making miso has come again… and just like last year I went to our neighbors’s S. and W., and made miso with them.

Below⬇︎it’s me equipped for this task with my gears: in the orange furoshiki, a large container with a loose lid that has been sterilized, a bowl and a pestle. On the other hand, freshly cut sasa bamboo to avoid the miso to rot on the top. Leaves only will be used after being sterilized. I was actually really surprised how it worked well last year! Only parts that were not covered got a bit of mold, the rest was perfectly clean!

Now I am ready for a couple of hours In the warmth of the stove, chatting with S. and W., crushing boiled soya beans, mixing with koji and salt, making balls and crushing them in the container… but you know all that since I did it last year!

Now I am again waiting for 1year to try this new miso… but I also learned that 3years miso is very very delicious… can I wait 3years???

Koji

Miso in becoming, ready to wait one year or more under a large stone

Fukinoto miso

I harvested a few fukinoto very early in January, but now is the pick season in Isumi. We have quite a lot growing in the garden, so I just have to walk around where the fuki grow and search under the fallen leaves for the little yellow-green buds. Can you spot them in the below picture???

I usually prepare them in miso soup, but this year There were really many so I decided to prepare some fukinoto miso, a way to keep them for a week or two. Fukinoto miso is delicious with plain Japanese rice, tofu or with grilled pork.

Here is my recipe.

Fukinoto miso (makes a small bin)

– 50-70g of fresh fukinoto

– 6tbs of miso

– 1tsp of sugar

– 1tbs of oil

Wash gently the fukinoto to remove earth and fallen leaves pieces. Chop them in 5-10mm pieces.

In a heated pan with the oil, add the fukinoto and stir gently at medium heat. When all are shiny in oil add the miso and the sugar. Cook at medium low heat for 5min while stirring. Put in a sterilized jar and close with the lid. Eat when cold. Keep refrigerated for 1-2weeks.

Spring chrysanthemums – 春菊

When you can feel that winter is still here but you slowly get tired of the cold winds… the plum trees start blooming and the spring vegetables are arriving. I harvested already some time ago the first wild spring vegetables: fukinoto and canola will arrive soon, but today I want to talk about a winter vegetable which name says it all: Shungiku, that I like to translate literally by “spring chrysanthemum” (which made its entry in the glossary page) and I like to eat in the end of winter, is actually known more as “crown daisy”. Eaten in Japan in the winter until very early spring it has a very strong flavor, very characteristic of chrysanthemum hence probably the name, though it belongs to the daisy family. Usually used for nabe and rather thick and stiff, it is actually not easy to find smaller tender ones. The soft ones are much nicer and easier to prepare in more inventive recipes. And for some reasons, I find them more easily in the late season. I personally like to use them in replacement of spinach or as herbs.

I tried two different preparations that were both simple and in which the strong flavor was perfectly balanced by the other ingredients.

The first recipe is with lentils, turnip and shiitake; the second recipe is with red cabbage and penne. How do you like to cook your crown daisies???

Lentil and crown daisies

– 120g of lentils (green or brown)

– 2 shiitake

– 3 turnips

– a handful of crown daisies

– 1tbs if miso

Boil the lentils. Wash the vegetables, slice the shiitake and cut the turnips in small bites, chop in 2cm long the crown daisies. In a greases frypan at medium to high heat, cook first the shiitake, then add the turnips, when almost golden add the crown daisies, stir well, add the miso and 1tbs of water, stir gently while cooking for 2min. Serve the lentil, add the vegetables. That’s it!

Red cabbage and crown daisies (2 servings)

– 1/2 red cabbage

– 2 handfuls of crown daisies

– 125g of penne

– olive oil, salt and pepper

Boil the penne. Wash the crown daisies. Chop the red cabbage. In a large frypan greased with olive olive oil start by cooking the red cabbage. The add the crown daisies, finally add the boiled pasta.

Stir well until the vegetables are soft. Add salt and pepper and serve… well that’s it!

White miso for the winter

There exists miso for each season and if red miso is for the summer, white miso is the one for the winter. I learned that at my cha-kaiseki cuisine classes a few years ago. And in an attempt to make some vegan pie crust I was tempted to replace butter by the creamy white miso, with a little addition of vegetal oil. The color is unchanged since the miso has almost the color of butter. The kneading is very easy, the rolling too, though it is more like olive oil base pie crust, it breaks easily, but it is easy to repair too!! I was worried it would be salty but it wasn’t (opening to not only savory quiches, but sweet pies and tart too) and it bakes in a very crispy manner. So the vegan pie crust with miso was perfect. Something I will use again for sure as it is sometimes easier to find miso than butter in Japan and the taste of miso was very mild rather that of olive oil.

As for the filling I used leek, spinach and broccoli with tofu and eggs. I haven’t found something to replace the eggs in the quiche yet… If you have ideas, I’ll be happy to try…

Miso pie crust (for a 20cm, thin crust)

– 150g of flour

– 5tbs of white miso

– 1tbs of vegetal oil

– 1tbs of water

Mix all the ingredients together. Roll and bake or fill and bake… that’s it!!!

Miso

Remember last March? I made miso with our friends… and I had to wait about a year before being able to try it… actually our friends came home the other day and we talked miso, and they said that their miso was ready and 9month were sufficient… so I couldn’t wait to open my bucket and check what was under the big stone and the bamboo leaves… I totally didn’t sneak peek in during the whole time, worried that could prevent it from fermenting correctly.

First there was a bit of beautiful blue mold on the edges of the bamboo leaves, but that is normal. Under the bamboo leaves there was a beautiful, clean and fresh miso waiting!!!

Just uncovered miso

Without any delay I moved the miso from the plastic jar (I like better the old pottery for pickles… but mine was too small…) into bins and started using it right away. First of all with daikon and carrot sticks. It’s always the best way to test the real raw taste of miso. Then of course in miso soup, and with spinach and finally a simple recipe with chickpeas, spinach, and an egg. The miso I made is really nice. It has a texture where you can easily see the crushed beans and I love this texture for classic miso. Of course you don’t find this in white and red miso, which are much creamier. I found it a bit salty when I first tasted it, but now I don’t feel that anymore. I will definitely make miso again this year!!!

Miso soup and spinach with miso for our friends visiting. Picture from @Chinoshot

Chickpeas, spinach and miso

– 150g of boiled chickpeas

– 1 bundle of spinach

– 2tbs of miso

– 2 eggs (optional)

Wash and chop the spinach. Blanche them in very little water. Drain them. In a slightly olive oil greased pan put the chickpeas, the spinach and stir well, when the chickpeas are warm, in a small bowl dilute the miso in 2tbs of water and add to the pan and stir well. Cook a sunny side egg if you want. Serve the chickpeas and top (or not) with the egg. Enjoy and stay warm!!!

Proudly powered by WordPress | Theme: Baskerville 2 by Anders Noren.

Up ↑

Verified by MonsterInsights