I often talk of recipes with lotus roots. It’s a Japanese staple easy to find when in season and super very versatile to cook and delicious. I love it in Japanese classic preparations such as stuffed or with vinegar, but also in more western style like on pizza or in quiche… lotus root is reaching the end of the season but there are still a few more weeks to enjoy it luckily!!!


In Japanese supermarkets, you pack your shopping goods after the cashier on dedicated tables that have small bags, tapes and usually a few advertisements for local things or recipe cards. I like to look at these recipe cards, they sometimes remind me of a recipe long forgotten, an ingredient cooked last too long ago or just an idea for a new recipe. That’s how the lotus root burgers came to my mind. The recipe is rather simple and very tasty, it is made with chicken meat but it can easily be replaced by hard tofu for a vegan version. So let me share it with you.
Lotus root burgers (2 servings)
- 10-15cm of lotus root, about 4-5cm diameter
- 100g of ground chicken breast or drained hard tofu
- 2tbs of miso
- 50g of panko
- 1 egg
- A bit if oil for frying
In a bowl mix the meat or the tofu, the miso, the panko, the egg. Stir well.
Peel the lotus root and cut 12 regular slices of 4-6mm. Chop the rest of the lotus root and add to the mix.
Pick one slice in your hand. With a spoon cover with the mix to obtain about a 10mm layer, sandwich with another slice.
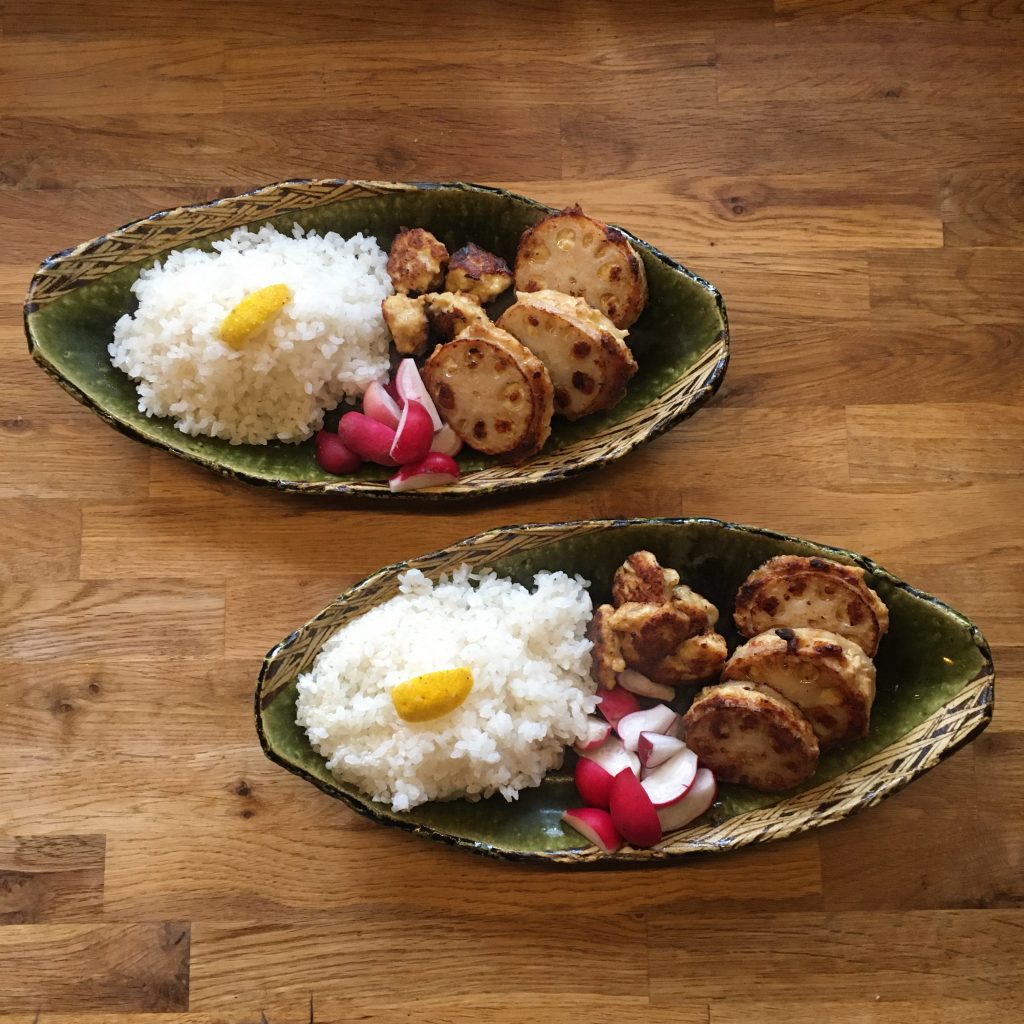
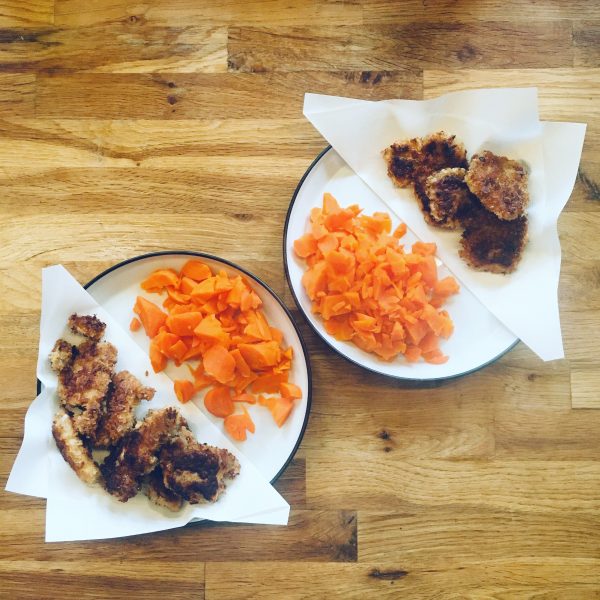
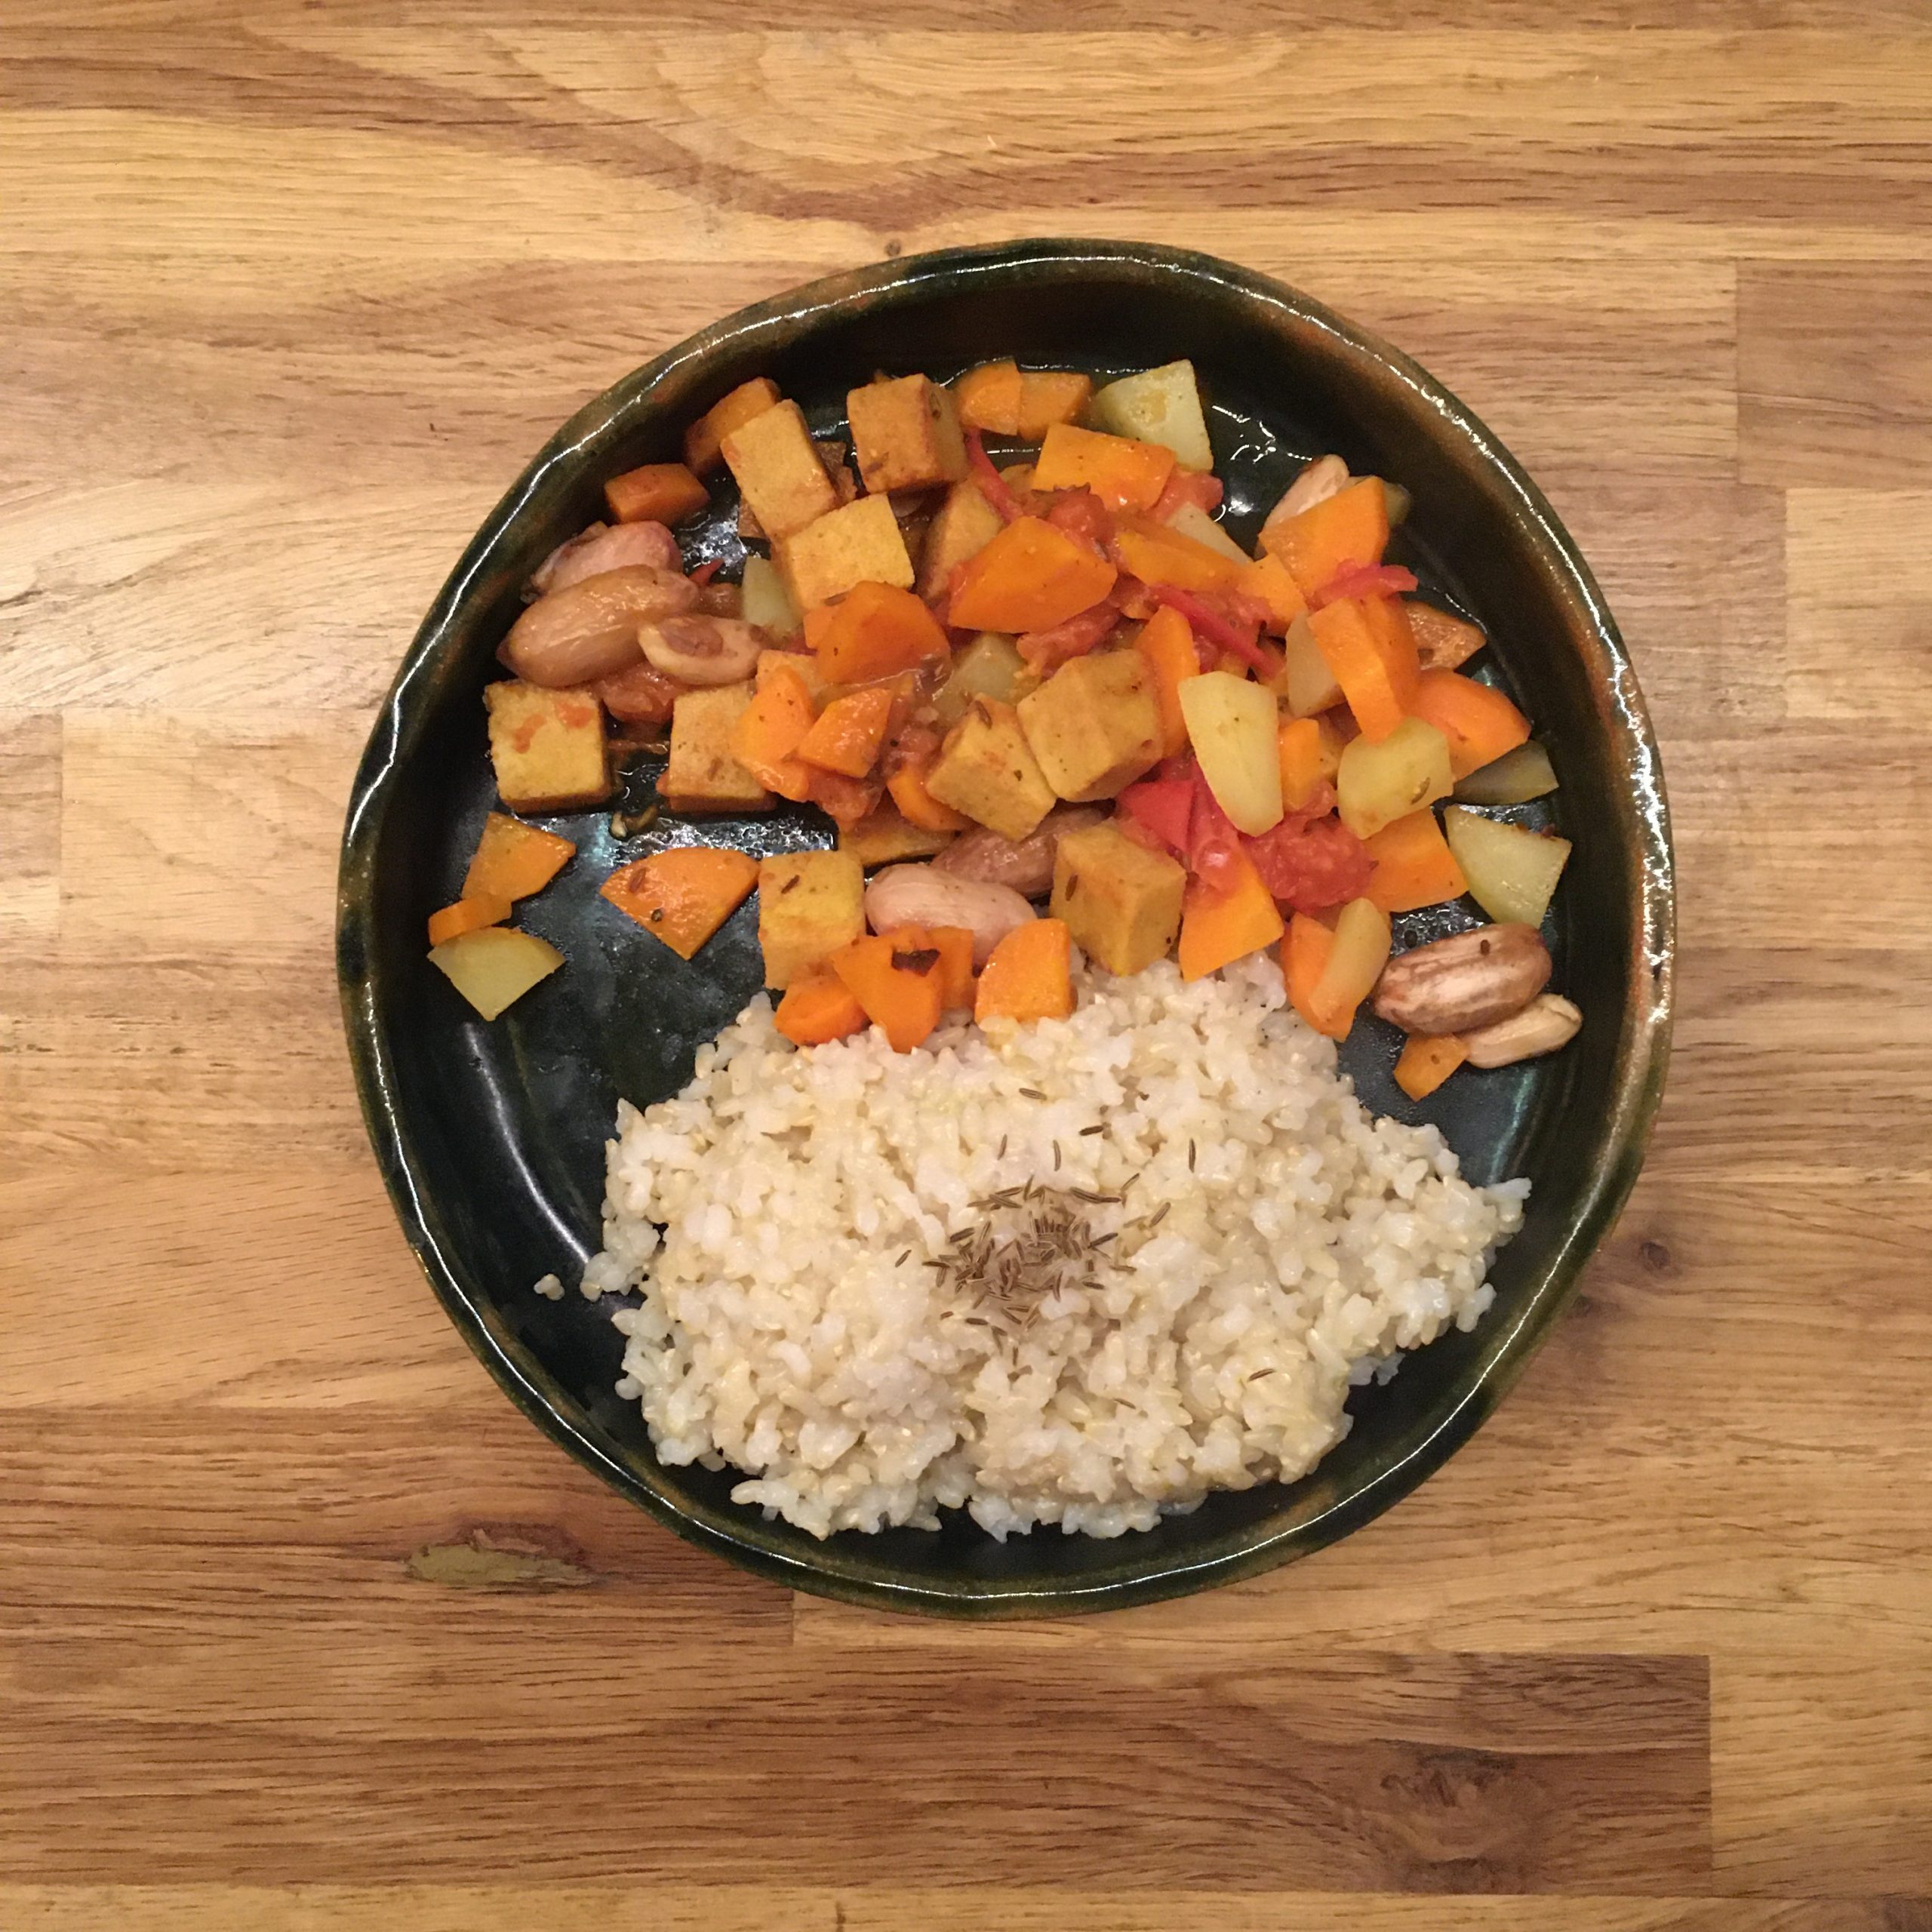
In a non sticky pan slightly greased with oil, fry the 6 burgers in both sides. Serve with rice, and add the juice of a yuzu for an even tastier experience. Et voilà!!!