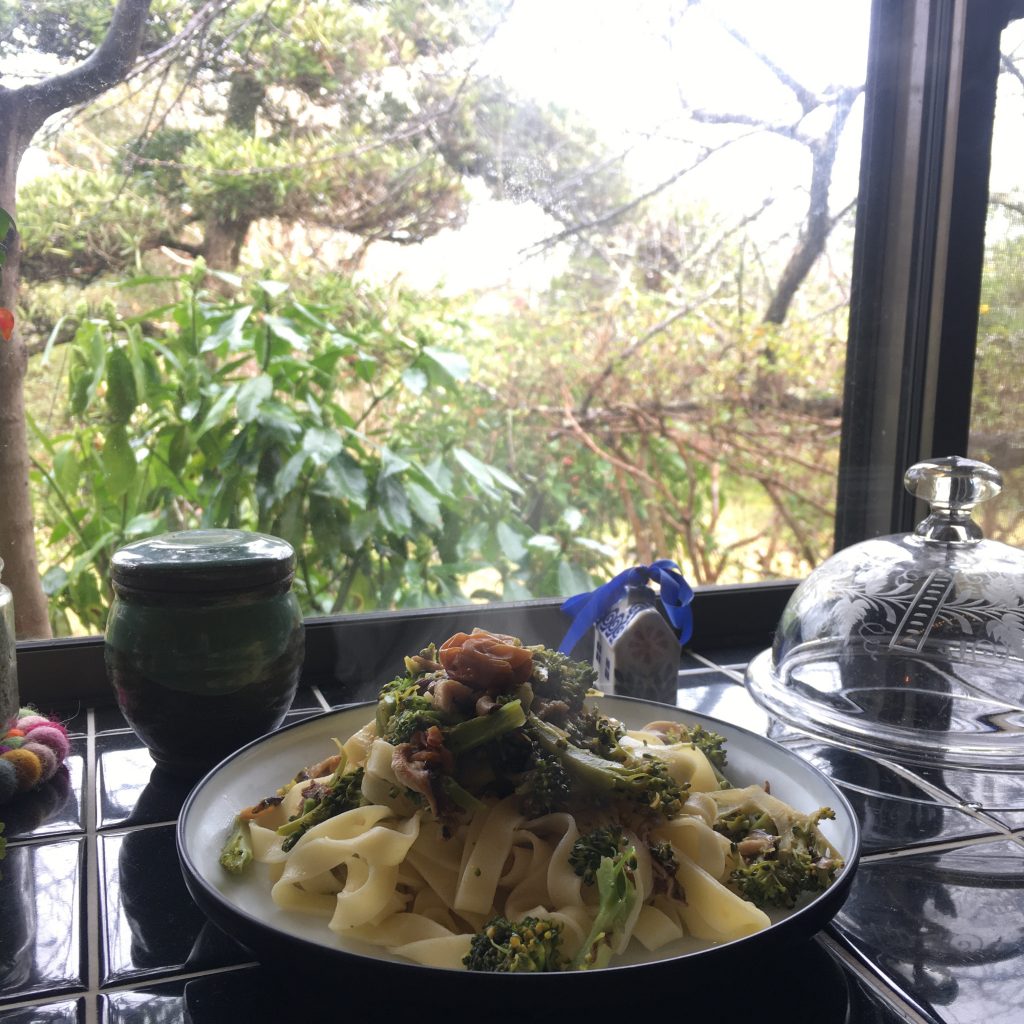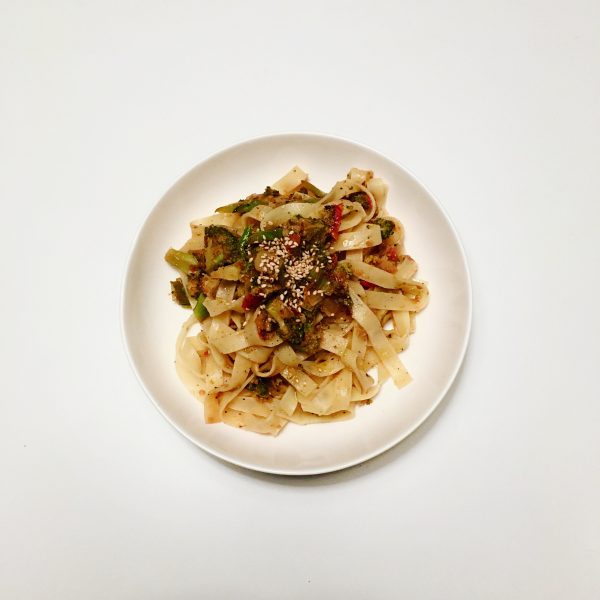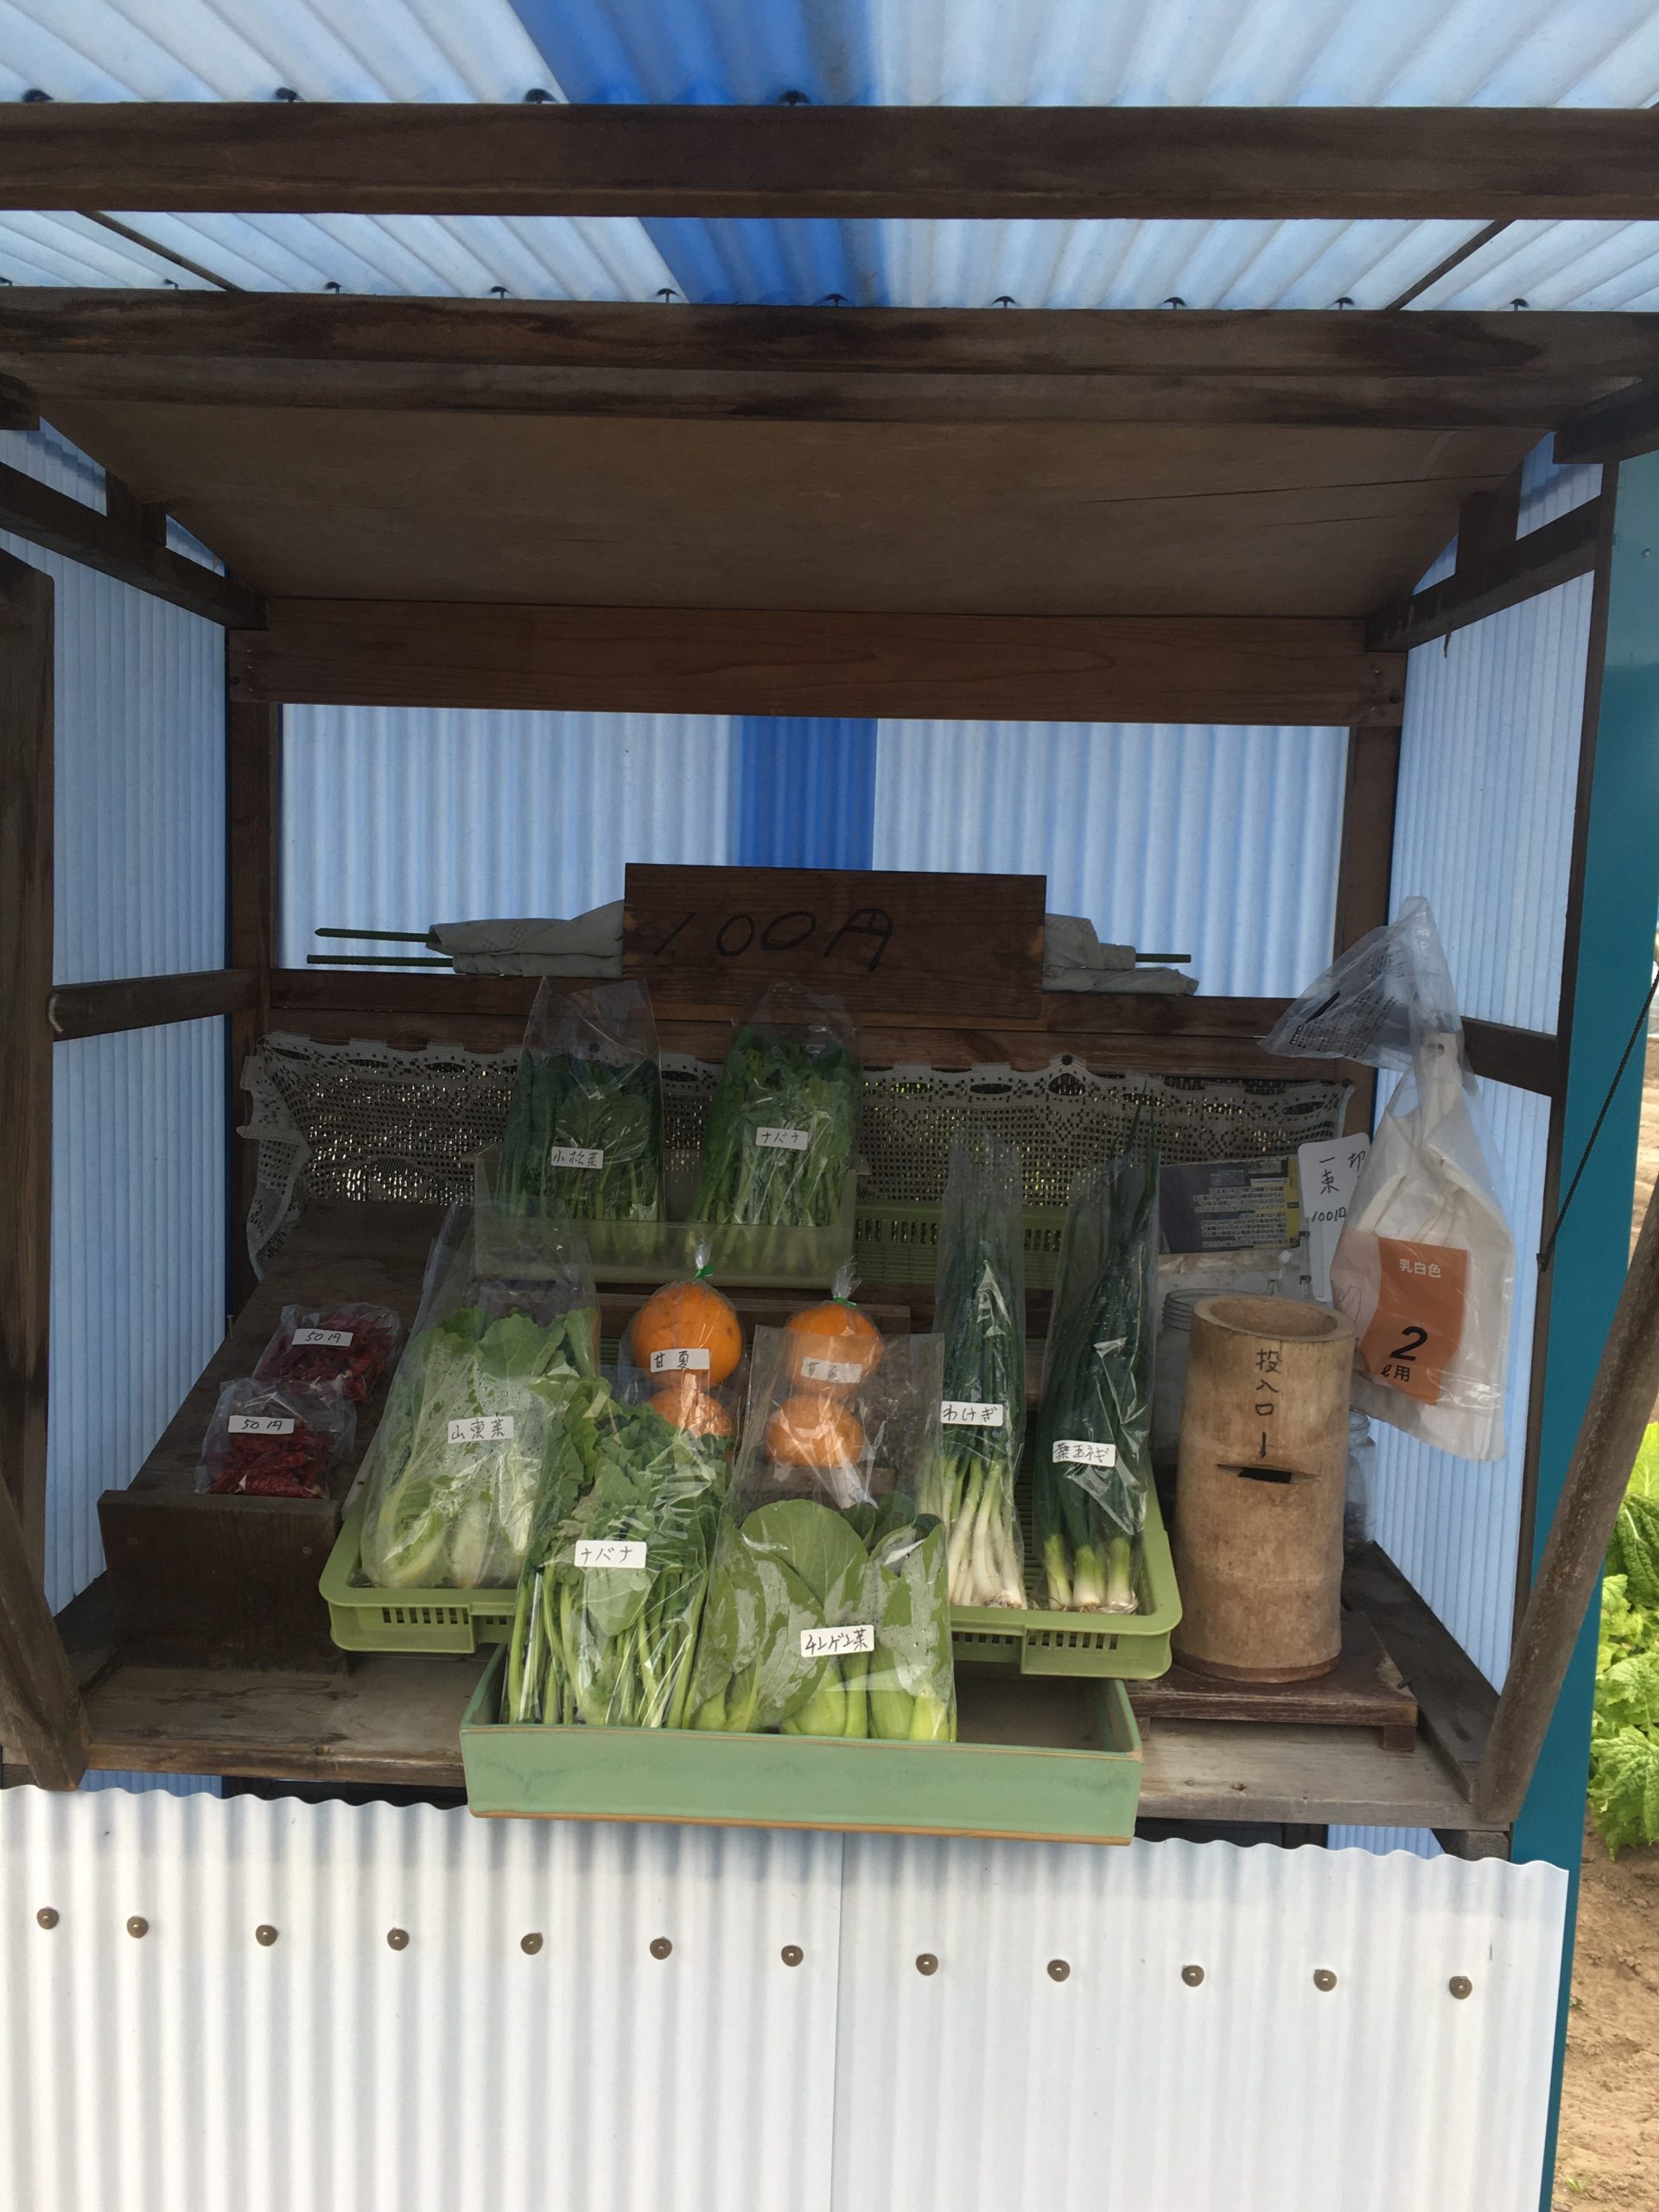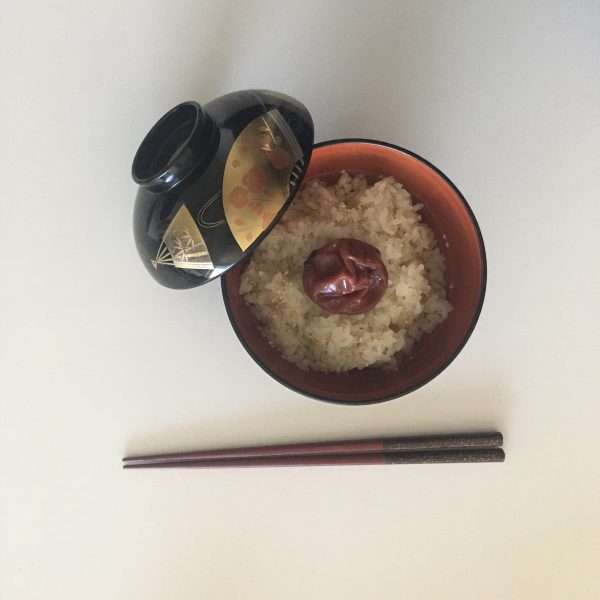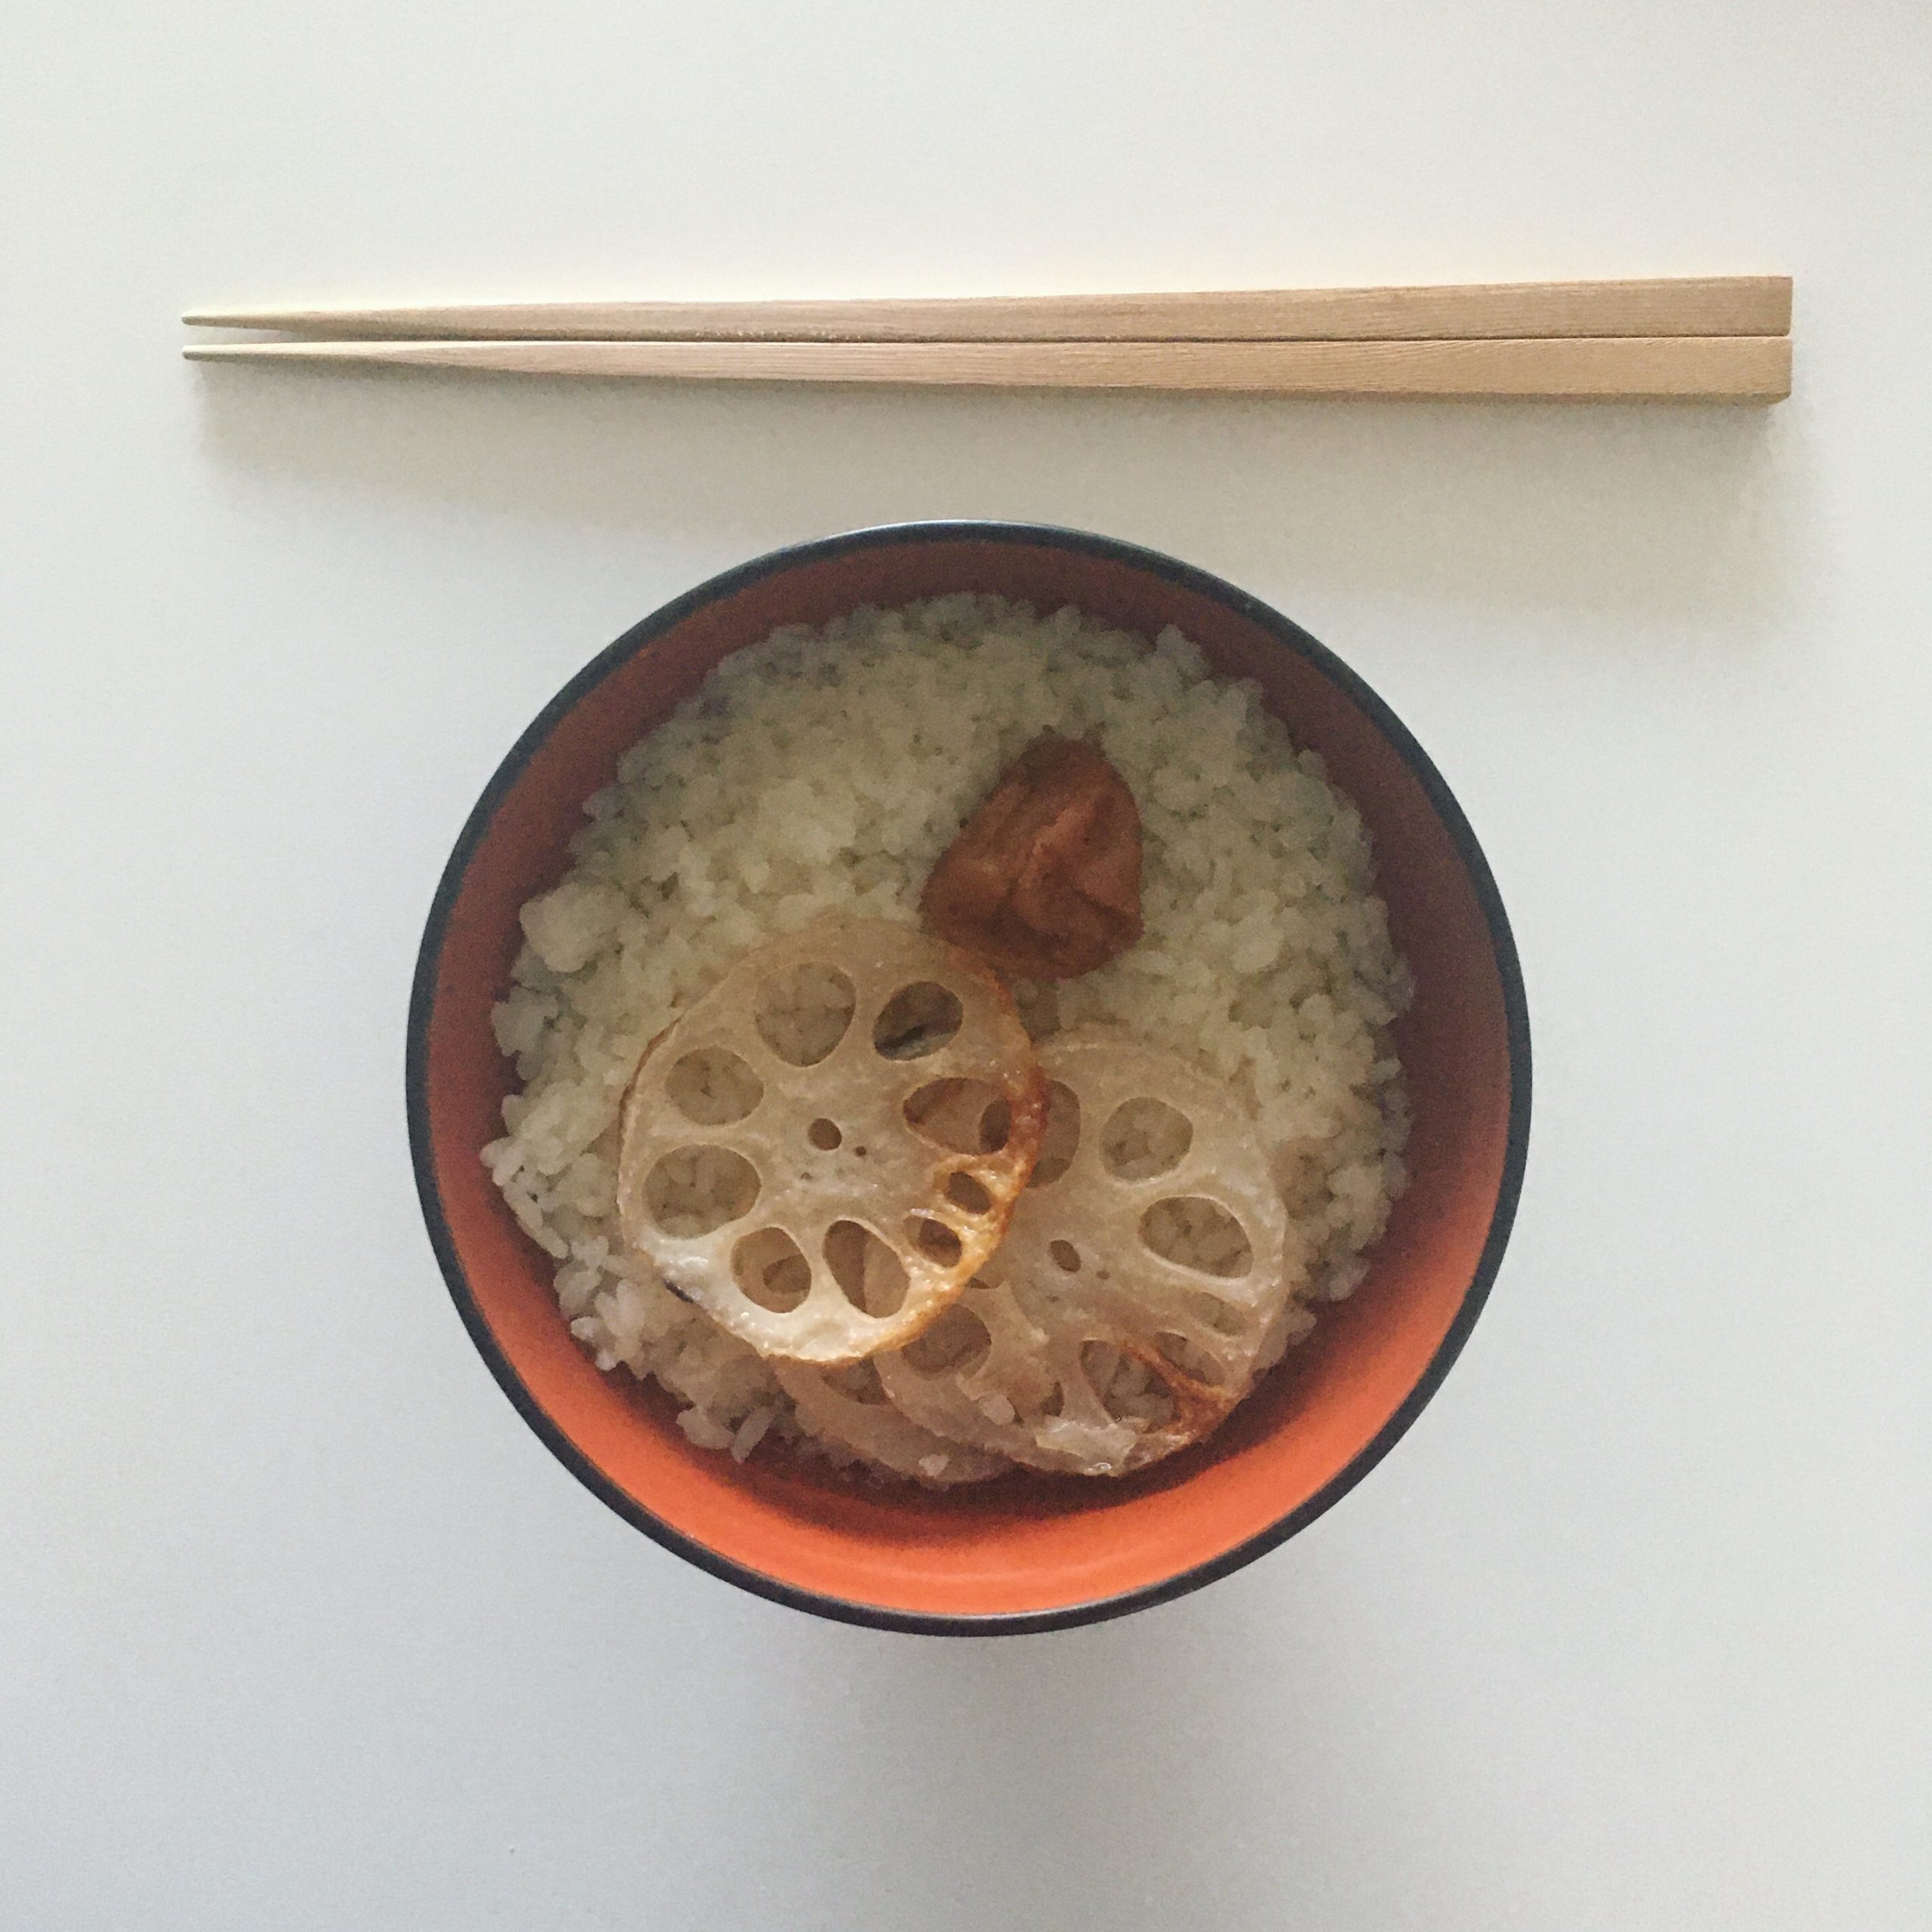
As I was reading the Japan times the other day I discovered they have a monthly column called Japanese kitchen with some cooking tips and recipes and found an old recipe of natto and umeboshi pasta. Neither A. nor I are fans of natto but it was time to prepare lunch and I was planning to make tagliatelle but I wanted to eat umeboshi, so wafu pasta naturally, and the recently read recipe made me create this super simple version: replacing natto by seasonal vegetables, and using some soya sauce for dressing the pasta. As I mentioned in my earlier post on the topic, wafu pasta are something of their own kind that may be ignominious to the purists but once you have tried them they are quite exquisite and the mariage of flavors can be exceptional. I loved the one of this recipe. I hope you will too.
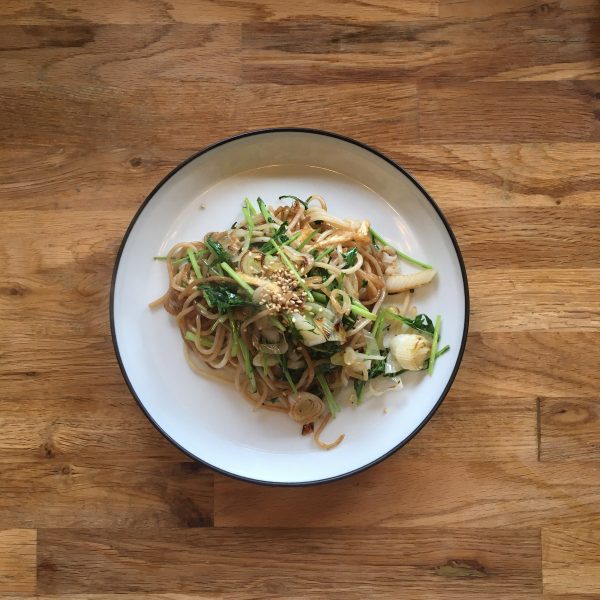
Umeboshi, nanohana and shiitake tagliatelle (serves 2)
- 180g of fresh tagliatelle
- 5 nanohana
- 3-5 shiitake depending on size
- 3 plain umeboshi medium size
- 1tbs of soya sauce
- A ponch of sesame seeds
Wash and slice the shiitake. Wash and cut the nanohana in 3. In a large pan slightly greased (I used sesame oil, but anything works) start cooking the vegetables under cover at low heat. In the meantime boil the pasta. Drain the pasta and add to the pan. Stir well. Add the soya sauce, the sesame seeds, the flesh of one umeboshi, stir again and serve. Top each plate with an umeboshi, enjoy!