You may be very much used to miso soup as a warm bouillon served either with just a few things in: a slice of shiitake, a peel of yuzu, a few leaves of mitsuba, or with rather plenty of small mushrooms, daikon…
But with the summer heat, a chilled soup is very much welcome and a chilled miso soup version is also possible and it’s delicious!
It just requires to prepare a little ahead so that the bouillon can cool down. This recipe is inspired by a soup we were served for lunch at a small vegan cafe we went for lunch to on our way back from Hoki Museum (by the way, well worth the visit).
My recipe features somen, the Japanese vermicelli, but you can do without.
Chilled miso soup (2 servings)
- 1 dry shiitake
- 1 small eggplant
- 2 tsp of miso
- 1 small cucumber
- 4-6 leaves of fresh green shiso
- Optional: 100g of somen
- Optional: 1 fresh myoga
In a pan boil 1l of water, add the dry shiitake to make a shiitake dashi. Let it boil for a few minutes, when the color goes brownish, turn off the heat and leave it to rest.
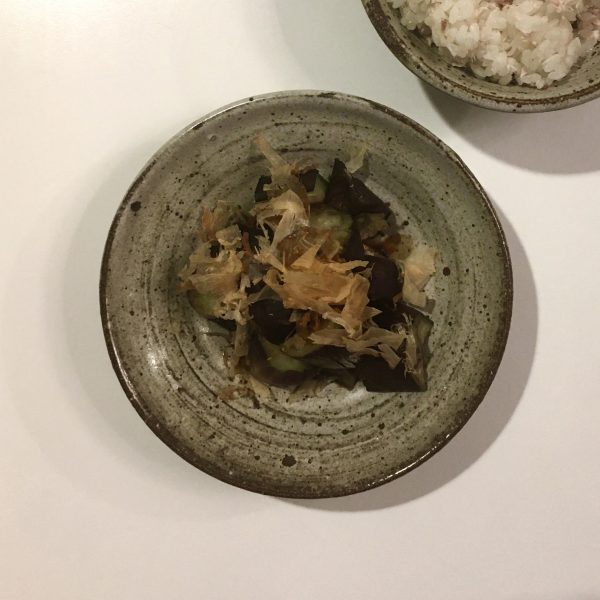
Cut the eggplant in bites and bake it or cook it in a frypan until soft.
Wash and slice very thinly the cucumber and the shiso, and the myoga of you use any.
Boil the somen and keep them in cool water.
In the serving bowls, serve one spoon of miso each, top with the drained somen, add the eggplant, the cucumber and eventually myoga, finish with bouillon that covers almost everything, and add the shiso.
For extra chill effect, add a few ice cubes and enjoy!