Hassaku – 八朔

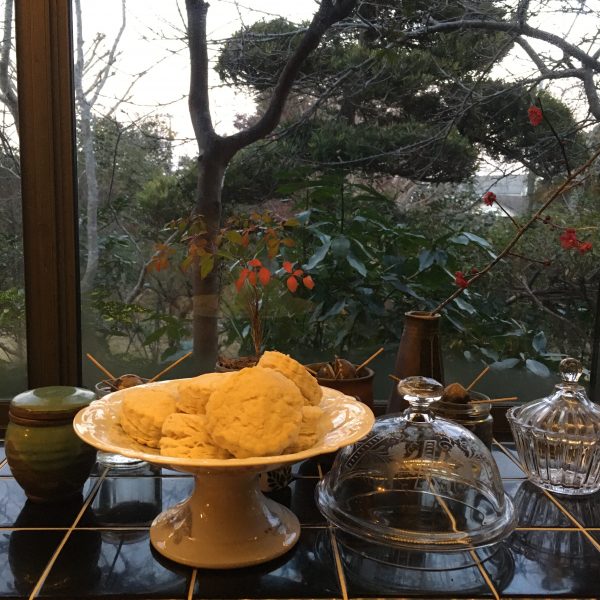
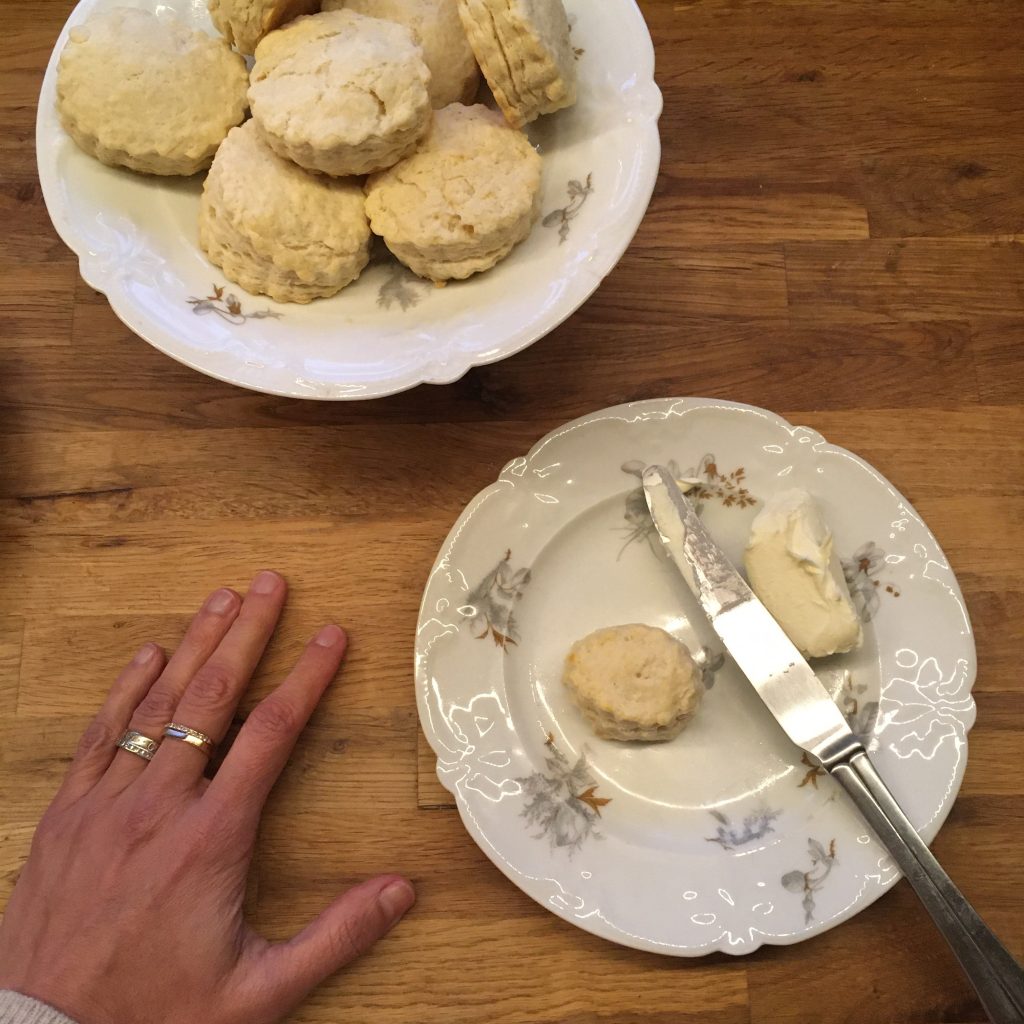
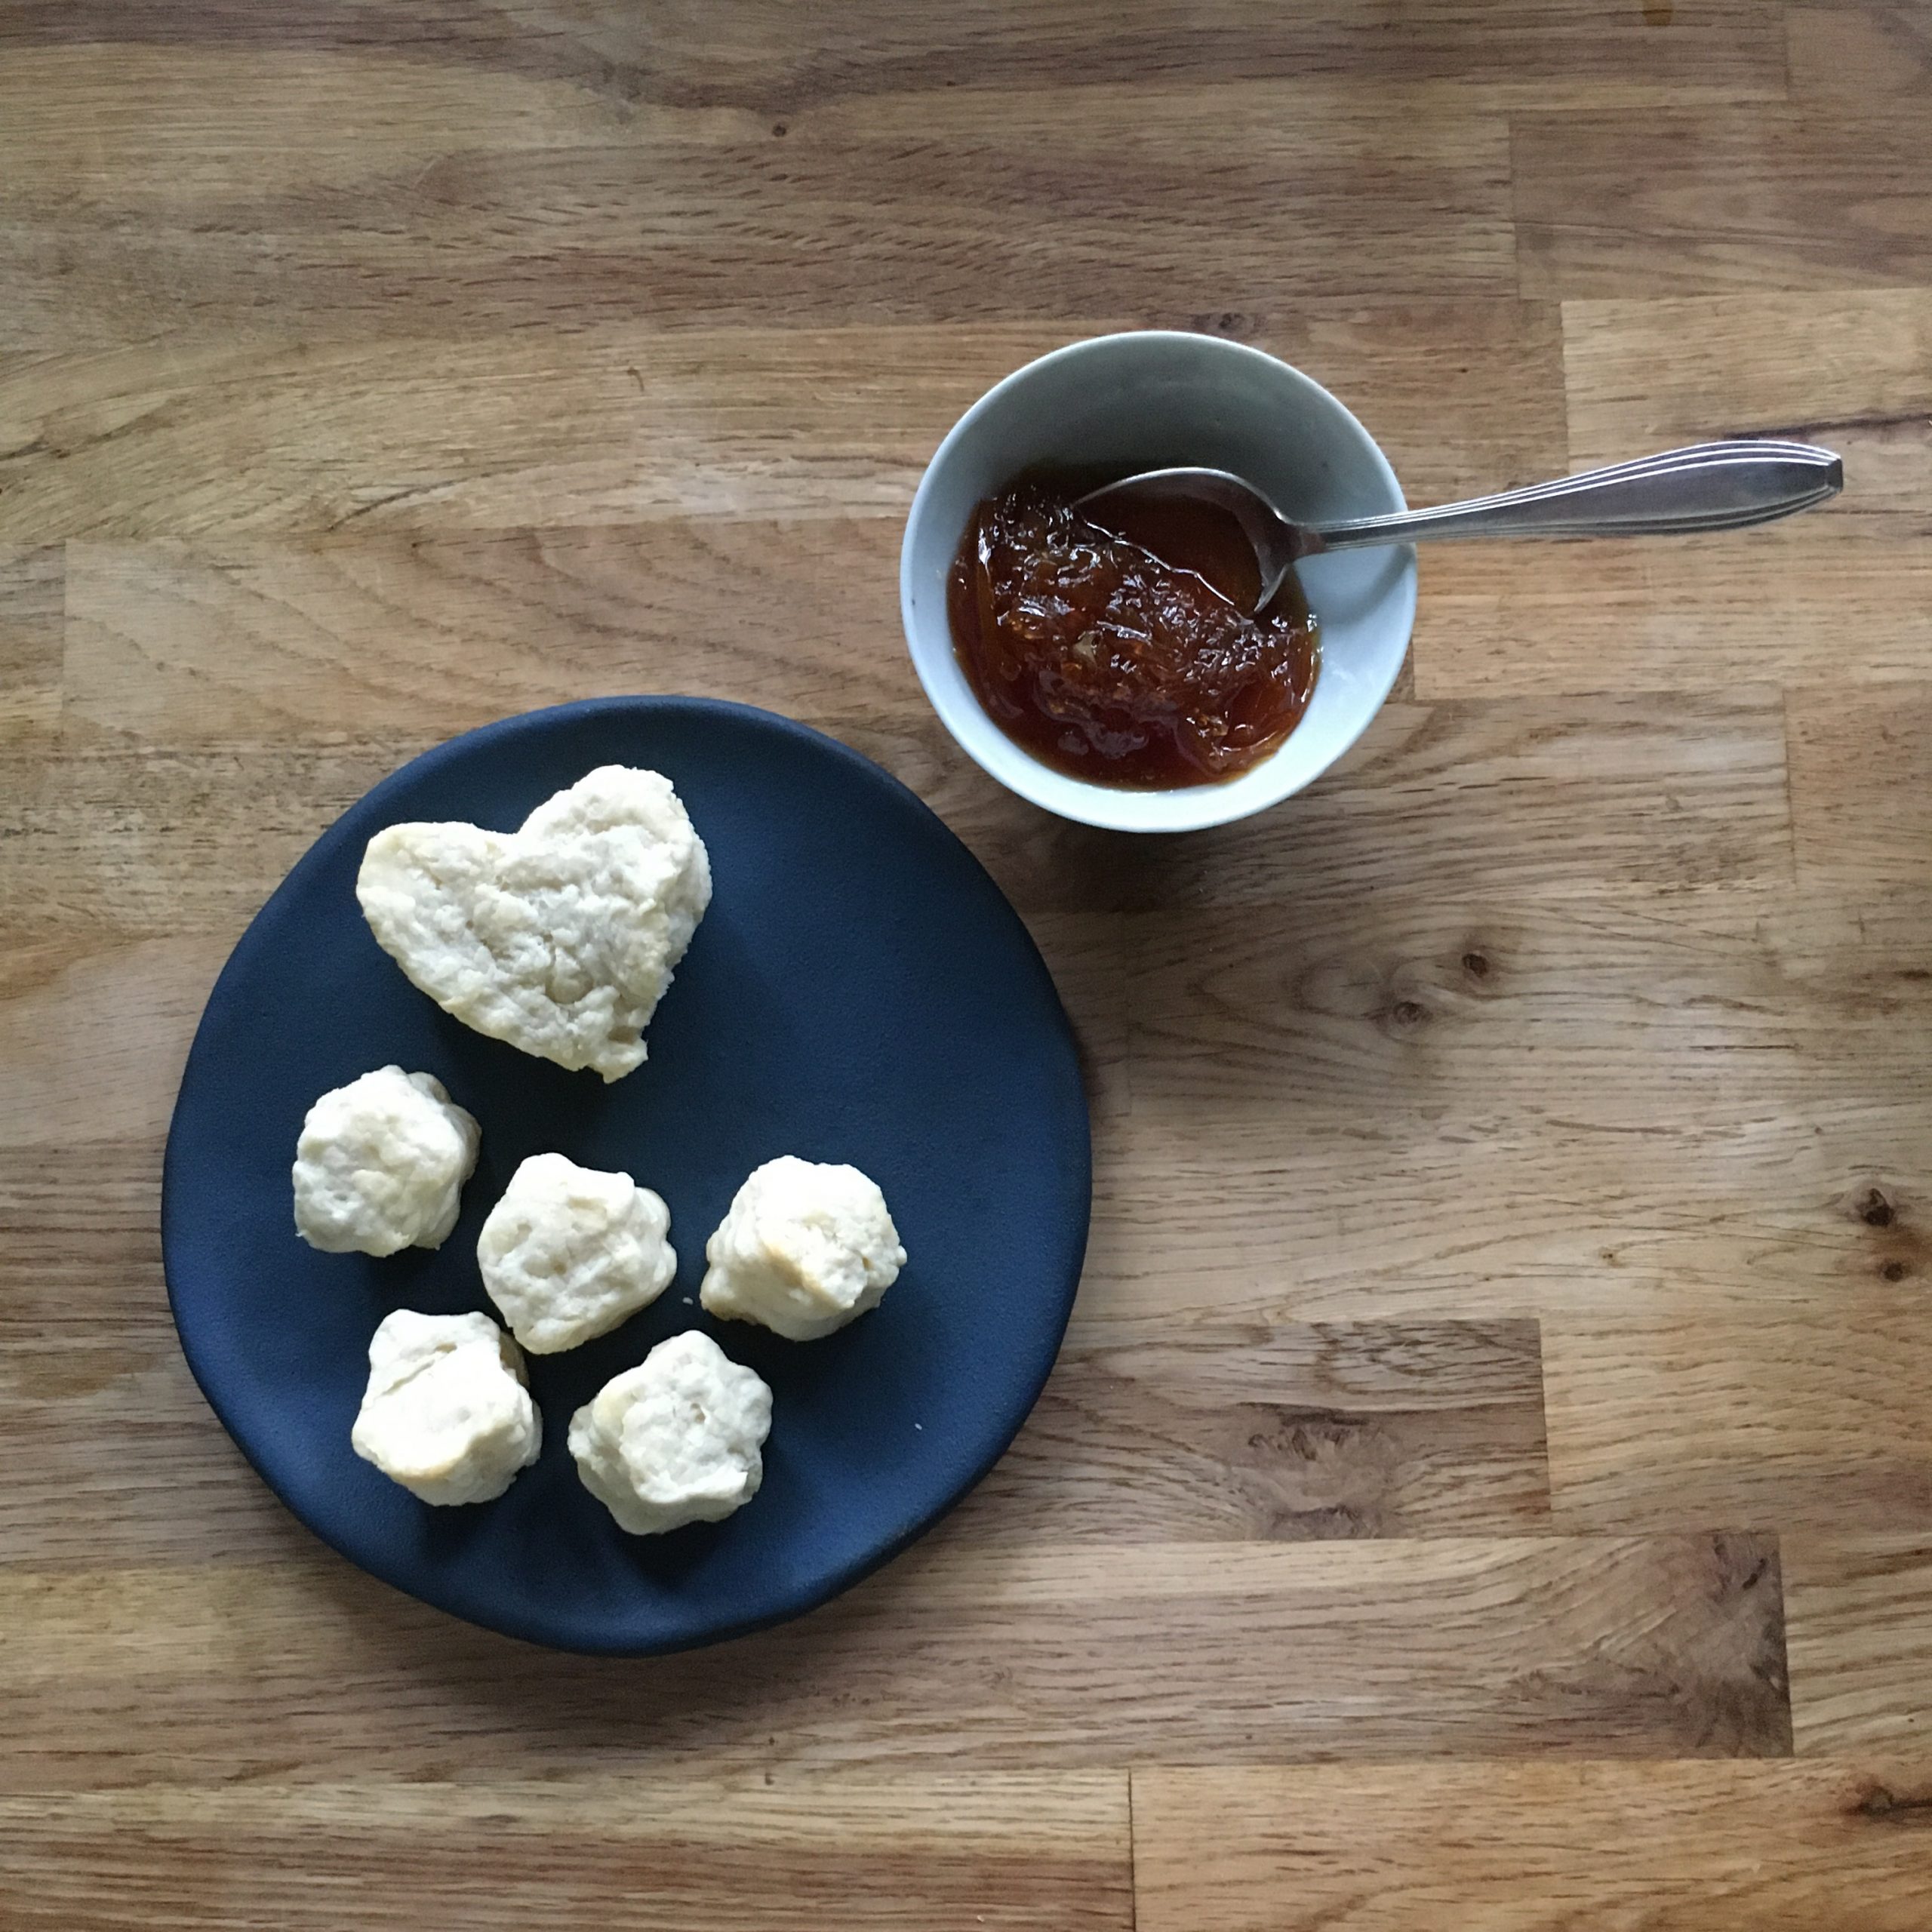
Two weeks without a post is a grand premiere here… For the past 7 years I have been posting a few times a week and at most every 10 days when I was busy at work and on travel. So why 2 weeks this time? Well… travel is definitely not what is taking any of my time, even though we had a failed attempt to go back to France back in November, and the planning took a lot of our time, only to cancel everything 5 days prior departure because the situation was not looking too good in France then… but that’s a long time ago! I can tell you that work has been busy but nothing out of the ordinary. So what? Have I quit cooking??? For sure not! But what did I cook then? Well, first a lot of things that were delicious but definitely not photogenic. Then a lot of cruising dishes: quiches, bread and scones but I bet you don’t need another recipe of any of these…

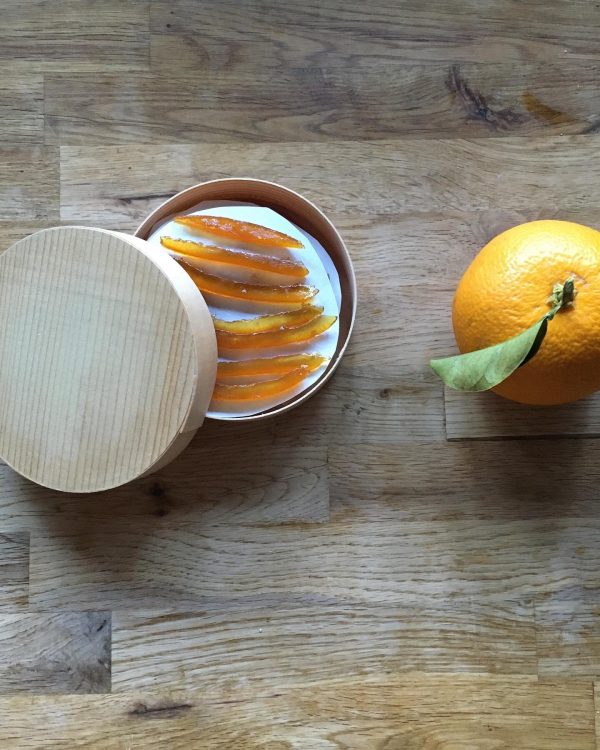
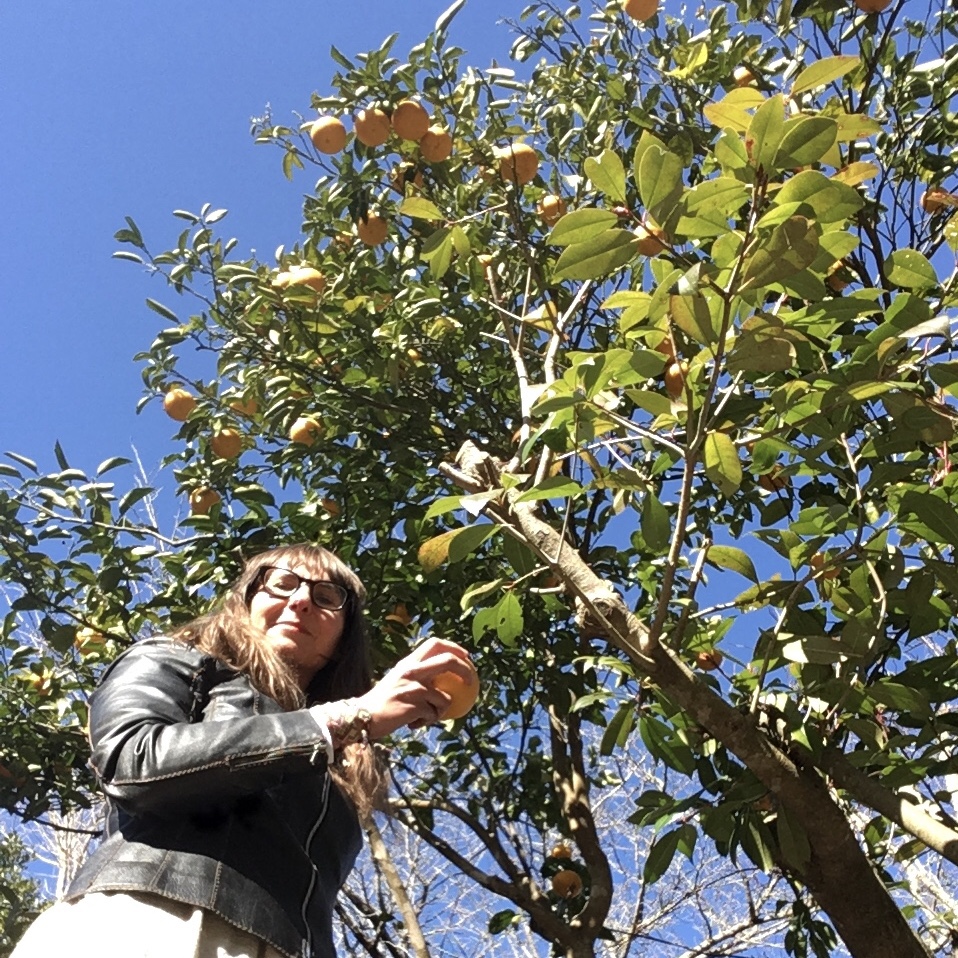
Then we harvested all our hassaku and I went into a little plan of making several recipes…

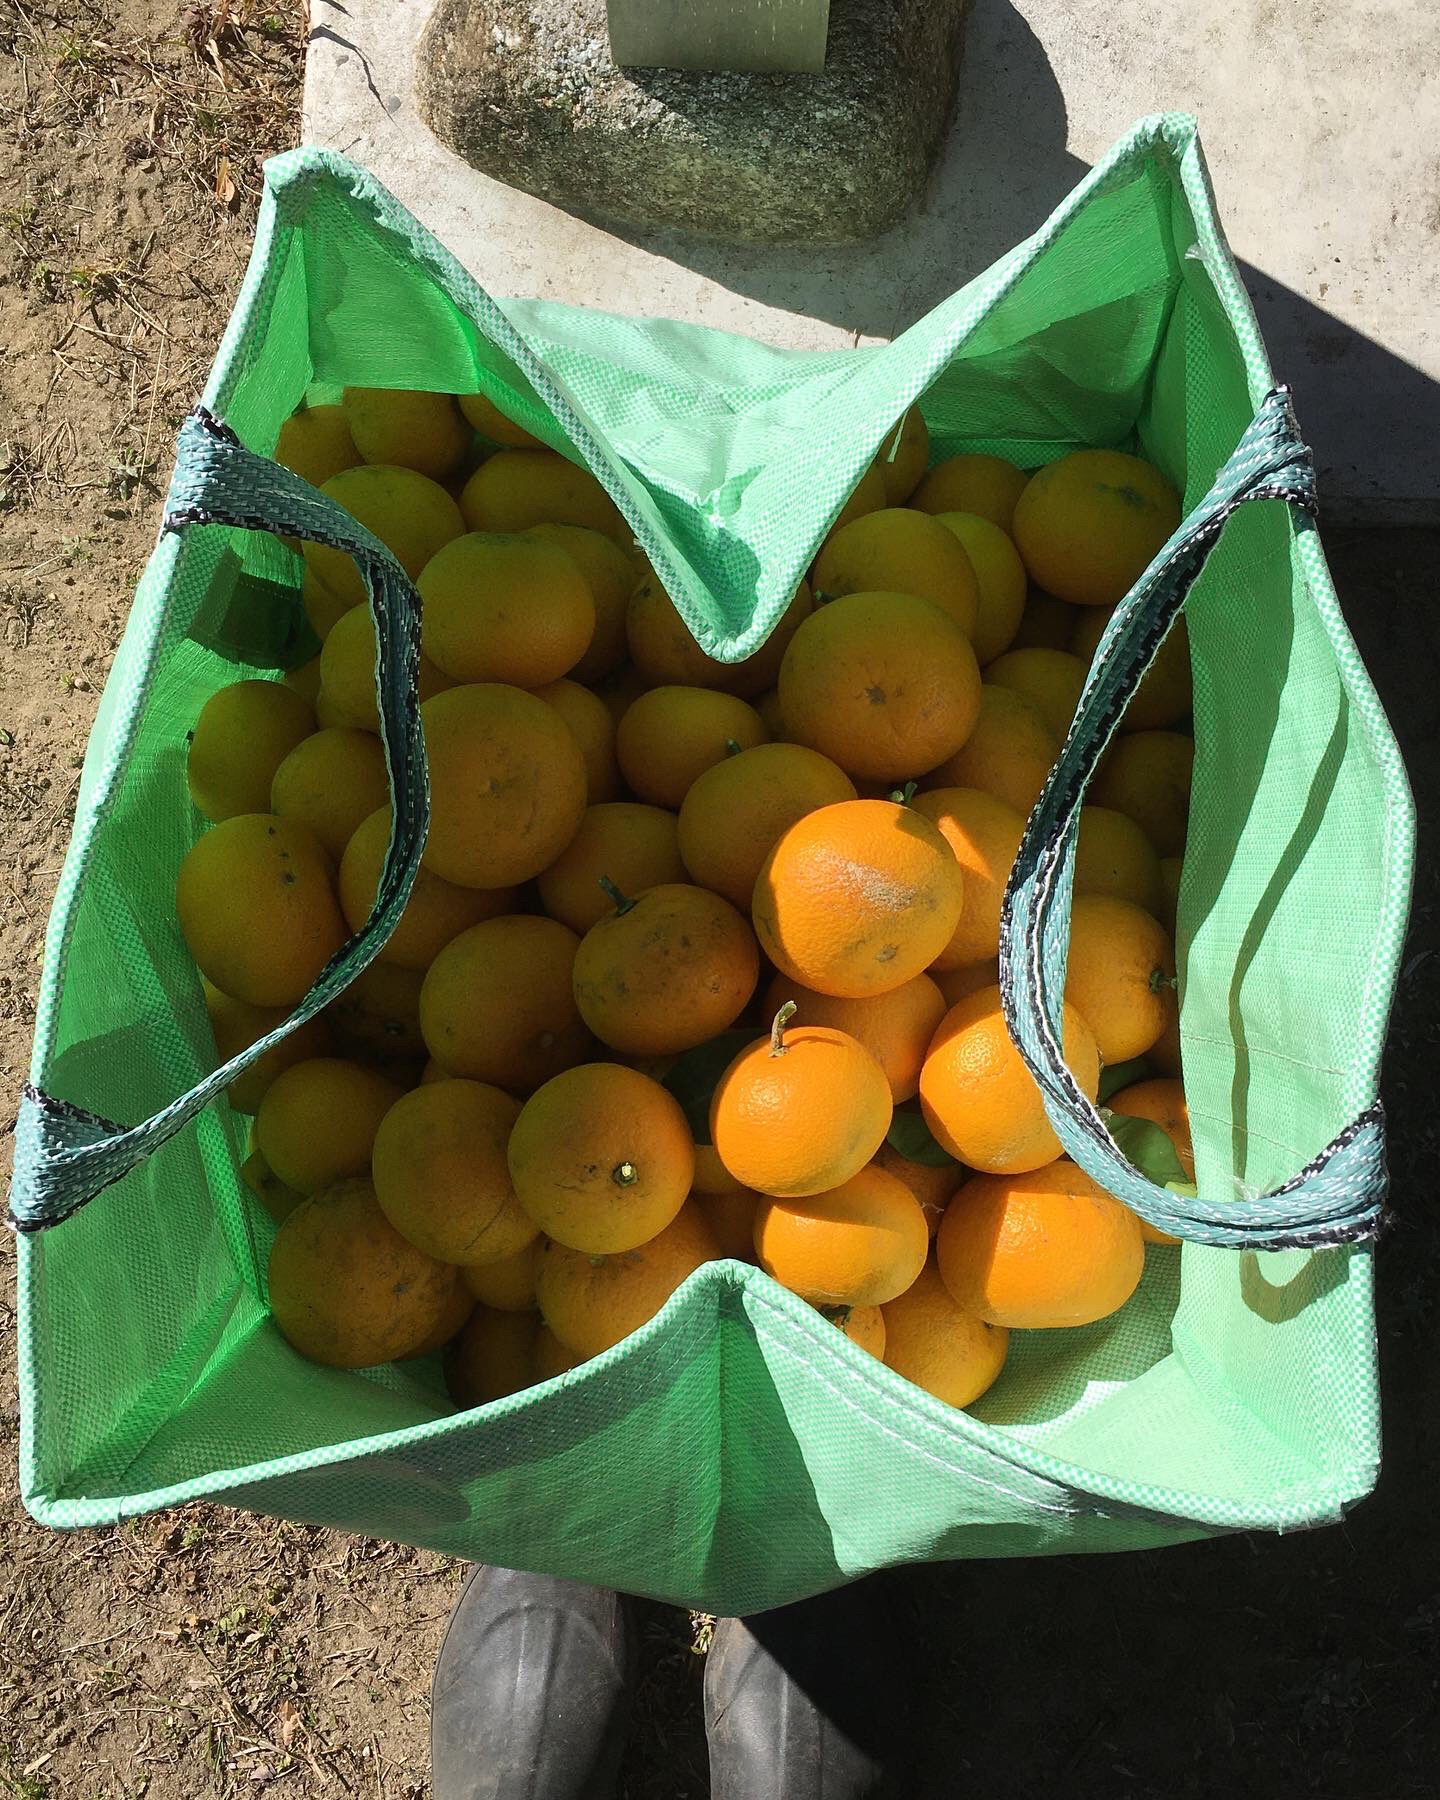
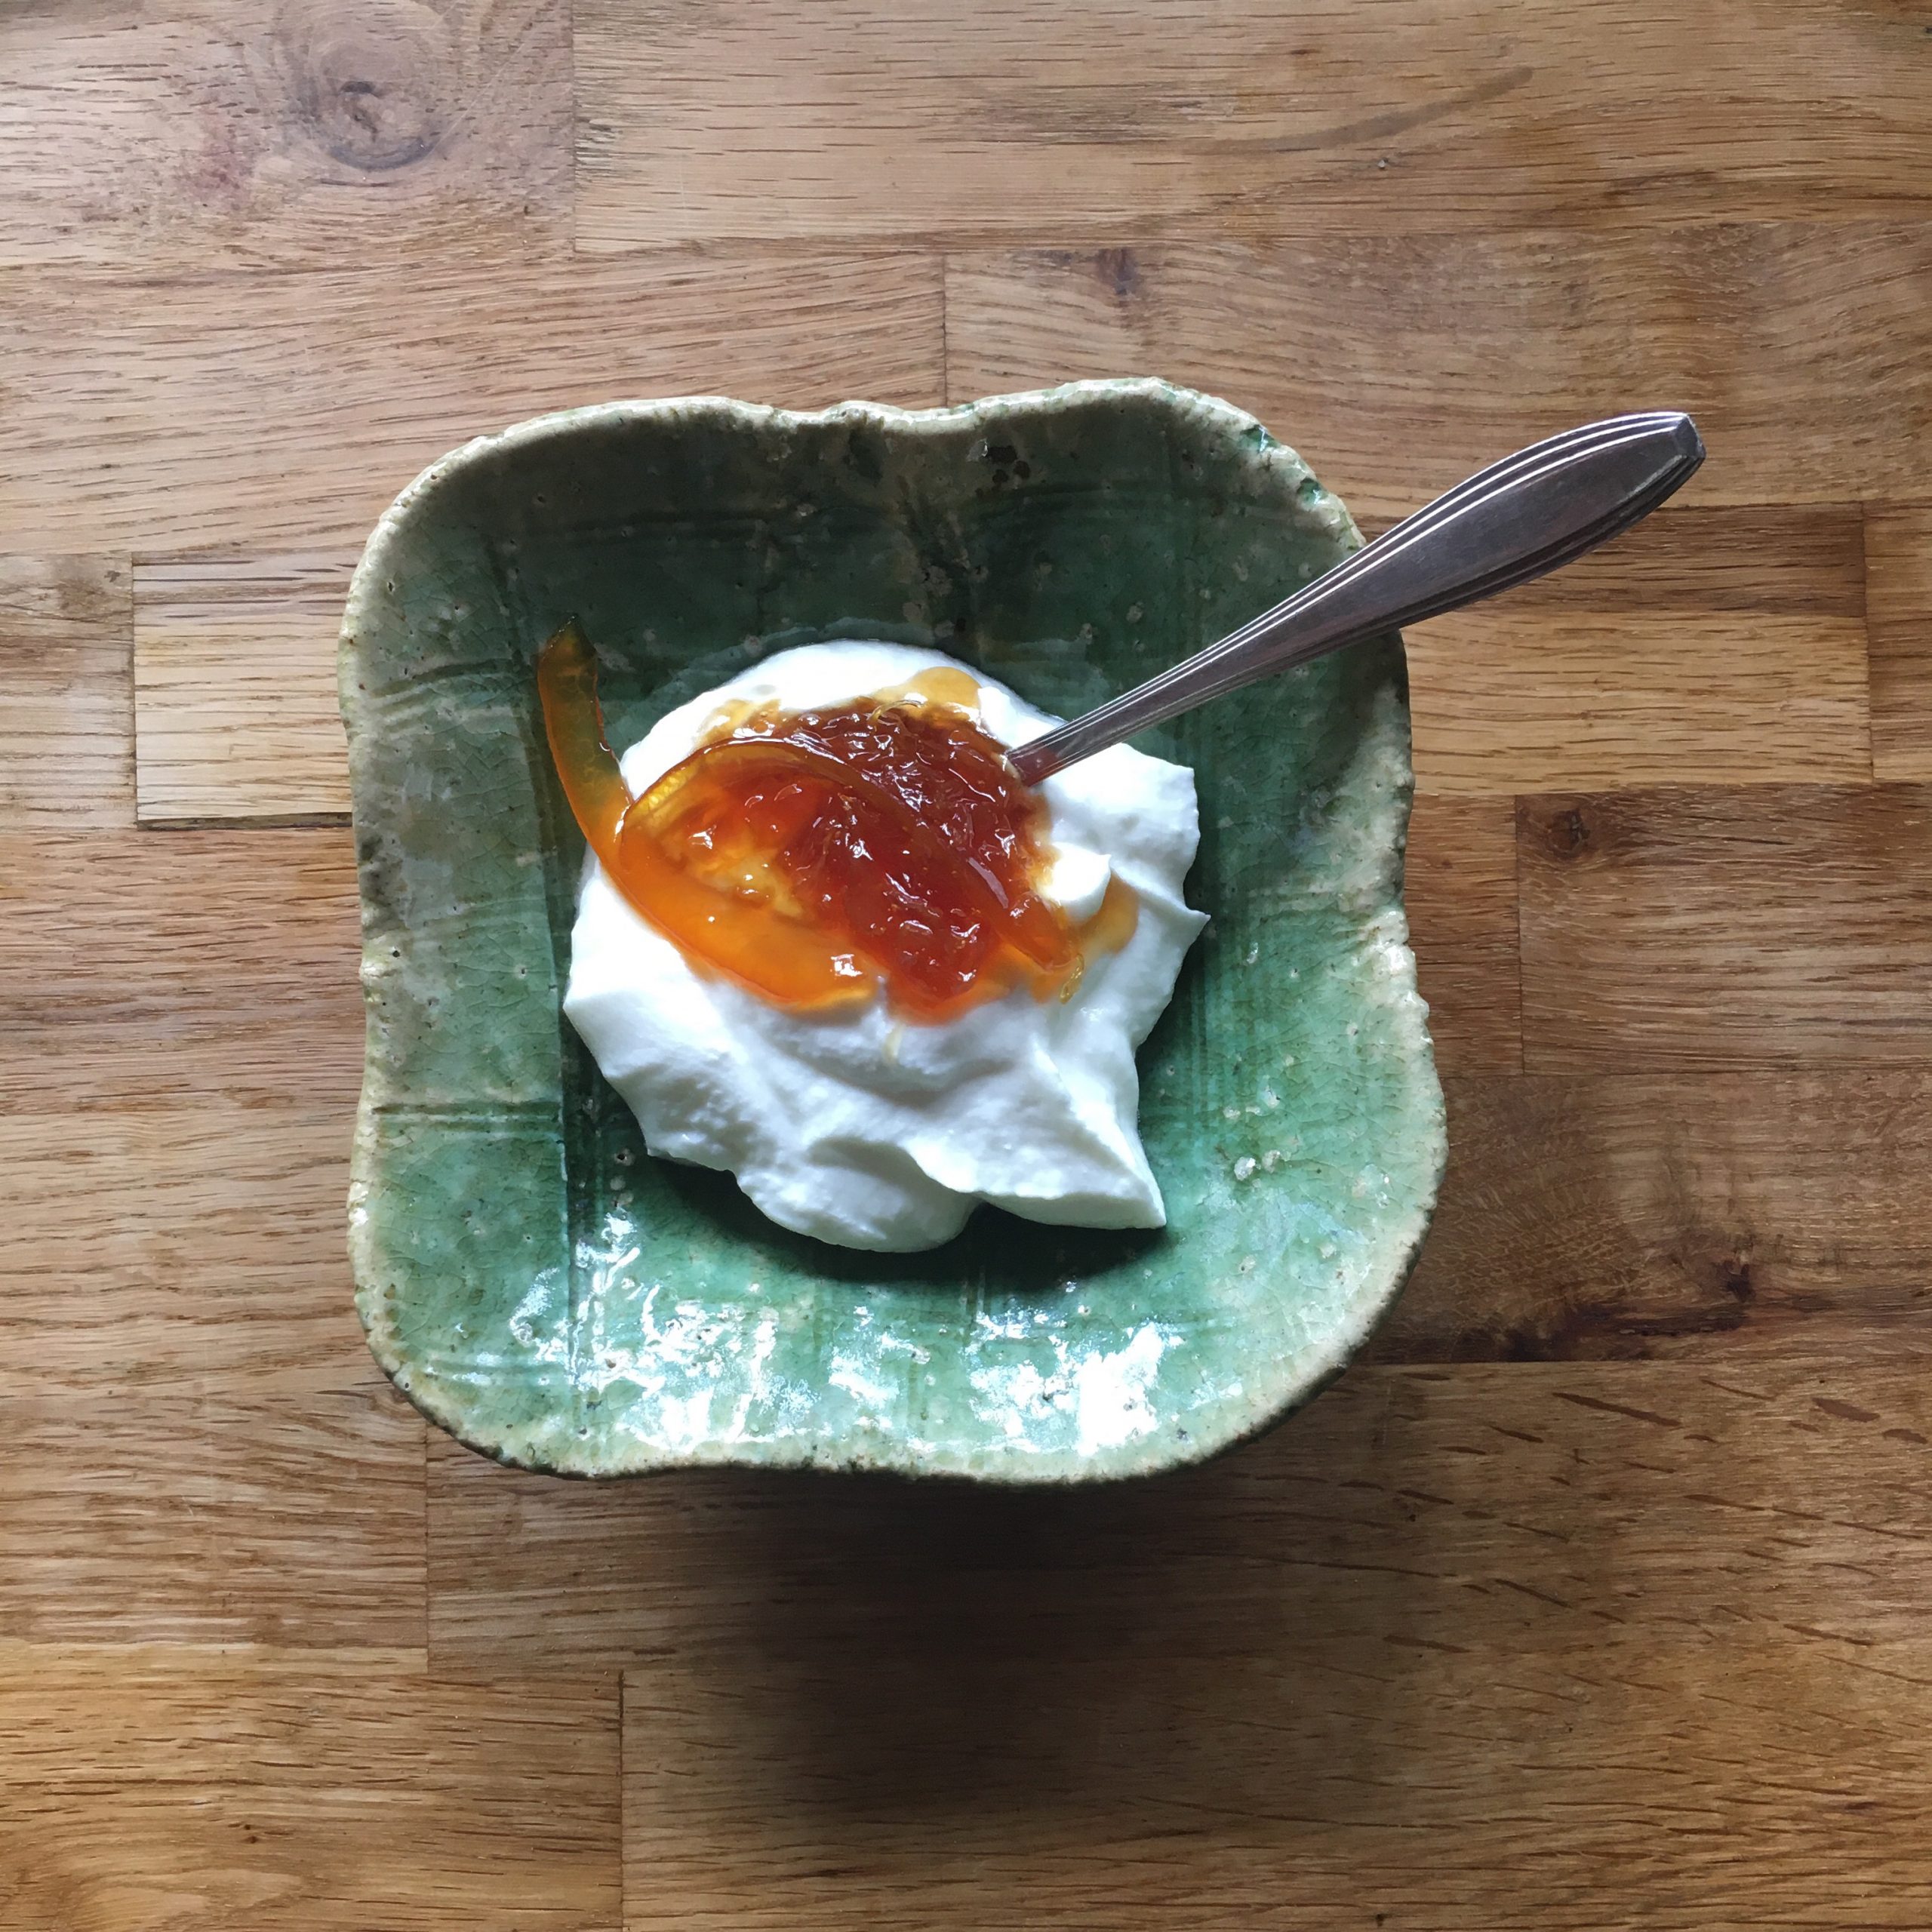
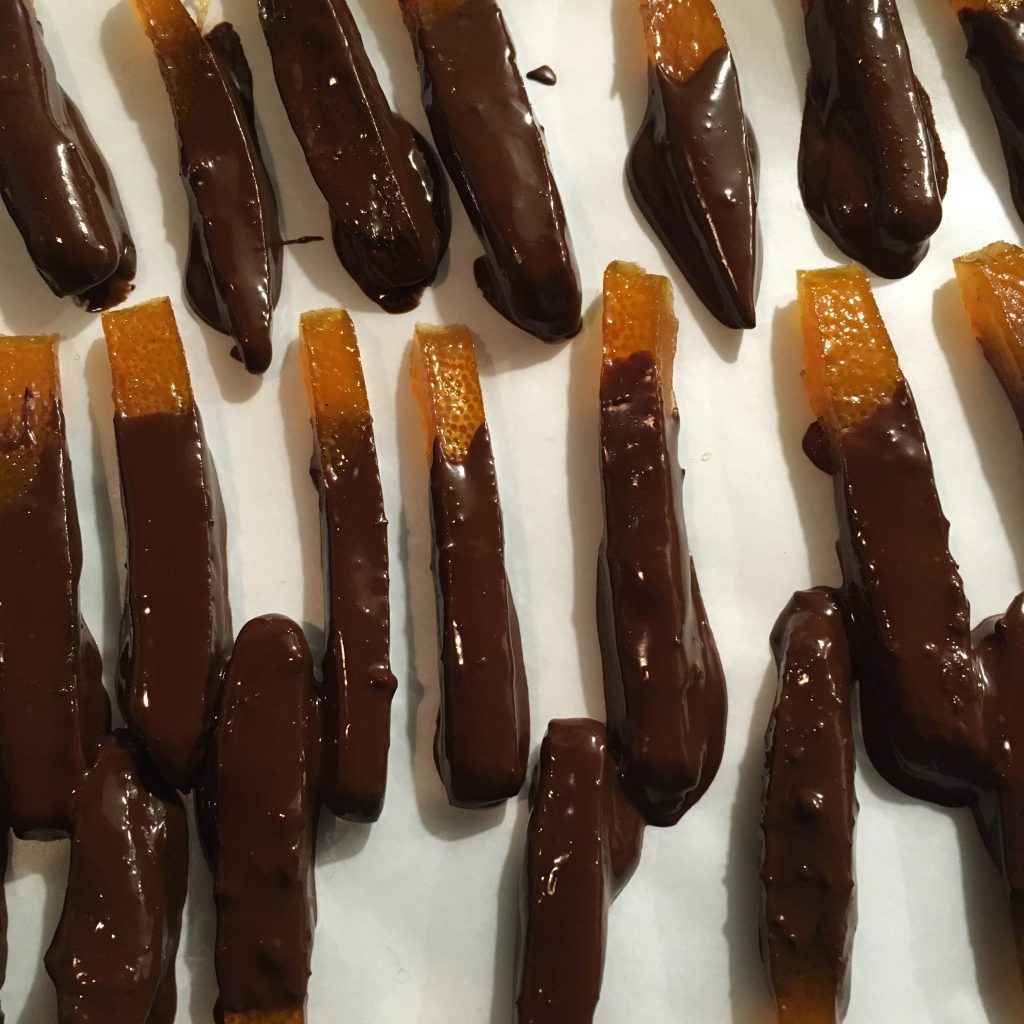
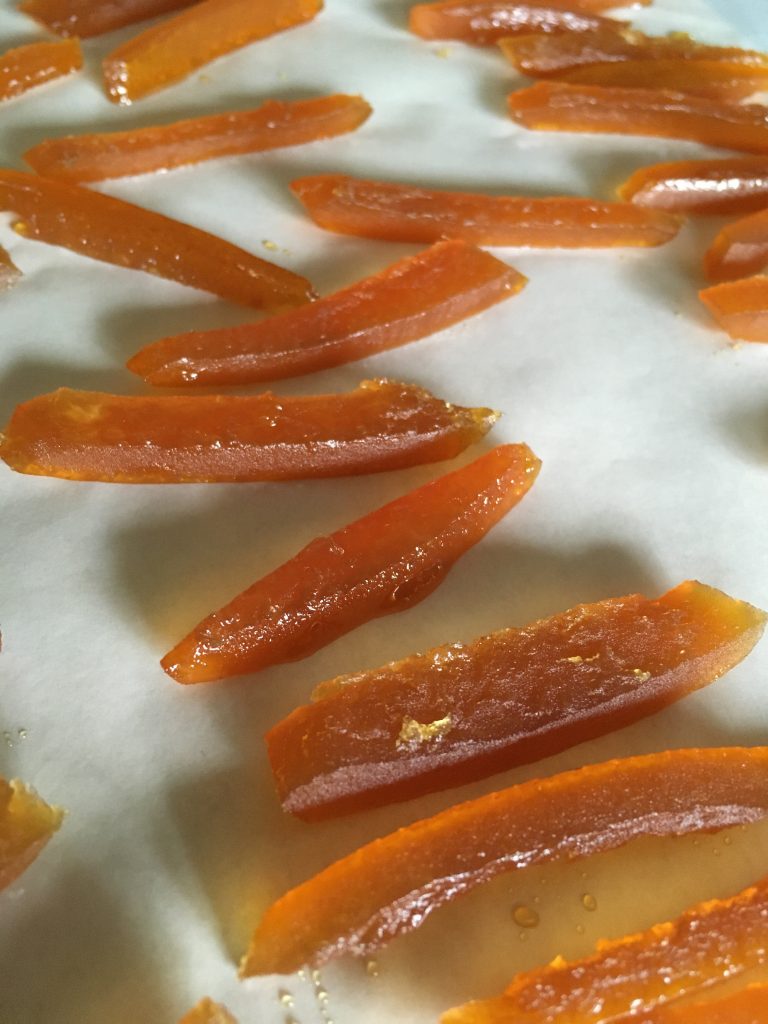
But in the end we love the raw fruits so much, plain and simple, that apart from a little batch of marmelade, but I’m no good to teach anyone how to make it, rather I should learn myself, I made a lot of candied peels after we’ve eaten the flesh. Though we eat little sugar, I love candied fruits and citrus peels of sorts candied. At that, I think I can proudly say that I am not bad! I have learned patience and it is paying off! So here’s my recipe, but if you don’t have hasaku, it works with any other citrus fruits. I personally like the thick skin of hassaku, but lemon, orange, yuzu… they all can work perfectly too. You just need to be sure that your fruits are untreated before and after harvest, that’s why I only candy peels of fruits I am sure about.

Citrus fruits candied peel

  • Untreated citrus fruits of your choice
  • Sugar ( I use only untreated brown cane sugar)
  • Water
  • Patience
  • Dark chocolate (optional)

Candied peels work in any batch size. Wash and dry your fruits. Peel them being careful to be as close to the flesh as possible. Remove any possible fibers layer. Cut the size you like. I like thick ones so that they are almost a square section.

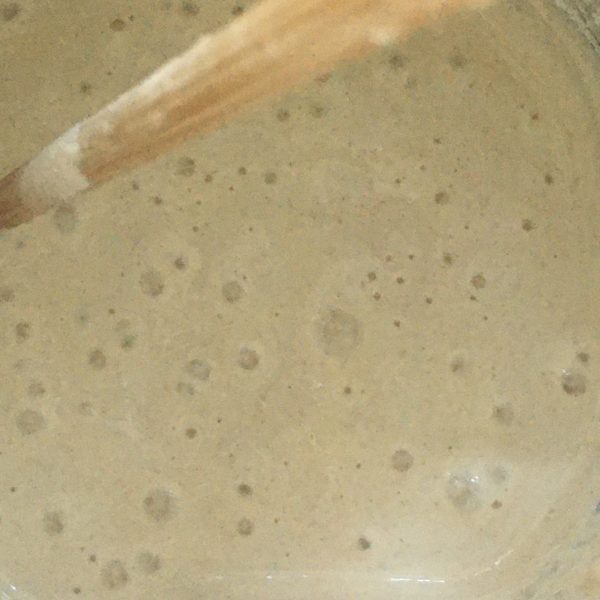
In a pan set the peels. Pour water in a measure cup. From that cup pour into the pan to cover the peels. Check how much you poured in. Add the same volume of sugar to the preparation. Bring to a boil, let on low heat for 15 min. Let cool down in the pan for two hours at least, longer is good. The peel will start to loose their opacity. Bring to a boil again, and cook at low heat for 10 min again. If the liquid is to little add just a bit of water. Let cool down again, and repeat the heating/cooling until the peels are translucent adding just a bit of water not to burn them and such that the syrup doesn’t turn into caramel. When perfectly translucent, heat a last time and move the peels from the pan to a clean surface. I use cooking paper. Let cool down. Now they are ready. You can store them or dip them in chocolate, roll them in cristal sugar (but really, they don’t need anymore sugar!)… I love them just the way they are, A. likes them coated with chocolate…

In love with scones again!

It’s been months I didn’t bake scones. Last year at the same period I was making some probably once or twice a week and then I suddenly stopped… Why? I don’t think I even know the answer… but today, for a change, instead of making crepes for tea-time after our tennis game, I was in the mood for scones. Maybe because it was not late and I had time, and because I already had my hands dirty as I was kneading dough to make bread for tomorrow. Yes… with the cold temperatures it’s about 24 hour or more I need to obtain good rises.

So, hop hop! Here I am, moving my hands from one bowl to the other and starting preparing scone dough. I have now a zero failure recipe, that is really simple. After mixing flour, baking powder and a bit of sugar, I knead with just a bit of butter (1/5 or 1/6 of the flour weight at most) and I use milk, only milk, to moisten the dough, added little by little until I have just the right consistency, just a bit sticky. But really just a bit! Then I roll the dough on a piece of parchment paper to 1cm high and cut them. I made bite size scones. I bake at 200degrees for 15 minutes. And what I like the most with scones is to eat them straight from the oven. Today I chose cream cheese to top them. And I am in love with scones again. Great! Because I made an extra batch for breakfast tomorrow!!!

The magic of the pain d’épices

A few weeks ago I started to think about how much I love the French gingerbread called pain d’épices, that I don’t recall seeing any in Japan and that I never made some… It is heavy in the hand, yet light when eaten, with a beautiful golden color and flavors and aromas that sparkle in the mouth, and the texture is a very melting one. One of my favorite pain d’ épices of all time is that of my horse ridding teacher. She has a gift not only for gardening but also for cooking sweets. In summer during intensive training camps, she would bake while we would play around with the horses, and make fruits charlottes with the fruits from the orchard. In the fall or winter she would make pain d’épices. I was so found of it that I remember asking her the recipe, and she told me she just mixes 1kg of flour with 1kg of honey. I was probably 12 when I asked but I still remember this recipe because it didn’t make sense for me at the time, honey and flour, that’s it, really??? and I never tried, too scared of wasting 1kg of honey!

But when I started to look at how to make pain d’épices how surprised was I to see that, this is indeed the recipe for classic pain d’épices from Reims. What I didn’t know then was that the mix, with spices added, should be kept days or weeks to start the fermentation that will guarantee the fluffiness. Last year I would probably have been very skeptical trying such an attempt, as I was not very sure how all this fermentation worked, but since I made my sourdough Lois I feel a lot more confident to do flour base fermentation. Finally, last week I decided to start the experiment and prepared a mix of 600g of flour and 600g of honey together, some said that adding the spices at that stage would increase the development of aromas, so I added them too. I left the preparation in a container under a lid the whole week at home (with the winter temperatures settling in, the house temperature is about 5 to 9 now, so no big risk of seeing things rotting, or mold developing!!!!) And today I just found my mixture, it hasn’t changed much but it is not looking bad at all so I prepared it and baked it. The result???

A perfect pain d’épices! The look, the color, the texture, the smell… Exactly as you would find on in France, a happy A. and a happy me, eaten it with a cup of Christmas tea at tea-time or for breakfast. We even used it for toasts with cheese for me and some pork paté for A. and we were very satisfied. The recipe is very simple and except for the one week wait it is very simple to make. Definitely a must do again one. This recipe is will become a new classic like my pompe a l’huile.

Pain d’ épices (1 big loaf or 2 smaller)

  • 600g of flour
  • 600g of pure honey (liquid is easier but creamy can work too)
  • 1tsp of ground cardamom
  • 1tsp of ground cloves
  • 2tsp of cinnamon
  • 1 ping pong size piece of fresh ginger, pealed, grated or chopped thinly (I use fresh ginger because it is easy to find and I just chopped it roughly but you may use ground ginger, then 1/2tsp should be good enough)
  • water
  • additional 1/2tsp of baking soda (if your rise time is short)

About 5days to two weeks before you want to bake your pain d’epices prepare the dough. For that, in a container with a lid mix the honey the flour and the spice. If your honey is really to creamy and hard too work you can melt it in a pan at very low heat to liquify it. Stir to incorporate all ingredients. I used a spatula to do that as the mix is way to sticky to put hands in. One everything is well incorporated put the lid on the container, and let rest for as long as you want, but at least a few days.

After a few days, the spices may have start to color the dough a bit but it may not have changed much otherwise. When you want to bake your pain d’epices, pre-heat your oven to 150deg, just add a little of tepid water to the mix to soften it and knead. The dough is sticky but not terribly sticky. If you think your rise time is rather short (just a few days), you may want to add a little of baking soda now, to ensure perfect fluffiness. Knead and add water to obtain a compact yet smooth dough. Using parchment paper set in a cake dish or split in two and make two, or more. And bake for about 2h if you make a big one (check with a knife or stick if the dough is well cooked inside), for 2 smaller, about 1h should be enough.

I made a very large one and baked about 2h at 150deg, but wasn’t sure it was perfectly baked so I finished with 10 min at 180deg just to be sure. Let cool down before cutting and eating.

Pain d’epices normally keeps well, this is tone he purpose of the original recipe. But in our house, we didn’t had time to see how long it can keep!!! We’ve eaten it in a snap!!!

Look at this beautiful color and perfectly dense but bubbly texture!!!

Autumn ravioli

Last Friday a strong windy typhoon passed nearby, and we had a few things to fix in the garden Saturday when we went on our usual inspection. The wind chopped a palm tree in two, many dried branches felt and a bit of cleaning was more than necessary. While doing so, A. found a few chestnuts fallen from our tree that animals haven’t had time to touch yet. A few meaning exactly 5.

But that was perfect. With the butternut squash I had and the dried porcini I just bought at an Italian grocery store newly found in Tokyo, dinner was all decided. It would be ravioli. And that came to a more satisfying recipe for A. when I told him I could use some local sausages too. We were so hungry and happy with ravioli for dinner that I didn’t even take 1min to take a picture!!! The only I had taken was the ravioli before cooking them.

So here is my recipe, simple as usual and very very tasty! I opted for super jumbo ravioli to enjoy the filling, but you can make smaller ones too.

Autumn ravioli (2 servings)

  • Same as usual for the pasta: 100g of flour, 1 egg, water
  • 5 chestnuts
  • 200g of raw pumpkin, butternut squash…
  • Dry of fresh porcini (10 pieces dry, 2 mushrooms fresh)
  • optional: fresh sausage (I use local sausage)
  • Olive oil
  • Salt and pepper

Start by boiling the chestnuts. While they gently do, prepare the dough for the pasta, and let it rest while you prepare the rest. Which is to peel and chop the butternut and boil it with very little water or best steam it, until soft. Return the dry porcini in tepid water, or if you use fresh ones, wash and slice them. By then the chestnuts should be ready, and after cooling down a bit peel them. If you use sausage, remove the skin if the sausage. Then in a pan mix together he butternut, the chestnuts chopped, the sausage, salt and pepper, cook at low heat while stirring, mashing to obtain a rather puréed filling.

Roll your dough, and make the ravioli.

Boil enough water for the ravioli (if you used dried porcini add the water used to returning them in there too). In the meantime in a large pan sautéed in olive oil the porcini, add salt and pepper. Boil the ravioli and add to the pan. Stir gently and serve in the plates for immediate enjoyment!!!! Et voila!!!

Happy birthday Lois!

A year ago after many years of hesitation, I finally decided to prepare my first sourdough: Lois. Since then we’ve been living and working together to make breads, pizze, brioches, buns and the like, for the best and a few times the worst, but I must say that I am very happy with it.

Lois is a sourdough that behaves well. Seeing so many pictures on IG and www of sourdough overflowing really got me worried, as I hate the kitchen to be a mess, to throw away food, and waste time and energy cleaning a catastrophe that could have been avoided. Kept in a large enough bin has always prevented it from happening and that’s good news! I think also Lois may not be a very very active sourdough, even in a large bin only a few times I could see it grow quite dramatically, otherwise, it looks much more like some kind of pale mousse.

But when it comes to working, it is a steady and stable worker, regardless of the temperatures and the seasons, and I can’t stand the taste of yeast now. The richness of the sourdough flavor is really unique and it evolves with time, making the kitchen smell good as soon as the bread is out of the oven!

So you understand now, I will continue to cherish Lois.

Sourdough milk brioche on the beach

Better love eggplants!!!

While the summer plays hide and seek, the summer vegetables are still around and should be for a few more weeks.

The great star of the summer in my kitchen this year is eggplant 🍆. We always eat a lot of eggplants in the summer, but this year it looks really like we are eating even more. Last week recipe was a great example but there is much more to do. And today I share with you another Japanese eggplant recipe, vegan this time, as simple as the previous one but with a different set of flavors.

Sautéed eggplants Japanese style

  • 2 Japanese eggplants
  • 1 aburage pad (thin fried tofu sheets)
  • 1 tsp of sesame seeds
  • 1tsp of soya sauce
  • 1tsp of cooking oil, I usually use olive oil no matter what but sunflower or rice oil are OK too

Wash the eggplants and dice them. In a pan set the cooking oil snd heat. When hot add the eggplant and cook at high heat while stirring often. Slice thinly the aburage. Add to the eggplants. Cook and stir until the eggplants are creamy. Add the sesame and soya sauce, stir and serve.

While the base is the same as the perfect eggplant recipe, the flavors are very different. I actually recommend to cook both and compare. It’s perfect to understand umami.

The perfect eggplants

Eggplants in Japan are really something, not just a vegetable but also a mean of transportation, together with cucumbers, for spirits that come to visit during the Obon period.

In Japanese traditional cooking they are often present and prepared in many ways with the other local and seasonal staples. I have introduced several recipe already, yet I surprise myself with new recipes every time I cook some. Recently I have been really into grilling them in the oven without any further complications, and dress them either western style with olive oil… or Japanese style with soya sauce and katsuobushi. I really love the simplicity of a dish that highlights the goodness of a few ingredients. So here is my recipe of the perfect eggplants Japanese style.

Perfect eggplants Japanese style

  • 2 Japanese eggplants per person
  • 1tsp of soya sauce per person
  • 1 large pinch of katsuobushi per person

Wash the eggplants, and cut them in half in the length. Grill them in the oven until they are soft and a bit golden on top. Take them out and let them cool down a bit. Cut each in 5-6 pieces (bite size), just before eating dress them in a plate, top with soya sauce and katsuobushi. Eat immediately.

Potato salad with Japanese flair

I often forget how much we love boiled potatoes. I always have the impression it takes longer to prepare than other ingredients and usually our carbs end up being either pasta, or rice, or a dough of any kind: a quiche, a pie, a stuffed bread etc… You can argue that making a quiche or stuff bread takes more time than boiling and peeling potatoes and you are absolutely right!!!!

So, once in a while I remember how much we love them and boil a few. And when the season of cucumber is at its peak I love to make potato salad.

One can think of so many variations of potato salad that two are never the same! Once thing that I really love is the mix boiled potatoes and hard boiled eggs, and since I had a lot of fresh green shiso leaves I decided to prepare a potato salad with Japanese flavors. It was simple and quick to prepare, nourishing and tasty. I highly recommend you try it!!!

Potato salad with Japanese flavors (2 servings as one plate dish)

  • 8 potatoes (ping pong ball size)
  • 1 Japanese cucumber
  • 2 eggs
  • 5 leaves of shiso
  • 1tsp of soya sauce
  • 2tbs of olive oil

Boil the potatoes, and the eggs. Once cool peel the potatoes and cut in two or four. Peel the eggs and chop them. Wash and slice thinly the cucumber. Wash and chisel the shiso leaves. In a bowl put everything, add the olive oil and the soya sauce. Stir well and enjoy!

Cucumber 🥒 love

If you like cucumbers you surely like even better Japanese cucumbers. They are tiny, crunchy, juicy, with much less seeds. Chilled they are perfect for the summer. Slightly pickled or not we love them and eat some every day in the hottest season. They are good just cut and dipped in miso for a very rapid snack, or prepared in light pickling with salt or with umezu 梅酢. You can find many of my recipes including cucumber here. But today I came up with a new idea, of a simple cucumber salad, with Japanese flavors. And it is so simple that t is going to be a new summer favorite.

Summer cucumber salad

  • 1 Japanese cucumber
  • 2 myoga (Japanese ginger)
  • 1tsp of umezu (otherwise a pinch of salt and 5 drops of soya sauce)

Wash and pat dry the cucumber. Slice it thinly. Put in a bowl add the umezu and stir with the hand. Wait 5 minutes, in the meantime, wash and chop thinly the myoga. Gently press the cucumber with the hand and remove the juice. Add the myoga and stir. Serve chilled and enjoy!

Ready to eat!

Proudly powered by WordPress | Theme: Baskerville 2 by Anders Noren.

Up ↑

Verified by MonsterInsights