Miso, again…

Making miso every winter is now a tradition. Our friend S. prepares everything for the event and we gather together for a couple of hours to chitchat and squeeze soya beans. Well, for non Japanese people or not used to Japanese cuisine, miso may be a rather intriguing ingredient and not so easy to use except in the traditional miso soup, and even then, using fresh miso in a soup may be a bit challenging when not used to. But the truth is that miso is quite versatile. We easily eat 2or 3kg of miso every year at home! You can see my past posts about miso here, but let me summarize some of the things you can do with miso again.
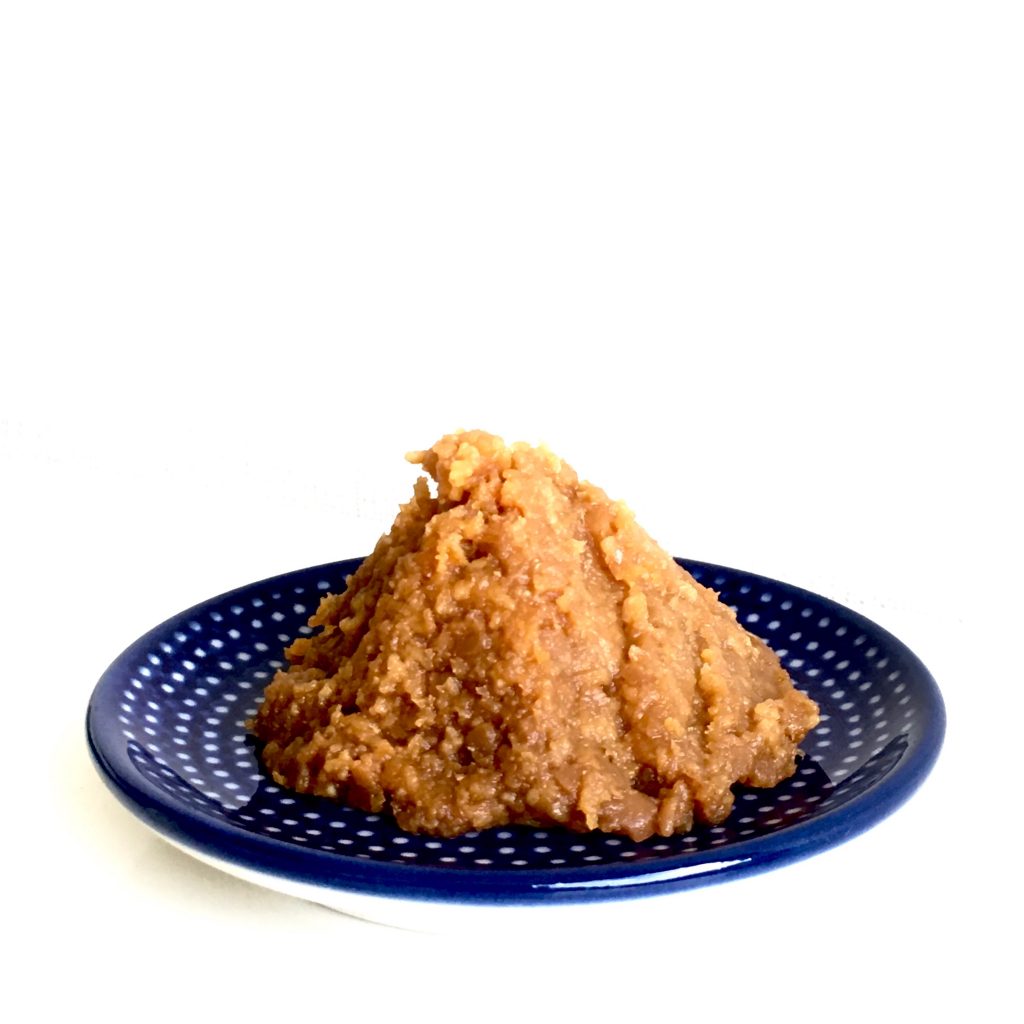
2019 miso

Miso can be used in soup, dips, to pickle vegetables and flowers, in marinade for fish, a spread on rice balls, to replace butter in pie crust, to replace cream in quiche flan, just to give a creamy texture to a sauce, and in many other places I am forgetting!

Today two super simple recipes with miso: in pie crust and in spread. Both are very straightforward. Let’s start with spread, a classic in Japanese cuisine: yakionigiri. You need just some plain white Japanese rice and a two tea spoon of miso per serving of rice. Cook the rice to obtain a sticky japanese classic rice. Prepare a sheet of cooking paper. Wash your hand under cold water and don’t dry them. Take half a serving of rice in your hand and form a ball (if your sensitive to heat let it cool down before doing that, you may burn your palms). Put the ball on the cooking paper. Gently flatten it by pressing with your palm. Spread one tea spoon of miso on top. Put under the grill until the miso starts darkening. Eat right away.
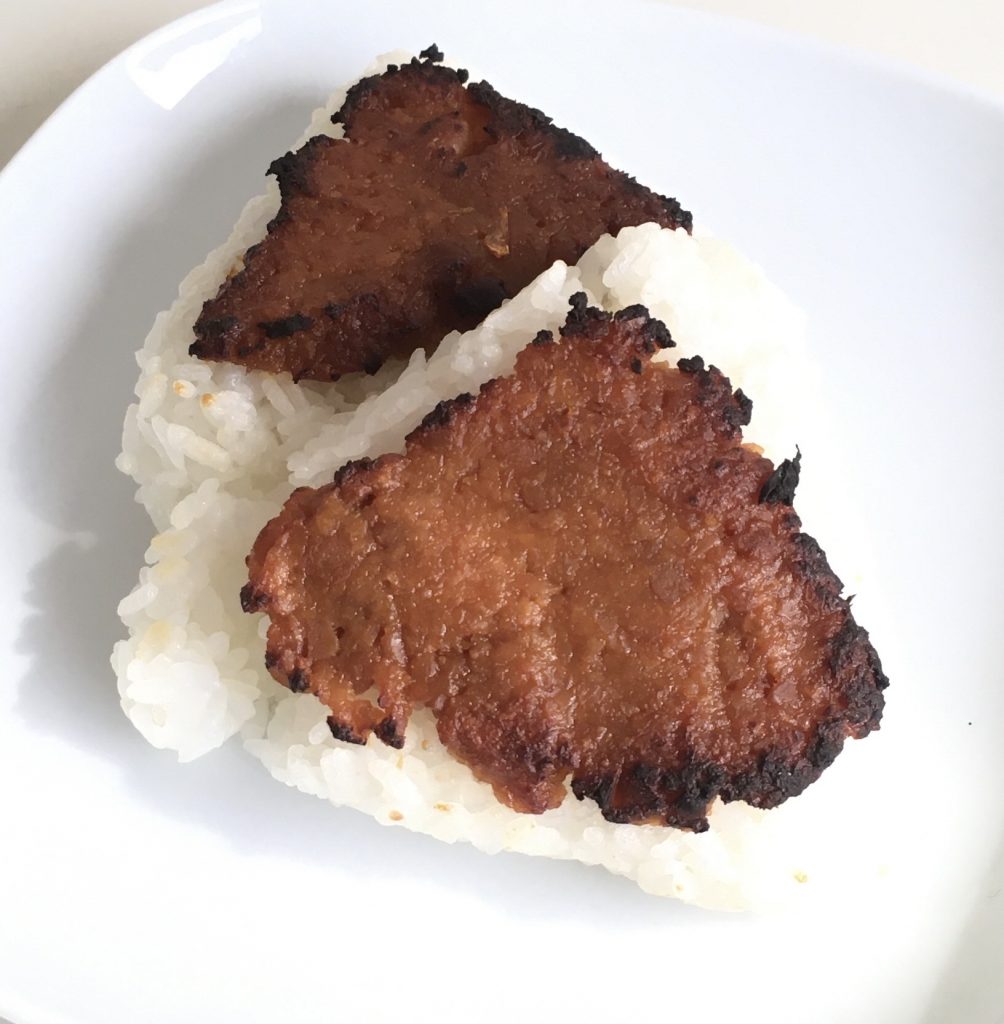
2 miso yakionigiri

The second recipe is just to replace butter in a pie crust by miso. This changes of course the pie crust consistency to a more crispy on the edges and chewy on the bottom, with the characteristic flavor of miso. You can make quiche with it (vegetables such as spinach, broccoli, canola… are perfect), or tiny sesame crackers.., or be creative and use it for a chocolate tart!!!
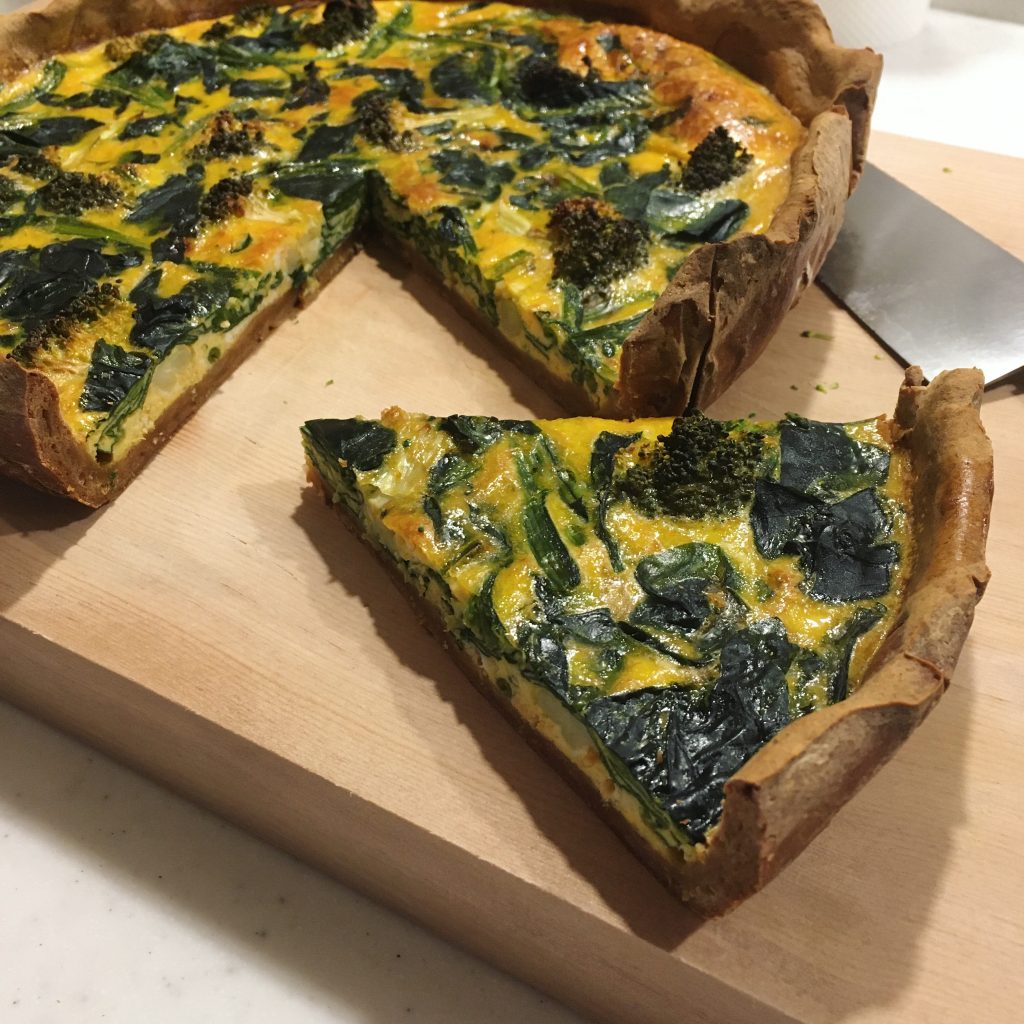
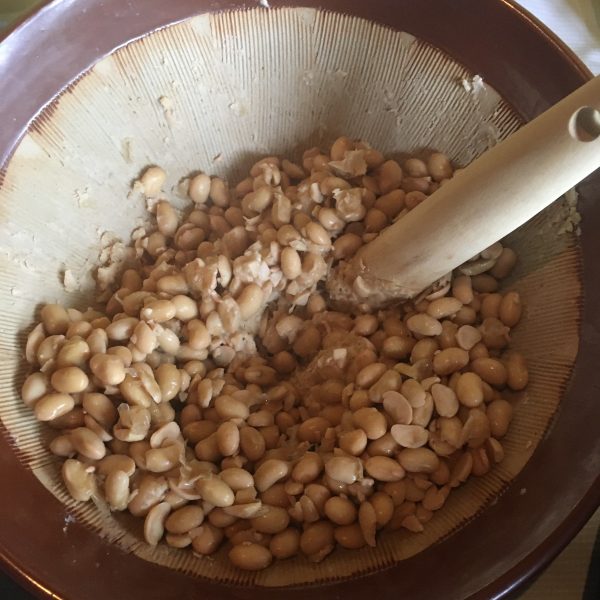
Miso pie crust for a broccoli and spinach quiche

Romanesco

As you may have discovered along my posts and even more on Instagram, I am a big fan of all cruciferous vegetables. I couldn’t name my favorite!!

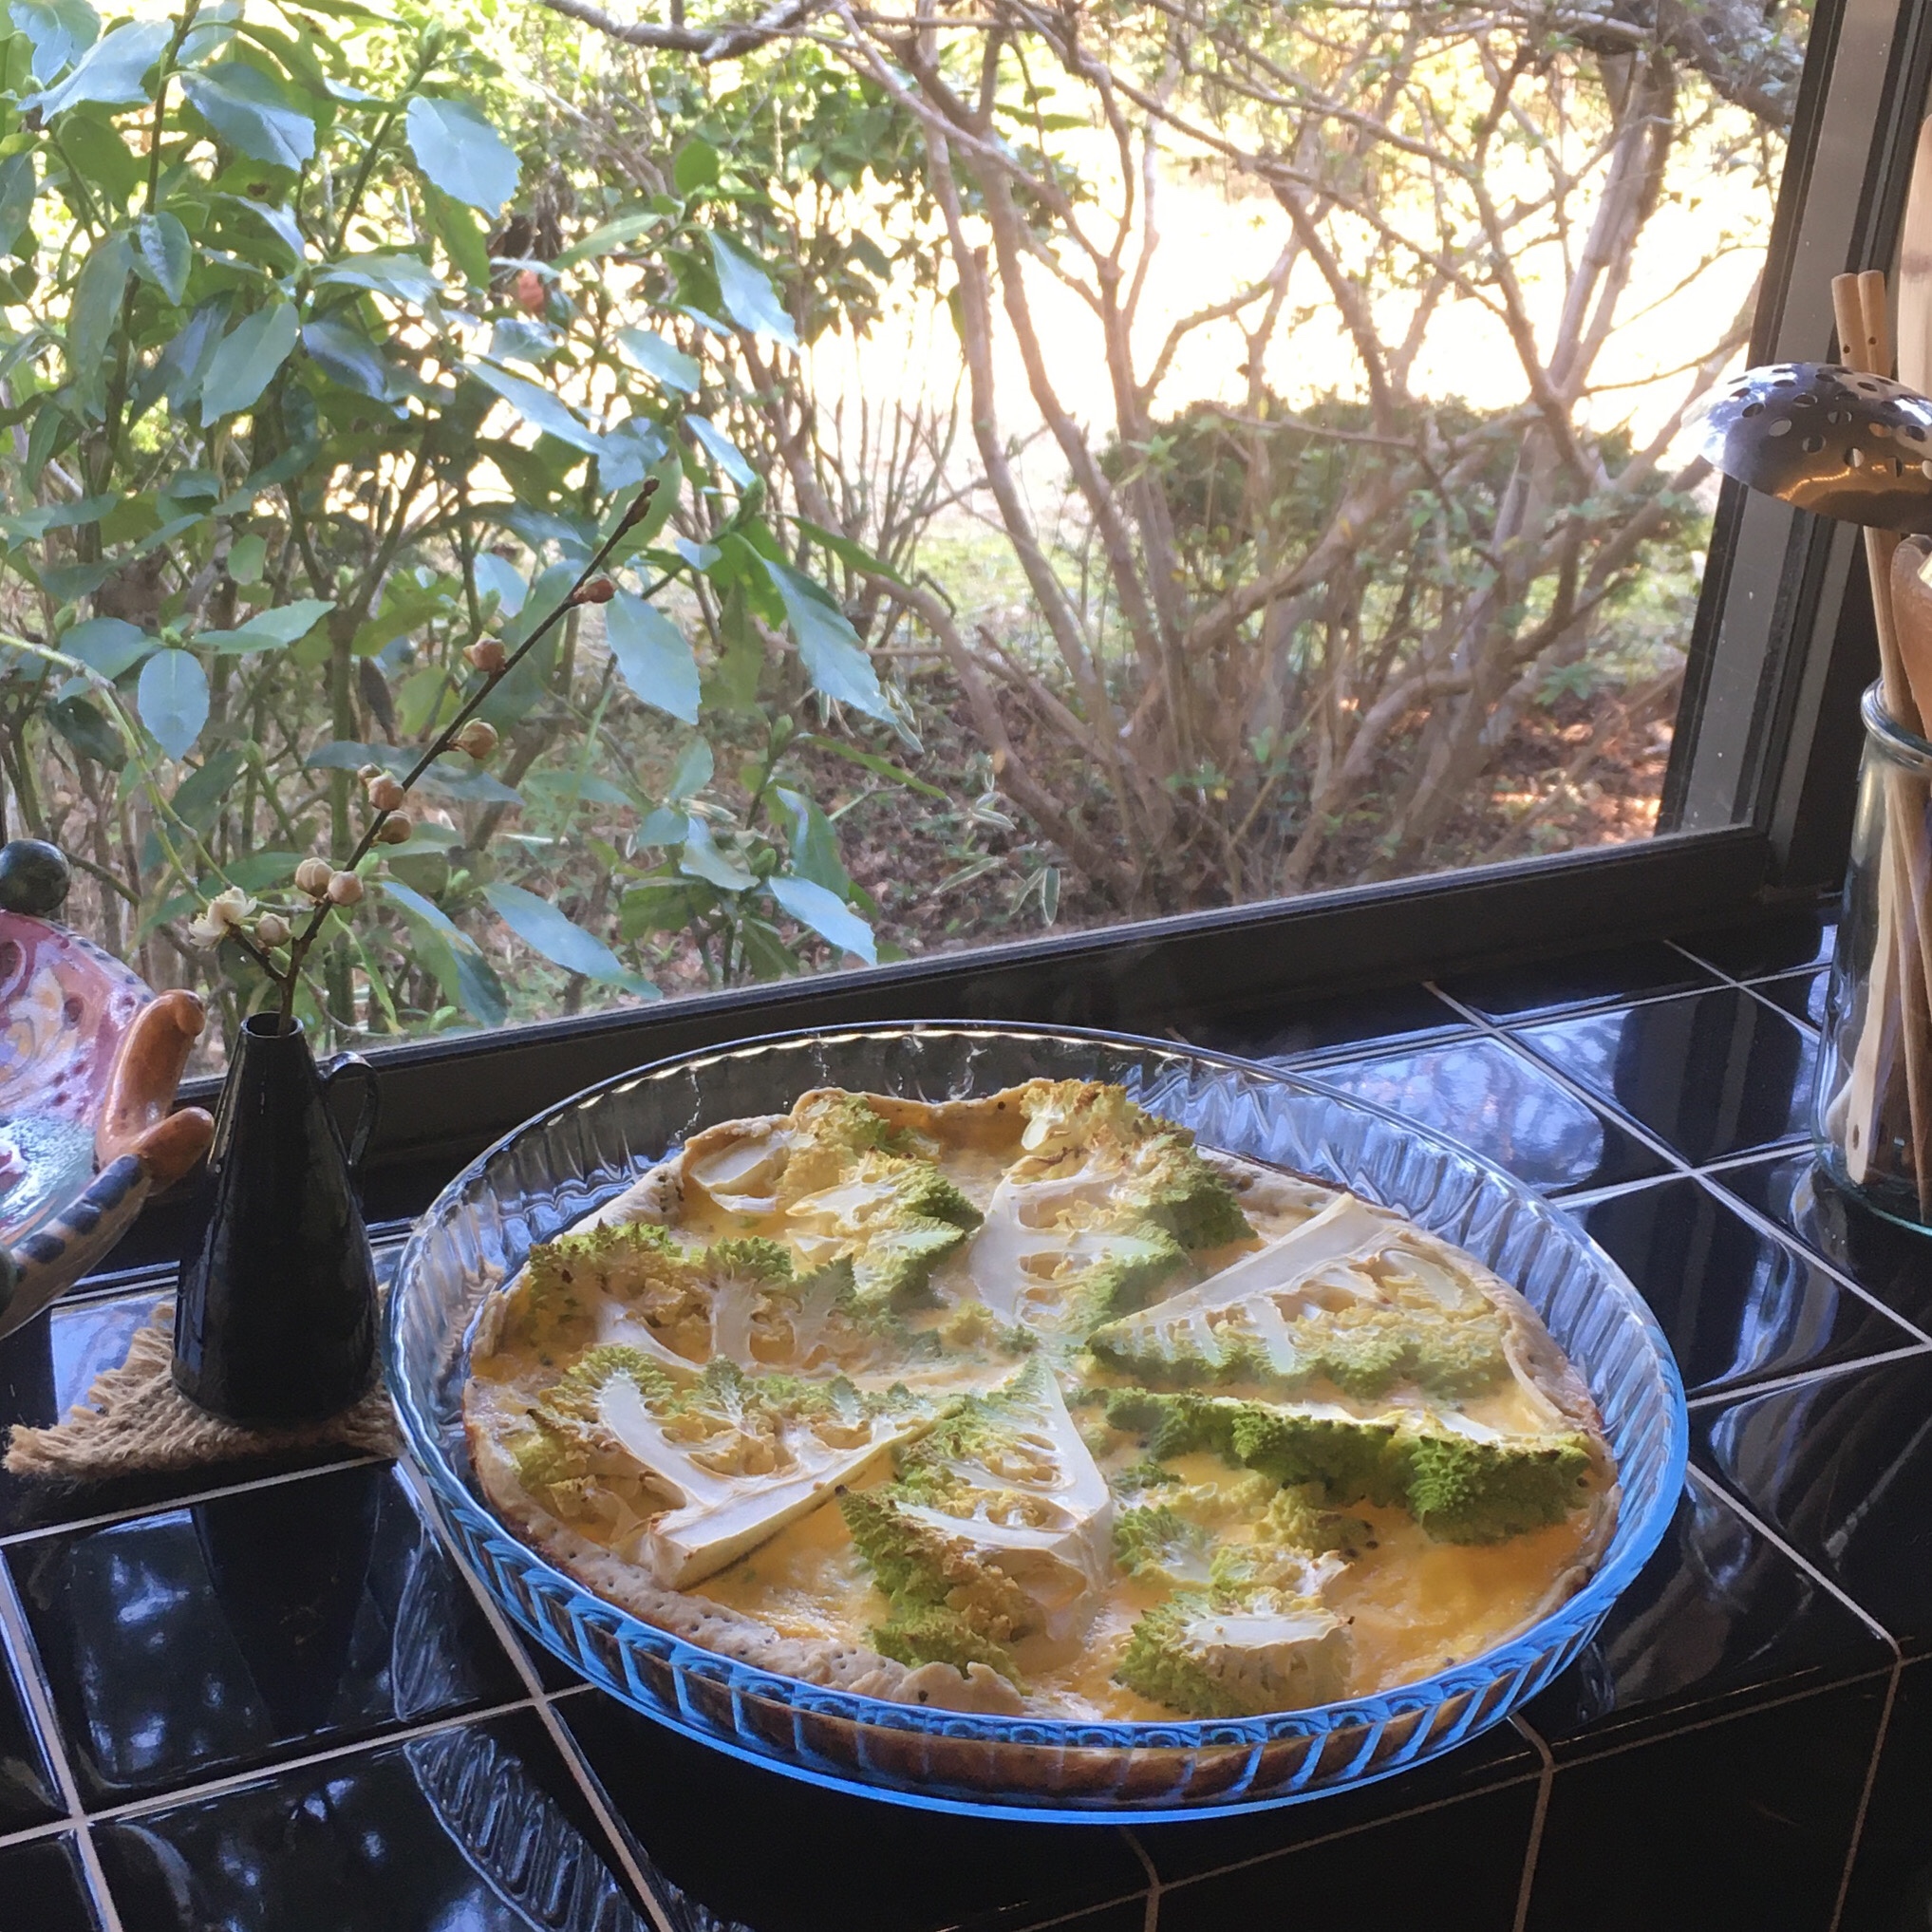
But when it comes to prepare romanesco cabbage I always feel sorry to crush the beautiful fractals. What’s the point of buying a romanesco to make a soup or a gratin out of it… a cauliflower would have been as good, even better as the color is nicer. So usually my romanesco end up boiled or steamed or slightly sautéed… but this week I was bored with this and wanted something that changes a bit. So I made a quiche with a special pie crust: very thin and crunchy, with garam masala and mustard seeds. The crunchiness was perfect with the softness of the baked romanesco just sliced and the egg flan. The slight spicy flavor of the crust was really nice and warming and we could still enjoyed the beautiful fractals.

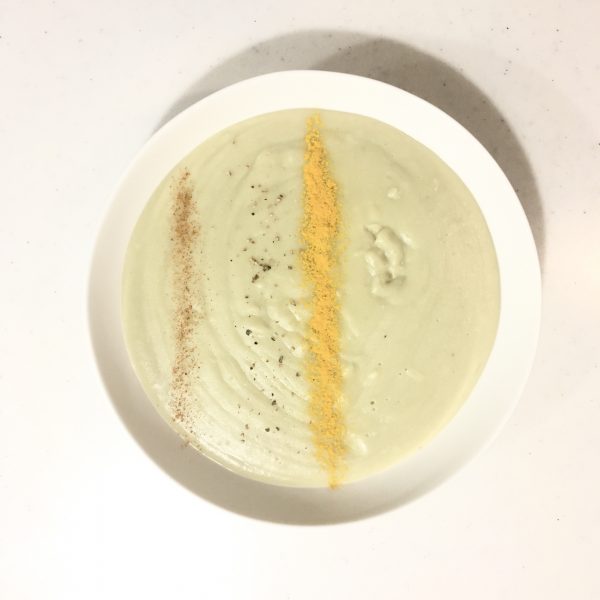
One other thing I cooked then with the remaining half, was a soup… I could resist. I boiled the romanesco (but kept 2 slices for decor that I simply blanched to soften). Then crushed it with a fork… sorry beautiful fractals… Made a roux with a bit of butter and flower, then a bit if milk and then continued on with the cooking water. Once I obtained a light creamy texture I added the boiled cabbage and stirred well. Made some croutons and served.

What is your favorite romanesco recipe???

Pan fried ravioli

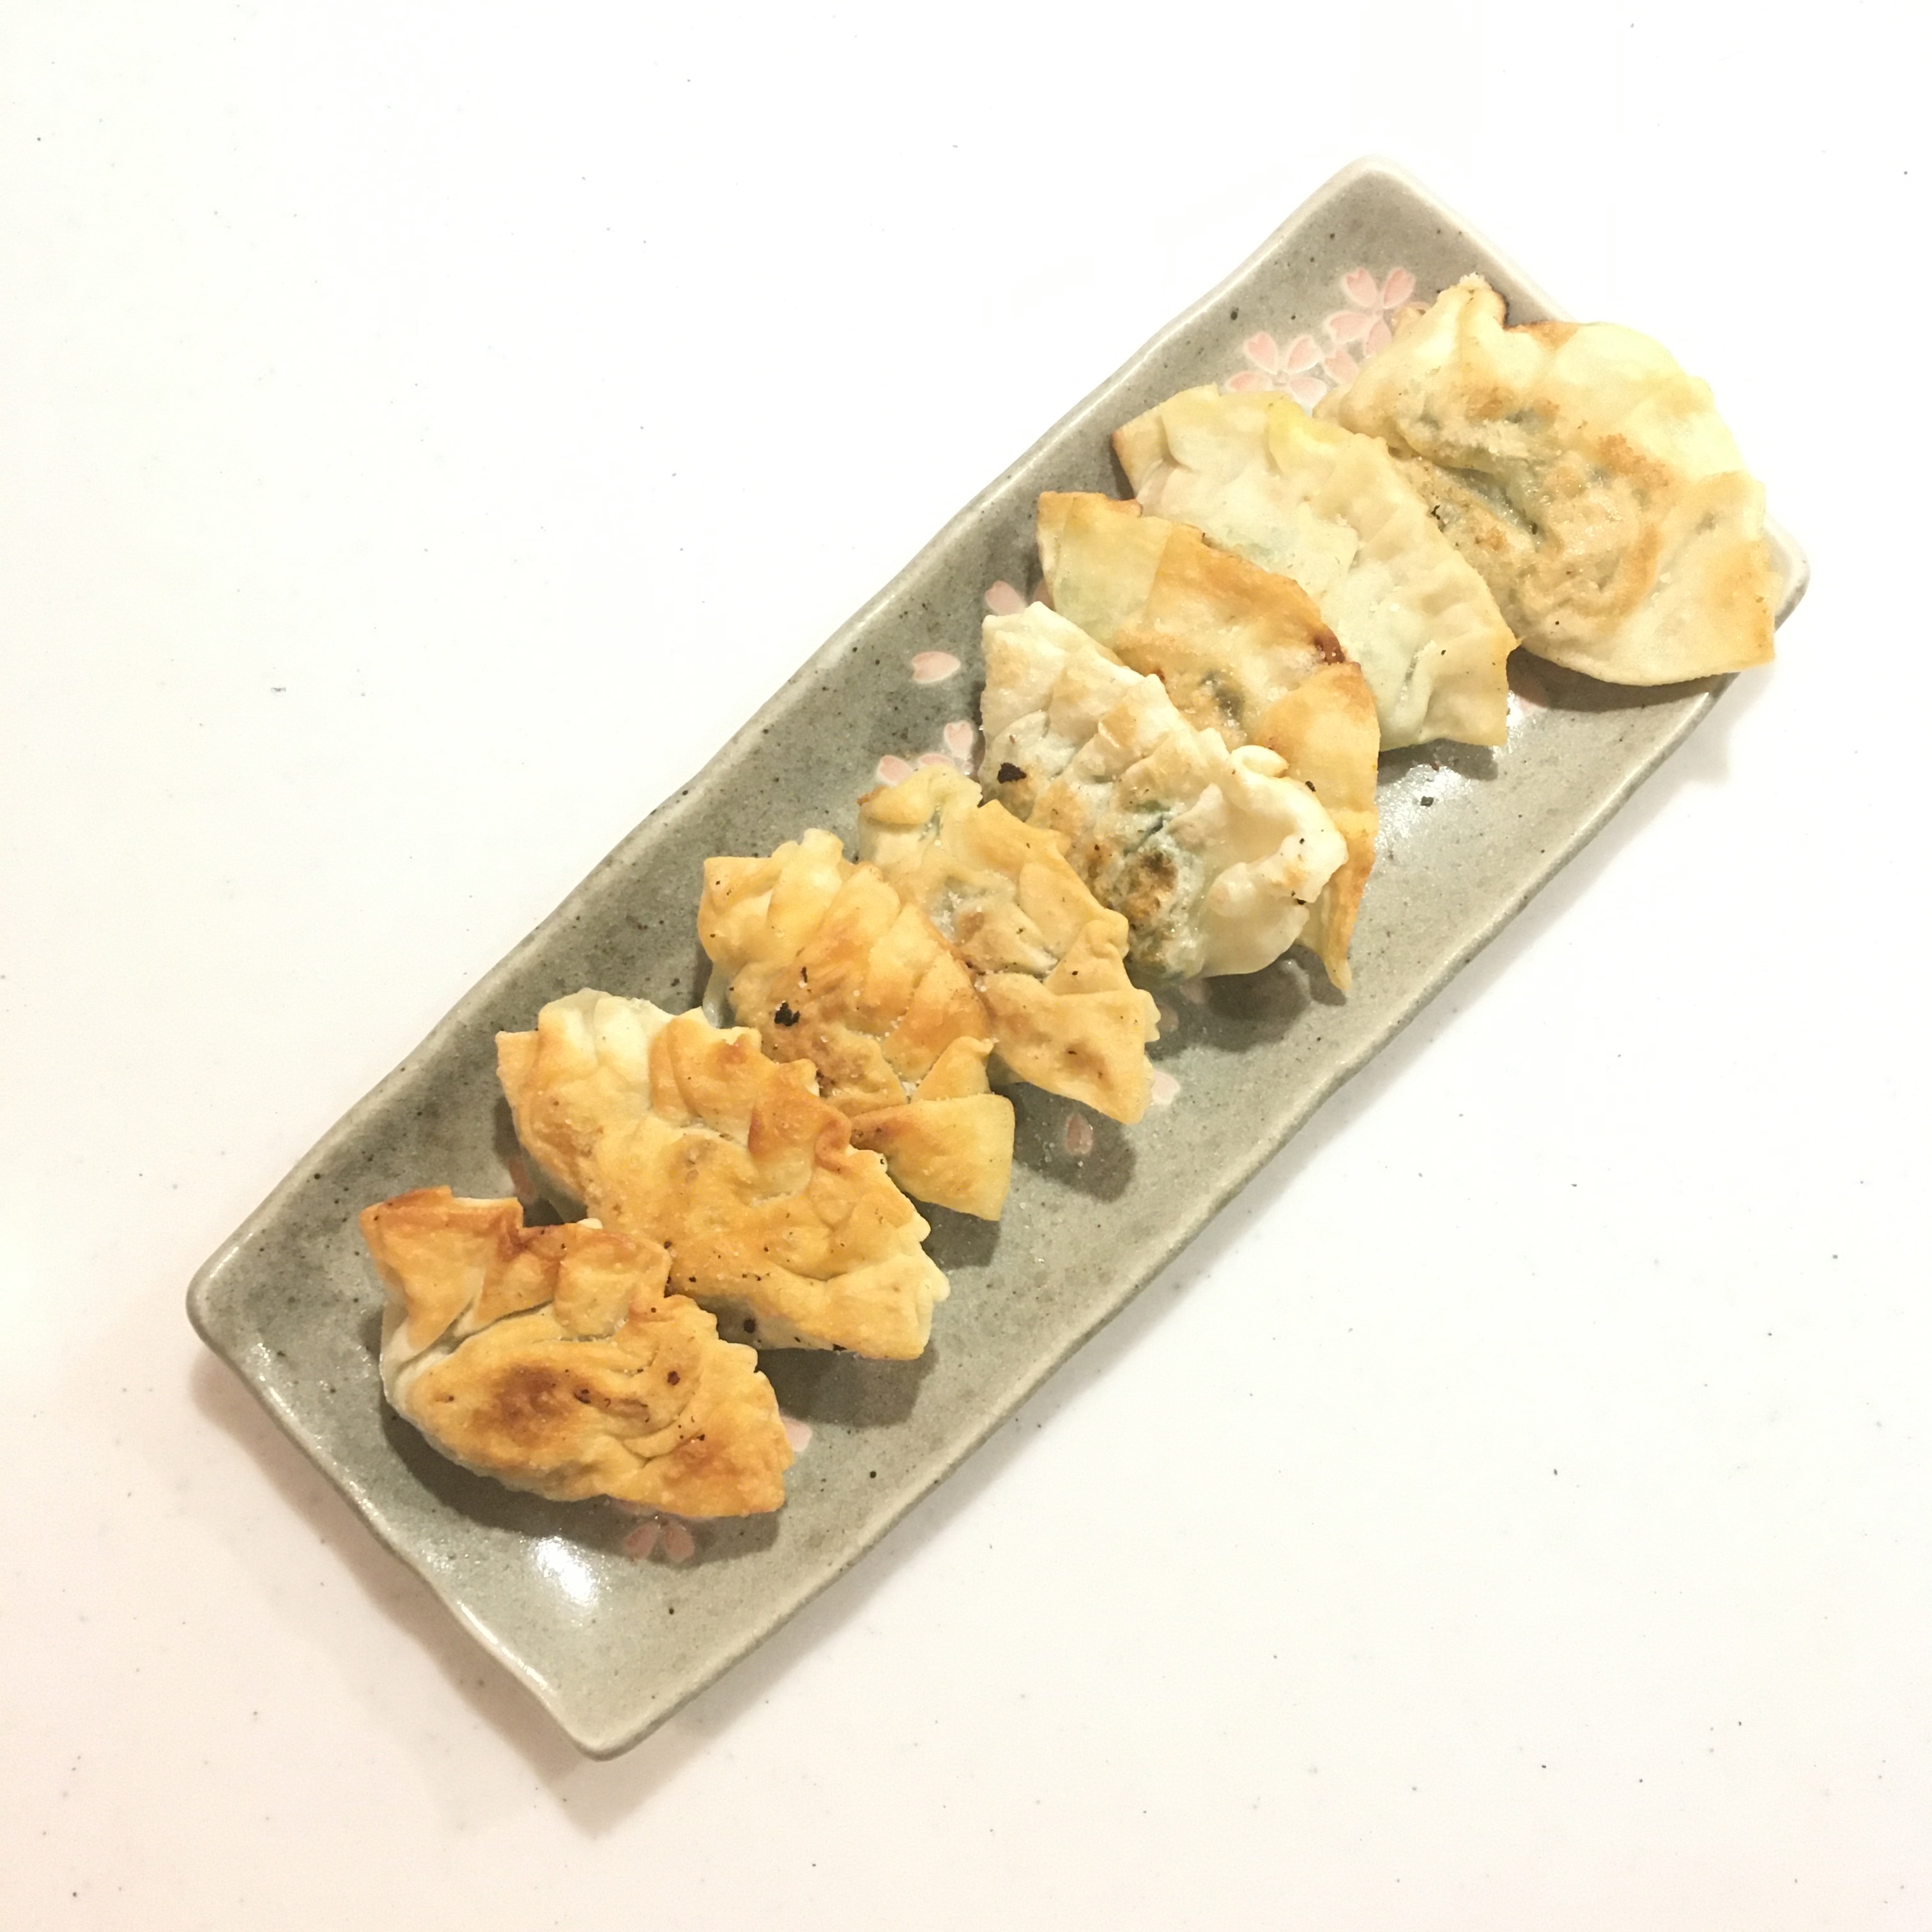
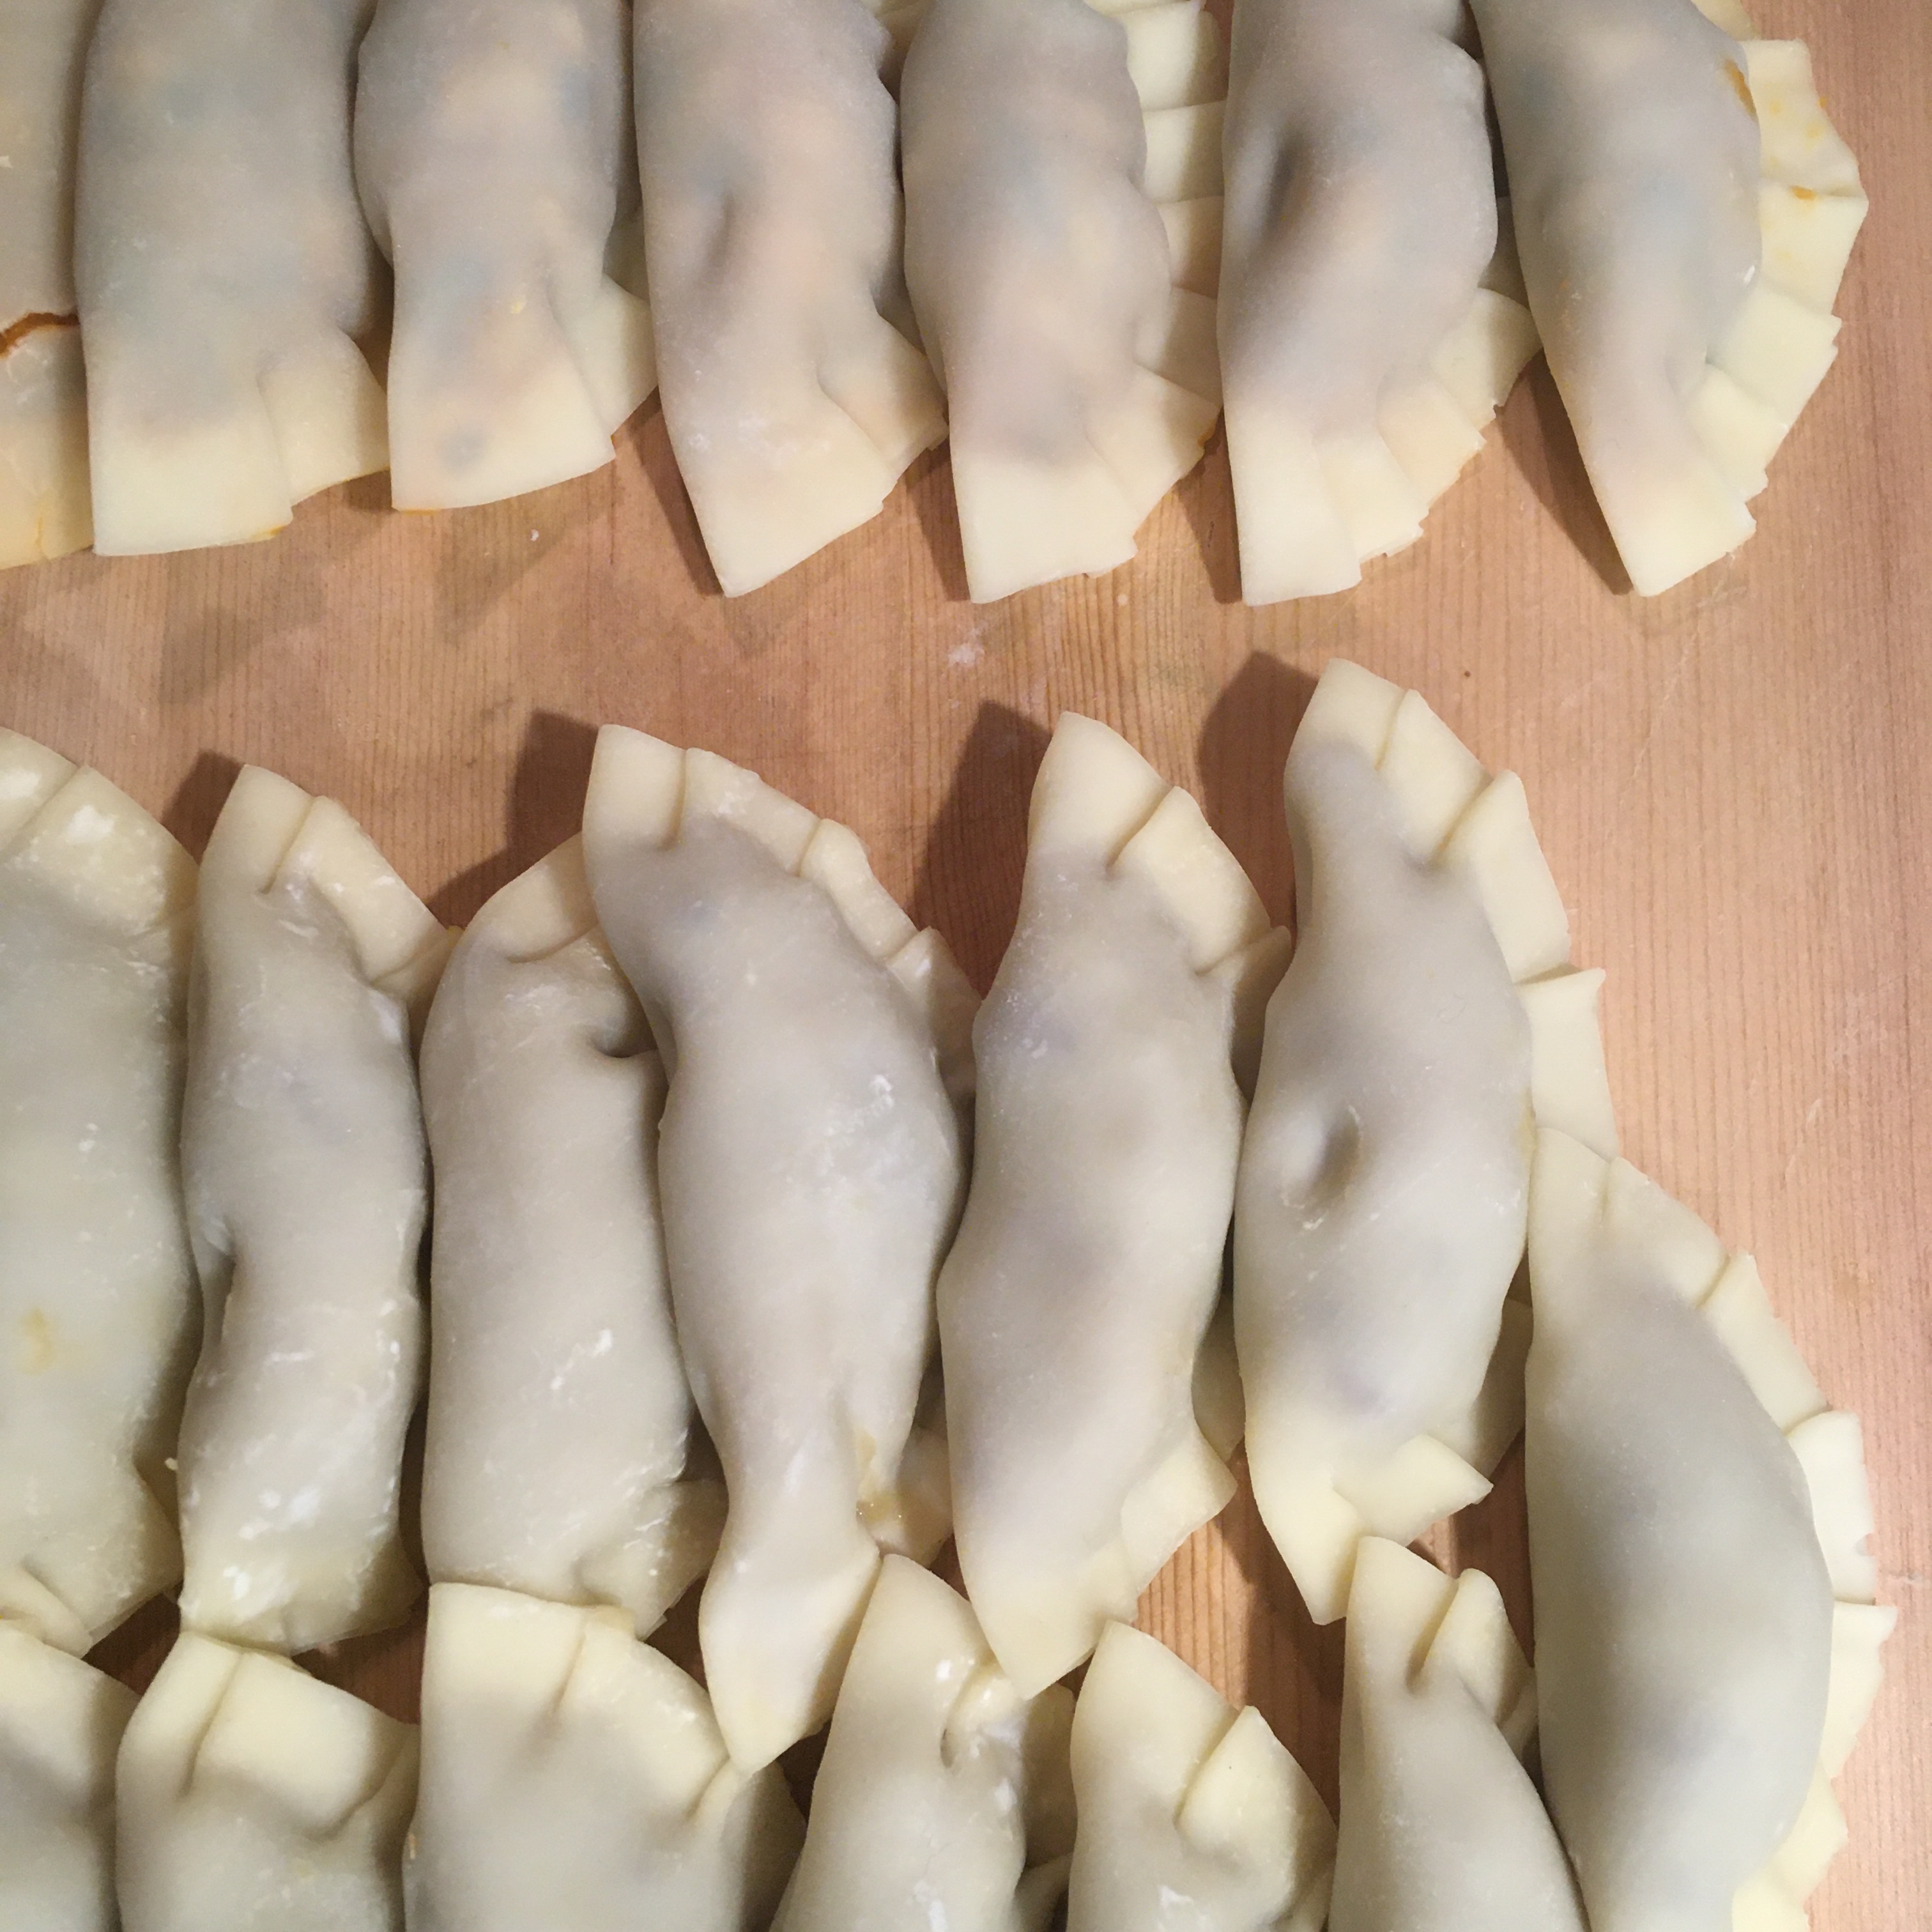
In an attempt to practice my gyoza dough making and rolling I decided to make some pan fried ravioli using a vegan dough recipe which is only water and flour, and therefore the recipe of gyoza skin, and filled with Japanese salted salmon, spinach and ricotta. So I found it hard to know how to call them… these are not strictly speaking ravioli, nor gyoza either… but a kind of mixture of both. Well what is important is that they were really delicious and it doesn’t take much time to make them and it was a good rehearsal for making gyoza soon. Indeed, ravioli are made from a flat sheet of pasta, but for gyoza they are rolled one by one, so I needed a bit of practice to remind myself how much dough is needed to roll one skin. All you need is just a nice top well dusted to roll them quickly. So here is my recipe…

Pan fried ravioli (for 16-20 pieces)

For the dough:

– 100g of flour

– water

– a pinch of salt

– more flour for dusting

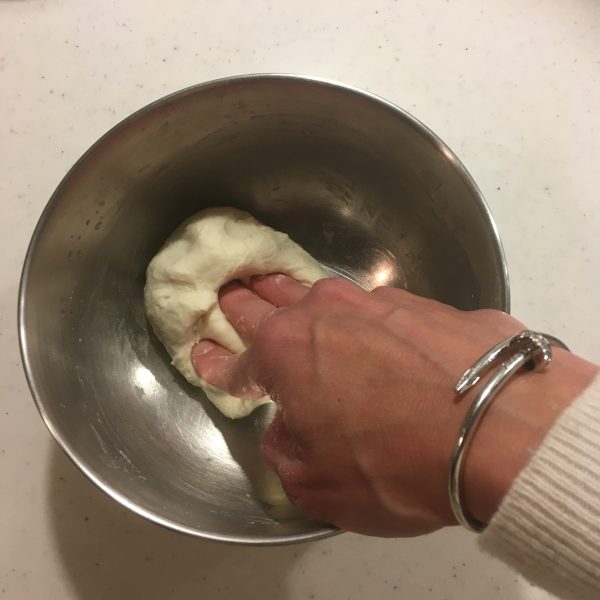
In a bowl mix the flour and salt, add water bit by bit while kneading. Stop when the dough is soft and smooth. Leave to rest for an hour if you have time.

Filling:

Choose what pleases you, I used Japanese salted salmon, spinach and ricotta. I boiled and drained very well the spinach. Add the salmon, and a bit of ricotta. As the salmon is already quite salty, I used nothing but a bit of black pepper.

Ok, then! Now the fun can start!!!

You need a clean top or a wide wooden cutting board. Dust it generously. Pick a 1cm diameter ball of dough and roll it with a rolling pin to the thinness and diameter you like. I like thin, but not too thin as filling is then a pain. So I rolled to about 8cm diameter. Then filled and closed the ravioli. When I made enough pieces to fill a frypan I heated it, and greased it with olive oil. Then throw the ravioli. I cooked at medium heat until golden, flipping them regularly. That’s it!

Why I love Instagram… inspiration…

There are few social media I really like or use… I joined facebook a longtime ago to try and as an alternative to my first blog, but never get too convinced except that my professional community is very active there and it helps to get the hot news quickly… Twitter never attracted me, and I only created an account when forced at work as part of my role of publicity committee member… this account is now closed… Pinterest was great when we were refurbishing our house to make idea boards… until the next house (maybe sooner than I think!) I probably won’t use it anymore… The rest… not even tried… my bad… but only Instagram won my heart and I have a steady instagrammer for now a little more than 7 years. Posting 1 picture a day has been my routine since I opened my account. But more than sharing my daily life and food recipes, it has been a tremendous source of inspiration. I love to browse the pictures of seasonal food that echoed to what I have in my fridge or in the garden; from the picture to guess how it could prepared, or plated and how I could recreate or adjust it to our liking… sometimes it just creates a craving… seeing 3 or 4 pictures in a row of beautifully golden quiche, or replete ravioli and dinner is all decided! Sometimes it takes more time to mature and after I thought it over for a few days I test something… That’s how I tested handkerchief pasta, stuffed bread etc…

Yesterday while going to work, after my usual morning post I was scrolling down my IG feed and got captured by a sweet potato and coconut milk soup (don’t ask me which account… I can’t remember :()… and miracle, I just had a large sweet potato waiting to be cooked in the very bottom of my fridge and bought coconut cream the day before… stars were aligned! So what did I do when I came home last night????

I prepared a fragrant sweet potato soup, and here is the recipe, perfect for a cold day like we have right now in Tokyo.

Sweet potato & coconut fragrant soup (for two, as main dish)

– a large sweet potato

– 200ml of coconut cream

– a large pinch of salt

– 1tsp of turmeric

– 1/2tsp of chili powder

– 1/2tsp of ground black pepper

Peel and boil until very mushy the sweet potato in enough water. Add salt. In a blender add the potato and cover with the cooking water. Blend. Add the coconut cream and blend. If too thick add more of the cooking water. Move to a large pan, heat again and add the spices. Serve very very warm.

How do you get your inspiration for your new recipes? Does a picture only inspires you like me? Or do you prefer a full story/recipe?

Has anyone tested Feedpost or is a user??? I just realized and was surprised they ranked In Gentiane’s kitchen in their ranking of top 100 home cooking blogs!!! And I was wondering if I should also use it for further inspiration…

Noodles

Last time I made gyoza A. complained because I didn’t make the wrappers. And I totally agreed with him. The homemade ones are thiner, tastier and so simple to make that I kind of felt a bit ashamed of it… When I cook in the evening on week days I usually like to prepare things I am sure about and won’t mess because I am too busy to mess. So I felt I needed to practice dough making.

What does it have to do with noodles???

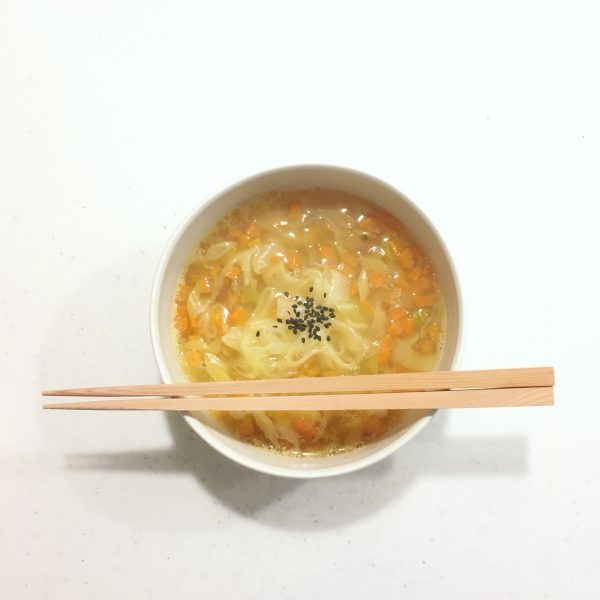
Well the gyoza wrappers and the noodles I made are basically the same recipe: flour and water… and it takes literally 5min to make the dough for each. And for the noodles just 2min to roll and cut them. Perfect to enhance a simple vegetables soup! So here is my recipe for a quick, simple, energizing and warming soup.

Noodles soup (1 serving)

– 1 carrot

– 1 leek

– a pinch of turmeric

– a pinch of chilly pepper

– 4-5 coriander seeds

– a pinch of sesame seeds

– a pinch of salt

– a bit of ground pepper

– 40g of flour

– water

In a pan with 500ml of water, add the carrot and leek cut in the shape you like. Add the spices and condiments. Bring to a boil. And keep boiling at low heat under cover.

In a small bowl mix the flour with a little of water to obtain a soft dough, silky not sticky. Knead a bit. Roll with a pin onto a floured top to a flat 1mm or less sheet. Cut 5mm wide noodles, add to the soup and boil while sometimes stirring for 5min.

Serve and eat while hot!!!

Have a good weekend!

Indian cooking

A while ago, one of my former student from India offered me a set of Indian spices… It took me a while to know what to do, and finally, upon recommendation of a Canadian friend who cooked for me an amazing Indian curry some years ago, I asked for Vij’s at Home: Relax, Honey: The Warmth and Ease of Indian Cooking as a xmas present. I browsed it several times, looking for inspiration, and was overwhelmed by the abundance of recipes I wanted to test, not knowing where to start. But when I saw beautiful cauliflowers at the farmers market on Saturday, I remembered that cauliflower recipe I saw and rush for one. We are lucky that in Chiba they also grow tomatoes that in winter are perfect for tomato sauce: large, very ripe and sweet.

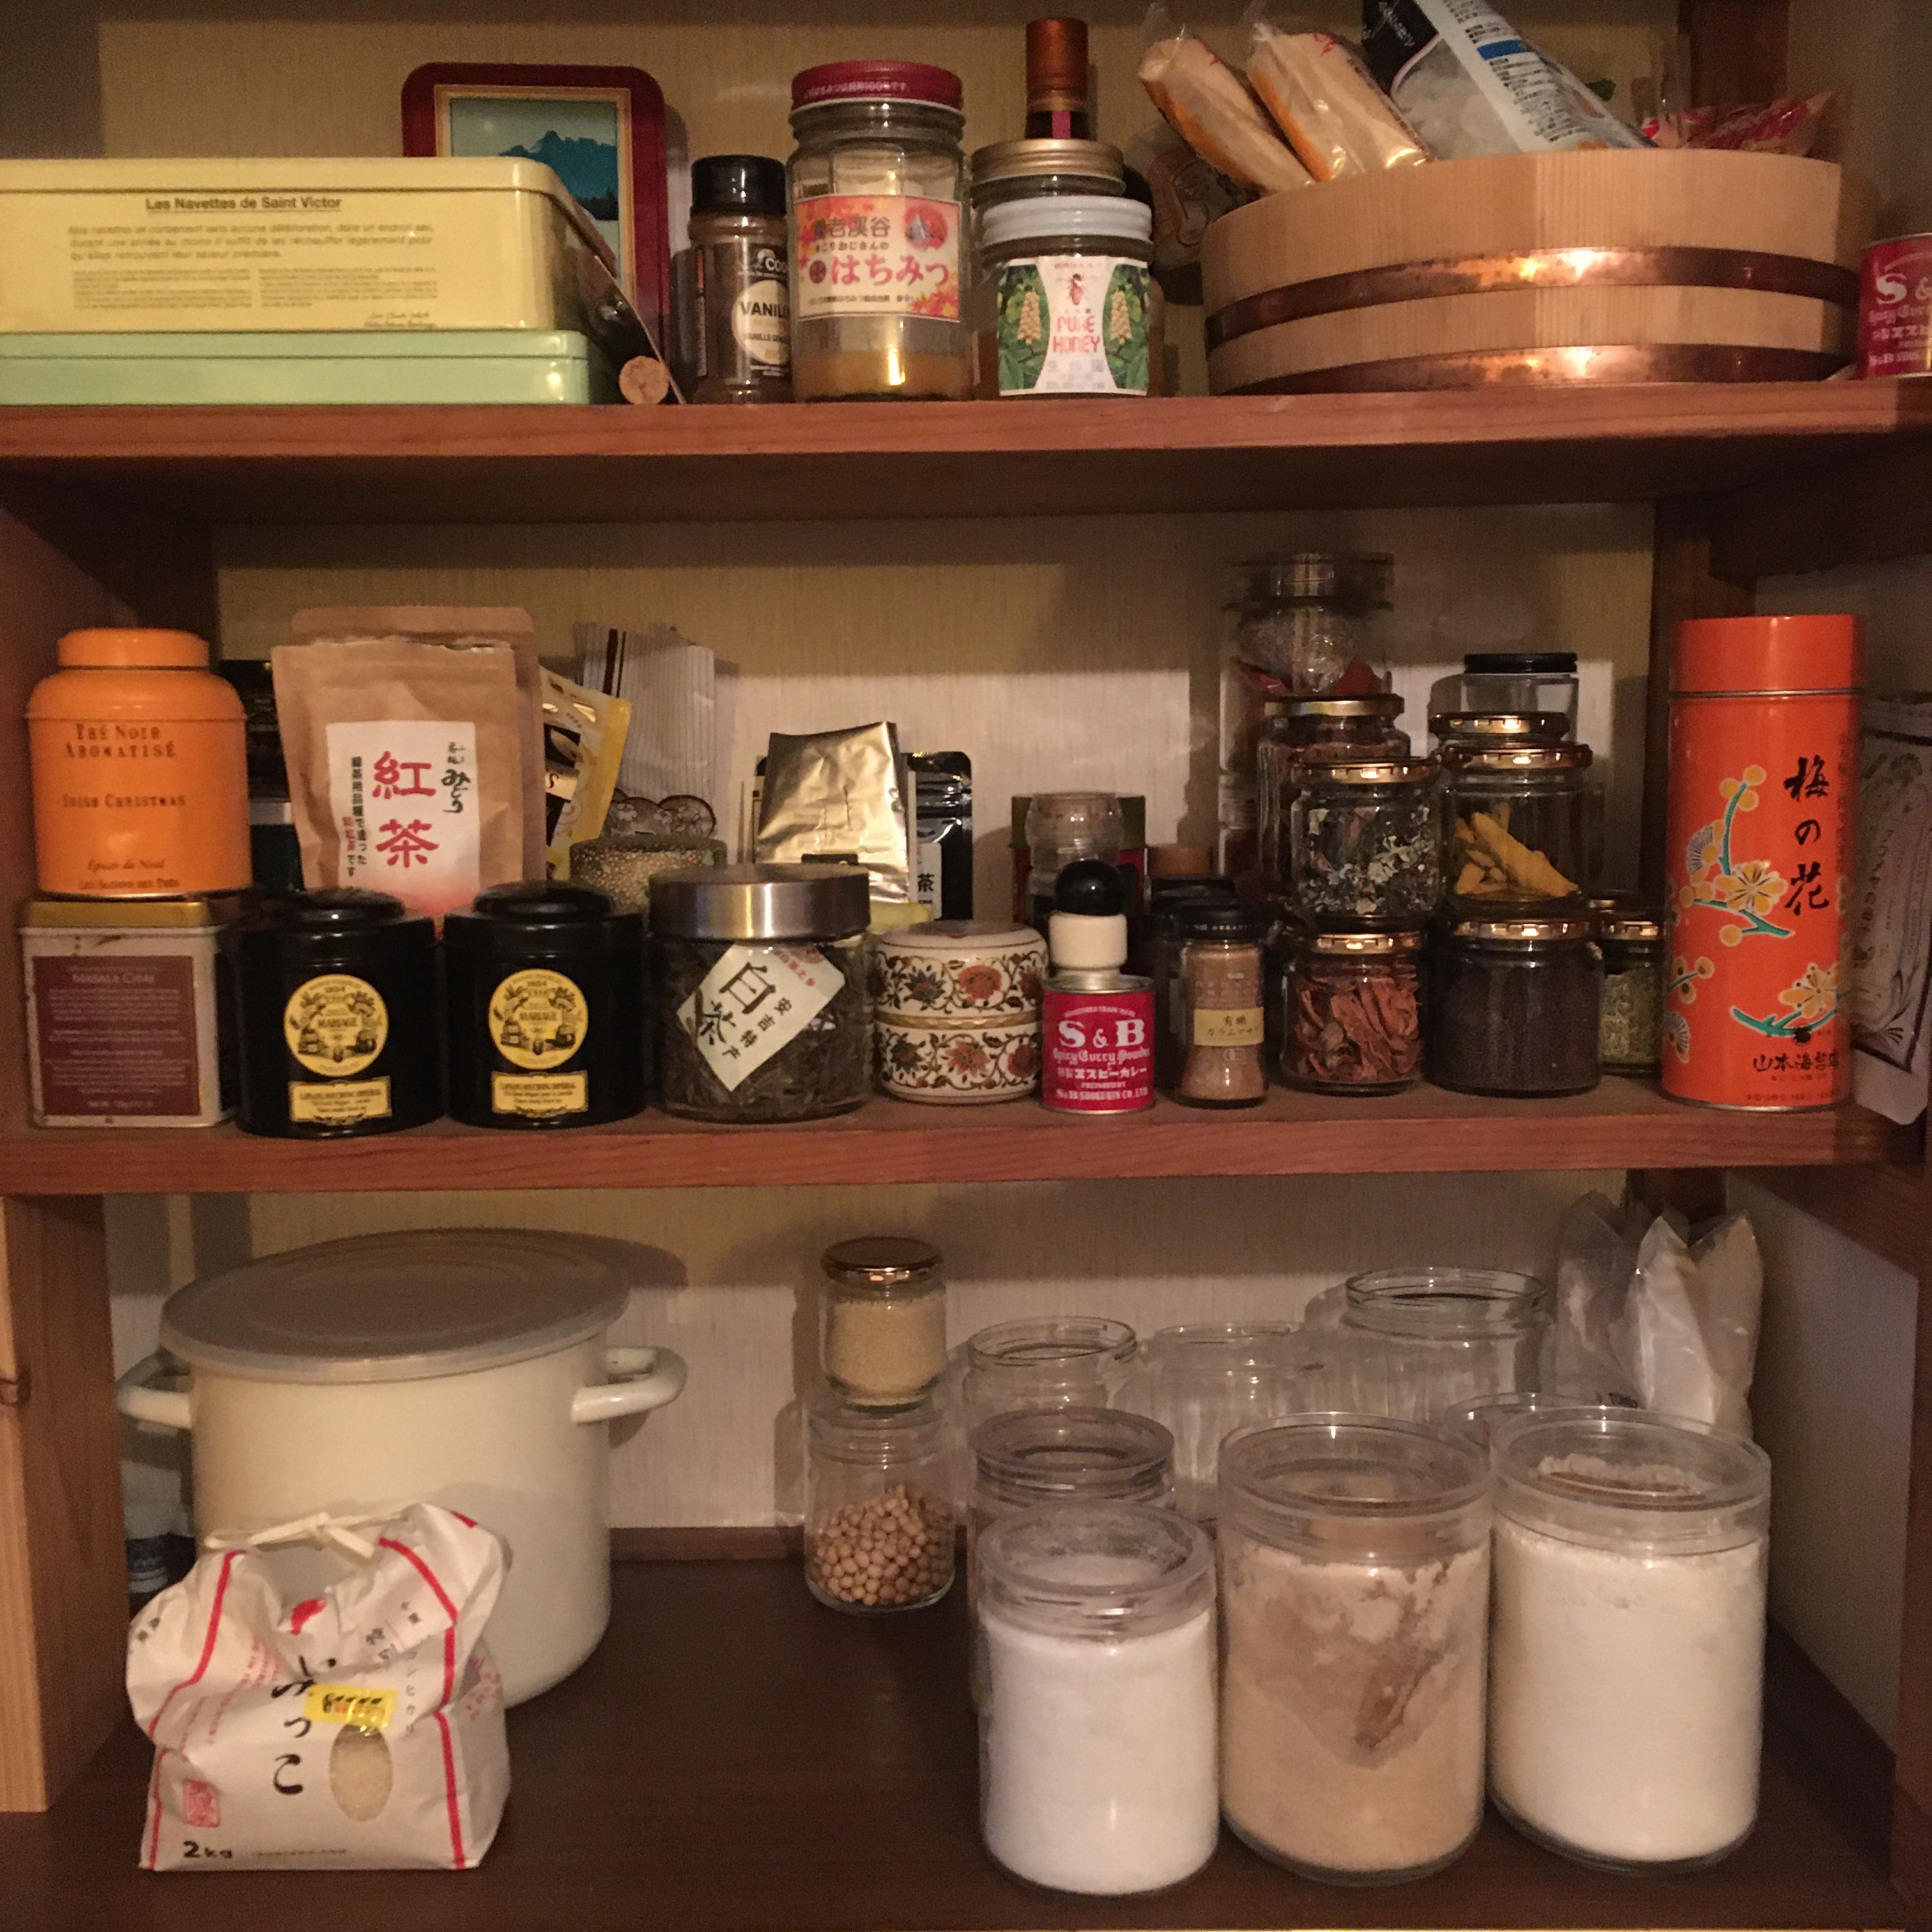
So back home in front of the pantry full of bins with so many spices I don’t know about yet… I started to cook following the recipe, more or less… oups I don’t have coriander seeds… nor fresh ginger…

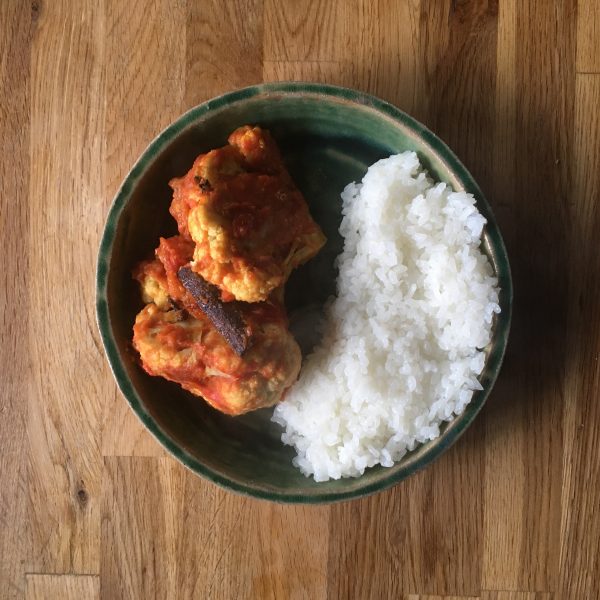
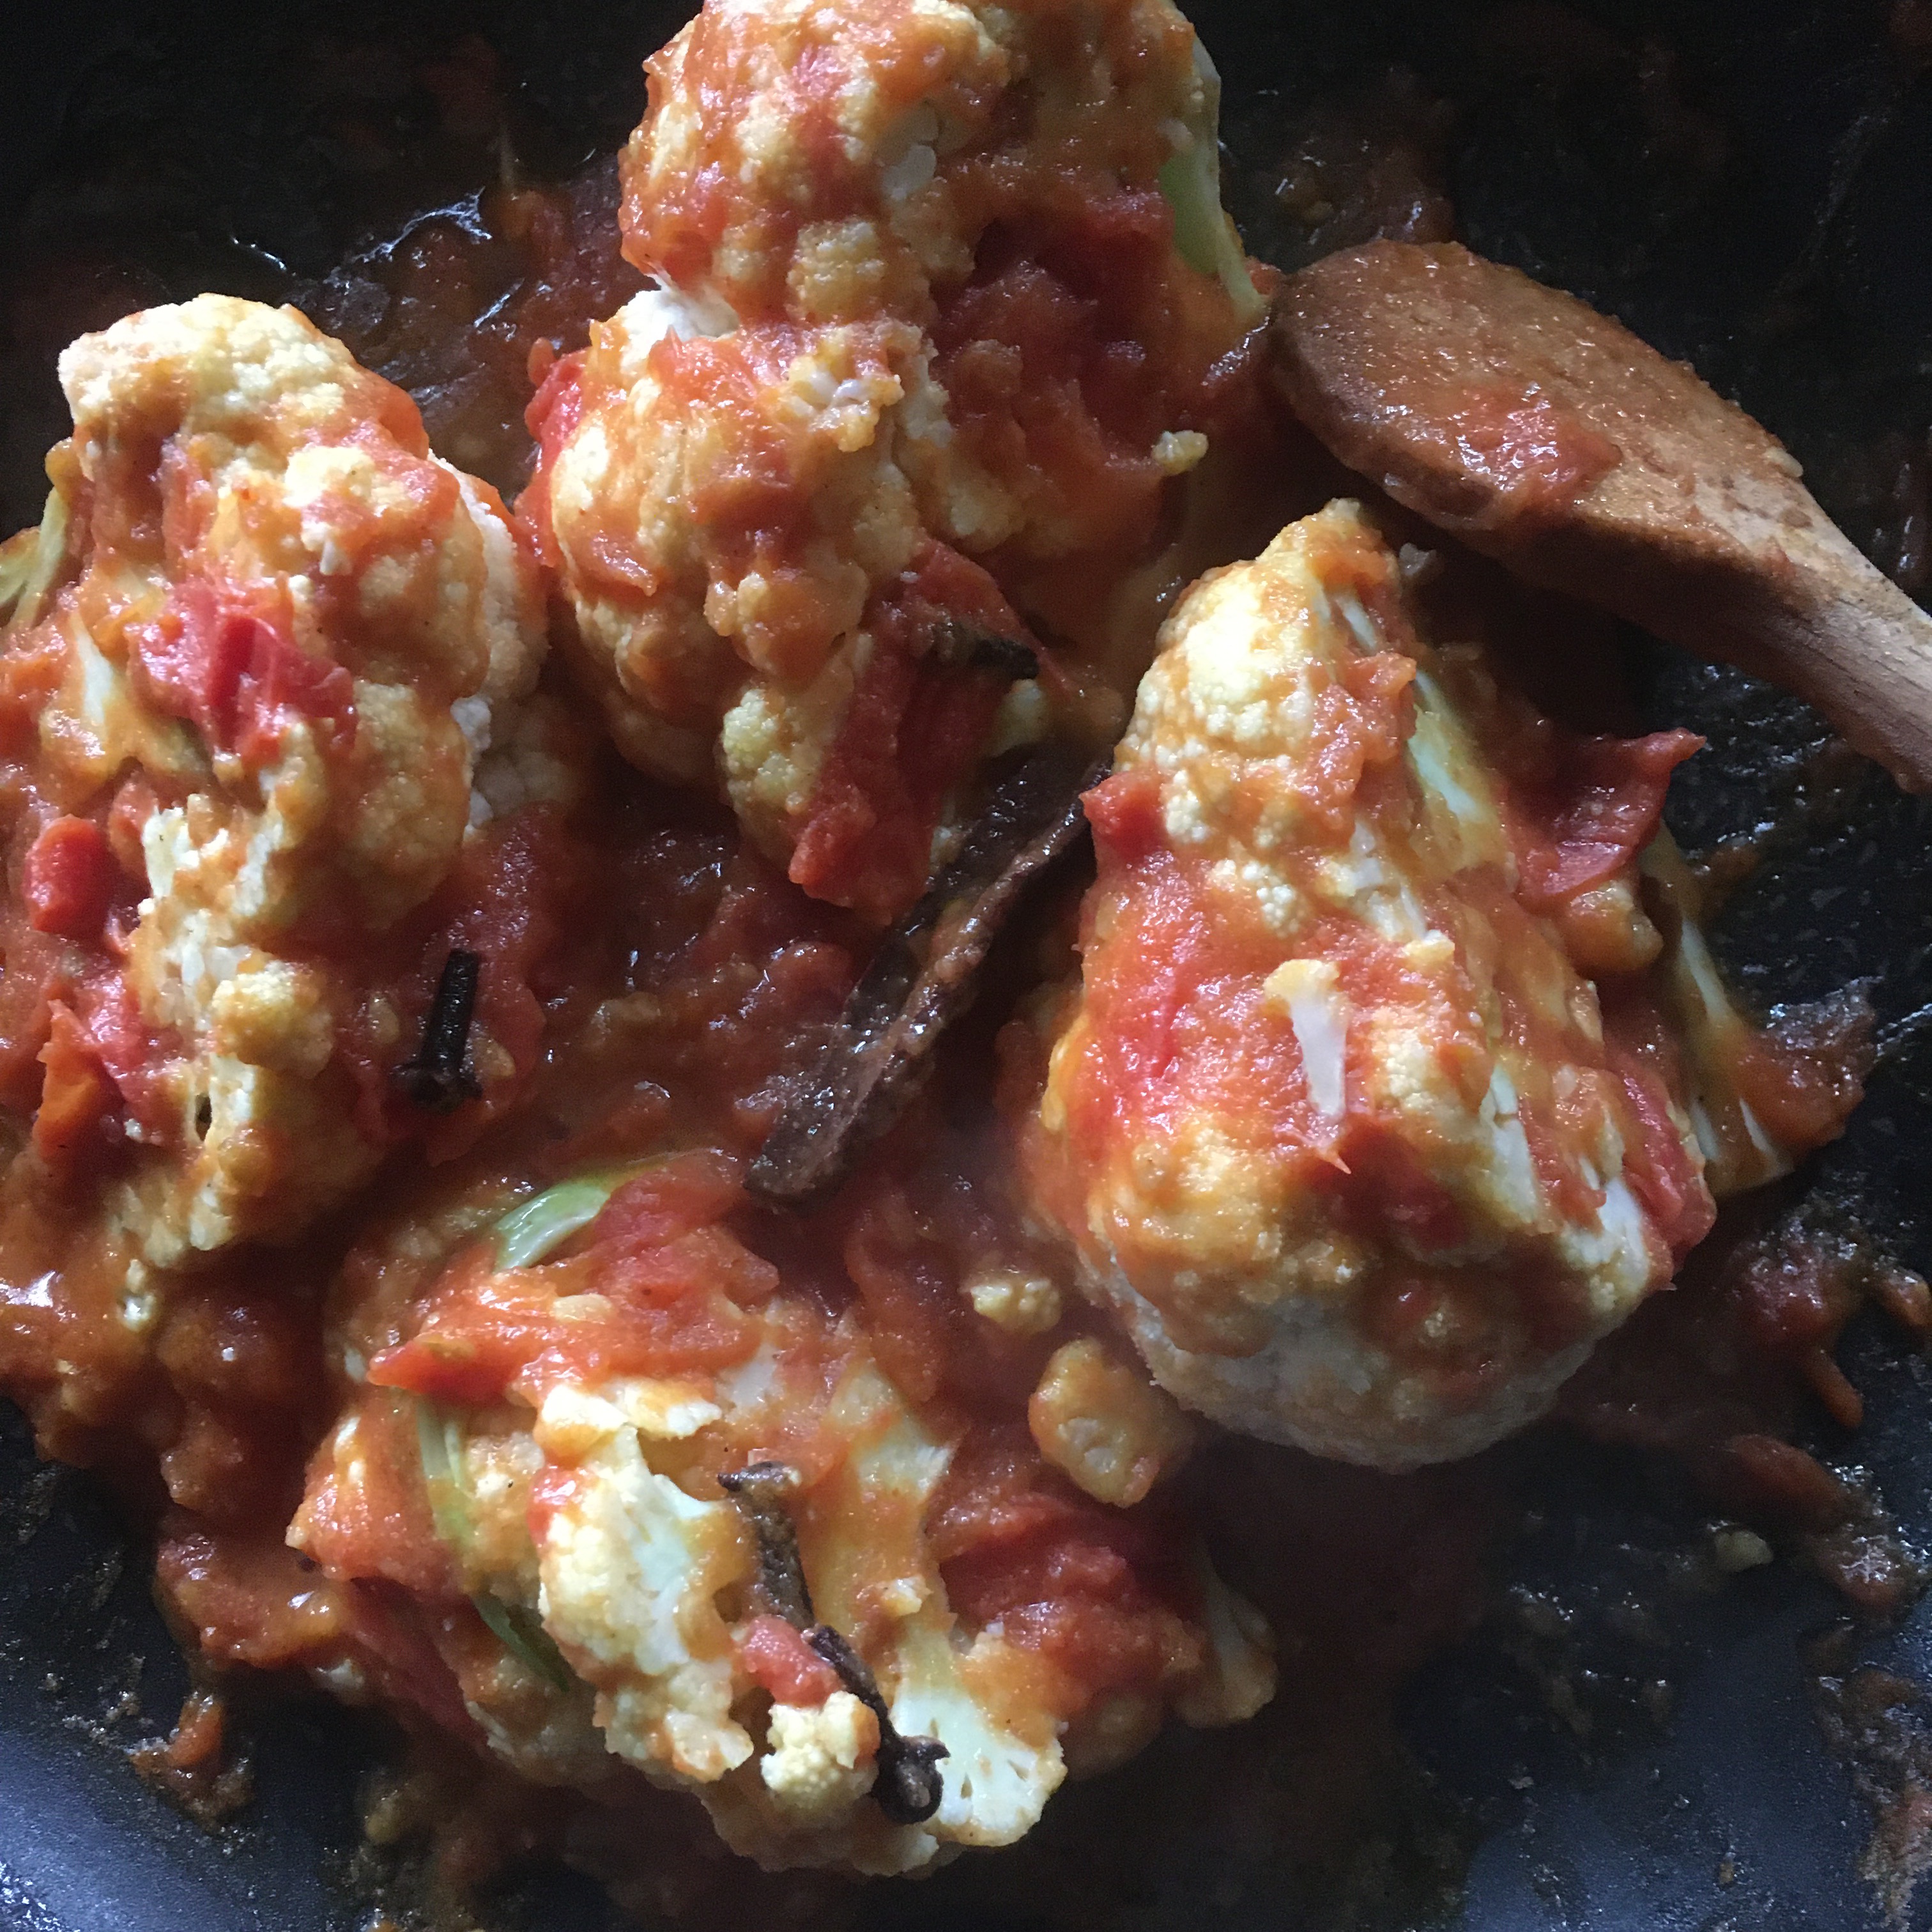
So here is my version of Vij’s cauliflower steak, that I served with Japanese rice, like a vegetable curry-rice. It was super delicious, so I imagine that with the two missing ingredients it is probably even better… but now who cares!

Spicy cauliflower (for 2)

– 1/2 cauliflower

– 1 large ripe tomato

– 1/2tsp of salt

– 1/2tsp of ground tumeric

– 1/2tsp of ground chilly pepper

– 1tsp of ground cumin

– 4 cloves

– 1 stick of cinnamon

– a bit of oil (I used olive oil and rice oil)

In a bit of oil I first reduce the tomato to tomato sauce. Then add all the other ingredients but the cauliflower and stir well. When it’s all creamy, I add the cauliflower cut in 4 pieces. Cook at low heat under cover until tender but not mushy.

Serve and eat immediately!!!

Steamed gyoza – 水餃子

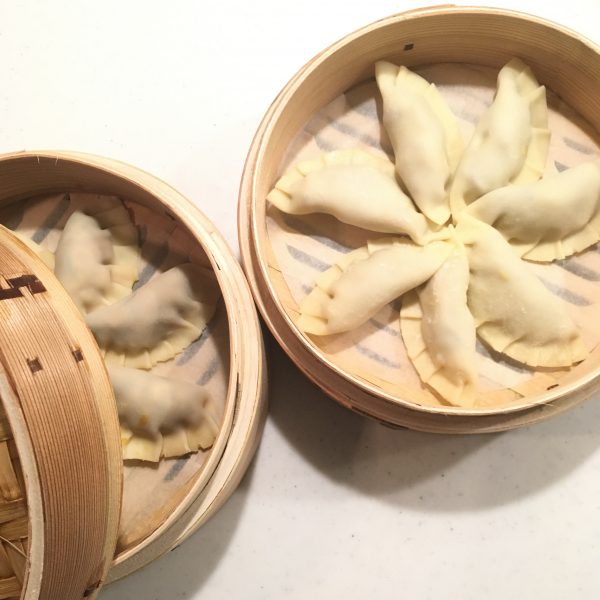
As I was saying in my previous post, I’m a big fan of dumplings of all kind. But recently I have a crush for sui gyoza-水餃子 which are simply steamed gyoza. And because I want to make some more often, last time we went to Kappabashi (to buy bowls for my sister xmas present) A. offered me a set of bamboo steamers: two levels, that would allow preparing dinner for two in one batch. And I have been longing to test them. It’s been three weeks now that I have been on my new schedule but as A. was traveling last week, I waited for him to come back. So finally I did make steamed gyoza, and tested my new bamboo steamer. Well, it’s super easy to use and works very well, and it gives a slightly fancier look to the table to serve the gyoza directly in. It also keeps them warm. I am not a fan of cooking goodies at all and have very very few (a blender, a pasta machine, a mandoline, and two bamboo steamers) but I must admit that those steamers are not just goodies, they are actually perfect. Not only the are made just of bamboo, but they adjust easily on a pan and work like charms. Well, of course if you make steamed food only once in a while and steam in small quantities you don’t need one and a foldable stainless steamer is surely enough, but I am planning to make a lot more often sui gyoza with all the seasonal vegetables, so it is worth the investment and the space it takes. So back to sui gyoza, I opted for sweet potato for some, and shiitake/carrot for the others. A great winter vegetables option. Here is my recipe for 20 pieces.

Vegetables sui gyoza

– 20 pieces of gyoza skin ( making your own is so much better, I’ll share this next time!)

– 1/2 sweet potato

– 4 carrots

– 1 large shiitake

– soya sauce

Steam and purée the sweet potato. Add a bit of soya sauce. Keep.

Boil the carrots and puree. Dice thinly the shiitake and add to the puree.

Fill each skin with a tea spoon of filling and close tightly.

Cut kitchen paper to the steamer inner diameter and set in the bottom of each layer. Steam for 10-15 min or until the skin is translucent. Serve.

Qagħaq tal-Ħmira

I love breads of all kinds and I’m always happy to try local breads when traveling. In Malta I didn’t expect I would fell so much in love with one of their bread: Qagħaq tal-Ħmira, sesame, anis, spices rings. We had one the very first morning when we were at the Birkirkara market, and after that I wanted to have some always, but there not that easy to find actually. Pastizzi were good but these little Qagħaq tal-Ħmira were just perfect. It has a perfect balance between sweetness and not, between richness and not, between spiciness and not. The balance of clove, anis seeds, citrus zest and sesame is perfect and that was the most difficult to recreate actually. But after 3 attempts I think I’ve nailed it and can share my recipe now. We love them so much and just to be sure I tested a fourth time, they were perfect, so there will many many more times!!!

Qagħaq tal-Ħmira

– 200g of flour

– 25g of butter

– 25g of sugar

– 3g of dry yeast

– a pinch of salt

– 1 cup more or less of tepid milk

– 1/2 tsp of clove powder

– 1 tsp of anis seeds

– 2 tsp of citrus zest (official recipe says lemon and orange, I used what I had: yuzu, natsumikan…)

– sesame seeds for the toping

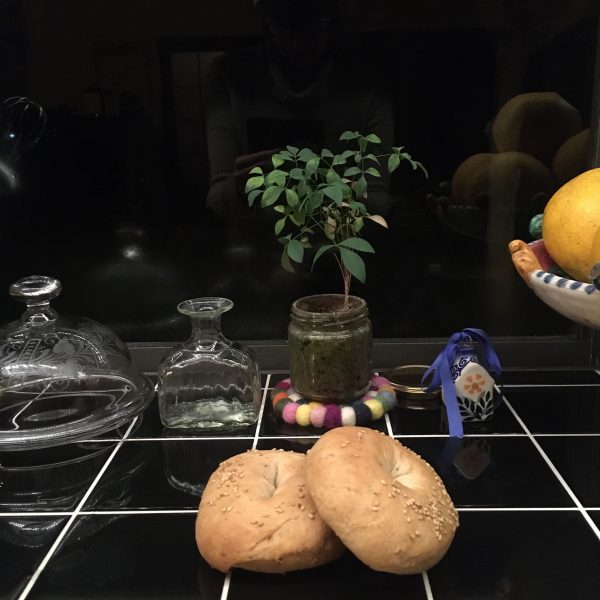
In a large bowl, mix the flour, sugar, salt, yeast, butter, add the milk slightly warmed little by little while kneading. Stop adding milk and kneading when the dough is smooth. Add the clove powder, the anis seeds, the zest of citrus. Knead just to mix well. Leave for an hour or two in a warm places. When the dough has grow a bit and is warm and fluffy, cut in 4 pieces. Make a ball of each piece and shape like a bagel: squeeze the center of the ball with your thumb and make a hole, roll around your fingers to make the hole bigger about 4-5cm wide. Roll the top in sesame. Leave to prove for 1 to 2hours.

Bake at 180deg for 15 to 20min depending on your oven. Must be slightly golden but still soft.

Enjoy warm or cold, with jam, butter, cheese… or nothing…

Taking time

The past two years have just gone in a flash. Since A. changed jobs and we moved, it’s been a continuous flow of things: 2 jobs for A., a cross appointment for me (which is basically a new job on top of mine), we started pottery classes, we had a giant garage and workshop built, we started paddle surfing and surfing, we started a kitchen garden with less rather than more success and I got more confident at baking breads. These have been for sure 2 amazing years, but they also left me with an impression that I have done nothing but running from one work appointment to the other, from one work task to the other, and when the work week was over either we flew to the countryside or we had to stay in Tokyo because I had some work related events to attend. Business trips were plenty as well. This resulted in working days of 12 to 14h with a lot of moving here and there, spending time in trains and metros which in Tokyo can easily be an hour or more. Both of us coming back home often past 22:00 and I then start to cook for dinner, a dinner that needs to be quickly made to satisfy our empty stomachs. While I still dream of country life in a sense, I believe that by changing my habits I could just as start by improving our Tokyo life. Being sick with fever and bed ridden for the first time in more than a decade and then working at a very low speed has taught me to be super efficient again. When your efficient brain time is just a tiny portion of what it used to be you have to use it wisely! I realize I could work differently and I have started as soon as I got back last week. I need to process information on a priority base, and for that refuse all extra work that is not exciting and to help someone I care for. Being sick was a good excuse to start with, now I just need to continue. Time with my students and with my colleagues for projects I care for should be valued over administration. That said it won’t make days shorter.

So the other major change concerns cooking. I was tired of rush cooking so my new schedule is that no matter what I leave the lab between 17:30 and 18:00, go back home, start cooking dinner, and then work again from home. I am lucky enough that most of the work I do can be done everywhere. It means I can cook things that take more than 10min such as spelt, lentils, brown rice and all the others alike.

So when A. comes back dinner is ready and we can eat a much better prepared dinner and at least 30min to 60min earlier!!

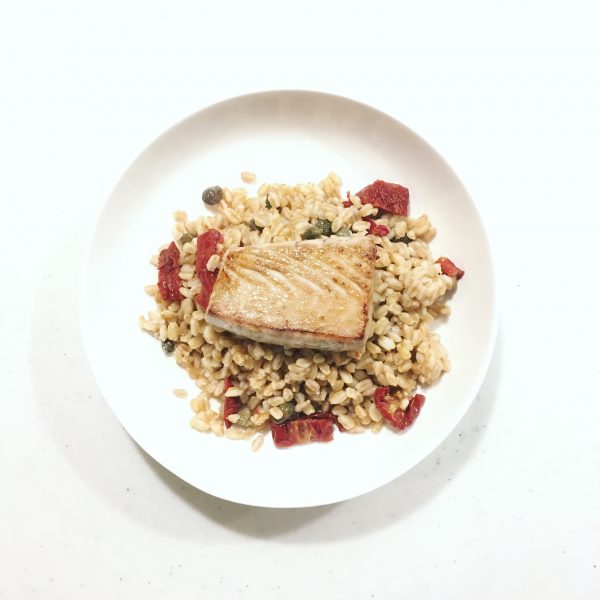
This has been really great to finally cook a lot of cereals and products I bought on our trips and they end up in the fridge waiting to be cooked. For example pearled barley from our trip to Italy a year ago… This recipe is highly Mediterranean with capers from Greece that my parents bought me when they went there last spring, sun dried tomatoes from a farm in Gozo I brought back from Malta and olive oil from my home town. The fish comes from our local fishing harbor in Katsuura.

Pearled barley and bonito

– 120g of pearled barley

– 5 sun dried tomatoes

– 1tbs of capers salted or in salty water

– olive oil

– a piece of bonito or tuna

Wash and cover with water the barley. Boil under cover for 20min. If all the water didn’t go, drain it. Add a splash of olive oil. Cut the tomatoes, add to the barley, add the capers. Stir well. In a olive oil greased fry pan, grill the fish. Serve in plates with a last splash of olive oil.

So far I applied this new concept for a week and it worked very well. Let’s see how the second week will work!!

Proudly powered by WordPress | Theme: Baskerville 2 by Anders Noren.

Up ↑

Verified by MonsterInsights