Every morning A. goes to work on site I prepare him a lunch box. I like to cook lunch early because then I know that my portion is also ready and I can eat any time, even when my schedule is super tight, which is more than often the case recently. When it comes to preparing our lunches and it includes pasta, I love to use fresh pasta because they cook very rapidly. The issue is that the brand of fresh pasta I like most has portions that are too big for one and too small for two… so today was one of this day, where I put 2/3 of the portion to A. lunch box, and I ended up with a sort of leftover size of pasta… not enough to feed me until dinner which would be late (again) today. Luckily I had gyoza skin in the fridge (for dinner) so I decided to pick 4 pieces and add these to pasta… but how???
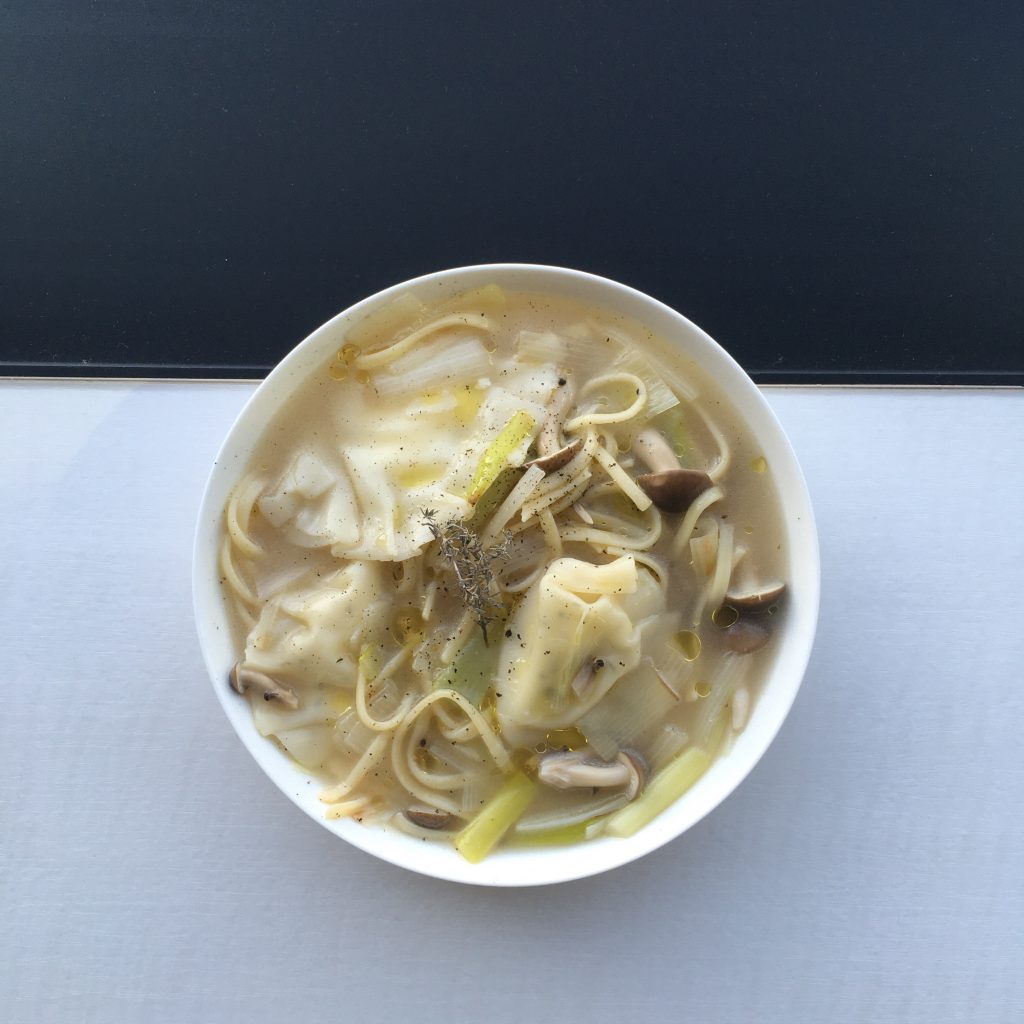
I realized that Asian food often mix dumplings and noodles in soups, so I decided to go for something like that except that it wouldn’t be Asian, but rather Italian like for me, with fresh mozzarella dumplings. And this is how the most delicious thing I have cooked in a bit was born. Too delicious not to share with you my recipe! I used the leftover pasta and the gyoza skin I love most, but you can use fresh pasta and make your own gyoza skin, it is super easy… I was cooking while on a meeting, so I used minimal time.
Dumplings and noodle soup (1 serving)
50g of leftover noodles or the equivalent to cook
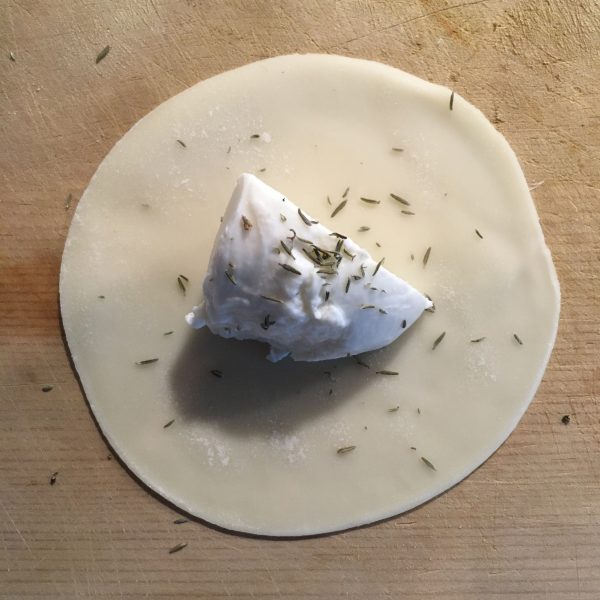
4 gyoza skins (you can make your own, it is super easy and rapid too)
1/2 fresh mozzarella
1 leek
a few mushrooms ( I used shimeji)
thyme
salt and pepper
olive oil
Cut the leek in the size/shape you like, same with the mushrooms. Cut the mozzarella in 4. In each gyoza skin, put a piece of mozzarella, a bit of thyme and pepper. Wrap. In a pan add 500ml of water, the leek, the mushrooms and cook for 5minutes after it boils. Add the noodles, the dumplings and cook for another 5minutes. Serve, add thyme and olive oil and eat while it is hot!
Three Swiss chard and new onion new ideas of recipe
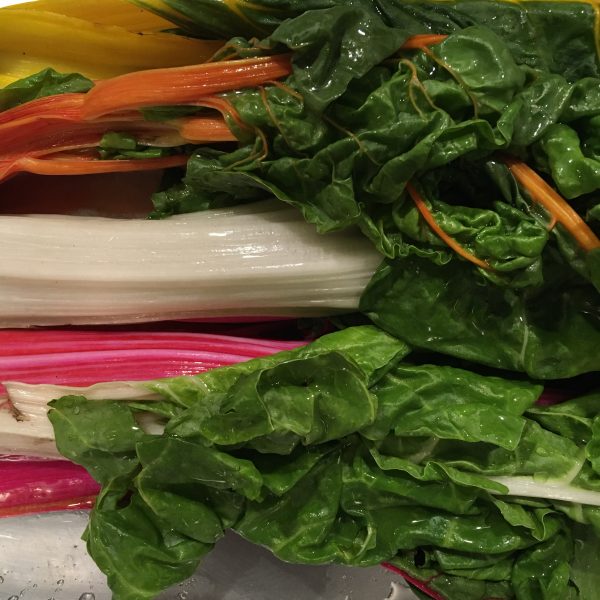
In France we have chards and they are green, with beautiful leafy greens and rather stiff whites. Both are delicious and I have always liked when my mother was making some. Compared to spinach they have a distinctive earthy flavor that I love. It took me a long long time to find chards in Japan. I only found some once we started to shop at local farmers’ markets in Isumi or once in a while at Mitsukoshi Nihonbashi. I think not because of the location but because they are just becoming more popular now and are not originally a green from Asia (we have so many already there…).
What surprised me the most was that instead of being the classic white and green vegetables I knew, they came in various bright and beautiful colors. Vibrant pinks, bright yellows… and the colors stay rather well even after cooking. The other funny fact is that the fibery white part (now colorful part) is a lot less fibery and stiff.
Actually growing some is also not too difficult so we had a try at it last year, and we enjoyed the very young ones not even cooked, just row and they make beautiful salads!
Last weekend on our way to visit some plots of land, we stopped at a local farmer that was selling some. And he gave us a real lot of colorful Swiss chards, and some new onions too. So Swiss chards and new onions have been on our plates pretty much every day. First with some simple pasta and olive oil, then I started to think about other possible recipes. My top 3 of the things I cooked with New onions and Swiss chards is as follow: 1. Steamed buns 2. With coconut milk and cashew nuts, served with spicy Basmati rice 3. With paprika and served with buckwheat pancakes
So here are my recipes. They are all vegan and super easy to make. I hope you’ll enjoy them!
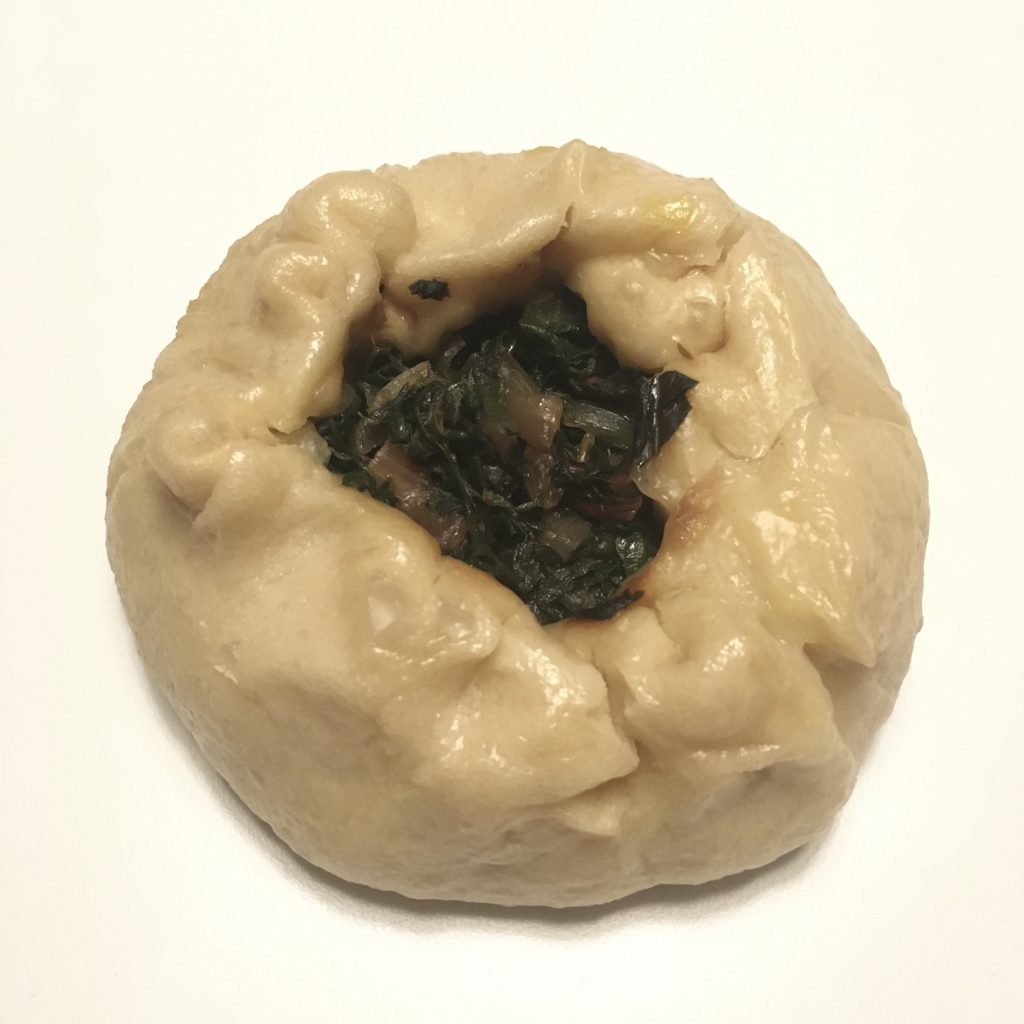
Steamed buns with Swiss chards and new onions (makes 4 large ones)
a bundle of Swiss chard
2 new onions
a pinch of cumin
salt and pepper
1tbs of olive sesame oil
200g of flour
1tsp of baking soda
a pinch of salt
water
In a bowl mix the flour, baking soda and salt, add water little by little and knead until the dough is soft and smooth. (If you have time, replace the baking soda by sourdough and wait 12h after kneading).
Wash and chop the chards, peal and chop the onion. In a frypan, put the sesame oil, and the chopped vegetables and cook at medium-low heat until they are soft. Add the cumin and salt and pepper and stir well.
Cut the dough in 4, make balls, and roll them into an 18cm disc. Split the filling into 4 portions and put in each disc. Form the buns and steam for 20min. Enjoy with a bit of soya sauce or without!
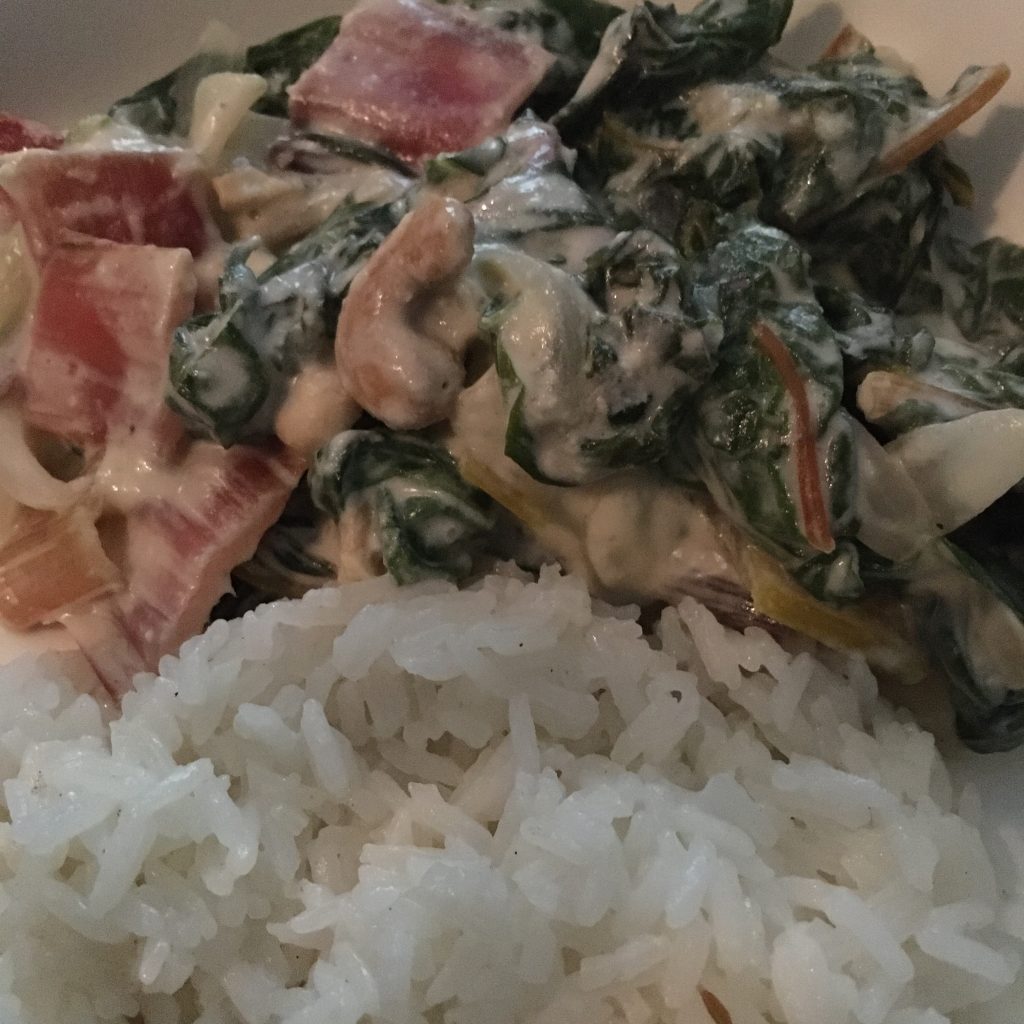
Swiss chards in coconut milk with super fragrant rice (2 servings)
a bundle of Swiss chard
2 new onions
200ml of coconut cream or coconut
1 handful of cashew nuts (shelled)
salt and pepper
100g of Basmati rice
a pinch of cinnamon, of cardamom and coriander, 2 star anises
A bit of butter if you don’t mind
First, steam the rice with the spices, and the butter if you use some. Then, while it is cooking, wash and cut in chunks the onions and chards. In a pan put the vegetables, the coconut milk and the cashew nuts roughly broken. Cook for 10minutes at medium heat, while stirring once in a while. Then serve with the warm rice and enjoy.
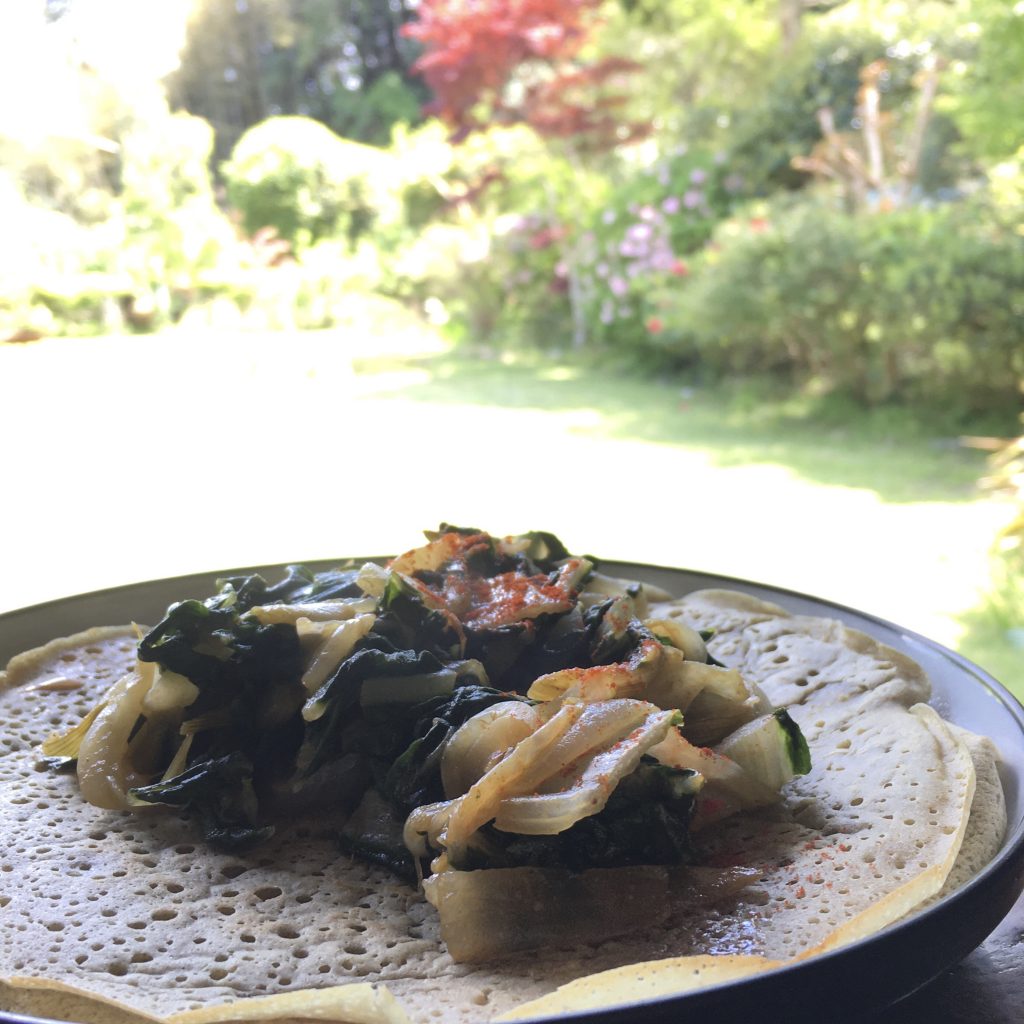
Buckwheat pancakes and Swiss chards and new onion stew (2 servings)
a bundle of Swiss chard
2 new onions
1tsp of olive oil
1tsp of paprika
a pinch of turmeric
salt and paper
120g of buckwheat flour
1tsp of baking powder
water
a bit of oil for cooking the pancakes
In a bowl, mix the buckwheat flour, the baking soda a pinch of salt and add water until the dough is creamy, but not liquid.
Wash and chop the vegetables and cook them in a pan with olive oil while stirring once in a while. Add the turmeric and paprika, salt and pepper and stir again.
In a greased pan cook the pancakes (size is up to you) on both sides. Serve with the vegetables and enjoy.
Et voila, three really easy and delicious recipes with Swiss chard and new onions!
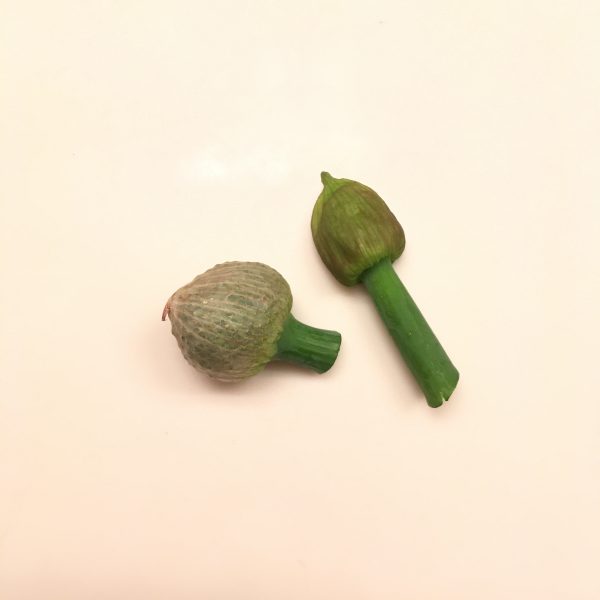
There is no need to go far to discover new things and in particular when it comes to food, there is always something new and curious to discover at the farmers market. You just need to look around and you’ll surely find something you haven’t seen before. This time I found negibosu 葱坊主 leek’s flower buds. You can often spot the beautiful flowers in kitchen gardens in the spring, they are amazing ornaments. But I never guessed that would be edible, and that even you would be able to buy them in the bud version at the farmers market. But it is!
So here I am with my negibosu… I thoughts immediately that tempura would be an appropriate recipe. For some reasons, tempura always work well with any green, even with strong flavors: fukinoto is a good example. But what else… and would actually negibosu be strong in flavors? So I browsed a bit the net. Nothing came out neither in French nor in English but for the fully blossomed leek flowers. It was of no help, so I turned to Japanese and bingo! Negibosu have a significant number of entries in cookpad, more than half of them being…
Tempura of course… hum… not helping much either… digging a bit more I finally found the other classic Japanese recipe to accommodate greens: miso ae. Miso ae, in my opinion, works better with creamy miso, the one I have, that I make, is more granular and won’t work as good… one recipe in the end attracted my attention: a goma ae one. So I decided to go for this one, well, my way though. (and the tempura… just in case!!)
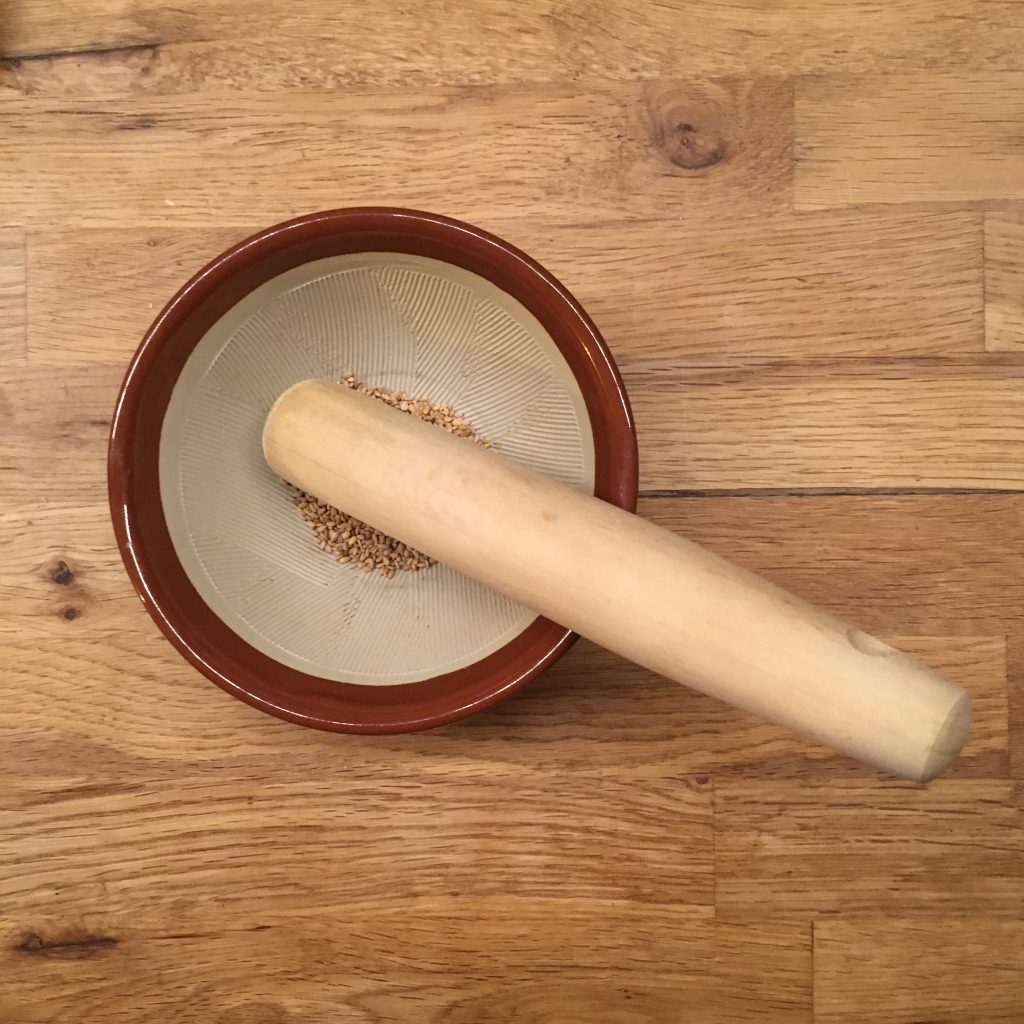
So here’s my recipe of goma ae. Suri goma すり胡麻 is ground sesame powder. It’s very easy to make from the sesame seeds, or to buy already powdered.
Making ground sesame: suri goma
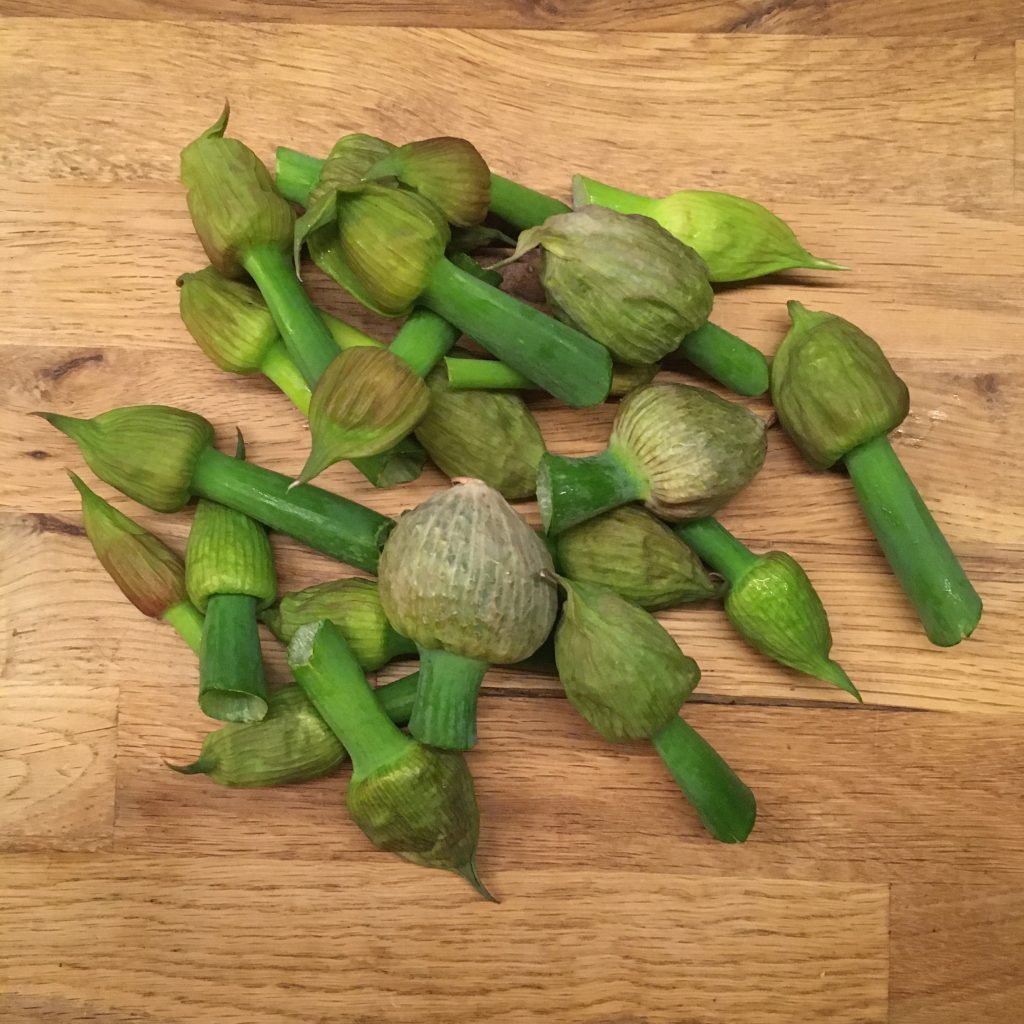
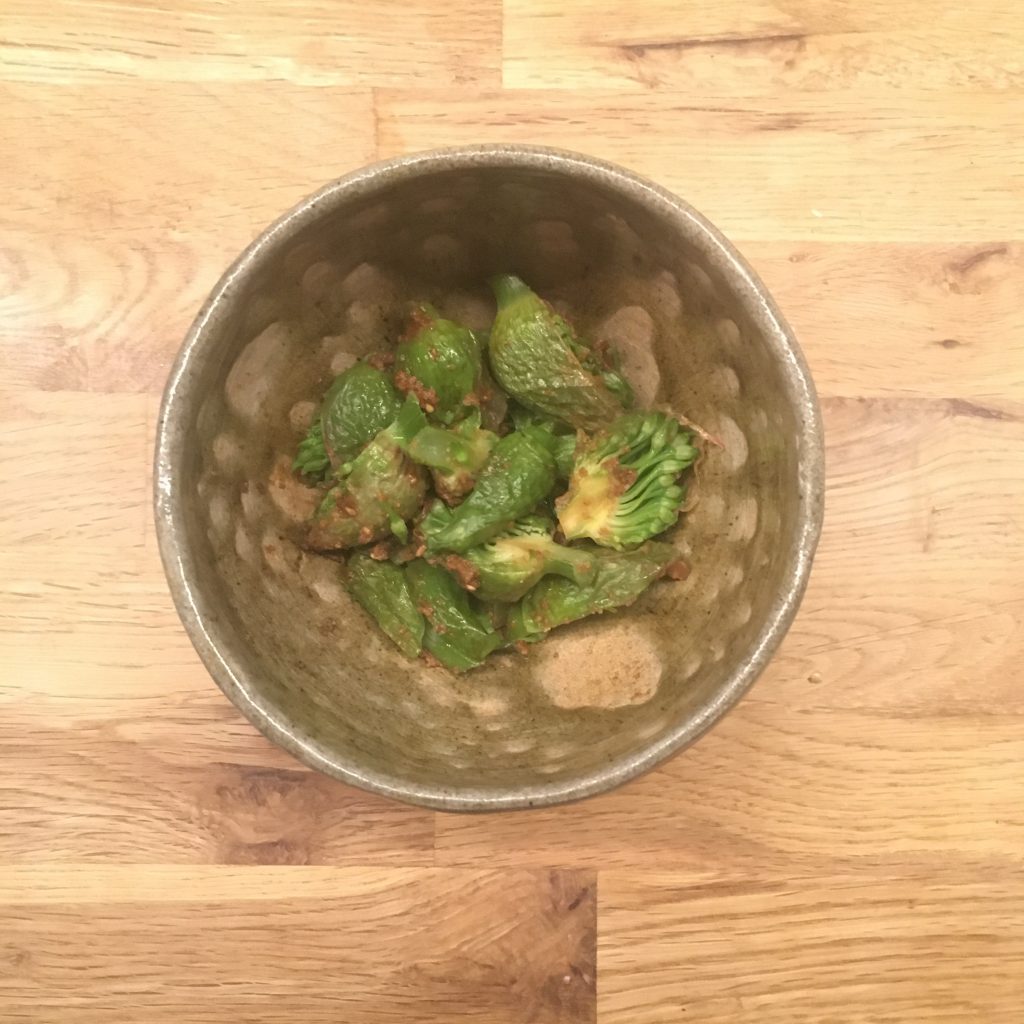
Negibosu goma ae (2 servings)
A dozen of leek flower buds
1tbs of sesame seeds
1tbs of soya sauce
1tsp of brown sugar
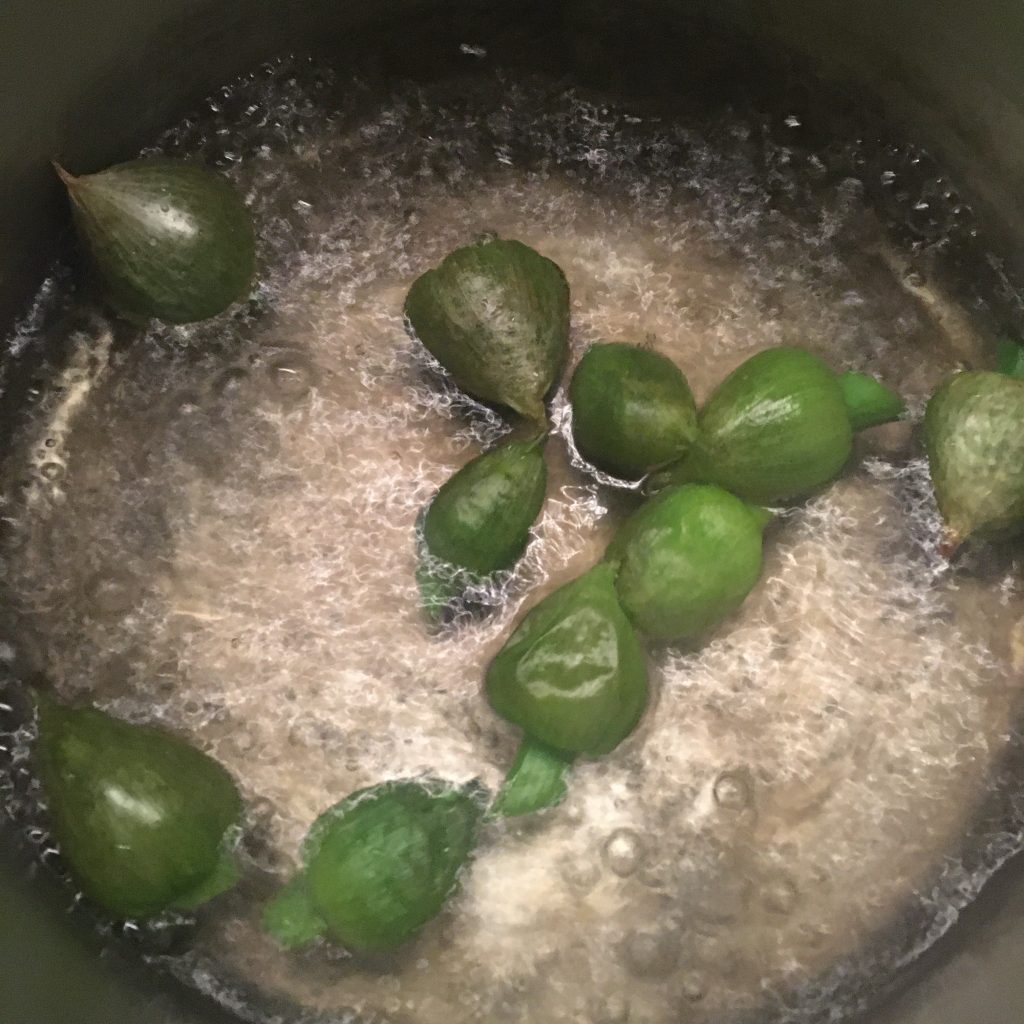
Wash the negibosu, remove the hard part if any, and blanche for a few minutes. Drain and pat dry.
Blanching negibosu
Once cool enough, cut in tiny bite size.
In a mortar, crush the sesame seeds with a pillar to obtain a paste. Add the sugar and soya sauce and stir. Add to the negibosu, stir and that’s ready!! Yes, it’s that simple and you’ll see it’s delicious!!!! Enjoy!
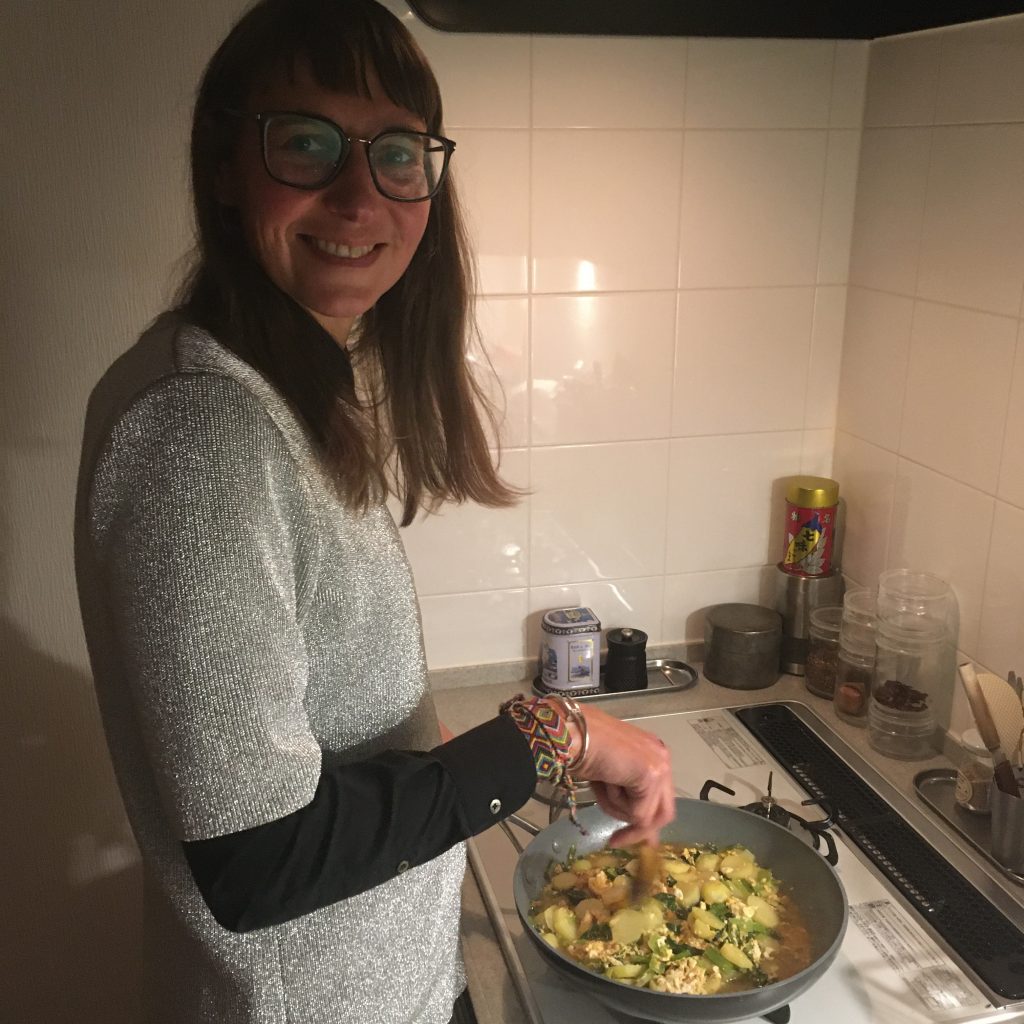
It was 13 years since I left Tokyo University for Tokyo University of Agriculture and Technology, and started my own research lab. The beginnings were hard but the past few years I really reached a stable balance… maybe too much balance… it was time to change… I’m back at the university of Tokyo… and starting from 0 again!!! You may call me crazy but I need some challenges to feel good. So as you can imagine the transition is keeping me busy and I don’t have much time to spend in the kitchen. Even though…
I can’t help spending 10min to prepare something to eat, and improvise a little new recipe with what was in the fridge: tiny potatoes, komatsuna and eggs. The preparation is very simple, it takes just a bit of time to cook it, which is perfect, hands are free to work!!!
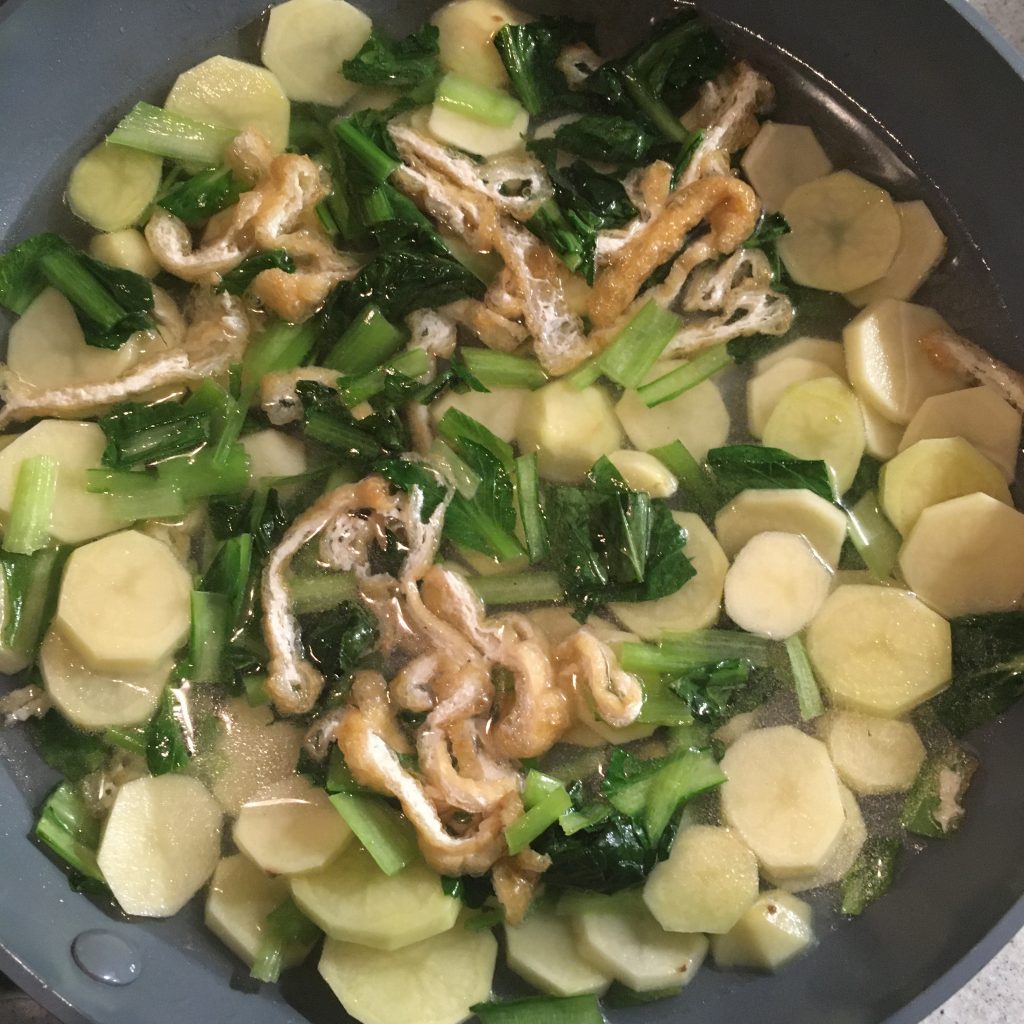
Komatsuna jagga 小松菜じゃが (2 servings as full course)
10 small potatoes
3-5 bundles of komatsuna
1 piece of thin aburage
20g of katsuobushi flakes
2tbs of soya sauce
1tsp of oil
2 eggs (optional)
Peel the potatoes and slice them, wash the komatsuna and cut them 2cm long. Slice thinly the aburage. In a greased (with the oil) pan put the potatoes and komatsuna and cook at high heat for 2min. Then add the aburage and cover with water, add the katsuobushi flakes, the soya sauce, and the eggs, stir well and cover. Let cook for 10min or until the potatoes are soft. You can serve as a soup or remove the cover and let the liquid evaporates before serving. Eat hot, because spring may be around the corner, evenings are still cold!!!
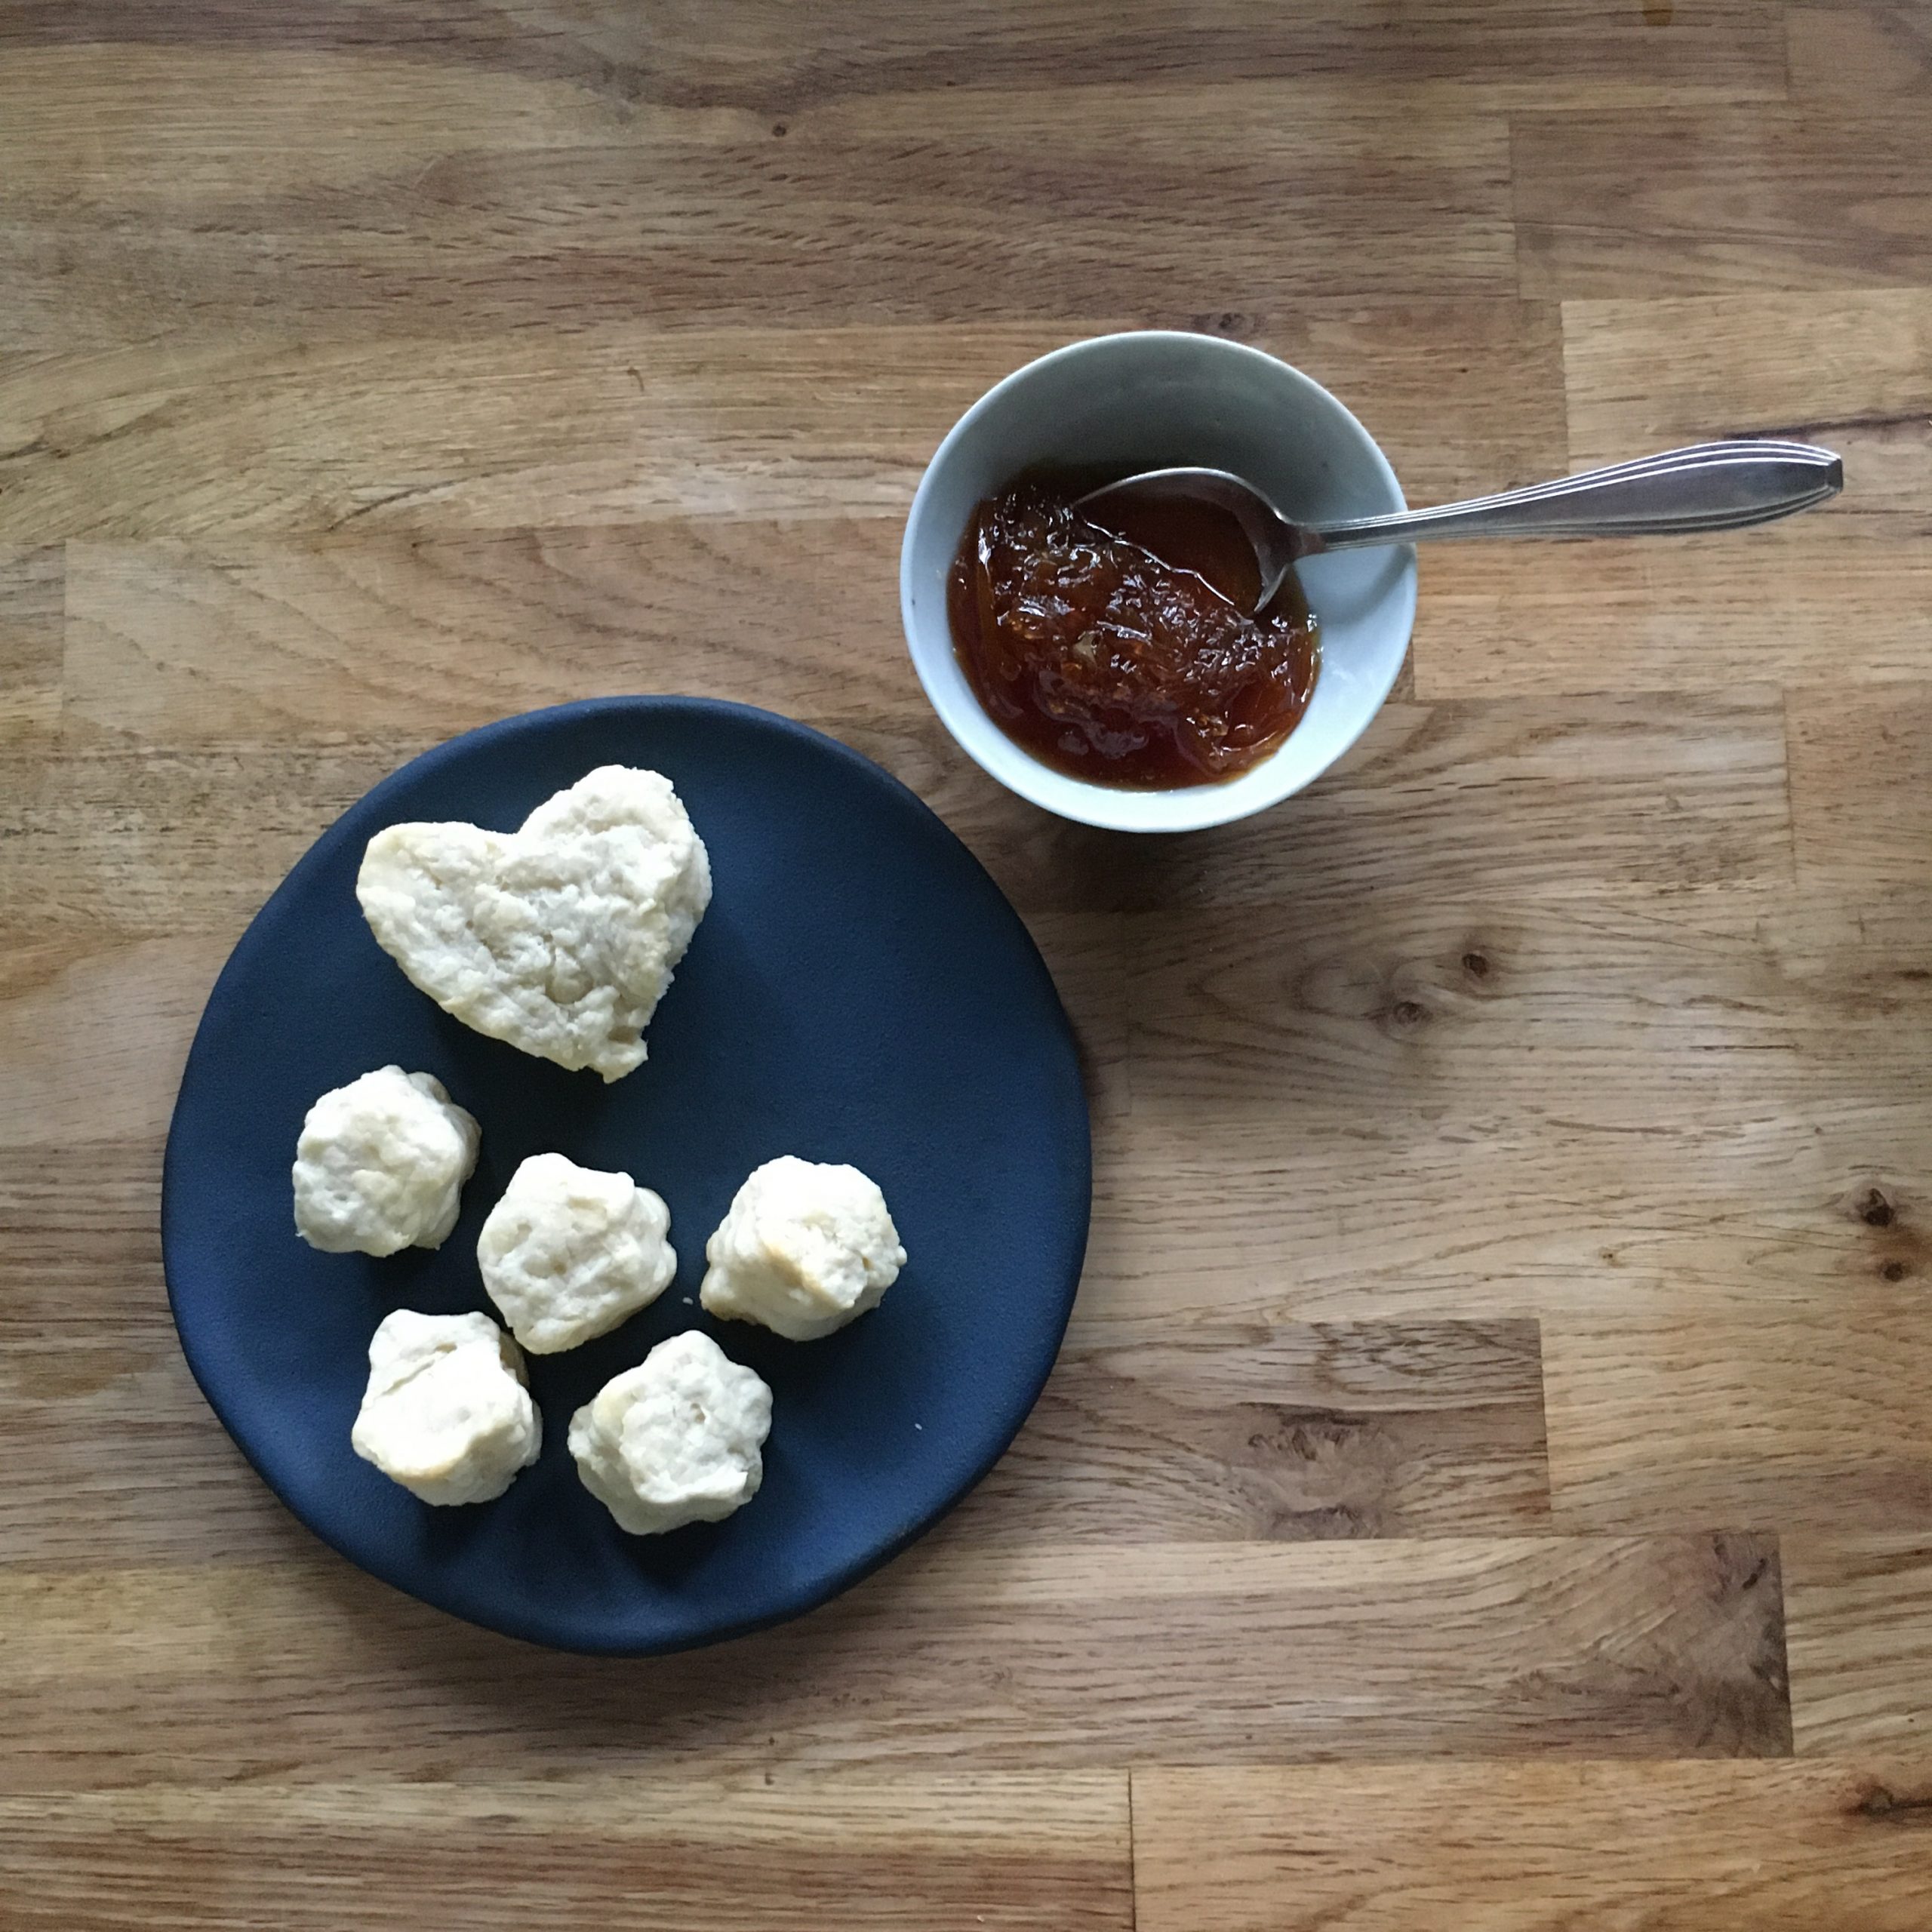
Two weeks without a post is a grand premiere here… For the past 7 years I have been posting a few times a week and at most every 10 days when I was busy at work and on travel. So why 2 weeks this time? Well… travel is definitely not what is taking any of my time, even though we had a failed attempt to go back to France back in November, and the planning took a lot of our time, only to cancel everything 5 days prior departure because the situation was not looking too good in France then… but that’s a long time ago! I can tell you that work has been busy but nothing out of the ordinary. So what? Have I quit cooking??? For sure not! But what did I cook then? Well, first a lot of things that were delicious but definitely not photogenic. Then a lot of cruising dishes: quiches, bread and scones but I bet you don’t need another recipe of any of these…
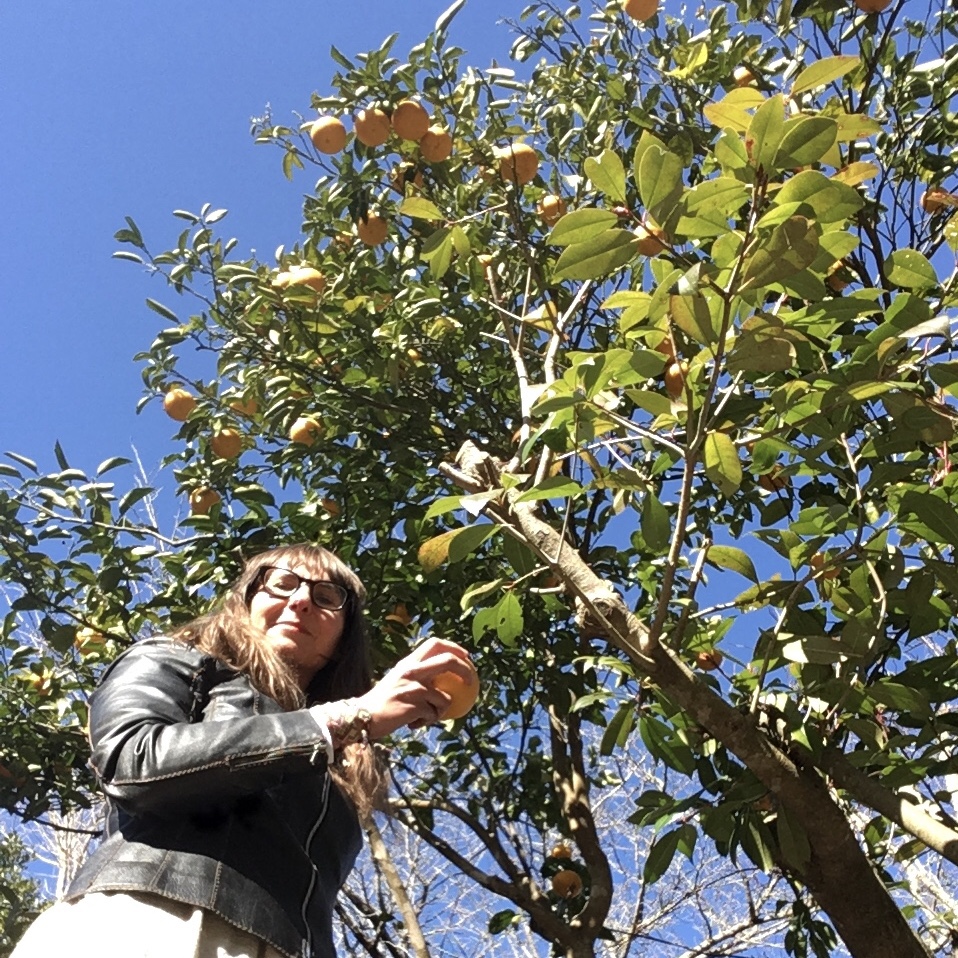
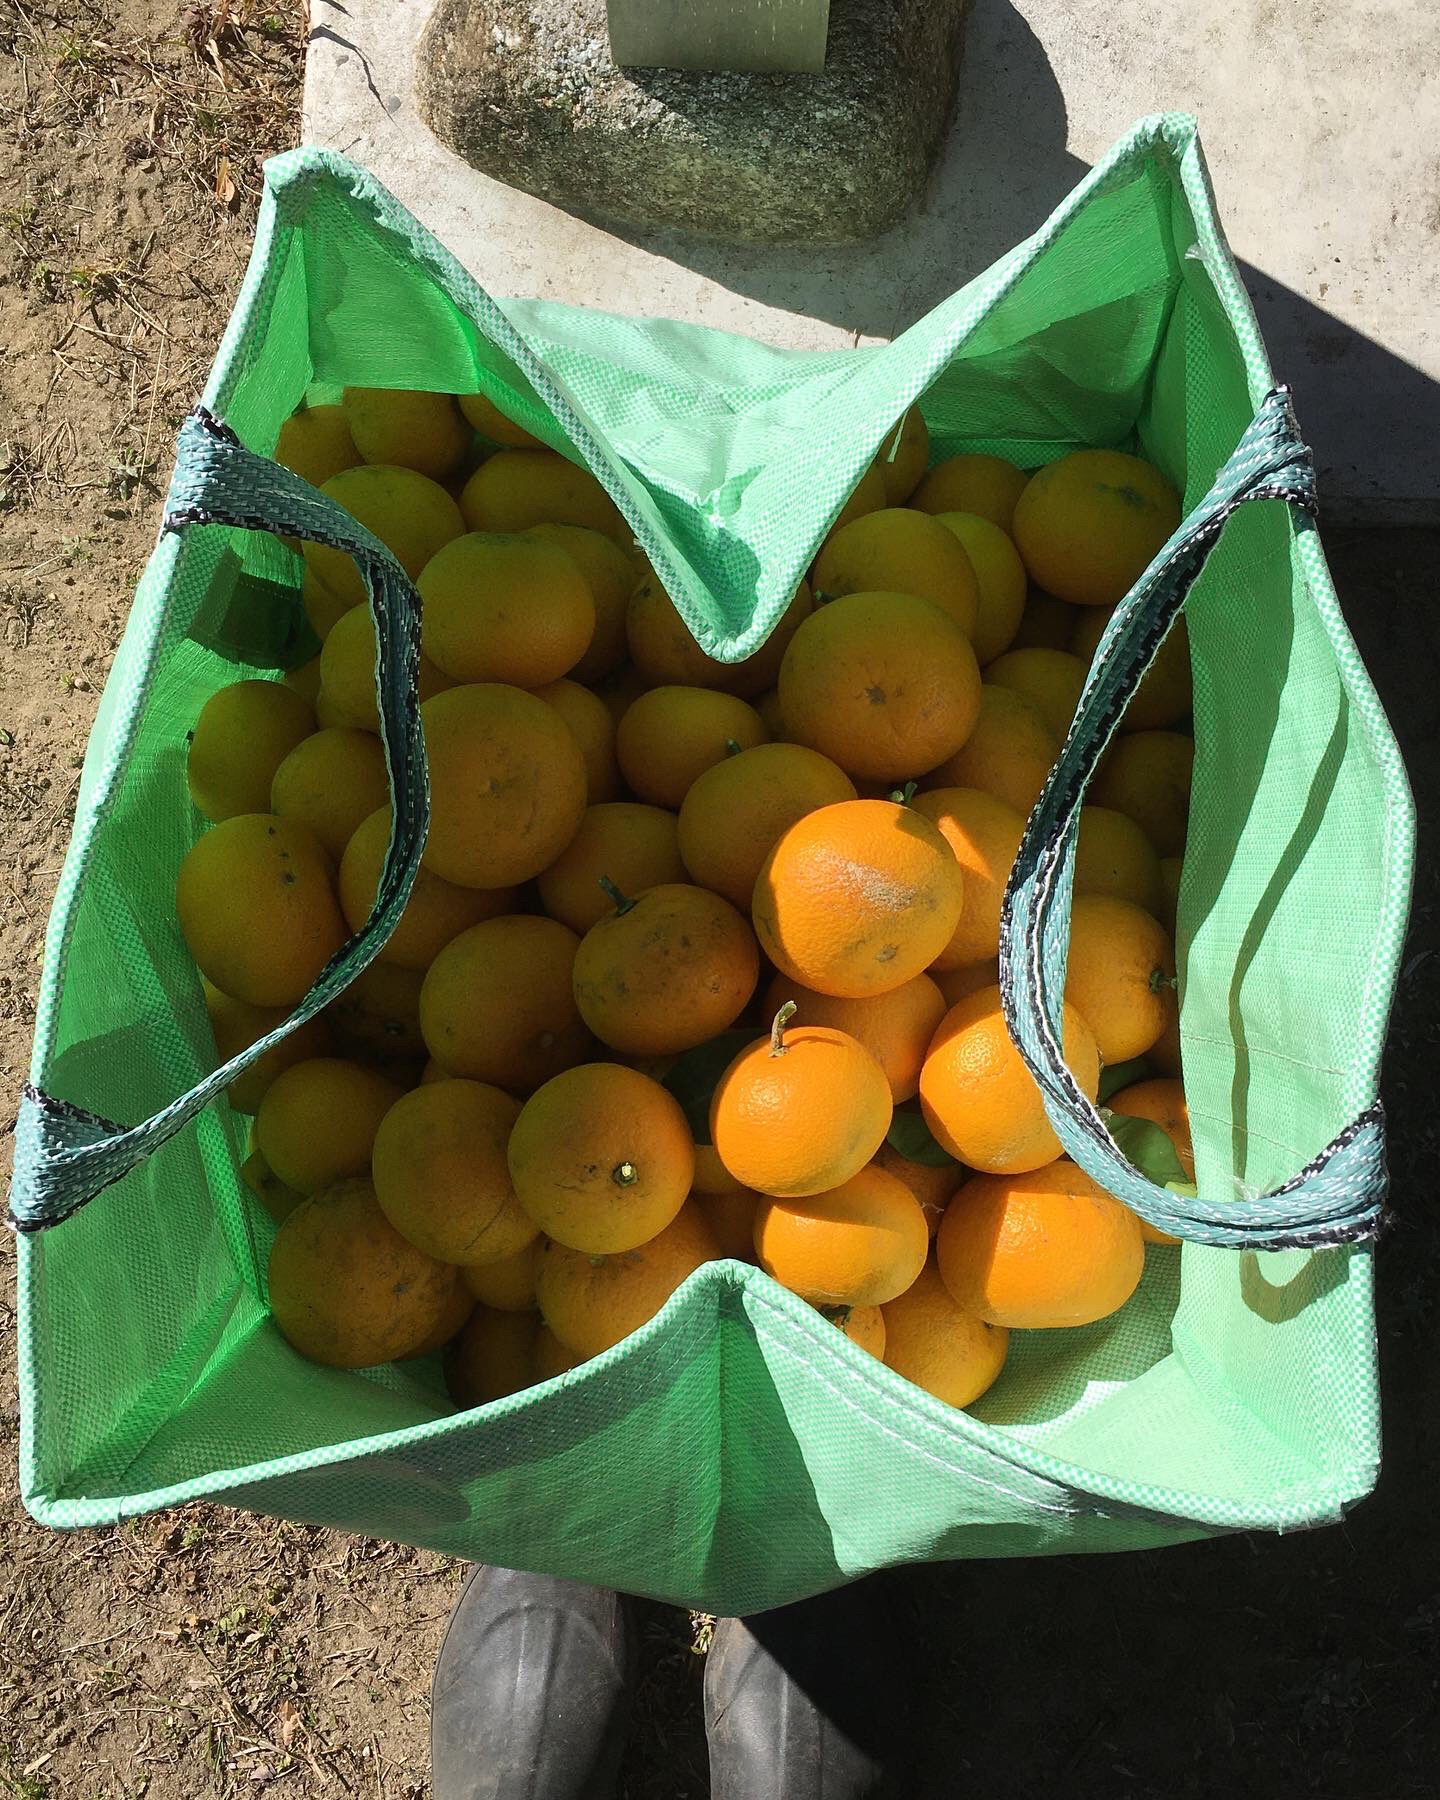
Then we harvested all our hassaku and I went into a little plan of making several recipes…
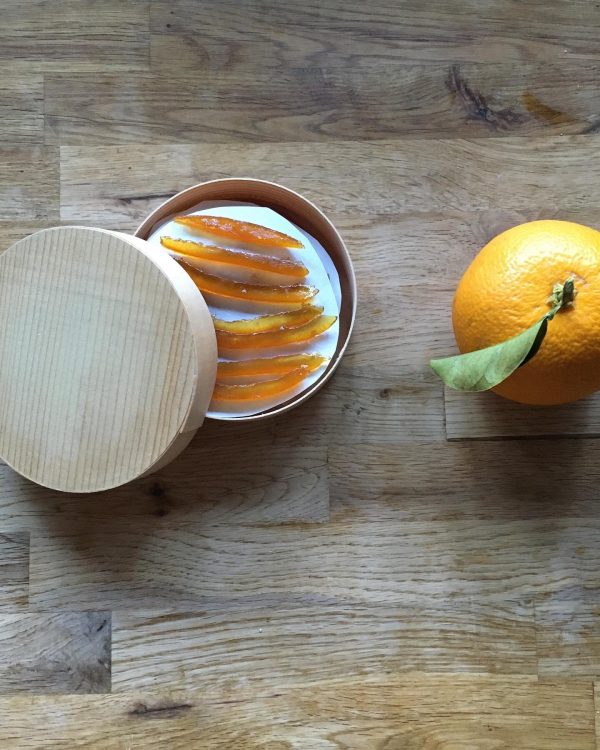
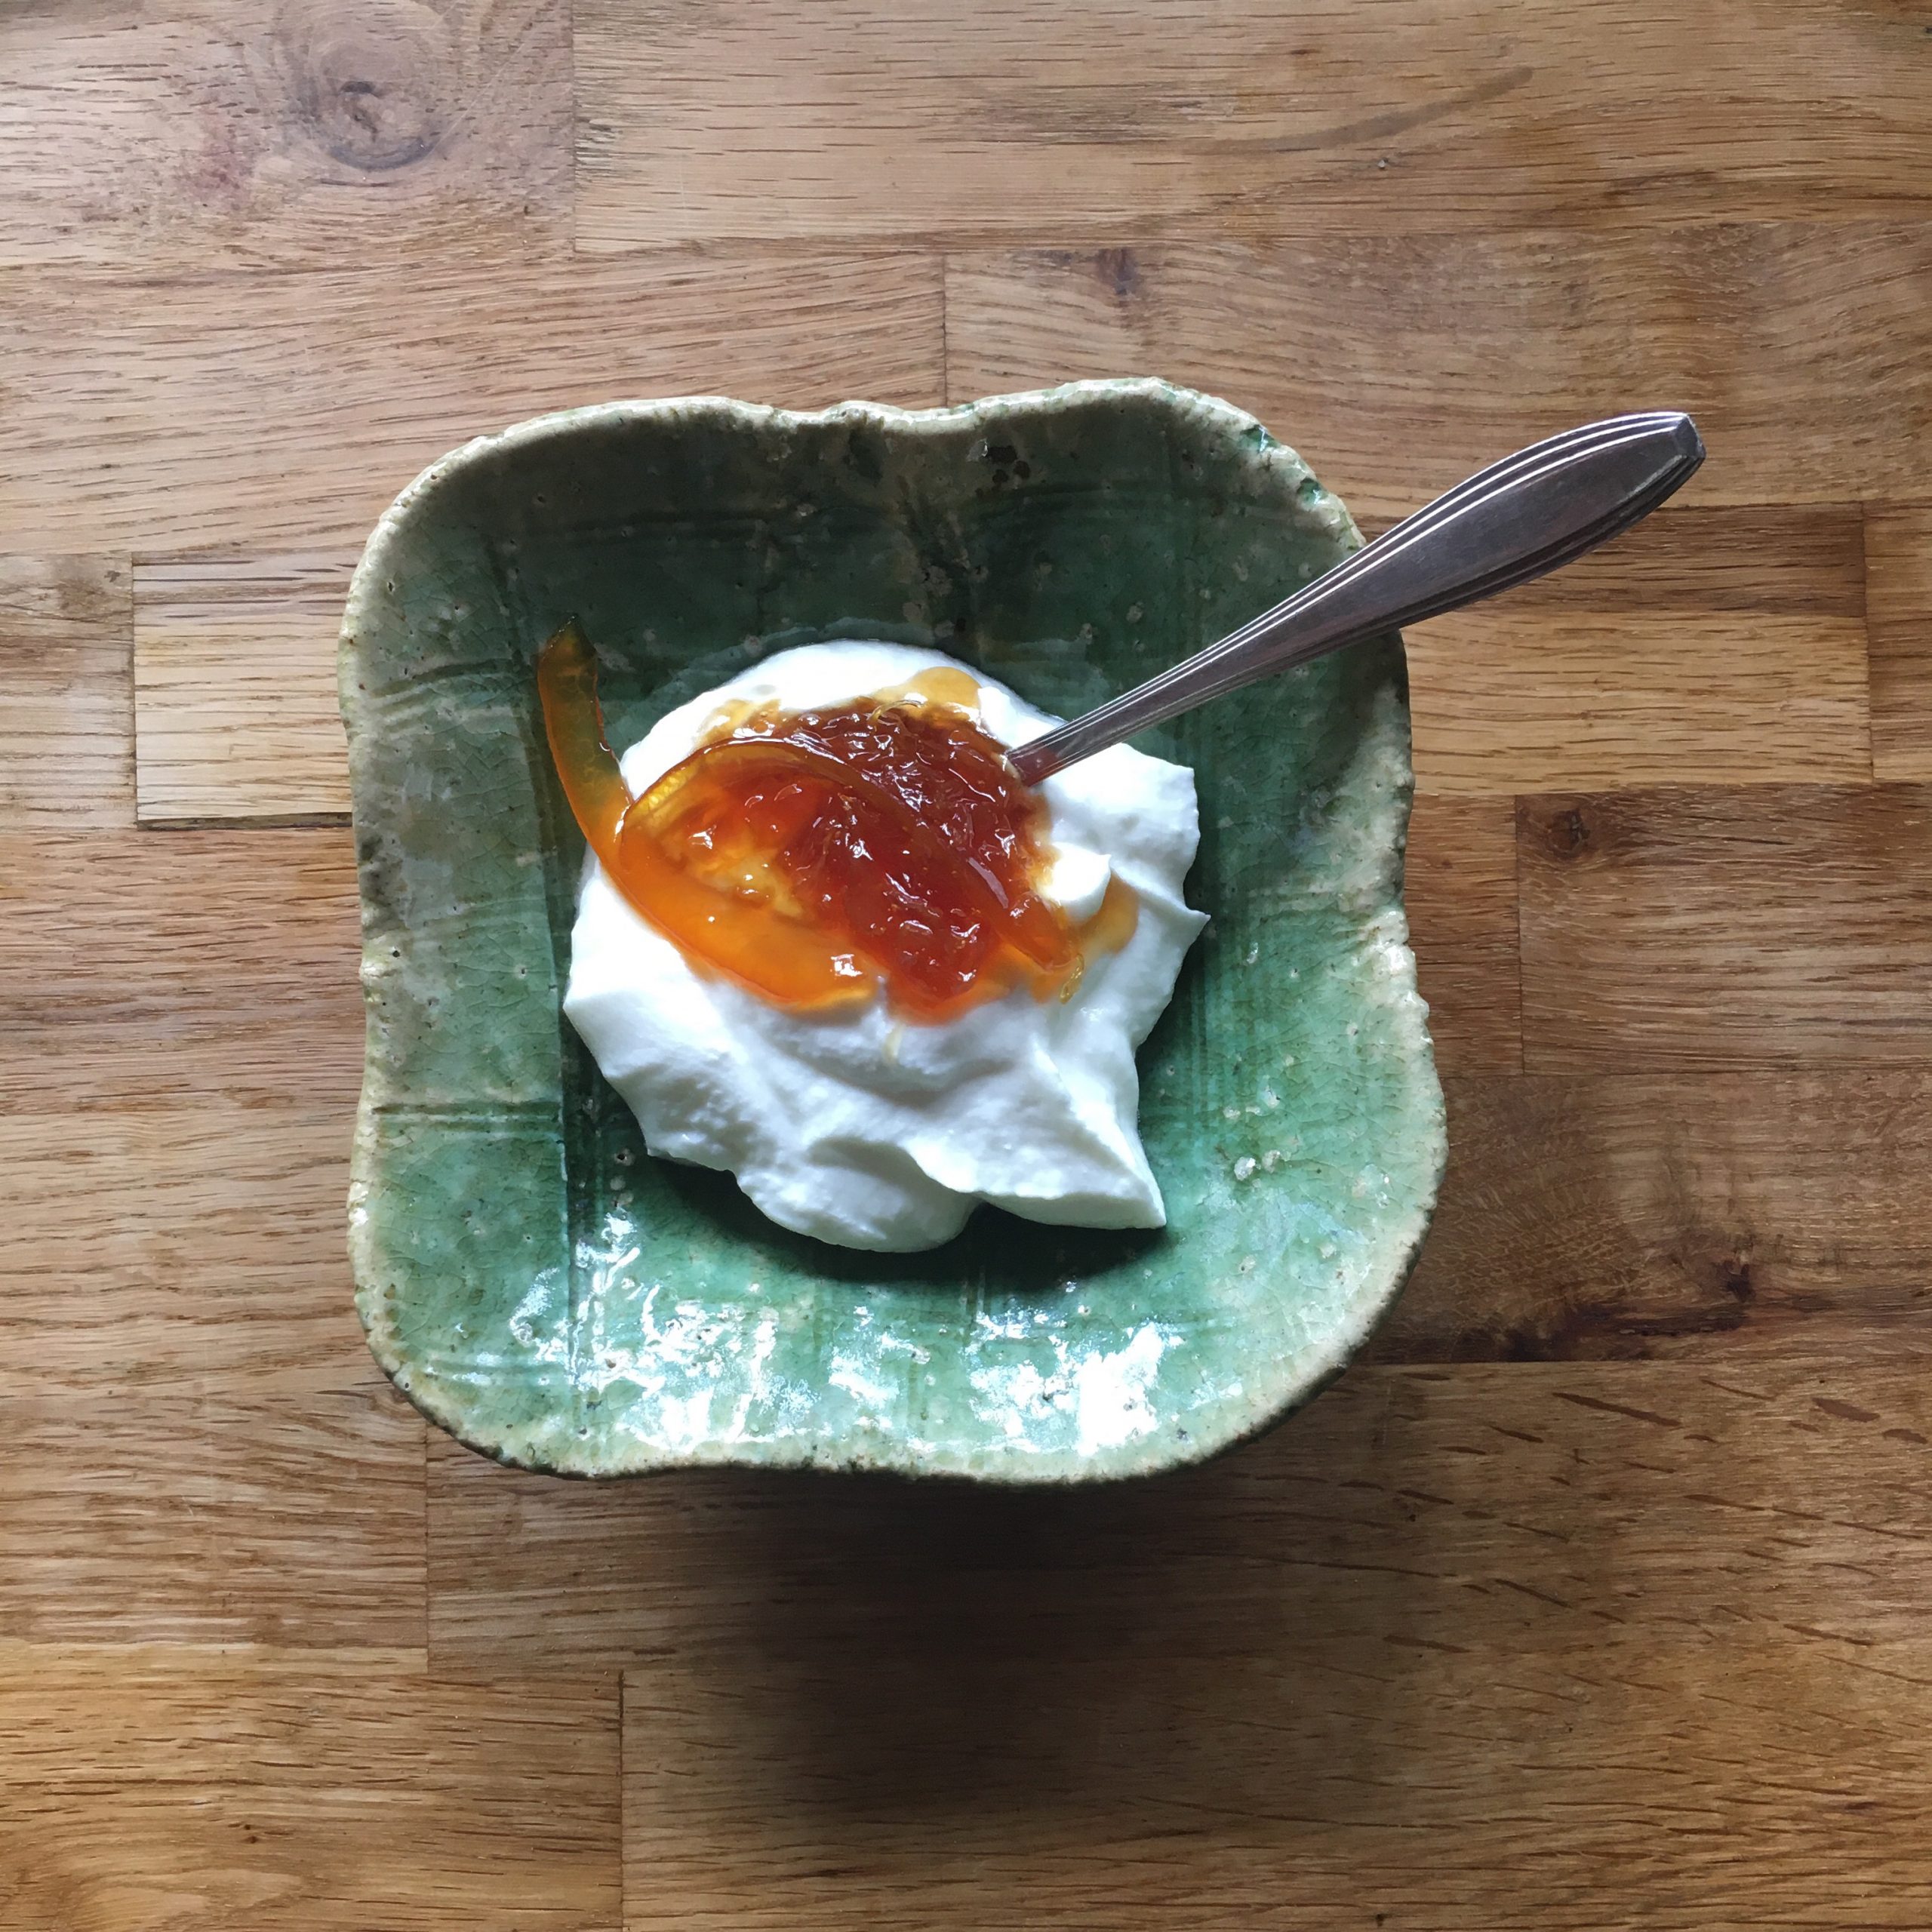
But in the end we love the raw fruits so much, plain and simple, that apart from a little batch of marmelade, but I’m no good to teach anyone how to make it, rather I should learn myself, I made a lot of candied peels after we’ve eaten the flesh. Though we eat little sugar, I love candied fruits and citrus peels of sorts candied. At that, I think I can proudly say that I am not bad! I have learned patience and it is paying off! So here’s my recipe, but if you don’t have hasaku, it works with any other citrus fruits. I personally like the thick skin of hassaku, but lemon, orange, yuzu… they all can work perfectly too. You just need to be sure that your fruits are untreated before and after harvest, that’s why I only candy peels of fruits I am sure about.
Citrus fruits candied peel
Untreated citrus fruits of your choice
Sugar ( I use only untreated brown cane sugar)
Water
Patience
Dark chocolate (optional)
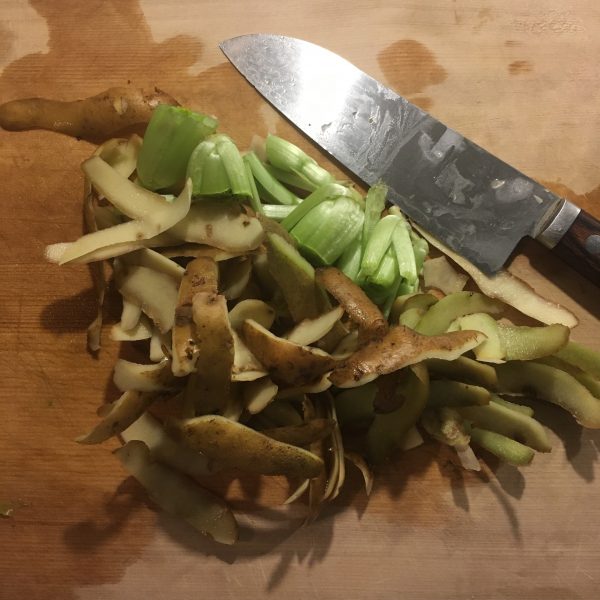
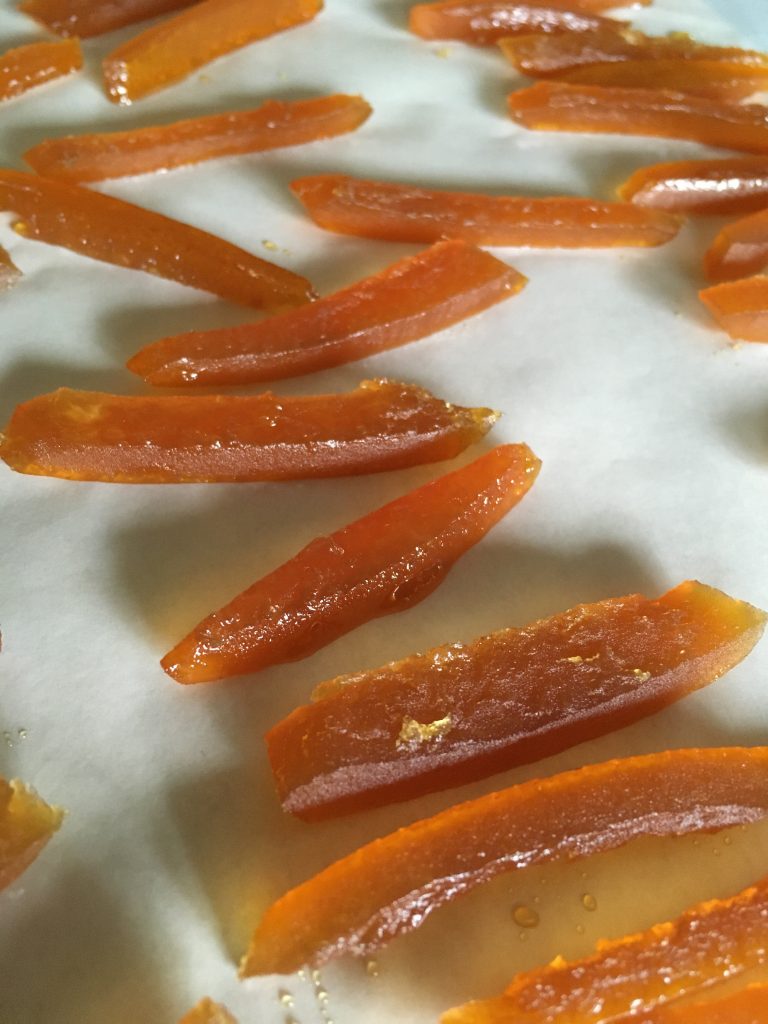
Candied peels work in any batch size. Wash and dry your fruits. Peel them being careful to be as close to the flesh as possible. Remove any possible fibers layer. Cut the size you like. I like thick ones so that they are almost a square section.
In a pan set the peels. Pour water in a measure cup. From that cup pour into the pan to cover the peels. Check how much you poured in. Add the same volume of sugar to the preparation. Bring to a boil, let on low heat for 15 min. Let cool down in the pan for two hours at least, longer is good. The peel will start to loose their opacity. Bring to a boil again, and cook at low heat for 10 min again. If the liquid is to little add just a bit of water. Let cool down again, and repeat the heating/cooling until the peels are translucent adding just a bit of water not to burn them and such that the syrup doesn’t turn into caramel. When perfectly translucent, heat a last time and move the peels from the pan to a clean surface. I use cooking paper. Let cool down. Now they are ready. You can store them or dip them in chocolate, roll them in cristal sugar (but really, they don’t need anymore sugar!)… I love them just the way they are, A. likes them coated with chocolate…
Some days are just like these… you have an idea in mind and it just doesn’t get away… it sticks in your head and even though work is busy the idea keeps lingering until satisfied. This is exactly what happened with this giant bundle of leek I had sitting on the kitchen table. I pictured them nicely cooked and golden and set on a dough… but what kind of dough??? A puff pastry would have been good but then that would postpone eating the leeks… a pizza dough would be the same… a regular sable or short crust pastry would be too crispy…
That’s when I remembered about a leftover of brown rice I had. And I love brown rice dough. It gives texture and a delicious flavor. But that still wouldn’t make it soft as a pizza dough. No problem, I added a bit of baking powder, resulting in a new texture for the dough rolled 2mm thin. The rice gave a granular texture as plan, the baking powder a fluffy one as plan too. This totally improvised recipe was a total hit! And we were so curious about trying it that I didn’t even took a good shot of it! 🙁 but I surely will make some again soon, before the leeks are gone for good, because spring is just around the corner. The red plum tree is in full blossom and the other plum trees are in full bud ready to burst at anytime now!
Leek tart (4 servings)
1cup of brown rice, cooked
100g of flour
4tbsp of oil (or butter)
a bit of water
1tsp of baling powder
Salt and pepper
5 large leeks
Attention the brown rice needs to be cooked prior to starting the recipe!!!
Wash and cut in strips the leeks. In a pan grease cook then at low heat until soft and golden. If you want to make the process a bit faster add a bit of water now and then.
While the leeks are cooking, pre-heat your oven to 200deg, and in a bowl mix the flour, oil, brown rice. Add the baking powder and a bit of water. Knead until the down is homogeneous. You can water if you fill it is too stiff. Roll the dough to the shape you want about 2-3mm thick. Top with the golden leaks, and set in the oven for 15-20min. Enjoy!
Many of you may be familiar with golden milk, this Indian drink with turmeric and milk, rooted in Ayurveda. Not that I am a fan of it, but borrowing the idea, I prepared myself a warming and bright lunch on a snowy day. Snow doesn’t fall often in Tokyo. Usually once or twice a year in January and March. It is very sudden, it snows a lot for a few hours to cover everything under a beautiful white blanket, and then the next minute is sunny and the blanket melts into a mess of mud and ice. But for a few hours it is magic. The city becomes suddenly quiet.
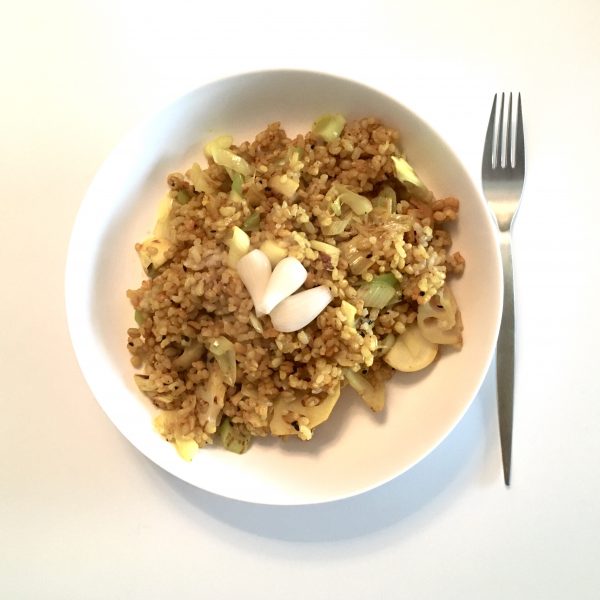
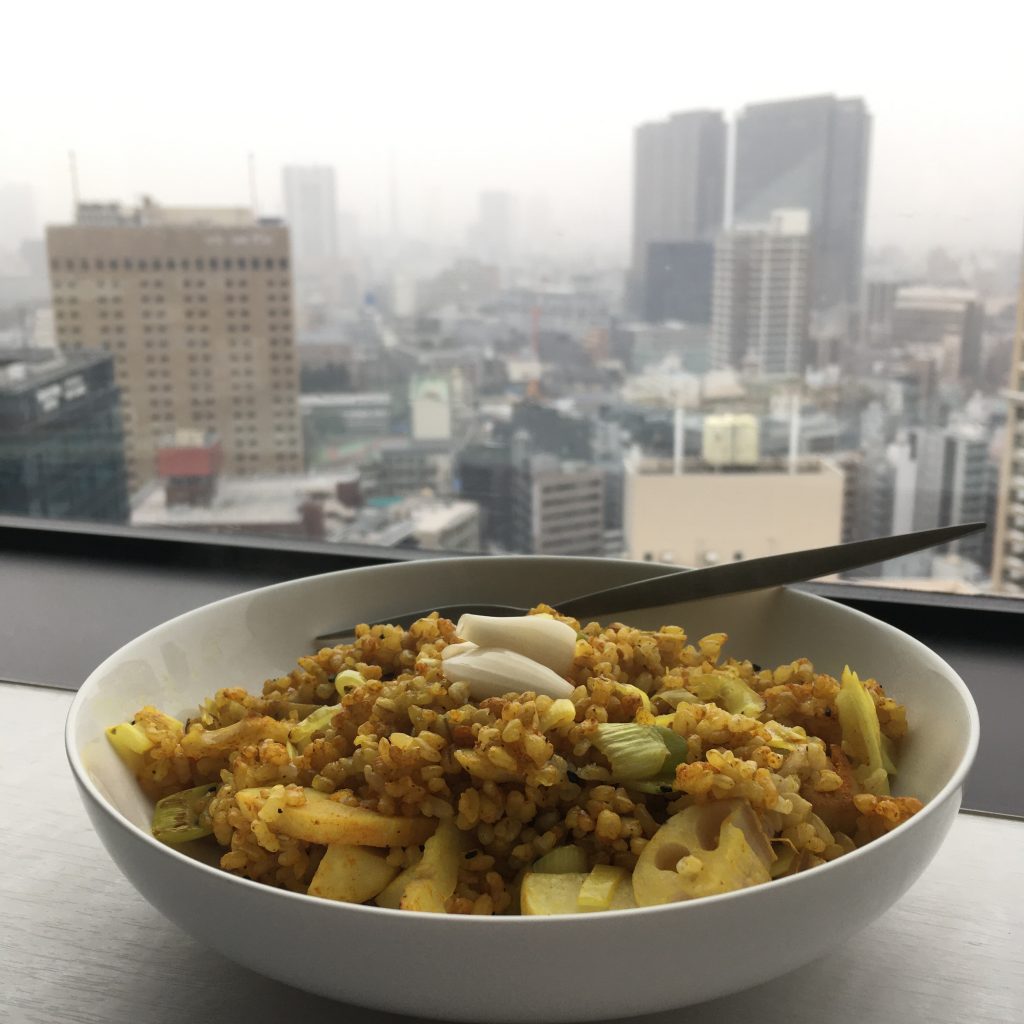
So before going outside for a walk, what best then having a warm lunch? A what if it is not only warm, it is also bright and full of flavors? That’s how I came up with this golden sautéed rice recipe.
Golden rice (2 servings as main dish)
1 cup of brown rice
1 or 2 leaks
3 little turnips or 1 large
1 little lotus root
1tsp pf curry powder
2tsp of ground turmeric
Ground black pepper
A punch of salt
1tsp of vegetal oil
6 rakkyo (optional)
Cook the rice. Wash and cut the vegetables. In a pan large enough, heat the oil, add the vegetables and cook while steering. Add the rice, the spices and pepper and steer very well. Serve and top with the rakkyo. Eat while watching the cold outside!!
I always feel excited when the days are becoming short and colder. Spending time outside when the sun is high, and as soon as the sun sets down, it is time to sit for hot spicy tea, a slice of cake or a piece of something comforting. I bake Provencal pompes a l’huile, panettone, or brioches. This is an habit I took when we were in Florence, and I cherish it very much. I also like to go for a walk at night and see the illuminations. Tokyo is really good at creating a festive atmosphere, would it be for the new year, the cherry tree blooming, the summer fireworks… there is always a good reason to decorate and makes us feel like little children.
Christmas decorations at Mitsukoshi Nihonbashi
But when I look at western magazines and IG feeds, it is all about festive food, or so-called, but it is just an accumulation of decadent food, that I must say is a mood killer for me. Rich buche de Noel or Christmas cakes, menus with heavy terrible food such as foie gras, or very creamy things I am just running away from these. I don’t like most of the fancy food: truffles, caviar, oysters, foie gras. and all these pictures instead of appalling to me they only make me crave for simple food, nourishing and warming yet elegant.
This is when I make more often than ever ochazuke and soups with vegetables and grains. I really love a warm bouillon with some nourishing pasta or rice or chickpeas, lentils, spelt, beans… Today I came up with a super delicious recipe, so I am very happy to share it now!
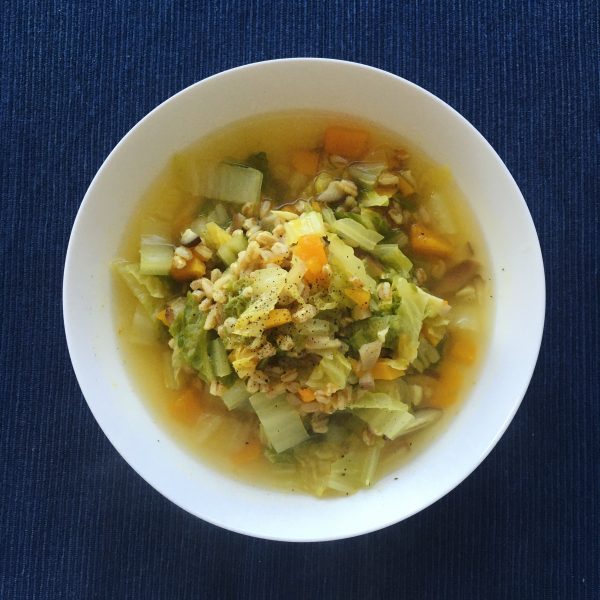
Farro winter soup
1cup of farro
1/4 of Chinese cabbage
1/4 of butternut squash
8 shiitake
1tsp of turmeric
1/2tsp of ground cumin
1/2tsp of cumin seeds
Wash the cabbage and chop it. Same with the shiitake. Peel and cut the butternut. Put them all in a pan and amply cover with water. Add the farro. Cook at high heat to bring to a boil, then cook for 30min at medium to low heat. Verify that there is still enough liquid, add some if necessary. Add the turmeric, the cumin powder and seeds, a big of salt and pepper. Give a good but gentle stir and serve. Eat hot. No need for an drizzle of olive oil in my opinion but you can add one if you want !
As much as I do!!! I’ve always loved lemons, and lemon juice. In France and in Italy when every one goes to the cafe to have an expresso, I would either have a freshly squeezed lemon, when it’s cold in winter, with some hot water in it. That’s really something I love about cafes, and that, with freshly squeezed orange, is probably the only fresh thing you can have.
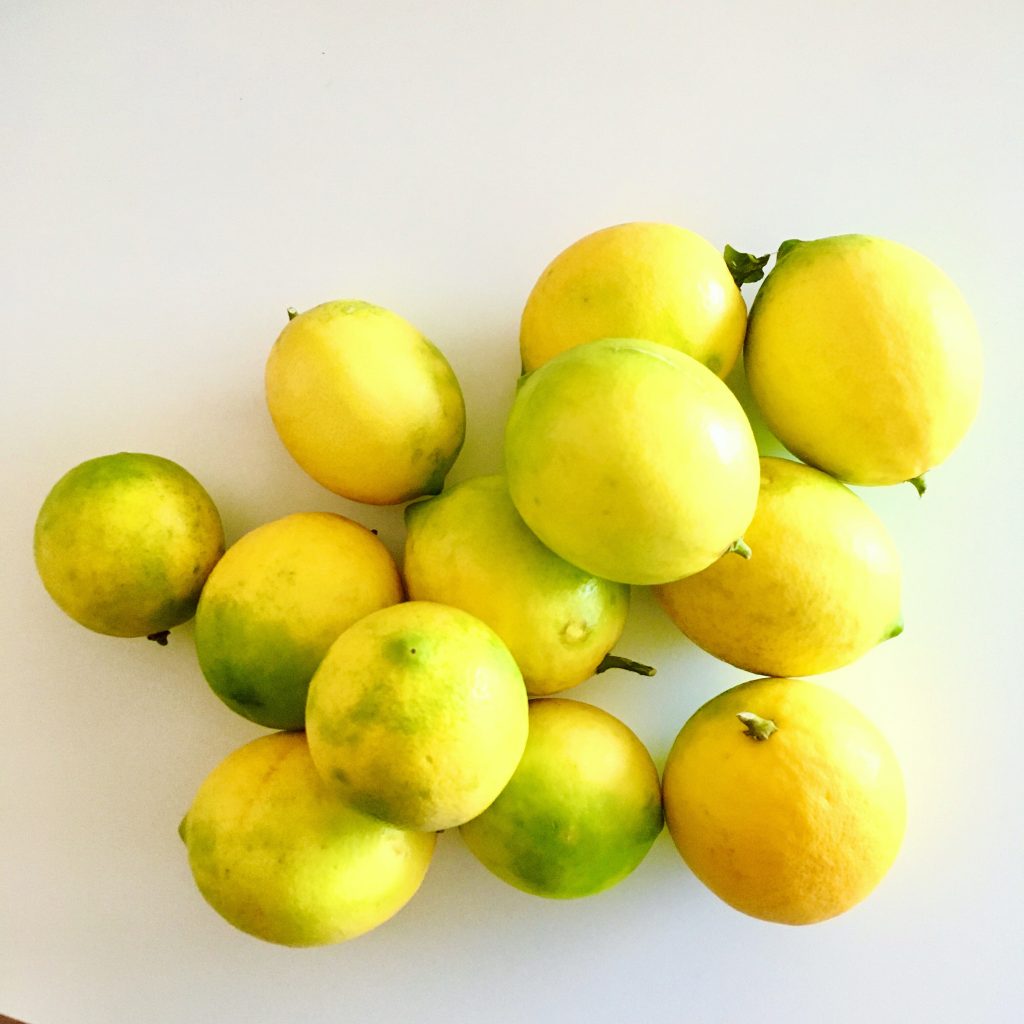
Our lemon tree this year had a lot of flowers but none went to maturity so we’ll have no fruits. So when my secretary sent me a giant box filled with giant lemons from her garden, I can only be thankful, and super happy. Who doesn’t love no chemical at all grown vegetables or fruits???
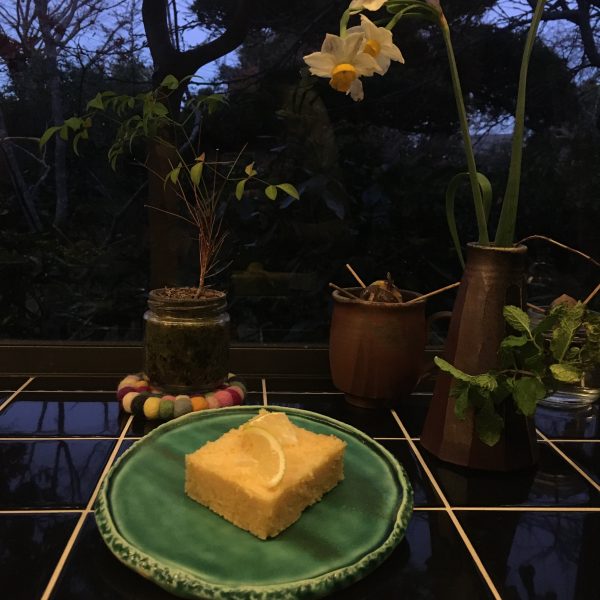
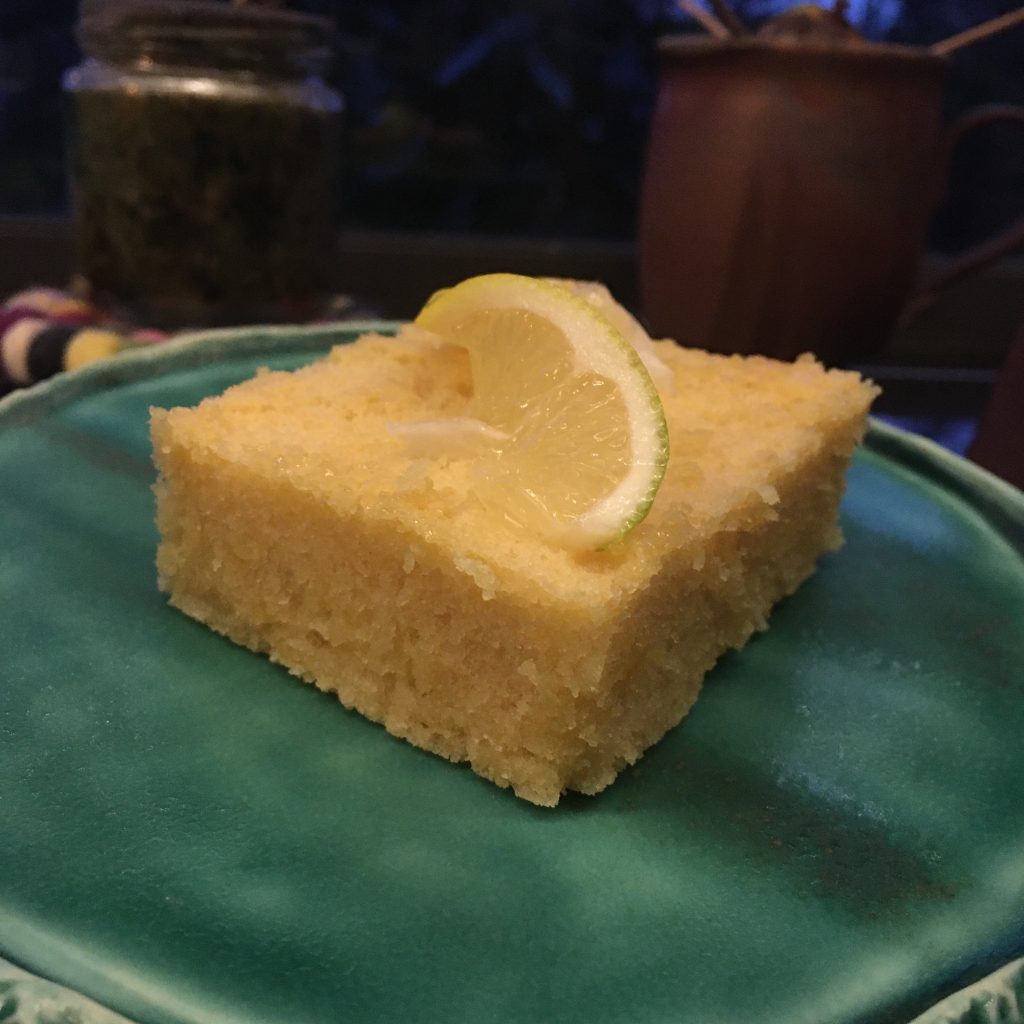
It took me a bit of time to think about what to cook… I love lemon tarts, lemon cakes, lemon squares… but I wanted to try something else… so while sipping hot lemon, I browsed the net for some recipes and found a lemon brownie recipe. Buttery and sweet, that would be a hit with A. No doubt!
Except that the recipe I found was a little odd: they didn’t say when to put the sugar, the proportion of butter was just too much and all sounded a bit awkward, so while using a classic chocolate recipe I came up with my own lemon brownie recipe, and it was great (lucky I cut the butter by a fourth, it is already very buttery!!!)
Enjoy! It is really super easy!!!
Lemon brownie (makes a large pie dish for at least 6 pieces)
180g of flour
150g of sugar
150g of butter
4 eggs
The zest of one large lemon or two small
The juice of one large juicy lemon or two smaller or less juicy
A pinch of sal
A pinch of baking soda
Melt the butter. In a large bowl mix the flour, the salt, the baking soda and the lemon zest, add the butter and stir.
In another bowl, whisk the eggs, the sugar and the lemon juice. Add to the previous bowl and stir. Set in a buttered and floured pie dish to have about 1.5cm thickness.