In France, the early summer is the end of the school year, and more than often children go on day trips. In which case parents should provide a lunch box. I have no idea what today’s lunch boxes look like, but when I was a child (saying that feels like I 80 years old or something!!!!), one very popular recipe for the lunch box was “rice salad”. There were two main versions: the cheese and ham one, usually with mayonnaise dressing, and the tuna one either with mayonnaise or olive oil. I personally liked the later best. With a piece of fresh local bonito, some cooked rice, and summer vegetables plenty, the menu for dinner tonight was all set: it would be a classic rice salad. Of course rice is a key ingredient in the recipe and I wasn’t sure it would work well with Koshihikari rice, but it is truly perfect.
For the other ingredients, that would be normally can-ready food: corn, tuna… but I don’t by much canned food, and it is the season for delicious local corn now. And it makes a much much better meal. Almost fancy!
Here is my recipe.
Rice salad (2 servings, one dish meal)
1/2 cup of rice
1/2 fresh corn
1/2 filet of fresh bonito
1 tomato
1/2 cucumber
Olive oil
Salt and pepper
1 leave of laurel
First, cook the rice, and boil the corn.
In a pan set the bonito filet, some olive oil and salt, pepper, laurel add a little of water and cook slowly under cover.
Dice the tomato and the cucumber.
In a large bowl, set the rice (much better if it has had time to cool down. Generously splash olive oil and stir. Add the tomato and the cucumber. Stir again. Once the corn is cooked and had cooled down, add the husked corn, pull the bonito, like you would do with pork and add too. Stir, add salt and pepper if you feel it’s needed. Enjoy at room temperature or chilled.
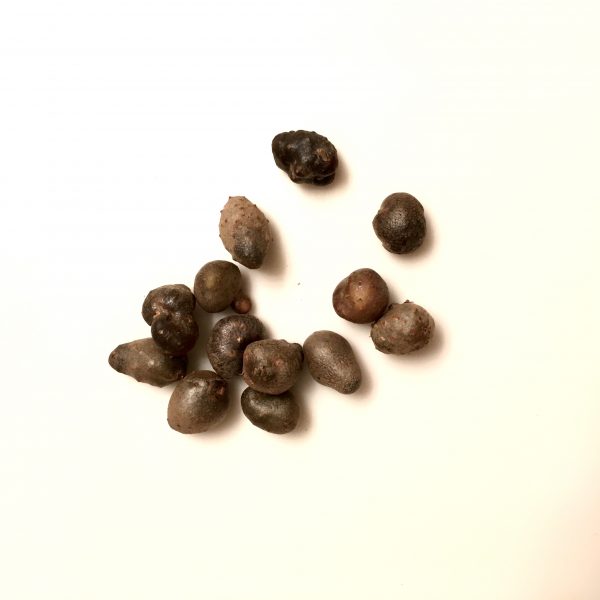
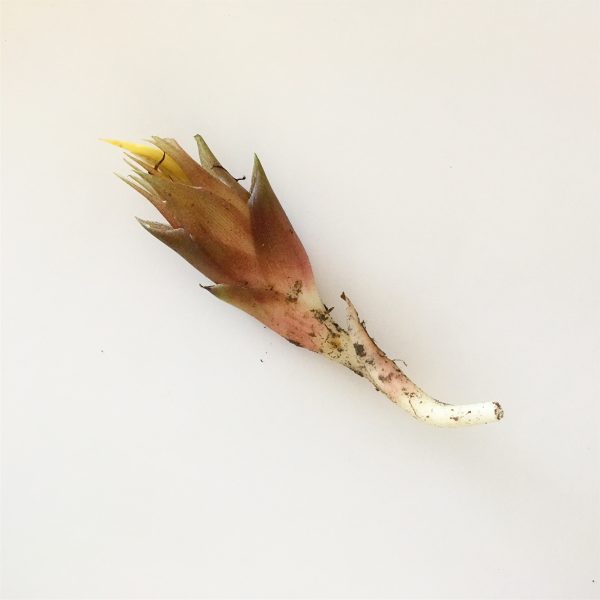
So…if you have read my previous post you may have read that in Kanazawa I bought some mysterious food (I don’t know if we can call it fruit or vegetable…): propagule-ムカゴ-mukago. It looks like a tiny potato with a darker skin. It’s the “fruit” of the Japanese mountain yam-山芋-yamaimo. It wasn’t the first time I saw some but never ventured in trying cooking them before and they are local in Kanazawa, so it made sense for me to try there.
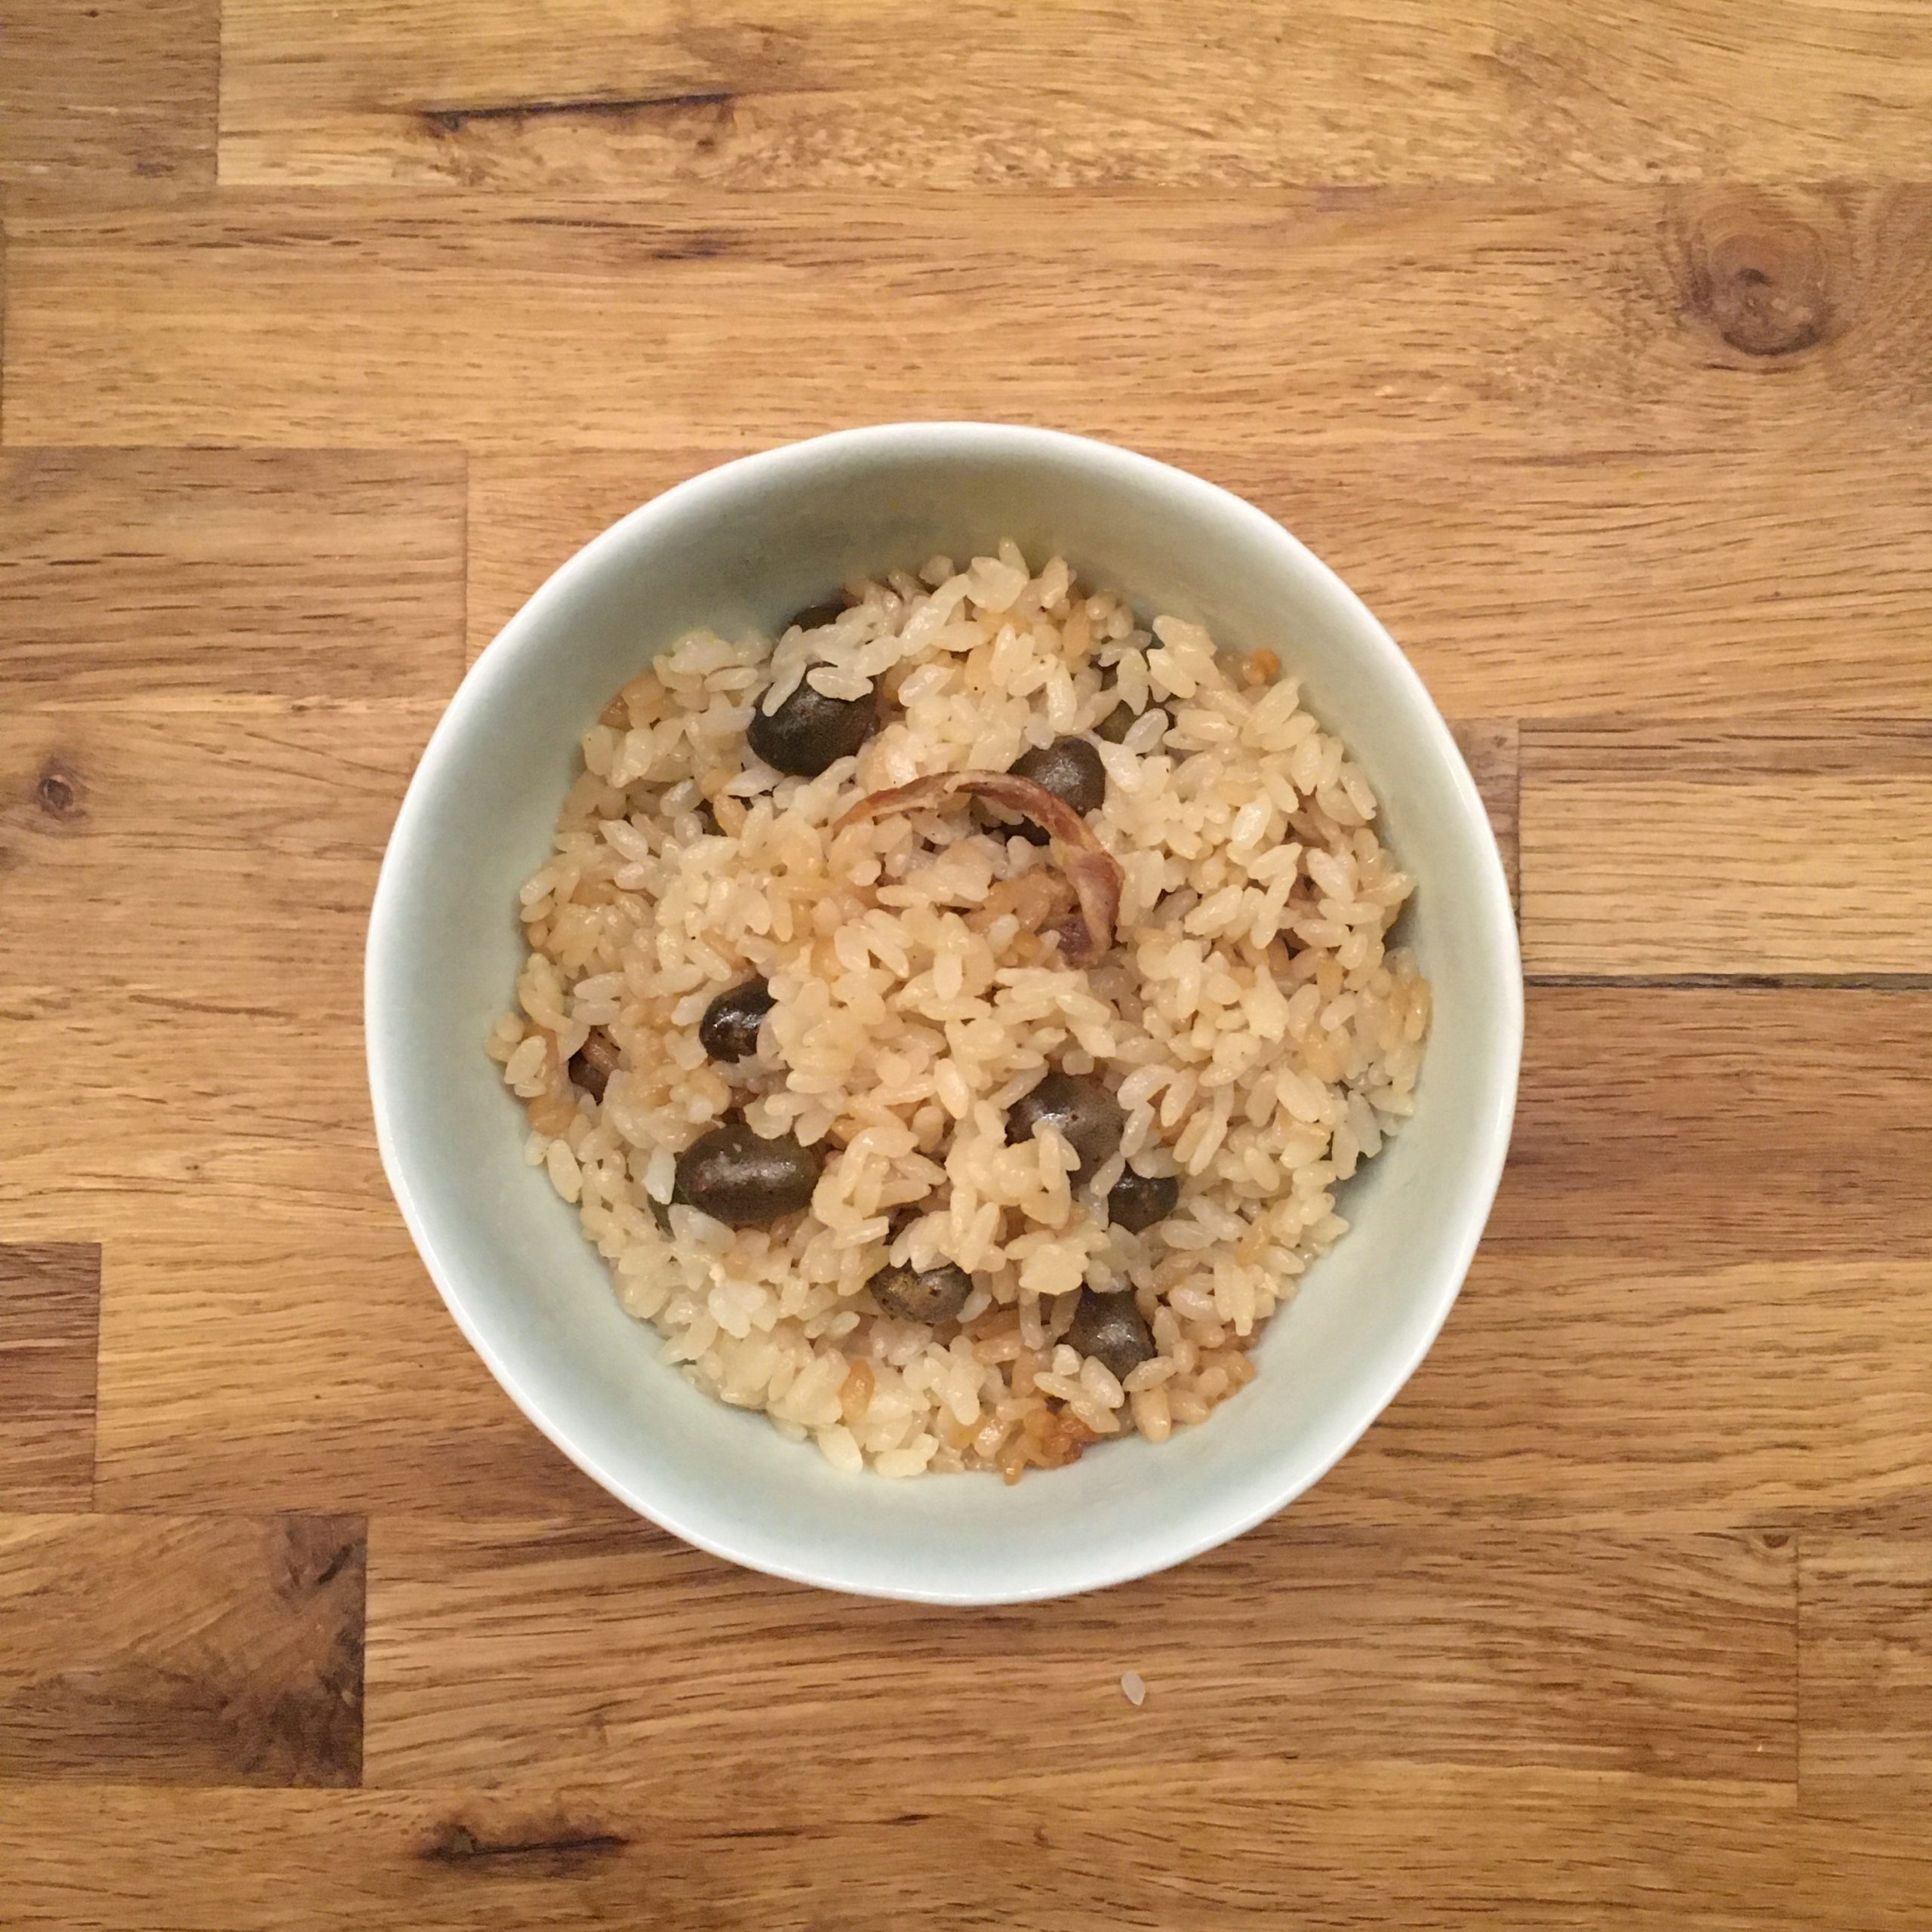
As many of the food in Japan, the first recipe that comes to mind is to cook with rice. Mukago are no exception. I was recommended to cook them with rice and a piece of bacon. That seemed simple enough to try right away. However, recently I have been having a hard time finding good local bacon, the pork is usually imported-輸入-yunyu, and that I don’t buy… so instead I decided to buy fresh pork belly, and cook it with salt and pepper, not exactly the same thing as bacon but close enough and at least it is easy to find local fresh pork.
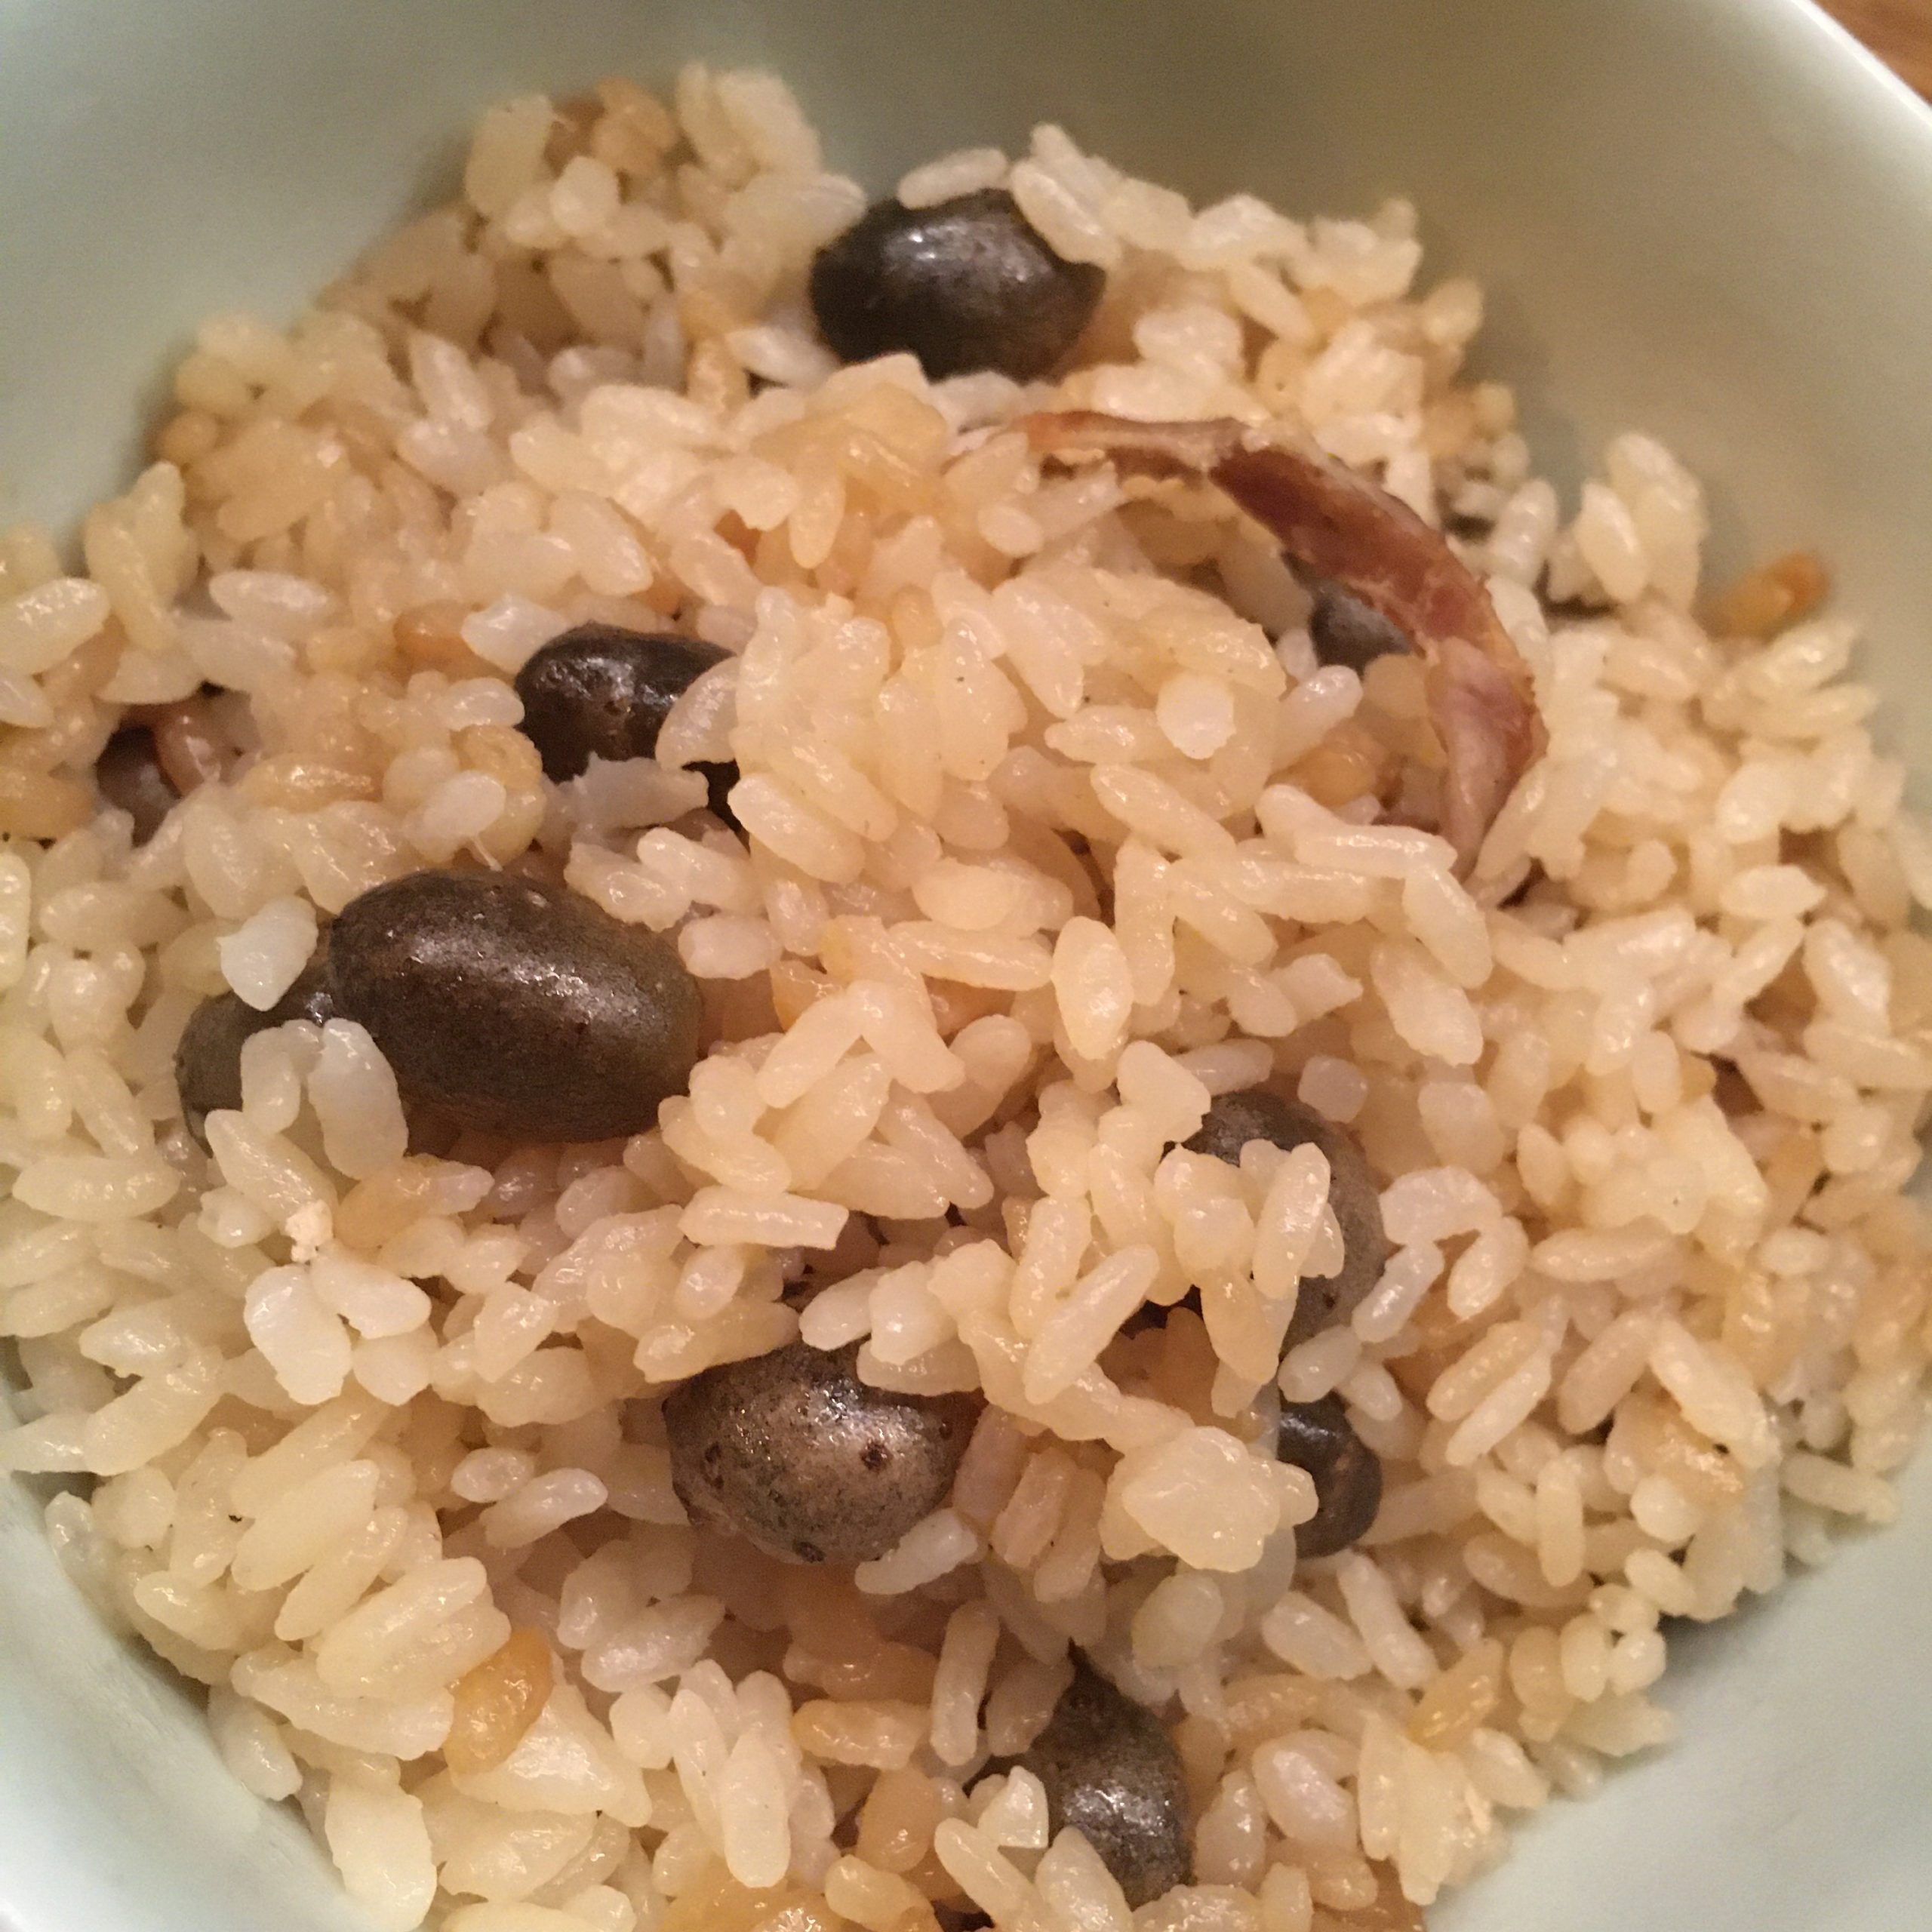
Mukago rice was a huge hit with A., much more than I expected!! Actually mukago are amazingly delicious. They have a very nice complex texture, a very subtle flavor with violet and flowery notes, very sophisticated. I instantly loved them!
I need some thinking and testing to understand in what kind of preparation they could be good. I tried in vegetables stew, but found that their flavors was suffocated by the other vegetables. It could be that rice is their best friend!! I’ll more investigations… in the meantime here is the mukago rice recipe. Enjoy!
Mukago rice ムカゴご飯 (4 servings)
300g (2合-gou)of Japanese rice (I exclusively use Koshihikari from Isumi or Onjuku, but any Japanese rice is ok)
200g of bacon (slice or block)
1cup of mukago
Rinse the mukago.
Wash the rice.
In a large and thick pan or in a rice cooker bowl put all the ingredients. Add 400ml of water and cook. If you use a rice cooker chose the takikomi-炊き込み option if you have one. If you cook in a pan, start at medium heat until the first boil. Then cover and cook at low heat for 30min (check eventually that it’s not too quick nor too slow, and adjust timing, but don’t stir…) then stop heating but let rest for 5more minutes before serving.
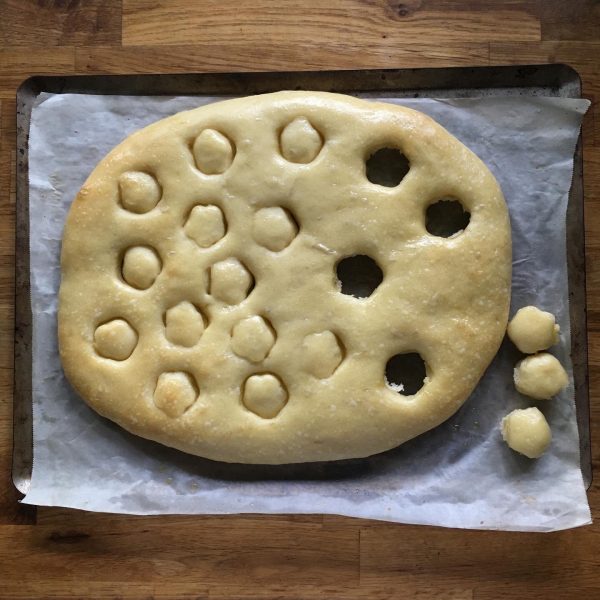
When I was a child, my mum would come to pick us at school for lunch, then we would walk to the car and somedays, on the way stop to buy some bread at Mr. Richard bread shop. And one bread in particular, fougasse. His signature fougasse unless most other bread shop was not the one with olives, or whatever else you can put in, it was the simplest plain fougasse, and instead of the classic shape it would little hearts cuts and you could pull the little hearts of bread. We lived to eat the little hearts on the way back to the car, and even more when the bread was still warm!!
While fougasse is eaten all year round, I like to have some ready in the summer. It makes the perfect meal with some fresh vegetables and a piece of grilled fish. And it is even more perfect when you have it ready when you get back home after a surfing session at sunset. I love to go surfing on Sunday evening after 17:30, when most day trippers are leaving and you get the ocean for just you, your friends and a couple of regulars. I love driving back home at dusk, seeing the sky becoming purple and the rice paddies turning yellow. And then I am hungry and the fougasse and a fresh cucumber from the garden are waiting to be eaten!
Fougasse
250g of flour
20g of olive oil plus some for the finish
20-30g of sourdough starter
8g of salt
70g of water (may need adjustment depending on flour and sourdough)
Mix all the ingredients and knead lightly. If the dough is too dry add a bit of water, if too wet a bit of flour. The dough must be rather hard and have not much moisture.
Wait a few hours until it has grown.
Then flatten the ball with the hand and wait 15 minutes. After that, roll the dough with a cooking pin to obtain an oblong shape of about 2-3cm thick. With a shaped cutter of the shape you want, I chose plum because I didn’t have hearts like Mr. Richard’s fougasse, cut a few places with the design you fancy.
Bake at 230deg for 15min or until golden. When out of the oven spread a layer of olive oil with a brush.
A few weeks ago I started to think about how much I love the French gingerbread called pain d’épices, that I don’t recall seeing any in Japan and that I never made some… It is heavy in the hand, yet light when eaten, with a beautiful golden color and flavors and aromas that sparkle in the mouth, and the texture is a very melting one. One of my favorite pain d’ épices of all time is that of my horse ridding teacher. She has a gift not only for gardening but also for cooking sweets. In summer during intensive training camps, she would bake while we would play around with the horses, and make fruits charlottes with the fruits from the orchard. In the fall or winter she would make pain d’épices. I was so found of it that I remember asking her the recipe, and she told me she just mixes 1kg of flour with 1kg of honey. I was probably 12 when I asked but I still remember this recipe because it didn’t make sense for me at the time, honey and flour, that’s it, really??? and I never tried, too scared of wasting 1kg of honey!
But when I started to look at how to make pain d’épices how surprised was I to see that, this is indeed the recipe for classic pain d’épices from Reims. What I didn’t know then was that the mix, with spices added, should be kept days or weeks to start the fermentation that will guarantee the fluffiness. Last year I would probably have been very skeptical trying such an attempt, as I was not very sure how all this fermentation worked, but since I made my sourdough Lois I feel a lot more confident to do flour base fermentation. Finally, last week I decided to start the experiment and prepared a mix of 600g of flour and 600g of honey together, some said that adding the spices at that stage would increase the development of aromas, so I added them too. I left the preparation in a container under a lid the whole week at home (with the winter temperatures settling in, the house temperature is about 5 to 9 now, so no big risk of seeing things rotting, or mold developing!!!!) And today I just found my mixture, it hasn’t changed much but it is not looking bad at all so I prepared it and baked it. The result???
A perfect pain d’épices! The look, the color, the texture, the smell… Exactly as you would find on in France, a happy A. and a happy me, eaten it with a cup of Christmas tea at tea-time or for breakfast. We even used it for toasts with cheese for me and some pork paté for A. and we were very satisfied. The recipe is very simple and except for the one week wait it is very simple to make. Definitely a must do again one. This recipe is will become a new classic like my pompe a l’huile.
Pain d’ épices (1 big loaf or 2 smaller)
600g of flour
600g of pure honey (liquid is easier but creamy can work too)
1tsp of ground cardamom
1tsp of ground cloves
2tsp of cinnamon
1 ping pong size piece of fresh ginger, pealed, grated or chopped thinly (I use fresh ginger because it is easy to find and I just chopped it roughly but you may use ground ginger, then 1/2tsp should be good enough)
water
additional 1/2tsp of baking soda (if your rise time is short)
About 5days to two weeks before you want to bake your pain d’epices prepare the dough. For that, in a container with a lid mix the honey the flour and the spice. If your honey is really to creamy and hard too work you can melt it in a pan at very low heat to liquify it. Stir to incorporate all ingredients. I used a spatula to do that as the mix is way to sticky to put hands in. One everything is well incorporated put the lid on the container, and let rest for as long as you want, but at least a few days.
After a few days, the spices may have start to color the dough a bit but it may not have changed much otherwise. When you want to bake your pain d’epices, pre-heat your oven to 150deg, just add a little of tepid water to the mix to soften it and knead. The dough is sticky but not terribly sticky. If you think your rise time is rather short (just a few days), you may want to add a little of baking soda now, to ensure perfect fluffiness. Knead and add water to obtain a compact yet smooth dough. Using parchment paper set in a cake dish or split in two and make two, or more. And bake for about 2h if you make a big one (check with a knife or stick if the dough is well cooked inside), for 2 smaller, about 1h should be enough.
I made a very large one and baked about 2h at 150deg, but wasn’t sure it was perfectly baked so I finished with 10 min at 180deg just to be sure. Let cool down before cutting and eating.
Pain d’epices normally keeps well, this is tone he purpose of the original recipe. But in our house, we didn’t had time to see how long it can keep!!! We’ve eaten it in a snap!!!
Look at this beautiful color and perfectly dense but bubbly texture!!!
This little wild flower bud is really too delicious and its distinctive flavor quite unique. As you know, from all previous posts, I love it!!!
We are lucky to have some growing wildly in the garden, and it’s quite easy to find some when going for a walk in the woods. Apparently there are two seasons for it, one in spring and one right now in the early fall. Our garden has more of the latter and for me myoga is a fall flavor!
There are many many ways of preparing it and eating it (again, check my previous posts on the topic!). Raw or pickled would be the most common and my favorite. Raw particularly. It is so simple and it goes well with so many things!
Today two super simple recipes with myoga, one is a classic, the second is more one of my classic.
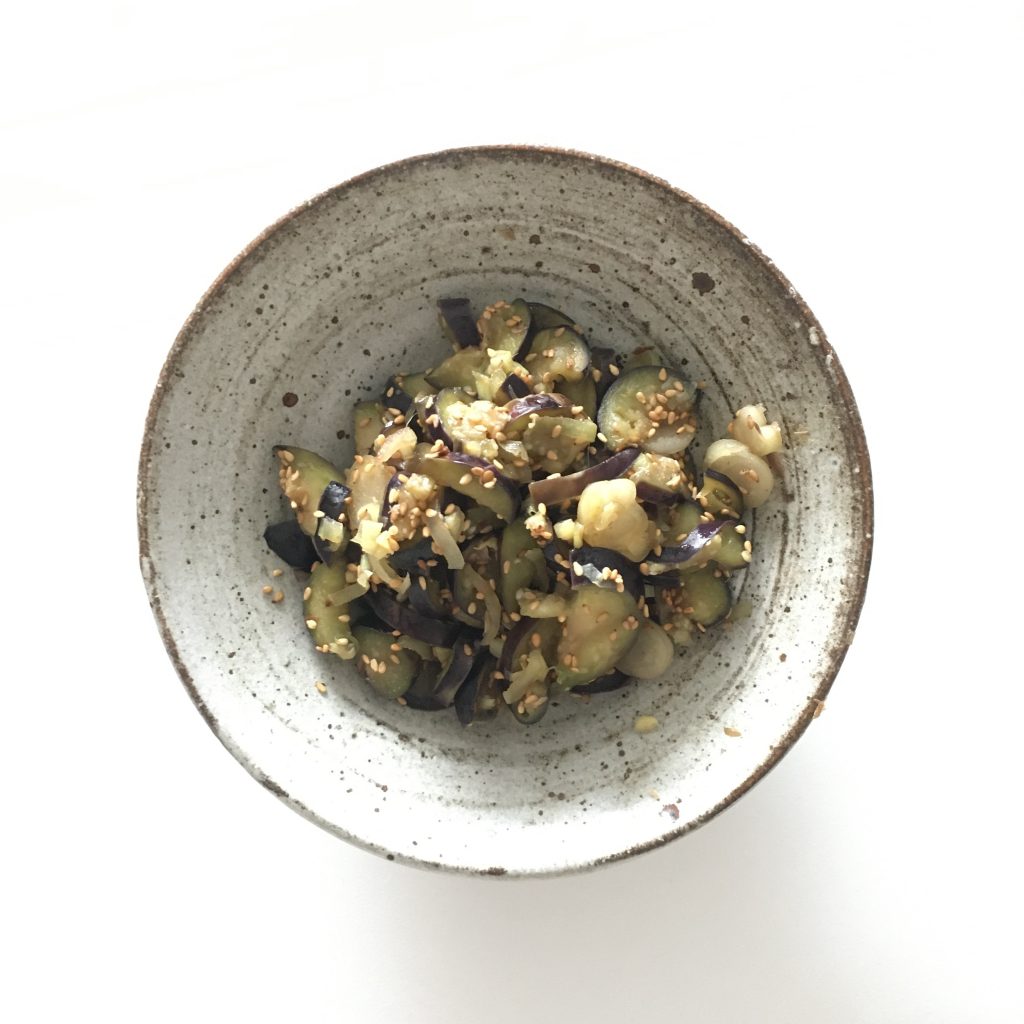
Eggplant with myoga
2 myoga
2 eggplants
1/3 tsp of salt
1tsp of sesame seeds or a handful of katsuobushi
Normally for this you could do it with raw eggplants like I suggested here. But to male it faster, instead of waiting for the salt to slightly pickle the eggplants, I cook them.
Wash and cut the eggplants in their length, then in 4-5mm slices. In a tiny pan start cooking the eggplants, add the salt and stir often. I do not add water nor oil. When the eggplants have softened add the myoga washed and thinly sliced. Stir well. Add the sesame or the katsuobushi. Stir again. Serve and eat now or chilled.
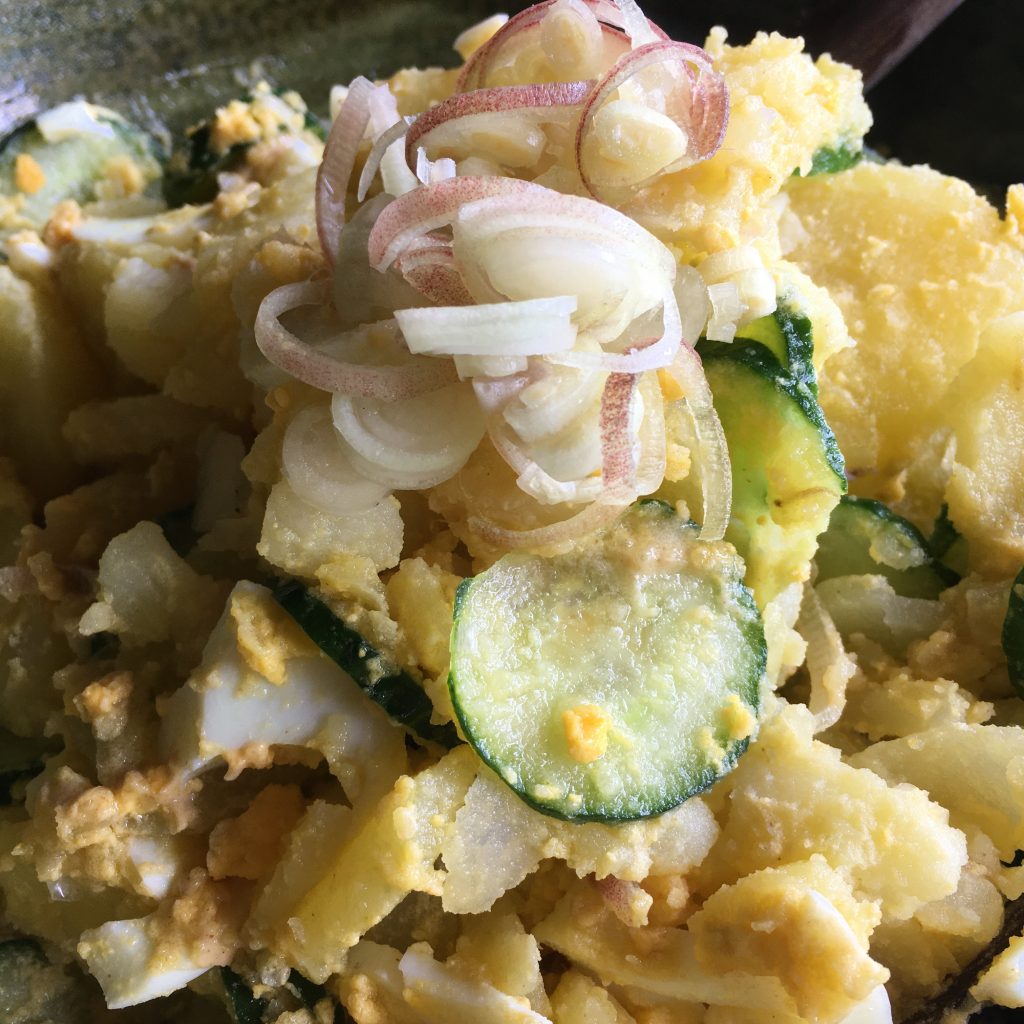
Myoga potato salad
2-3 myoga
1 Japanese cucumber
8 small potatoes
2 eggs
1tsp of mustard
2tbs of olive oil
pepper
Boil the potatoes with the skin and the eggs. When done let them cool down. Wash the myoga and cucumber. Slice them thinly. Peel the potatoes and the eggs.
In a bowl, cut roughly the potatoes and the eggs, add the cucumber and myoga, the mustard and oil. Stir well and serve.
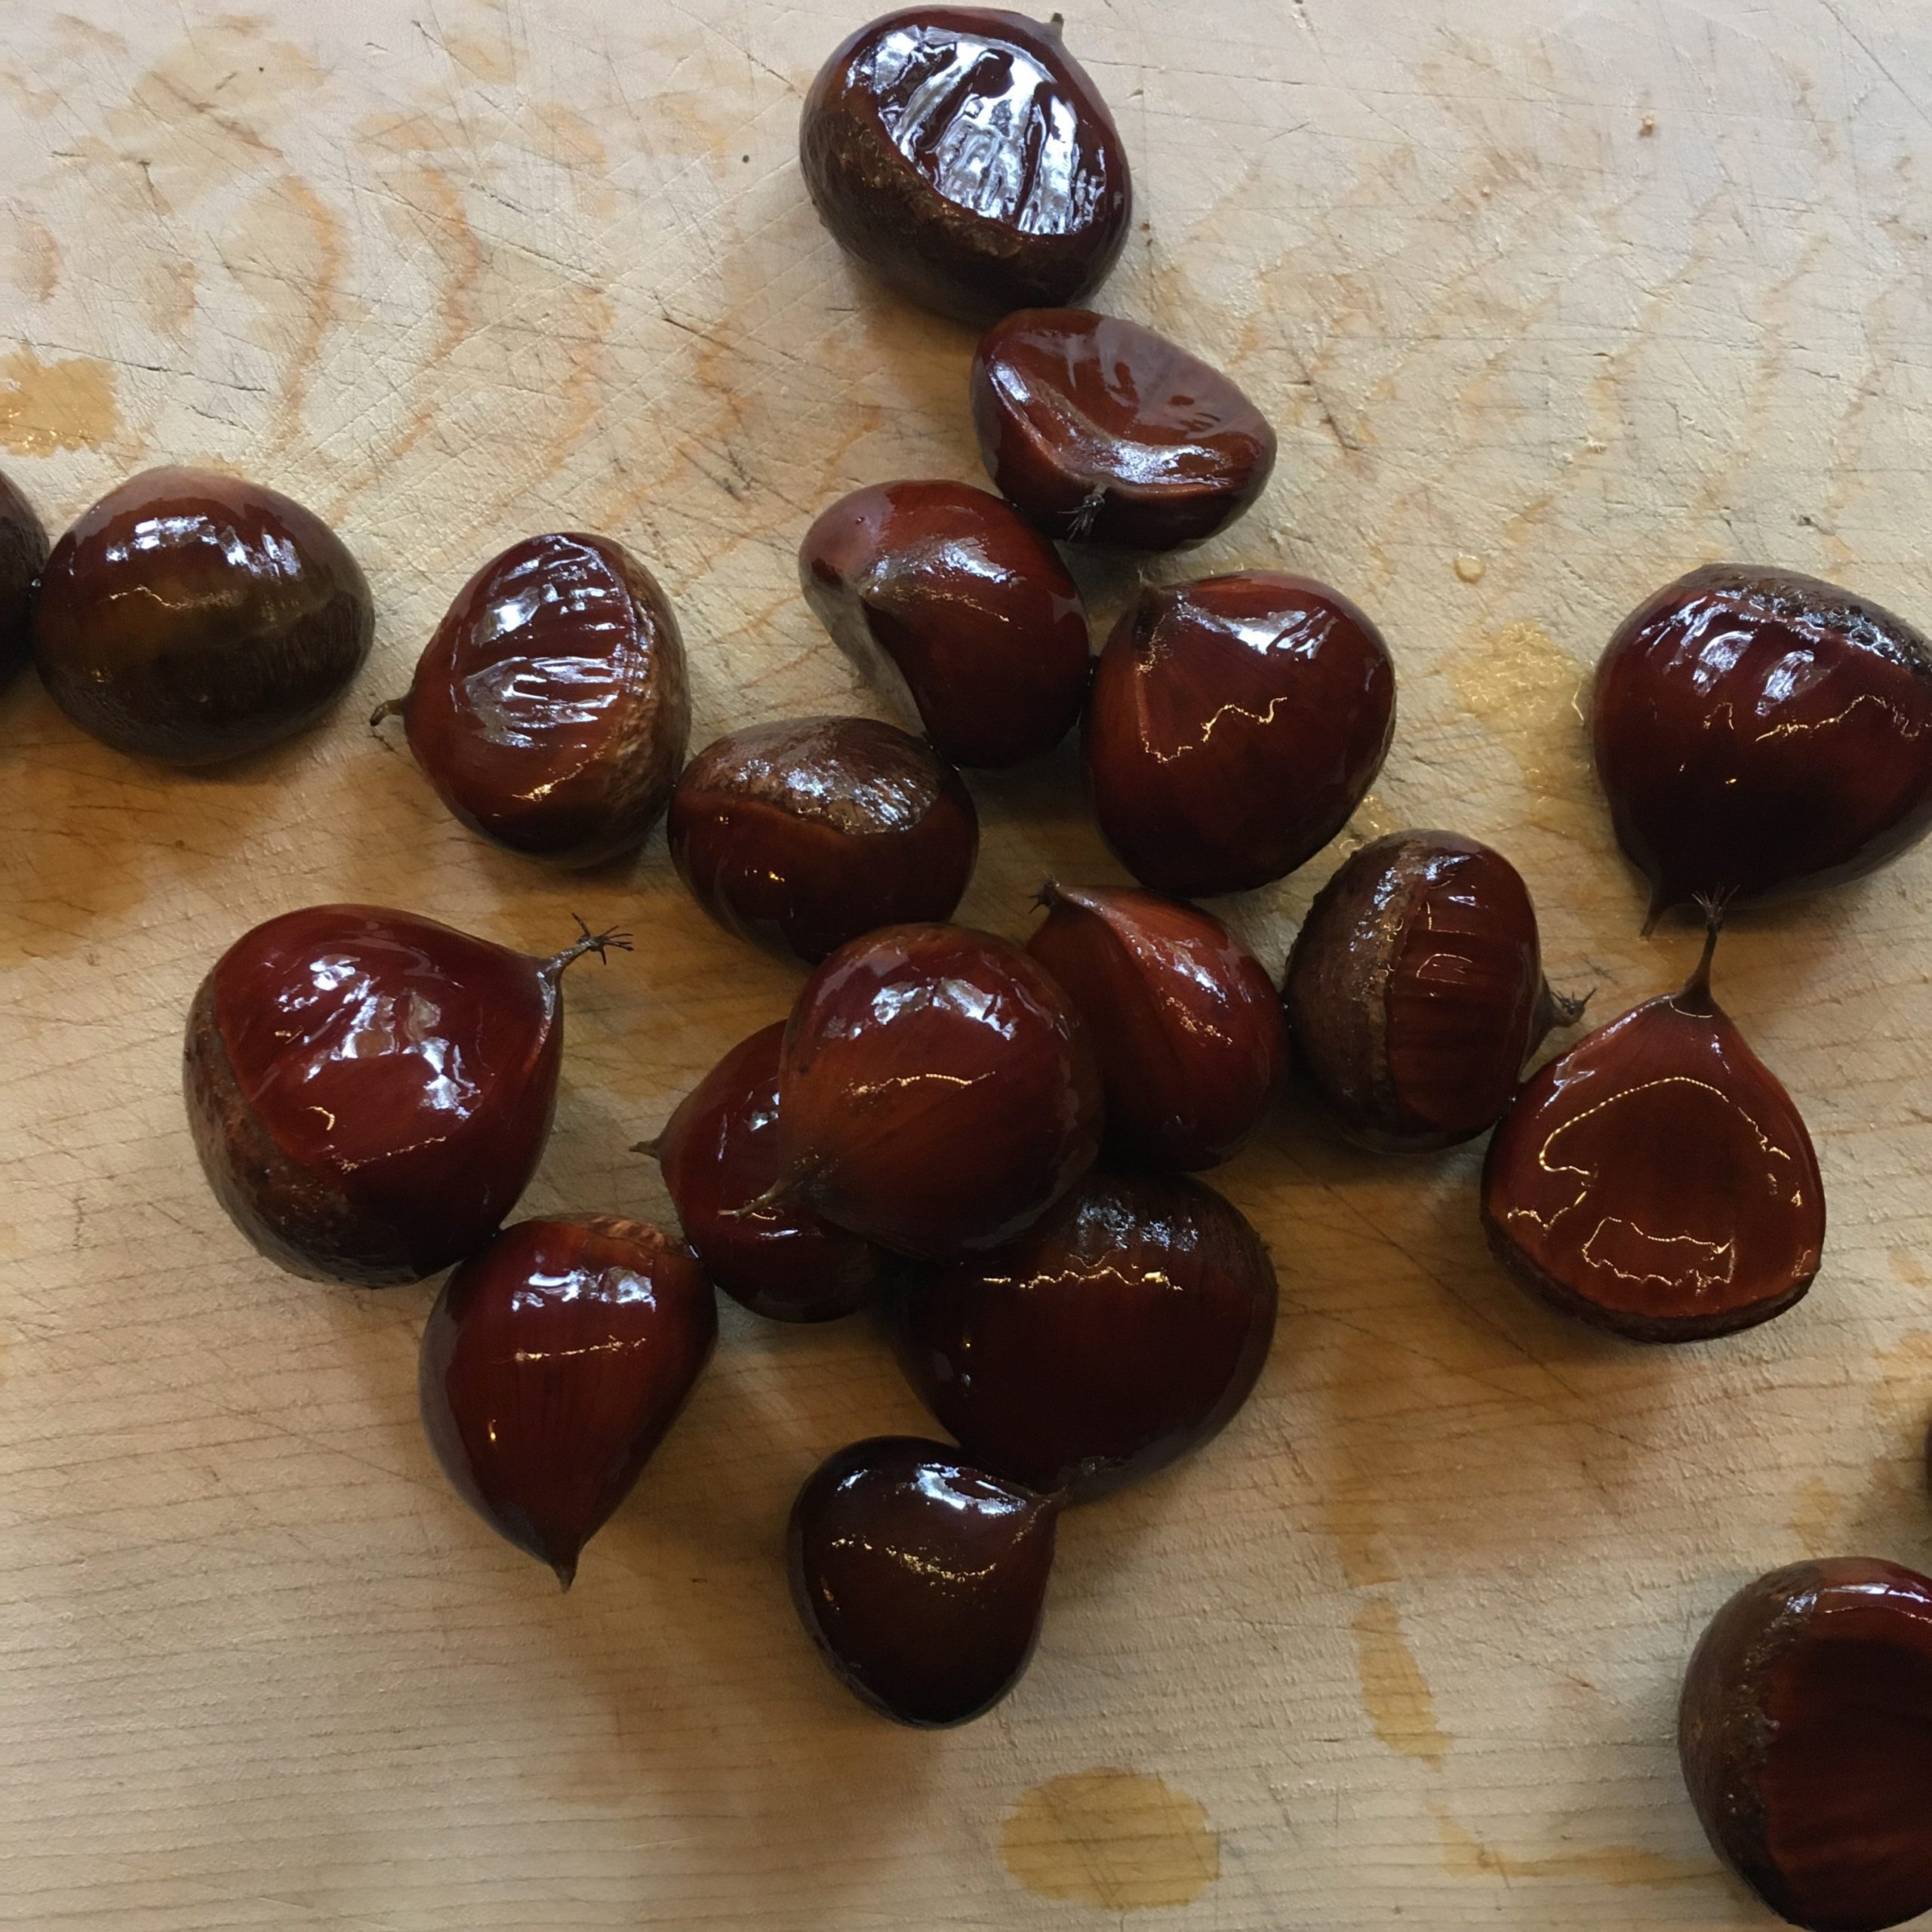
When autumn arrives, sweet chestnuts 甘栗 – amaguri are a must eat. We have a chestnut tree in our garden which usually produces just enough chestnuts for us and the rest of the animals: racoons, kions… A. doesn’t like chestnuts too much so it is usually the right number. Except this year, I wasn’t quick enough in harvesting them, and the other animals didn’t have the slightest pity for us, and left us nothing but empty spiky shells. I had two options: forget about chestnuts this year and be more greedy next year, or wait a bit and buy a bag of local chestnuts whenever I would find one. Bags of chestnut are usually much bigger than what I need, but still eating a few chestnuts, and in particular a bowl of chestnut rice was too tempting. Chestnut rice like many of the traditional Japanese rices, is just too delicious, and the perfect food to enjoy the transition between summer and autumn. This time of the year when days are still hot but shortening quickly, the sky has this special blue color, soft and bright at the same time, and evenings are getting chillier. The cicadas are becoming silent or distant and leave sound space for more delicate voices.
So, it wasn’t long beforeI found local chestnuts and start working with them. Though I had a few ideas of recipes in mind, I opted for the classic chestnut rice 栗ご飯 – kurigohan. It is a bit tedious to make, but not more than anything else with chestnuts, and it is super very delicious, packed with energy. So let me share with you my recipe.
Kurigohan (3-4 servings)
2 cups of rice (I use new rice)
10 raw sweet chestnuts
2tbs of soya sauce
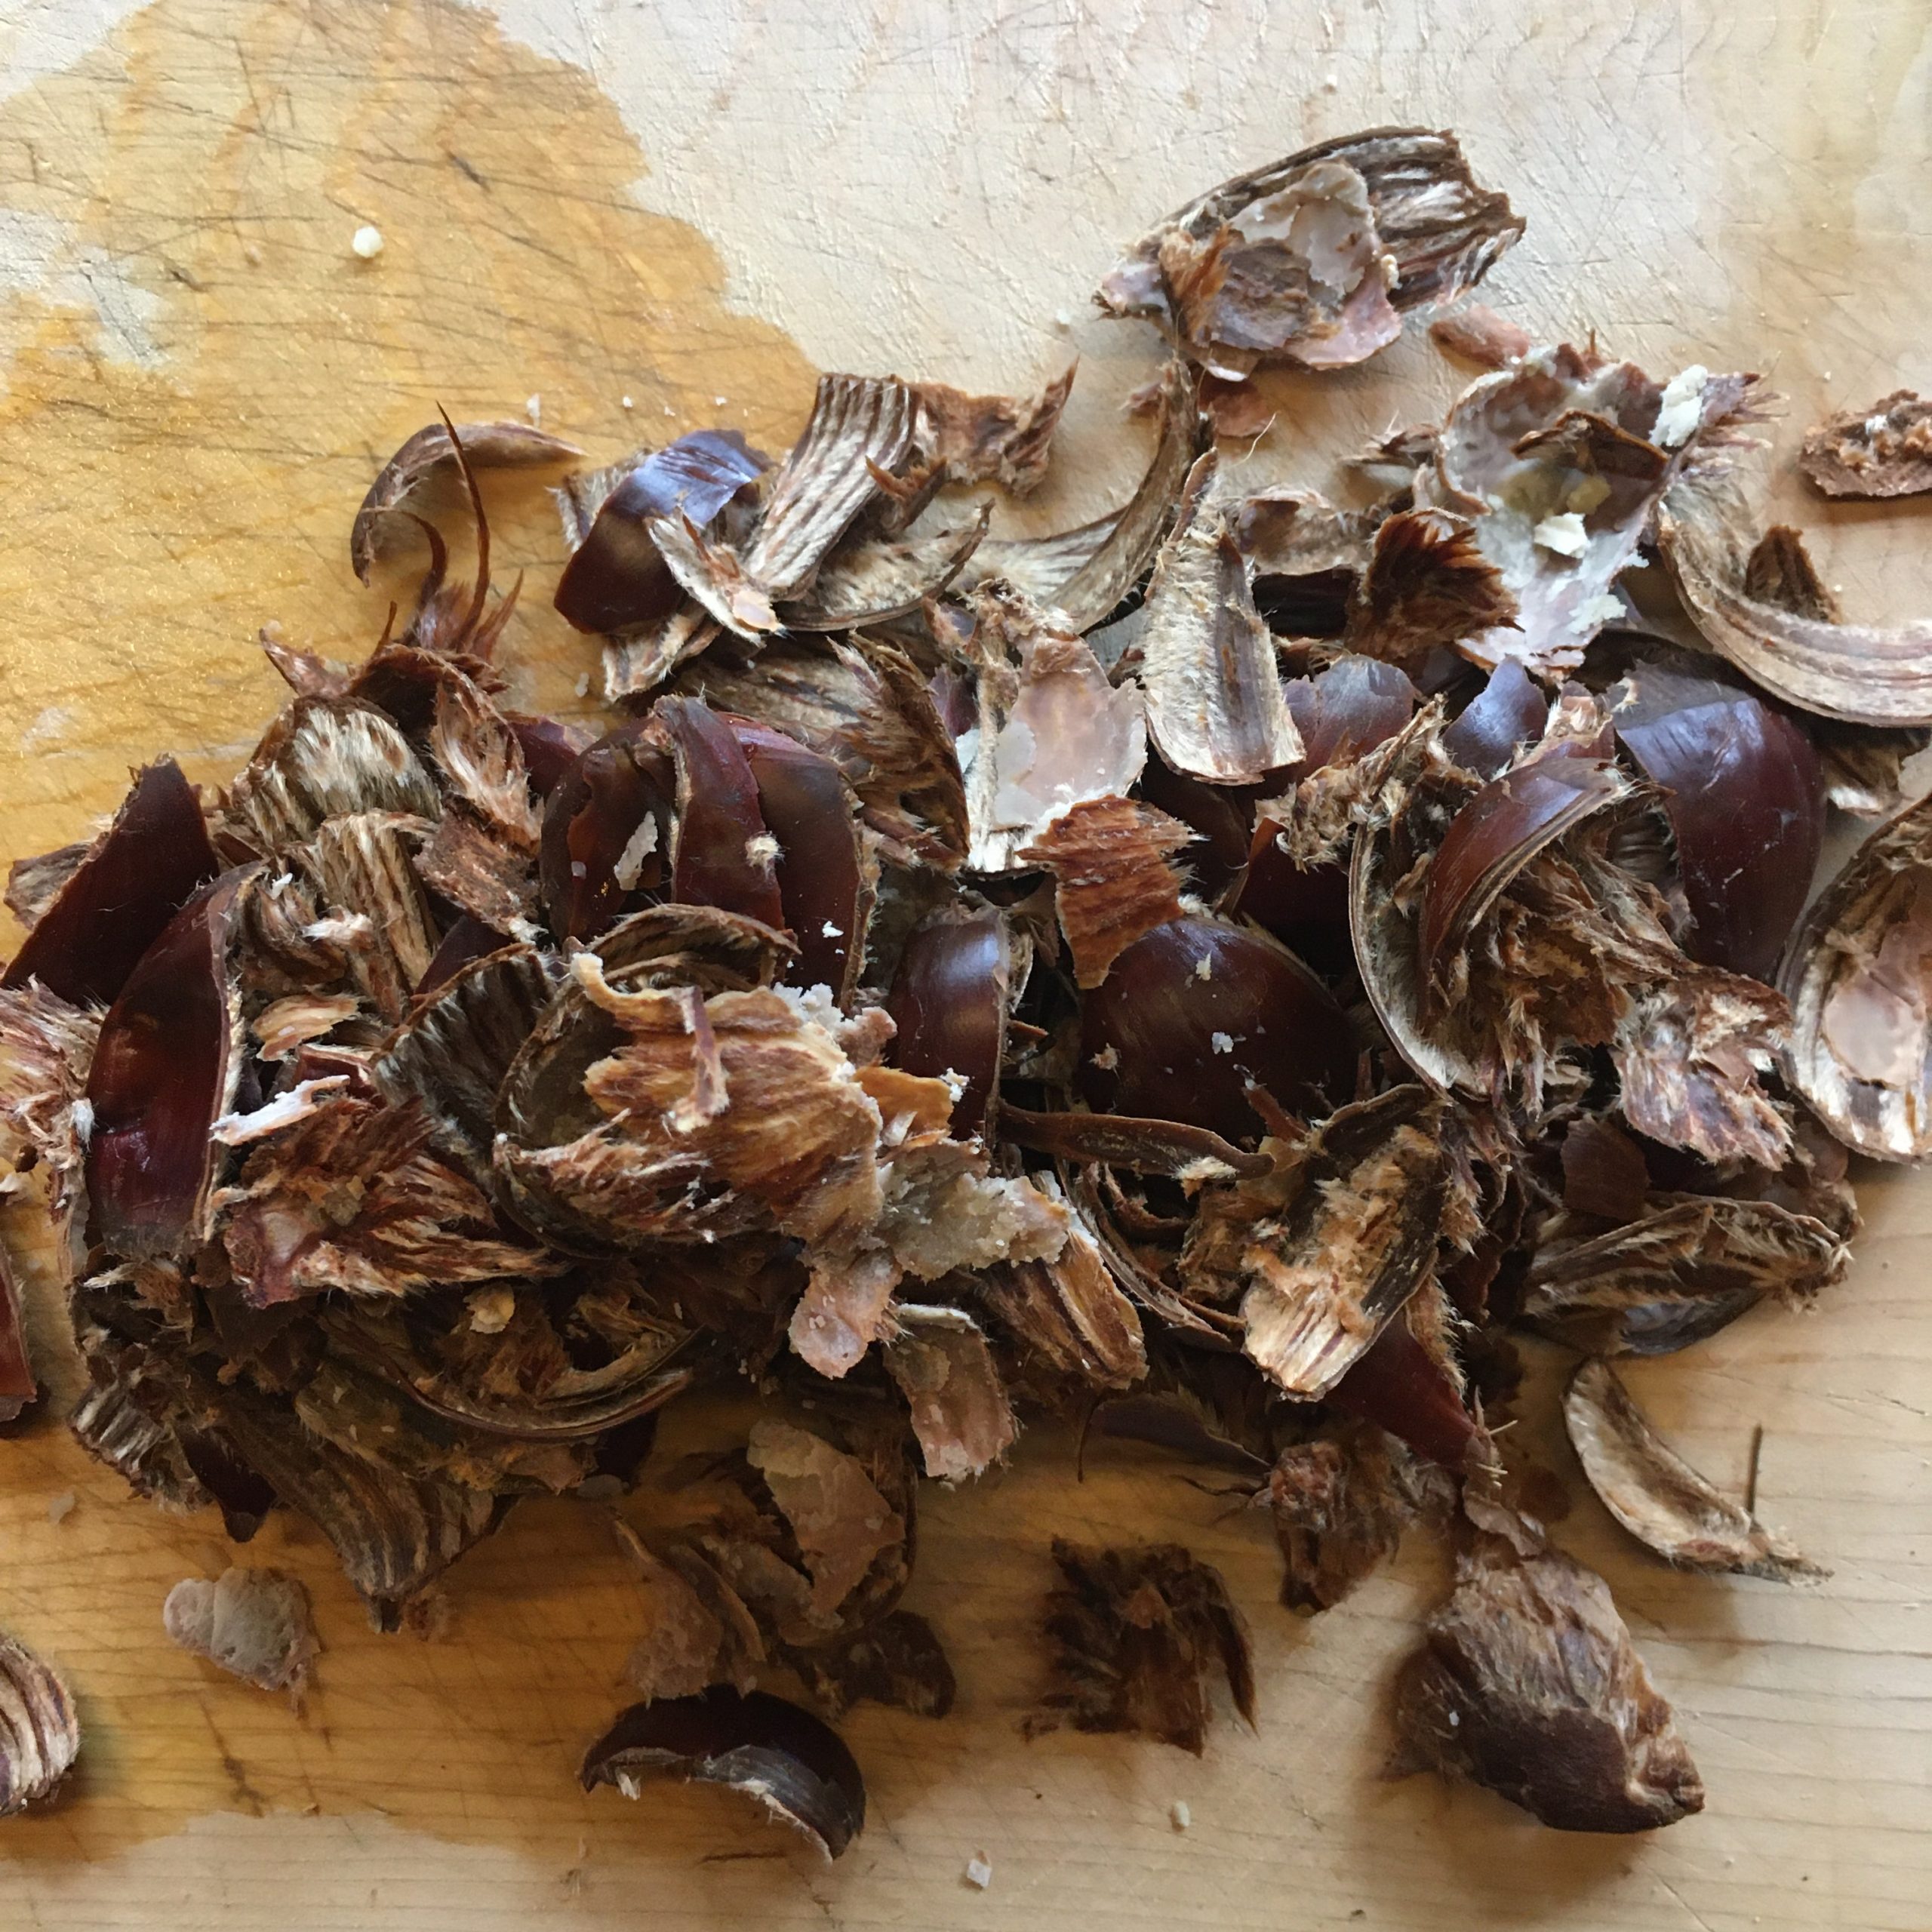
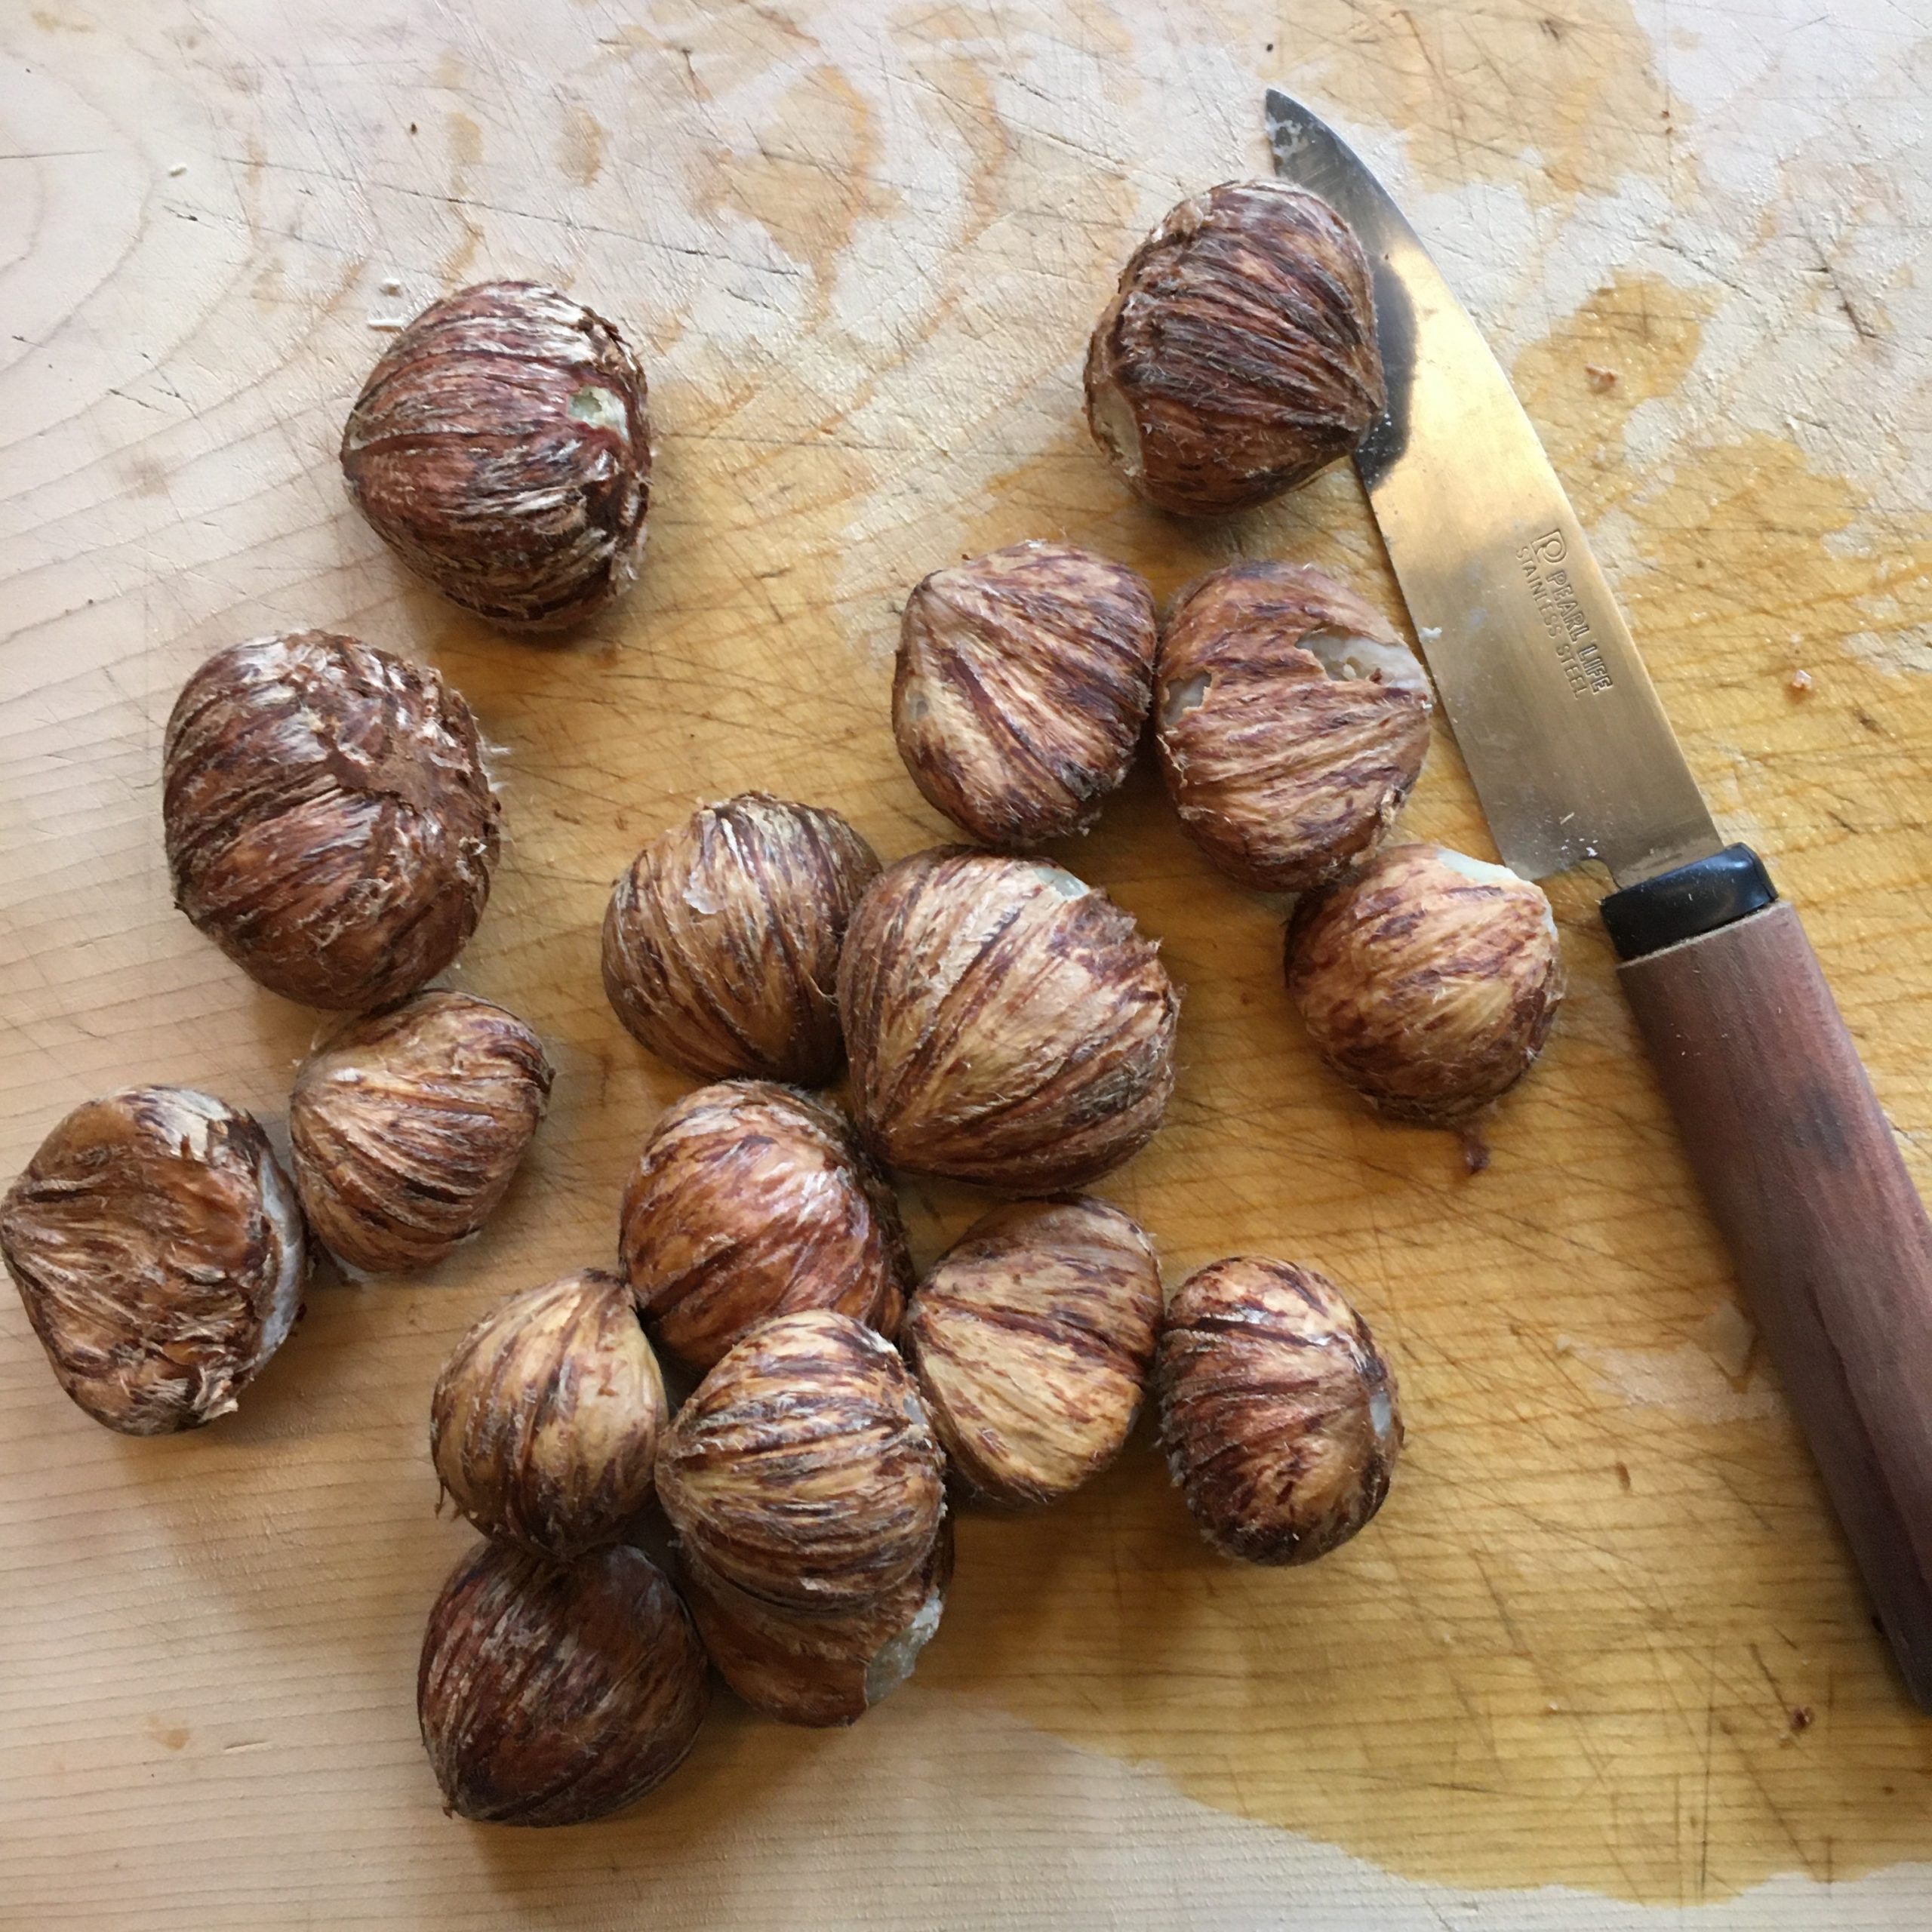
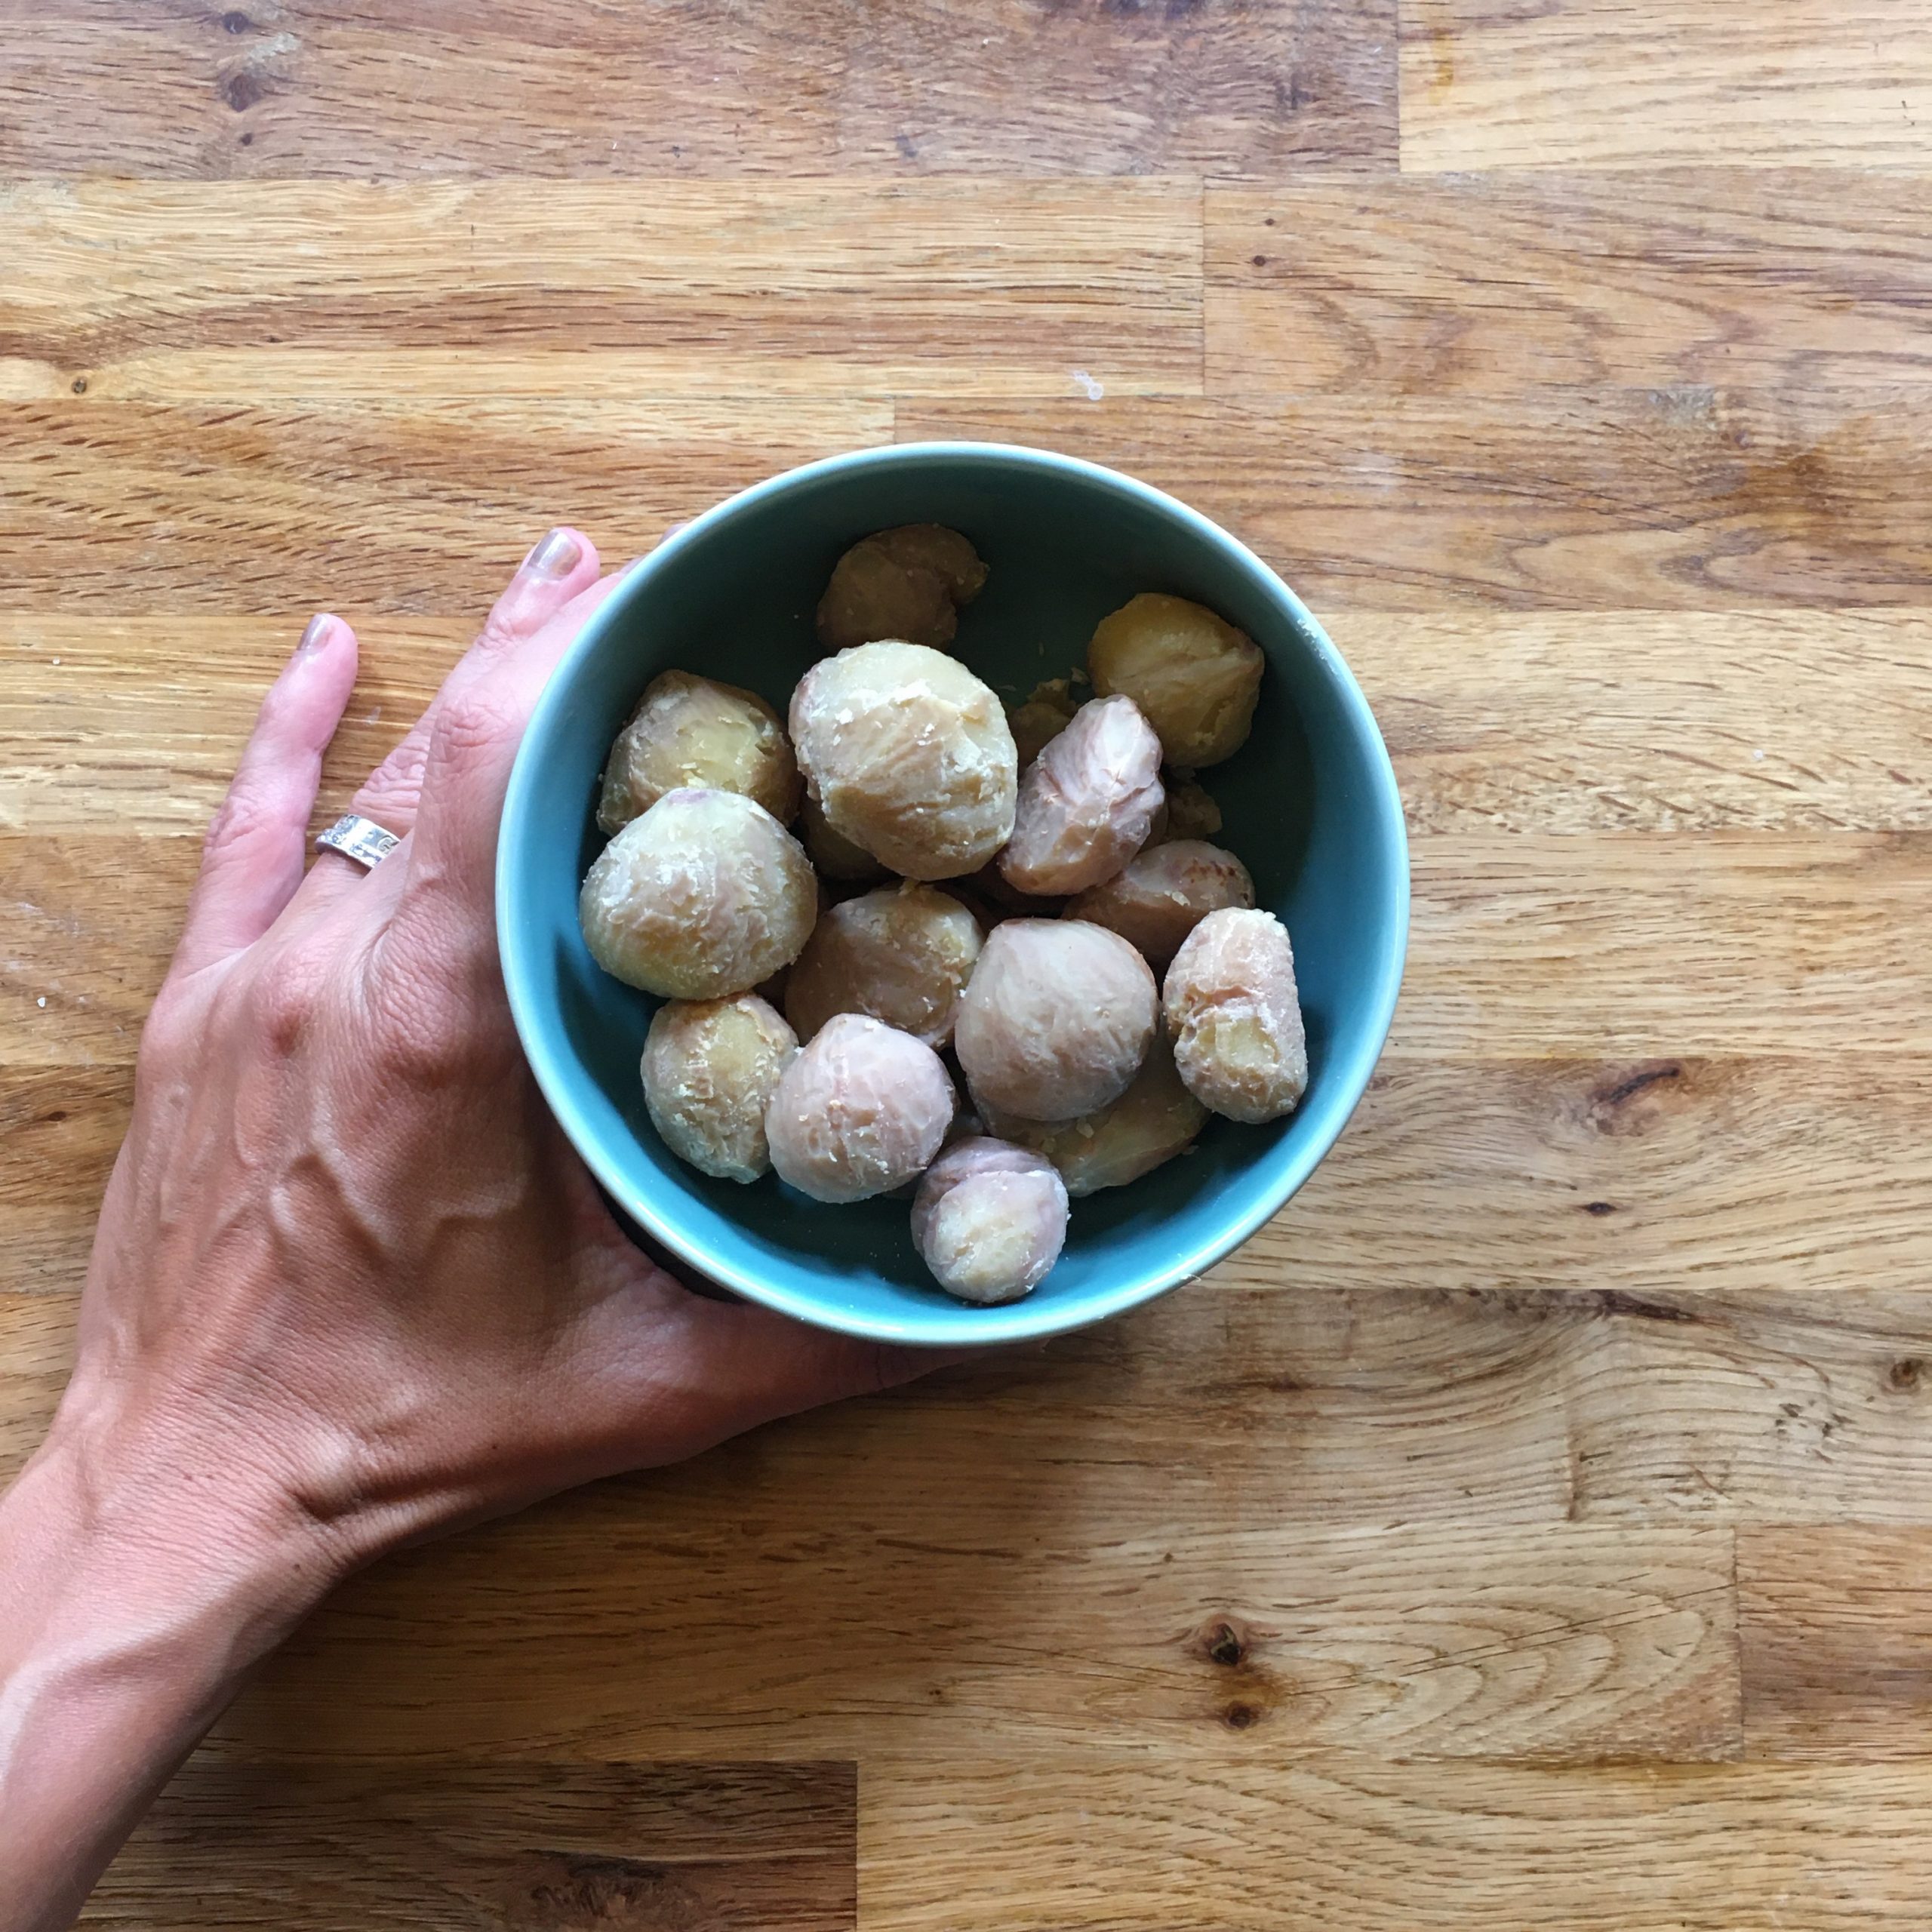
Start by preparing the chestnuts. In a pan put the chestnuts, cover generously with water and bring to a boil. Add a bit of salt if you have some. Bring to a boil and let cook at low heat for 50min. Let cool down. Then peel the chestnuts. You can do this step up to two days before actually.
Once you have peeled the chestnuts, it’s time to prepare the rice, and it’s really simple. Use a rice cooker or a regular pan, or a cast iron cocotte… wash the two cups of rice, set the amount of water you would for cooking it normally. Add the chestnuts, it is good to have some whole and some crumbled. Add the soya sauce, and cook just as usual. Enjoy while hot, and it is even better re-heated the next day!
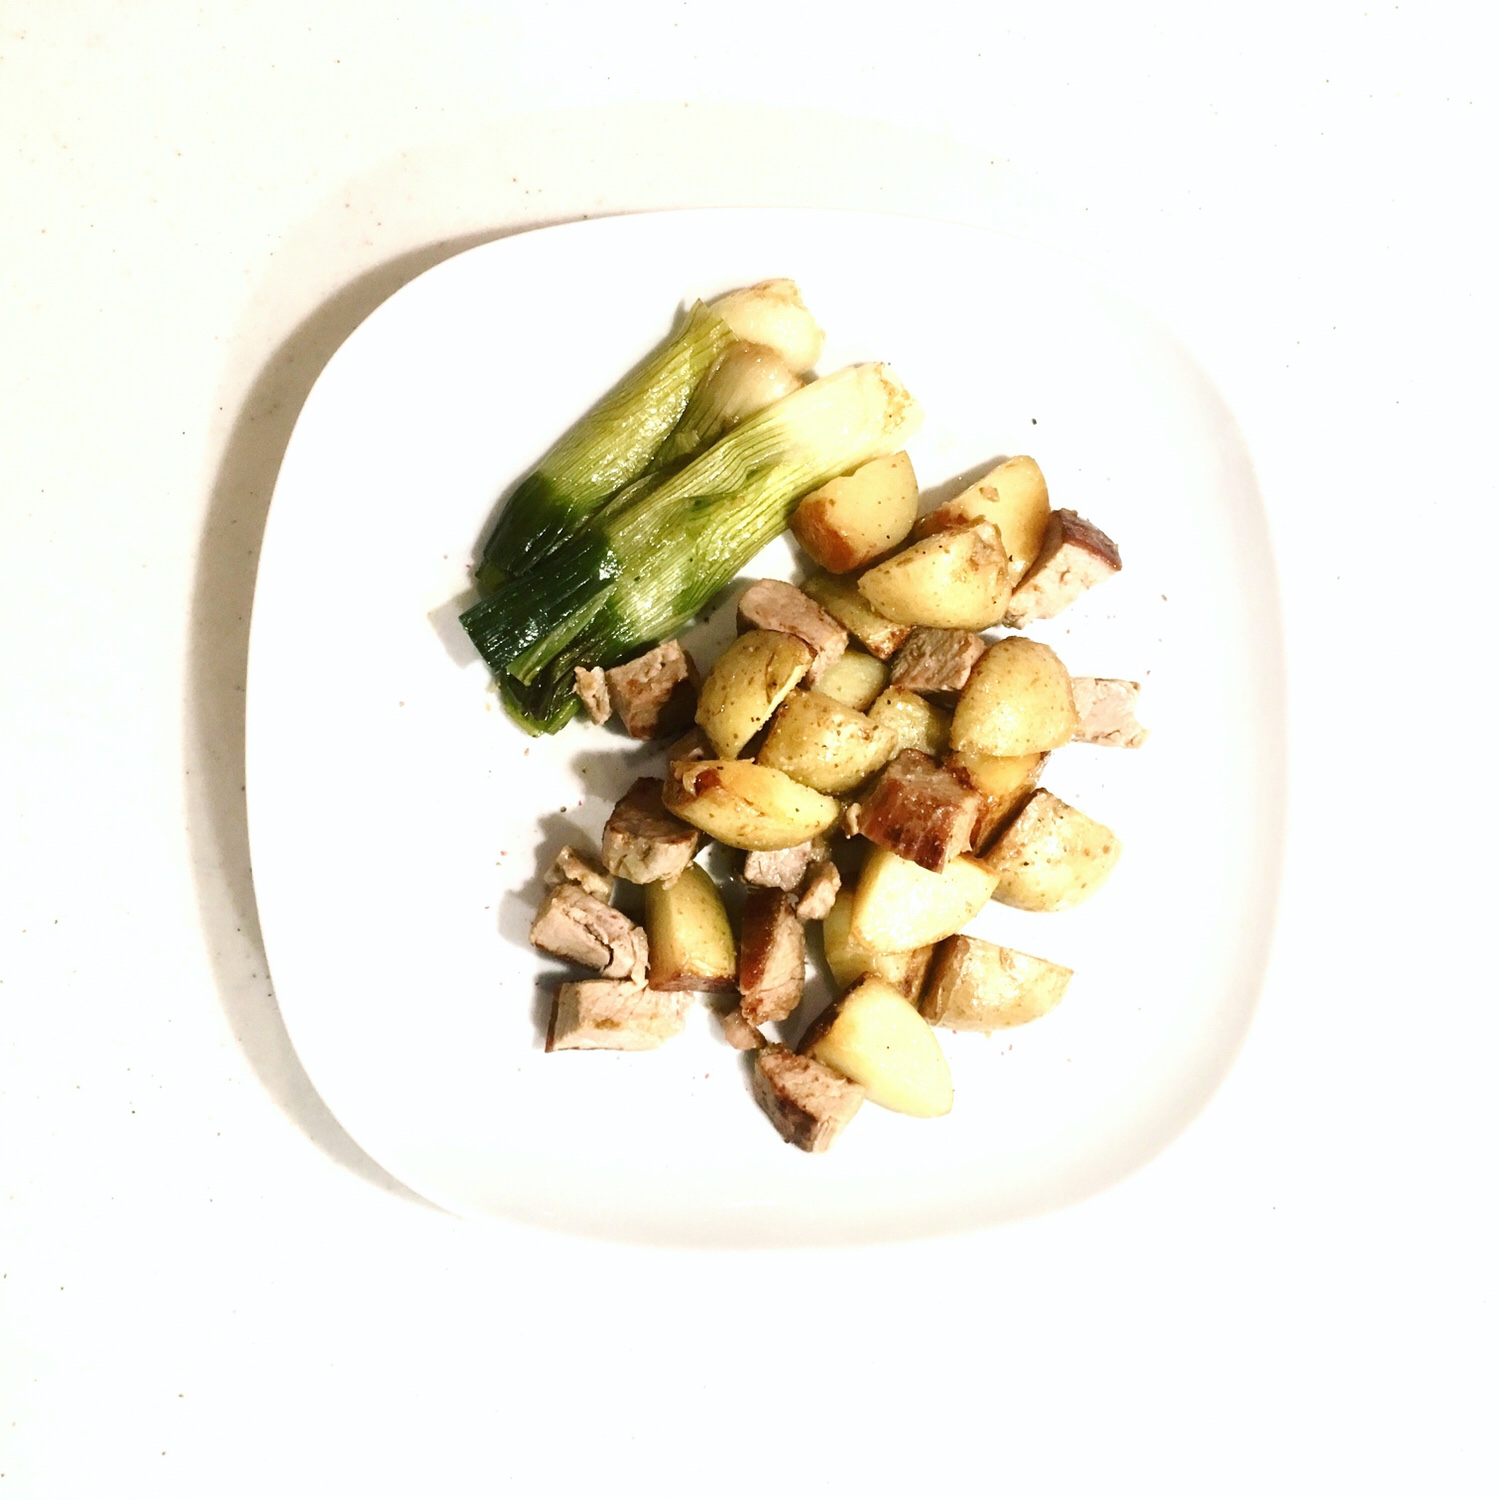
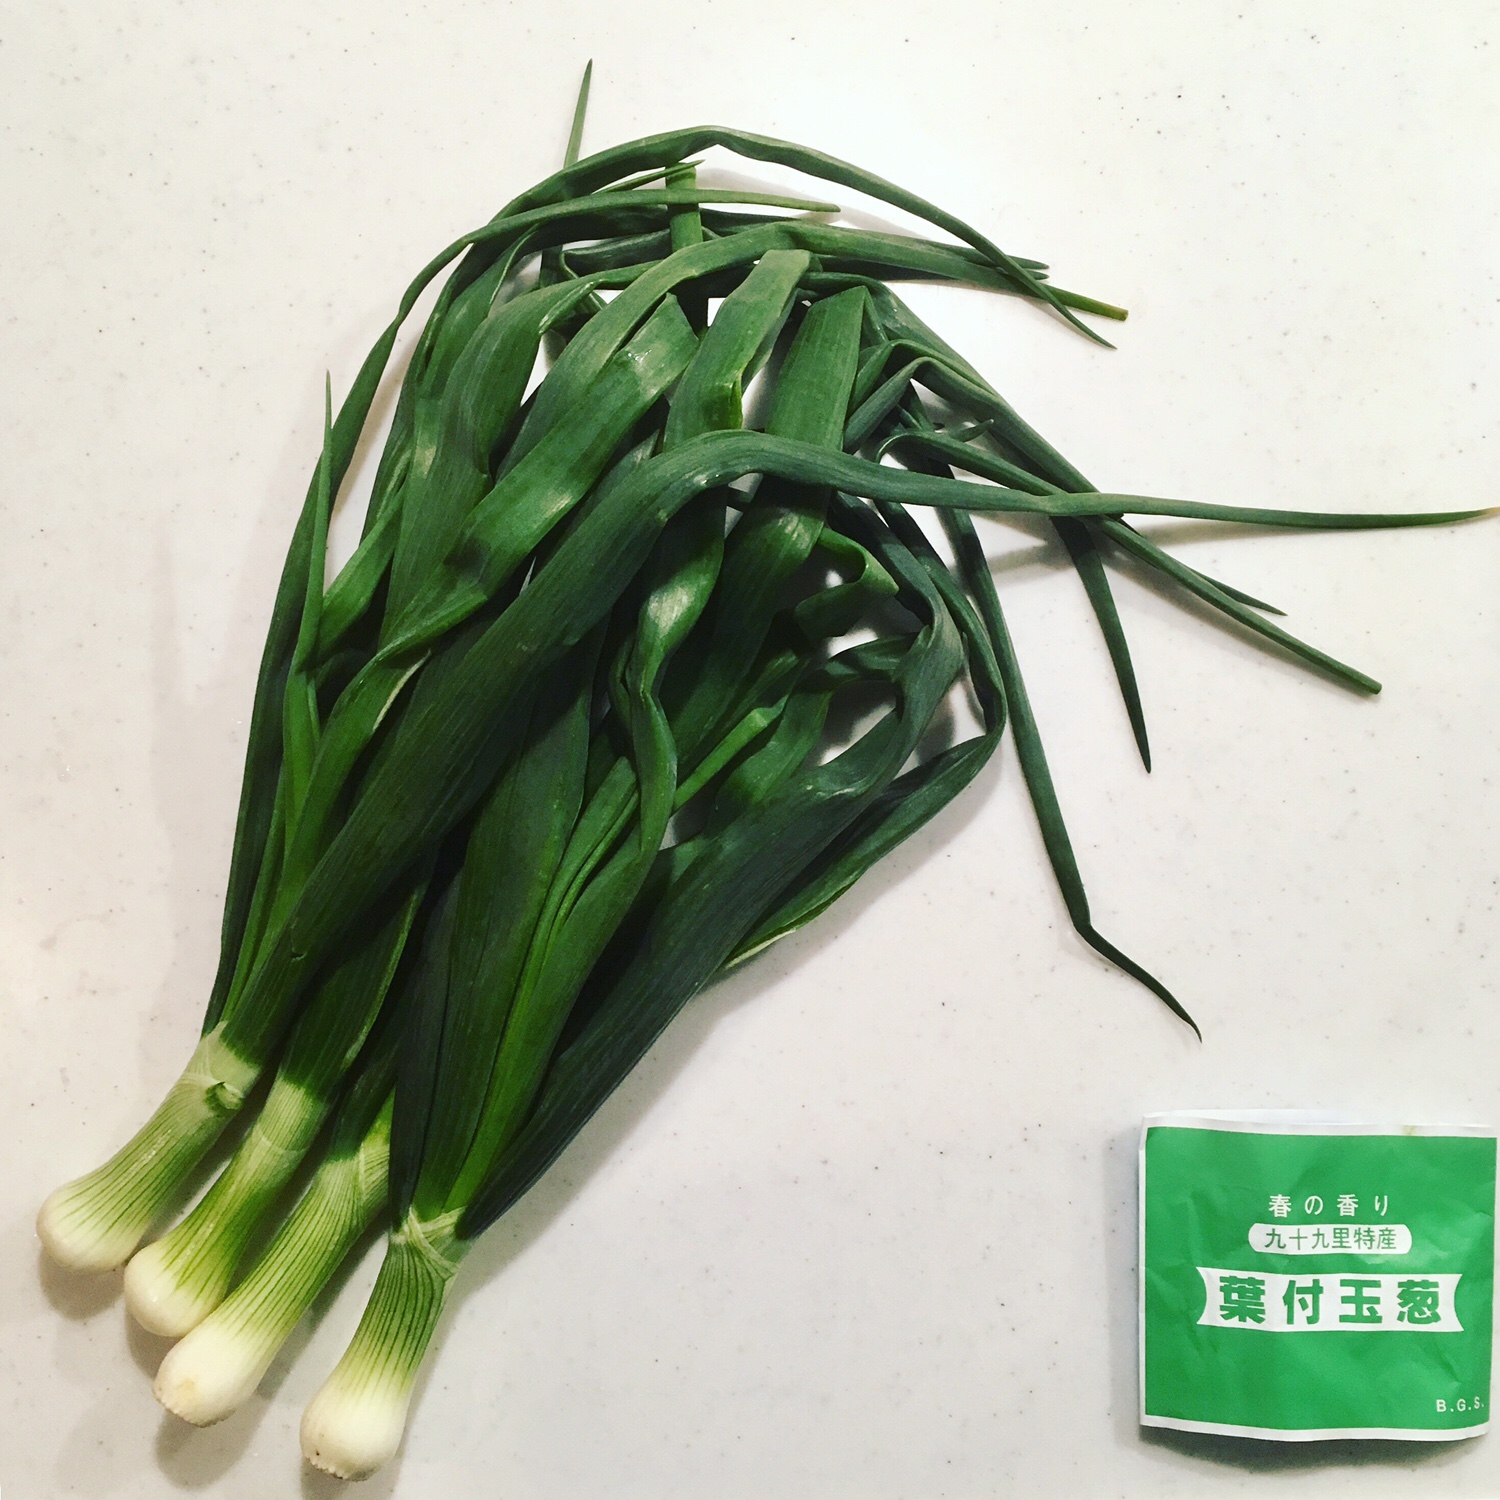
As I was explaining in a previous post, my grand mother was really good at cooking leftover and that of meat in particular. I have kept the tradition and I cook once in a while some mironton. But I make often some variations from the original recipe. This time I didn’t use regular onion, but green onions with leaves. They are from Kujukuri, the northern part of Chiba by the ocean, and they are very soft and very sweet. I’ve used some already in some quiche and miso recipe, and I was really happy with the result. Using them in mironton kind of came naturally then. I simply used a bit of olive oil and vegetal oil mixed together. About 5 new potatoes, and a piece of pork filet diced. I cook everything in a pan at medium heat first then high heat, and add the green onions with leaves just halved. Stir once in a while until potatoes are done and onions are soft. That’s it.
With some guests from France at home this weekend I cooked some simple Japanese recipes that they could reproduce back home. And because the weather was really terrible I could take all the time needed to chop thinly the vegetables and prepare recipes I usually don’t.
The two recipes I prepared were daikon and miso, and some kinpira gobo (without the red pepper).
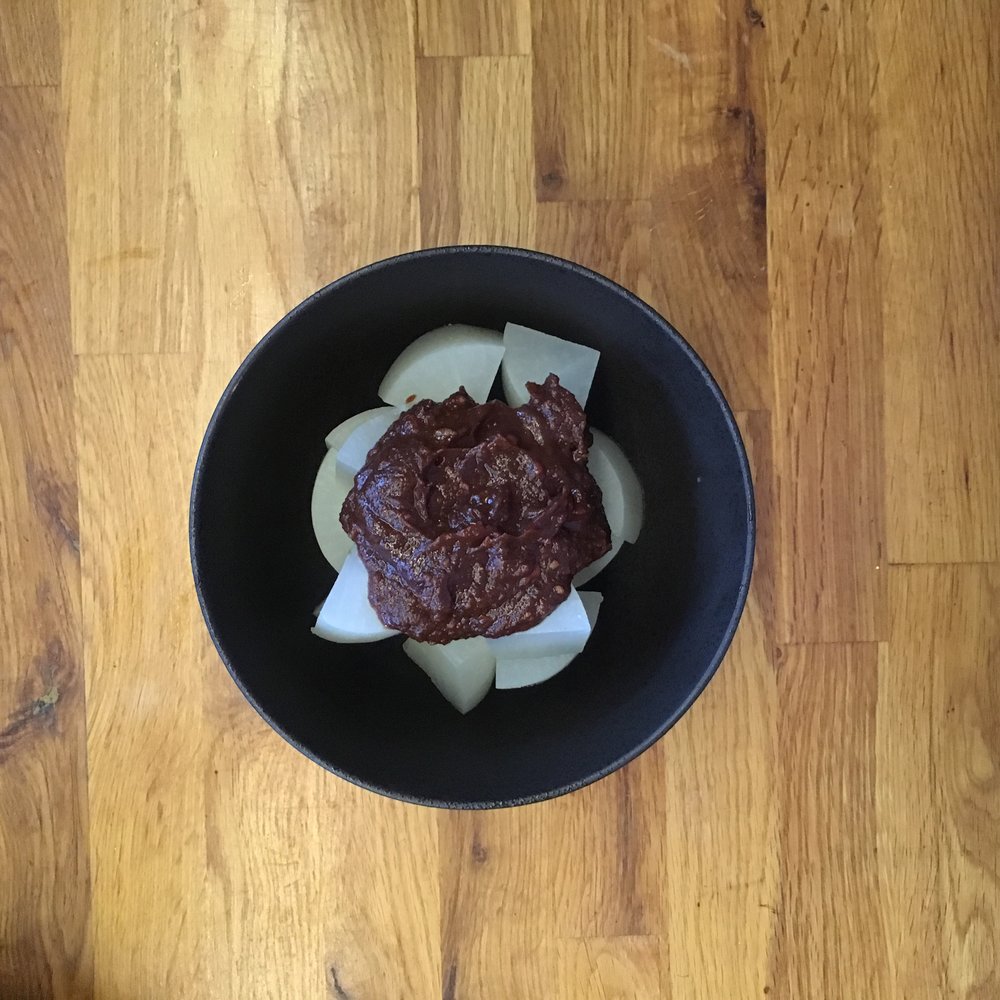
Daikon and miso:
– 1/2 daikon
– 2 tbs of miso of your choice
– 1/2L of dashi of your choice: konbu, katsuo, niboshi…
Cut the daikon in 3cm slices, peel them. Prepare the dashi and when boiling cook the daikon. It is ready when a toothpick enters smoothly. In a small bowl put the miso, add 2 or 3 tbs of dashi and stir to obtain a creamy paste. At this stage you can add yuzu peels… for a slightly enhanced version of the recipe. One the daikon is cooked, drain and top with the miso preparation. Eat while still warm.
Kinpira gobo :
– 1 burdock
– 1 carrot
– a small piece of lotus root (optional)
– 300ml of dashi of your choice
– 1tbs of soya sauce
– 1tbs of sake
– 1tsp of sugar
– 1 red pepper
Peel the vegetables. Cut the burdock and gobo in thin matches sticks. Cut the lotus root and the red pepper in thin slices. In a pan boil the vegetables in the dashi. When reduced, add the sake, the red pepper, the sugar, and the soya sauce. Cook until almost dry. Add a few sesame seeds to decorate eventually.
Once in a while I like to prepare traditional socca as a base for a lunch one plates. It’s very quick to prepare and easy to serve with fresh vegetables. Since I’ve found huge eggplants at the farmers market I decided to make some basil (I have plenty in my herb garden) eggplant caviar and I made a big batch. I used very little olive oil in so that it can be eaten endlessly! I found it matches very well the socca and was a good dip. So I simply dresses the plates adding a few pan fried eggplant slices, some tomato and okra.
Eggplant caviar:
For a big bowl.
– 3 eggplants (not the small Japanese ones, the big ones! Otherwise you may make a small bowl!)
– a bit of olive oil
– salt, pepper
– fresh basil leaves, or carvi seeds, or sesame seeds…
Preheat the oven to 200. Set the eggplants on a cooking paper shit and put in the oven. Bake until it feels soft inside. Let them cool. Then peel them. Remove the extra water if any by just squeezing them. Put all the peeled eggplants in the bowl of a blender, add salt and pepper, a bit of olive oil and blend to a smooth purée. Add the chopped basil, or the carvi seeds or the sesame seeds. Ready to eat, with bread, in a dish…