Spring is here!

After the fukinoto and the canola which both announce the arrival of spring and the cold unstable weather that usually accompany the plum blossom end, the next step is the real arrival of spring in late March or early April with the famous cherry blossoms of course, Mole’s quince and the jonquils putting beautiful colors in the garden but also the bamboo shoots (takenoko 筍)and the other wild vegetables: fern (kogomi こごみ), horsetail (tsukushi つくし), angelica tree buds (tara no me タラの芽)…

We don’t have kogomi and tara no me in our garden, or not that I know of yet (I discover new things each year!), I found a few tsukushi in the past but never enough or at the right time to harvest them. This year I found really plenty, enough to consider cooking some. Tsukushi are a bit of a delicate plant and their pollen is not very good so it’s better to harvest them early. The one on the picture below is for example a bit too old, this can be seen by the dark color of the head: the pollen is already about to go out! The pollen of tsukushi is blue to black, and looks like mold!!! I have never seen tsukushi in supermarkets, I assume they are too delicate for transport and shelf time. Their flavor is very subtle so I like simple preparations: quickly sautéed, or simply blanched in dashi. To prepare them, simply wash them and remove the corollas parts using your thumb by simply rolling the stem with the corolla on top of your nail. Then cook them in a pan with a bit of butter or as said above blanched them in a regular dashi. Serve them right away with rice, scrambled eggs… nothing too strong.

I my case I made a simple fried takenoko rice with sesame oil, scrambled eggs season with a few drops of soya sauce. That’s it!

Lemon curd

When I find beautiful, naturally grown local lemons I want to make many different things with them. The first lemons I harvested in our garden on are newly planted lemon tree were a little small. But when I can find large and juicy, one thing I love is lemon curd, and lemon tarts. Using up all the juice and the zest, lemon curd is quite easy to make. When it comes to British recipes I like to use the BBC website as they always have good recipes for the British basics. I started with this recipe and slightly changed it to adjust to my habit of not using half of an ingredient, in particular an egg, and because I didn’t to make meringues to top the tarts.

So here is my recipe of lemon curd. I love how the lemon flavor is not overly compensated by the sweetness and the perfect creamy texture it has.

Lemon curd (makes about 500g, good for 2 medium size tarts)

– 4 lemons, untreated, nor waxed or whatsoever

– 100g of salted butter

– 3 eggs

– 200g of brown natural cane sugar

Take the zests and juice of the lemon. Put in a pan with the sugar and butter and heat until the butter is melted. Remove from the fire and add the eggs. Stir well and put back on a very low fire and stir regularly. Keep cooking and steering once in a while for 15-20min, until very creamy. That’s it.

You can now use directly in your tarts, in cakes or put in glass jars and use as jam…

If you to make a tart, prepare a sablé dough, bake it and then add the lemon curd. Keep refrigerated.

Lemon curd keeps a few days if not jarred. But in both cases in the fridge.

Cheeses from Chiba

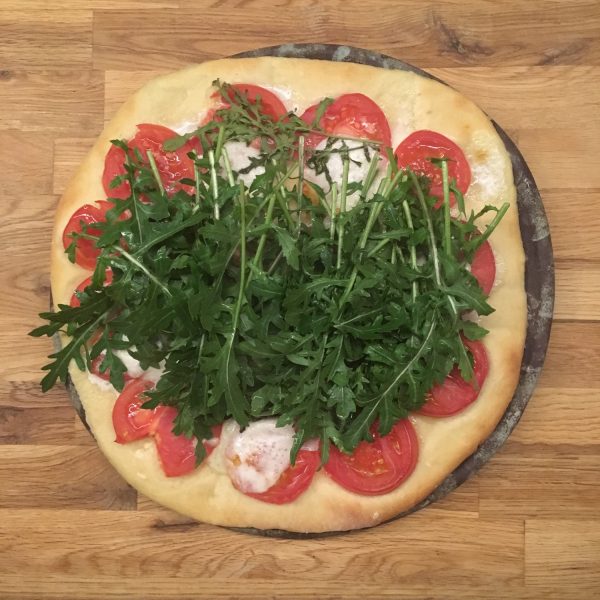
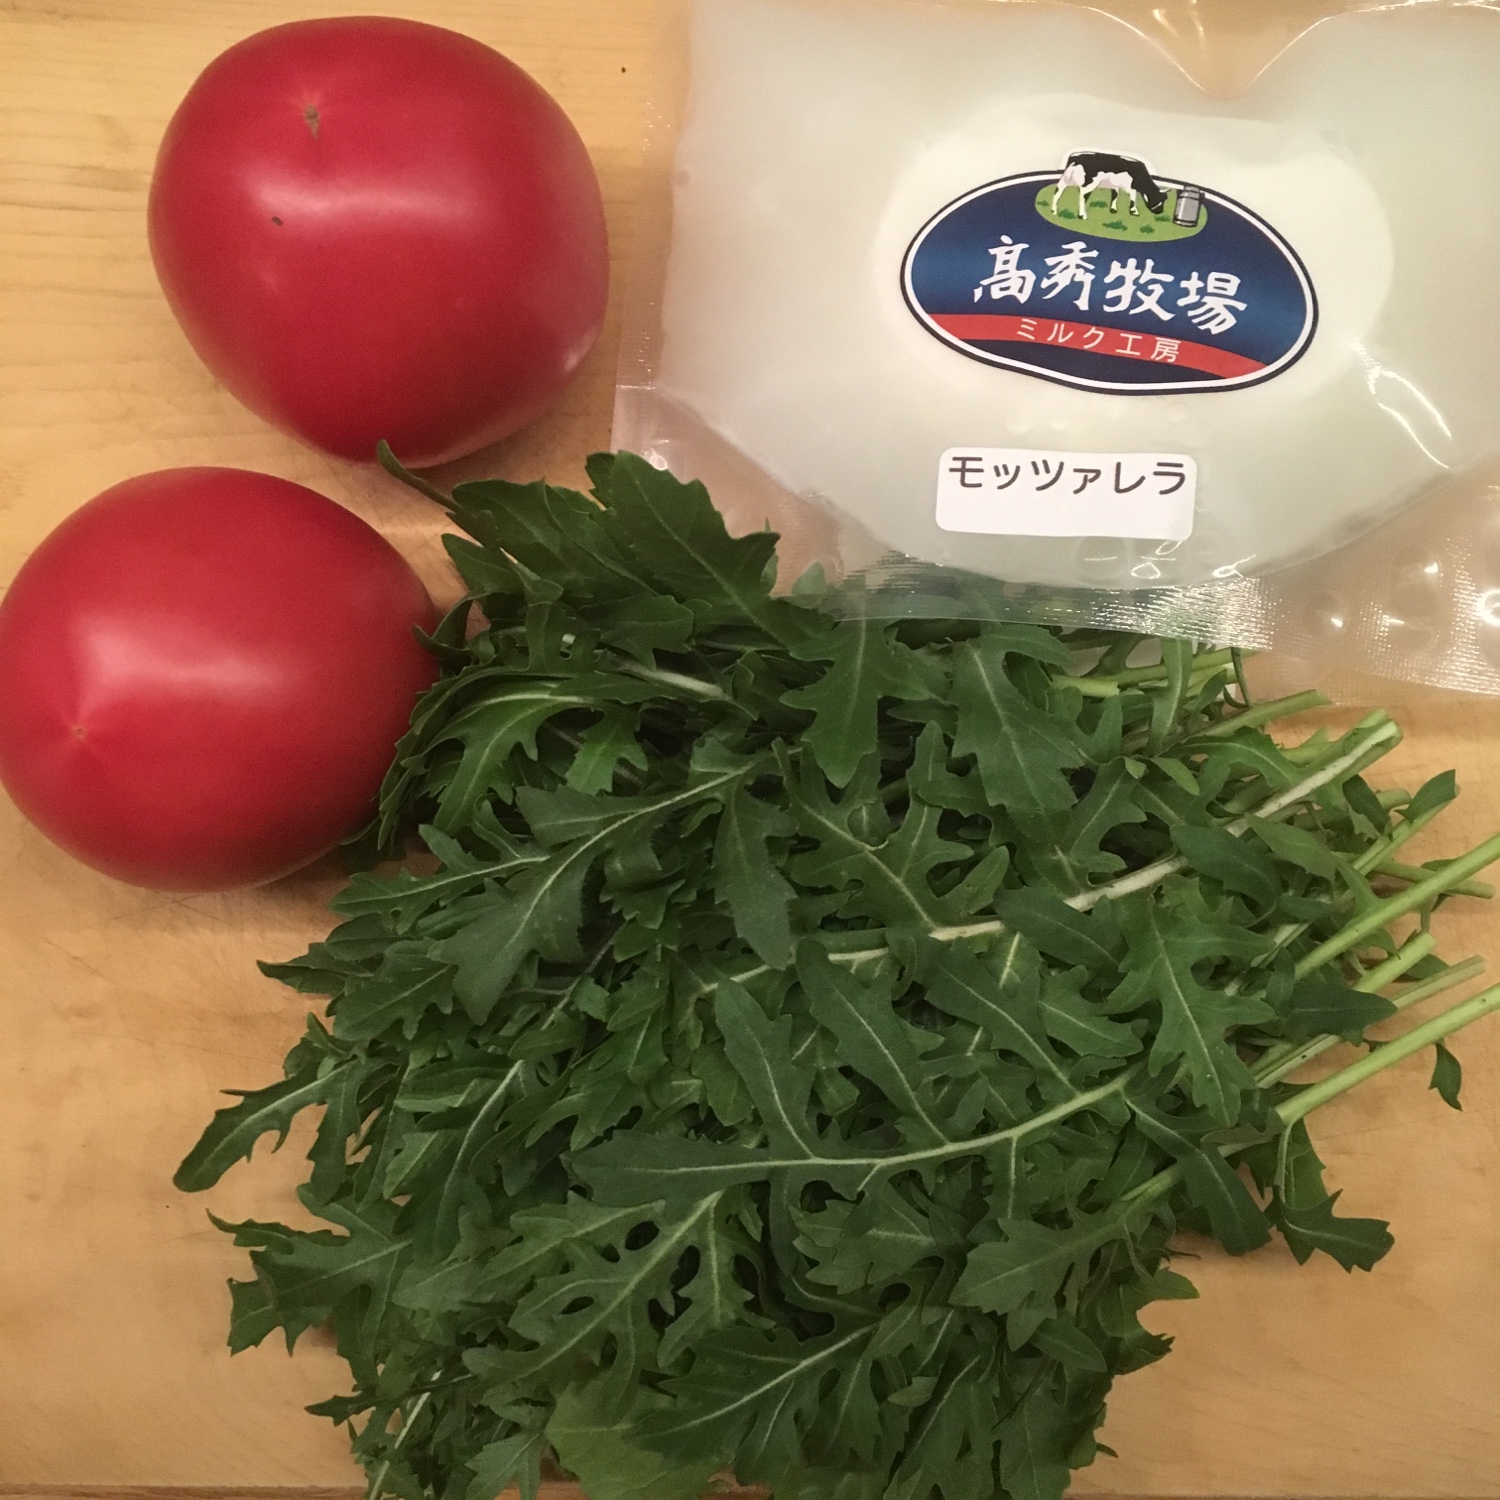
When we first settled in Isumi, and I found a cheese factory right down our valley I was really happy! Soon after that At Ohara harbor market I found Takahide farm and another Yojuemon cheese factory. This was more than enough in a country that doesn’t have a strong milk and cheese culture and I was fully satisfied. To be honest the closest cheese factory: Komagata, was good enough when I knew only that one, but as soon as I found Takahide, I stopped buying cheese there, as Takahide cheeses are so much better. Takahide has three delicious original cheeses: a reblochon style, a small creamy one that recently comes in different maturity (the more matured one on the picture below is just perfect) and a blue cheese, that is so perfectly made that even I who don’t really like blue cheese I love! The plus with Takahide is that they have also mozzarella and fromage blanc, and for those who like ice creams, and what for me is really important, they have their own milk farm. So when going to the cheese shop you can see the cows and how well treated they are. Takahide cheeses won several international awards and have attracted a lot of media attention a few years ago and the shop, which use to be a small counter inside the cheese factory is now a little cafe space where you can drink a delicious coffee and eat a pizza made with fresh mozzarella while looking at the cows.

Yojuemon makes ricotta mainly, or at least that’s what I always buy from them. And it’s a really good one. I usually buy at Ohara harbor market on Sunday morning.

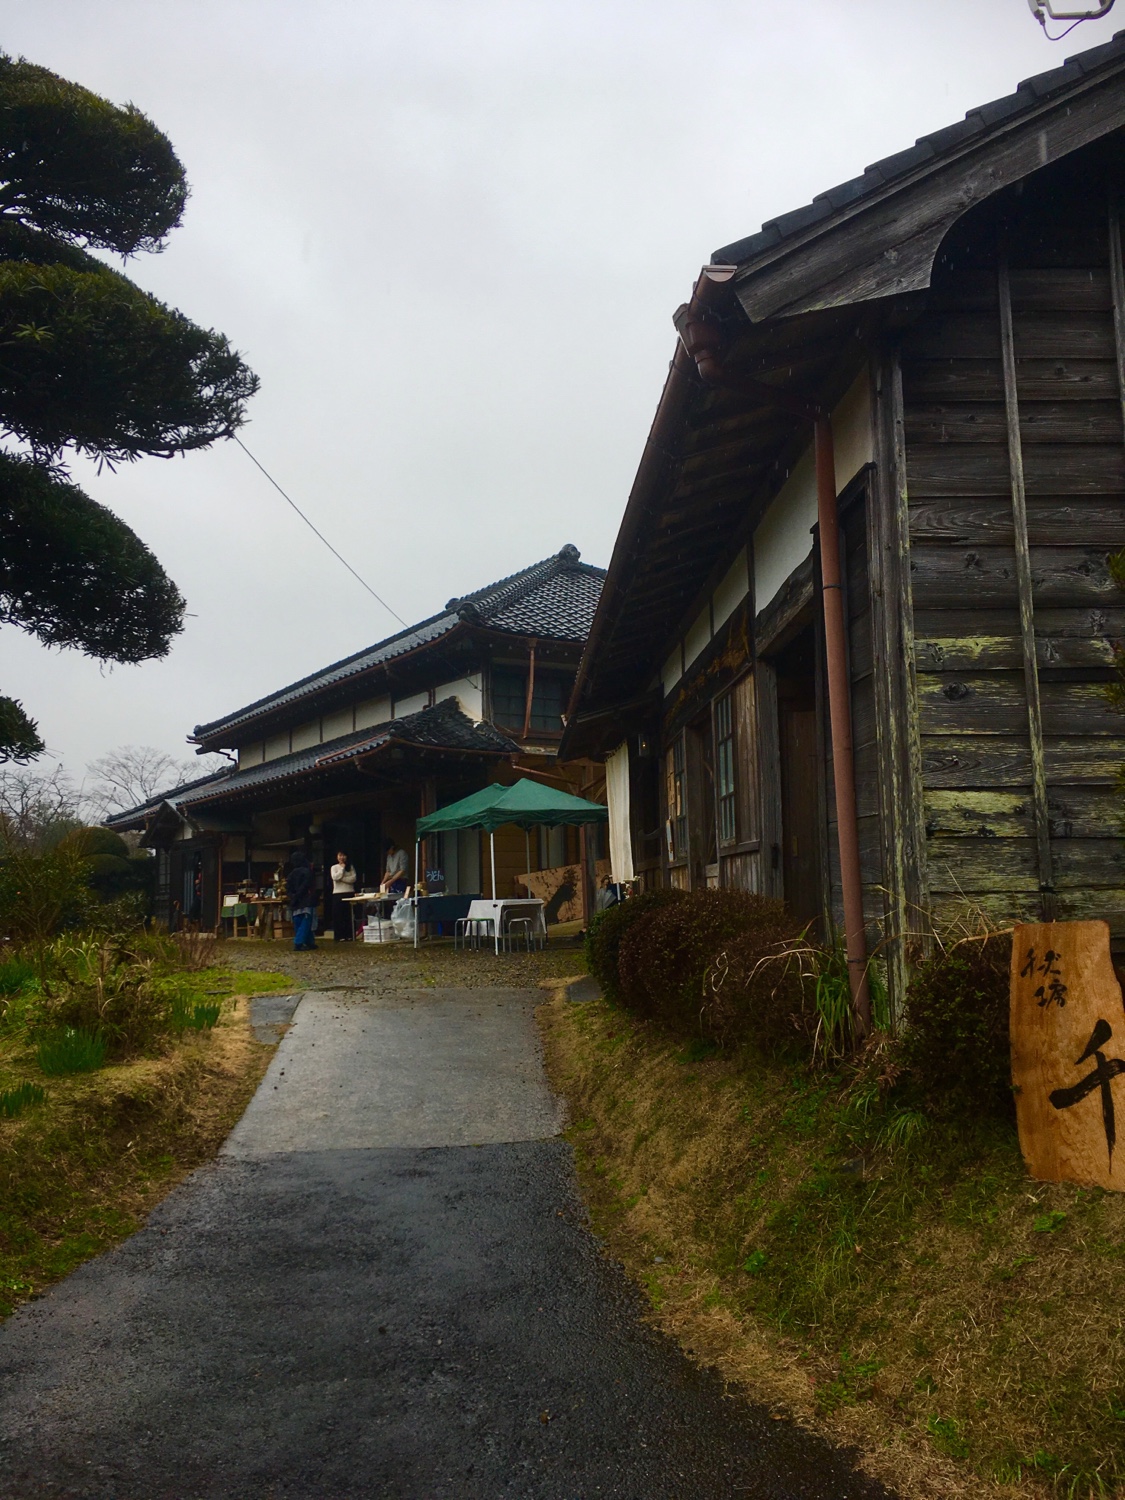
But the whole point of this post is not to review what I already more or less said before… it’s to introduce a new cheese factory. This one is not in Isumi, but in Otaki, on the way to Yorokeikoku. It is called Sen . I discovered it thanks to some people I follow on IG. Sen is open only the first Sunday of the month, but luckily we had no plan but to go to Katsuura to see the Hina matsuri last Sunday, and with the terrible rain we thought that a drive in the country to see plum trees blossoming and early sakura would be great. So we headed up to Sen. The place is really cute, old houses, polish garden on top of a hill. Picturesque.

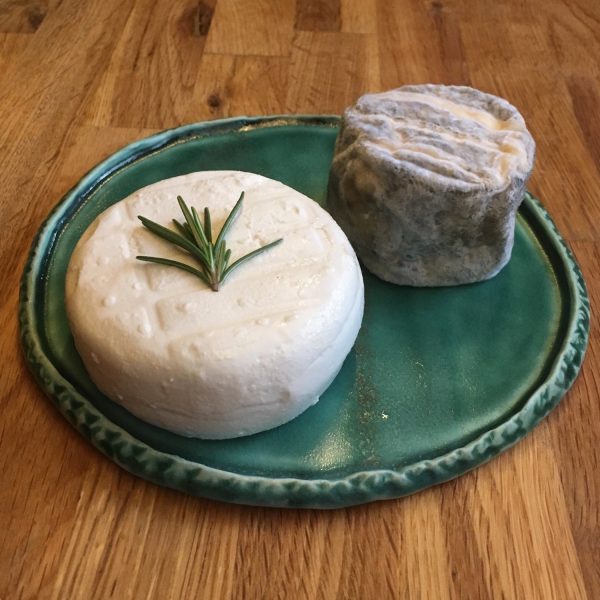
We were warmly welcome, and the cheese shop offer several varieties of cheese, even raclette cheese!!! I bought one small cheese but when the owner realized we were French we start chatting (in French) about her stay in France to study French cheeses, and the cheese she makes, and she offered me one of her award winning hash cheese. We also took a tour of the old buildings.

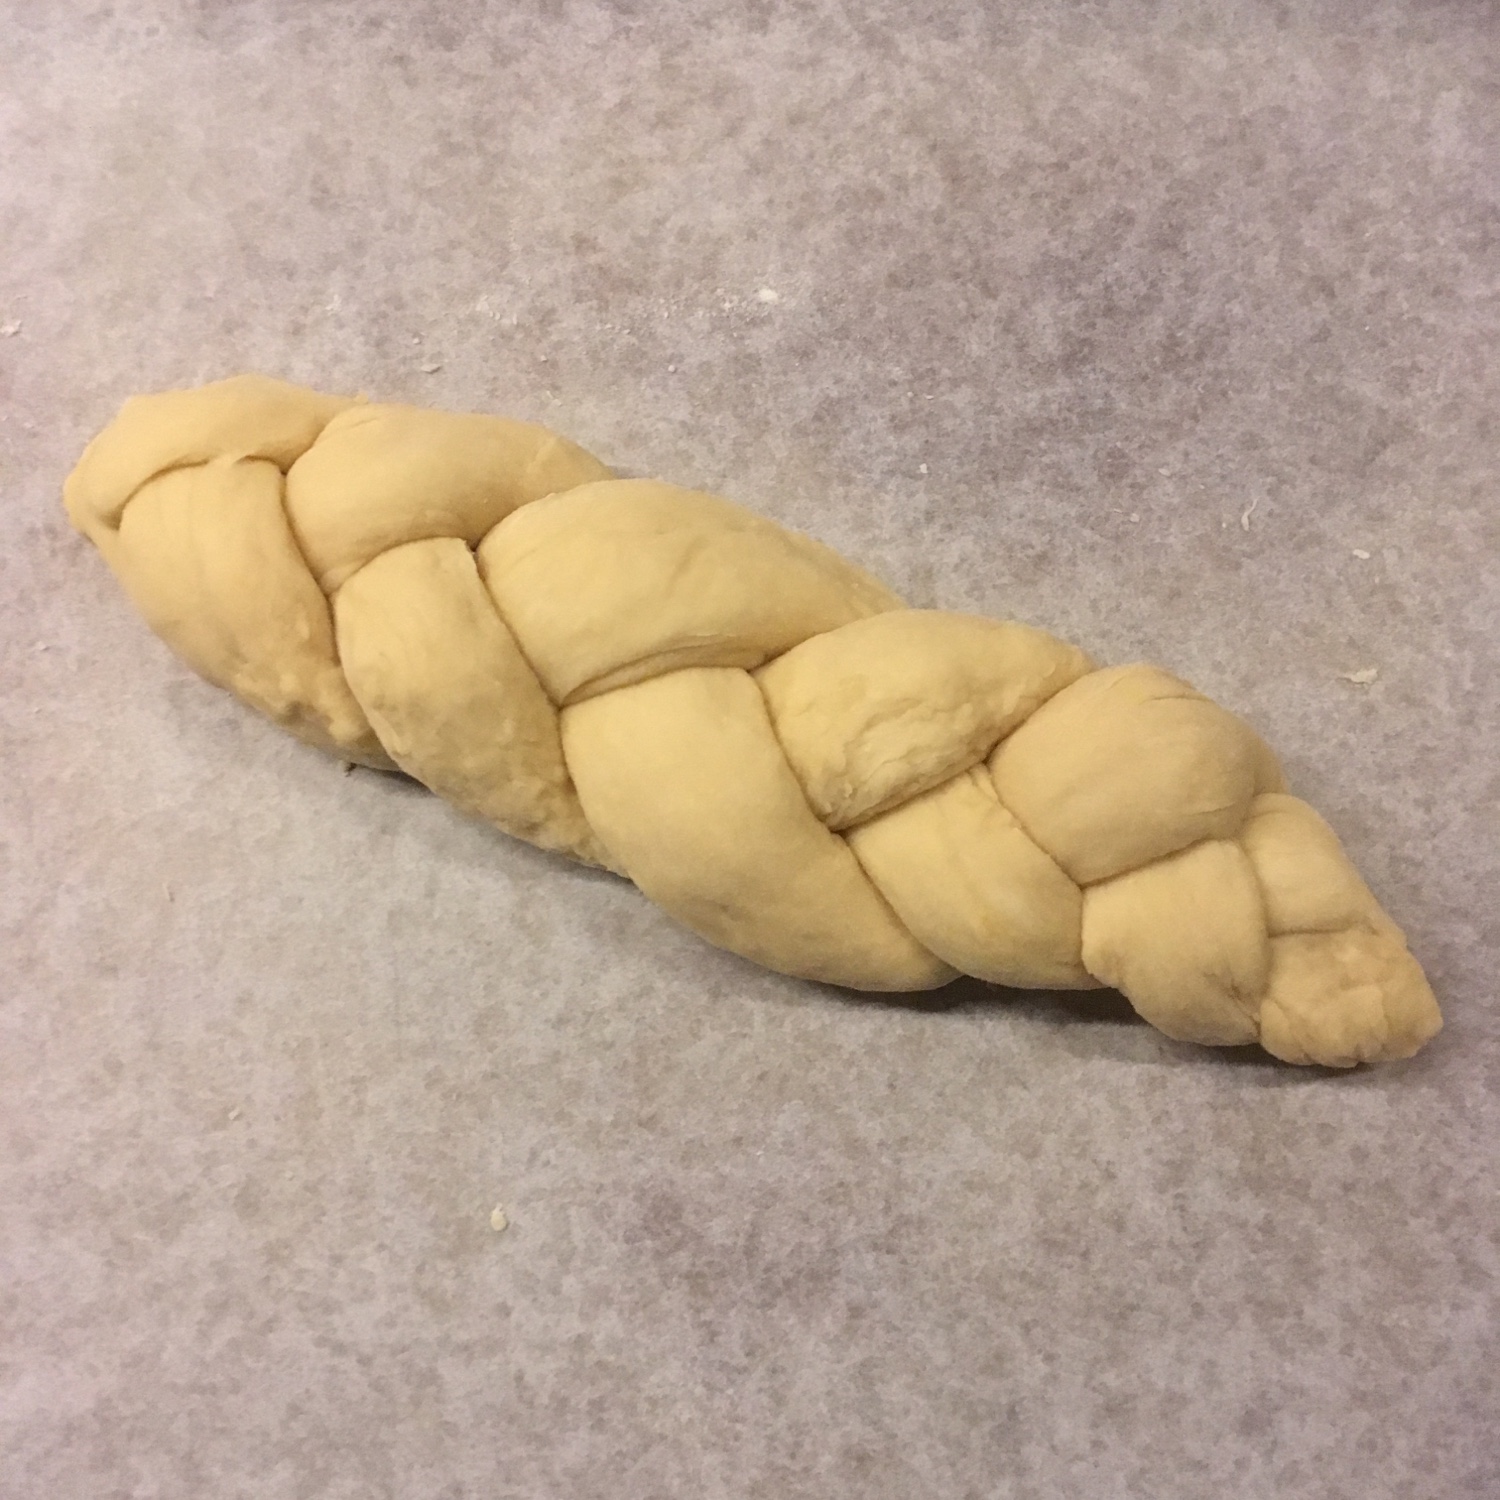
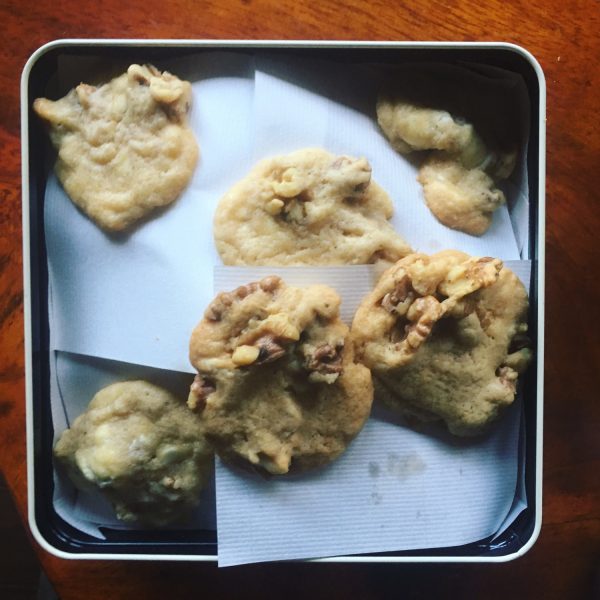
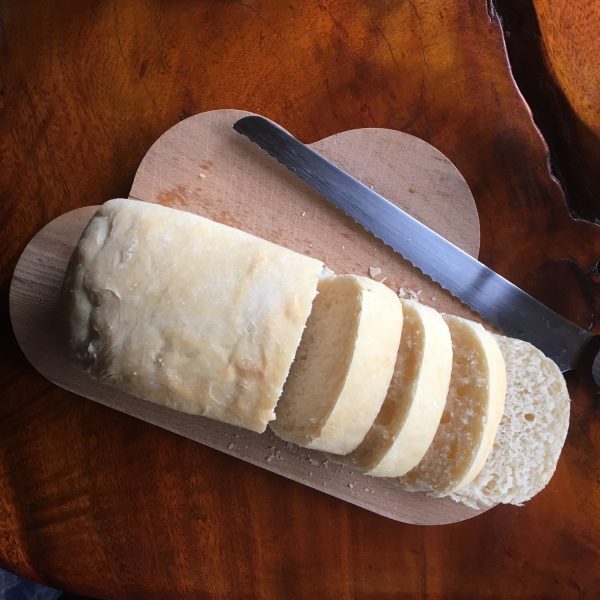
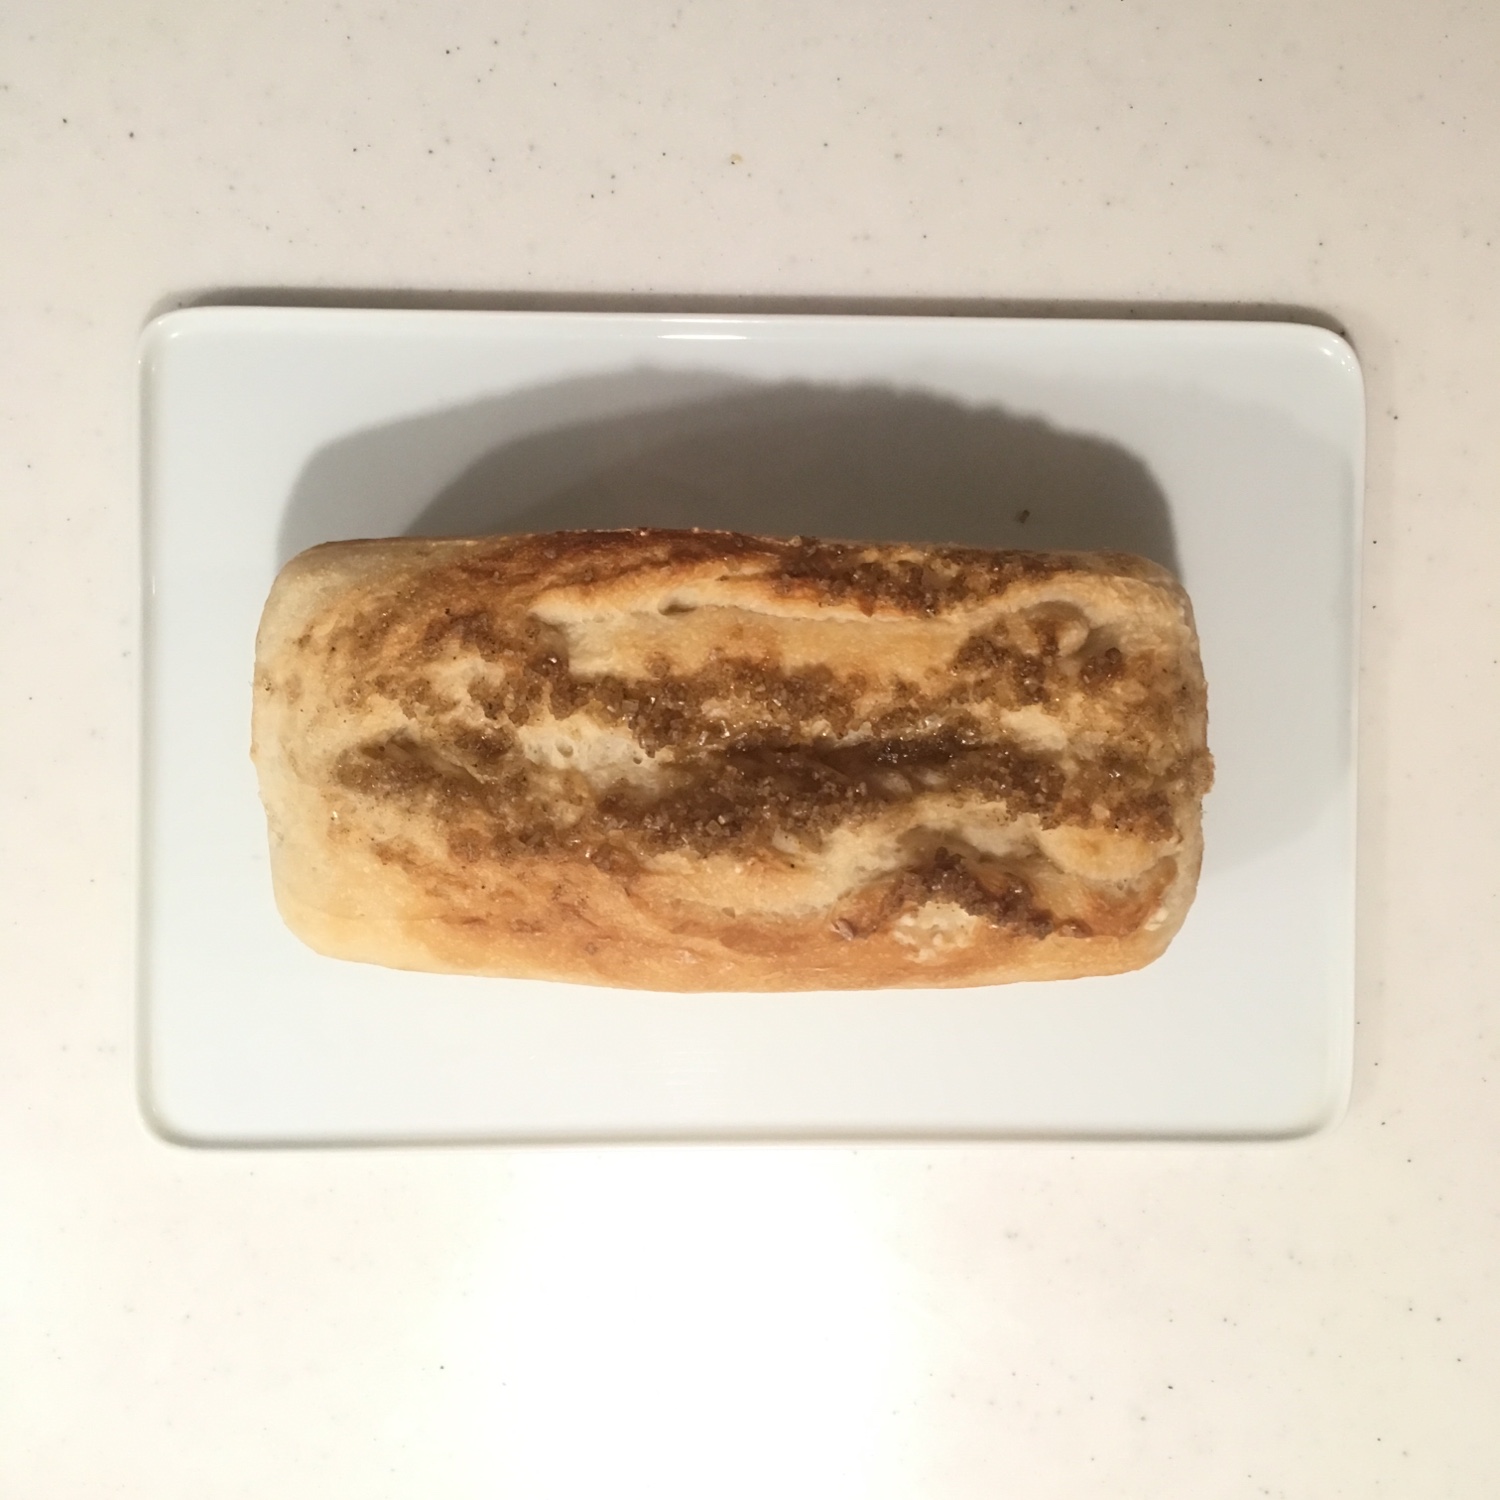
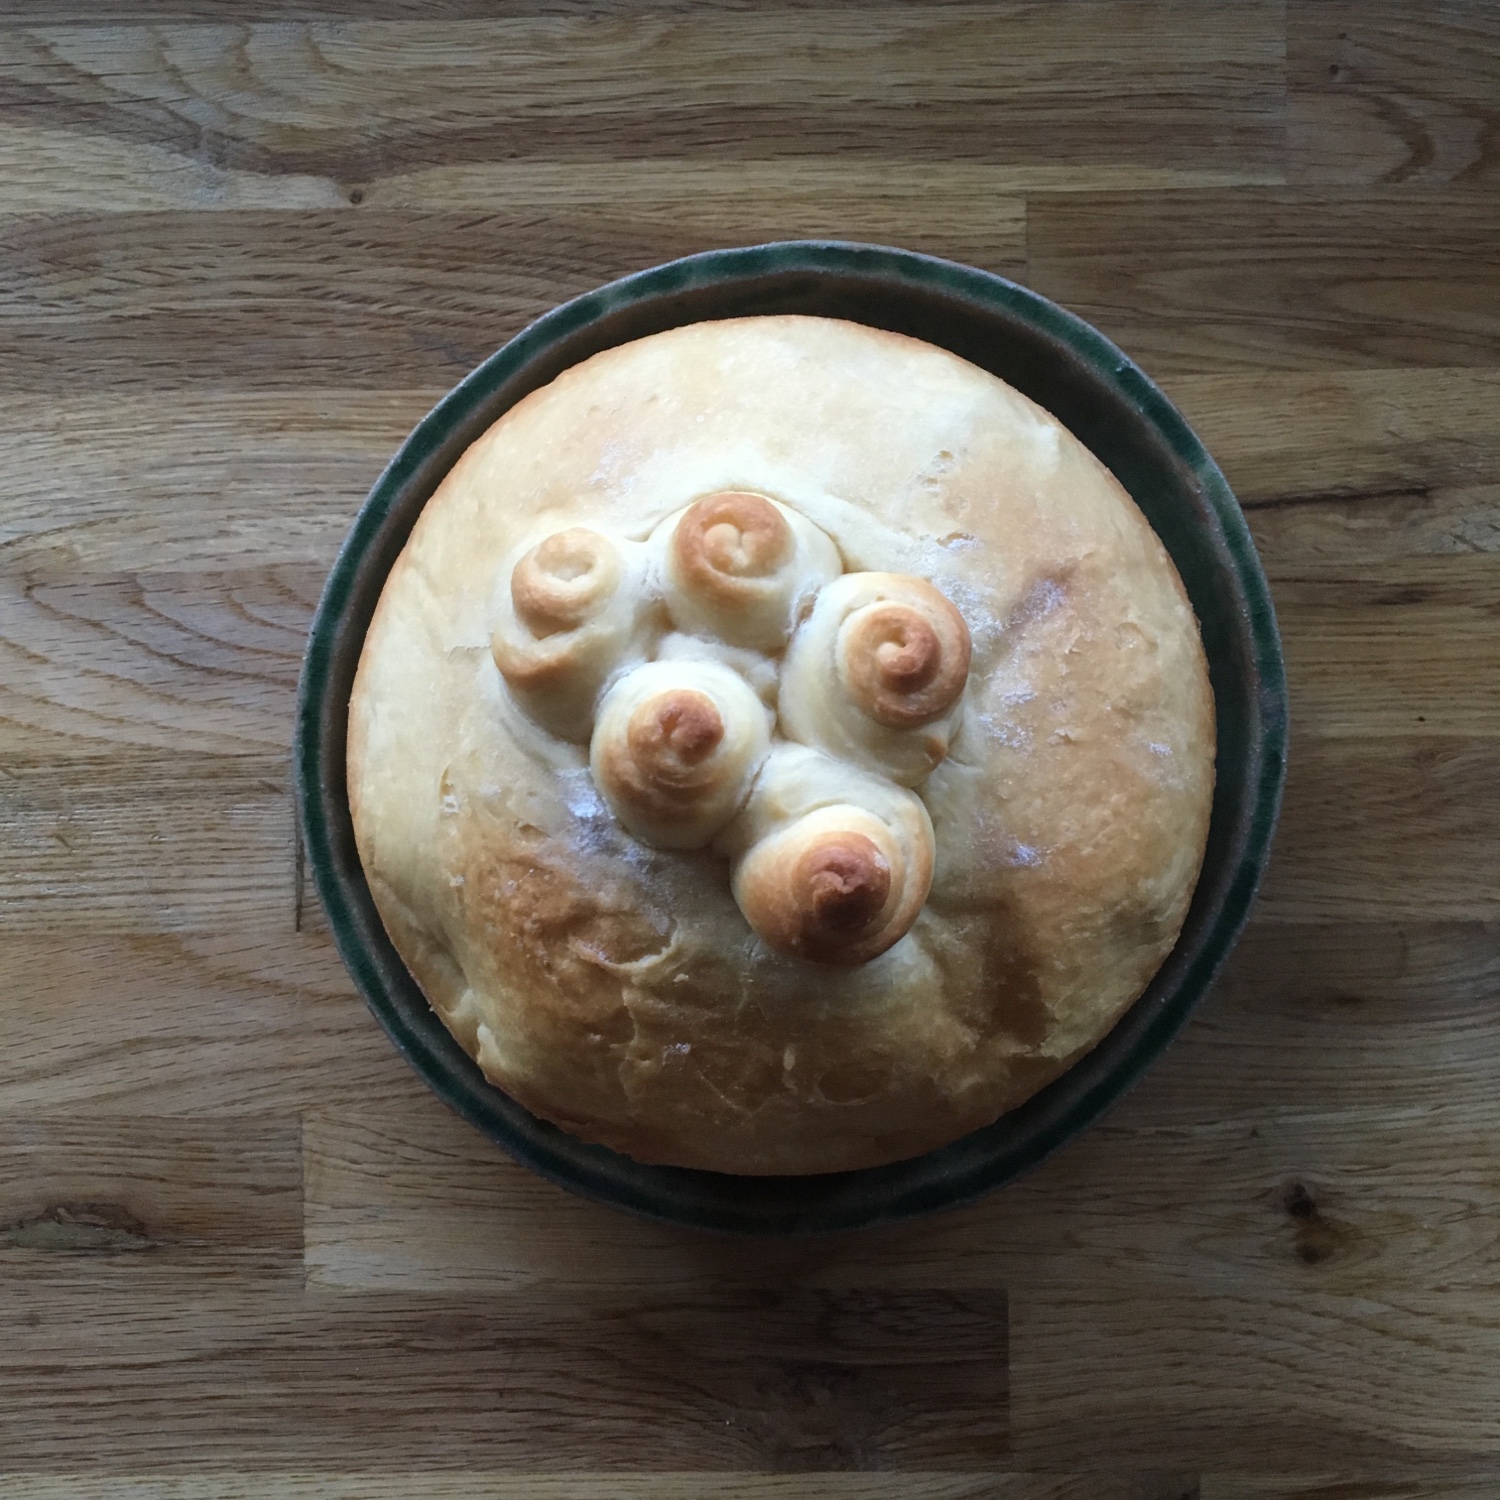
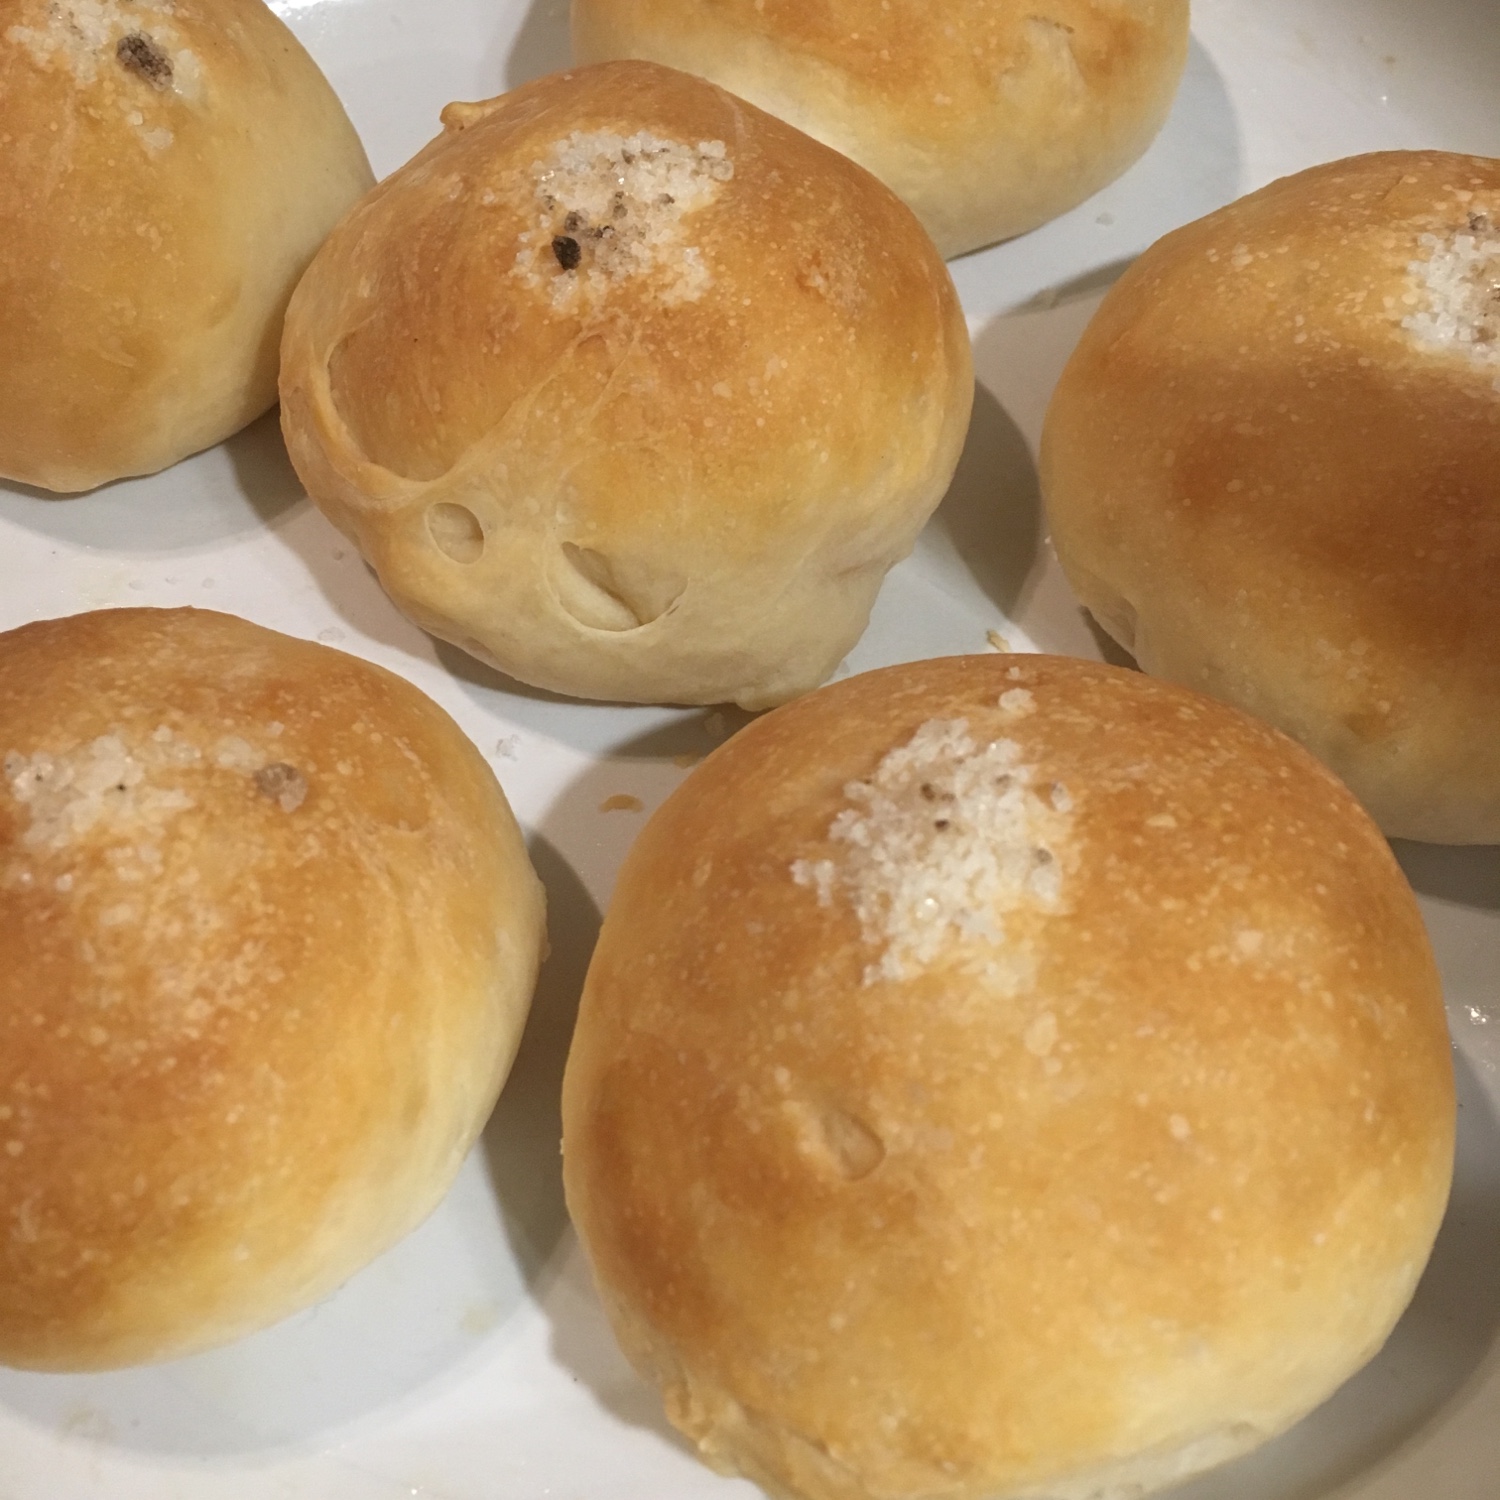
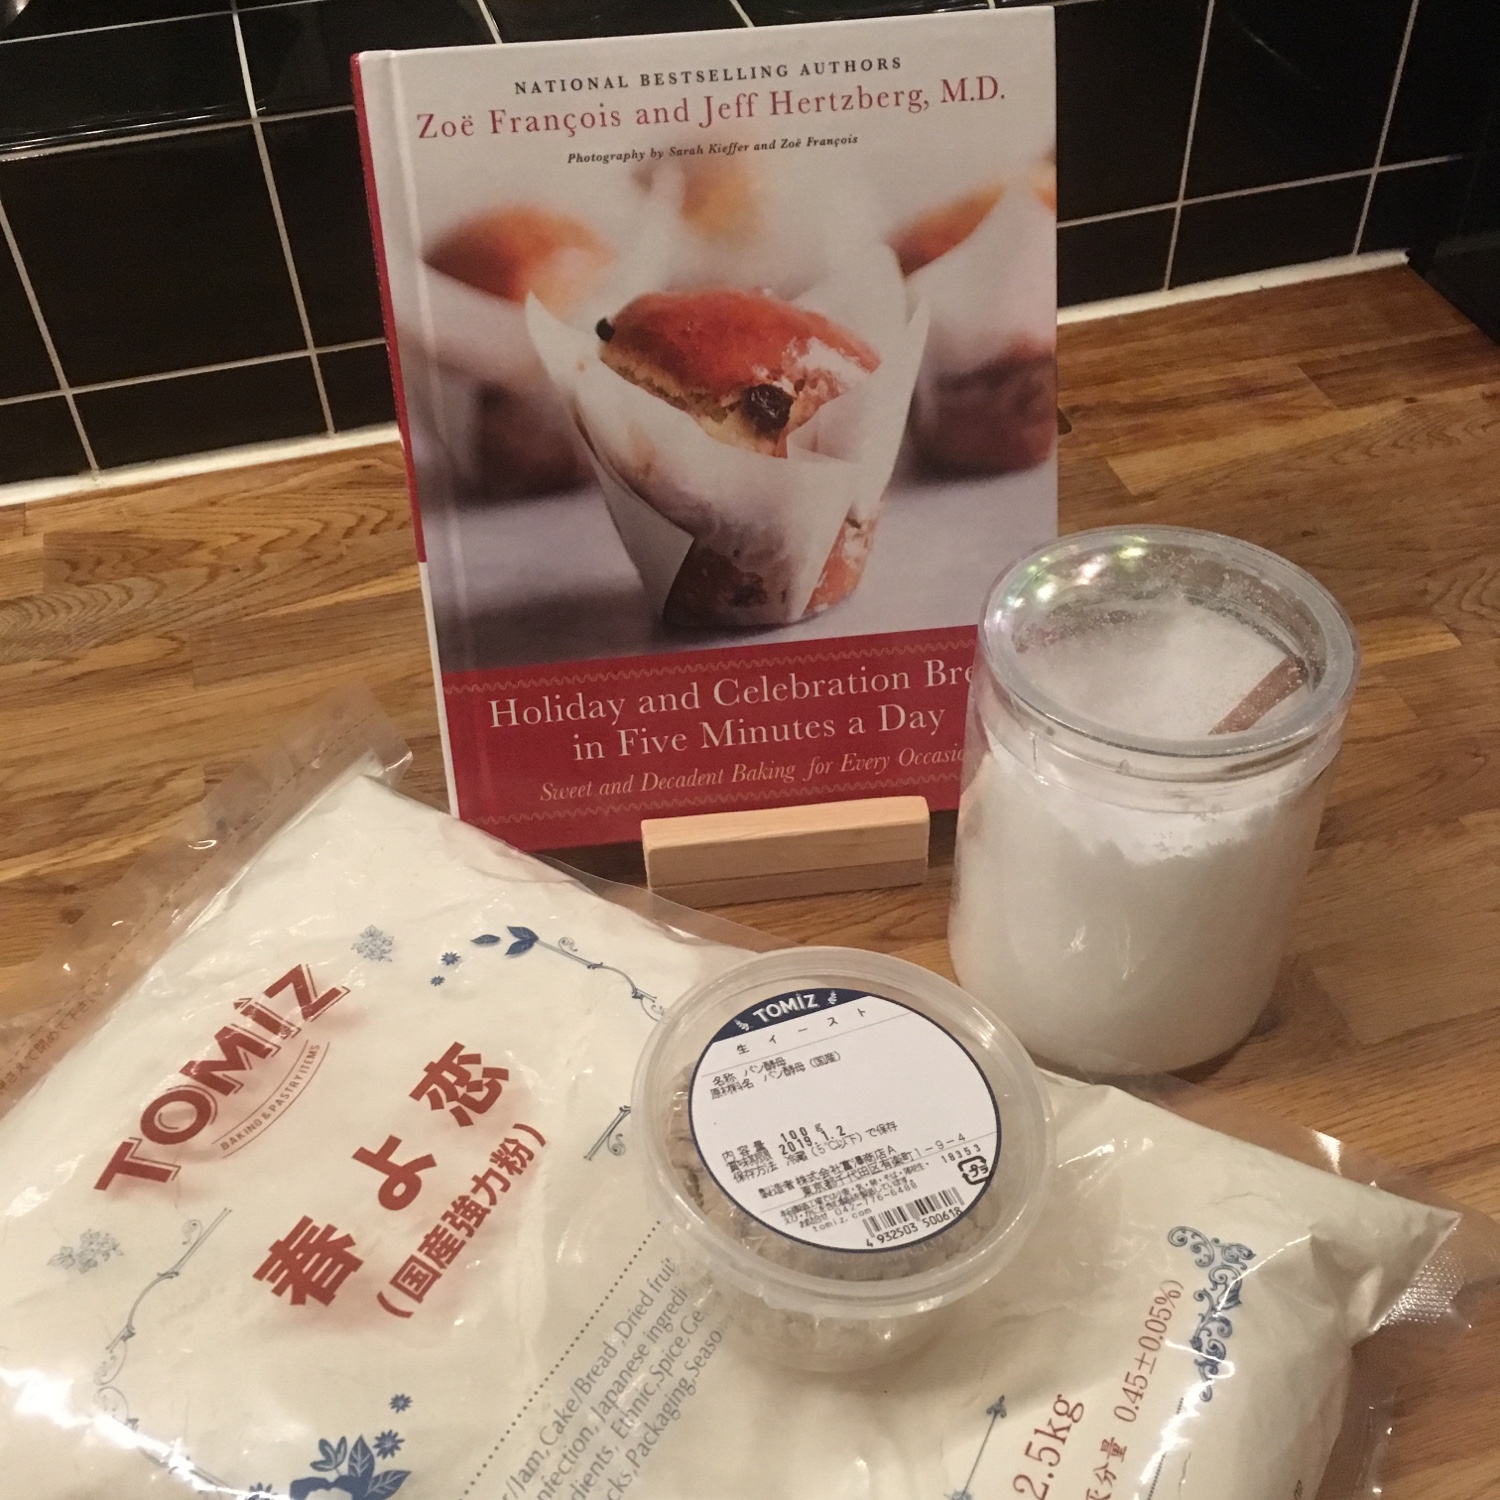
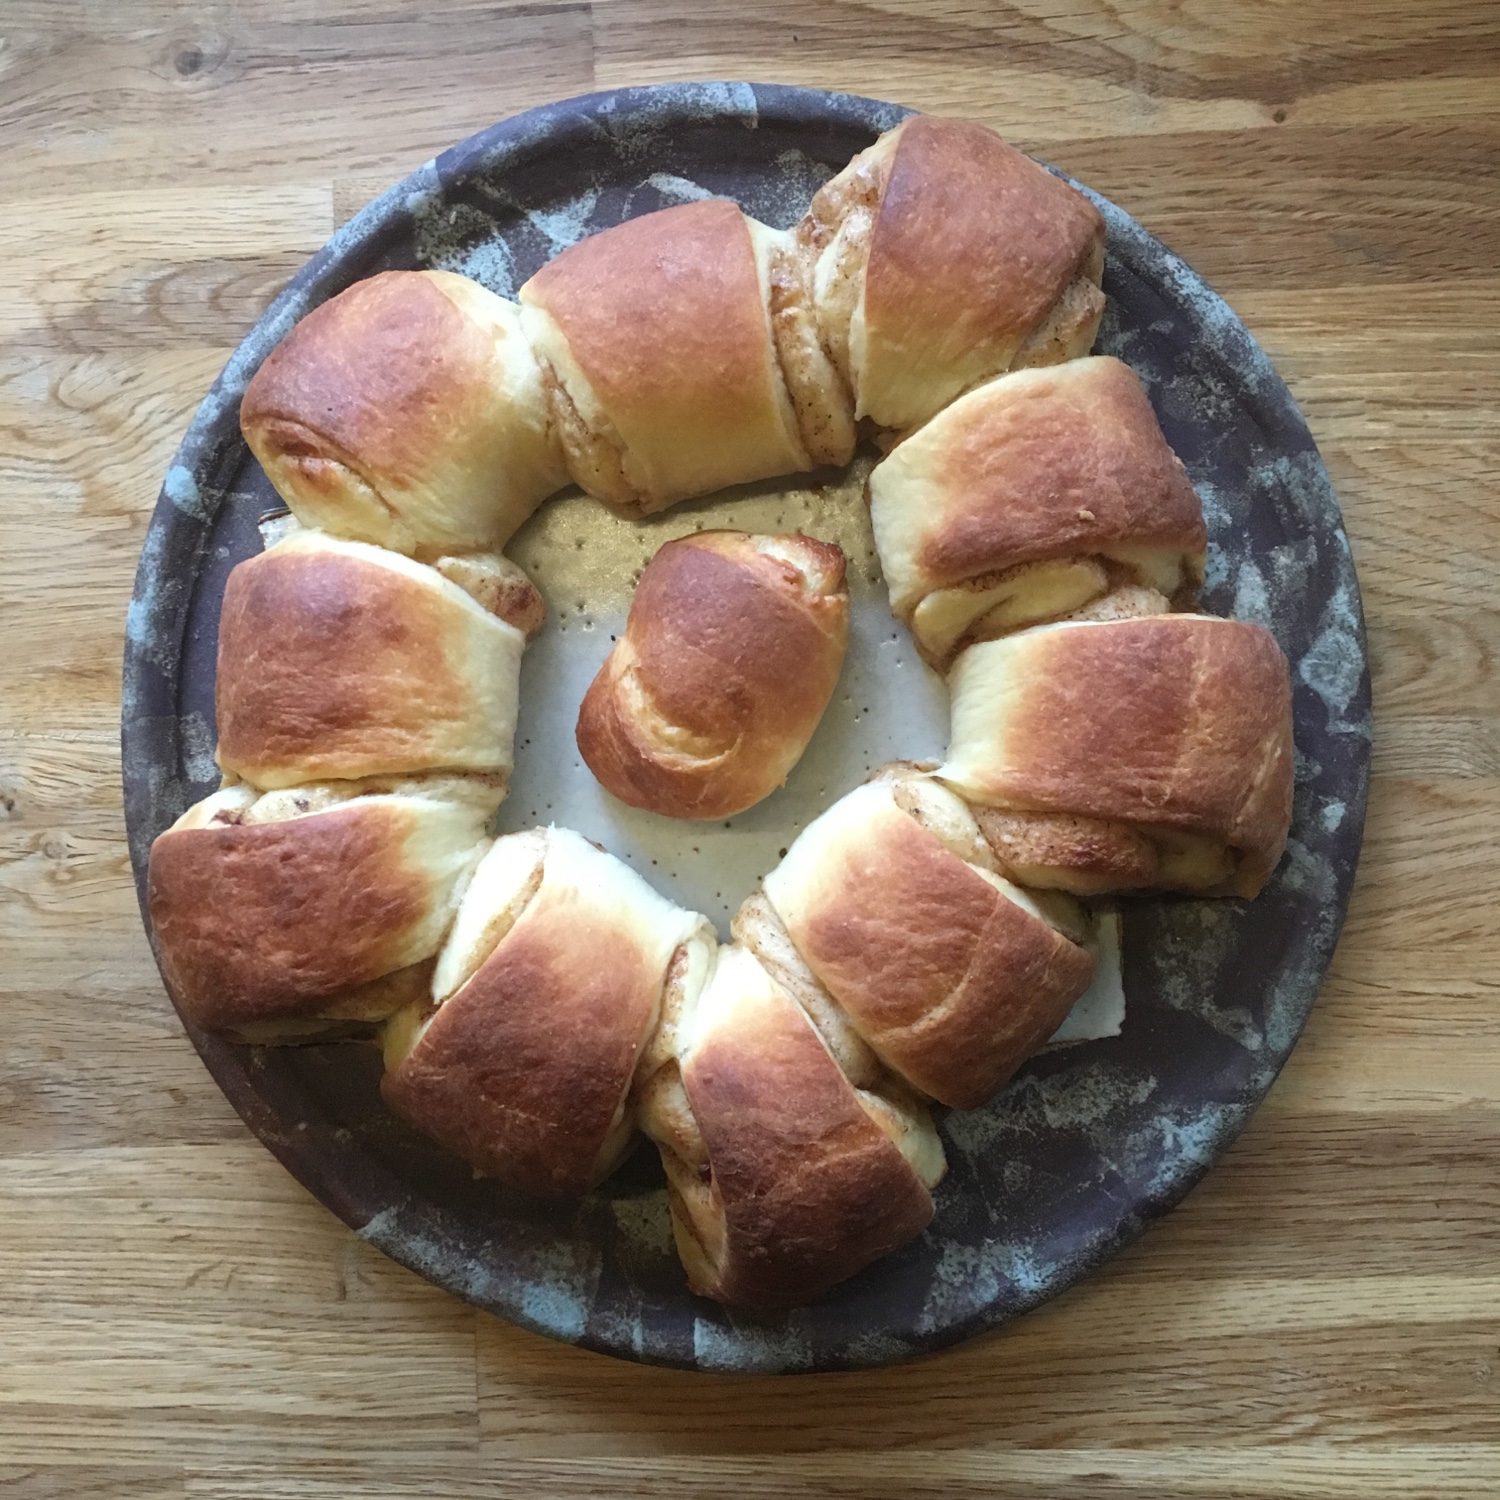
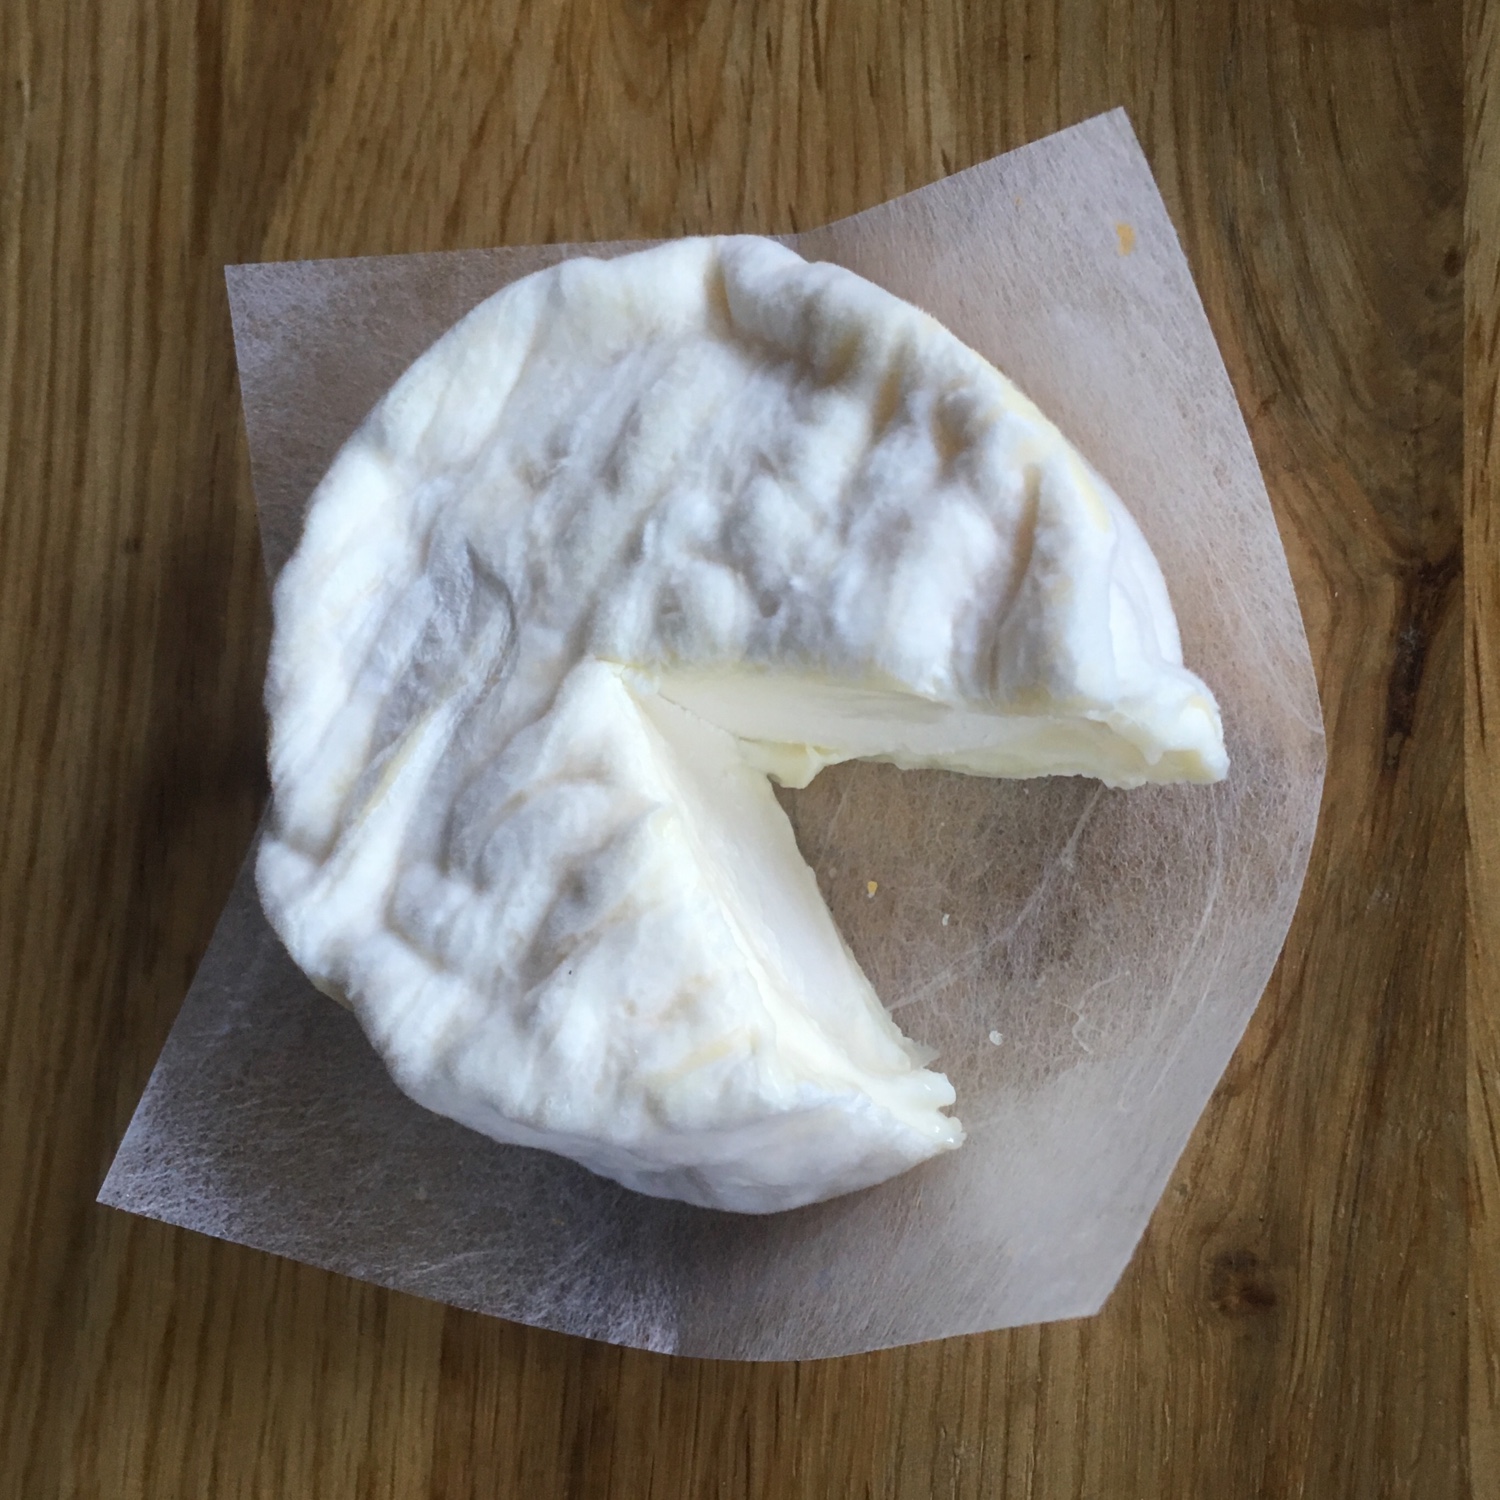
Once back home I prepared breads: fougasse with walnuts, and campagne bread and couldn’t wait to try them. Well to be honest, you don’t need bread. They were delicious just like that. It is very interesting because they are very different than Takahide cheeses, with probably stronger milk and cheeses flavors (probably due from her training in France!). The maturity also was great, with a creamy side below the crust. It was a great discovery!!

Now I have one favorite cheese farm and one favorite cheese factory!!!!

Braided brioche

When looking at Instagram and at breakfast tables, I was often seeing beautiful braided breads and brioches and was always intrigued by their realization. Not the braid itself, but how to obtain a dough that wouldn’t be too sticky to actually make a braid. I didn’t do much search. My recently acquired cookbook again helped me solving that problem. The Challah Dough from bread in 5 is really a nice alternative between bread and very rich brioche dough and I’ve come to use it often. And that’s how I learned how to make braided breads. It is actually extremely simple, much more than I imagined!

The book recipe can be found on that page but I slightly modified it to fit my pantry and taste. So here is mine:

Braided brioche bread (for one 400g bread)

– 250g of flour + for dusting

– 1 egg

– 1/2 cup of tepid water (add slowly as a little less may be required)

– 5g of yeast

– 5g of salt

– 2tbs of brown sugar

– 25g of melted salted butter

In a bowl, mix all the ingredients. The order has strictly no importance. For some reason (habit for sure) I almost always start with the flour, though the book recommends to finish with the flour… I tried both and the result is basically the same. To mix things altogether I use my hands or Japanese cooking chopsticks if I am on a rush or multitasking and want to keep my hands clean. I then leave the dough to prove and wait until it has almost doubled in volume.

Once the dough has risen, using flour to dust I move it to a sheet of cooking paper. Then flatten it and cut in 3 for long braided bread, or 4 for the round ones. I roll them into 20-40cm sticks to make the strands, and start braiding. The 3 strands, braiding is obvious, and don’t need a picture. The 4 strands in circle, it is a little more tricky but not much actually, it’s just that you have to twist and turn 90deg, go up the first strand and under the second. The braids don’t have to be too tight, as the dough will rise again.

Leave for the second rise about 45-60minutes and then bake at 180deg for 20-25minutes, or until golden. Don’t over bake, it will make the brioche too dry, in particular if, like me, you like to eat it warm, and plan to warm it up in the oven before eating if you don’t eat right after baking. Oh… and I don’t use egg wash and they always come out perfectly golden.

Cookies!

OK! I got it right now! The recipe of the sweet and soft cookies a la mode Laura Todd. My second trial was the right one! The official recipe is here, but shush! don’t tell A. I slightly changed it! I actually had to because the original recipe is for 375g of flour and 1 egg and I used half, but still put one egg…

Soft cookies (makes about 15 large cookies or 25-30 small ones)

– 180g of flour

– 120g of brown sugar

– 110g of butter

– 1 small egg

– 1tsp of baking powder

– a pinch of salt

– 1 vanilla bean

– 175g of white/milk/dark chocolate chips (large on is better)

– a handful of walnuts/shredded coconut/hazelnut or nothing…

I melt the butter, and mix it with the sugar and the vanilla, add the egg (actually you can change the order, or add the egg at the very end of the overall recipe, it doesn’t matter!!).

In another bowl, I mix the flour, the baking powder and the salt. If you plan to make only one kind of cookies add here the chocolate chips and the nuts. If you are planning on making different combinations then wait before adding the chocolate chips and the nuts.

Mix the flour mix in the sugar-butter-egg mix and stir well. If you haven’t added the chocolate chips and the nuts you can now split the dough and add them.

Preheat your oven at 140deg. On a greased sheet or cooking paper make small balls of dough (slightly smaller than a ping pong balls). Plan enough space between two as they will become 7-8cm cookies once in the oven. That would be the large cookies. If you want to make smaller ones just reduce the size of the balls by a third or a half.

Bake in the middle of the oven, to obtain an even top-down baking for 15min for the small ones, 18min for the larger ones. (That was one of my failures the first time I tried, they were too low, the bottom dried). Take them out of the oven before the edges start to golden. Let them cool down a bit before moving them.

They were just perfect!

Crepes or cookies

I wanted to talk about one or the other in my post today but I decided to do otherwise because my cookies recipe is great but the baking time wasn’t good (I slightly over baked them) so it needs another trial before being shared. And crepes… well… it was Chandeleur on Saturday and I thought about making crepes, but I didn’t have buckwheat flour anymore to make savory crepes so I made a few sweet crepes for tea time, but that’s not something special as I probably make crepes once a month or more. So today I wanted to talk cheese and pizza! Indeed, after all the beautiful sunny days I found some tomatoes at the farmers market. I assume they grew in a green house heated by the winter sun only. They were a beautiful red full of ripeness. I couldn’t resist… after all the winter vegetables, that would be different! They also had a little of rucola too, so instantly the idea of eating an homemade pizza came to my mind. And for that I needed some nice cheese, so we drove up to Takahide farm to buy some mozzarella.

We stayed to see the cows and the heifers, and we came back not only with mozzarella but with a new version of one of my favorite cheese there, in an aged version… simply delicious!!

Oh! For the pizza dough I use always the same recipe as here. It always works perfectly.

White miso for the winter

There exists miso for each season and if red miso is for the summer, white miso is the one for the winter. I learned that at my cha-kaiseki cuisine classes a few years ago. And in an attempt to make some vegan pie crust I was tempted to replace butter by the creamy white miso, with a little addition of vegetal oil. The color is unchanged since the miso has almost the color of butter. The kneading is very easy, the rolling too, though it is more like olive oil base pie crust, it breaks easily, but it is easy to repair too!! I was worried it would be salty but it wasn’t (opening to not only savory quiches, but sweet pies and tart too) and it bakes in a very crispy manner. So the vegan pie crust with miso was perfect. Something I will use again for sure as it is sometimes easier to find miso than butter in Japan and the taste of miso was very mild rather that of olive oil.

As for the filling I used leek, spinach and broccoli with tofu and eggs. I haven’t found something to replace the eggs in the quiche yet… If you have ideas, I’ll be happy to try…

Miso pie crust (for a 20cm, thin crust)

– 150g of flour

– 5tbs of white miso

– 1tbs of vegetal oil

– 1tbs of water

Mix all the ingredients together. Roll and bake or fill and bake… that’s it!!!

Bread for every mornings

Earlier in December as I mentioned in my first post this year, I discovered a book thanks to Giulia @ Julskitchen that makes the promise to prepare fancy breads in 5min. I was skeptical at first but also curious so the only option was to try by myself a few recipes and see how it was actually feasible on regular working days. So during the holidays I started to get familiar with the processes and this week I have used the recipes and method non stop for breakfast mainly, sometimes dinners. So here are my thoughts and findings after almost 2 weeks of using the book bread in 5 on a daily basis.

First of all yes! it is undeniably making bread baking really easy and despite the rises that take time, but that is inherent to bread making and I didn’t expect to have this time reduced, it really takes 5min for most of the recipes to mix the ingredients and shape the bread(s). I tried both with fresh yeast and dry yeast and it is equally working well. I didn’t try with sourdough yet…

I have tried recipes for the classic breads, milk bread, brioche, panettone… I must admit that of all the brioche was really bluffing and when I remember how much time and effort it took me to knead my first brioche and that the result was so so… I can only recommend to use this recipe for people new to kneading and baking. I will definitely use the recipe again and again to make brioche for breakfast when we have friends over.

As I mentioned in my earlier post the breads are simples and can be easily upgraded: this morning I added vanilla, I made walnuts rolls, or salt rolls for dinner… but they are not French breads with a thick and hard crust, I never managed to obtain anything close and I don’t think it is possible. It is totally fine, you just need to know that. Rather the breads are fluffy but very nourishing and soft. A. told me they looked like breads his mom made with a bread machine once… I never really had bread from bread machine, so I couldn’t say… I finally enjoyed them more as individual rolls than bread to slice.

The one thing that was a great learning for me was the conservation of the dough after the first rise. Knowing that you can keep it refrigerated for up to a week was quite a finding. Though I found it worked well with breads with plain ingredients, I liked it much less for breads with butter, milk or eggs… in particular I found that after 3 days the milk bread I made had a stronger fermented taste that I didn’t like much… personal preference I guess… I also wonder if keeping the dough that way works with kneaded doughs… something I need to try to find out. Because for me the kneading part, in particular for French breads is actually something I like to do on Saturday evening. It is relaxing and a time for reflection that I need in my busy schedule. Some meditate and run… I knead and garden… yet having freshly baked bread on the breakfast table every morning is just fantastic… and it’s even easier than pancakes, once in the oven there nothing to do… oh! And there are many recipes of braided bread, something I find quite beautiful when well done…

So bread in 5 was a revelation for me but I need to adjust it to my habits and liking!!

Ravioli with Japanese flavors

By now you must know that I love ravioli, that I love both making and eating them. With the end of year/new year holidays in Japan, most of the farmers market were off until today, so I had to buy some long lasting vegetables that would last 7-10 days and enough for having friends at home and unscheduled meals to cook, just in case… so I packed on shiitake, spinach, sweet potatoes, daikon, cabbages and carrots mainly. So when I wanted to make ravioli I was a bit falling short of options at first… but then I decided to use the ravioli recipe I learned in Florence last year: a base of potato and a sauce with mushrooms. I just twisted the recipe enough to make it Japanese style: filling of Japanese sweet potato and soya sauce, and the sauce with shiitake, spinach and a bit of grilled pork for those who like it. The result was really up to my expectations, even though I could have added a little more soya sauce. But each vegetable flavor and texture was remarkable and I and A. were both very happy with the result. So here is my recipe:

Sweet potato ravioli (2-4 servings depending on serving size, for it was 4)

For the pasta as usual:

– 100g of flour

– 1egg

– a bit of olive oil, a bit of salt

Mix all and knead until soft. Wrap and leave to rest for 30-90min.

For the filling:

– 2 medium sweet potatoes

– 2tbs of soya sauce

Boil them, when soft, drain, peel, and mash. Add a bit of water if too dry.

For the sauce:

– 1 bundle of spinach

– 4-6 large shiitake

– olive oil to your liking

– thin slices of pork if you like

Wash the vegetables, chop the spinach and slice the shiitake. In a heated pan with olive oil cook the vegetables, add the pork if you want. Add a bit of water if too dry. Keep.

Roll the dough and fill the ravioli. I used a 12-ravioli rack which has fairly large size ravioli (the dough quantities make for two racks: 24 ravioli). Mezze lune are also easy to make as in the recipe here. Fill them and boil them. Once they come to the surface take them out and add to the sauce. It doesn’t matter if a bit of cooking water comes too, on the contrary. Stir gently to cover the ravioli with the sauce and serve to eat right away.

Proudly powered by WordPress | Theme: Baskerville 2 by Anders Noren.

Up ↑

Verified by MonsterInsights