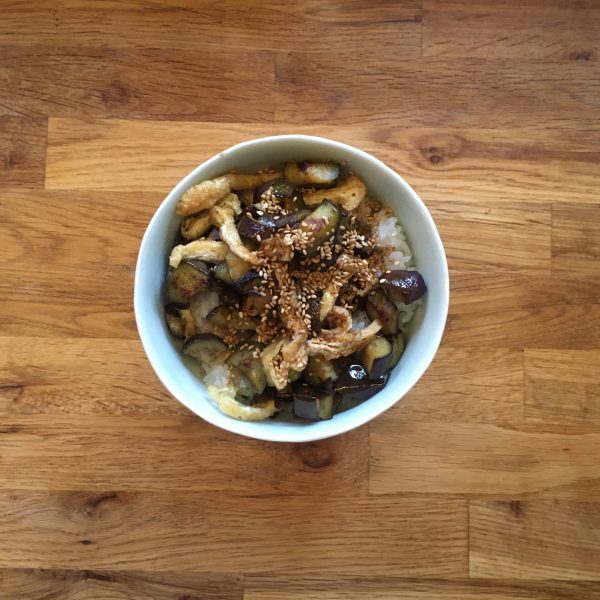
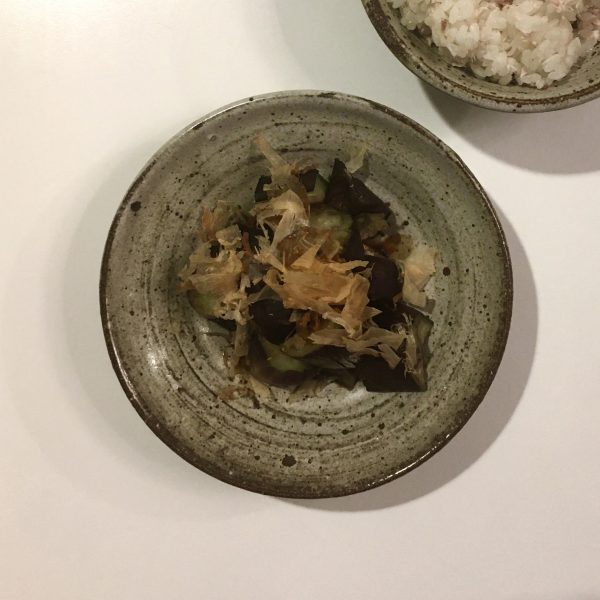
Fresh ginger

Just after myoga, fresh ginger season is starting. Both plants may look very similar, but in ginger we eat the root mainly. Unfortunately we don’t have ginger growing in our garden yet, so I usually buy fresh ginger at the farmers market. I’m big fan of candied ginger, and prepared some sometimes, but so far I didn’t get time. Work has been really busy, and everyday is full from morning to evening, if not with work, with surfing, gardening and trying to get familiar with Pistache. Progresses in any of the above are really slow: I’m getting better at spinning but it’s not quite yet very nice… the new garden soil is slowly shaping up, very slowly… and the cat… hum she’s around a lot but it is still too early to get anywhere close…

Pistache

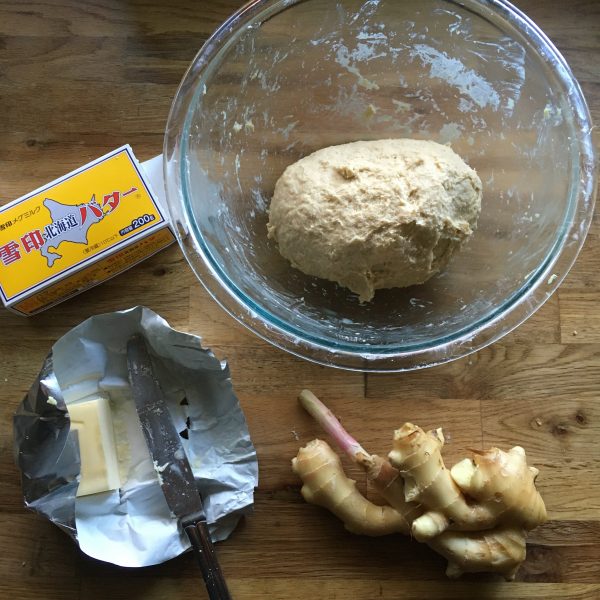
All that to say that I didn’t make candied ginger, but instead used the fragrant roots for honey drinks, and for a delicious brioche. The drinks are easy, I just peel and slice thinly the root. Add a tablespoon of honey and top with hot water. For the brioche, the recipe is below.
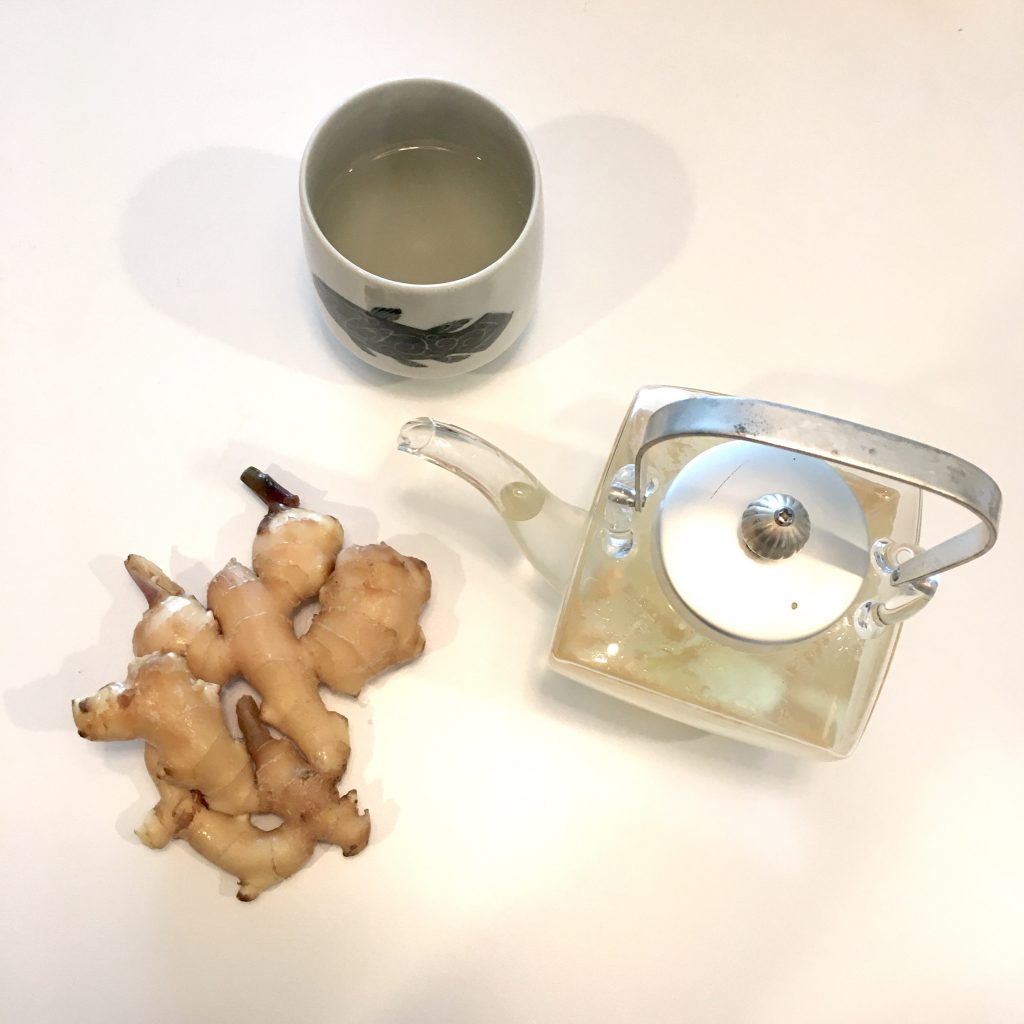
Hot ginger

Ginger and lemon brioche

  • 400g of flour
  • 3 eggs
  • 100g of butter
  • 50g of brown sugar
  • 100g of fresh sourdough
  • 1 root of fresh ginger grated with its juice too or ginger powder
  • The zest and juice of one lemon or lemon extract

Mix all ingredients in a bowl and knead until smooth and soft. Leave for as much as it needs to grow. That will depends on the room temperature. Once the sourdough has clearly worked, flatten the dough, wait 15min and shape (I used a cake dish). Leave for another 1h or 2 before baking at 200deg for 40min or until golden.
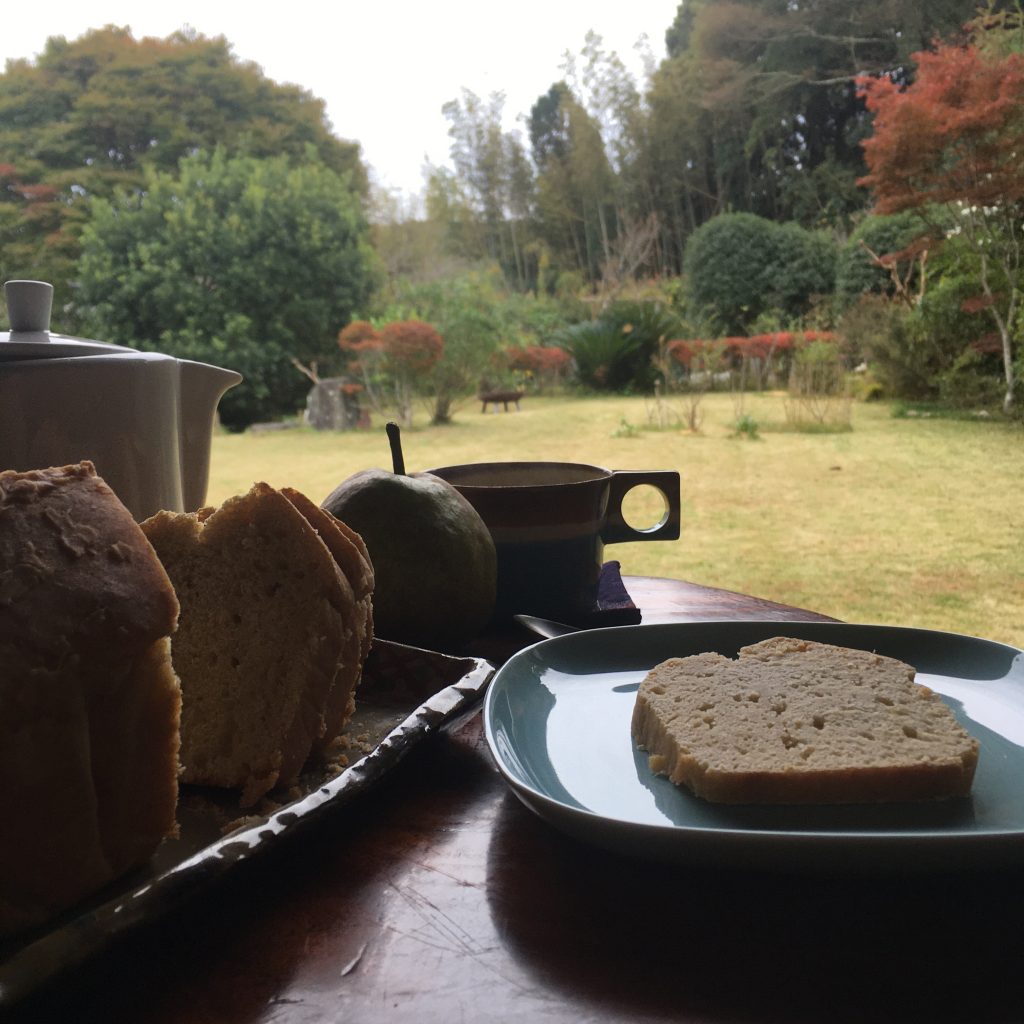
Breakfast with the ginger and lemon brioche

Peanuts…

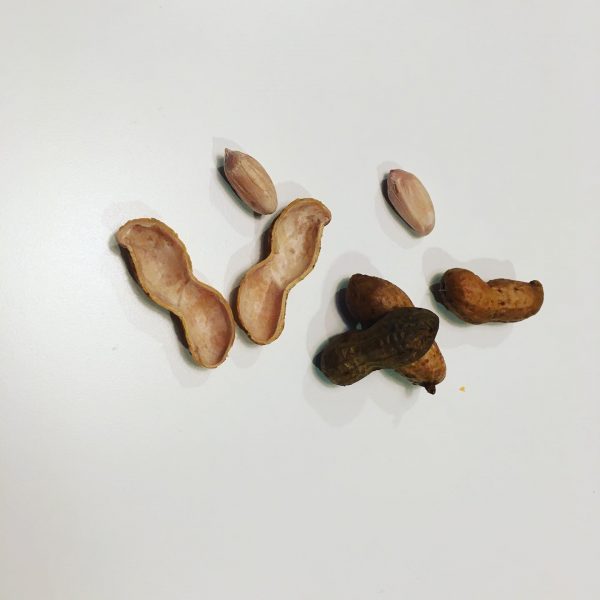
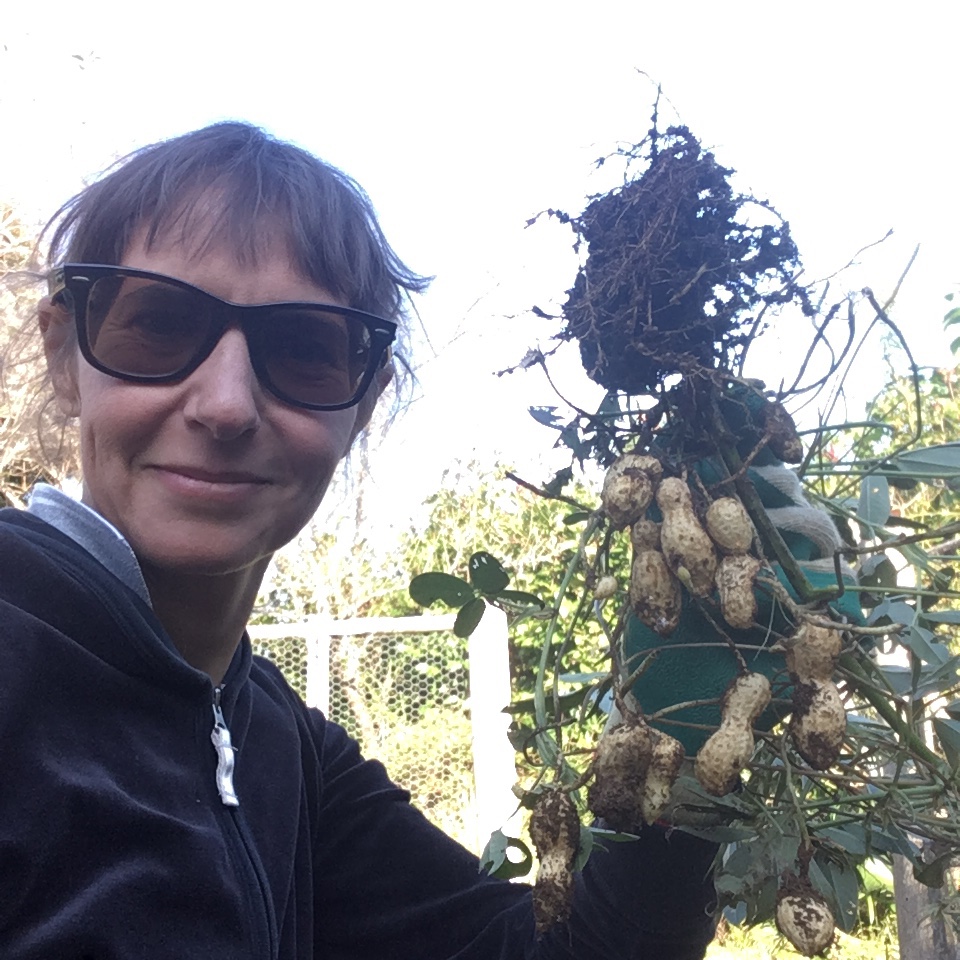
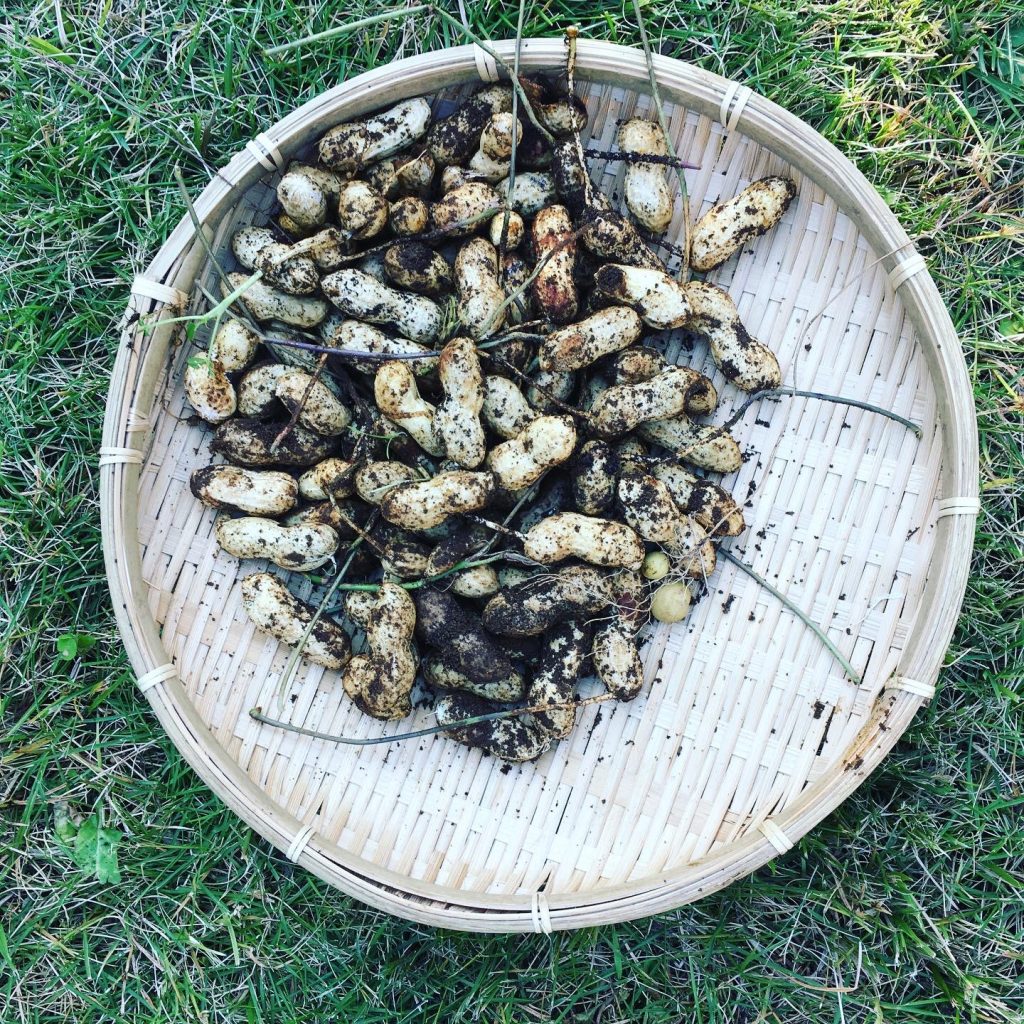
It may seem strange but peanuts grow quite easily in Japan and peanuts from Chiba are among the most famous. Peanuts in Japanese is called rakkasei 落花生, which literally means the falling flower’s life or something of the kind… because peanuts are a very intriguing plant indeed! It looks like a low pea, with nice flowers, which then stem underground, where the peanuts actually grow. My curiosity, the fact that they are local so normally adequate for the weather, and that I am slightly better at growing underground things than overground, peanuts were definitely on my list of things to grow. I did a first attempt in 2019, more or less successful, and tried again this year, more successfully. I harvested a little basket of fresh raw peanuts.

After debating about what to do with them… we usually don’t eat peanuts… I decided I would simply boil them… simple enough and actually really super delicious. So here is my recipe.

Salted boiled peanuts

  • Fresh raw peanuts
  • Salt
  • Water

Remove all the soil and dirt of the peanuts. I gently washed them while shaking them. Then I let them rest overnight in water, and rince again. But if yours are clean enough just go ahead.

In a pan set the peanuts, cover with ample water, add one tea spoon of salt and set to a boil. When it boils cover and let cook for 3-4 hours a low heat, checking once in a while that there is still water. And that it! Let cool and start eating!

I kept them refrigerated, but they were gone in a few days!!!

Autumn ravioli

Last Friday a strong windy typhoon passed nearby, and we had a few things to fix in the garden Saturday when we went on our usual inspection. The wind chopped a palm tree in two, many dried branches felt and a bit of cleaning was more than necessary. While doing so, A. found a few chestnuts fallen from our tree that animals haven’t had time to touch yet. A few meaning exactly 5.

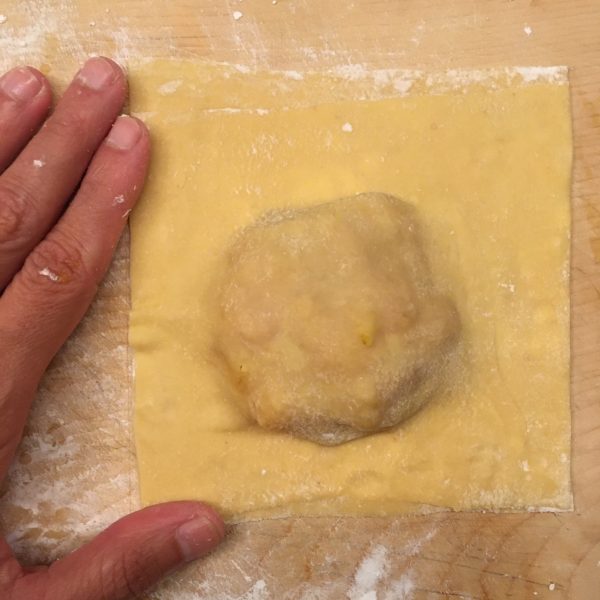
But that was perfect. With the butternut squash I had and the dried porcini I just bought at an Italian grocery store newly found in Tokyo, dinner was all decided. It would be ravioli. And that came to a more satisfying recipe for A. when I told him I could use some local sausages too. We were so hungry and happy with ravioli for dinner that I didn’t even take 1min to take a picture!!! The only I had taken was the ravioli before cooking them.

So here is my recipe, simple as usual and very very tasty! I opted for super jumbo ravioli to enjoy the filling, but you can make smaller ones too.

Autumn ravioli (2 servings)

  • Same as usual for the pasta: 100g of flour, 1 egg, water
  • 5 chestnuts
  • 200g of raw pumpkin, butternut squash…
  • Dry of fresh porcini (10 pieces dry, 2 mushrooms fresh)
  • optional: fresh sausage (I use local sausage)
  • Olive oil
  • Salt and pepper

Start by boiling the chestnuts. While they gently do, prepare the dough for the pasta, and let it rest while you prepare the rest. Which is to peel and chop the butternut and boil it with very little water or best steam it, until soft. Return the dry porcini in tepid water, or if you use fresh ones, wash and slice them. By then the chestnuts should be ready, and after cooling down a bit peel them. If you use sausage, remove the skin if the sausage. Then in a pan mix together he butternut, the chestnuts chopped, the sausage, salt and pepper, cook at low heat while stirring, mashing to obtain a rather puréed filling.

Roll your dough, and make the ravioli.

Boil enough water for the ravioli (if you used dried porcini add the water used to returning them in there too). In the meantime in a large pan sautéed in olive oil the porcini, add salt and pepper. Boil the ravioli and add to the pan. Stir gently and serve in the plates for immediate enjoyment!!!! Et voila!!!

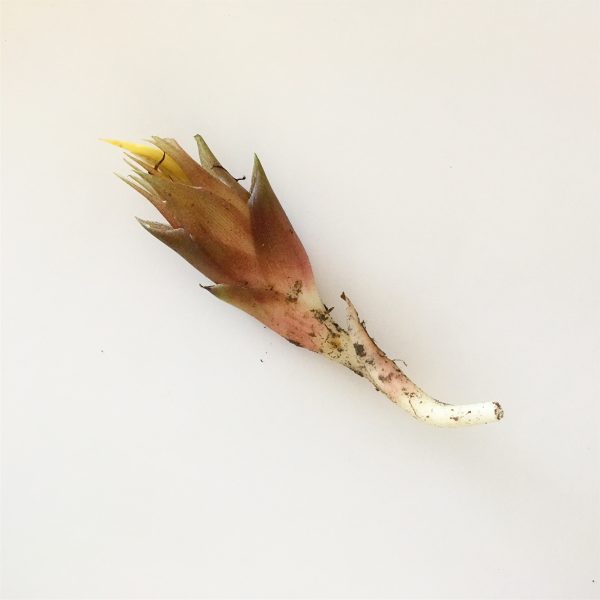
Myoga!!!

This little wild flower bud is really too delicious and its distinctive flavor quite unique. As you know, from all previous posts, I love it!!!

We are lucky to have some growing wildly in the garden, and it’s quite easy to find some when going for a walk in the woods. Apparently there are two seasons for it, one in spring and one right now in the early fall. Our garden has more of the latter and for me myoga is a fall flavor!

There are many many ways of preparing it and eating it (again, check my previous posts on the topic!). Raw or pickled would be the most common and my favorite. Raw particularly. It is so simple and it goes well with so many things!

Today two super simple recipes with myoga, one is a classic, the second is more one of my classic.

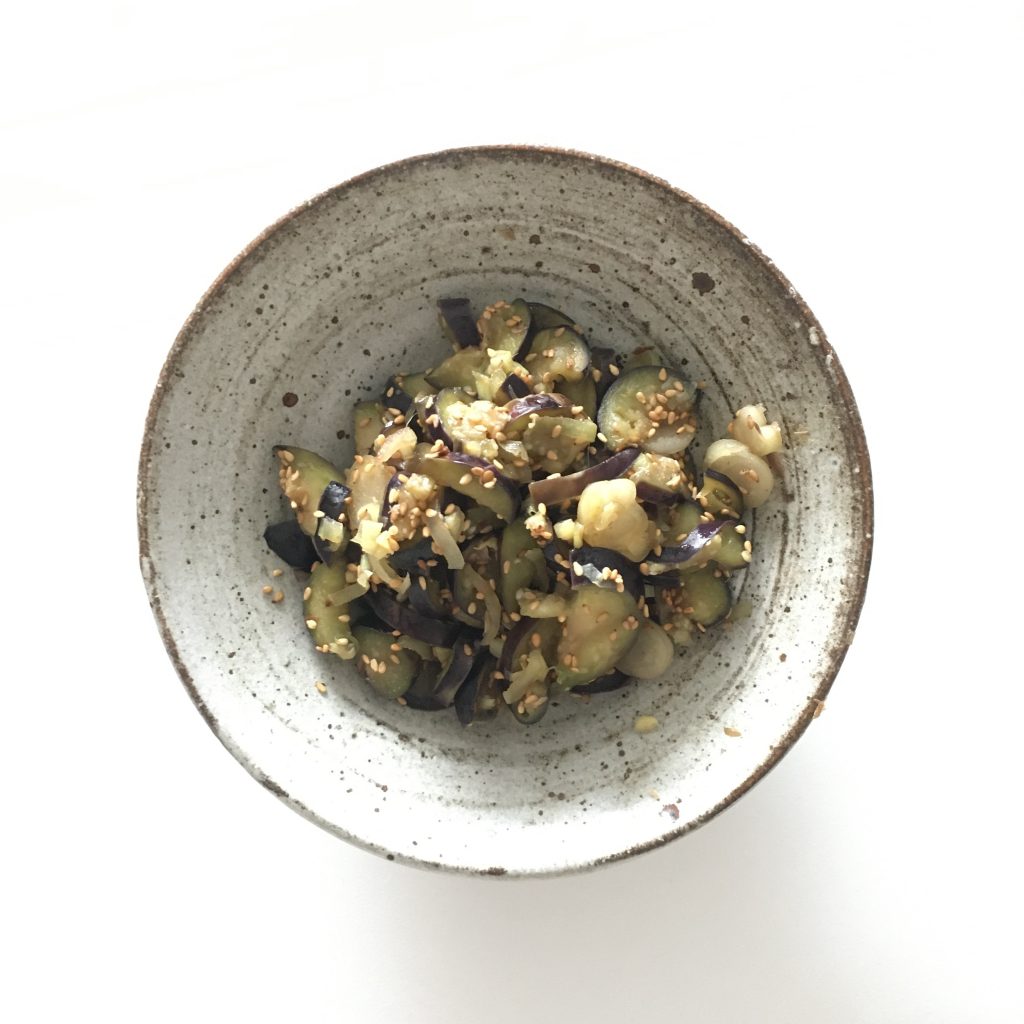
Eggplant with myoga

  • 2 myoga
  • 2 eggplants
  • 1/3 tsp of salt
  • 1tsp of sesame seeds or a handful of katsuobushi

Normally for this you could do it with raw eggplants like I suggested here. But to male it faster, instead of waiting for the salt to slightly pickle the eggplants, I cook them.

Wash and cut the eggplants in their length, then in 4-5mm slices. In a tiny pan start cooking the eggplants, add the salt and stir often. I do not add water nor oil. When the eggplants have softened add the myoga washed and thinly sliced. Stir well. Add the sesame or the katsuobushi. Stir again. Serve and eat now or chilled.

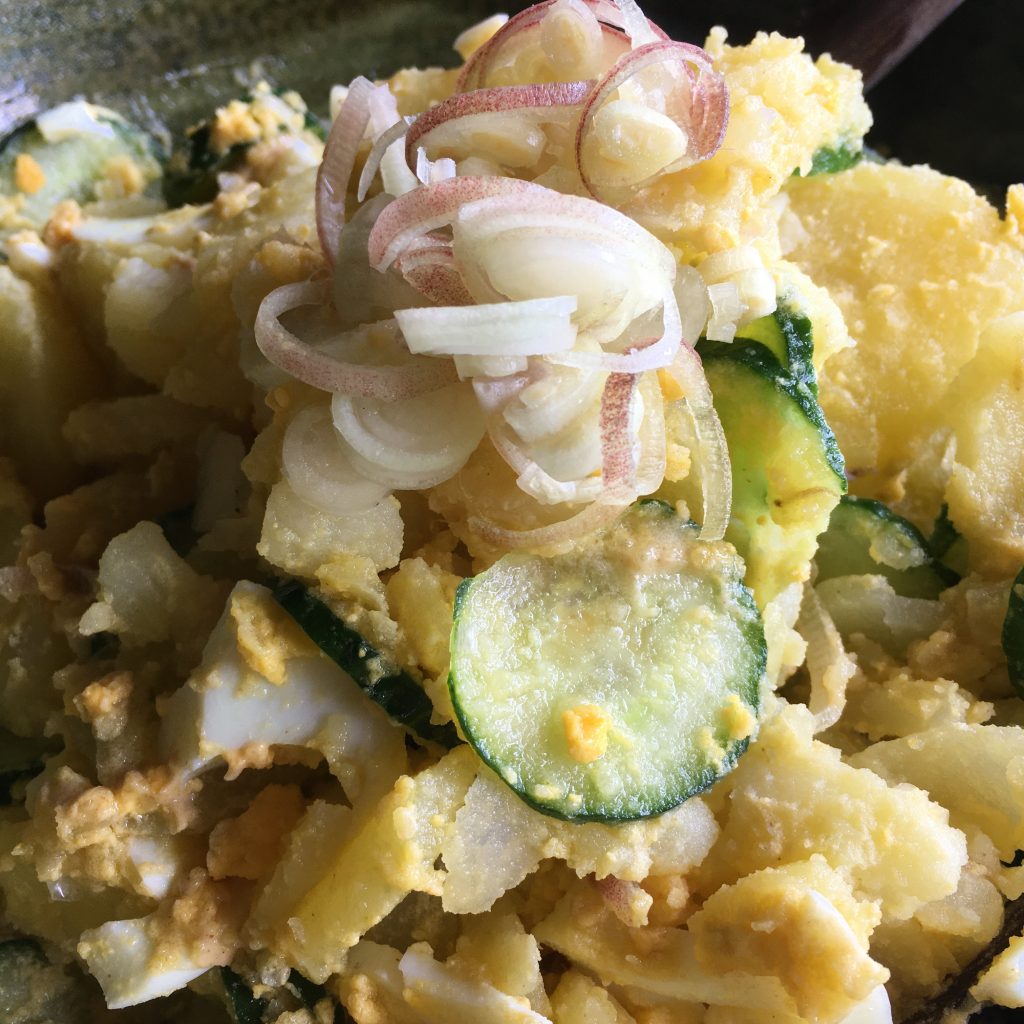
Myoga potato salad

  • 2-3 myoga
  • 1 Japanese cucumber
  • 8 small potatoes
  • 2 eggs
  • 1tsp of mustard
  • 2tbs of olive oil
  • pepper

Boil the potatoes with the skin and the eggs. When done let them cool down. Wash the myoga and cucumber. Slice them thinly. Peel the potatoes and the eggs.

In a bowl, cut roughly the potatoes and the eggs, add the cucumber and myoga, the mustard and oil. Stir well and serve.

That’s really as simple as that!

Aibika – 花オクラ🌸

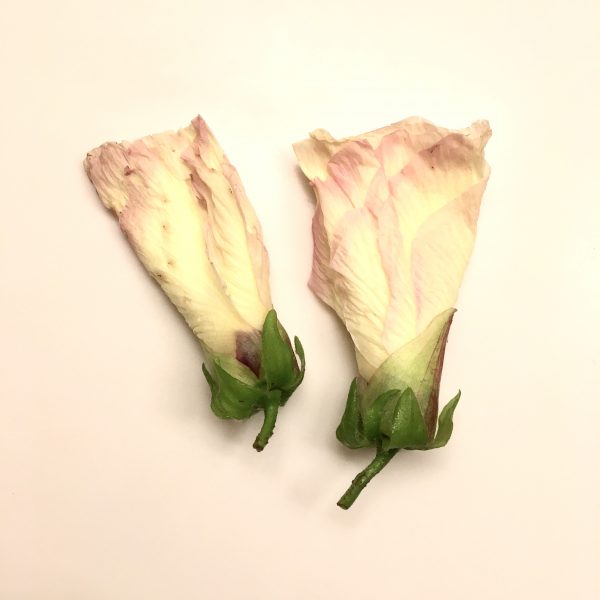
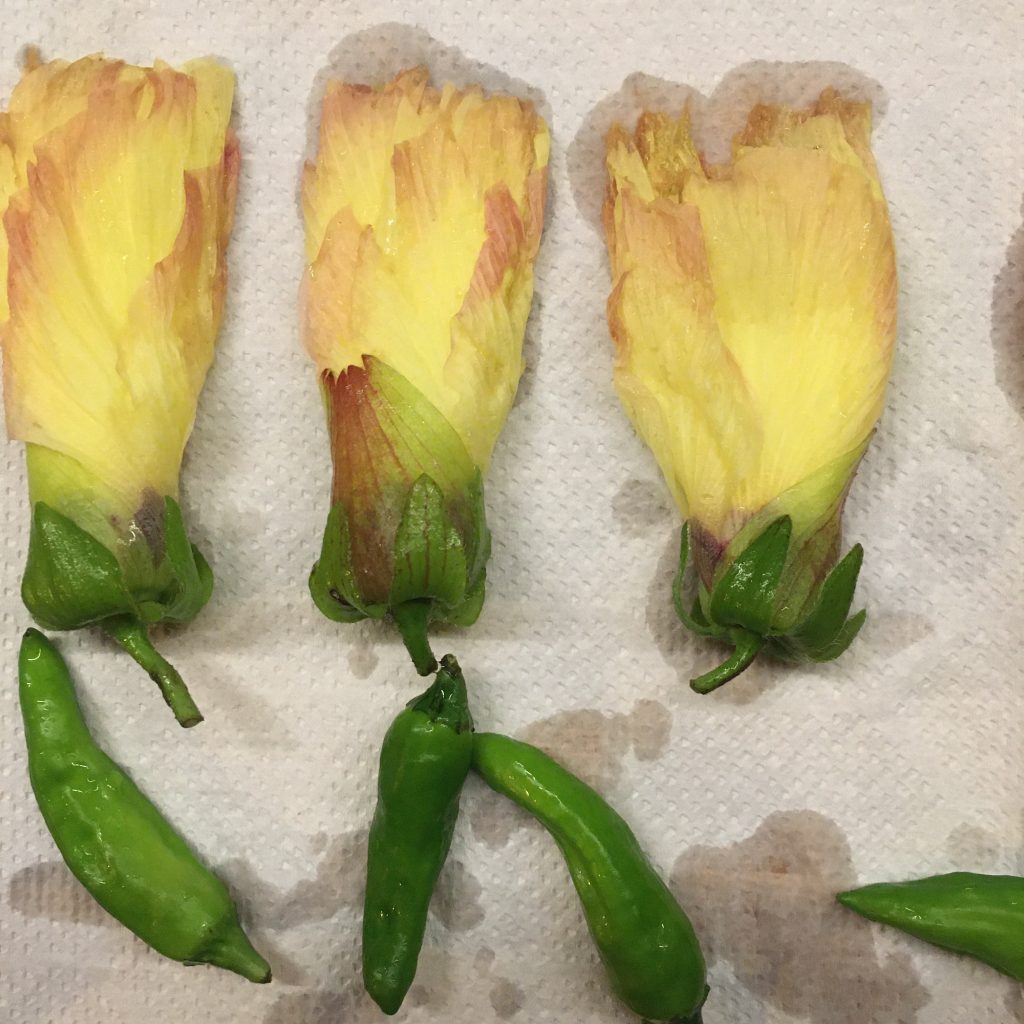
Do you know this flower named aibika or hana okra 花オクラ?

I didn’t until yesterday, when I found it at our local vegetables shop. First time ever I saw it, it’s grown locally, so I bought it. No idea how to prepare it nor how it would taste., but my IG feed was full of zucchini flowers earlier this summer, and more recently of pumpkin flowers, that the idea of having a chance to eat some flowers too was really too tempting!

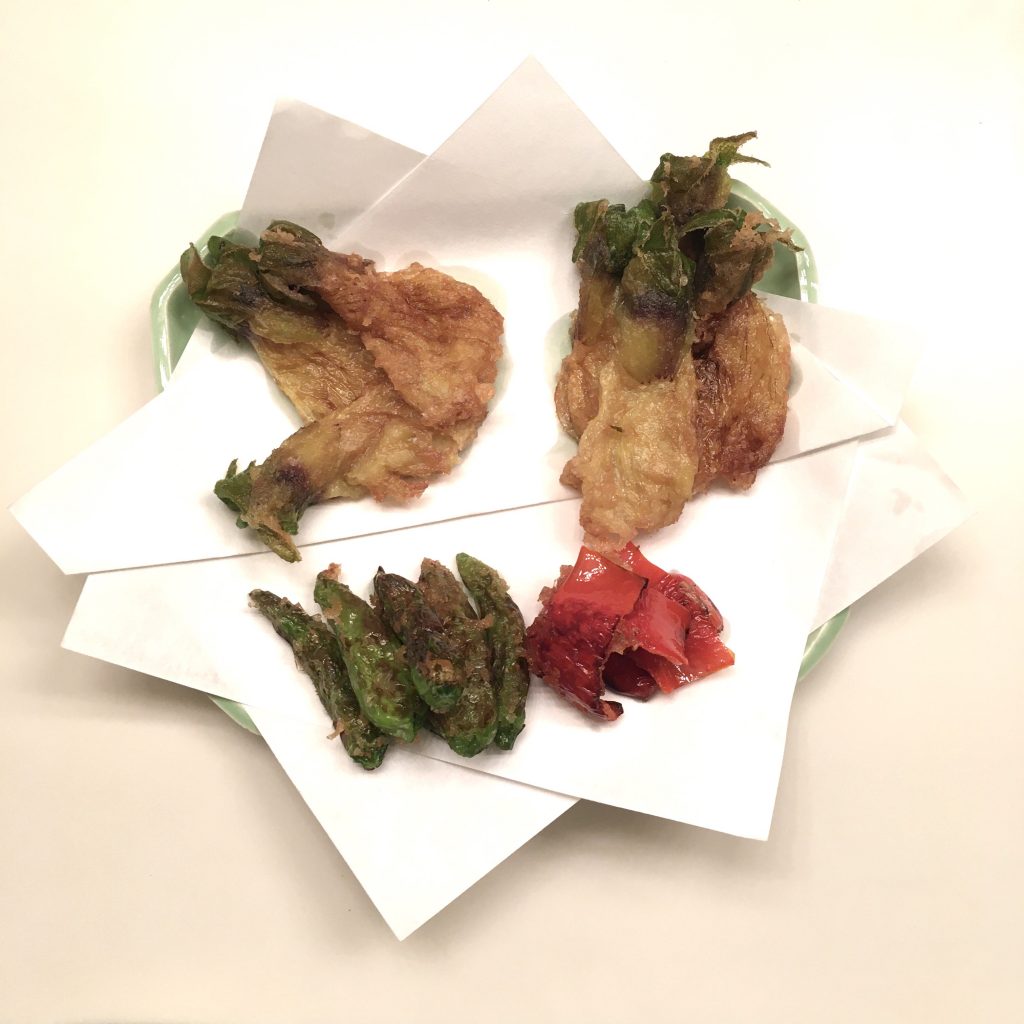
A quick reading of the most popular recipes on the Japanese cookpad website didn’t not tempt me, so I decided to go for something I barely do, but believe would be great, and a substitute for my mother’s zucchini flowers fritters: super light tempura. And it worked really fine. So if you see this pale yellow flowers at a farmer’s market (I doubt you can find them at a supermarket…) just get them.

I guess the name of hana okra or flower okra in direct translation, comes from the fact that they are, like okra, a bit slimy. So if you don’t like slimy food pass on that one.

Aibiki tempura

  • A few flowers of aibiki, and some other vegetables if you want. I did shishito and red bell pepper
  • 3tbs of flour
  • 1cup of water
  • 1/2 tsp of vinegar
  • A pinch of salt
  • Cooking oil

Wash and pat dry the vegetables.

In a frypan heat a bit of oil (I don’t deep fry, but if you do heat your oil). In a bowl, mix the flour, the water and the vinegar. Stir well. Dip in the vegetables and put in the pan right away. Cook a few minutes before flipping. Serve with a pinch of salt and eat immediately. That’s it!

Oh no! The pantry is empty!!!

Welcome September!!! Honestly, I don’t remember there was a month of August this year… and September starts in quite a gloomy mood… bye bye summer vegetables and welcome autumn!!! With the first butternut squash in and no more korinki… rain and chilly wind.

But while when I open my fridge it is, somehow, always easy to think about something to cook… my pantry recently has been rather empty. I was so much waiting for the new rice to arrive, and for my favorite flour too, that I completely forgot that we were running out of everything: no more pasta, no more regular flour, very little olive oil… 🤭

Our bread are now whole wheat bread as this is the only flour I have left. And so our our pancakes and crepes! Not that I dislike it, but A. sometimes prefers a mix of flours.

And last night when it was time to cook dinner, after another long day of work, you know, when you are starving and you want something quickly ready so that you can sit back and have a nice break… the very last thing I had was a pack of dried soba… I was dreaming of pasta, but soba would be a good alternative, well the only alternative! Because there is no meal if there is no carb in our house!

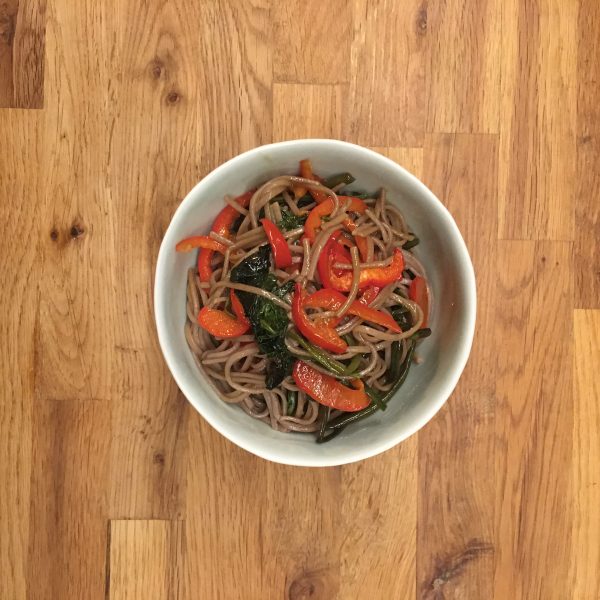
The plating was made in a rush and the picture taking in a rush too, but the recipe ended up being perfectly balanced and taking advantage of the end of summer vegetables that are bell peppers and the nalta jute. So let me share my recipe with you, in case you are in a rush and have soba noodles nearby.

End of summer sautéed soba (2 servings)

  • 2 portions of soba noodles (dry, fresh, semi dry…)
  • 1 bell pepper (color of your choice)
  • 2 big handful of nalta jute
  • 1tsp of olive oil
  • 2tbs of soya sauce

Boil the soba as indicated. Rinse well after they are cooked and keep in water.

While the soba are boiling, wash and chop very thinly the bell pepper. In a large heated pan, add the oil, the bell pepper and cook at medium heat until it soften. Wash the nalta jute and add to the pan. Continue cooking at medium heat until soft too. Drain the soba and add to the pan. Stir well. Add the soya sauce and stop heating. stir again well and serve immediately.

If you manage well you should have your meal ready in 15min!

Milk bread

I use to make a lot of fancy breads for breakfast, brioches, viennois bread, milk breads, sugar breads… but since I started using my sourdough Lois, almost a year ago, and was learning how it works, I focused on breads with less ingredients. Yet, milk breads for breakfast are really delicious. And since we now have milk in the fridge 4 days a week or so, I really wanted to make milk breads with milk and sourdough. Originally I planned to do a white flour milk bread but I soon realized that I had no more white flour and all I had was whole wheat flour, so it would be whole wheat milk breads. And rather than making several small breads that dry out rapidly I opted for a giant version that I baked in my panettone mold.

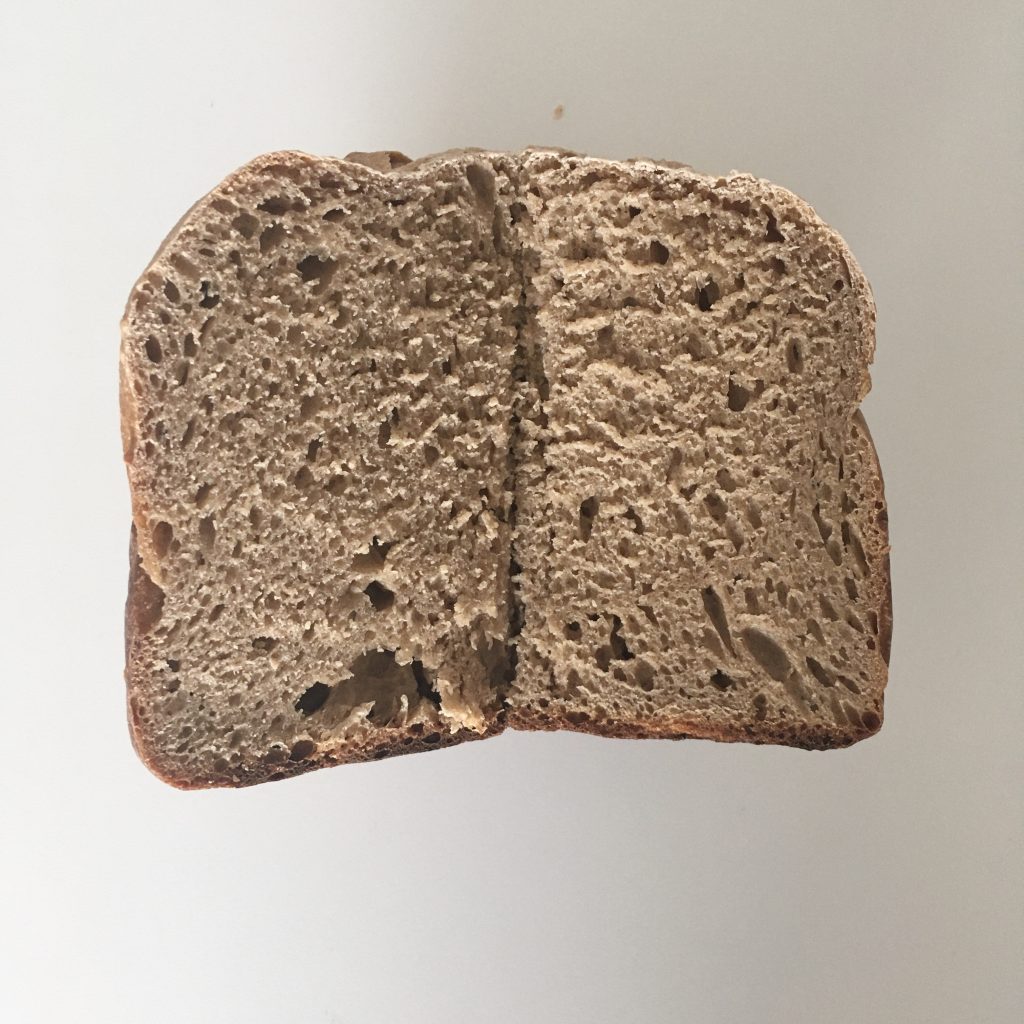
The result was a very soft and mildly sweet bread with a beautiful crumb. so let me share my recipe.

Whole wheat flour mills bread

  • 350g of whole wheat flour
  • 200ml of milk
  • 100g of sourdough
  • 40g of brown sugar
  • 8g of salt
  • Eventually a bit of water

Note that the above quantities are indications. They may need adjustment depending on the type of flour, the humidity in the air, and your liking.

In a bowl put all the ingredients but the water and knead. If the dough is too dry add a bit of water, or milk. Knead until the dough is smooth.

Let rest at room temperature for 4h or until the dough is significantly more voluminous.

I used a panettone mold lined with cooking paper to shape the bread. Made two cuts on top and waited 1h before baking at 200degrees for 40min (I used a bamboos stick to test if the core was well done). Adjust the baking time to the size and shape of your breads.

That’s it!

Better love eggplants!!!

While the summer plays hide and seek, the summer vegetables are still around and should be for a few more weeks.

The great star of the summer in my kitchen this year is eggplant 🍆. We always eat a lot of eggplants in the summer, but this year it looks really like we are eating even more. Last week recipe was a great example but there is much more to do. And today I share with you another Japanese eggplant recipe, vegan this time, as simple as the previous one but with a different set of flavors.

Sautéed eggplants Japanese style

  • 2 Japanese eggplants
  • 1 aburage pad (thin fried tofu sheets)
  • 1 tsp of sesame seeds
  • 1tsp of soya sauce
  • 1tsp of cooking oil, I usually use olive oil no matter what but sunflower or rice oil are OK too

Wash the eggplants and dice them. In a pan set the cooking oil snd heat. When hot add the eggplant and cook at high heat while stirring often. Slice thinly the aburage. Add to the eggplants. Cook and stir until the eggplants are creamy. Add the sesame and soya sauce, stir and serve.

While the base is the same as the perfect eggplant recipe, the flavors are very different. I actually recommend to cook both and compare. It’s perfect to understand umami.

The perfect eggplants

Eggplants in Japan are really something, not just a vegetable but also a mean of transportation, together with cucumbers, for spirits that come to visit during the Obon period.

In Japanese traditional cooking they are often present and prepared in many ways with the other local and seasonal staples. I have introduced several recipe already, yet I surprise myself with new recipes every time I cook some. Recently I have been really into grilling them in the oven without any further complications, and dress them either western style with olive oil… or Japanese style with soya sauce and katsuobushi. I really love the simplicity of a dish that highlights the goodness of a few ingredients. So here is my recipe of the perfect eggplants Japanese style.

Perfect eggplants Japanese style

  • 2 Japanese eggplants per person
  • 1tsp of soya sauce per person
  • 1 large pinch of katsuobushi per person

Wash the eggplants, and cut them in half in the length. Grill them in the oven until they are soft and a bit golden on top. Take them out and let them cool down a bit. Cut each in 5-6 pieces (bite size), just before eating dress them in a plate, top with soya sauce and katsuobushi. Eat immediately.

Proudly powered by WordPress | Theme: Baskerville 2 by Anders Noren.

Up ↑

Verified by MonsterInsights