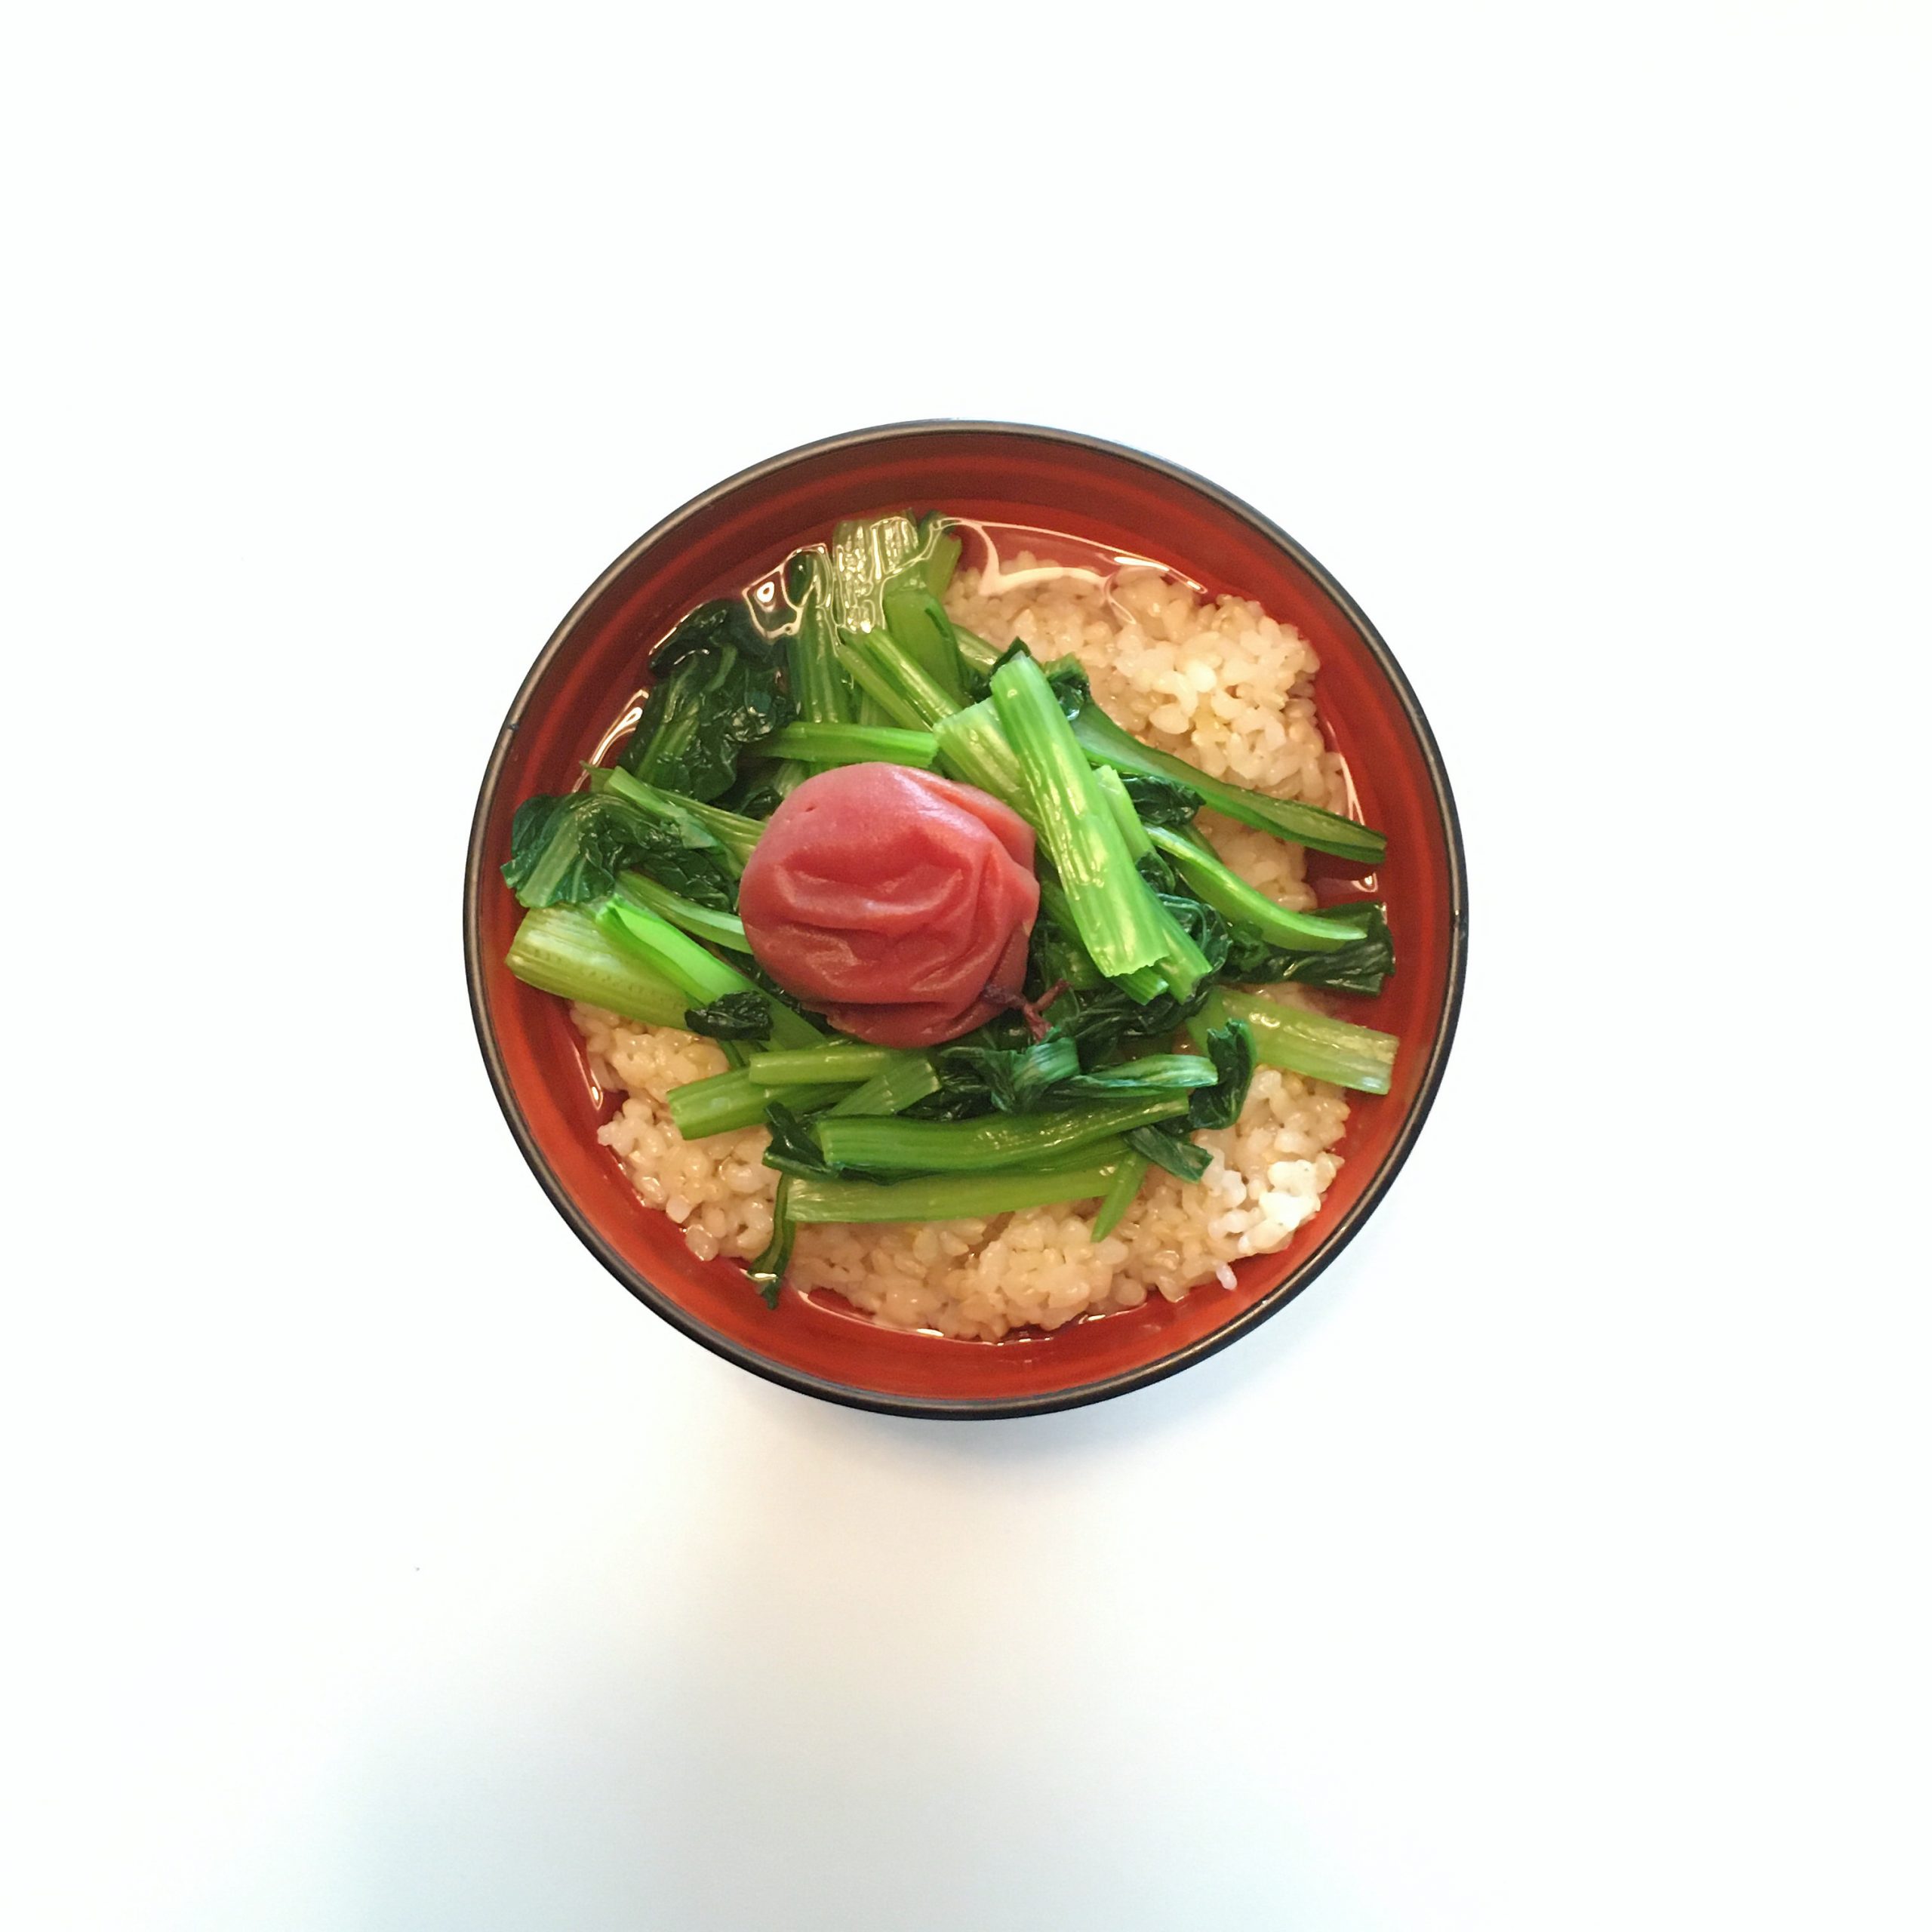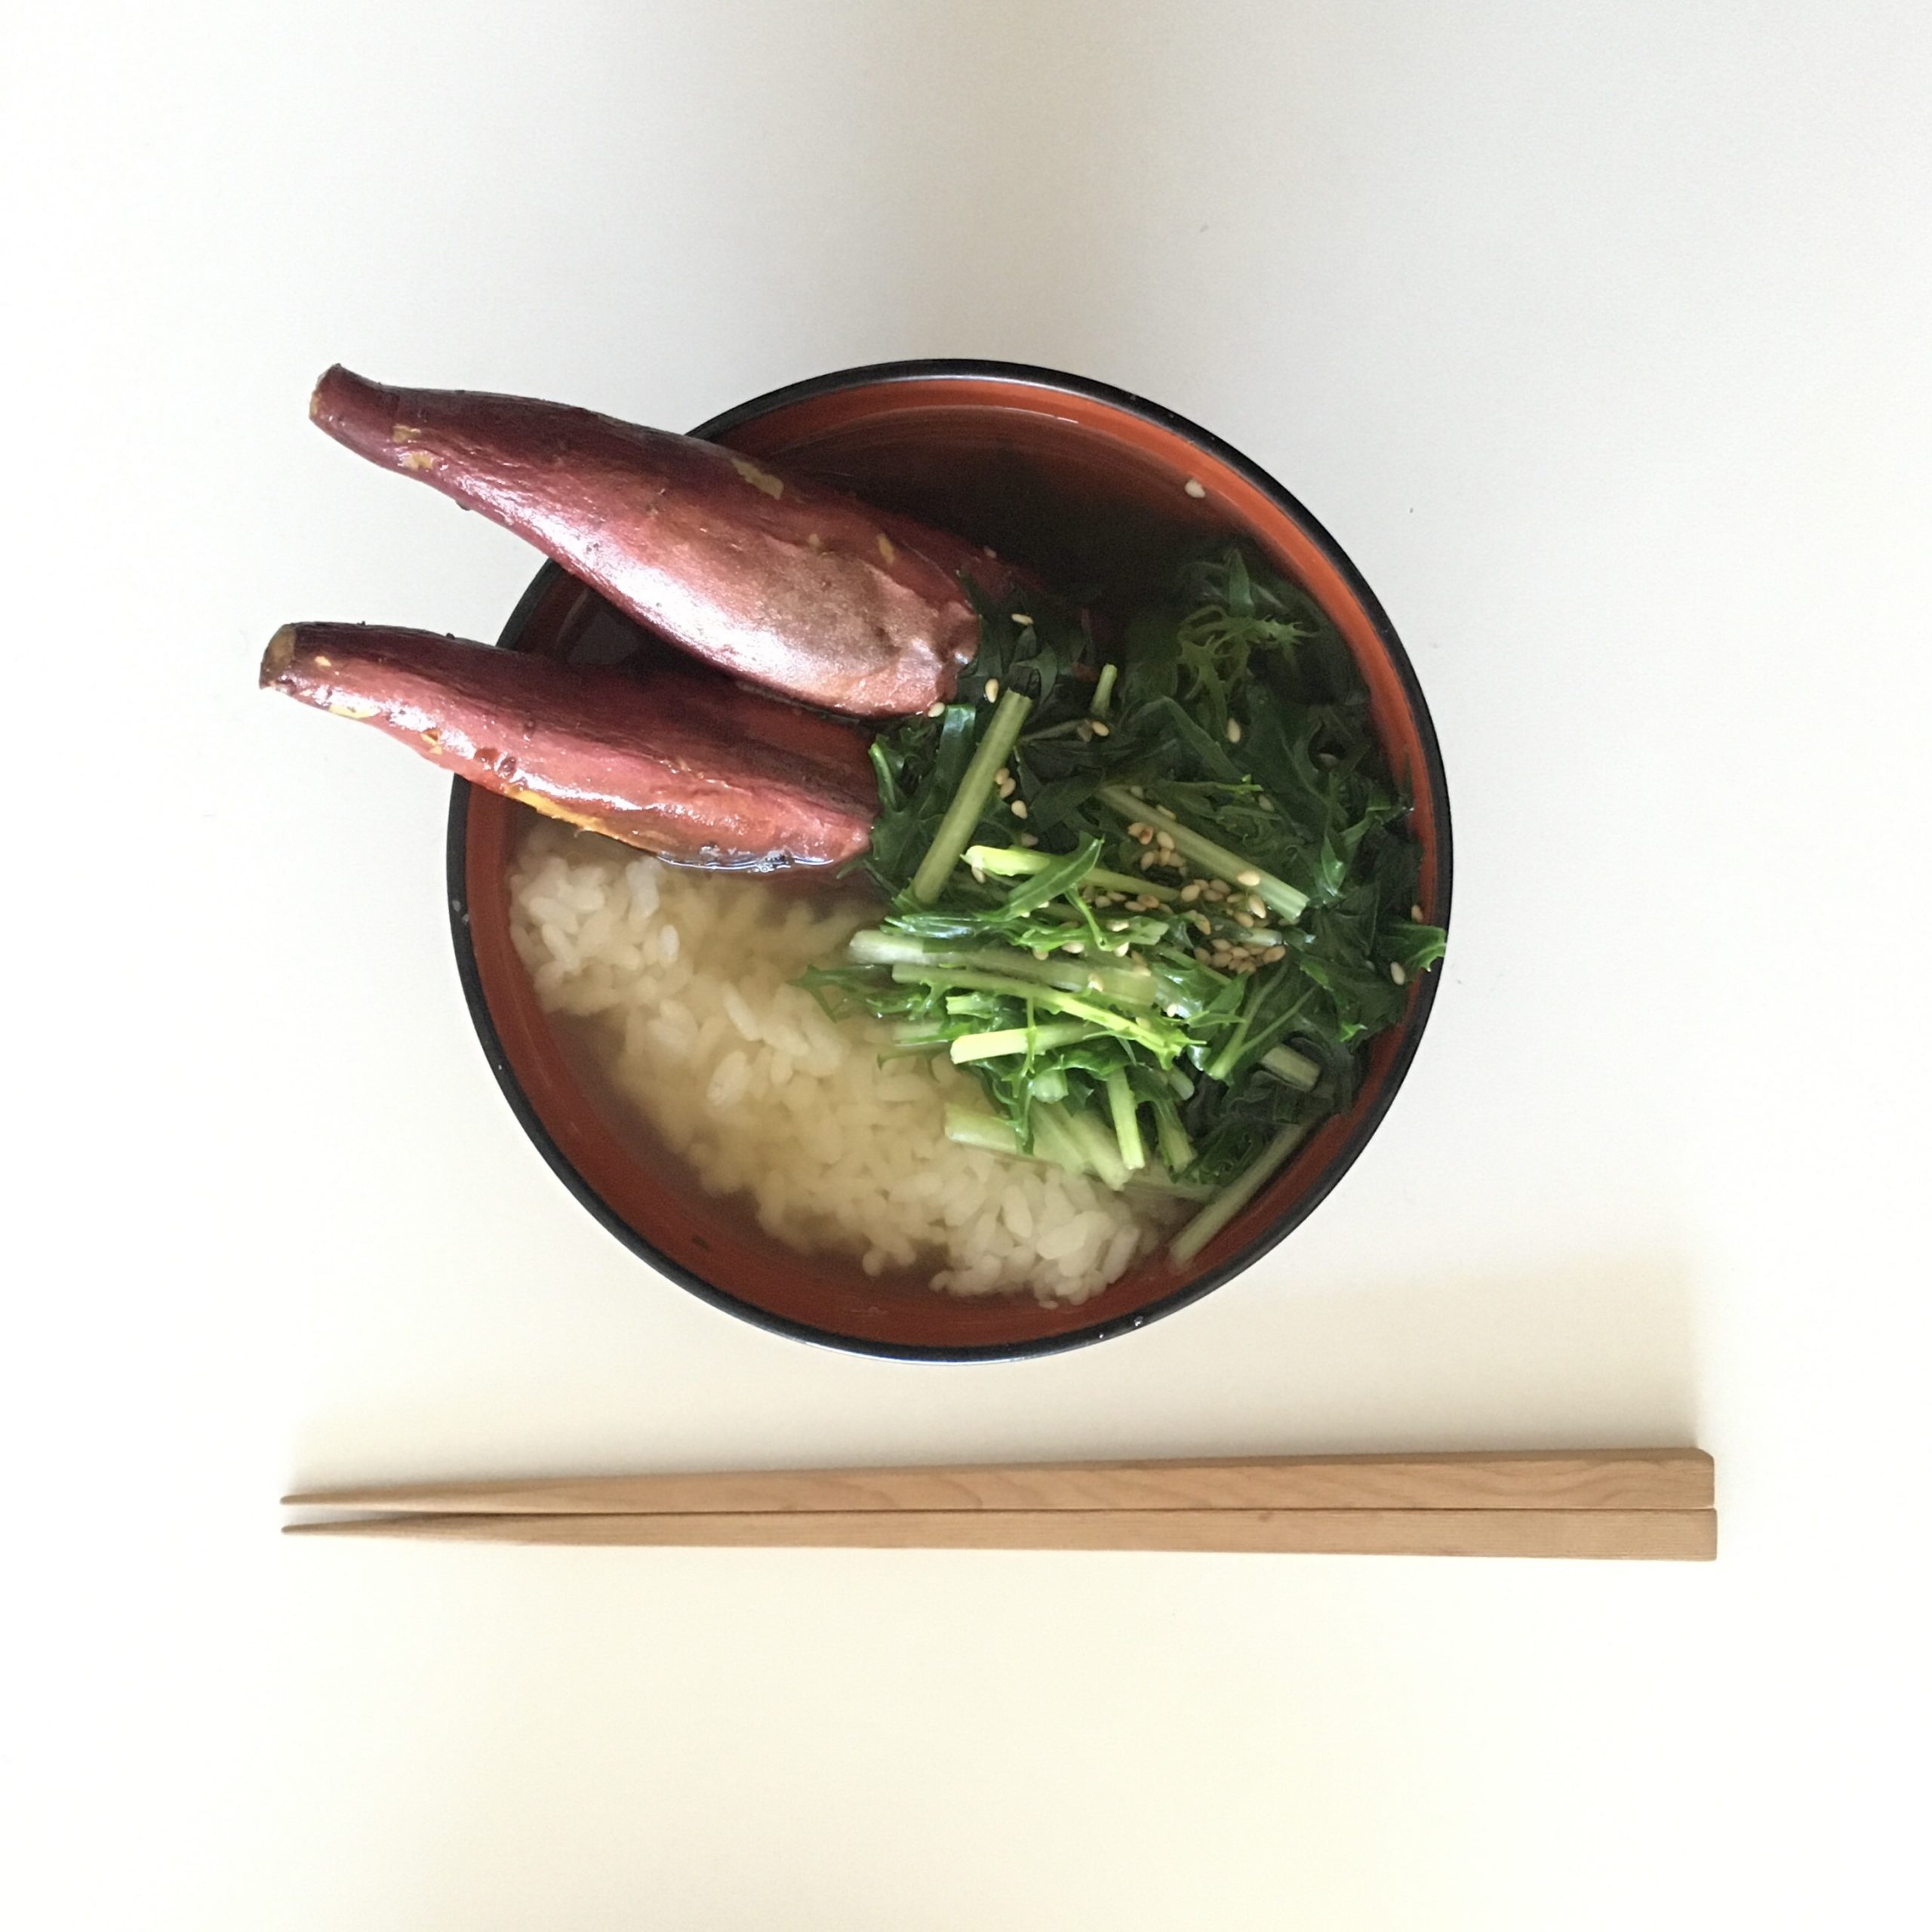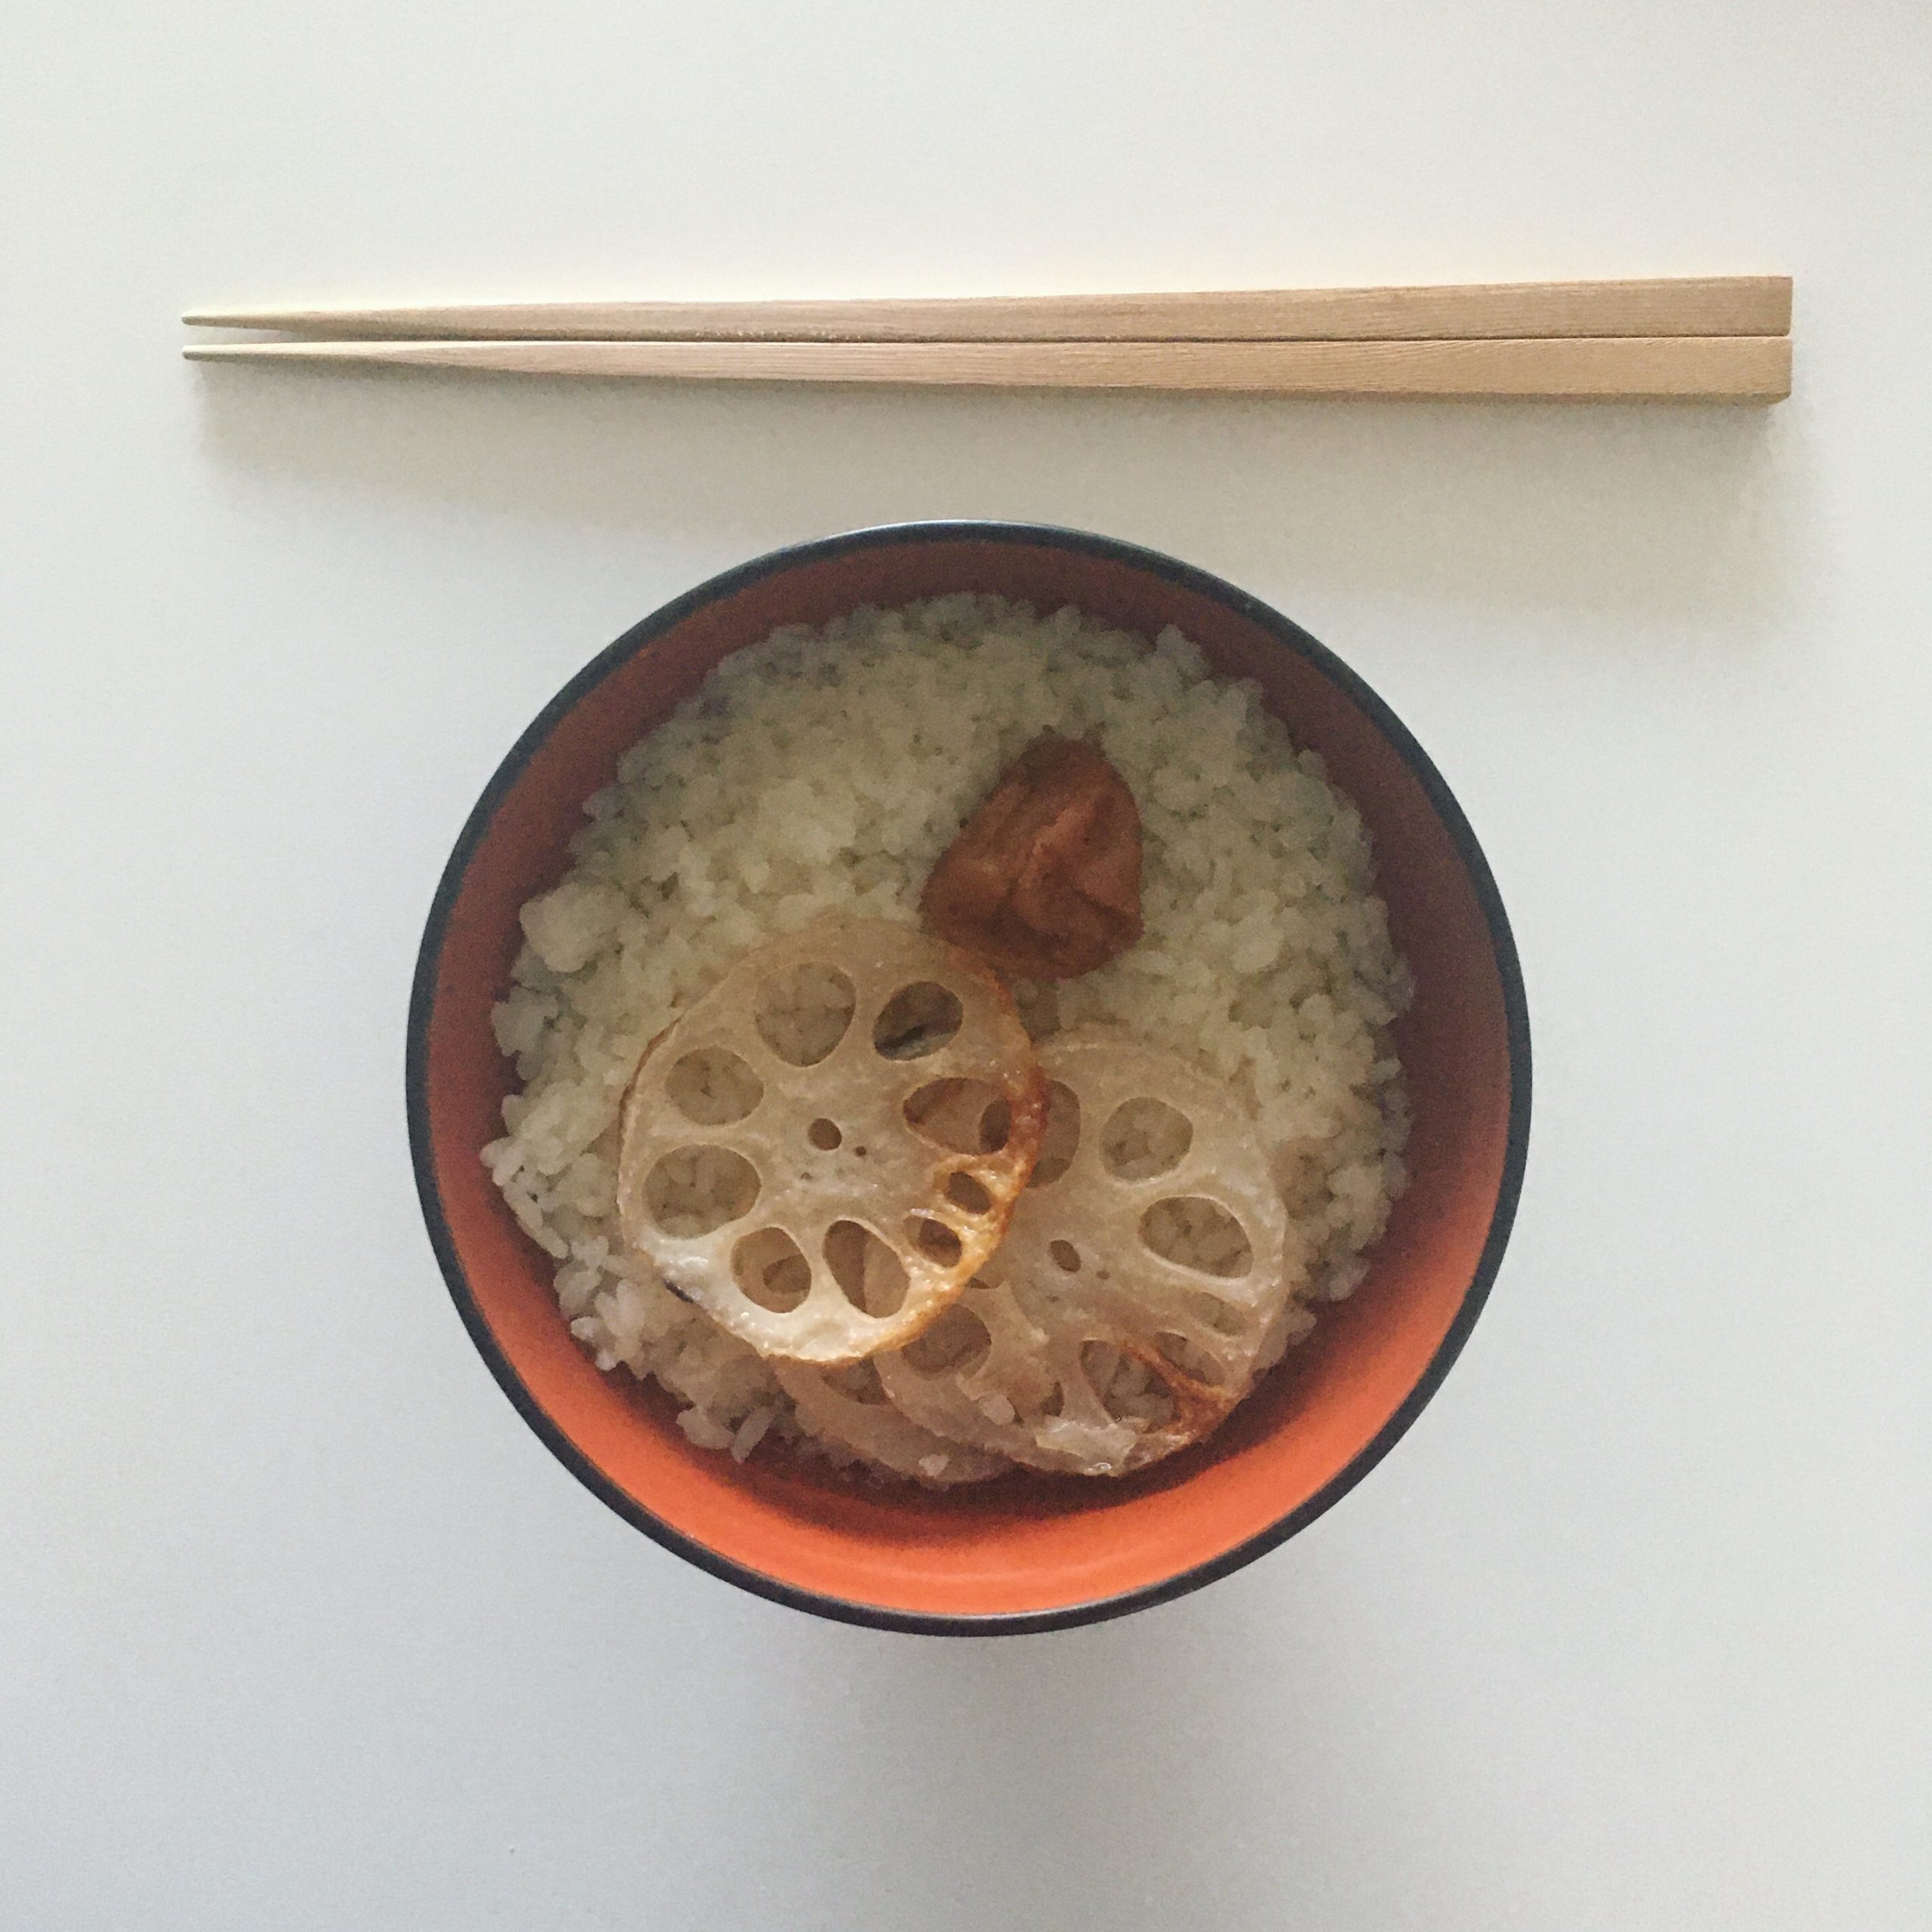
One year of ochazuke…

Last winter you could see that I discovered having a thing for ochazuke. This thing suddenly arrived when I was stuck at home with a pneumonia and I thought it may be temporary until I fully recovered, but it continued on… so I thought then when winter would be over, but not even… it has lasted a whole year and ochazuke has been on my table many many times and not only on chilly days!

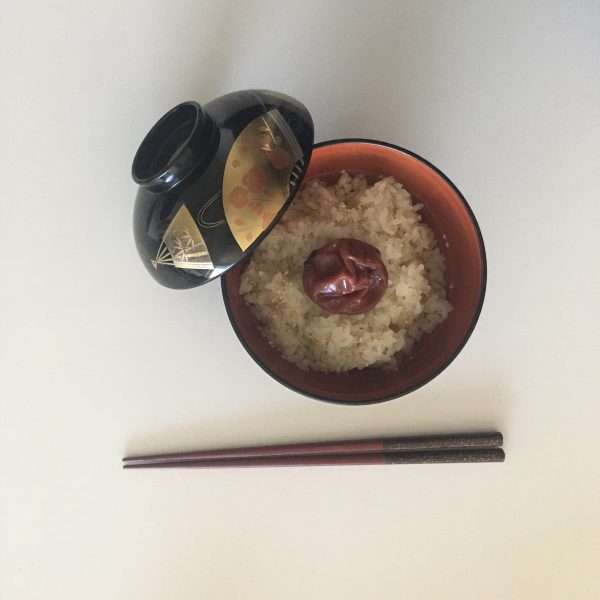
The generous bowl with rice (brown or white are equally delicious) topped with a few vegetables, a pickled plum, sesame… and finished by pouring dashi or something of the like on top has revealed to be a very handy lunch fix for busy days. Indeed since telework is our new way of working, it is more than often that lunch breaks are short or that mine and A.’s do not coincide well. Fixing my lunch in a snap is then paramount and ochazuke are great for this. Rice cooked in advance or by itself in the rice cooker, dashi gently boiling on the stove for a few minutes, a handful of seasonal vegetables, that all needed. Sometimes when I am even more busy than usual it’s simply one of our homemade umeboshi that serves for everything.

For the dashi I mainly use a mix of katsuobushi and konbu, sometimes dry shiitake, less often only konbu, or a bouillon with pork filet cooking juice. For the vegetables, whatever is in season is good!!!

Such simple lunches are really great because they are light and nutritious and allow me to work very efficiently in the afternoon!!! Below is a selection of my favorite! What’s yours???

All time classic: shiitake & spinach
Komatsuna, radish and a bit of pork fillet
Komatsuna and umeboshi
Grilled sweet potato and mizuna
Grilled lotus root and umeboshi
Lotus root and korinki
Late summer version with kabocha and black sesame

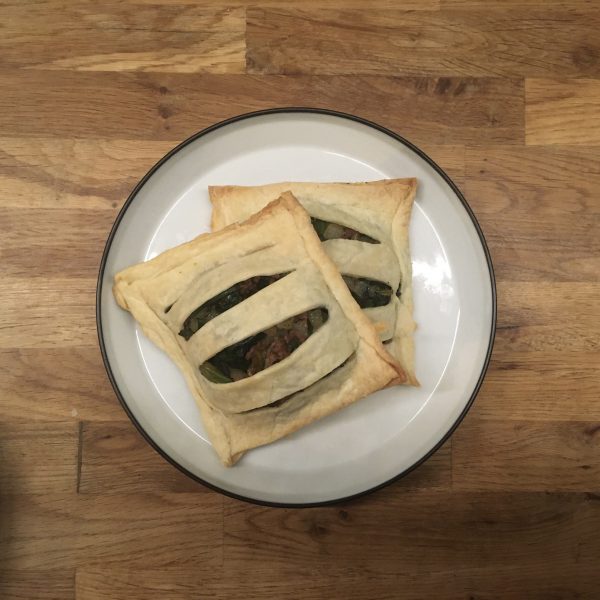
Quick! Quick! A little pie!

This is the time of the year when work gets busy with graduation thesis to read, budget to close, new contracts to search for, and plans for the new term to make. Every year it comes inevitably, together with the excitement of new things in preparation and the sadness of seeing students wrapping up their research before leaving the lab. It also coincides with the short season in Japan when seasonal food variety is at its lowest level (while we can’t complain much because even at its lowest it’s plenty!!): chinese cabbage, leeks, sweet potatoes, burdock, turnips and spinach are the main staple and it has been such for quite a bit now… of course there has been occasionally mizuna, shiitake and a few others but they are scarce and it is a few more weeks before we start having some spring greens. Hopefully on the fruit side, citrus fruits of all kinds, yuzu, lemon… come to light up savory recipes, and hassaku 八朔 from our tree make our breakfasts and desserts bright! Strawberries are also slowly getting towards their pick season.

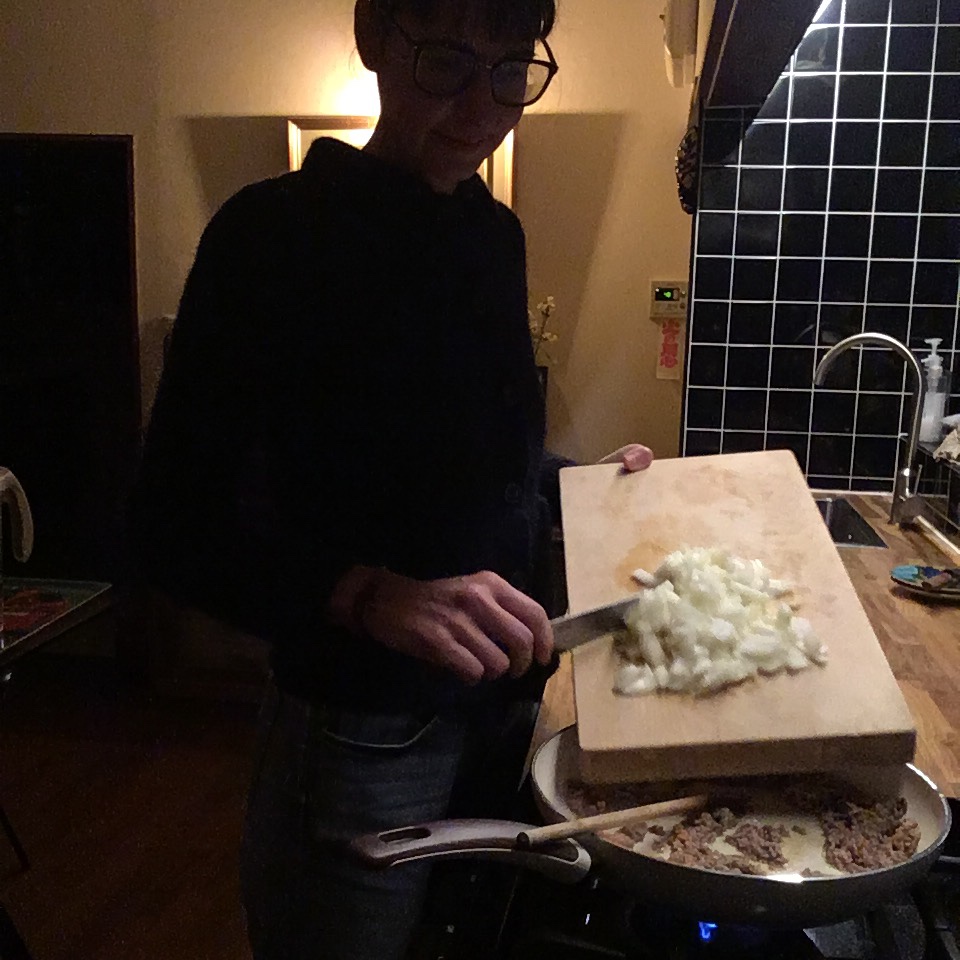
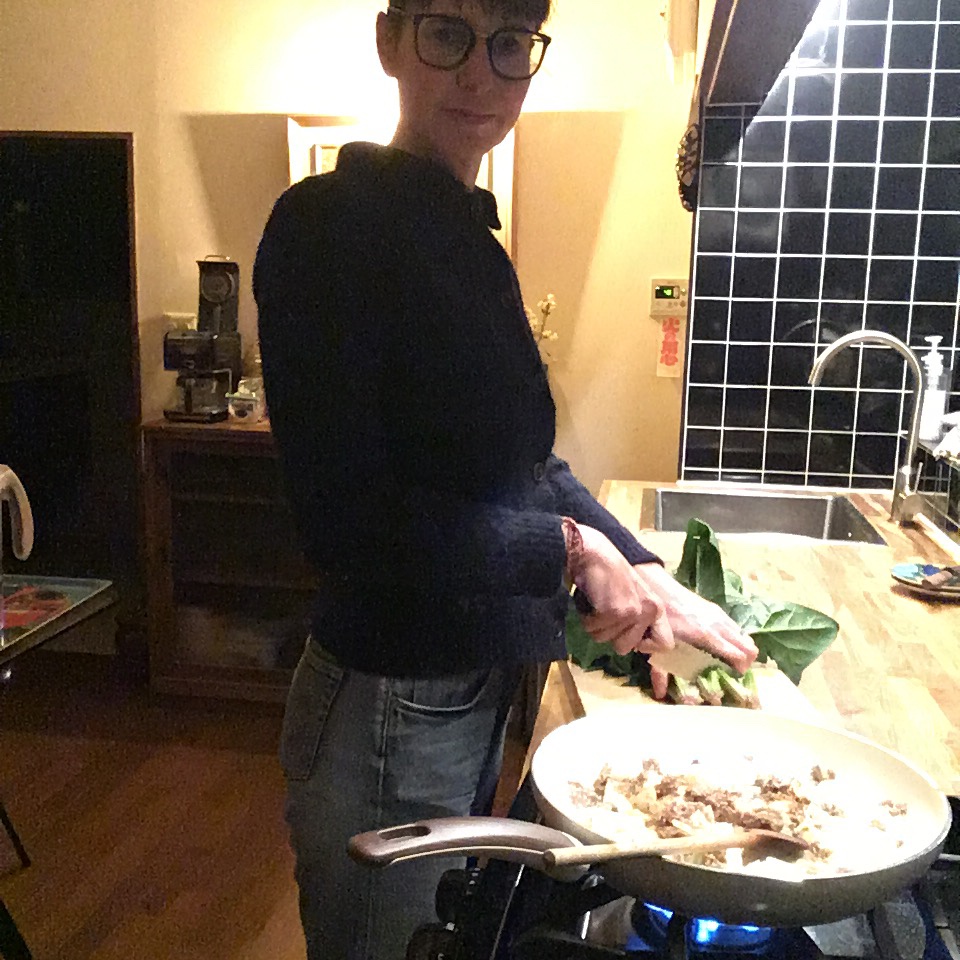
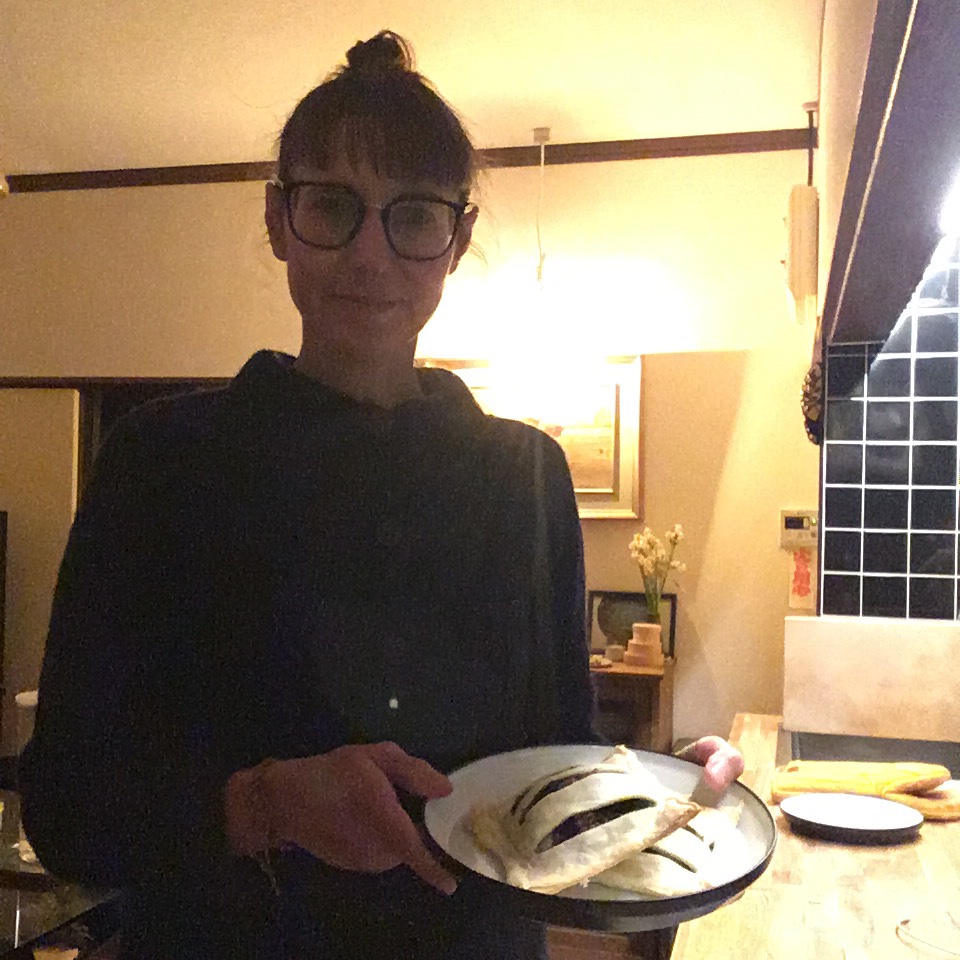
After having prepared all kind of recipes with spinaches, I was wondering if dinner would be another quiche, another ravioli, when I was reminding myself my last travel, that is now more than a year old… travel Malta, the country of the delicious pastizzi tal pizzeli. Green peas are far from being in season but why not trying something with spinach and a bit of pork meat??? The idea was immediately approved by A. and I started cooking. Time was shirt and puff pastry is not a recipe I master well, so I opted for a rough puff. The overall preparation was quick, cooking not too long and the result was delicious tasty savory pies. I am so pleased with recipe that I can’t help sharing it!!!

Savory spinach pies (6 individual pies)

For the rough puff pastry

  • 120g of flour
  • 100g of butter
  • A bit of water

For the filling

  • 5 bundles of spinach
  • 1 large onion
  • 1tsp of ground cinnamon
  • 1 pinch of ground cloves
  • Salt and pepper
  • 100g of ground pork meat (optional)

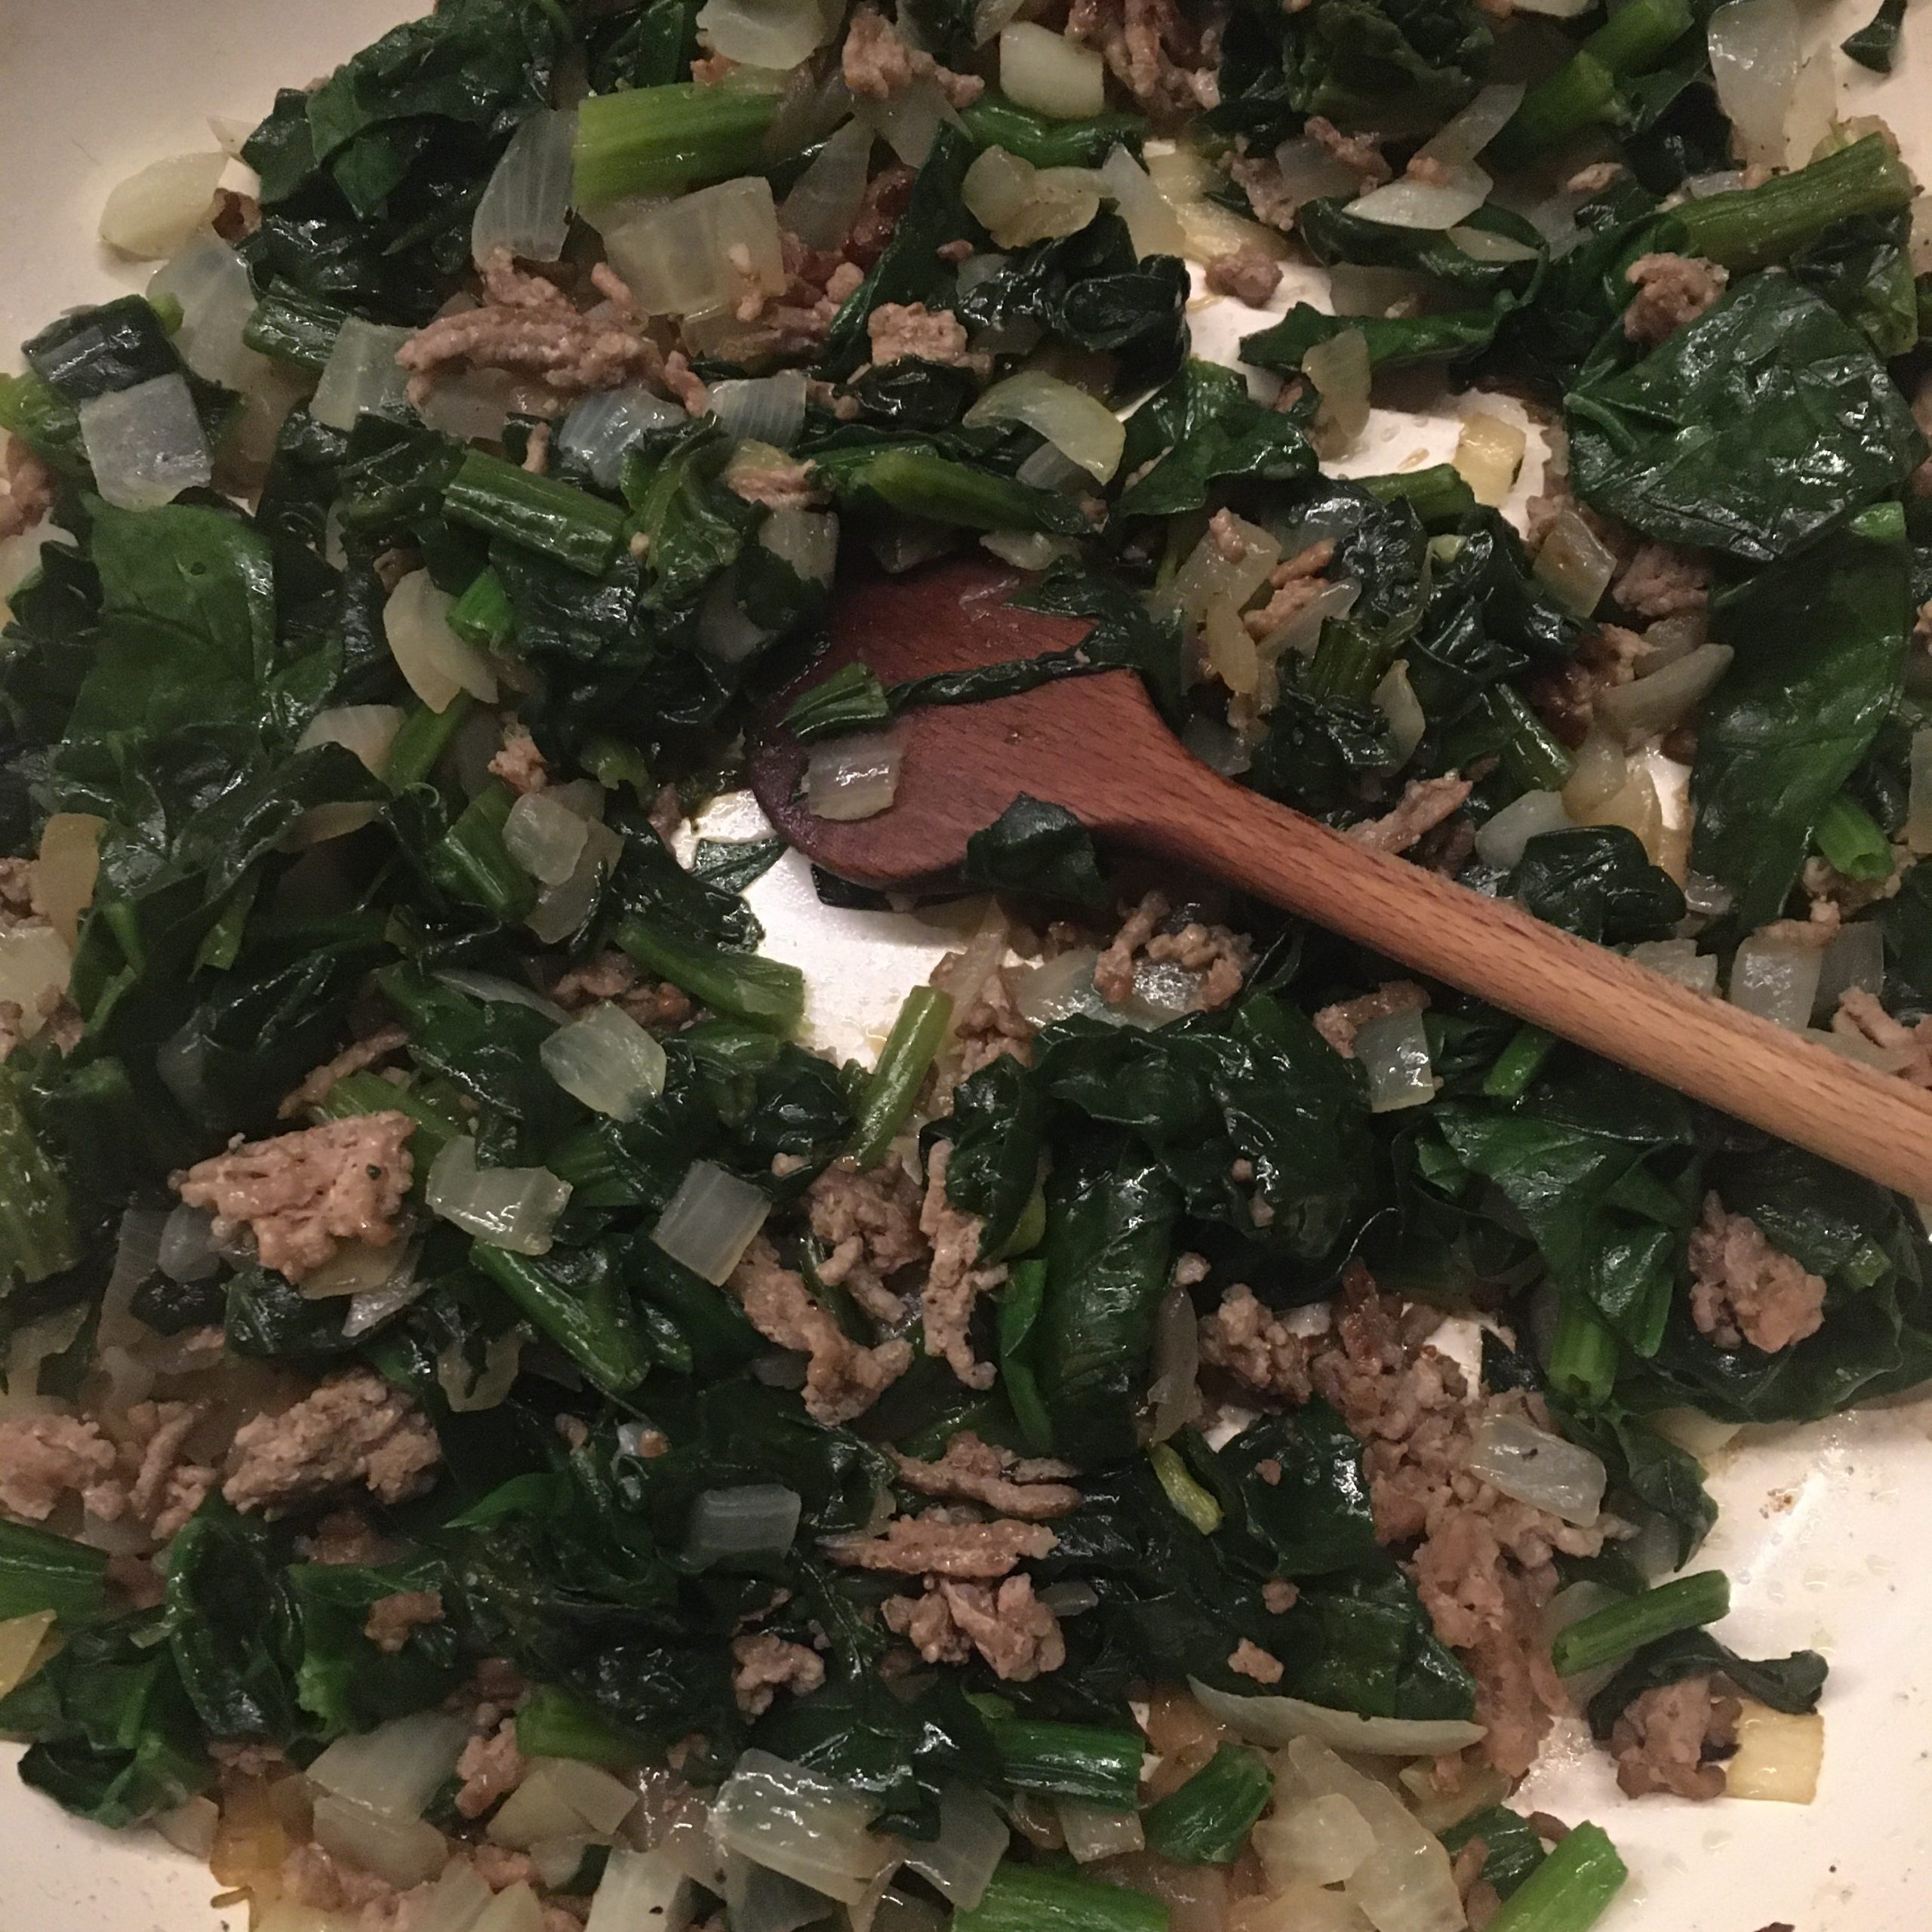
Start with the preparation of the filling. Peel and cut the onion, wash and cut the spinach. In a slightly greased pan cook them at low heat. If you use the meat add it also. Cook while stirring once in a while until the vegetables are soft but not golden. Add salt, pepper and the cinnamon and clove. Stir well.

Then make the pastry. Cut the butter in small blocks. Knead very roughly the butter and the flower without incorporating the flour in the butter. The butter should stay in small blocks. Fold and turn 4 times like for puff pastry, but without waiting. Roll to a 2mm layer.

Cut 12 squares in the dough of aout 12cm -15cm. In 6 of them put 1/6 of the filling each. Cut or not the remaining 6 pieces of pastry. And cover the 6 filled parts, seal with a bit of water. Bake at 200deg until golden. Eat right out of the oven!!!

Yam, the long potato or the mountain potato?

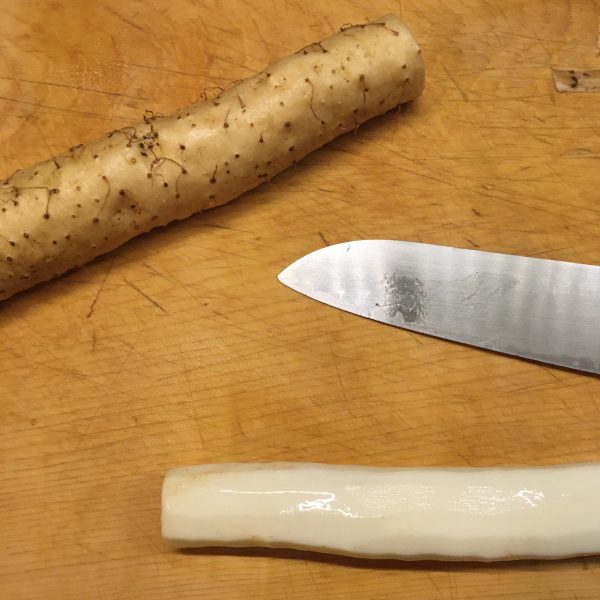
It’s been now 6 years now that I have been keeping steadily this food diary of ingredients and recipes I loved, and some of my culinary failures too. And in 6 years I never talked about (Japanese or Chinese) yam, the Japanese yama imo 山芋・大和芋 or naga imo 長芋, also sometimes called tsukuneimo つくね芋. While they are supposed to be slightly different in shape and size, they basically have the same properties and taste. It is true that I rarely buy it because A. is not such a big fan and I hardly know how to prepare it to make it really tasty. Indeed yam taste is very very mild, but its texture, slimy and crunchy is very interesting. It is most often used in a preparation called tororo とろろ which is just grated yam that makes this very specific white and slimy “thing” used in tororo-soba とろろそば for example, or in other preparations, such as in surimi’s classic recipes (you can add some to mine) and in salads. And yam salad was one of the first genuine Japanese cooking experience I had with our friend S. when we moved to Japan and came to cook at home with us. We prepared two dishes for dinner together: a yam and cabbage salad and a snapper takikomigohan 炊き込みご飯. How did I come buying yam again is the kind of stupid mistake you wish you do more often. I simply couldn’t read the third kanji in 自然薯 when I saw it at the farmers market, and just bought it. As soon I was home and looked at this root more closely I realise it was a sort of yam. Jinenjo 自然薯 is in fact wild yam. It is in season during the winter (December to February) and for some reasons, it is also a lot more pricy than regular yam. Anyway, I ended up with it and was quite excited to cook it! The menu fo the dinner was all set: a wild yam meal with this salad of our very beginnings in Japan and a simple bowl of soba with tororo. It’s been a while we didn’t have soba!

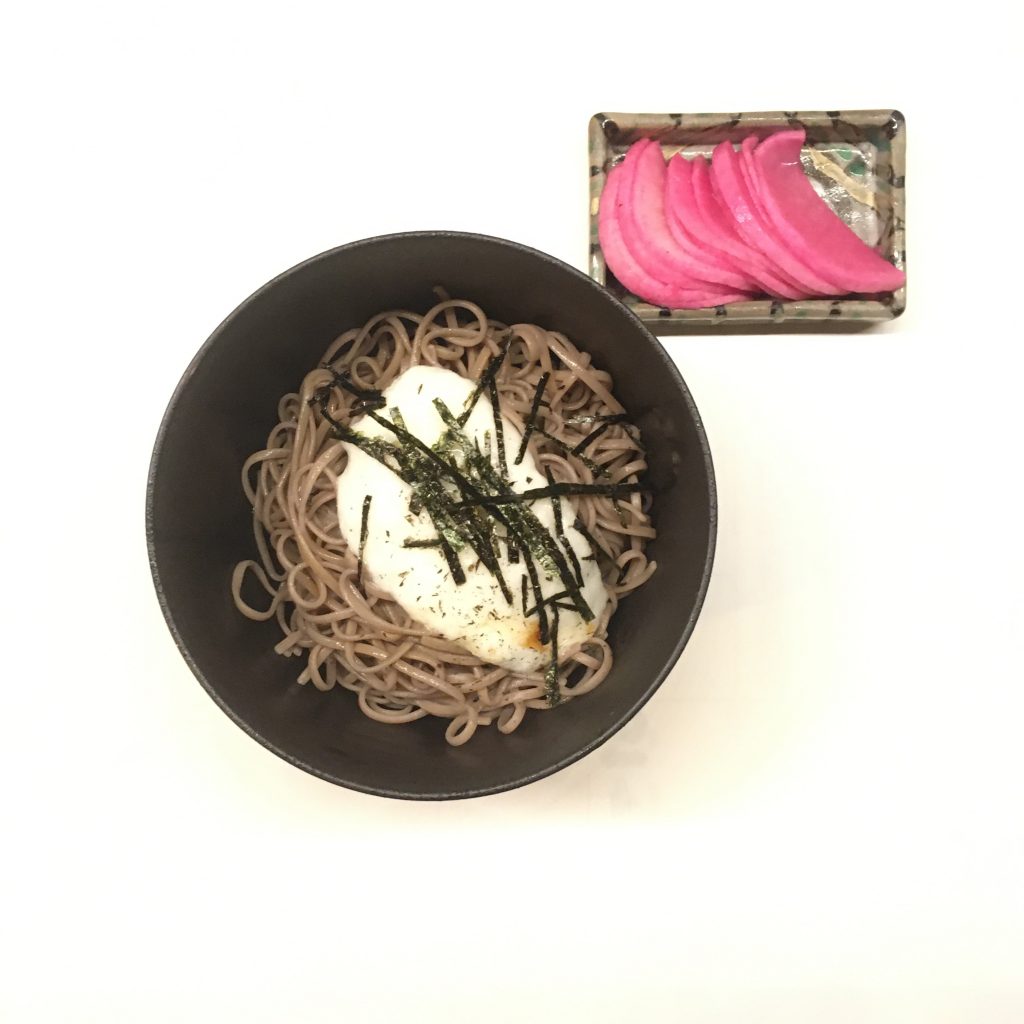
Tororo soba

For the soba I guess there is no need of a recipe, just cook your soba as usual and prepare your dressing, grate the yam and top the soba with the white slime you have obtained. Add some nori. For the salad, I will share this 16 years old recipe!

Oh! and by doing a bit of reading to prepare this post I realized that the skin of the yam could be irritating so it is recommended to wear gloves when peeling it. Personally, I didn’t know and I never add problems touching it.

Yam and cabbage salad (2 servings)

  • 20cm of Chinese or Japanese or wild yam
  • 1/4 cabbage
  • 2tbs of sesame seeds
  • 1tbs of sesame oil
  • a pinch of salt

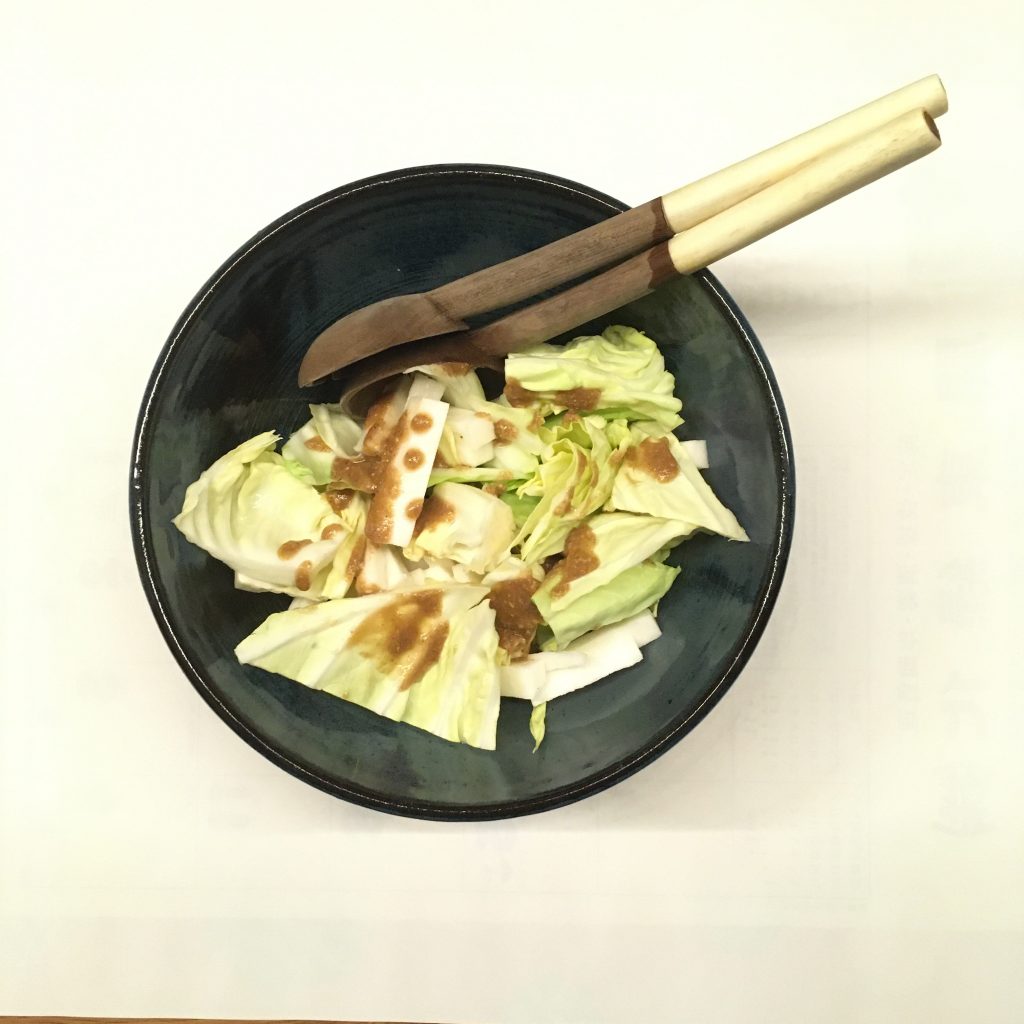
Peel and wash the yam and cut in 4cm sticks. Wash and cut the cabbage in big chunks. In a suribachi squeeze the sesame to obtain a smooth paste, add the sesame oil, the salt and you have obtained a nice homemade sesame dressing. In a bowl set the yam sticks, the cabbage, top with the dressing and that’s ready!!!!

Yam and cabbage salad with sesame dressing

Surimi – すり身

What the heck?! you may think…

When you hear the word “surimi” you probably think about this disgusting white or orange industrial thing they sell in supermarket, I would definitely at first. I have never eaten any so I don’t know how it tastes like or feels like but my surimi looks quite different… it is made of ultra fresh fish flesh and based on cha-kaiseki classic recipe.

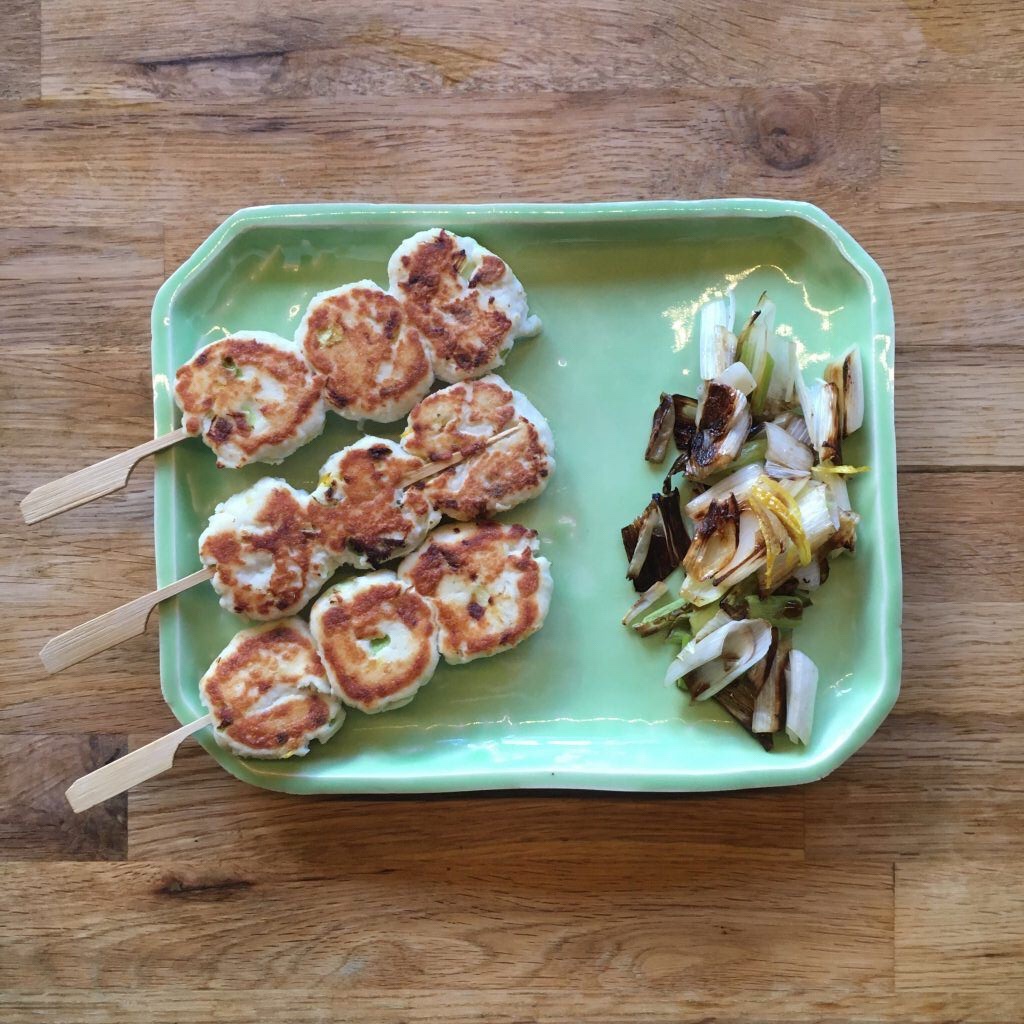
Indeed! That’s what surimi was before it turns into a super processed food: a classic Japanese recipe, made of local products and seasonal: cooked seasonal white fish flesh, without bones, egg white, and tororo (grated yam). It is used in cha-kaiseki cuisine to make fish cakes, fish balls, kamaboko 蒲鉾, satsuma age さつま揚げ, chikuwa 竹輪… I remember making surimi at my first cha-kaiseki class, with my mother. That’s shen I realized the meaning of “surimi” when seeing written in Japanese for the first time: すり身, which is literally squeezed body. Just like the sesame powder: surigoma すりごま, or the mortar used to make surigoma and surimi: a suribachi 擂鉢. The preparation is ultra simple and the result quite versatile. So here is one adaptation of the classic recipe to make some fish balls.

Surimi (2 servings)

  • 100g of white fish (I used flounder)
  • 1 egg white
  • 2tbs of grated yam (optional)
  • 1/4 leek

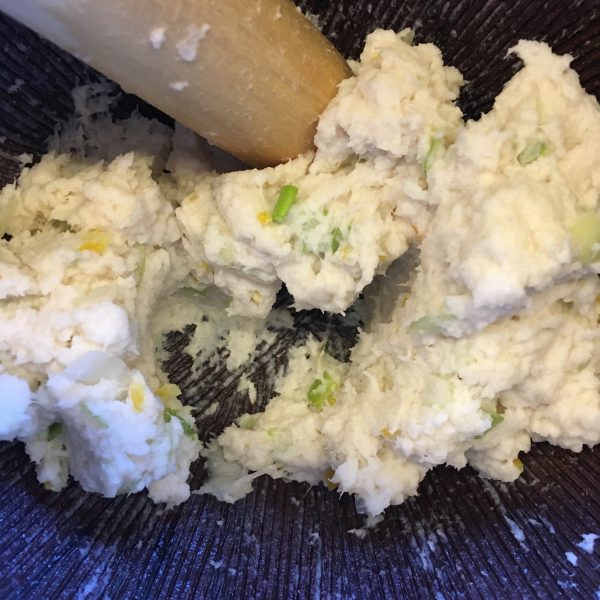
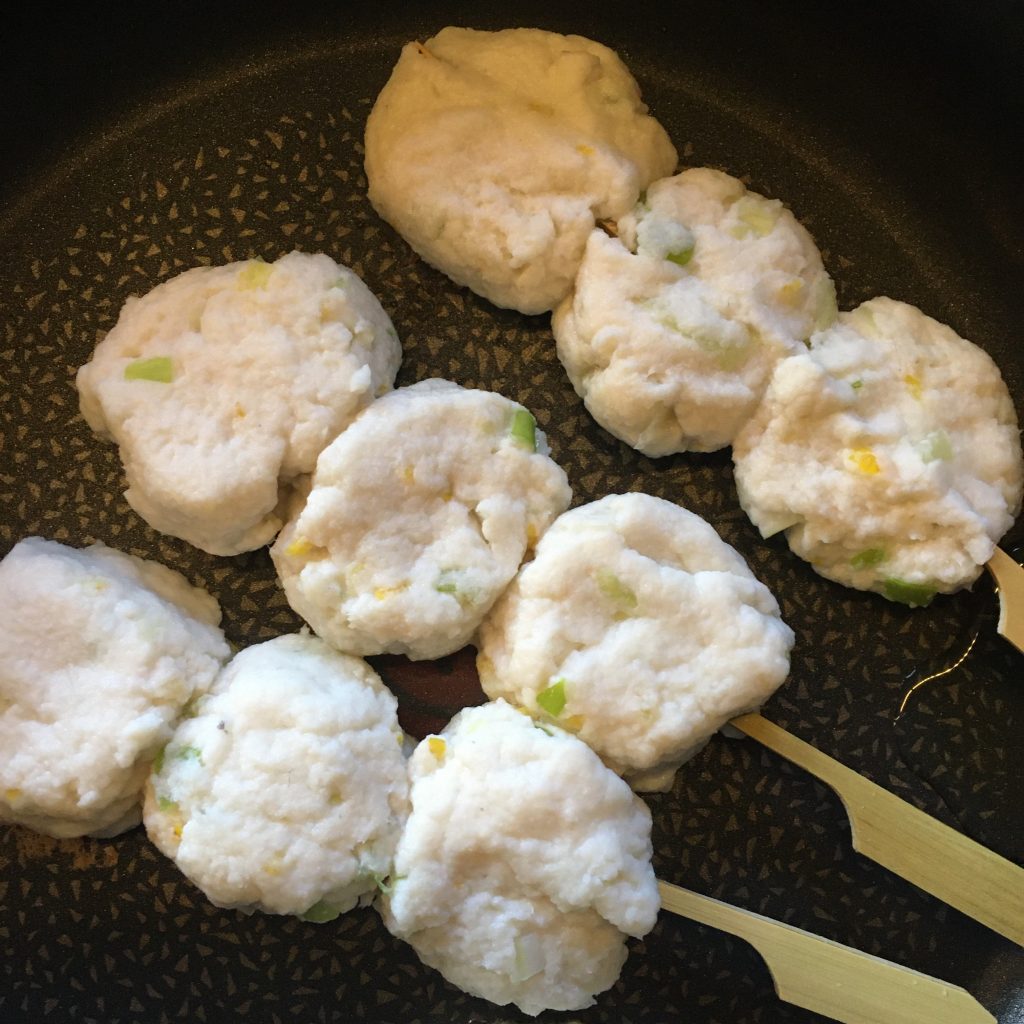
Cooked the fish as you like: poached, grilled… everything is fine. Remove bones, skin… In a mortar, squeeze the fish, add the egg white and continue stirring and squeezing to obtain a paste. Add the tororo (grated yam) if you use some and continue until the paste is homogeneous. That’s the raw surimi!

Wash and cut the leek in small pieces. Add to the mix. Make balls and cook them in a greased pan, I put them on skewers but it’s not mandatory. That’s it!!! Anc have a good

More of the little red beans!

I hesitated in doing an adzuki week but thought I would come dry of ideas quickly except from the many sweets… but we don’t eat so many. But discovering more and more recipes, maybe I should have had… another time!

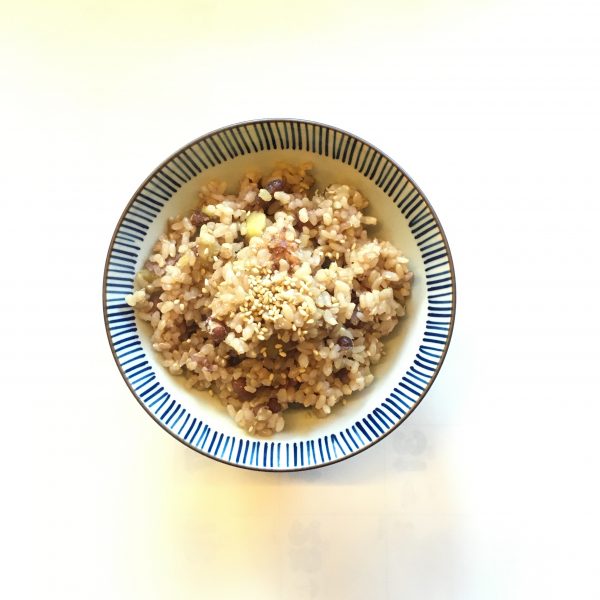
So to change a bit from sweets I wanted a savory recipe to test and when browsing a Japanese cooking website I discovered recently I was immediately convinced that it was a perfect recipe for me: brown rice, sweet potato and adzuki! The simplicity of the ingredients, the seasonality of sweet potatoes 🍠 and the timeliness of me buying and cooking adzuki for the first time. (Really!! Can you imagine it took me 16 years to buy dry adzuki and cook with them!!!!)

The most common and popular recipe of savory adzuki is probably sekihan 赤飯 or literally red rice. The rice used for this preparation is usually mochi rice (sticky rice). It is served topped with black sesame and salt. It is often served for special occasions, but I think the most often I have had it was in bento bought in Tokyo or Ueno station… so for me it’s associated with train travel! 😉 That could still count as special occasions, more now that we haven’t traveled for a year, neither plane nor train… As I don’t buy normally mochi rice (but that too may change soon…) this option of recipe was excluded. Of course using regular Japanese rice would work too by slightly steaming longer… but the idea of adding sweet potatoes was just too tempting, I love sweet potatoes so much!!! So here is the recipe, easy as can be and each ingredient perfectly balanced and the flavors harmoniously enhanced. You can replace the brown rice with white rice, but it will change the texture balance of the overall. Taste will still be ok of course!

Sweet potato and adzuki rice (2 servings)

  • 1go (150g) of brown rice
  • 10-15g of dry adzuki
  • 1 sweet potato (not a big one!)
  • a pinch of salt
  • a pinch of sesame seeds

Rince the adzuki, set in a pan (that can be used for cooking the rice as well, so non sticky is nice), and cover with 1.5cm of water, bring to a boil and boil at medium heat for 5min. Wash and dice the sweet potato. Add the brown rice and the sweet potato and the salt to the adzuki pan, stir a bit and cover with water to obtain enough liquid to cook the brown rice (that will depend on your pan, your cooking range and the lid you are using. I usually add water to double the height in the pan, plus a bit for brown rice, but I do every thing about). Cook under a lid at low heat until the liquid is all absorbed and the rice is soft. Serve and top with a bit of sesame seeds.

Kintsuba

Sorry for the delay! I was hoping to publish it much earlier but then I got busy with work and I am struggling with wordpress and jetpack… technical issues that are getting more and more annoying.

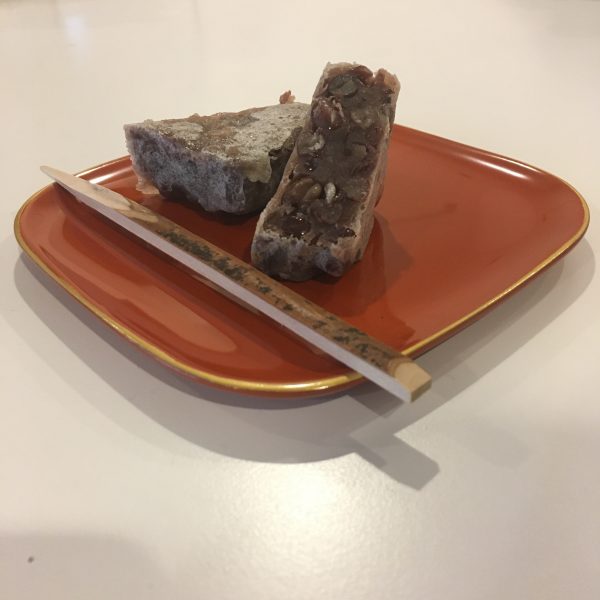
So to continue with adzuki, there are a few more recipes I would like to share, and as promised on IG, kintsuba was one of them. It’s a slightly more elaborated recipe of wagashi than those with just anko and mochi or shiratama. I like it very much for the variations that exist, it can be with sweet potatoes, including walnuts etc… so many options… I like it also for its very graphic visual. It’s a little square “cake”. Kintsuba consists of a soft and melting jelly and a thin cooked skin. Making kintsuba is simple but takes a bit of rest time as it uses agar agar and it takes 2h for it to solidify. Then there is a frypan cooking step to finalize them. But they are really delicious and worth trying.

Kintsuba also uses an ingredient that is often used in Japanese sweets: shiratamako. It’sa kind of rice flour but made from cooked mochi rice.

Kintsuba (4 pieces)

For the beans jelly

  • 100g of tsubuan or anko
  • 25ml of water
  • 1g of agar agar

For the skin

  • 25g of wheat flour
  • 5g of shiratamako
  • 60ml of water
  • A bit of cooking oil to grease the pan

First of all the jelly. It’s quick to make but as I said it takes about 2h for the agar agar to stiffen so better do this step ahead. Once you have the rest is rather quick.

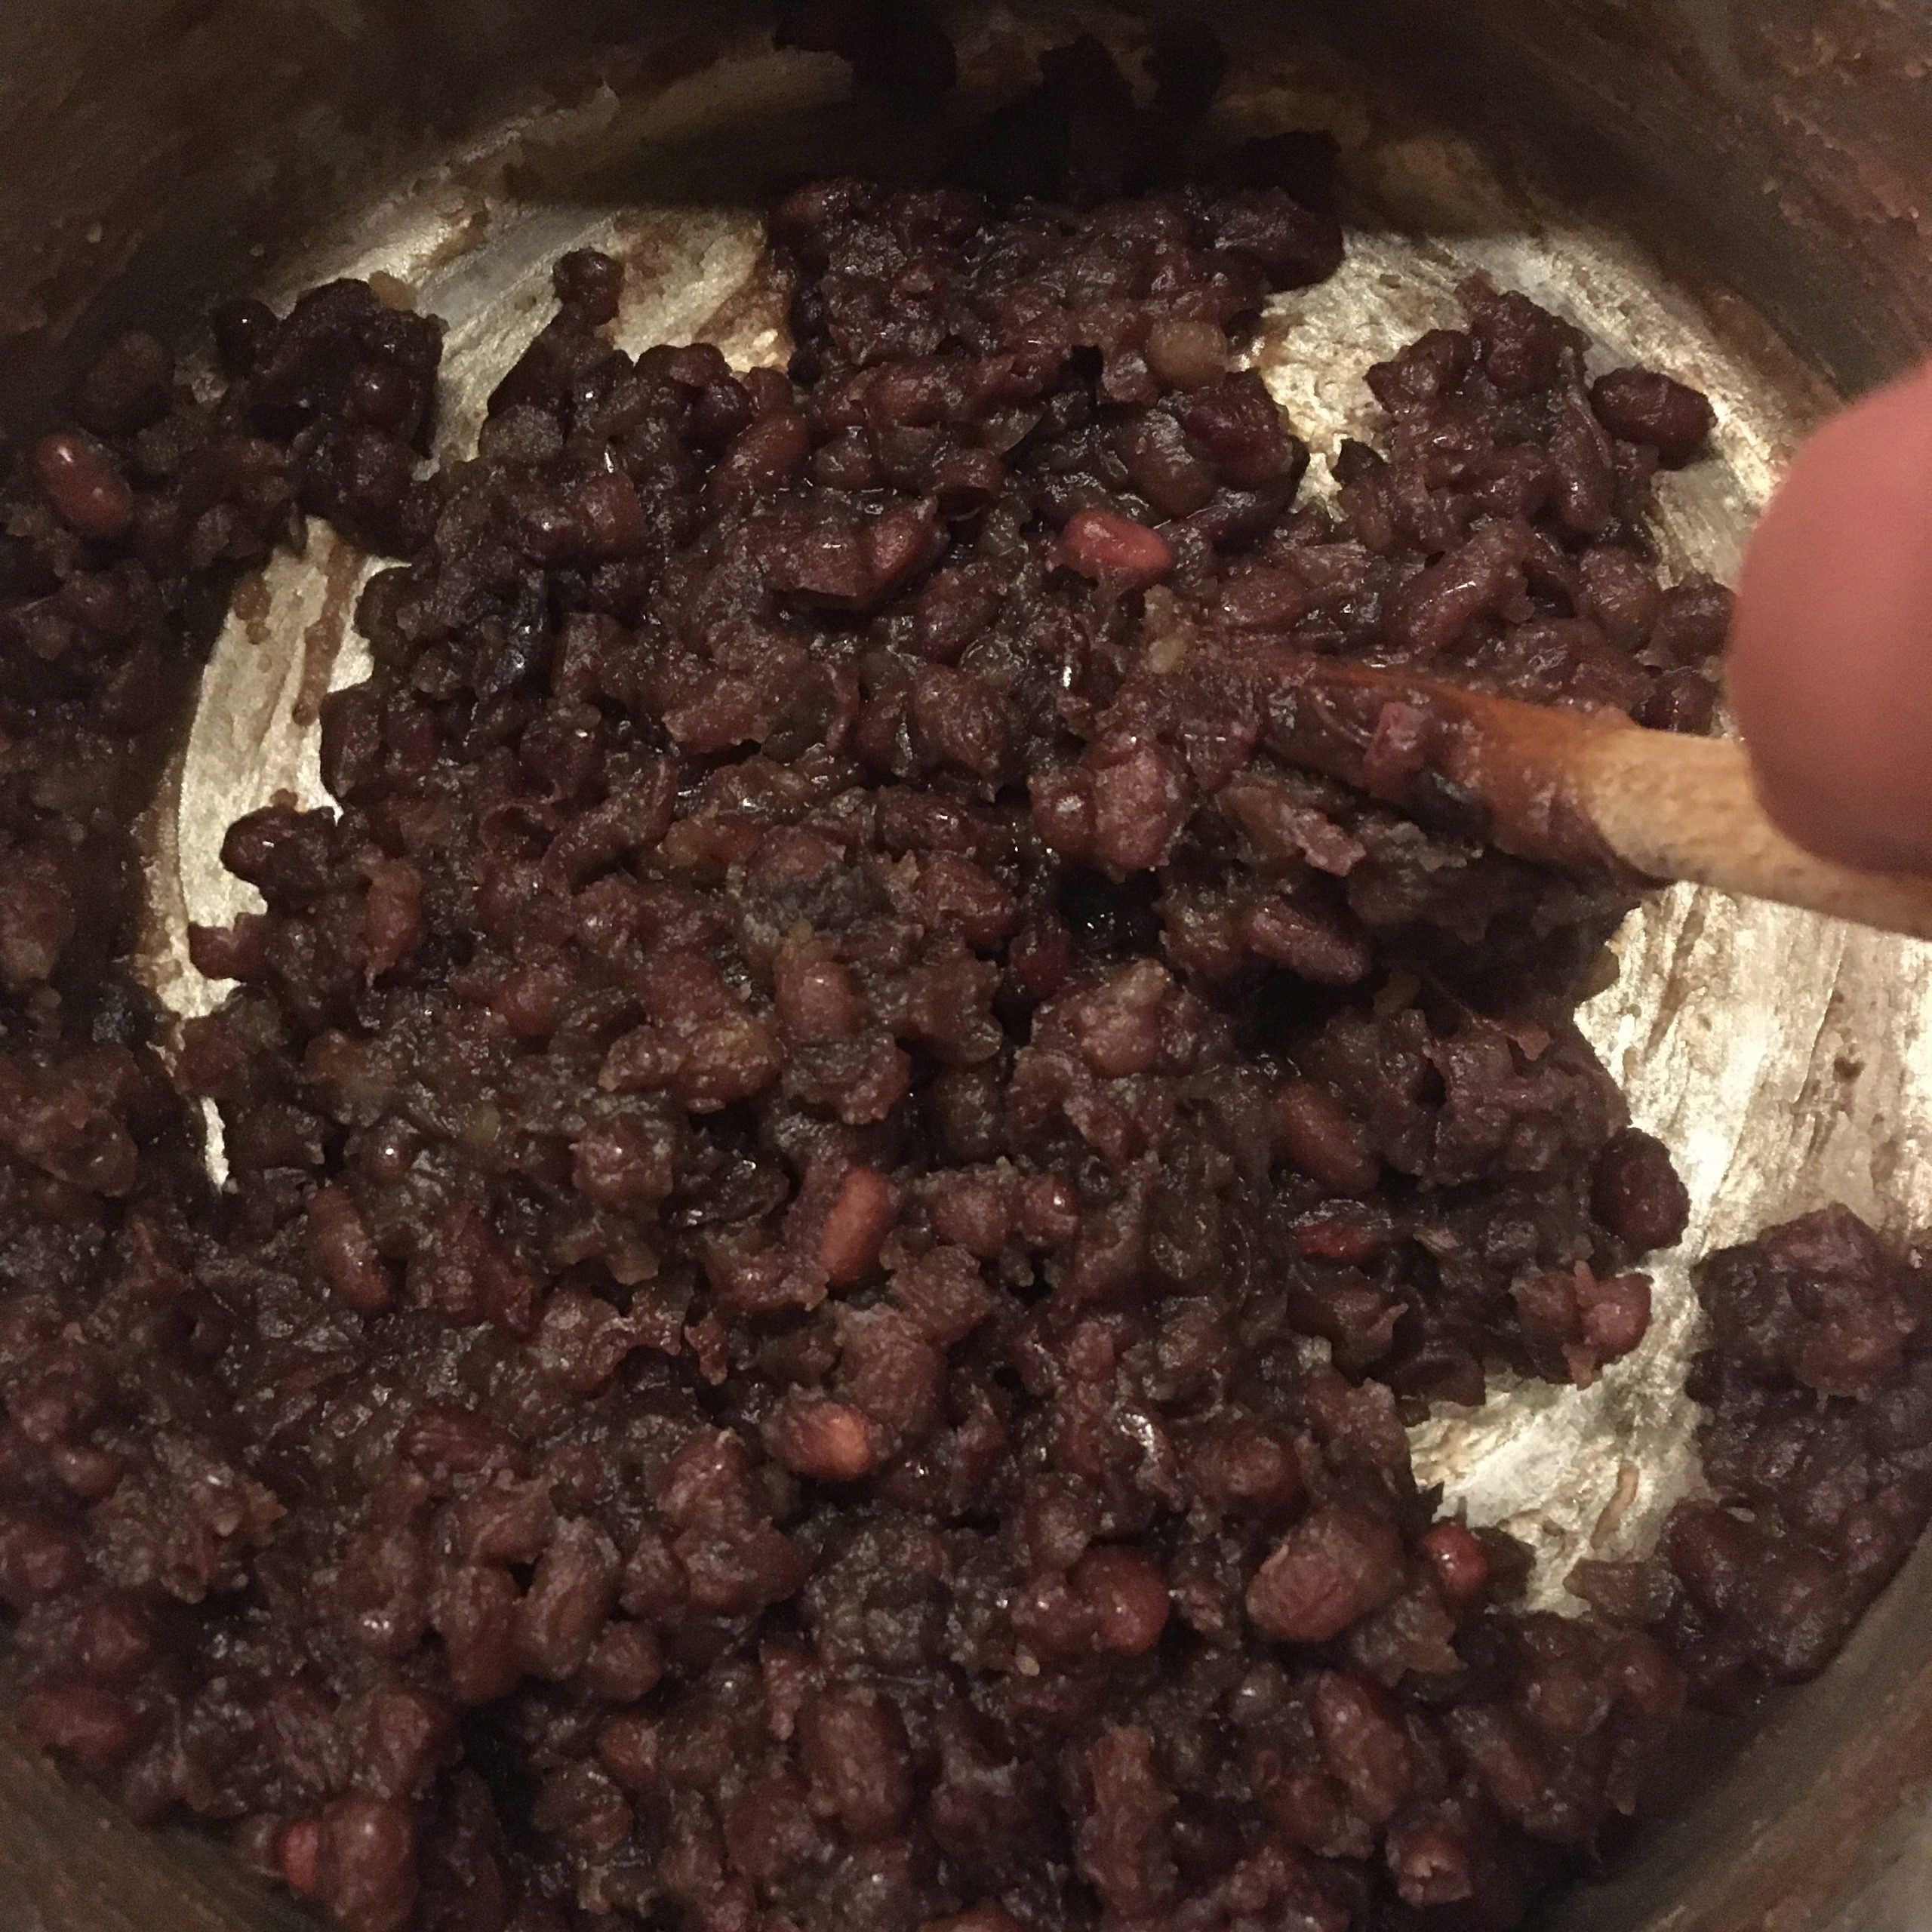
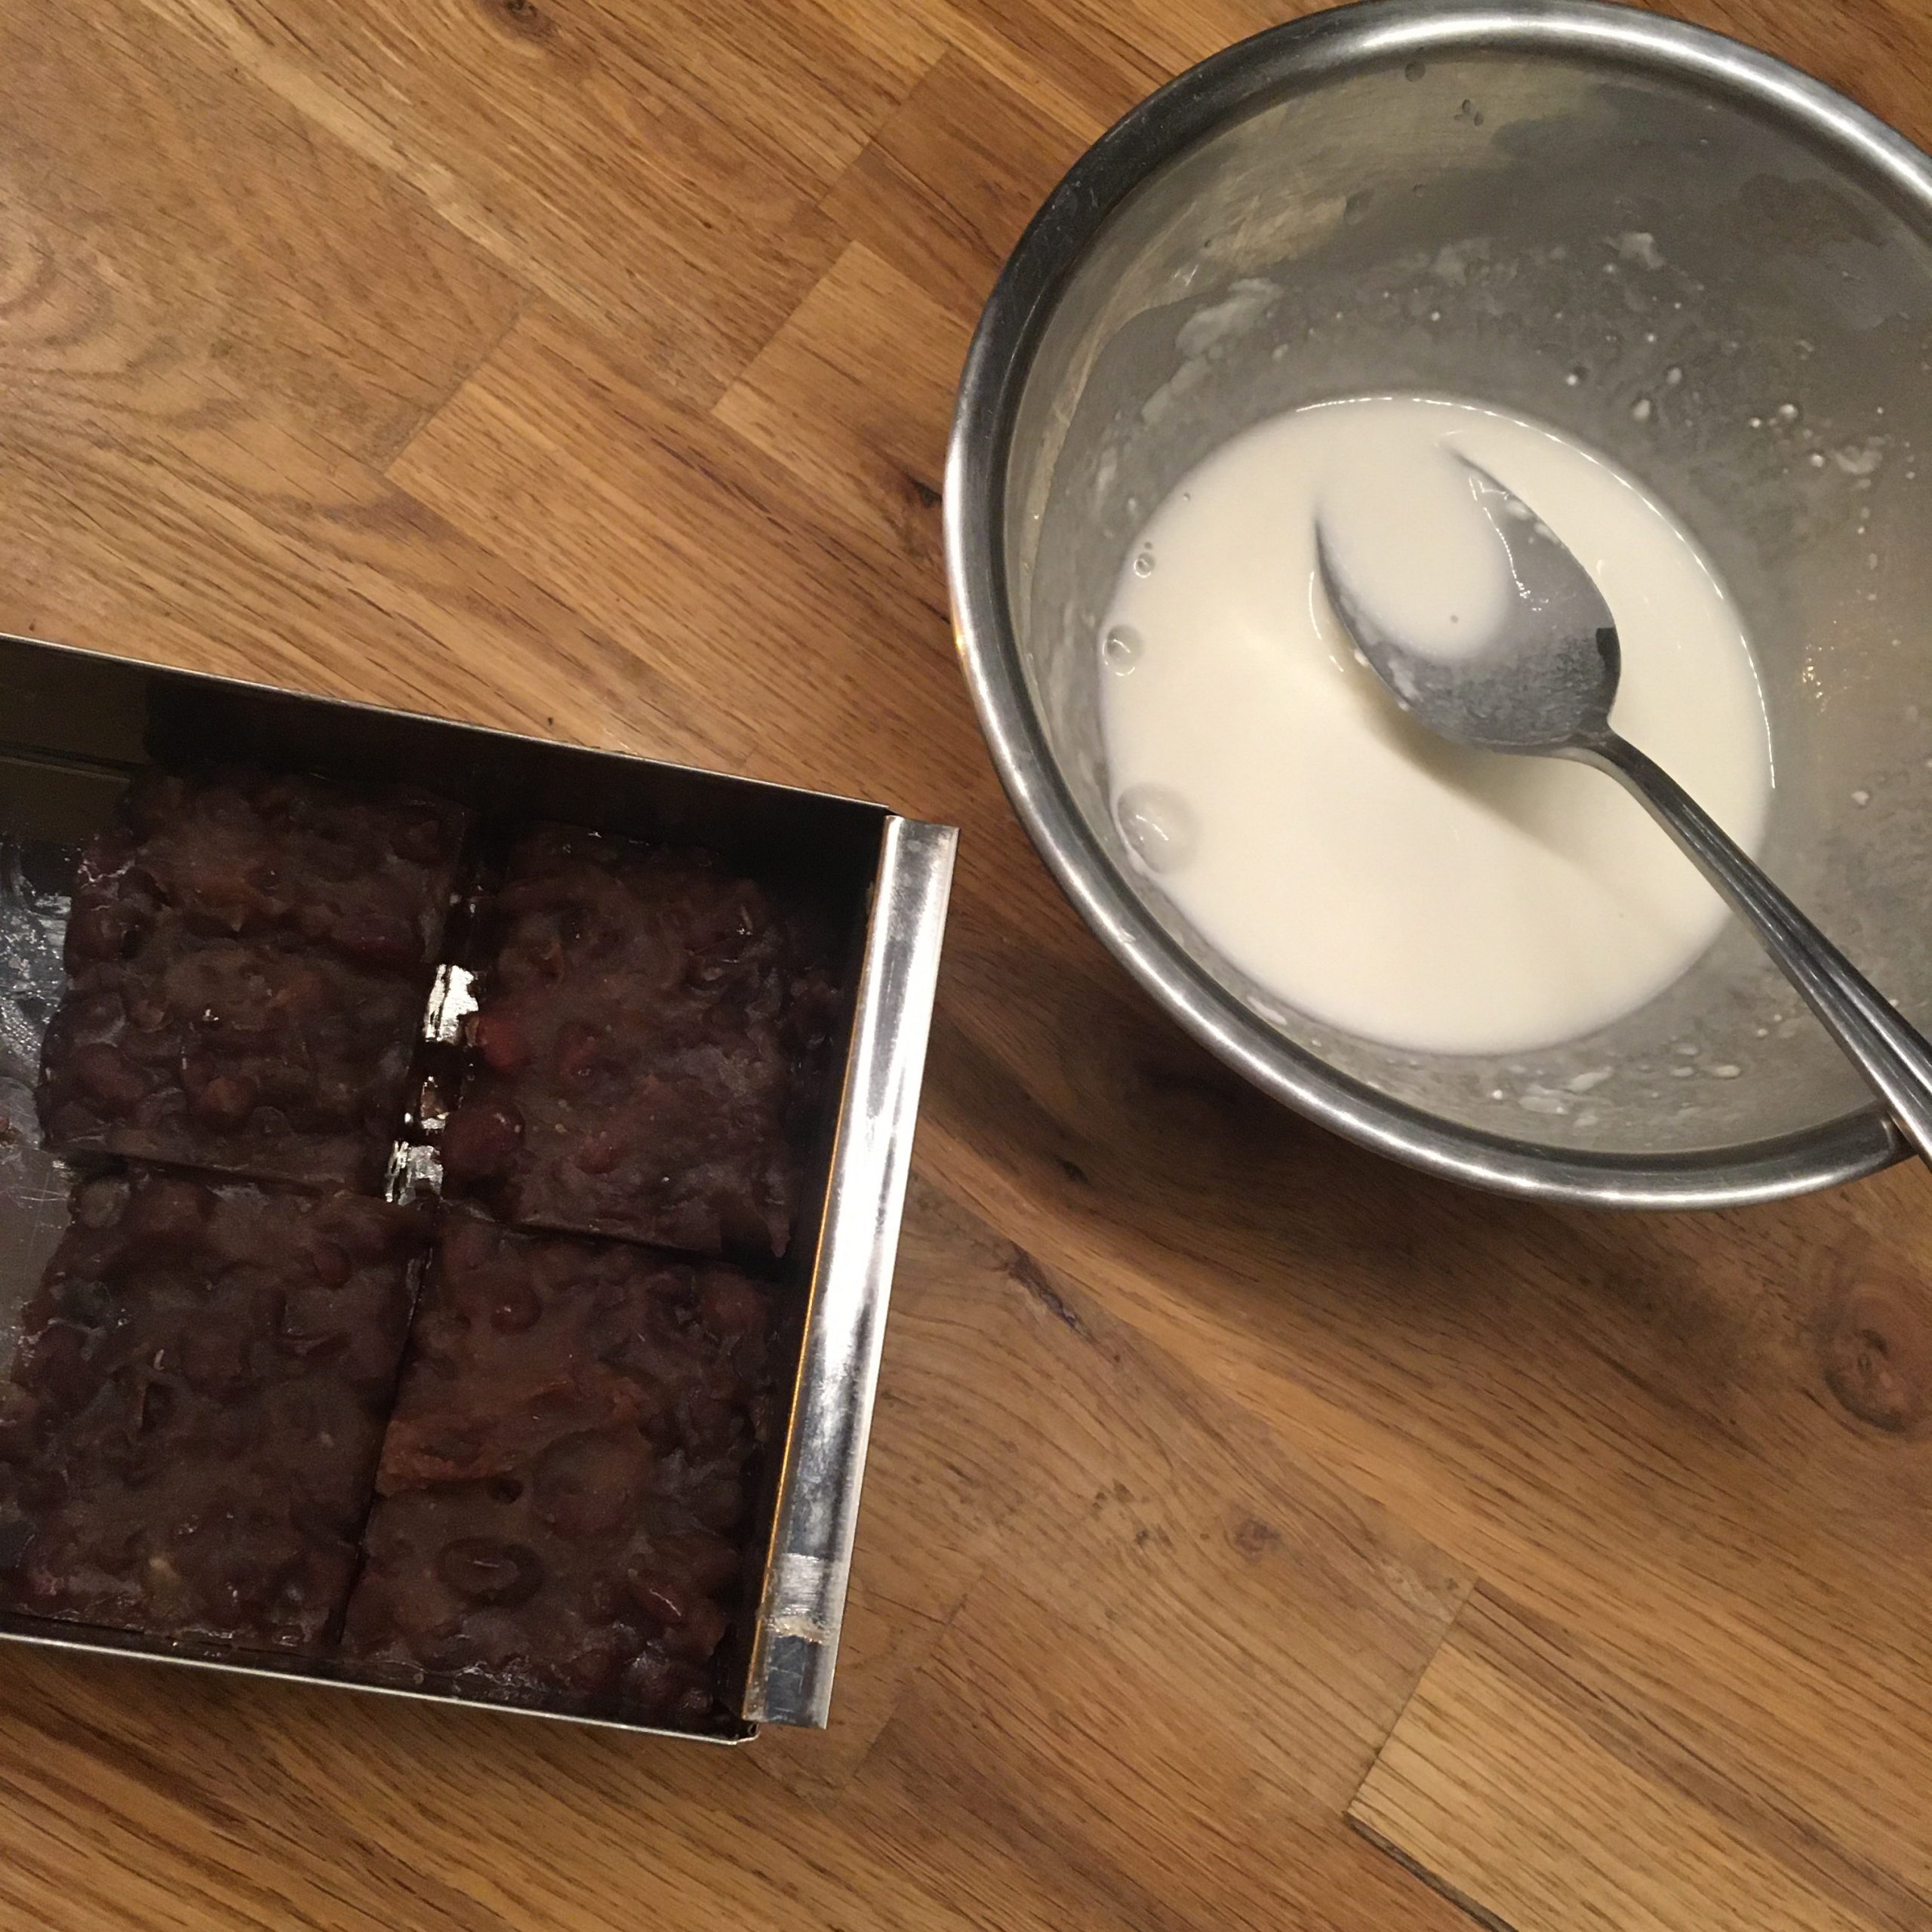
In a pan heat the water and the agar agar, stir well, when it comes to a boil lower the heat and continue stirring for 2min. Add the anko or tsubuan prepared before hand as in the recipe here. Continue stirring for 5min at low heat. Then move the paste into a dish that is square ideally. I use a Japanese tofu and jelly stainless steel dish for that specific use (see below picture). The jelly should be 1-2cm thick in the dish. Let cool down and refrigerate for 2h. That’s it for the jelly. You can eat it once it has stiffen as a jelly.

Once the jelly is stiff, take it out of the fridge, cut it into 4 pieces of 4x4cm approximately. In a bowl mix the ingredients for the skin. If you use shirotamako, you will need to crush it to powder it. It’s very easy. Stir well. Heat a fry pan and grease it. Now dip one face of a square in the skin dough and put this face down in the pan. Cook until that side is dry and no longer sticky. Repeat for each side. If you think your skin is too thin, apply a second layer. You can eat right away or keep a few days in the fridge.

Lemon squares for my birthday

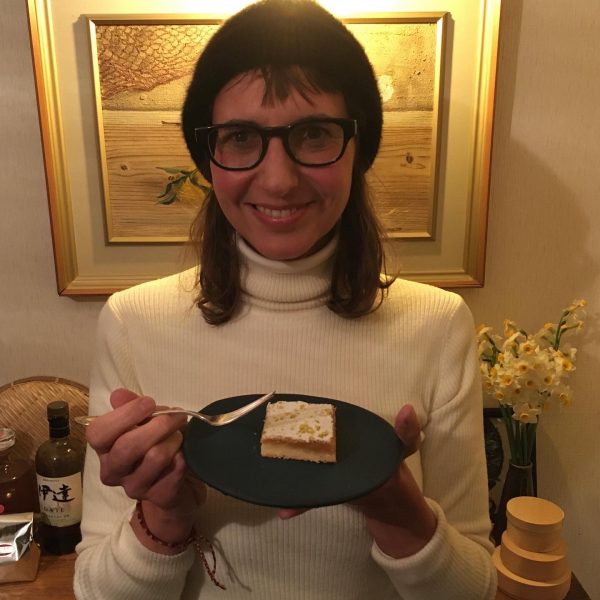
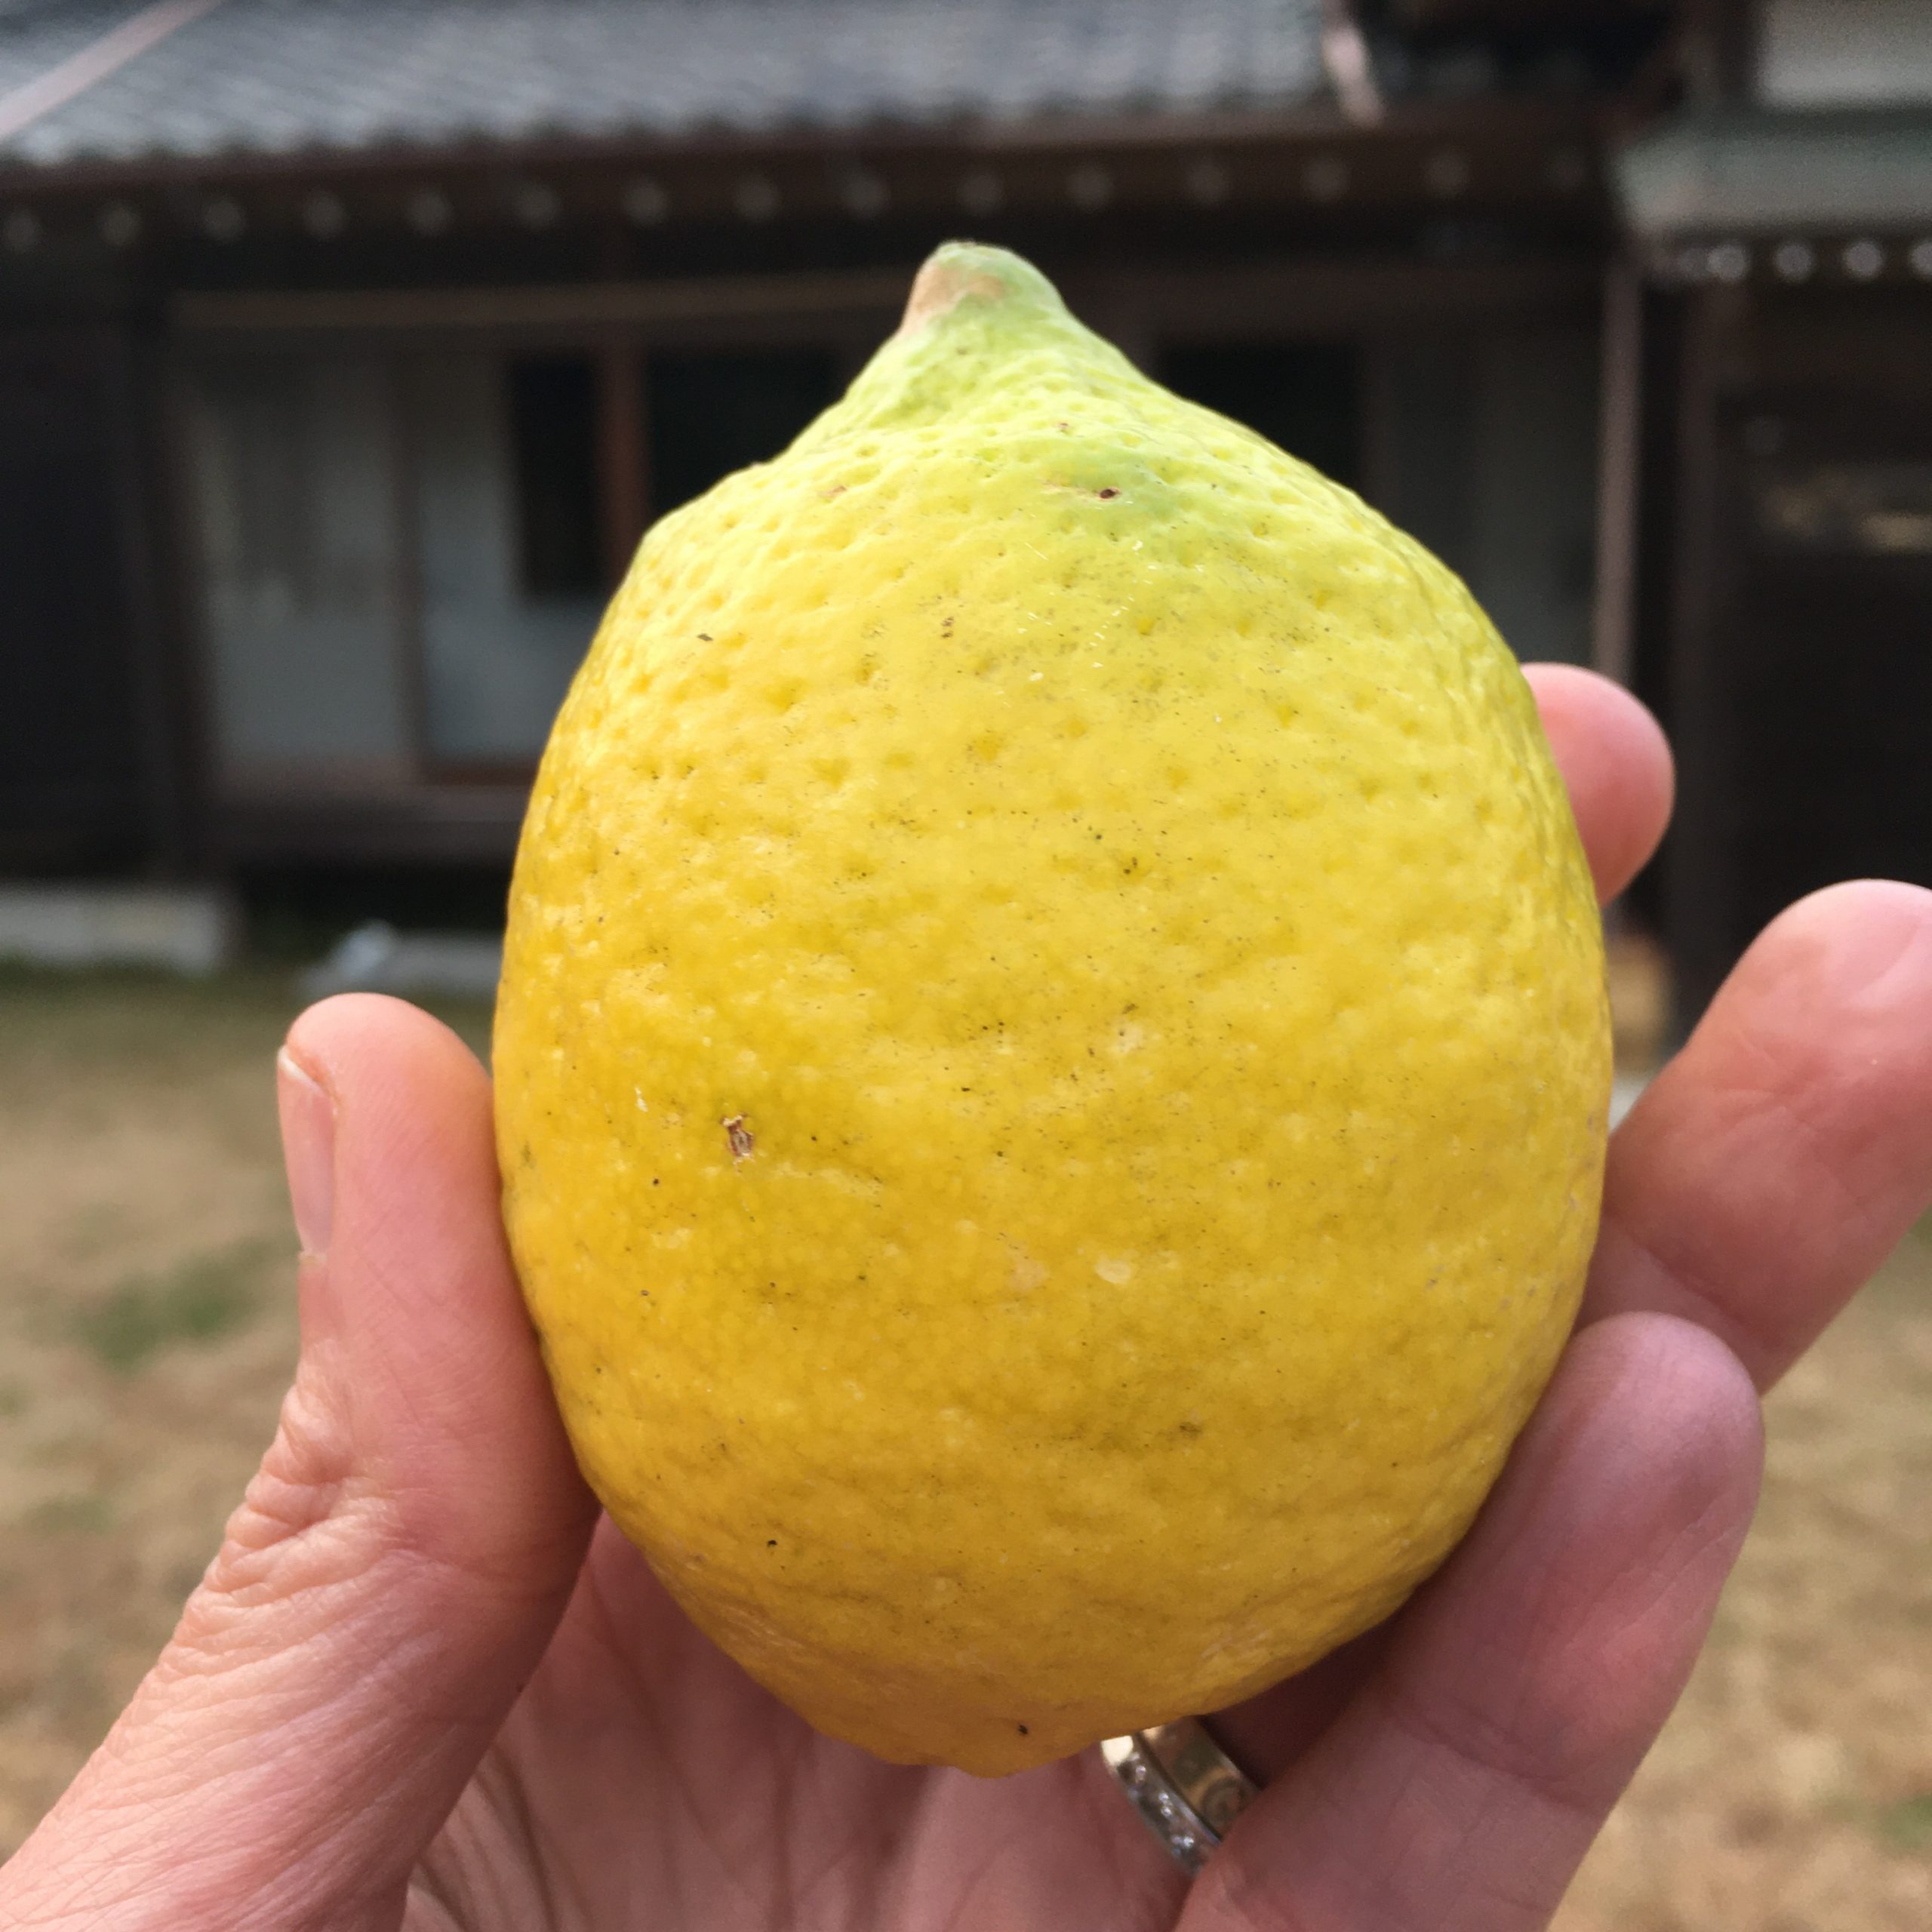
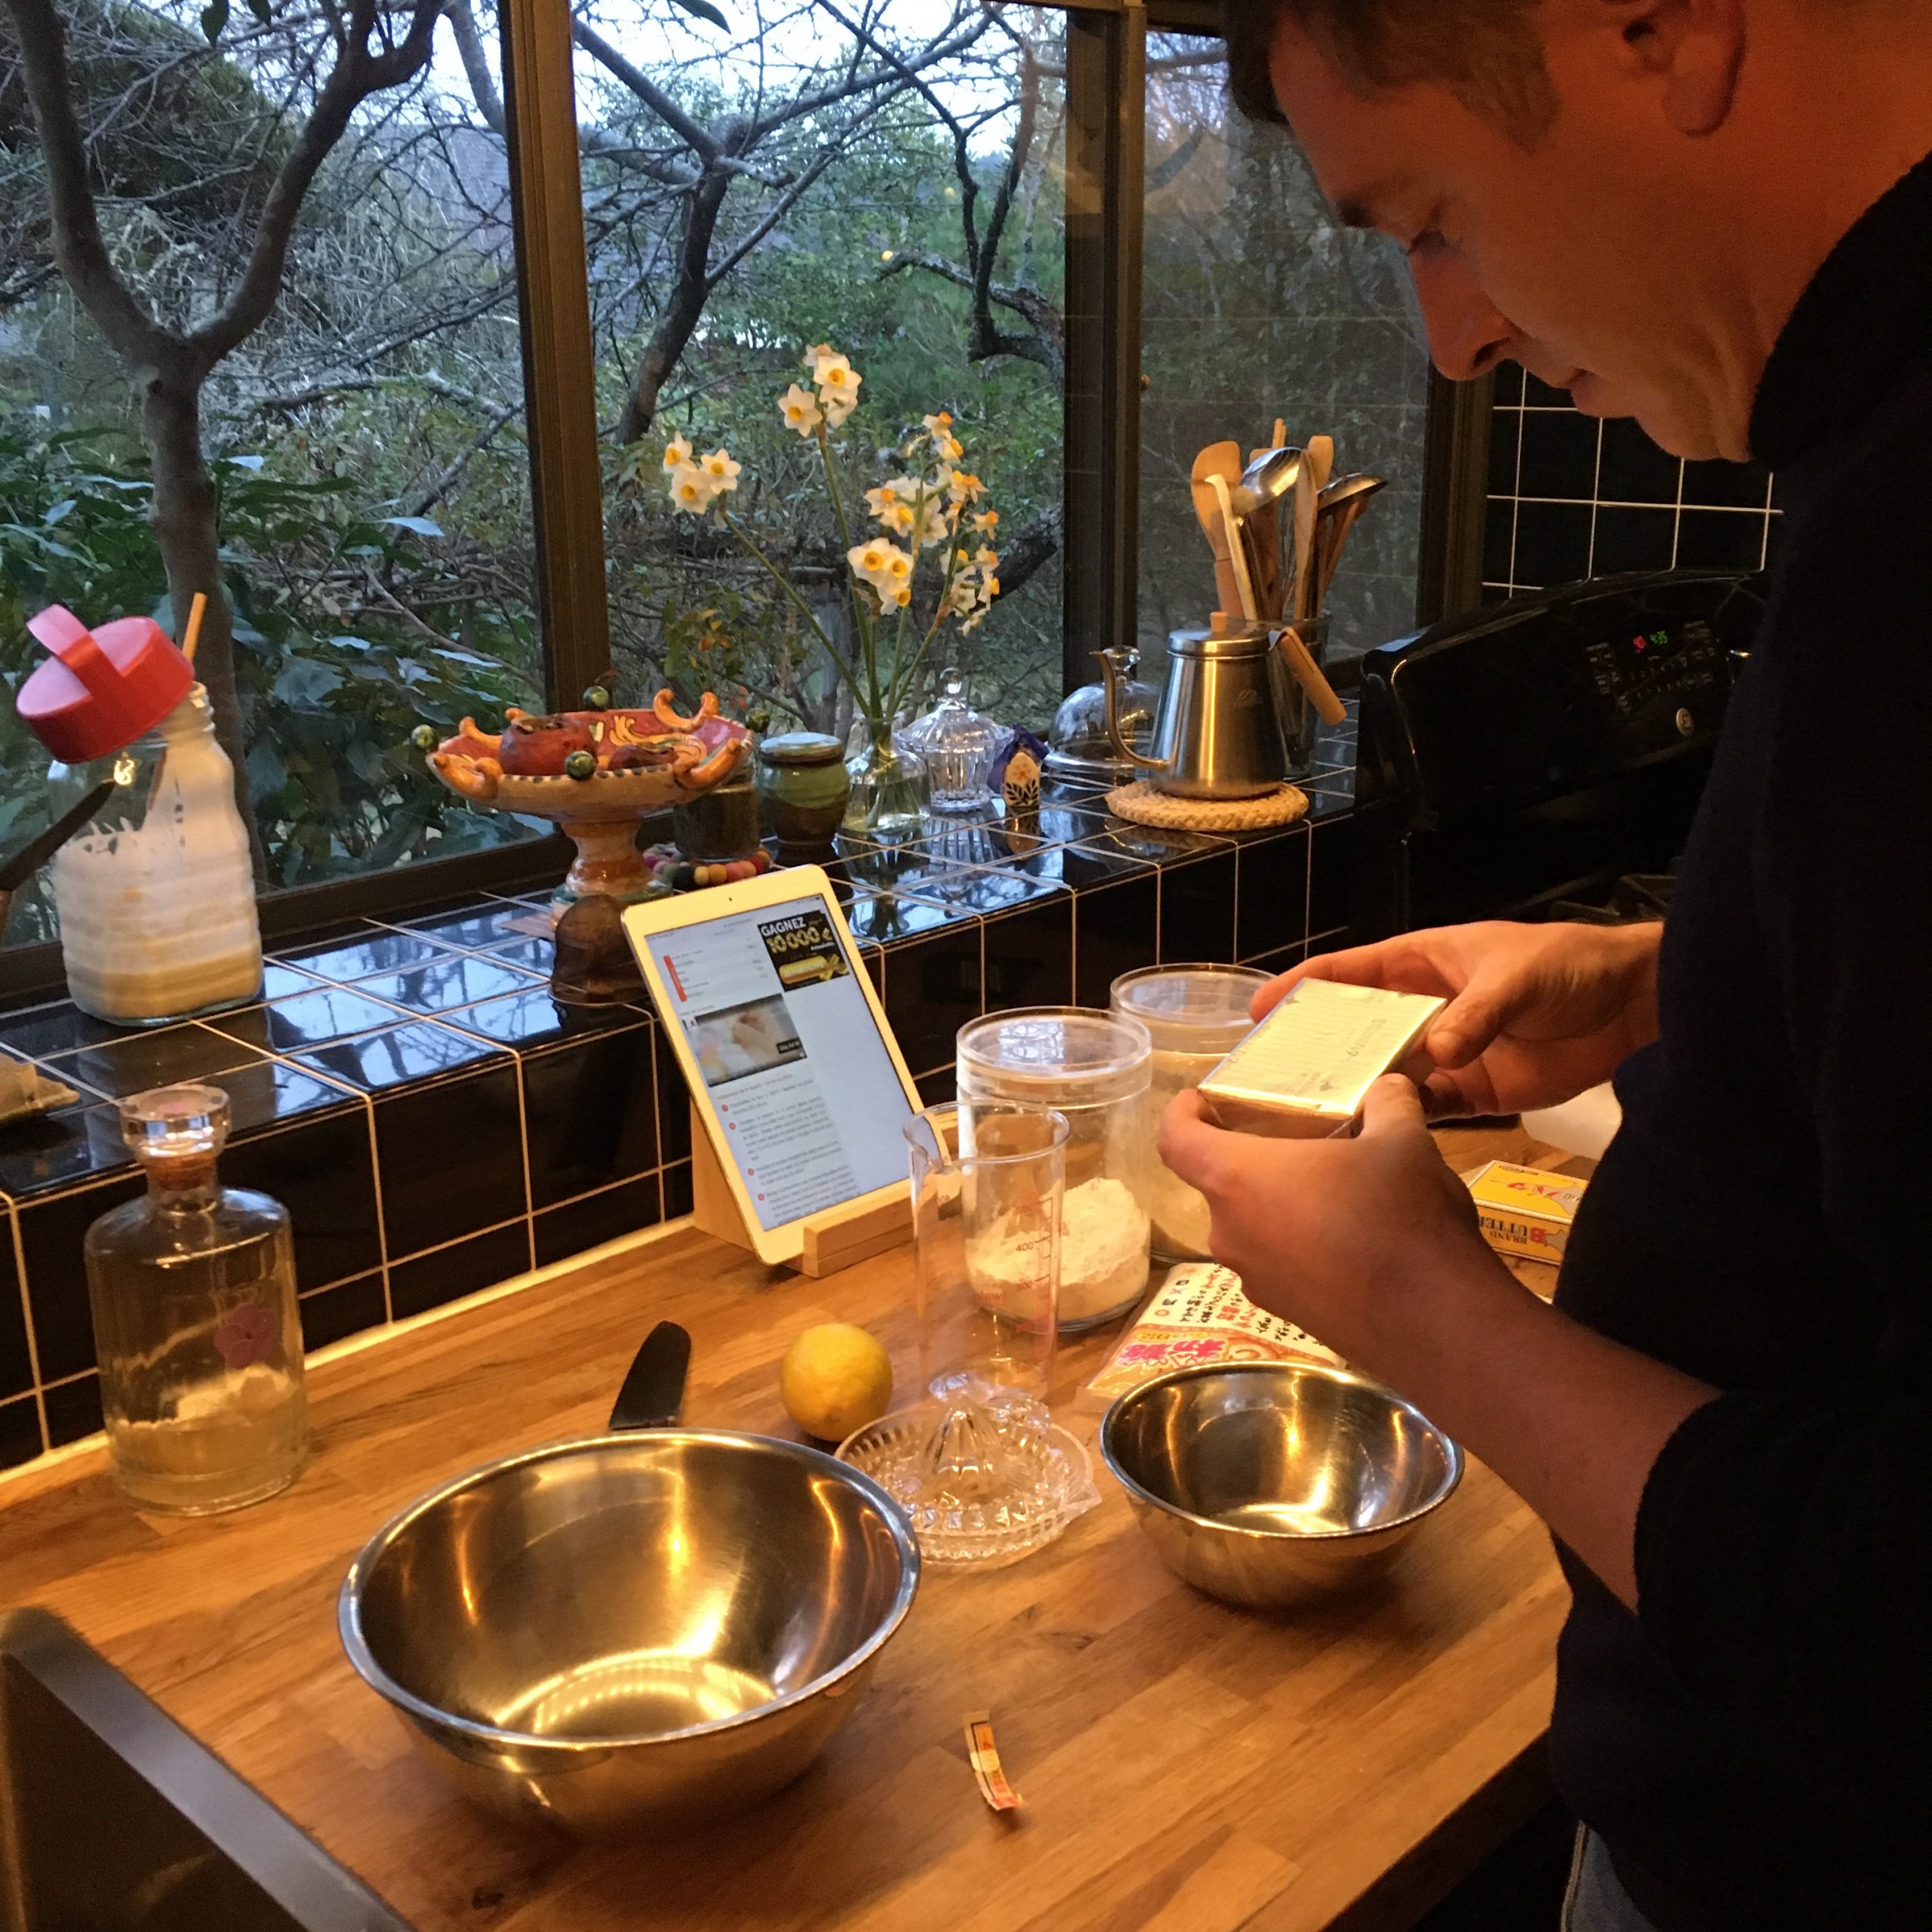
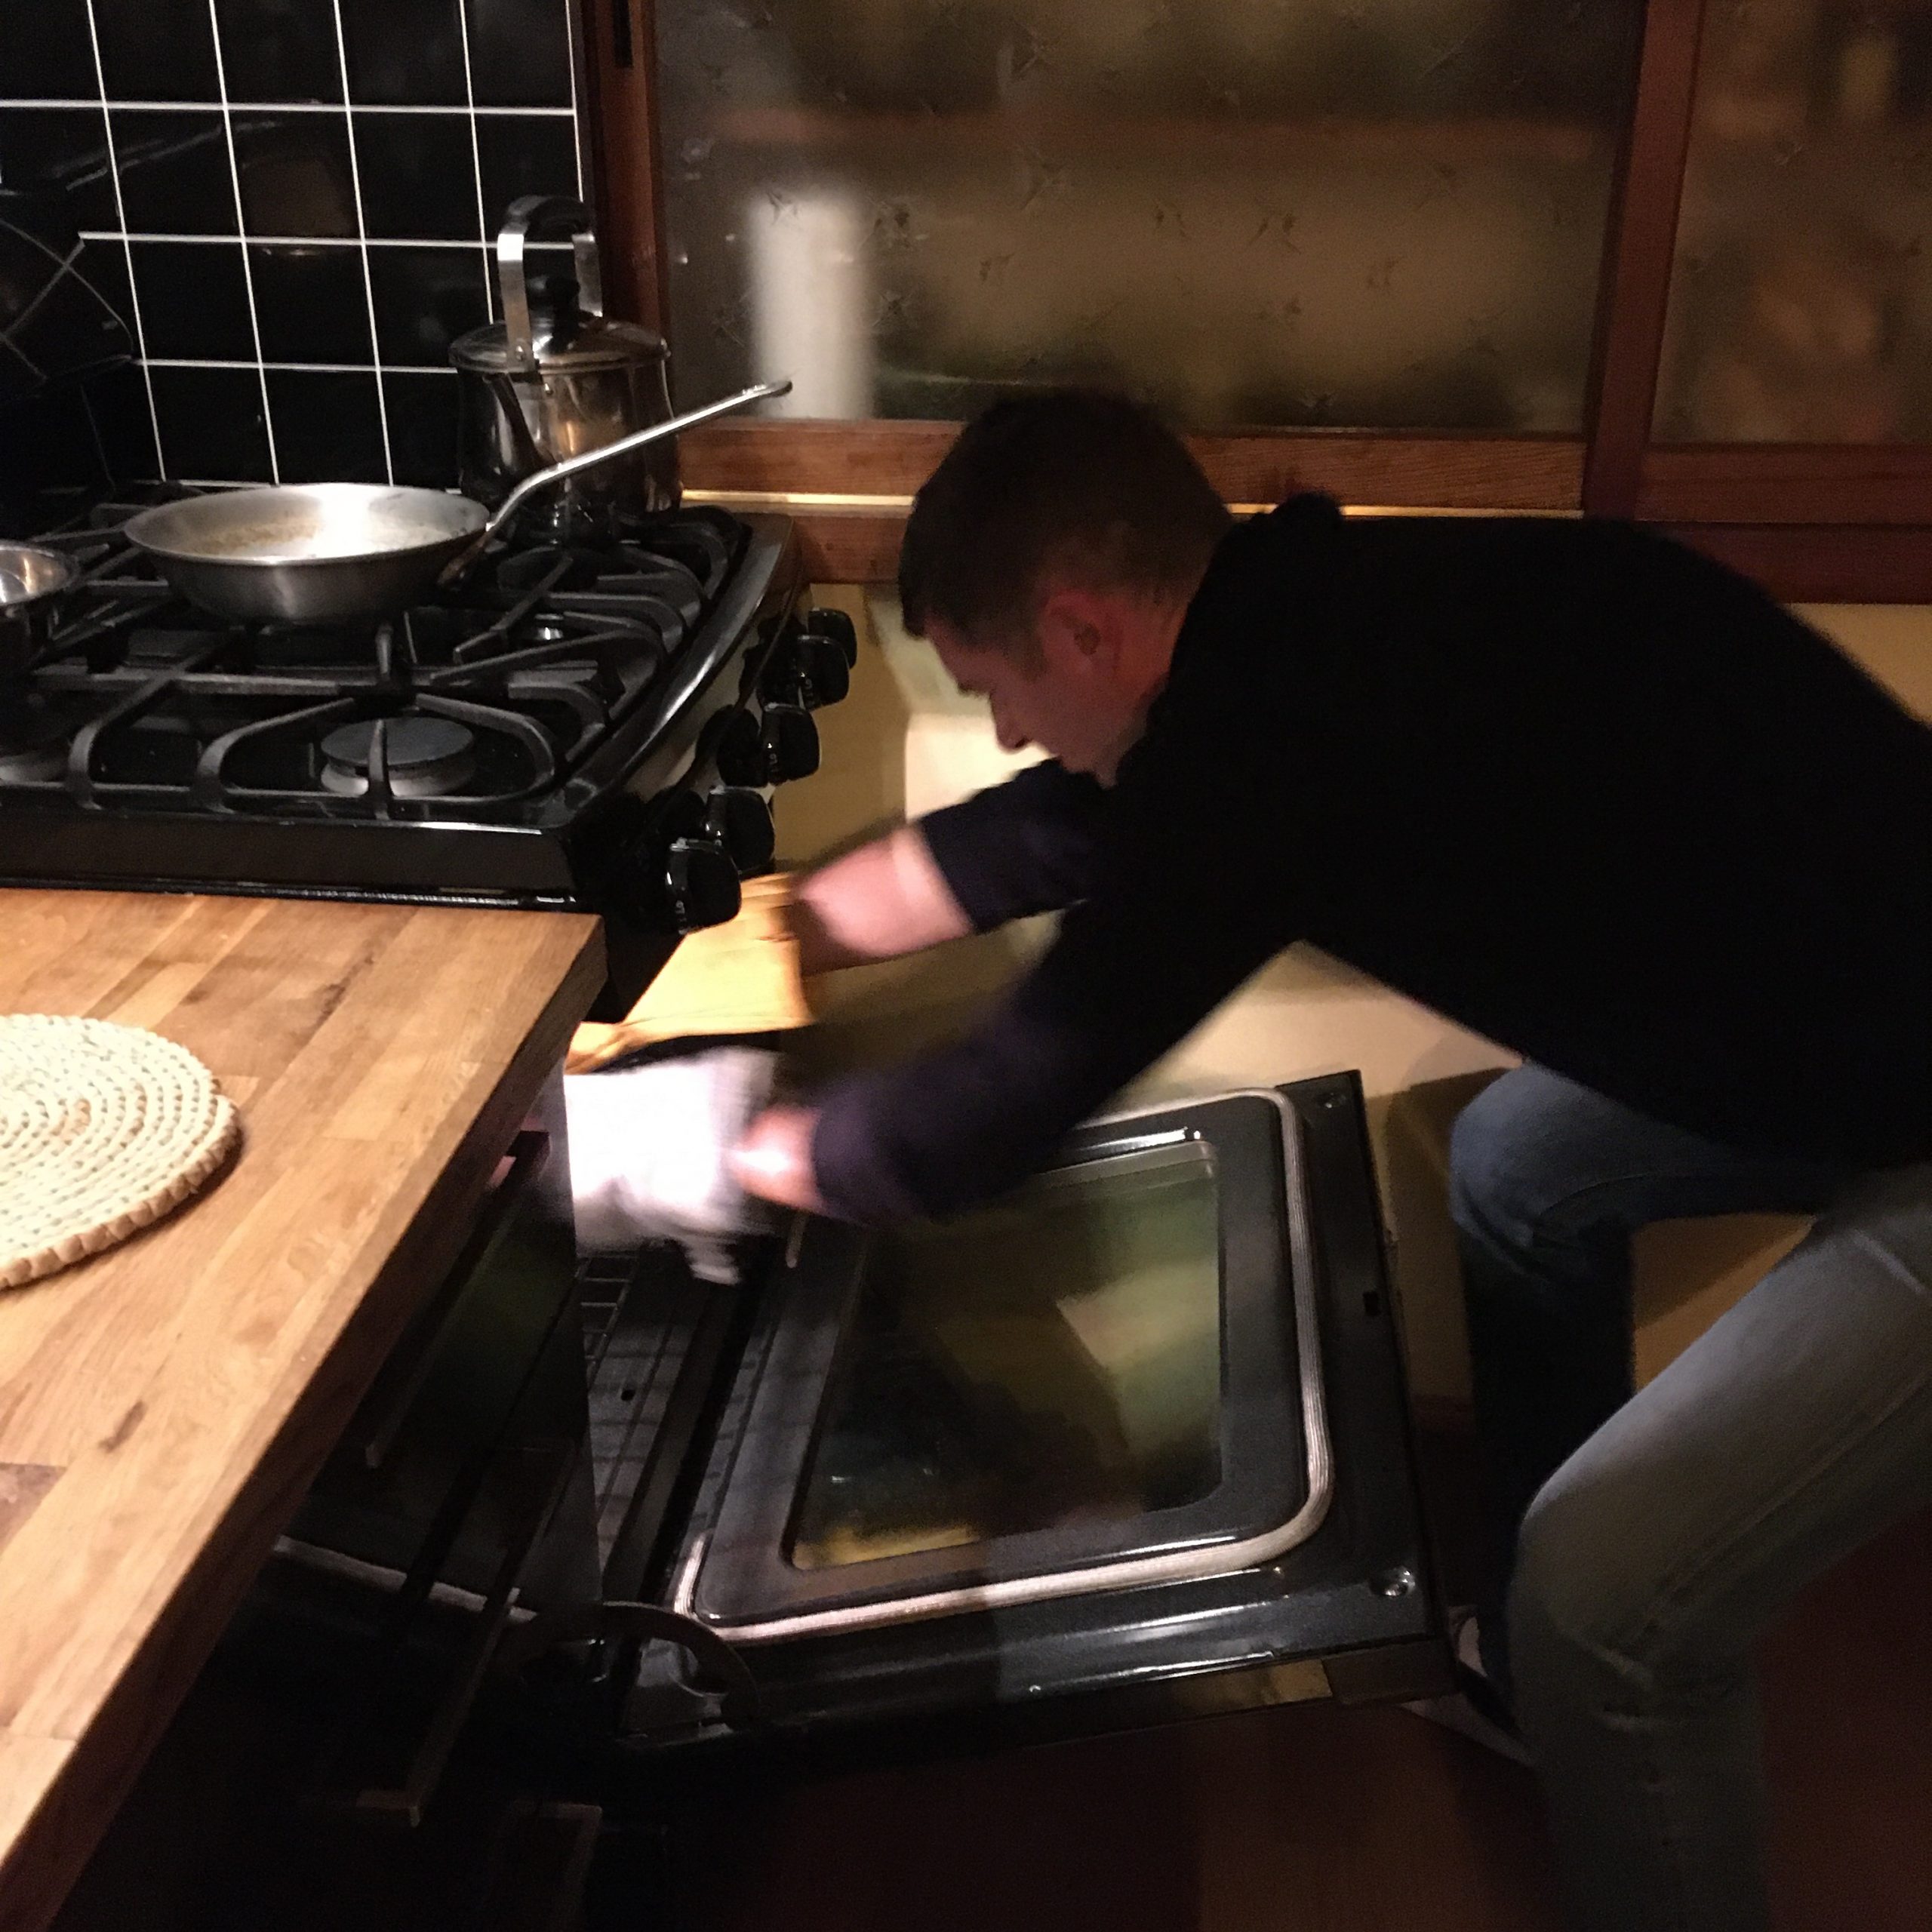
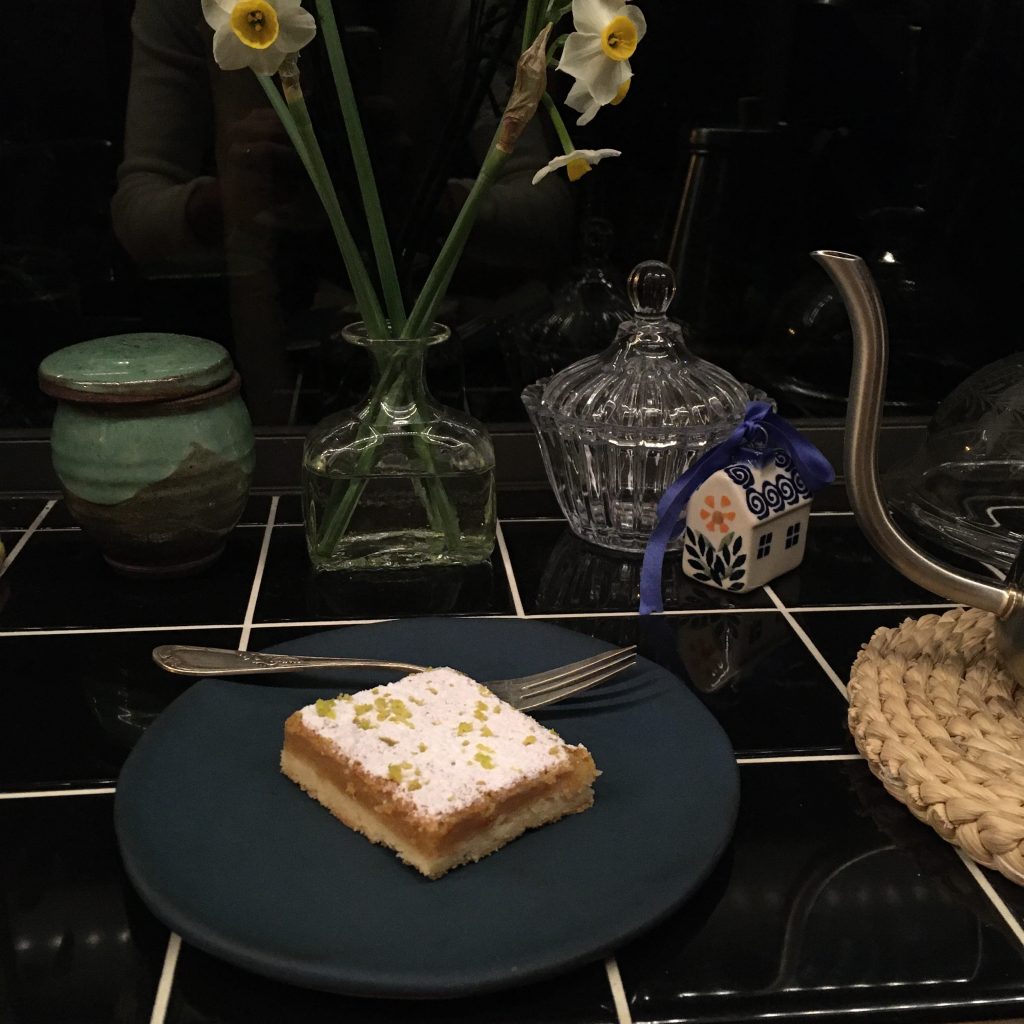
It’s a kind of rule at home that A. cooks only when I am too sick to cook, which happens every 5-10 years or so, and for my birthday tea-time. I would select a cake and he would make it, usually with a little help of my mother when we are together at this time, or with mine when that’s the only help he can get. My favorite birthday cakes involve usually fruits: apples 🍎 or lemons 🍋. This year our lemon tree gave only one lemon, which we preciously watched growing and yellowing until we could harvest it just for my birthday. A recipe that would use the whole fruit was my target, and I have seen many but never tried lemon squares so I opted for it. Difficulty minimum, preparation quick enough for A. to get through it. The basic idea of the recipe comes from this french website, with a few adjustments made on the spot as we were not satisfied with it. So here is my version of it. For those who have never had lemon squares (like me until yesterday, as it hasn’t really made its way to Japan) or seen any (they are everywhere so I hardly can believe it!!!), they consist on a sweet sable dough topped with a kind on custard made with the whole eggs. So it’s kind of close to a lemon tart but a lot easier to make… maybe it could be called lazy lemon tart.

Lemon squares (9 large squares, 16 medium)

  • 1 lemon
  • 100g of brown sugar
  • 150g+40g of flour
  • 125g of butter at room temperature is easier
  • 2 eggs
  • 40g of icing sugar plus a bit to sprinkle for finishing

First task is to prepare the sable dough. Pre-heat the oven at 180 degrees. In a bowl put 150g of flour, the icing sugar and the butter and knead to obtain an homogeneous mix. It maybe rather sticky. Try making a bowl of it and move to a sheet of cooking paper 30cmx30cm. Gently squeeze flat and lay another similar sheet of cooking paper on top. Roll to a 25x25cm square and set on oven proof receptacle of that size (mine is Pyrex). If you don’t have a square oven dish of that size you can use a rectangle one. The sharper the edges the nicer the cuts will be. Bake in the oven until it starts to slightly become golden. It should take 15-20min.

While the first layer is baking prepare the second one. Take the zest of the lemon, the juice. In a bowl beat the eggs and the sugar, add the lemon zest (keep just a bit for decor )and juice, the 40g of flour and stir well. As soon as the first layer is baked, take out the oven, add the second layer evenly and bake for 18min or so. If you overcook it’s going to be dry, undercooked it will be hard to have clean cuts.

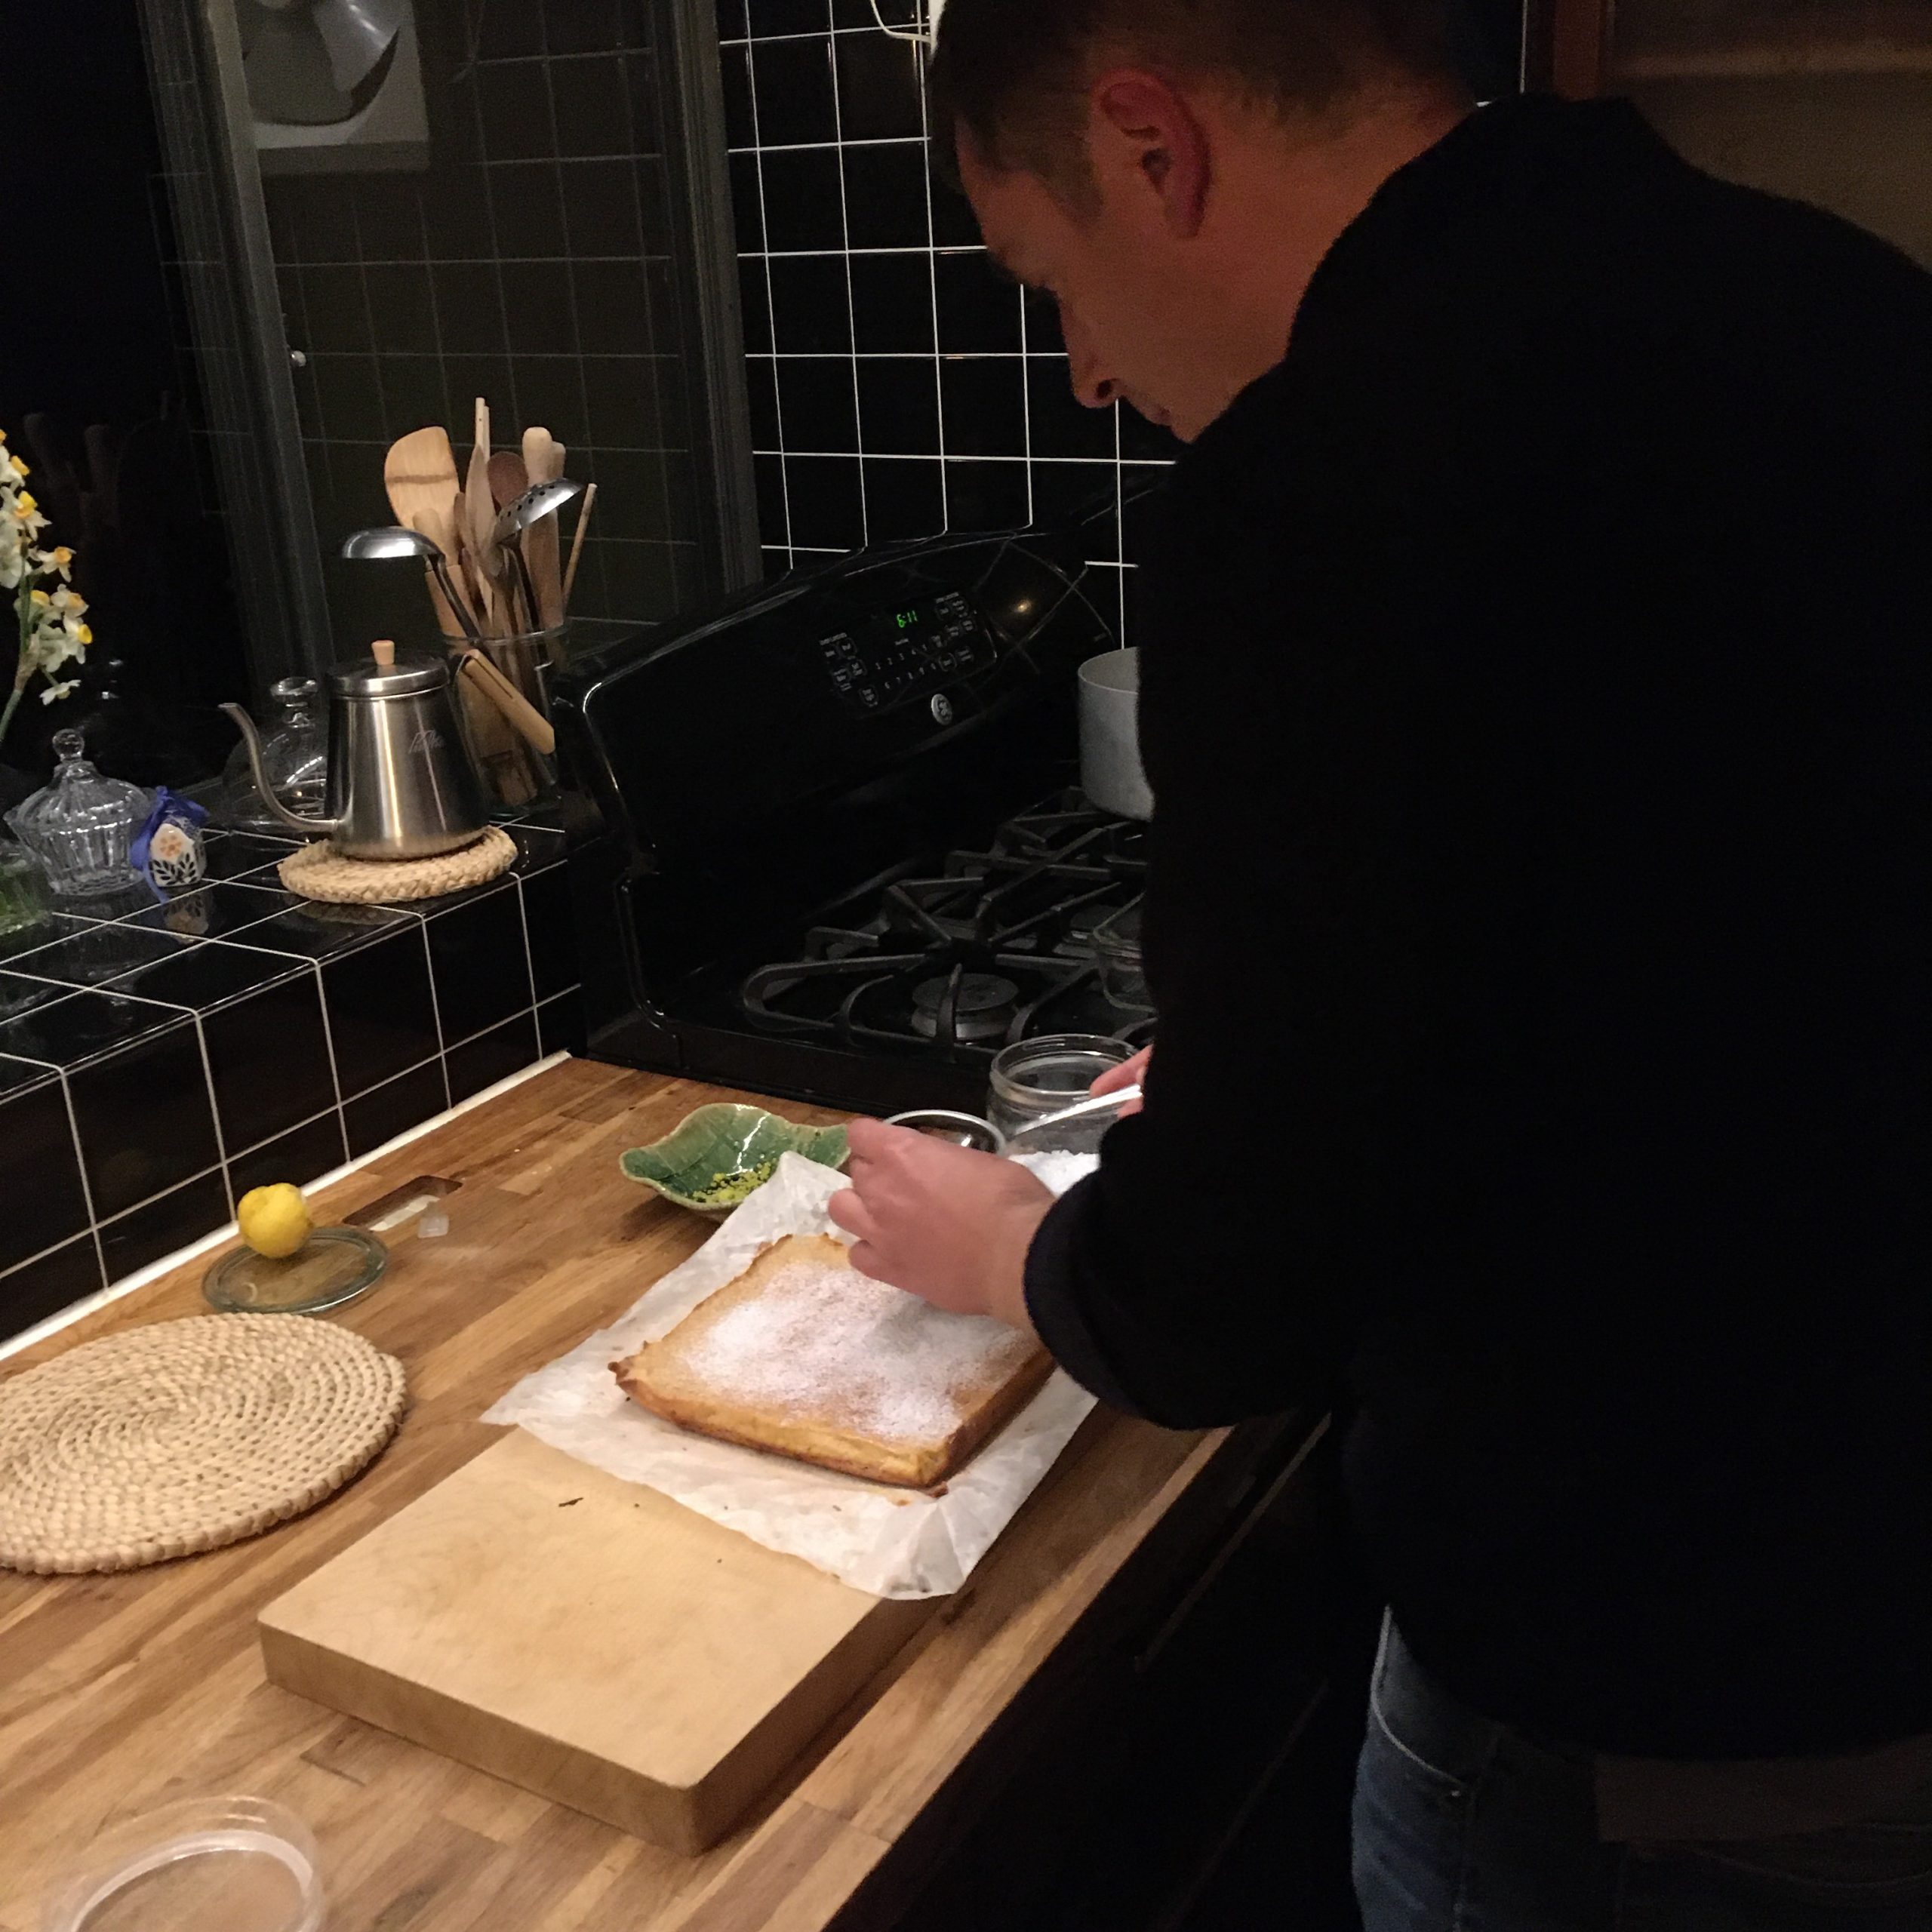
Wait until it has cooled down to move to a cutting board, sprinkle with icing sugar and a few zests, and cut to squares the size you like. Enjoy!!!

Christmas crazy, no more…

The frenzy of Christmas leaves me more and more perplexed and this year, having the opportunity (if one can says so) to spend it at home, just like a normal day off was actually more than welcome. Since we’ve been in Japan, rare are the years we haven’t spent Christmas with our families in Europe. While a family reunion is nice, Christmas is a time I dislike being in Paris, it’s dark, gloomy and cold. We are always suffering from jetlag, waking up at 5:00am when it’s pitch black outside and it will stay so for another 3 hours… better yet when we spend Christmas in the south of France, or even better in Italy. I love so much better the Italian spirit… But jetlag and dark mornings are not the only reason why I dislike so much this period, what I fear the most about Christmas are the long dinner and lunch that go with it, the sudden abundance in food like it were the only day we can eat and we have to eat them all from the appetizers to the mignardises… in magazines, instagram and wherever else… giant turkeys, creamy cakes, chocolate overdosed buches…

This is millions miles away from my conception of good food and good eating. Why shall you wait for Christmas or new year eve for champagne, caviar, foie gras and truffle and presents??? For fine chocolates and treats??? Why on earth would you get them all on one day??? For me, everyday is a cooking feast and every day is worth a present, I love the concept of unbirthday we should have an unchristmas too! I can’t wait 365 days and then just have to take it all in a snap! This is too ridiculous. Maybe also because my birthday is so closed from Christmas. Also, for me, a festive good meal doesn’t need to have fancy ingredients (actually I dislike most of them…), it just needs love in the kitchen and at the table and a few basic products. So the very best part of a European Christmas is undeniably the breakfast, really early, in the kitchen overlooking the garden still in the darkness: pieces of pompe a l’huile or slices of panettone dipped in a cup of hot black tea and tangerines peeled carefully and eaten slowly🍊 is what makes me the happiest. When all is still quiet.

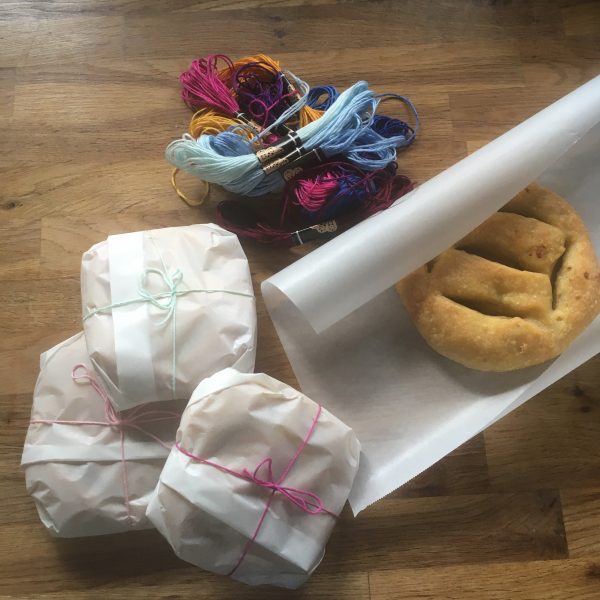
Pompe a l’huile and tangerines

This year, no travel, no jetlag, no dark morning , no family reunion, and no Christmas party with friends, it was just the two of us in our country house. Perfect. I prepared rustic potatoes and smoked ham ravioli for Christmas eve, and pompe a l’huile for the morning breakfast, which wasn’t dark as in Japan the sun sets early, and early enough to catch up with family still on Christmas eve. Luckily Isumi is well stocked in tangerines groves, so it’s really easy to find some good ones… ours from our tree are long eaten! And that was a perfect Christmas.

I wish you all a happy holiday season!

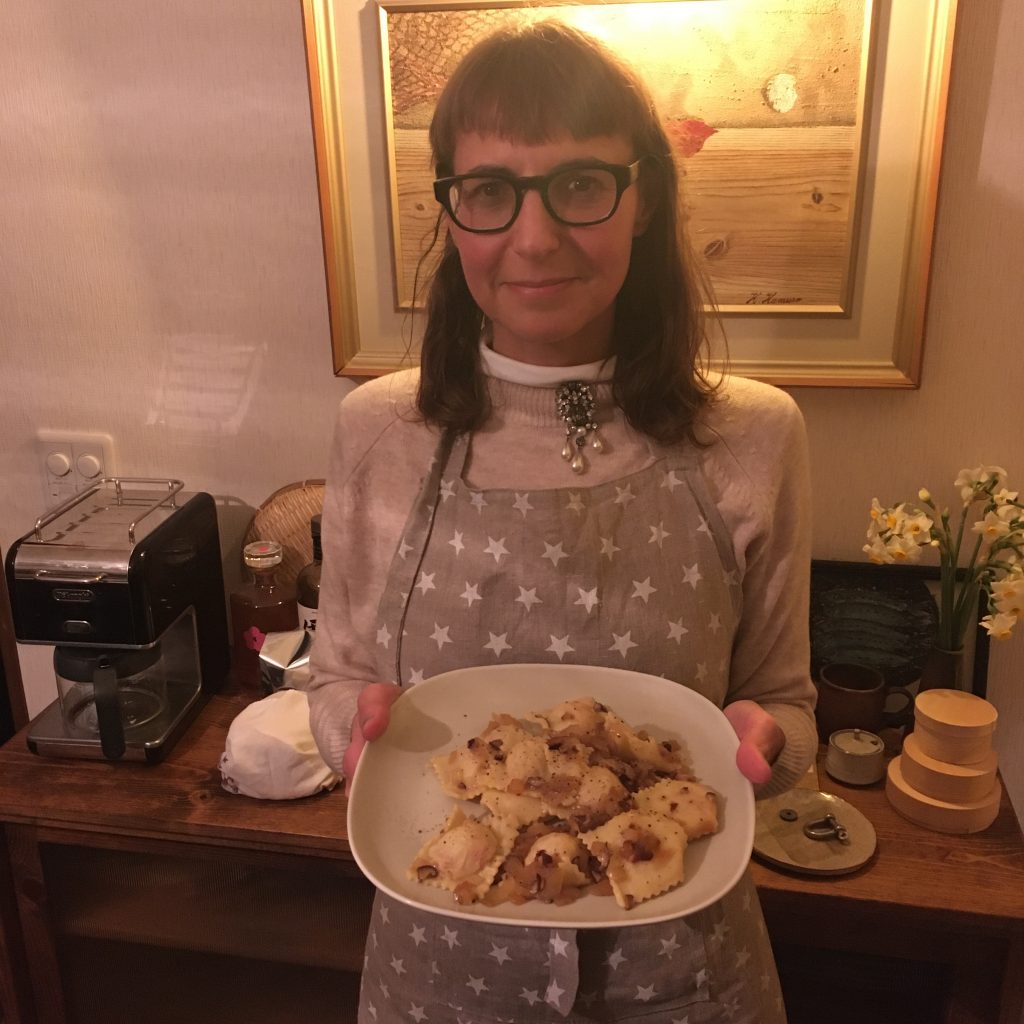
Christmas ravioli, just the usual ravioli filled with smoked ham and potatoes, dressed with onion and shiitake

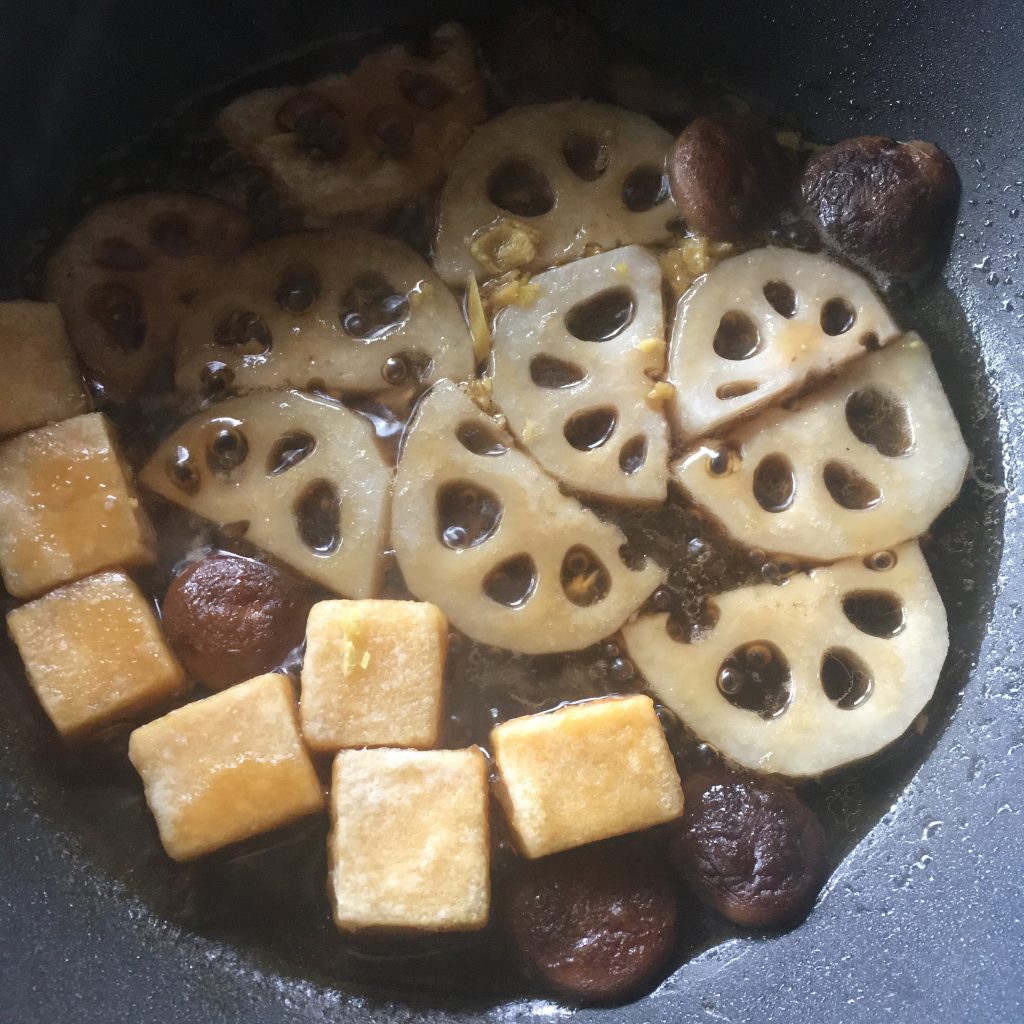
Koyadofu simmered with winter vegetables

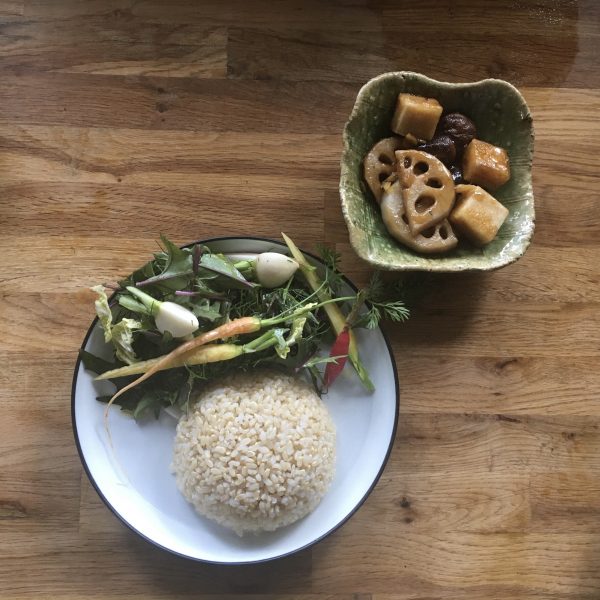
You may remember that in October I introduced a very Japanese ingredient: Koyadofu-高野豆腐 in a post with a very simple recipe of curry. This was just one of the many examples of using koyadofu. Some may definitely claim that it is spongious and tasteless, I wouldn’t argue much, but I could also say that it is packed with proteins and it adds a very interesting texture to many preparations. The recipe I want to present today is a very simple recipe of Koyadofu first slightly fried and then simmered. It is basically a preparation that could be done with hard tofu as well. The vegetables I chose for the recipe are those I had around but you can also change slightly and add greens or vegetables of your choice. I must admit that lotus root and shiitake are really perfect for this preparation: the fresh shiitake are soft and a bit chewy, the renkon is crunchy, and the koyadofu just perfectly spongy, but the prior frying avoids it from sucking all the juice.

So without further delay, let me share this recipe, that is really simple but holds all the best Japanese flavours.

Simmered Koyadofu (serve 2 people as a side of rice)

  • 5cm of lotus root, a bit big
  • 10 cubes of 1~2cm of koyadofu. If you use large blocks of koyadofu 2 should enough
  • 10 little shiitake, or 5 large
  • a 1cm piece of fresh ginger
  • 3tbs of soya sauce
  • 3tbs of cooking sake
  • 1/2 of water
  • some katakuriko 片栗粉 or potato starch
  • a bit of oil for frying

First of all return the koyadofu to a soft texture by bathing it into water for a few minutes. Drain well by squeezing it like a sponge. If you use large blocks cut them in 1~2 cm cubes. Roll them in the katakuriko. In a oiled and heated frypan fry the cubes until white golden.
Peel the lotus root and cut in 5~10mm slices, cut in 2 if the root is really large. Add to the pan and cook in the remaining oil. Wash the shiitake, remove the stem, cut them in 2 or 4 if large. Add to the pan. Grate the ginger, add to the pan, add the soya sauce, the sake and the water and simmer for 10min or until the liquid is almost gone. Serve with a bowl of rice for example.

Proudly powered by WordPress | Theme: Baskerville 2 by Anders Noren.

Up ↑

Verified by MonsterInsights