Never tired of bamboo shoots

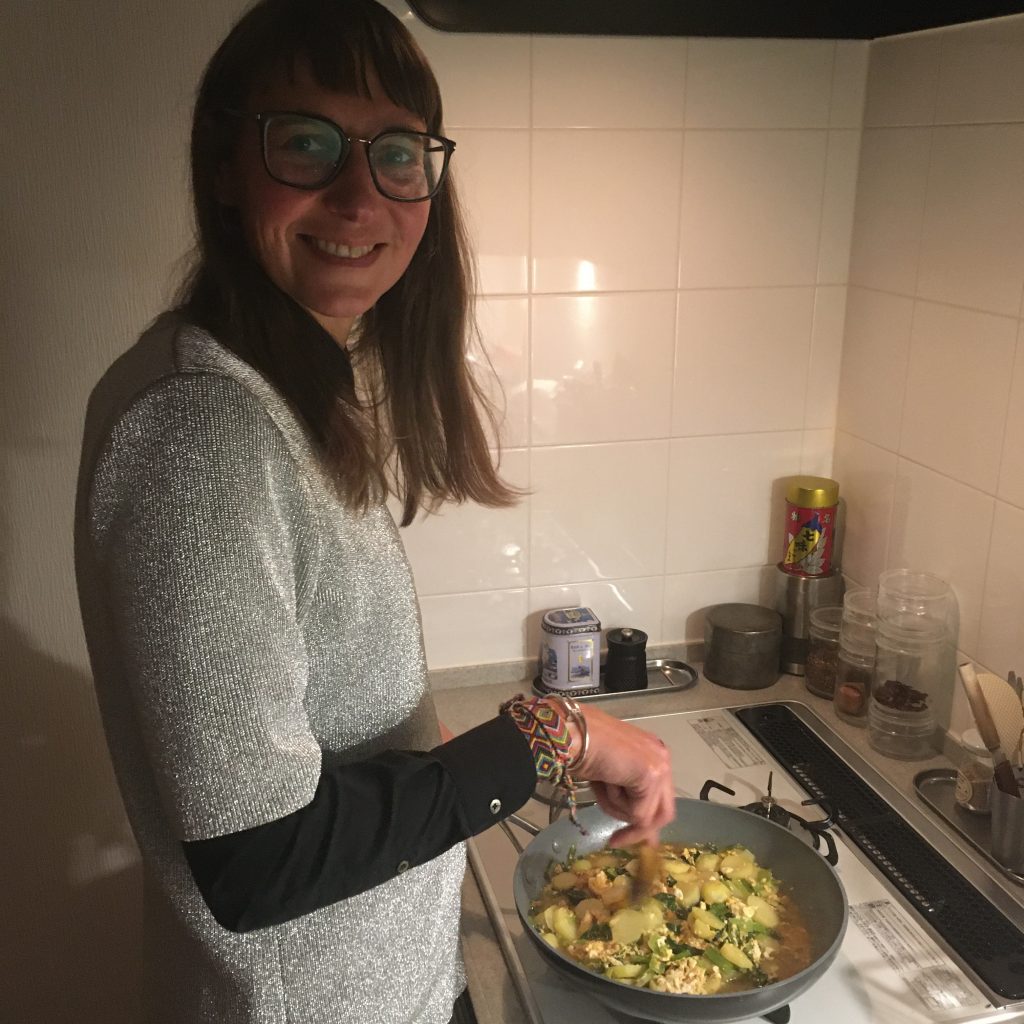
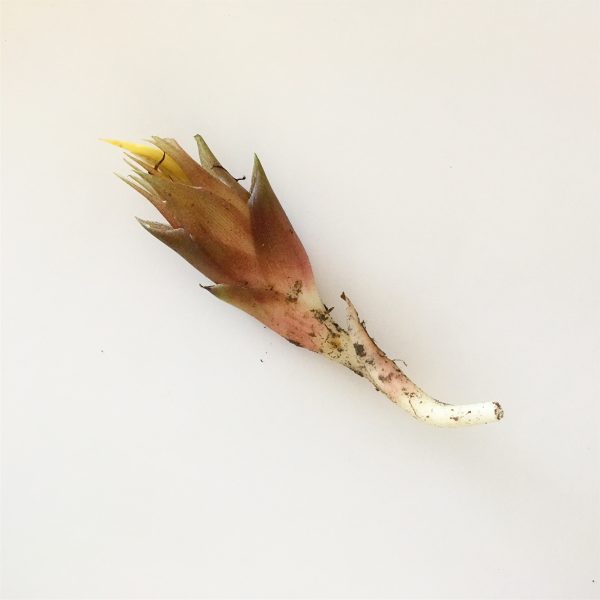
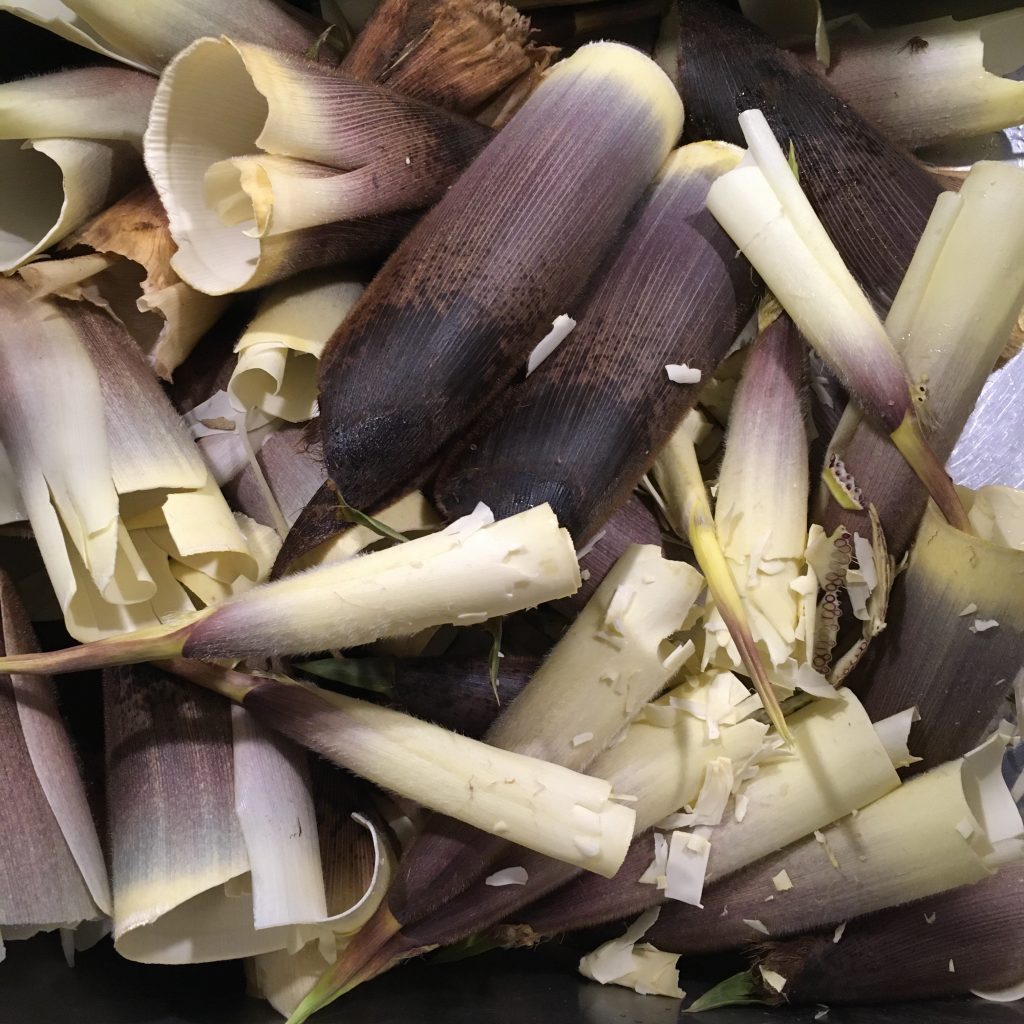
The season for bamboo shoots in Chiba has started just a few weeks ago… juggling between bad weather, and cold days, we went once to search for some with our neighbors but were not lucky enough to find any. Too early for that side of the area. Probably a few wild boar were also quick enough to come before us and dig to pick their own. But it doesn’t matter, we have friends who have friends who have bamboo shoots. And so I ended up with 2 beautiful shoots. I didn’t have time to prepare them in The country, so I took them with us to Tokyo. What a mess to prepare them in my pocket kitchen! But what a reward to eat them!!! I never regret!

This year, after a classic bamboo shoots rice, back then when my parents were visiting, I decided to go with a few different and more creative recipes. I prepared two different recipes. One is a simple sautéed version. So delicious I had to do a second batch! The second is a recipe of steamed buns. Last year I made eagle fern and bamboos shoot ones, but as I am getting better at making buns, I felt it is worth sharing this one!

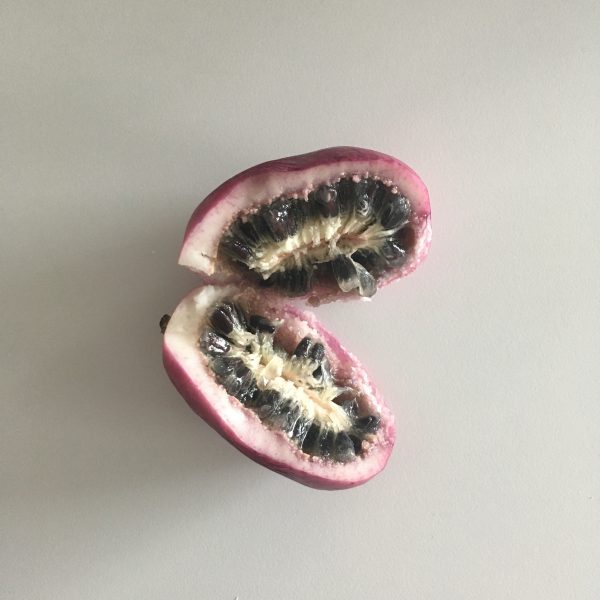
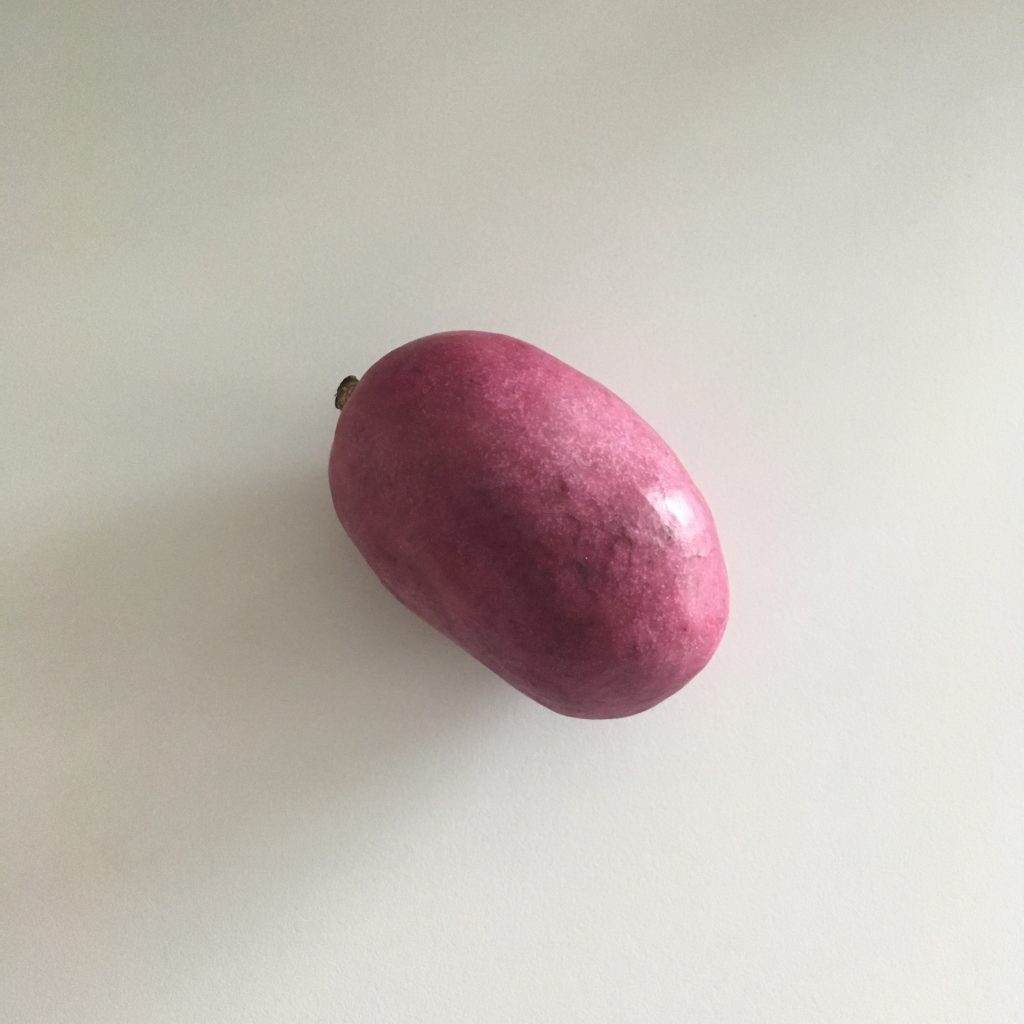
Both recipes assume that you have a parboiled bamboo shoot. For picking and parboiling look at my earlier post here.

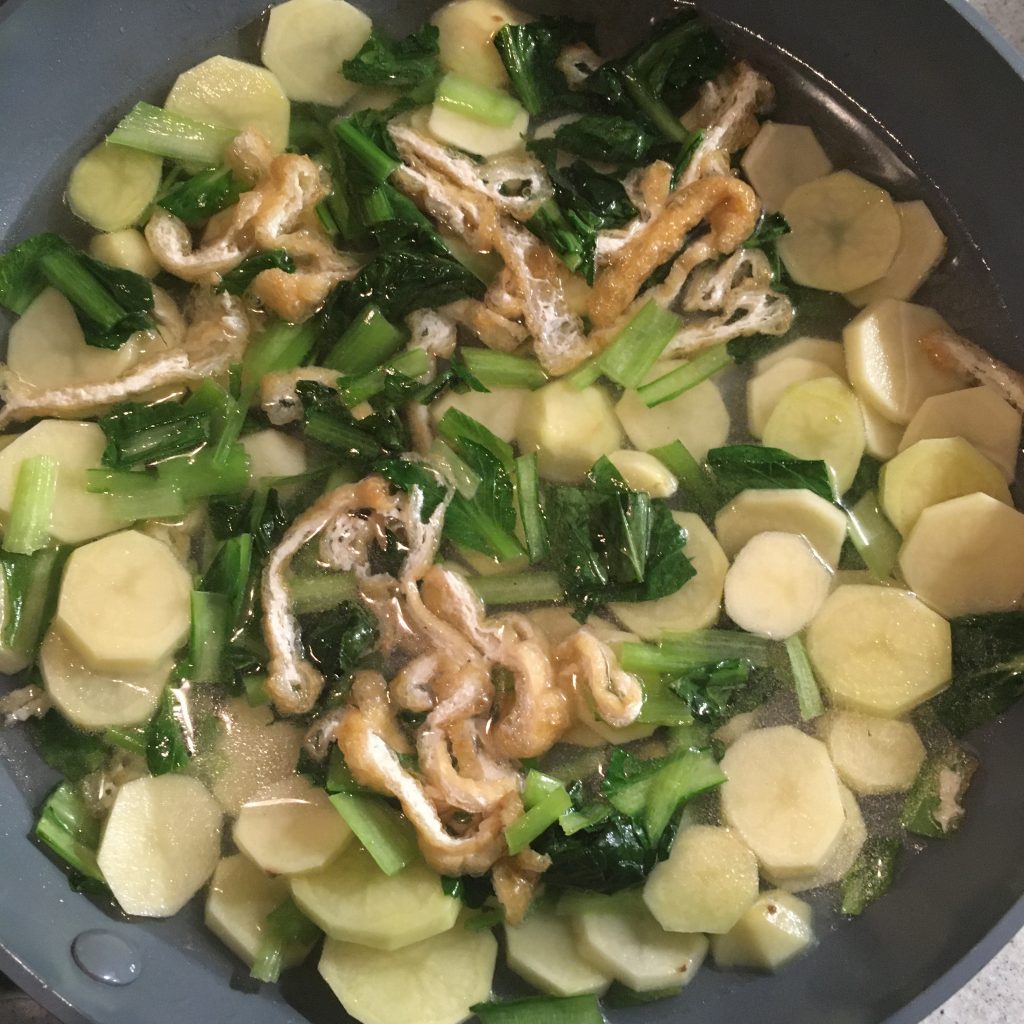
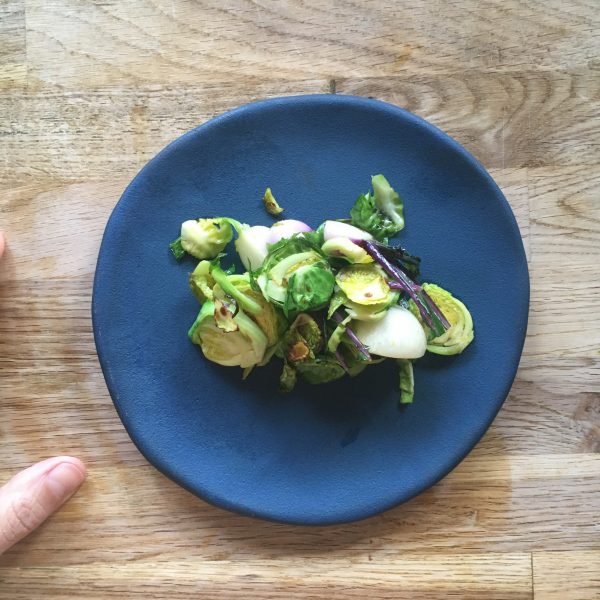
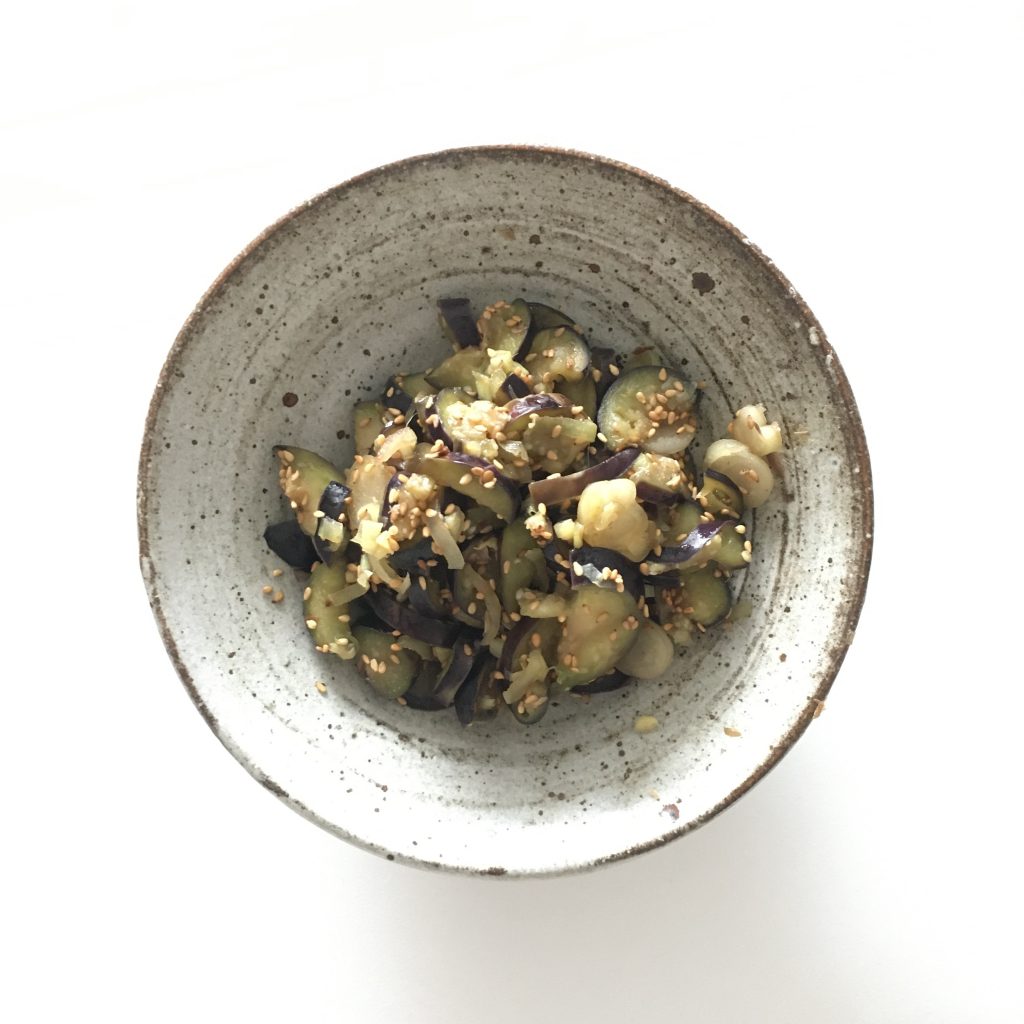
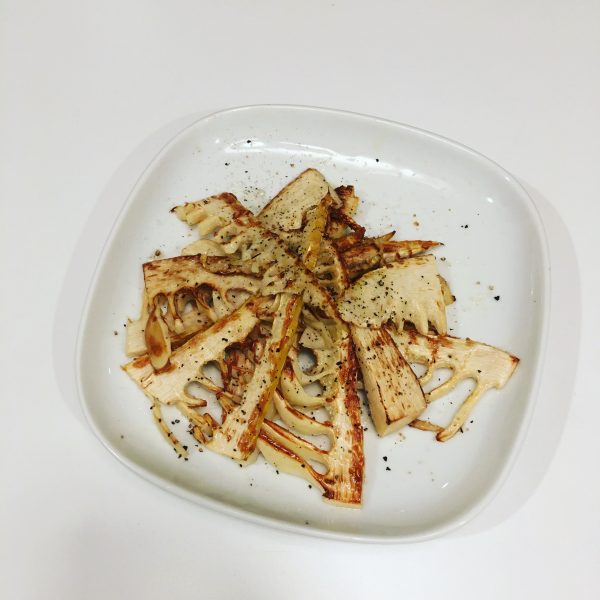
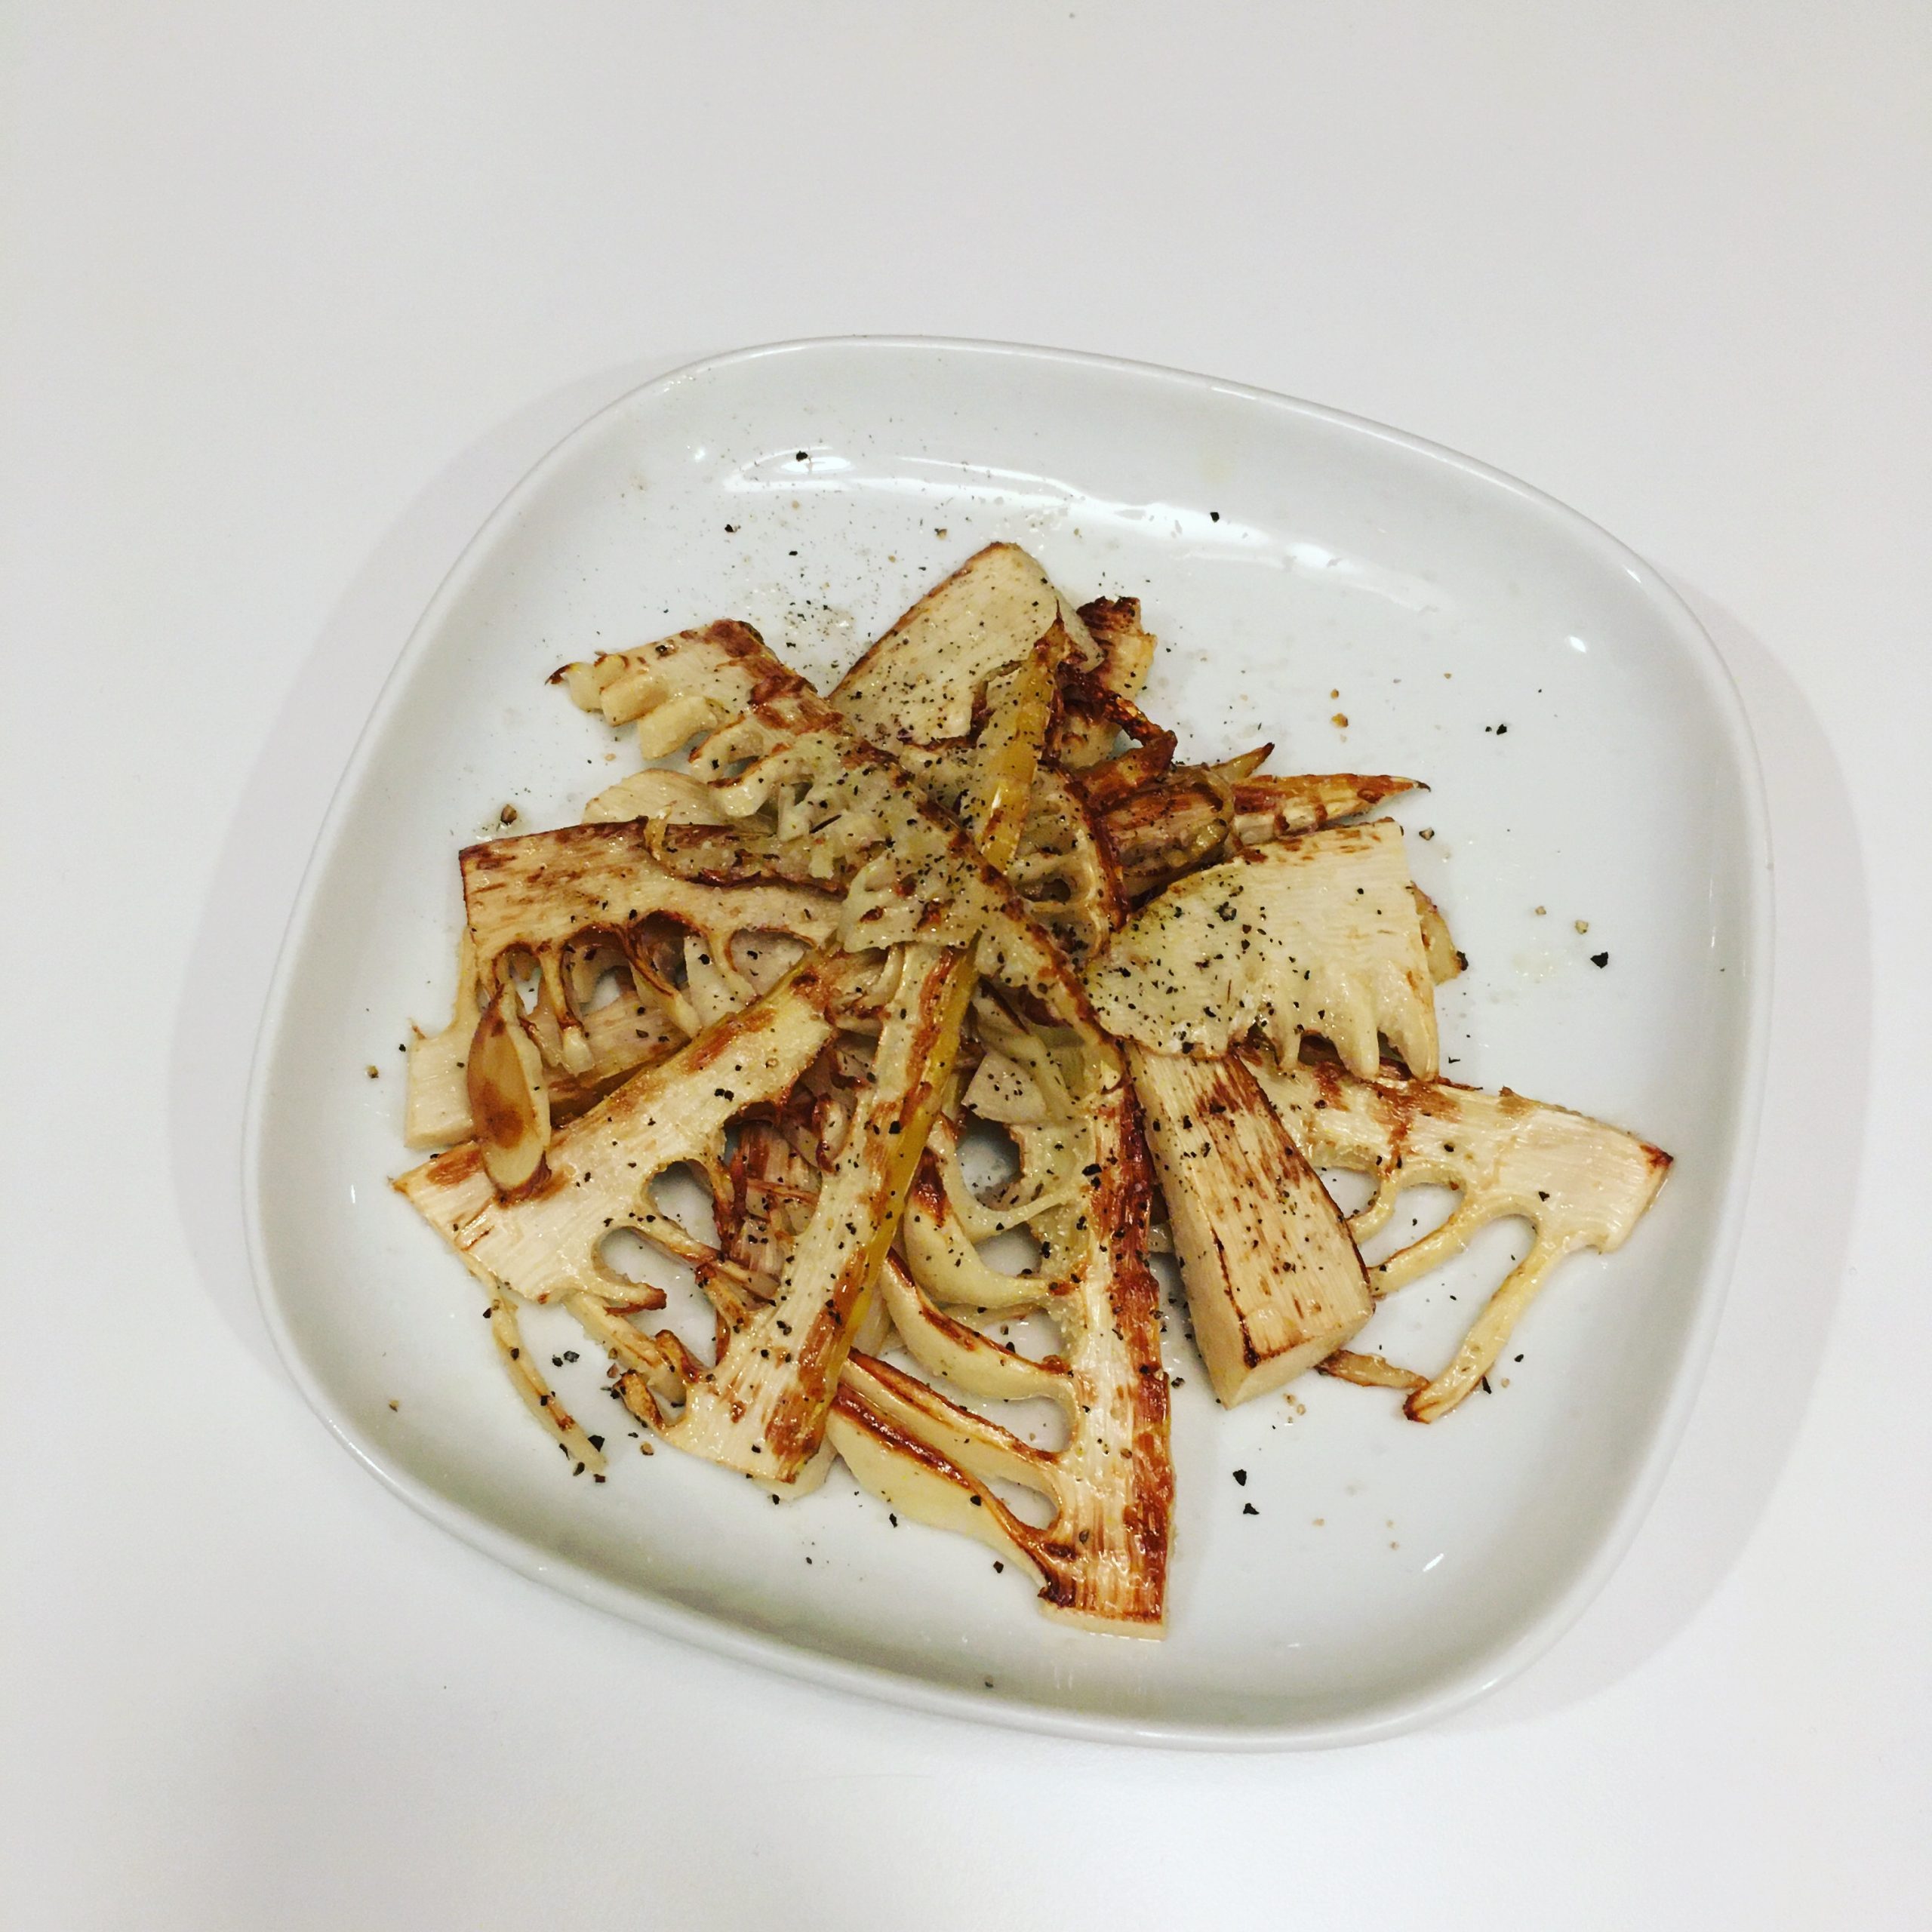
Sautéed bamboo shoots

  • 1 bamboo shoot fresh and parboiled
  • 1tsp of cooking oil
  • salt and pepper as you like

Cut the bamboo shoot in 4 vertically. Slice each quarter. In a fry pan heat the oil. The add the shoots sliced. Cook until golden, flip on the other side, cook until golden. Sprinkle salt and ground pepper and serve immediately.

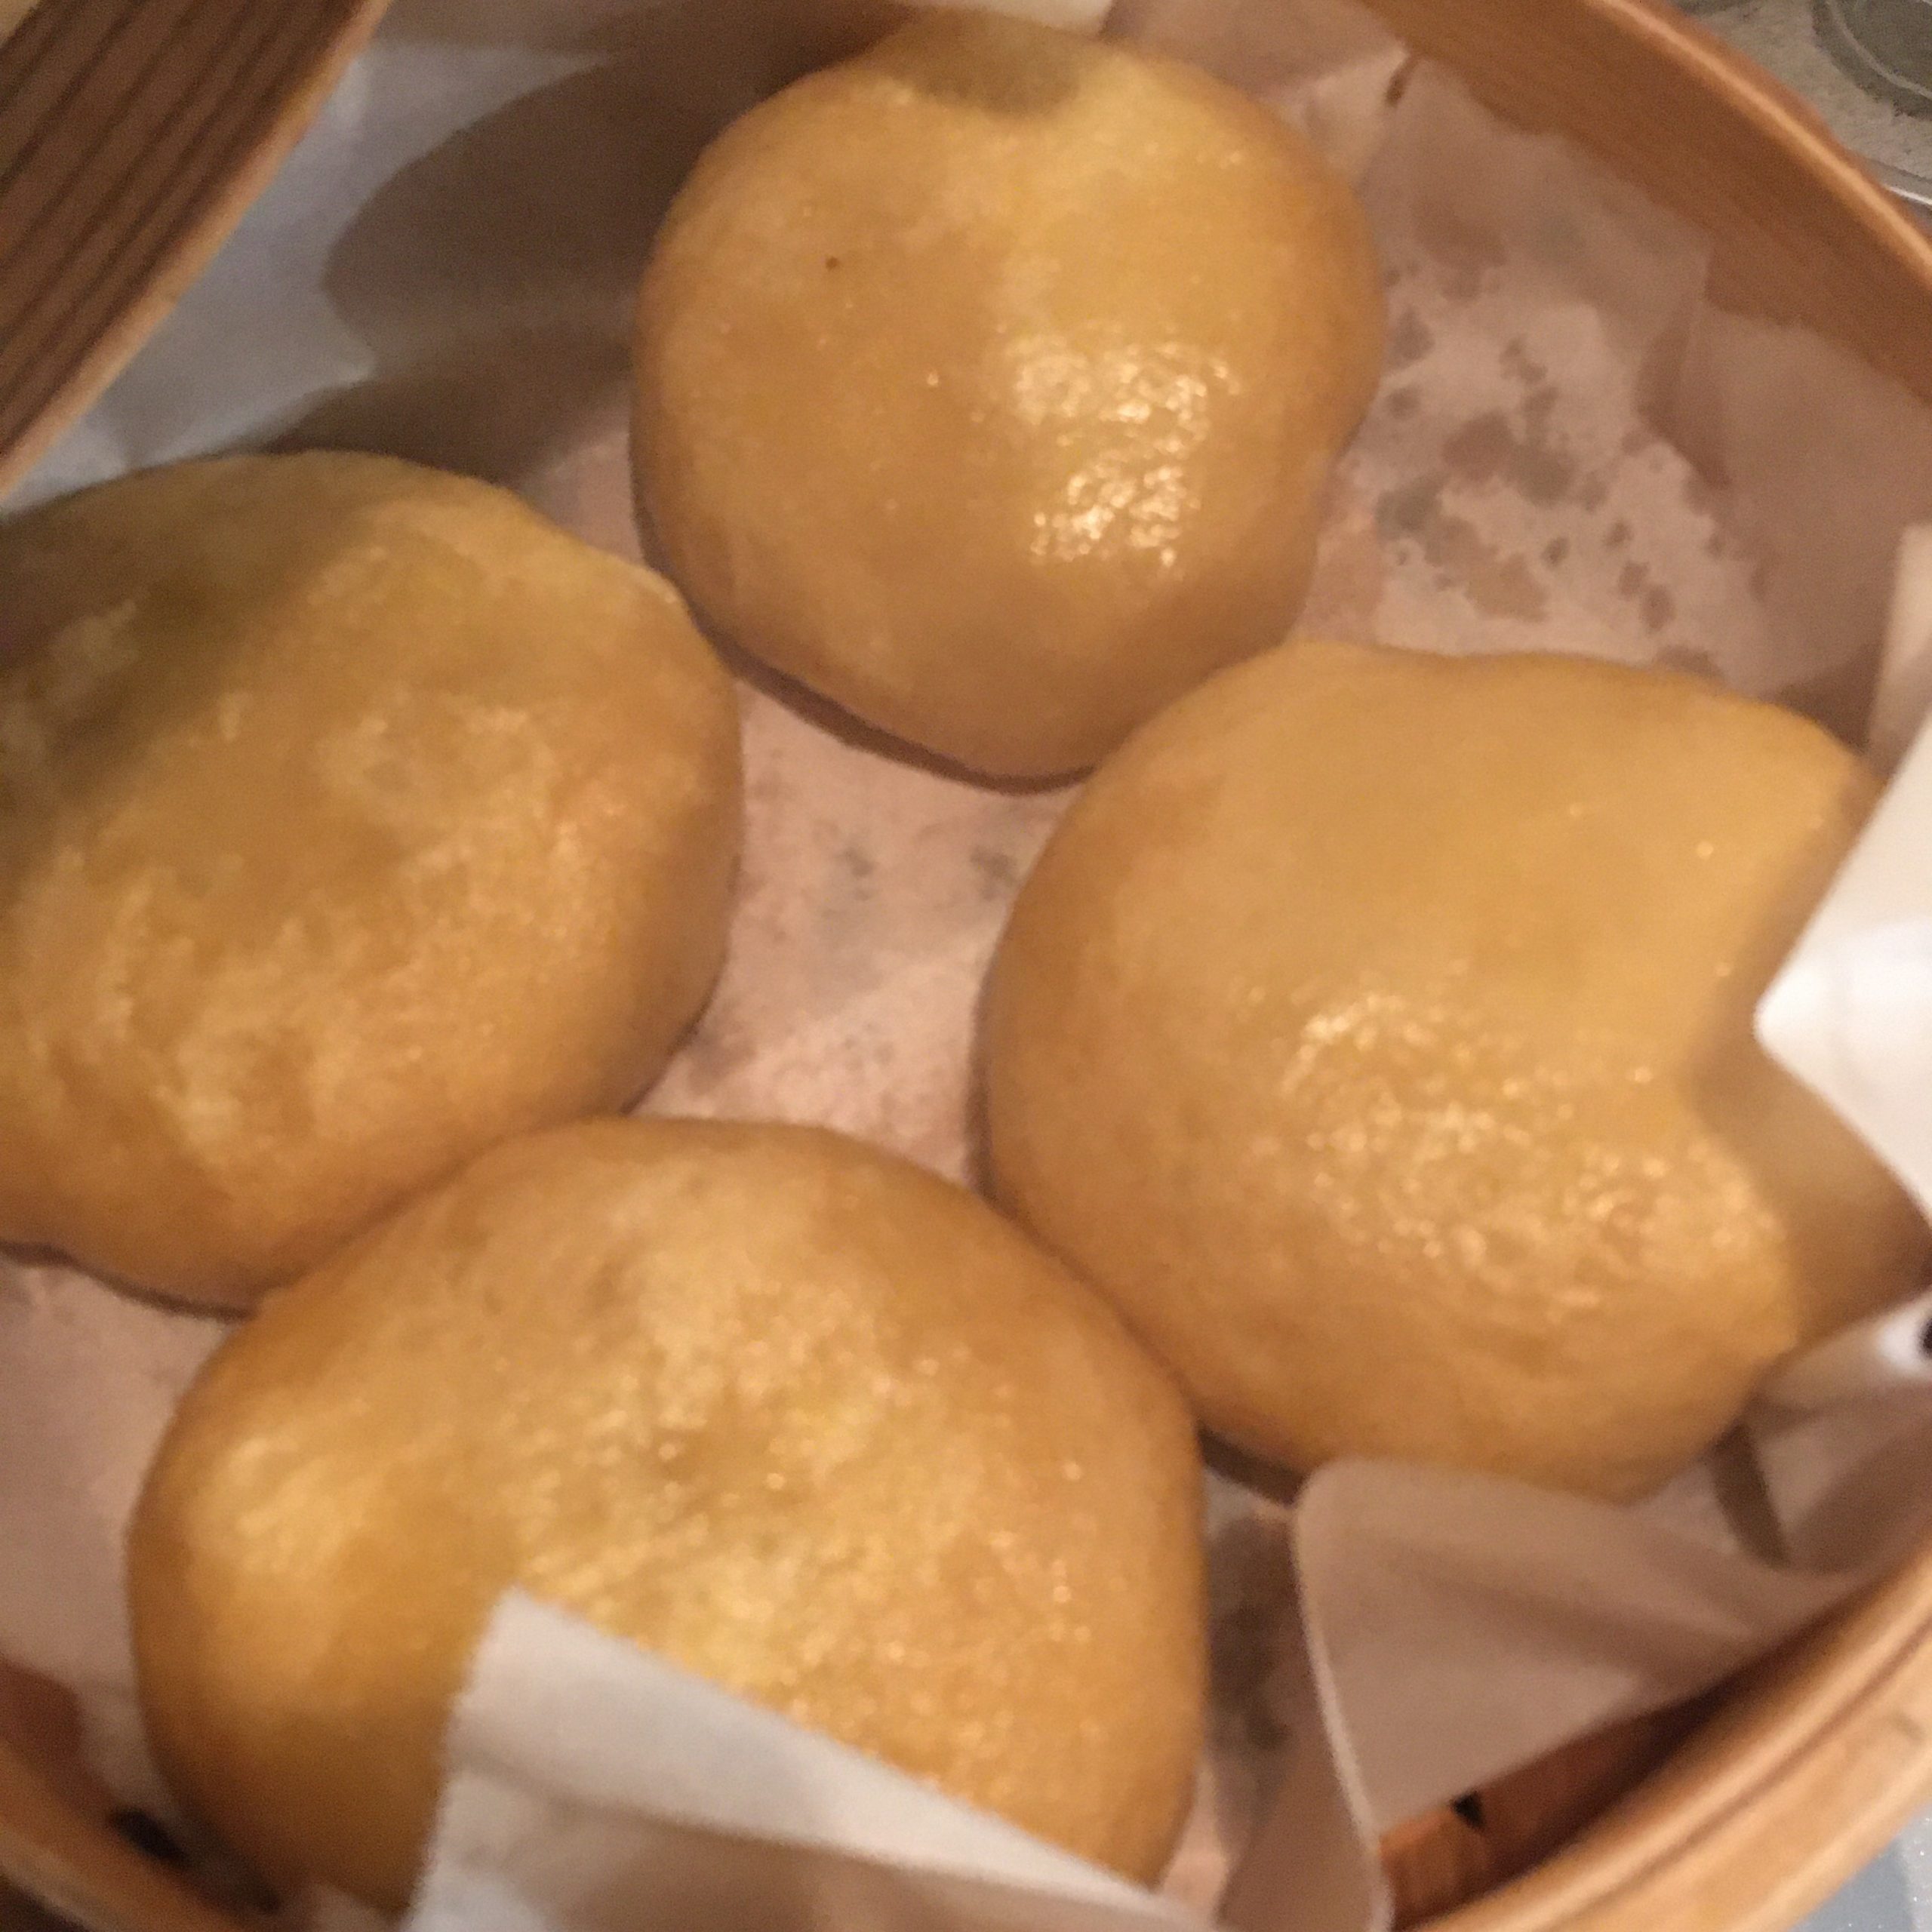
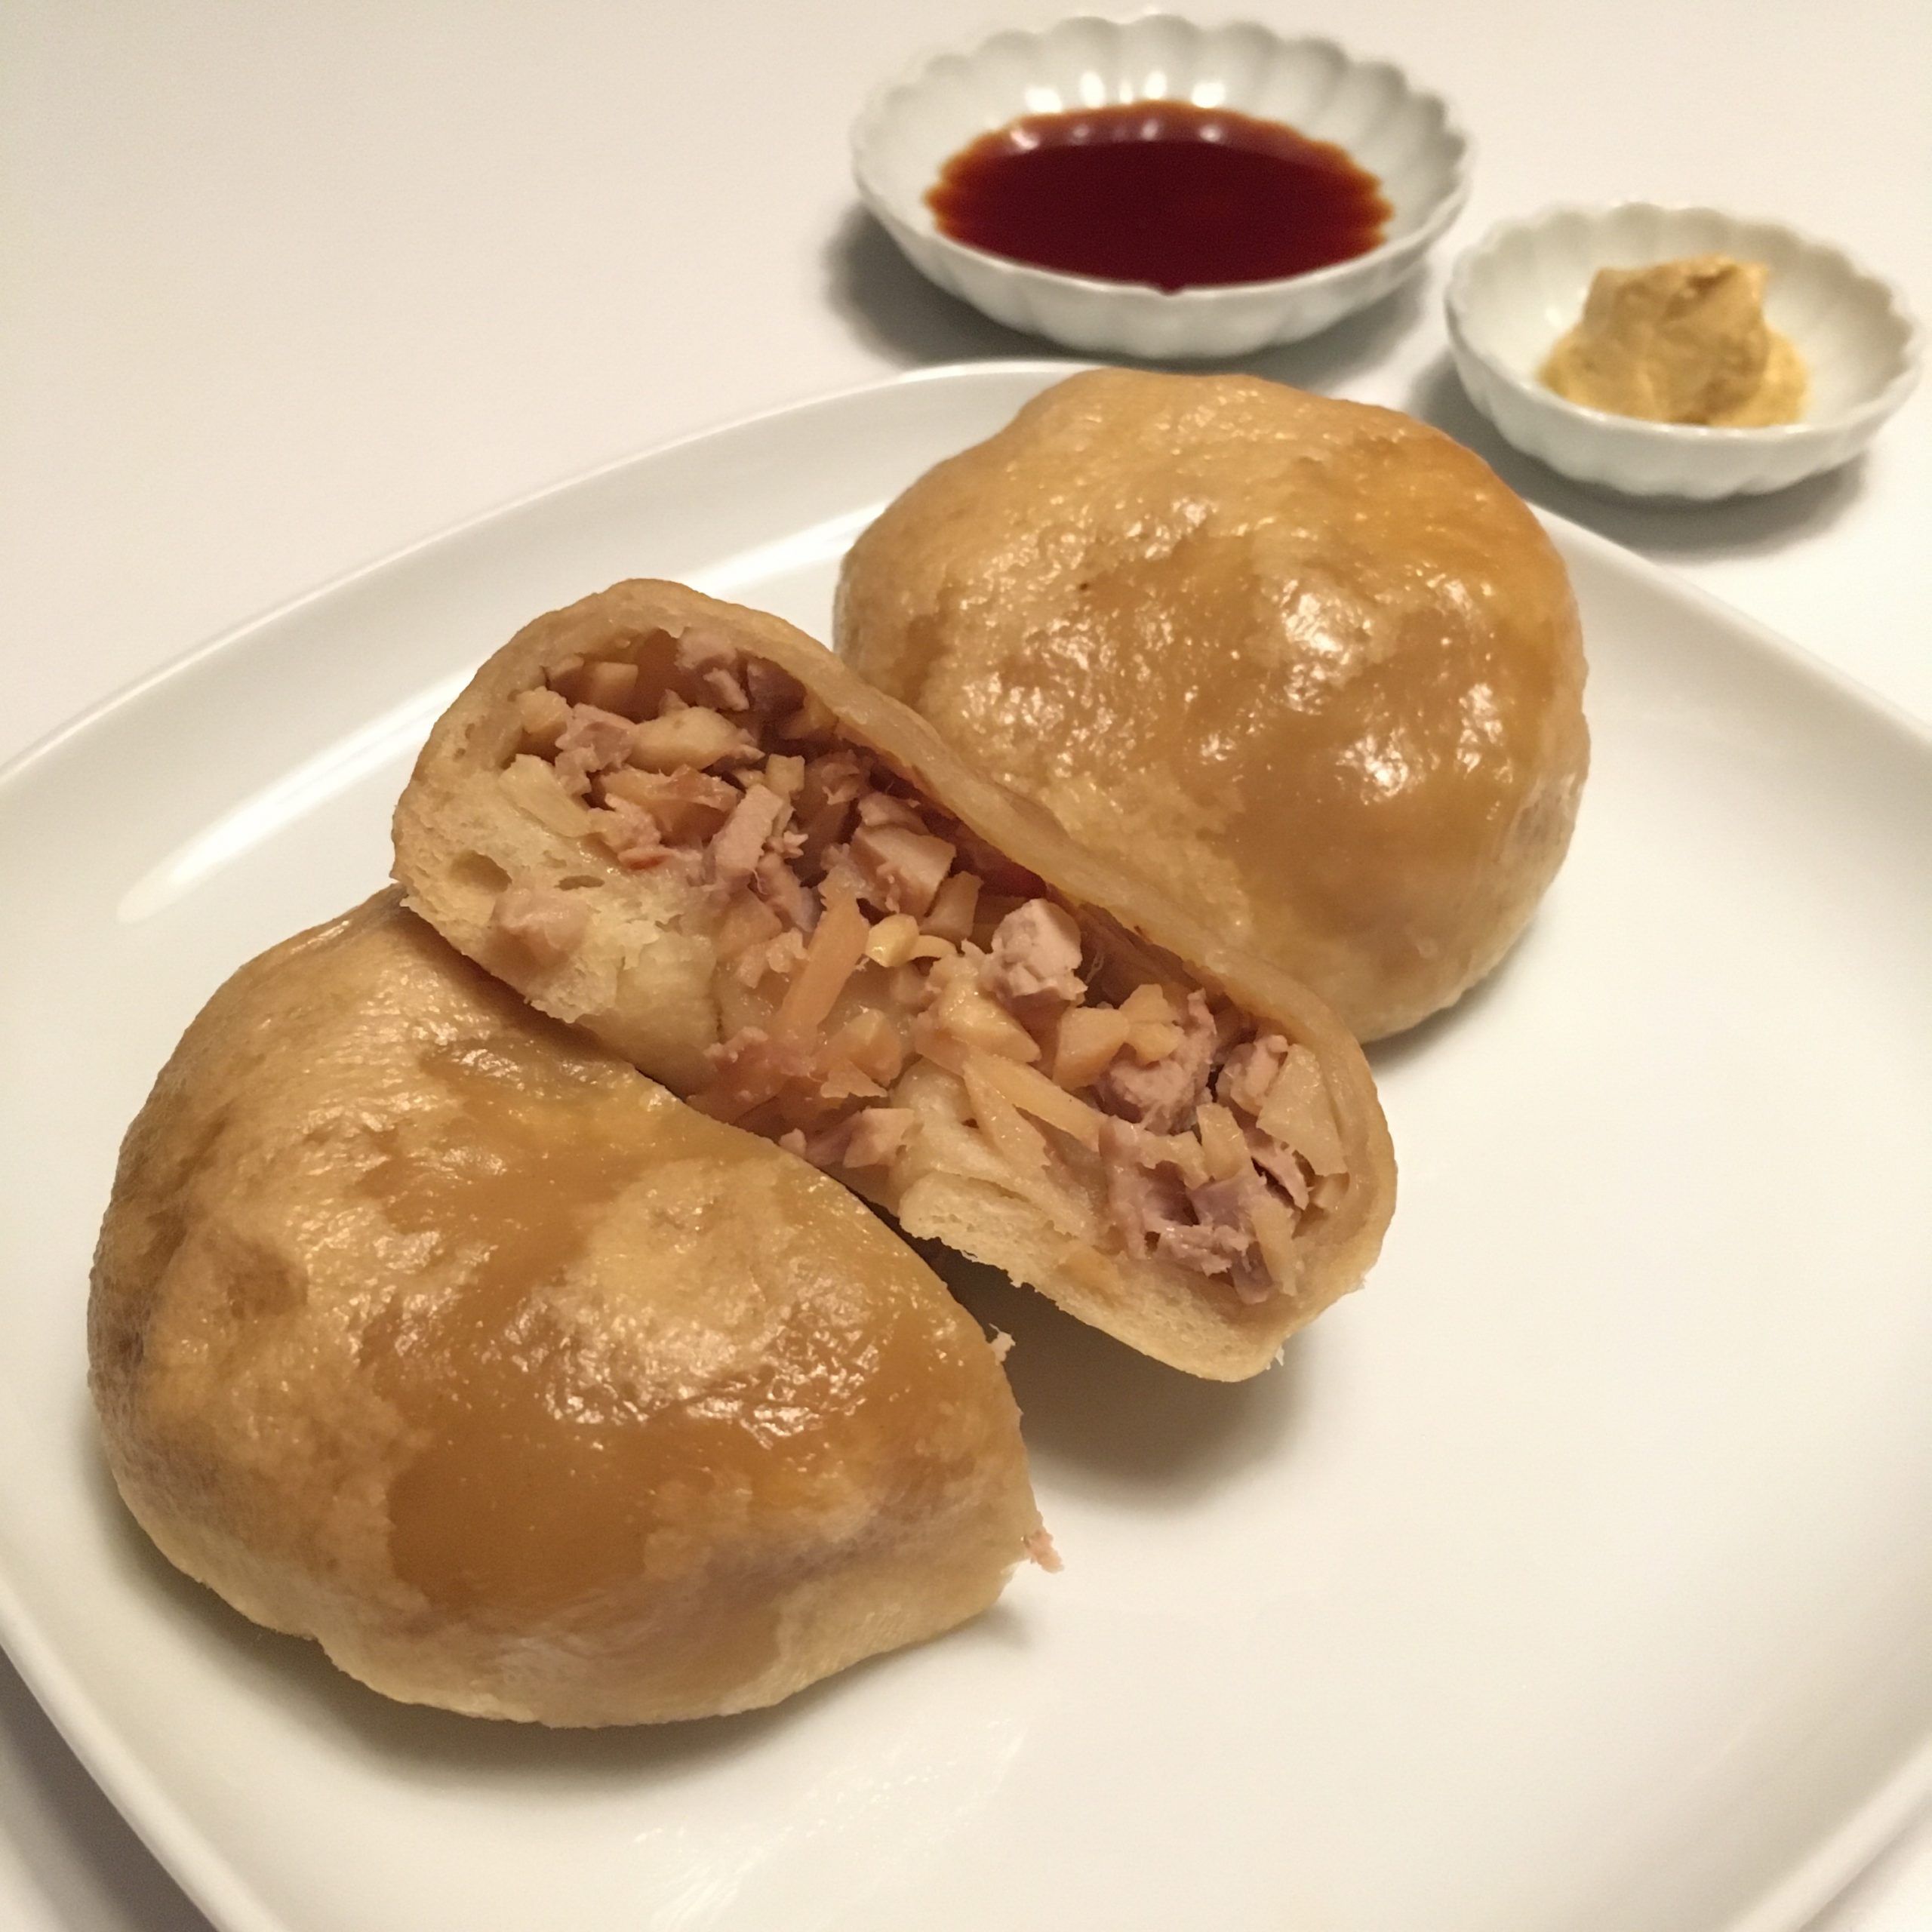
Steamed buns (make 8 small, perfect for 2 people as main)

  • 150g of flour
  • 1tsp of baking soda
  • 1 pinch of salt
  • Water
  • 1/2 bamboo shoot
  • 100g of pork fillet (leftover are perfect)
  • Soya sauce
  • Mustard

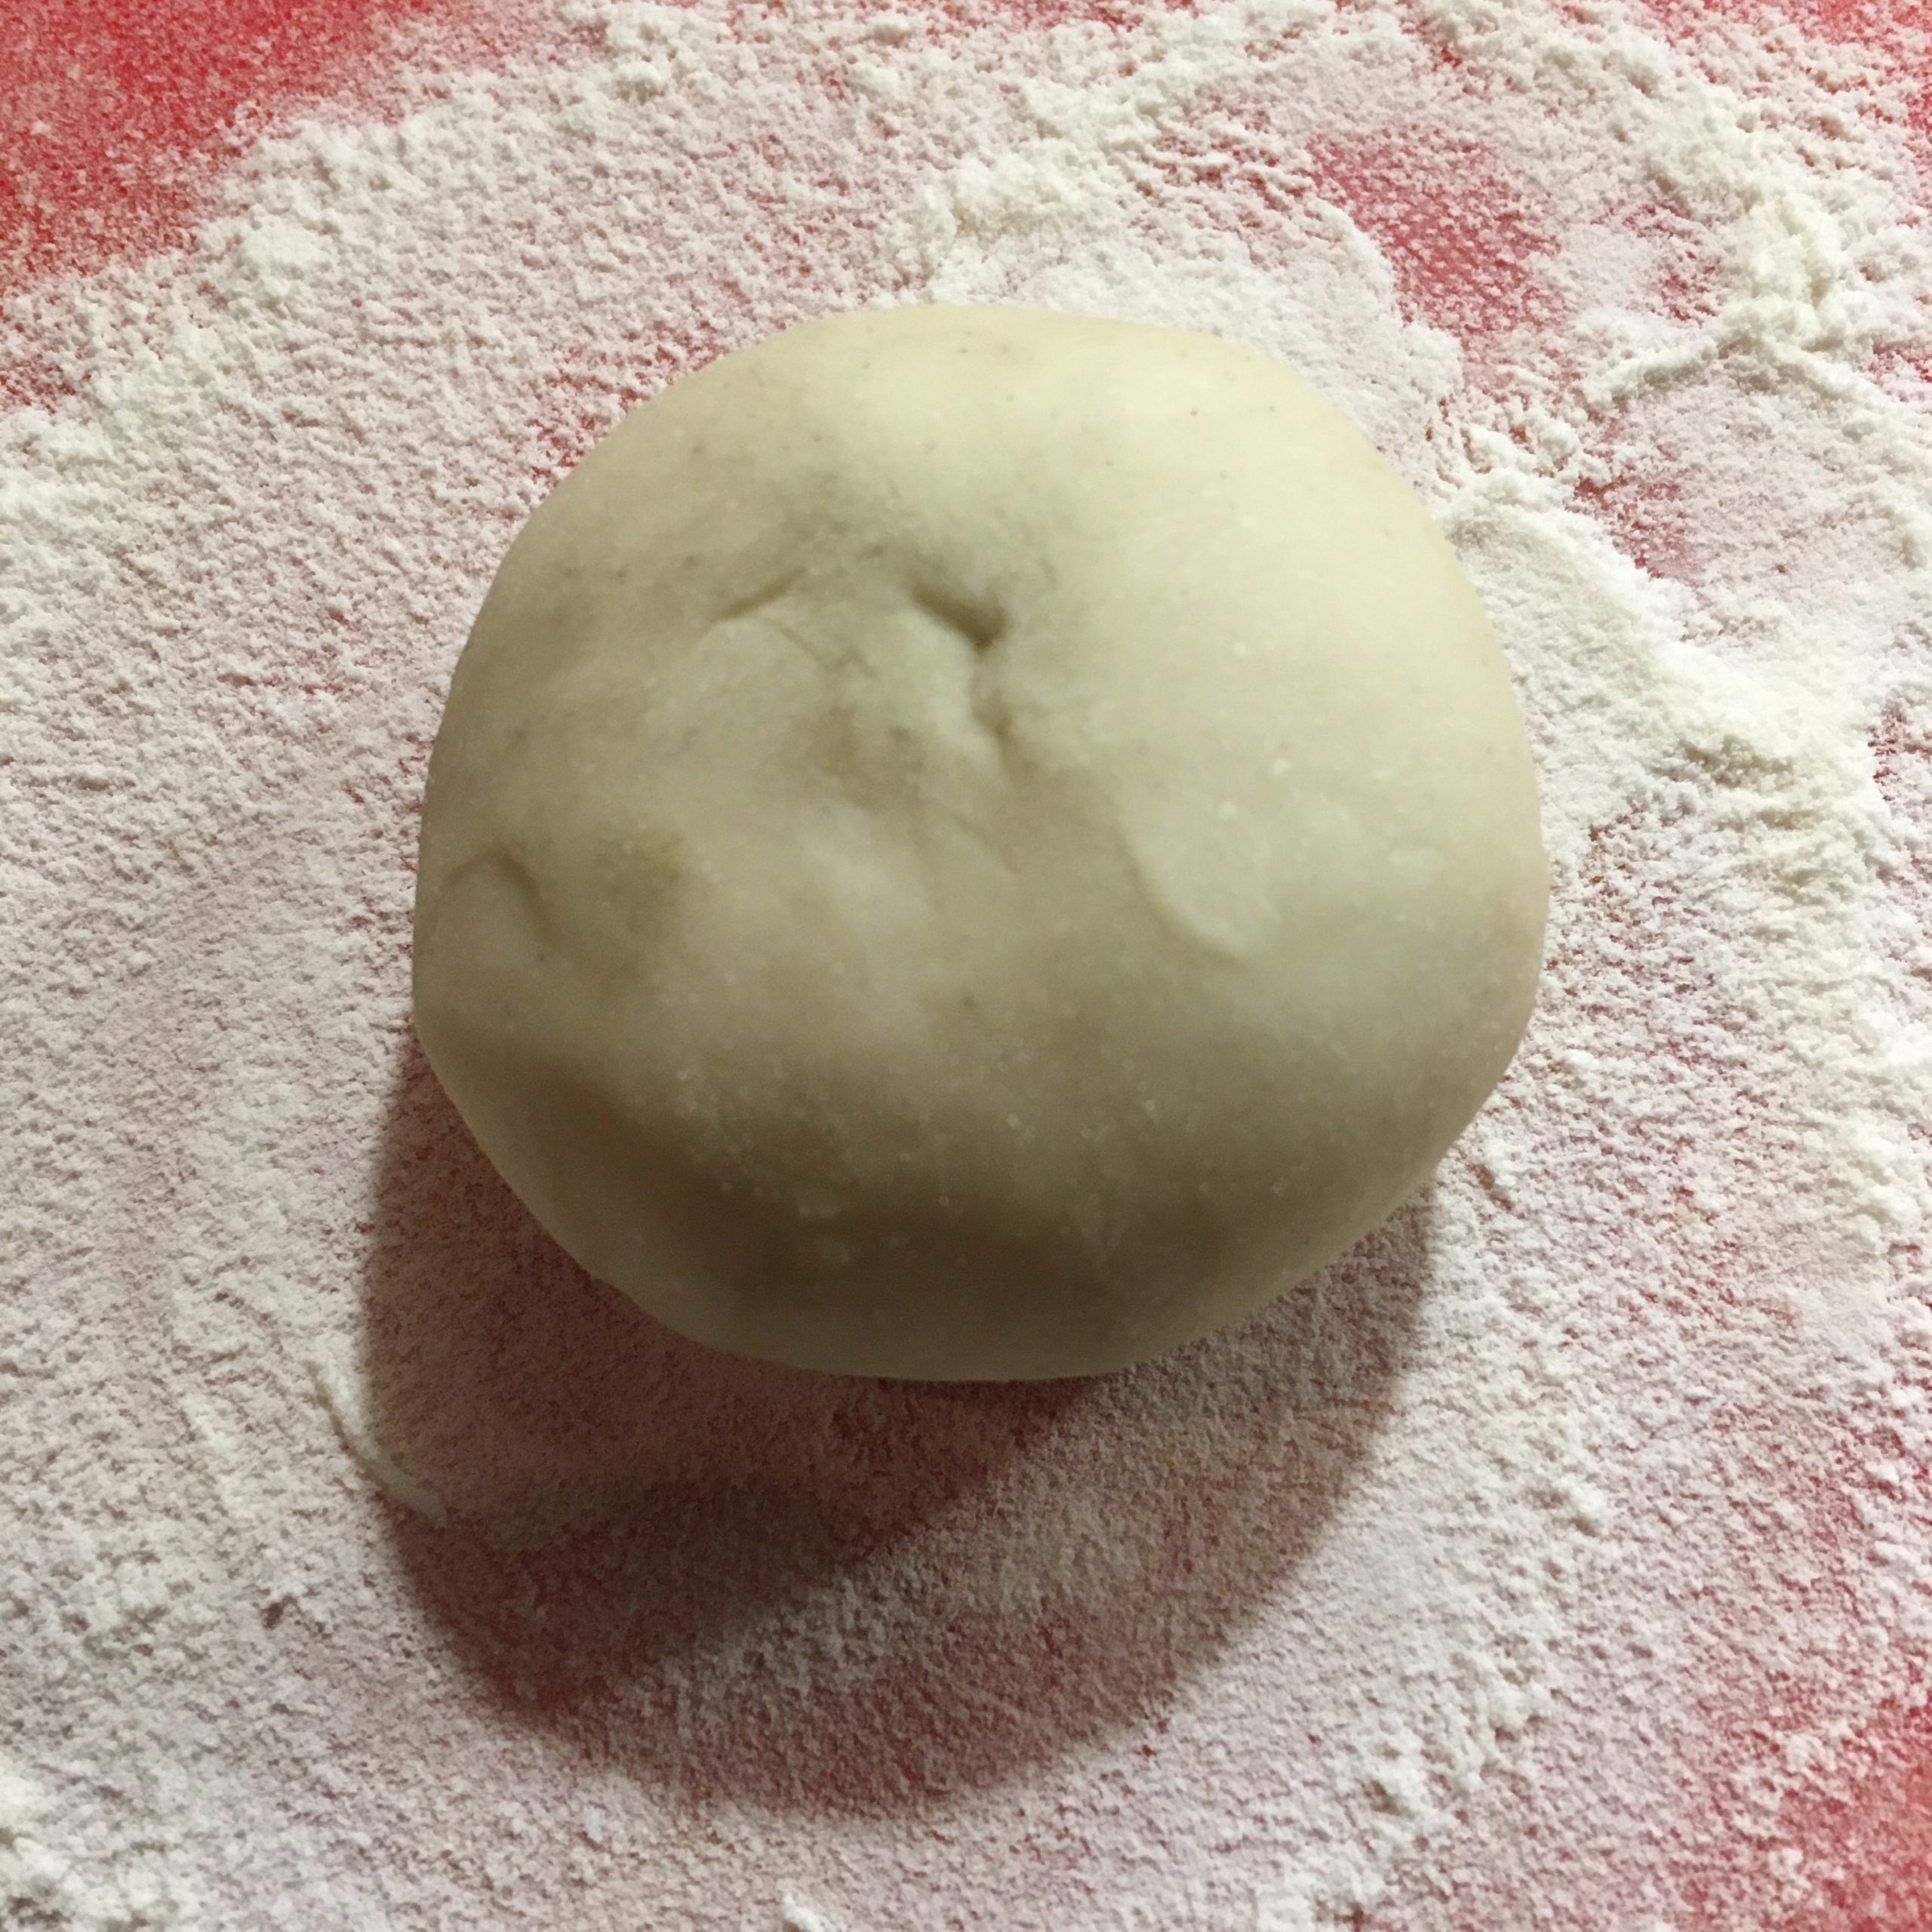
First prepare the dough by mixing the flour, baking soda, salt and add water little by little until obtaining a smooth dough. Put under a wet cloth and let it rest at least 30min. More is better.

Cook the pork filet if not yet cooked. Simply, in a pan with pepper. Then chop finely.

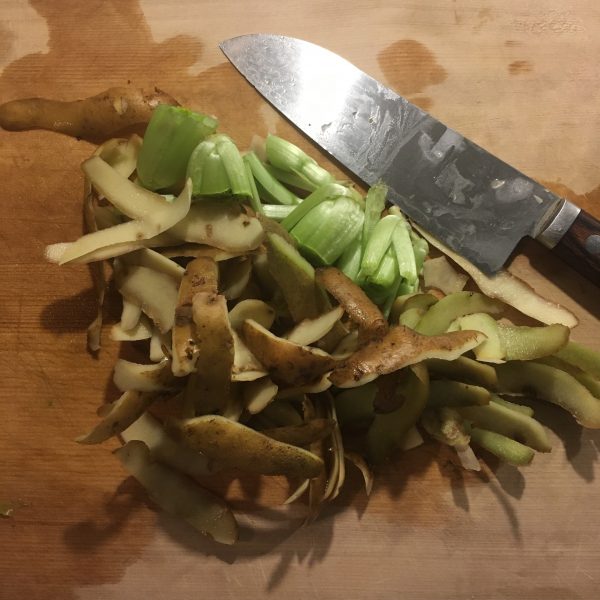
Chop the bamboo shoot in coarse manner. You want chunks to remain as it will bring the contrast between the smooth dough and meat and the crunchy bamboo. However, if too coarse, filling the buns will be hell. So 3-8mm is a good target.

In a bowl mix the chopped bamboo shoot, the pork, add 1tsp of soya sauce and stir well.

Back to the dough now. Cut in 8 pieces. Make balls and roll with a rolling pin into 12-15cm diameter circle. Put a large spoon if filling in and close the dough. I don’t have a very good technique, but it works well when I first fold in two then fold in the orthogonal direction, then I add fold in each quadrant. For this specific recipe instead of cooking them folds up, I flipped them to hold the folds under. Then steam for 15min. Serve with soya sauce and mustard and enjoy!

End of winter recipe

It was 13 years since I left Tokyo University for Tokyo University of Agriculture and Technology, and started my own research lab. The beginnings were hard but the past few years I really reached a stable balance… maybe too much balance… it was time to change… I’m back at the university of Tokyo… and starting from 0 again!!! You may call me crazy but I need some challenges to feel good. So as you can imagine the transition is keeping me busy and I don’t have much time to spend in the kitchen. Even though…

I can’t help spending 10min to prepare something to eat, and improvise a little new recipe with what was in the fridge: tiny potatoes, komatsuna and eggs. The preparation is very simple, it takes just a bit of time to cook it, which is perfect, hands are free to work!!!

Komatsuna jagga 小松菜じゃが (2 servings as full course)

  • 10 small potatoes
  • 3-5 bundles of komatsuna
  • 1 piece of thin aburage
  • 20g of katsuobushi flakes
  • 2tbs of soya sauce
  • 1tsp of oil
  • 2 eggs (optional)

Peel the potatoes and slice them, wash the komatsuna and cut them 2cm long. Slice thinly the aburage. In a greased (with the oil) pan put the potatoes and komatsuna and cook at high heat for 2min. Then add the aburage and cover with water, add the katsuobushi flakes, the soya sauce, and the eggs, stir well and cover. Let cook for 10min or until the potatoes are soft. You can serve as a soup or remove the cover and let the liquid evaporates before serving. Eat hot, because spring may be around the corner, evenings are still cold!!!

Winter favorite

A., and I too, are big fans of Brussels sprouts. Anytime there are some at the farmers market I would bug some even ic sometimes there are sold in tiny portions of 5 or 6! A few years ago we tried growing some in our kitchen garden, hoping for a consistent harvest, but once again the slugs and caterpillars were too quick at first and since then the plants grow leaves every year but never sprouts… I keep them thought, just in case!

Another winter favorite is turnips. The small and firm turnips of all possible shades from white to purple. That we never tried to grow yet… but they are easy to find by rather big bundles.

With these two in my basket I came up with a super delicious recipe, perfect for a side or starter. that can be eaten at room temperature or just warm: a beautiful and colorful plate of Brussels sprouts and tiny pink turnips. I dressed them in olive oil only bug you could easily think about adding a few drops of yuzu juice, or even more Japanese, a white miso and yuzu light sauce. So let me share my recipe.

Turnips and Brussels sprouts salad (2 servings)

  • 6 Brussels sprouts
  • 6 little turnips
  • 1tsp of olive oil
  • Salt and pepper
  • Optional: a few drops of yuzu juice or grated yuzu peel, 1 tea spoon of white miso

Wash carefully the vegetables. Slice the Brussels sprouts in 4 or 5. Cut the turnips in 4. If you can’t find tiny turnips then slice them. In a heated pan add the olive oil and the vegetables. Cook while stirring gently for 5 minutes. Add salt and pepper. at this stage you can serve. Add if you want to use them, the yuzu juice and/or the grated yuzu peels. If you use white miso, stir well the yuzu juice with the miso and too the vegetables.

Voila! Really not difficult and soooo scrumptious.

Mochi – 餅

If you have read Natsume Soseki’s novel the cat, watched Juzo Itami’s Tampopo or check the Japanese news today, you may not think highly of this Japanese new year specialty that is eaten widely, but kills about 300 people every year!!! No kidding! Despite the caution announcement every year before new year. And if you are more than 65 the risk maybe high that you suffocate eating mochi if you are not careful! But being careful is easy, and mochi is delicious. So let’s get passed the first bad impression, talk about mochi and let me share with you a few delicious ways to eat mochi.

First thing first, you may have heard about mochi but what is it exactly? In most places it is translated as rice cake, but I think it is a bit misleading. Mochi is made of mochigome 餅米 a round rice, slightly more glutinous than the rice you would eat normally, it is cooked them crushed into a paste, the paste is then shaped into a ball of various sizes (smaller are less dangerous to choke on). Making mochi for new year is a tradition and there are plenty of opportunities to go to mochi-dsuki 餅つき events in local communities. We went to our first one in January 2005 with our Japanese teacher. That was fun to pound the rice in a large wooden standing bowl called usu 臼, carved in a trunk, with a huge wooden mallet or pestel called kine 杵.

Me on the left pounding mochi with I. on the day we met for the very first time. (January 2005)

Of course we were scared to try eating it (for the above reasons ;)), but in the end we enjoyed it very much in many many ways: in soup (ozoni), with nori and soya sauce, with kinako, with red beans etc…
Not everyone is equipped with a set to make mochi at home and not everyone makes at least 2kg of mochi at once, so there are other ways to get your hand on mochi and to try this very special Japanese specialty. Here are some options I recommend: steamed mochi rice hand crushed and pound in a mortar, fresh mochi in grocery shops (not so easy to find in the city, easier in the countryside) but it doesn’t keep for long, kirimochi 切り餅, it is basically dried mochi that is very easy to use and keeps much longer and is nice for also making grilled mochi (if you want some let me know I can arrange shipment wherever you are, DM me on Instagram or Facebook). Some websites offers to make mochi with a mixer, but it seems that without a powerful one all you may do is burn your motor, so I wouldn’t actually recommend it. Some others propose to make it from mochi rice flour, I have never tried and I guess it is OK but it will lack the slightly granulous texture that you can have with pounded rice.

Once you have your mochi ready it is really easy to prepare in one of the many possible versions savory or sweet. If you use kirimochi you may need to return it to softness by simply putting in a pan cover with water and boil it a few minutes on both sides until tender. Today I introduce two recipes, one savory ozoni, in a version with only clear broth inspired by a picture I saw on Instagram, but reinterpreted, but you can also add white miso to it to make it more Kyoto-style! and one sweet kinako mochi, but there are many others. Actually one I love is mochi with soya sauce, very simple but so delicious and perfect as a side for a piece of grilled fish or with some vegetables.

Kinako mochi

  • soft mochi (if you use kirimochi it needs to be returned to softness)
  • kinako (torrefied soya bean powder)
  • brown sugar

I a bowl mix 4/1 kinako/sugar (for example 4tsp of kinako and 1tsp of sugar). Cut the mochi into bite sizes. Dip the mochi in water and roll in the kinako mix, set in a bowl. You can make as much as you want it is very easy to eat and really delicious!!! The picture below is what I made for two for a tea-time snack. There was about 8-10 small bites.

kinako mochi

Ozoni (without miso) (2 servings)

  • 500ml of dashi ( I use ichiban dashi (konbu & katsuo) but you can also do with konbu & shiitake dashi for a vegan version)
  • 2 pieces of kirimochi
  • 2 umeboshi
  • a few seasonal vegetables: 1 carrot, a few spinach leaves or 1 small bok choy…, 2 little turnips…
  • optional a zest of yuzu

In a pan, prepare the dashi. In another pan, return the kirimochi until soft. Prepare the vegetables (I used a cookie cutter to make the carrot in plum shapes). Cook them in the pan with the dashi, until just tender. In a bowl of your choice set the mochi, dress the vegetables, add the umeboshi, the yuzu peel and cover with the dashi. Enjoy while it’s hot.

Again send me a message on Instagram or Facebook if you want dashi, kinako or kirimochi.

Peanuts…

It may seem strange but peanuts grow quite easily in Japan and peanuts from Chiba are among the most famous. Peanuts in Japanese is called rakkasei 落花生, which literally means the falling flower’s life or something of the kind… because peanuts are a very intriguing plant indeed! It looks like a low pea, with nice flowers, which then stem underground, where the peanuts actually grow. My curiosity, the fact that they are local so normally adequate for the weather, and that I am slightly better at growing underground things than overground, peanuts were definitely on my list of things to grow. I did a first attempt in 2019, more or less successful, and tried again this year, more successfully. I harvested a little basket of fresh raw peanuts.

After debating about what to do with them… we usually don’t eat peanuts… I decided I would simply boil them… simple enough and actually really super delicious. So here is my recipe.

Salted boiled peanuts

  • Fresh raw peanuts
  • Salt
  • Water

Remove all the soil and dirt of the peanuts. I gently washed them while shaking them. Then I let them rest overnight in water, and rince again. But if yours are clean enough just go ahead.

In a pan set the peanuts, cover with ample water, add one tea spoon of salt and set to a boil. When it boils cover and let cook for 3-4 hours a low heat, checking once in a while that there is still water. And that it! Let cool and start eating!

I kept them refrigerated, but they were gone in a few days!!!

The disappointing fruit: akebi

Every day brings surprises, those you’ve worked hard for, those you were dreaming of and those that the cherry on the top, but also its share of disappointments. For example, after almost 3 years since our stray cat Holly disappeared and the little Ephy very brief passage, what a surprise to see that stray cats are back and we have three coming now. They are very shy and still scared of us, but one now arrives when hearing us parking home for the weekend and waits to be fed… It took us 6 months to be able to approach and touch Pablo, so I am expecting not less for these ones too… though Pablo was more interested by company than food… time will tell us…

Other surprises are often in the small things of daily routine… and when the other day at a local products store I found a fruit I never saw before but knew about and immediately identified; akebi あけび, chocolate vine. I couldn’t help remembering Little Forest when they put so much efforts in trying to harvest akebi and then delightfully eat them (watch here!!)… so I grabbed the bag of fruits and went to the cashier, and back to A. who was waiting outside, so proud of my finding!!!

It was the first time ever to see akebi for real, so I did my homework and studied how to eat it and possibly cook it. I also searched a bit why it is bot so common in Chiba… then opened the first fruit. the skin was not too thick and the inside less white than I imagined it would. And the first fruit was really tedious to eat, so tedious that A. said he would not eat a second akebi in his life ever!!!!! I persisted and became more fluent at eating them, but the promised sweetness etc… was definitely not here. So over all it is a huge disappointing experience.

Recipe book also said that the skin is good in tempura, but looking at the one of my fruits, I lost confidence and decided I wouldn’t try further…

So overall, akebi is a beautiful fruit, but not as delicious I expected it would be, so either the fruits from Chiba are very much less good than those from Yamagata, or Someone is lying about akebi deliciousness!!!

In any case have a very good weekend!!!!

Myoga!!!

This little wild flower bud is really too delicious and its distinctive flavor quite unique. As you know, from all previous posts, I love it!!!

We are lucky to have some growing wildly in the garden, and it’s quite easy to find some when going for a walk in the woods. Apparently there are two seasons for it, one in spring and one right now in the early fall. Our garden has more of the latter and for me myoga is a fall flavor!

There are many many ways of preparing it and eating it (again, check my previous posts on the topic!). Raw or pickled would be the most common and my favorite. Raw particularly. It is so simple and it goes well with so many things!

Today two super simple recipes with myoga, one is a classic, the second is more one of my classic.

Eggplant with myoga

  • 2 myoga
  • 2 eggplants
  • 1/3 tsp of salt
  • 1tsp of sesame seeds or a handful of katsuobushi

Normally for this you could do it with raw eggplants like I suggested here. But to male it faster, instead of waiting for the salt to slightly pickle the eggplants, I cook them.

Wash and cut the eggplants in their length, then in 4-5mm slices. In a tiny pan start cooking the eggplants, add the salt and stir often. I do not add water nor oil. When the eggplants have softened add the myoga washed and thinly sliced. Stir well. Add the sesame or the katsuobushi. Stir again. Serve and eat now or chilled.

Myoga potato salad

  • 2-3 myoga
  • 1 Japanese cucumber
  • 8 small potatoes
  • 2 eggs
  • 1tsp of mustard
  • 2tbs of olive oil
  • pepper

Boil the potatoes with the skin and the eggs. When done let them cool down. Wash the myoga and cucumber. Slice them thinly. Peel the potatoes and the eggs.

In a bowl, cut roughly the potatoes and the eggs, add the cucumber and myoga, the mustard and oil. Stir well and serve.

That’s really as simple as that!

Chestnut rice – 栗ご飯

When autumn arrives, sweet chestnuts 甘栗 – amaguri are a must eat. We have a chestnut tree in our garden which usually produces just enough chestnuts for us and the rest of the animals: racoons, kions… A. doesn’t like chestnuts too much so it is usually the right number. Except this year, I wasn’t quick enough in harvesting them, and the other animals didn’t have the slightest pity for us, and left us nothing but empty spiky shells. I had two options: forget about chestnuts this year and be more greedy next year, or wait a bit and buy a bag of local chestnuts whenever I would find one. Bags of chestnut are usually much bigger than what I need, but still eating a few chestnuts, and in particular a bowl of chestnut rice was too tempting. Chestnut rice like many of the traditional Japanese rices, is just too delicious, and the perfect food to enjoy the transition between summer and autumn. This time of the year when days are still hot but shortening quickly, the sky has this special blue color, soft and bright at the same time, and evenings are getting chillier. The cicadas are becoming silent or distant and leave sound space for more delicate voices.

So, it wasn’t long beforeI found local chestnuts and start working with them. Though I had a few ideas of recipes in mind, I opted for the classic chestnut rice 栗ご飯 – kurigohan. It is a bit tedious to make, but not more than anything else with chestnuts, and it is super very delicious, packed with energy. So let me share with you my recipe.

Kurigohan (3-4 servings)

  • 2 cups of rice (I use new rice)
  • 10 raw sweet chestnuts
  • 2tbs of soya sauce

Start by preparing the chestnuts. In a pan put the chestnuts, cover generously with water and bring to a boil. Add a bit of salt if you have some. Bring to a boil and let cook at low heat for 50min. Let cool down. Then peel the chestnuts. You can do this step up to two days before actually.

Once you have peeled the chestnuts, it’s time to prepare the rice, and it’s really simple. Use a rice cooker or a regular pan, or a cast iron cocotte… wash the two cups of rice, set the amount of water you would for cooking it normally. Add the chestnuts, it is good to have some whole and some crumbled. Add the soya sauce, and cook just as usual. Enjoy while hot, and it is even better re-heated the next day!

Aibika – 花オクラ🌸

Do you know this flower named aibika or hana okra 花オクラ?

I didn’t until yesterday, when I found it at our local vegetables shop. First time ever I saw it, it’s grown locally, so I bought it. No idea how to prepare it nor how it would taste., but my IG feed was full of zucchini flowers earlier this summer, and more recently of pumpkin flowers, that the idea of having a chance to eat some flowers too was really too tempting!

A quick reading of the most popular recipes on the Japanese cookpad website didn’t not tempt me, so I decided to go for something I barely do, but believe would be great, and a substitute for my mother’s zucchini flowers fritters: super light tempura. And it worked really fine. So if you see this pale yellow flowers at a farmer’s market (I doubt you can find them at a supermarket…) just get them.

I guess the name of hana okra or flower okra in direct translation, comes from the fact that they are, like okra, a bit slimy. So if you don’t like slimy food pass on that one.

Aibiki tempura

  • A few flowers of aibiki, and some other vegetables if you want. I did shishito and red bell pepper
  • 3tbs of flour
  • 1cup of water
  • 1/2 tsp of vinegar
  • A pinch of salt
  • Cooking oil

Wash and pat dry the vegetables.

In a frypan heat a bit of oil (I don’t deep fry, but if you do heat your oil). In a bowl, mix the flour, the water and the vinegar. Stir well. Dip in the vegetables and put in the pan right away. Cook a few minutes before flipping. Serve with a pinch of salt and eat immediately. That’s it!

Proudly powered by WordPress | Theme: Baskerville 2 by Anders Noren.

Up ↑

Verified by MonsterInsights