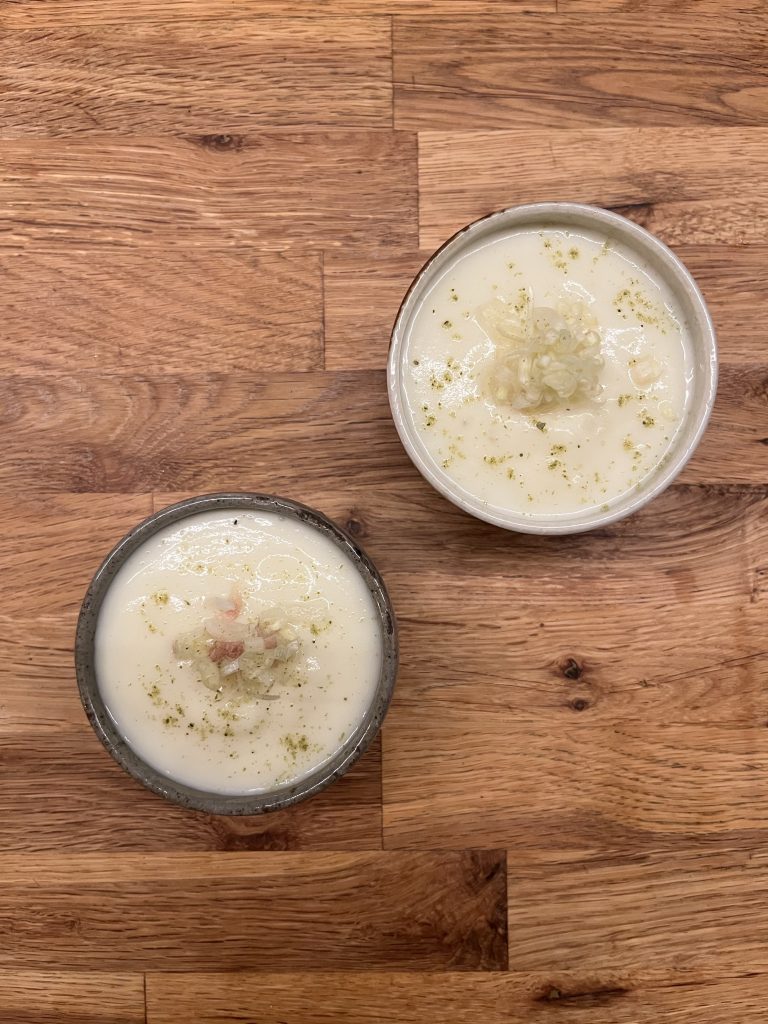
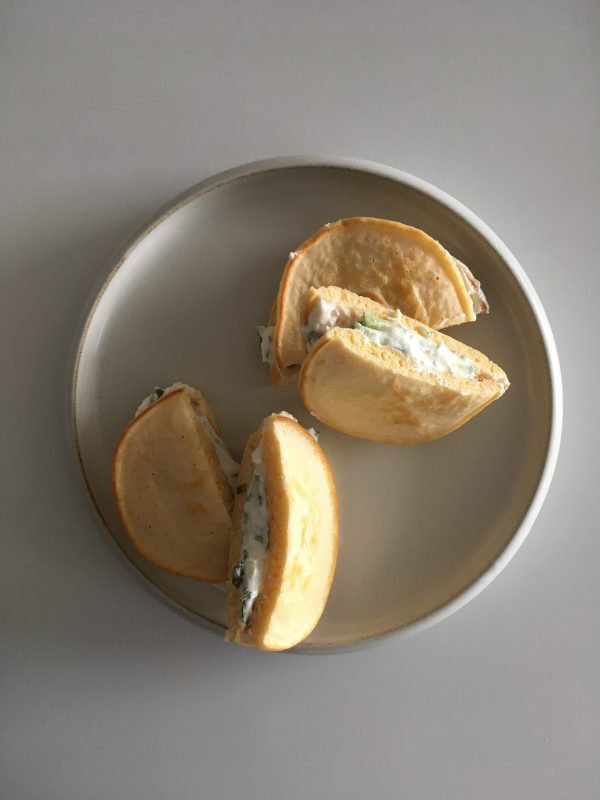
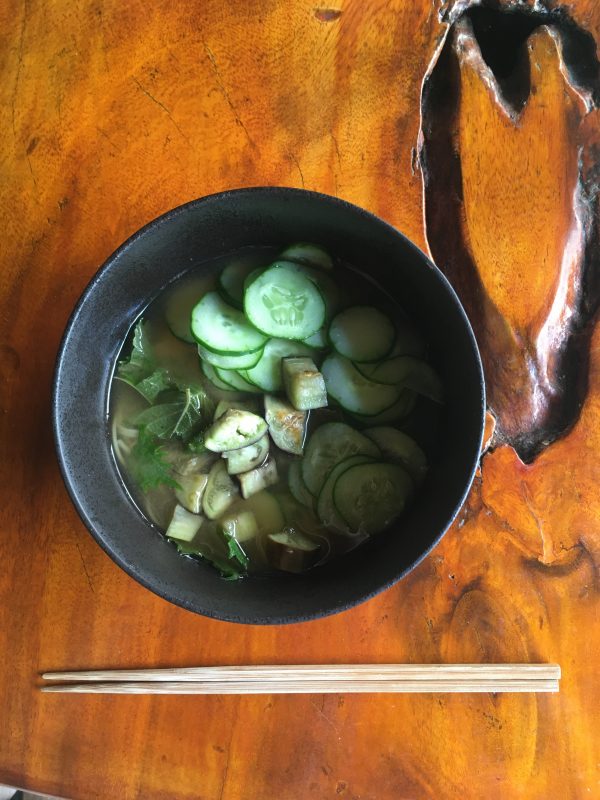
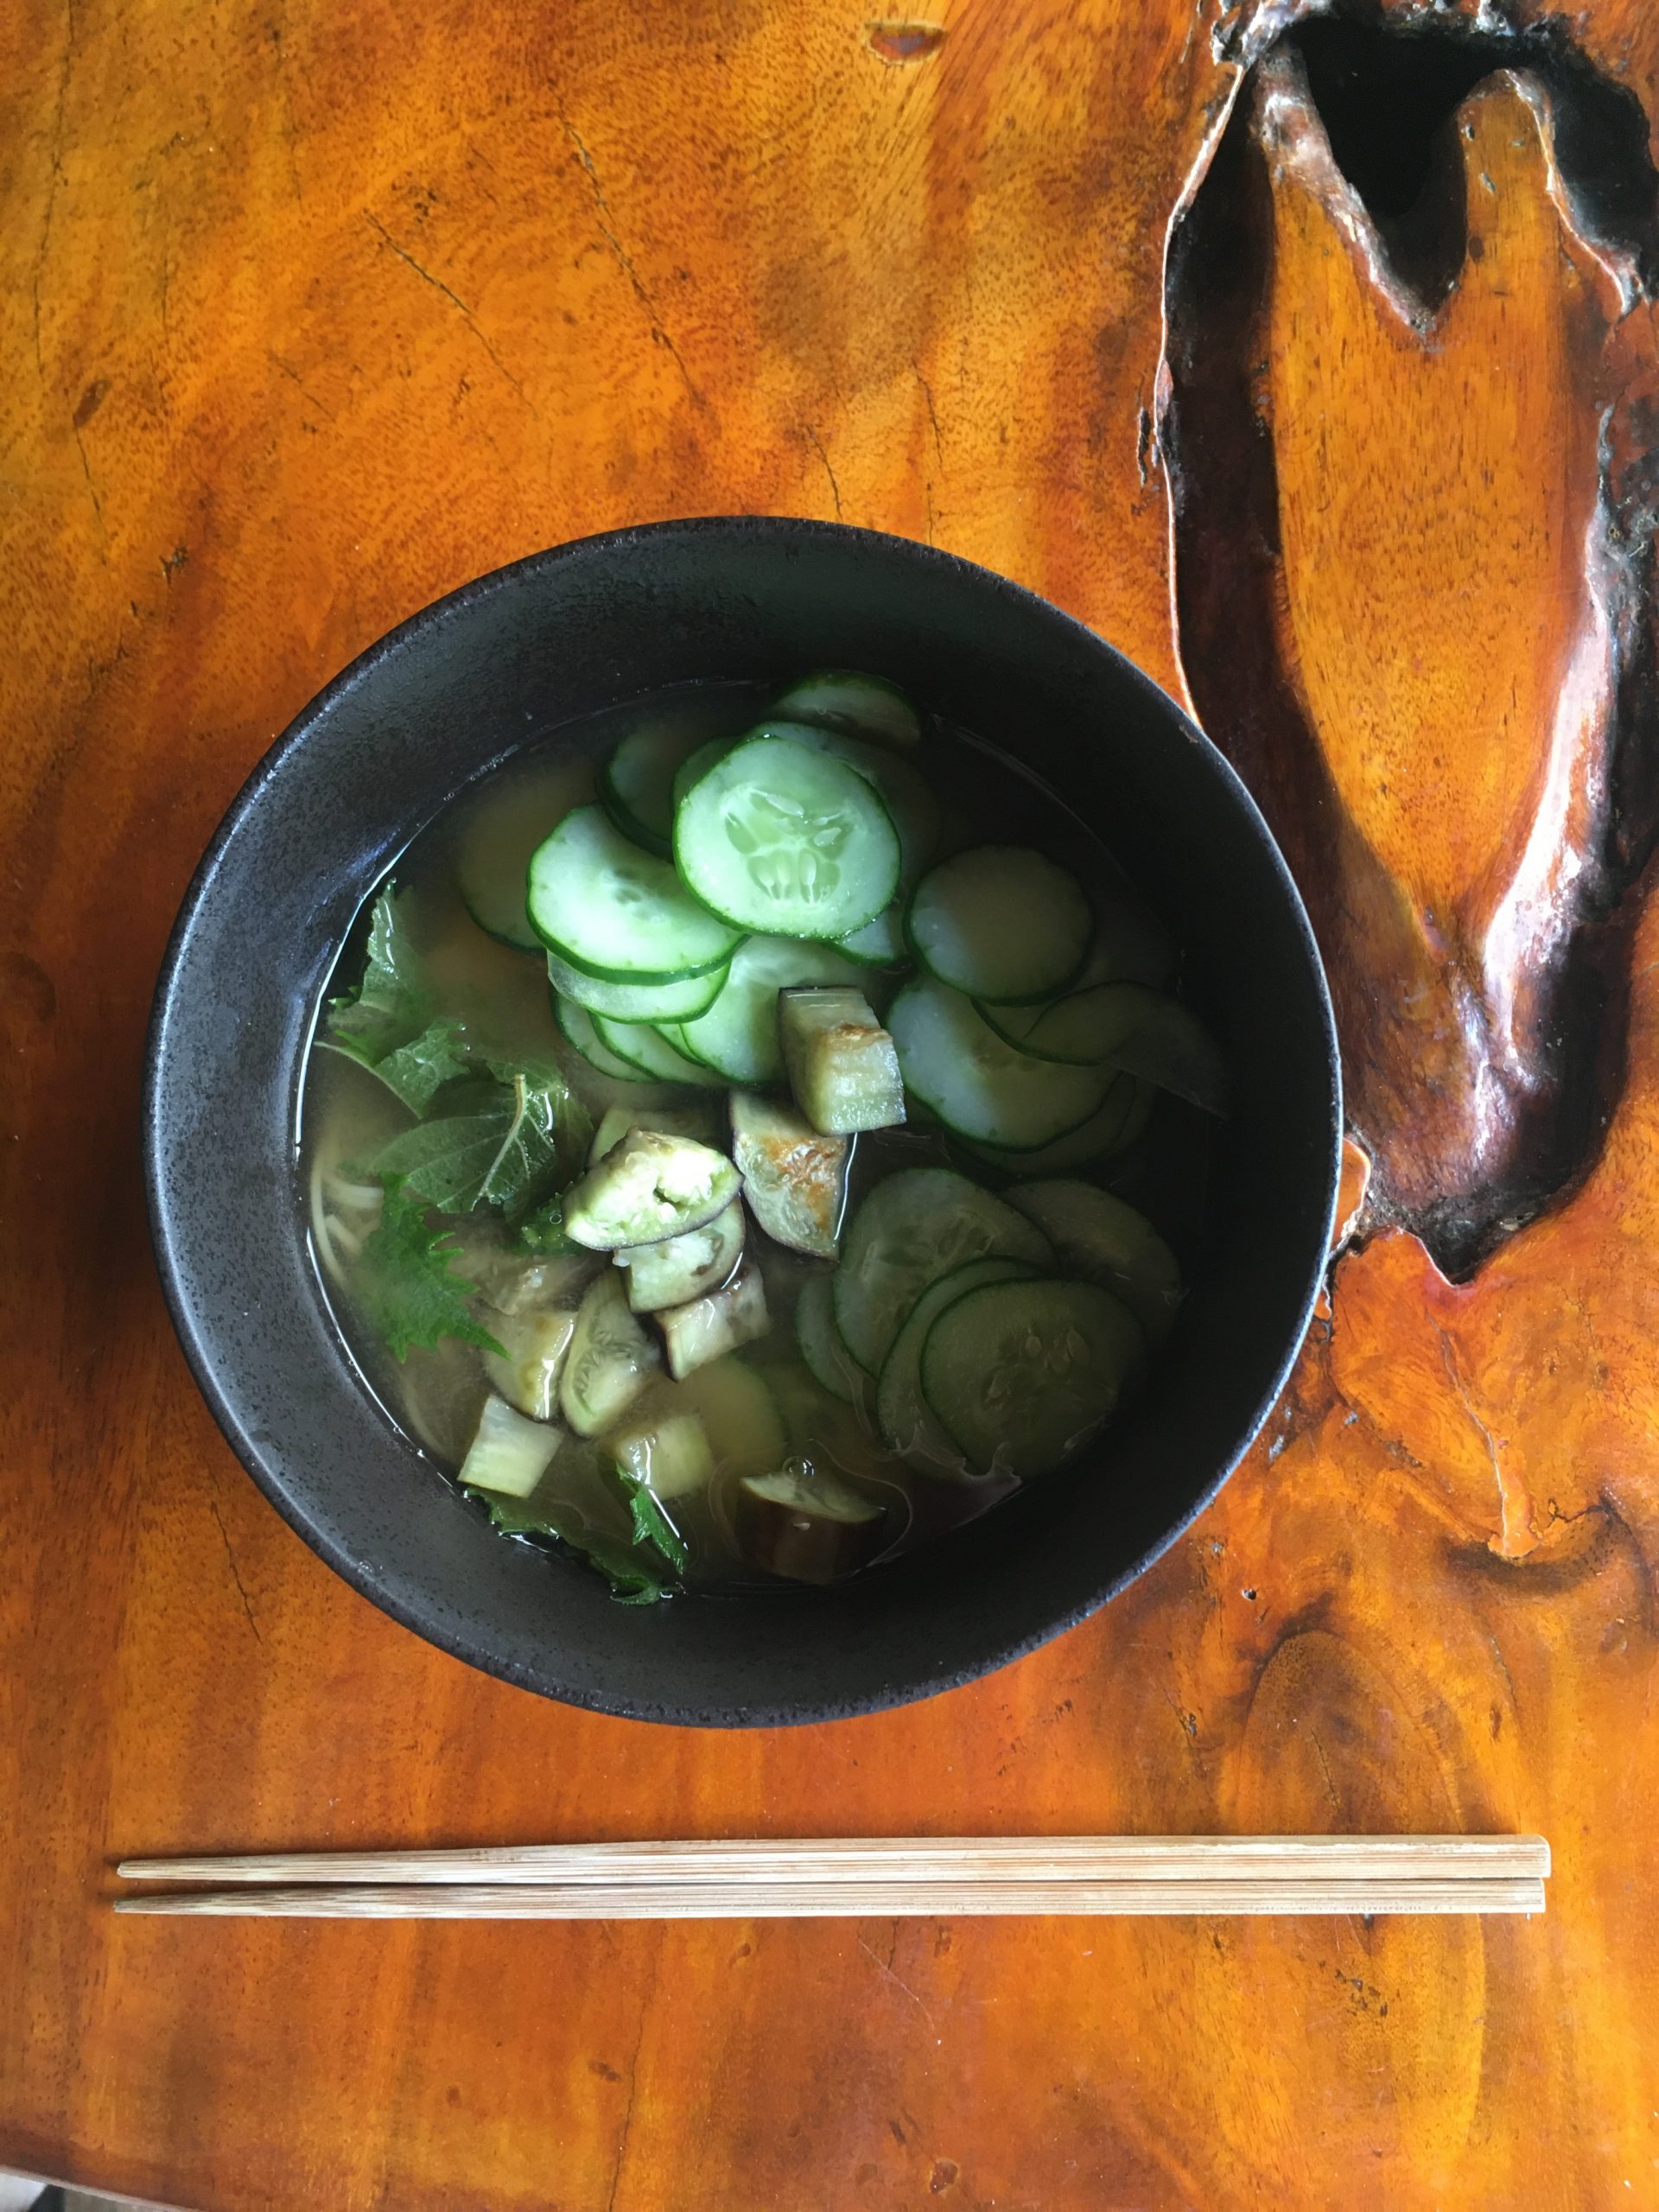
Chilled miso soup

You may be very much used to miso soup as a warm bouillon served either with just a few things in: a slice of shiitake, a peel of yuzu, a few leaves of mitsuba, or with rather plenty of small mushrooms, daikon…

But with the summer heat, a chilled soup is very much welcome and a chilled miso soup version is also possible and it’s delicious!

It just requires to prepare a little ahead so that the bouillon can cool down. This recipe is inspired by a soup we were served for lunch at a small vegan cafe we went for lunch to on our way back from Hoki Museum (by the way, well worth the visit).

My recipe features somen, the Japanese vermicelli, but you do without.

Chilled miso soup (2 servings)

  • 1 dry shiitake
  • 1 small eggplant
  • 2 tsp of miso
  • 1 small cucumber
  • 4-6 leaves of fresh green shiso
  • Optional: 100g of somen
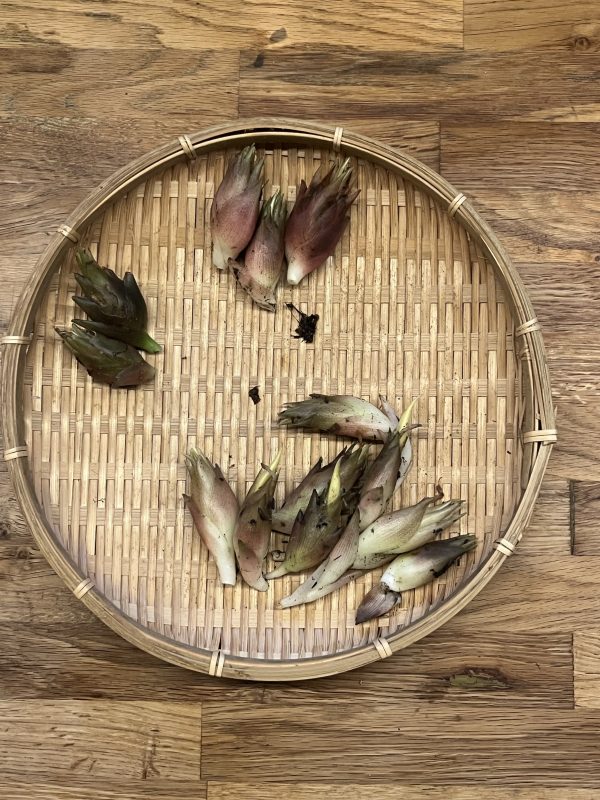
  • Optional: 1 fresh myoga

In a pan boil 1l of water, add the dry shiitake to make a shiitake dashi. Let it boil for a few minutes, when the color goes brownish, turn off the heat and leave it to rest.

Cut the eggplant in bites and bake it or cook it in a frypan until soft.

Wash and slice very thinly the cucumber and the shiso, and the myoga of you use any.

Boil the somen and keep them in cool water.

In the serving bowls, serve one spoon of miso each, top with the drained somen, add the eggplant, the cucumber and eventually myoga, finish with bouillon that covers almost everything, and add the shiso.

For extra chill effect, add a few ice cubes and enjoy!

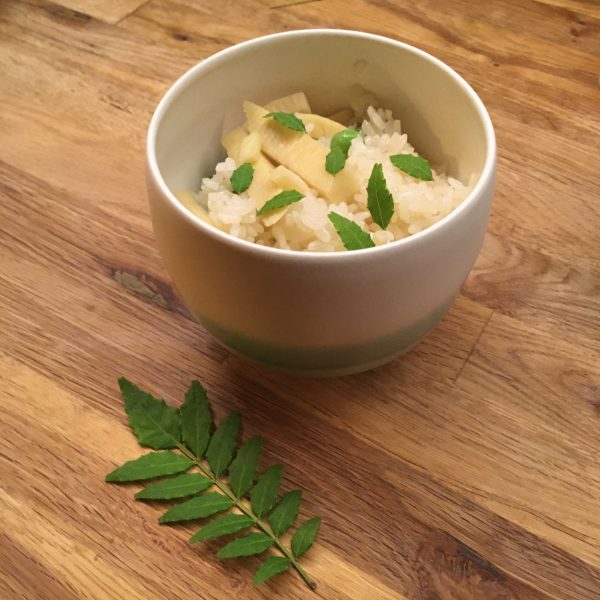
Sushi rice and spring vegetables, the perfect combo!

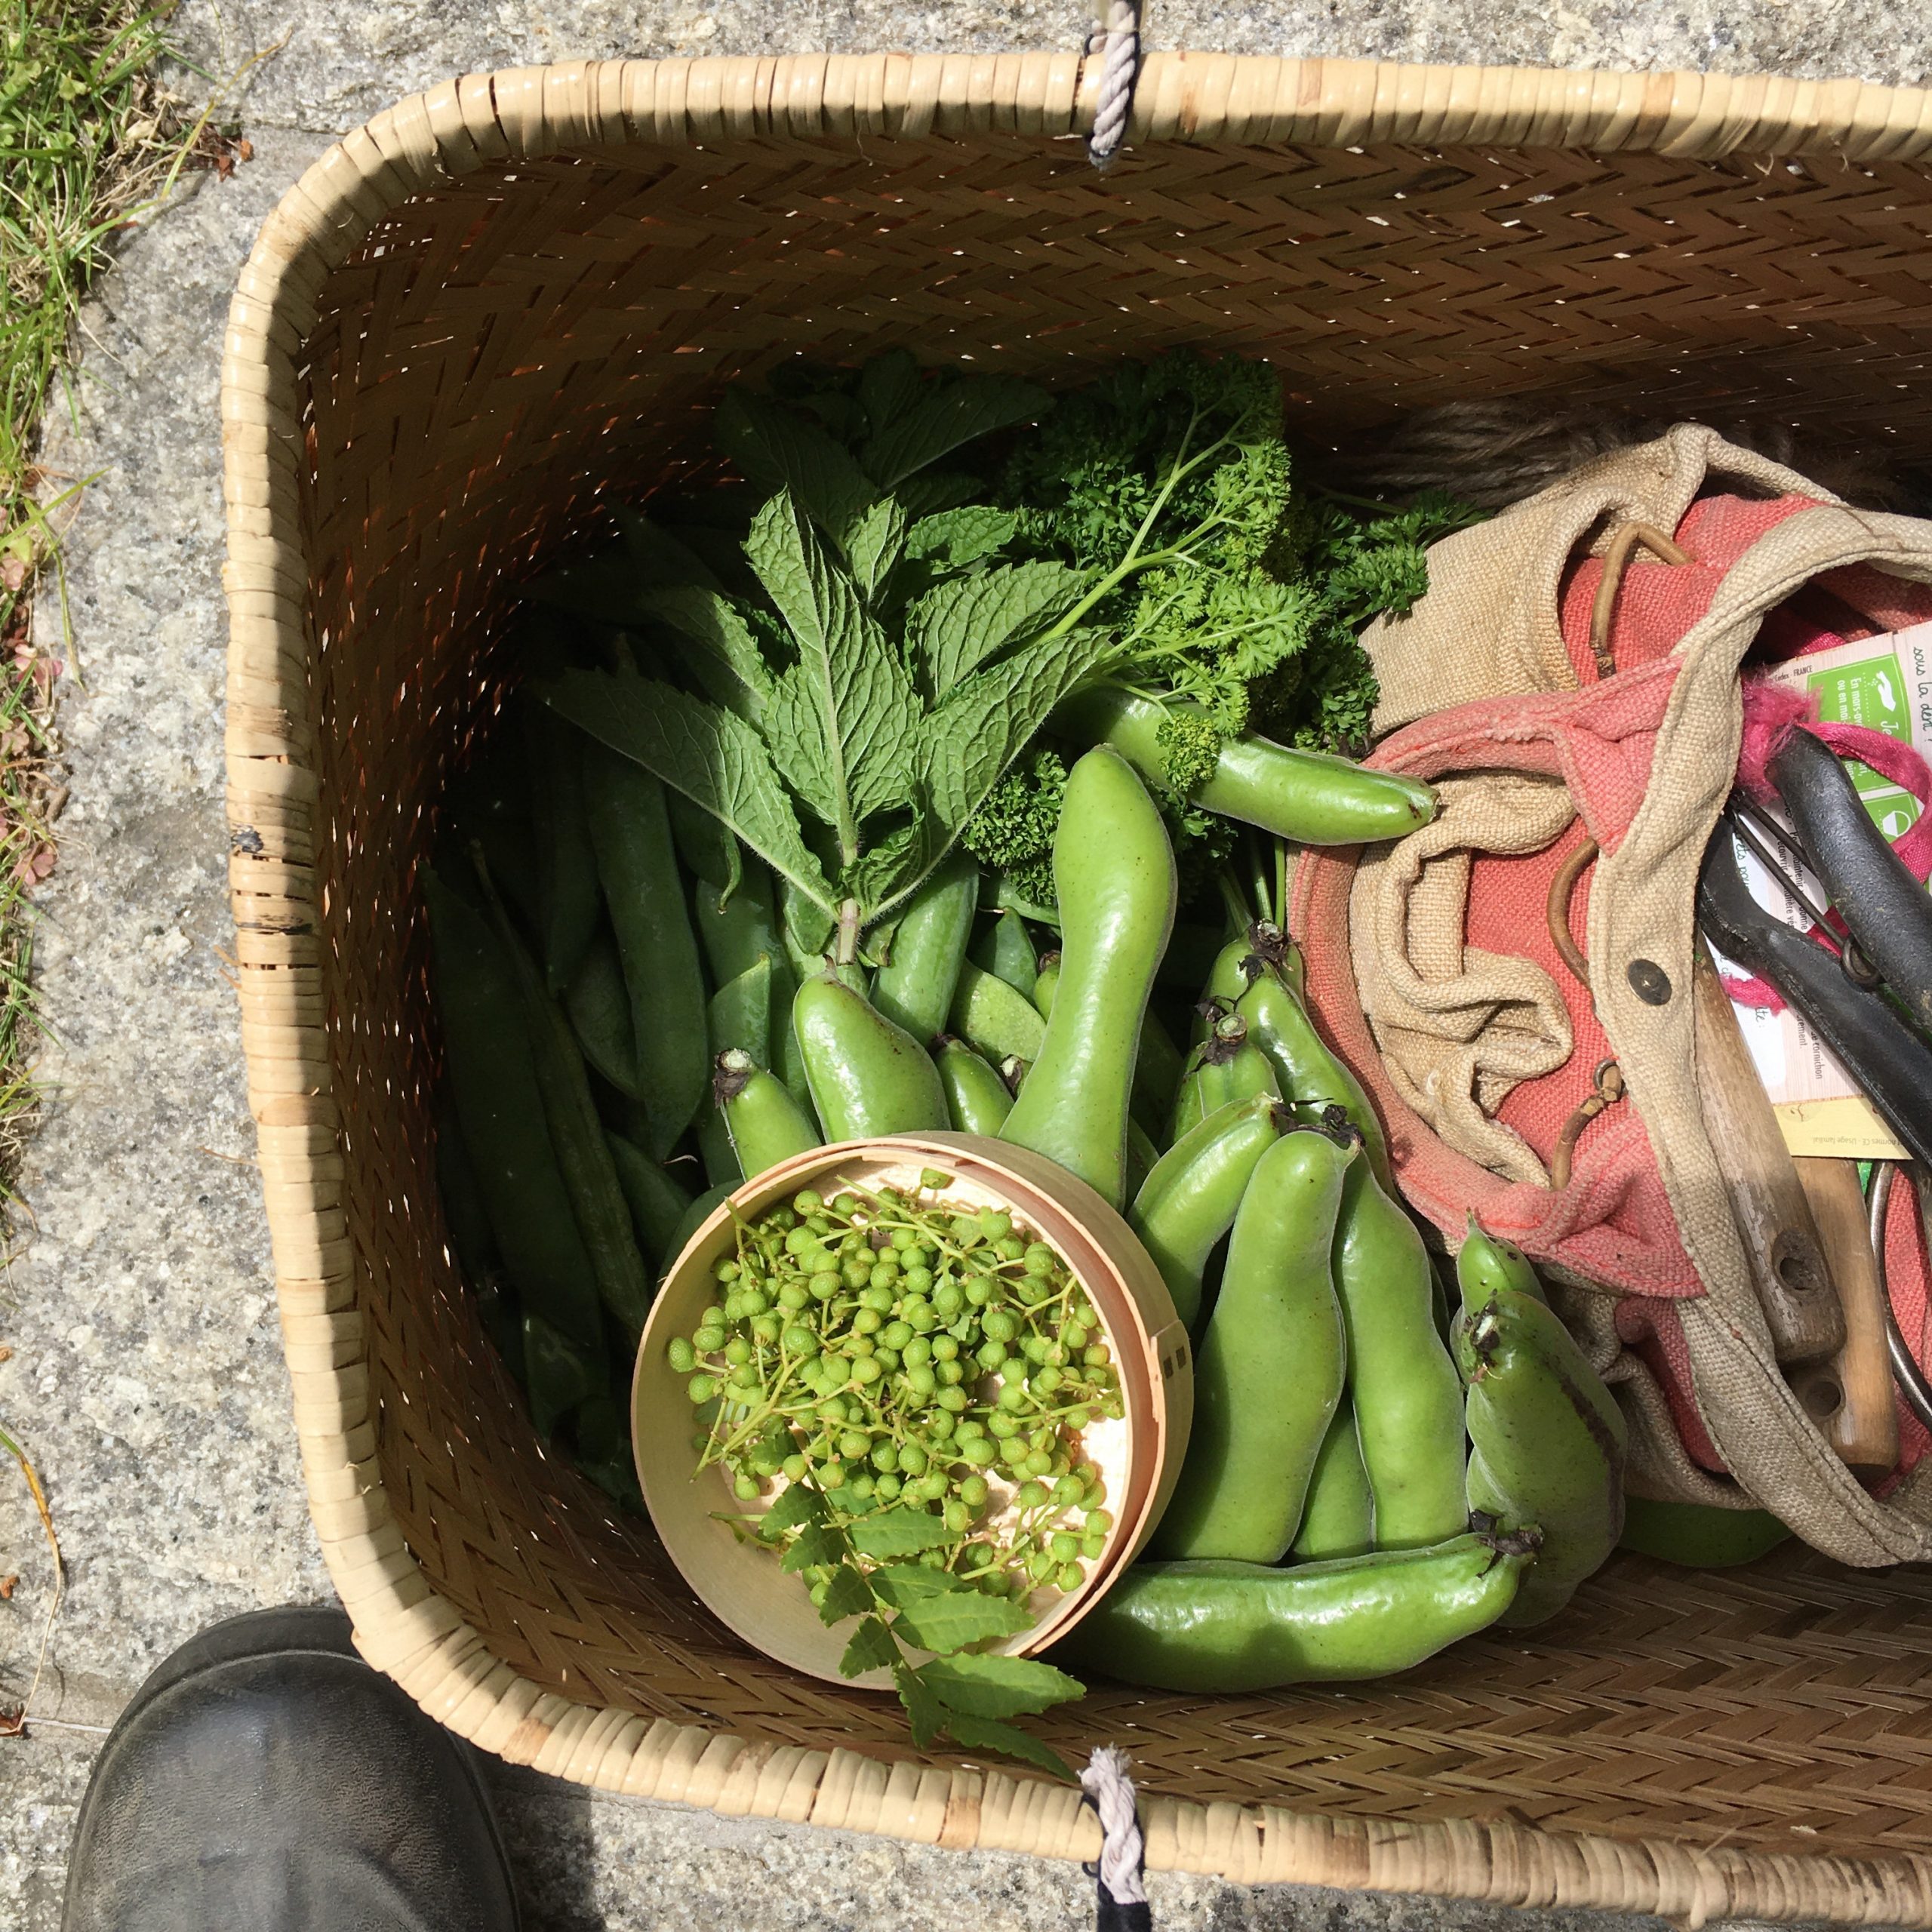
Harvest from the kitchen garden: plenty of green peas, fava beans and herbs.

Late spring brings in so many vegetables! Our modest kitchen garden produced a beautiful crop of green peas. Not over a long period of time like last year, but a few kilos in a very short time. I also harvested a lot of sansho pods, and while looking at the recipe to prepare them in my book of Shojin cuisine, I just found a recipe that so far curiously never attracted me before but was perfect with what I had in the fridge: bamboo shoot and green peas sushi rice. It took just one second to verify I had all the ingredients I needed and my mind was all set. I don’t eat fish and seafood sushi, but I love sushi rice, slightly vinegary and sweet. It is very easy to prepare but somehow never make any…

It was time to change this!

Here is the recipe I prepared, slightly modified from the original.

Bamboo shoot and green peas sushi (4 servings, side dish)

  • 2 go of rice (or 2 cups but that would be more)
  • A handful of fresh green peas
  • 1 fresh bamboo shoot
  • A pinch of salt
  • 2tbs of rice vinegar
  • 3tbs of sugar
  • 1tbs of soya sauce
  • A few sansho leaves

Cook the rice. In the meantime, peel the bamboo, cut it in 3mm thick slices, and the cut the the slices in 2cm strips and boil it for 15min. Drain. In a pan set the bamboo and the green peas, add 2tbs of water, 1tbs of sugar, 1tbs of soya sauce. Cook at medium heat until almost all the liquid is gone. Mix the vinegar and the 2tbs of sugar with the rice. Stir well, add the vegetables and stir gently. Add the sansho leaves and enjoy!

Do not refrigerate, the rice would become hard and flavors would vanish.

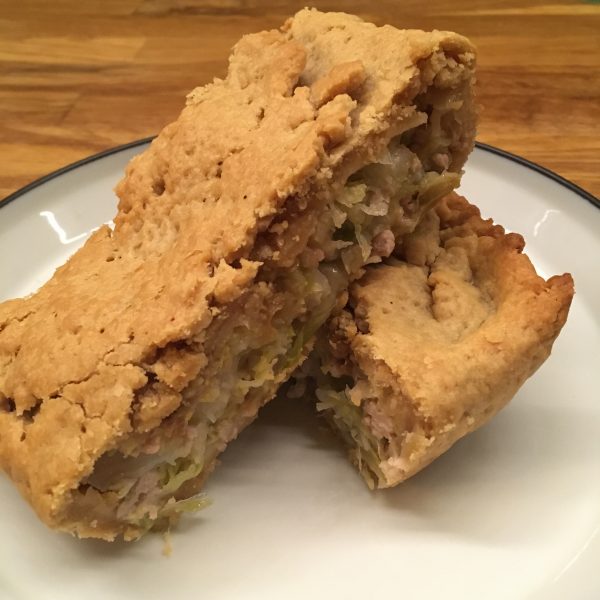
A savory pie with Japanese flavors

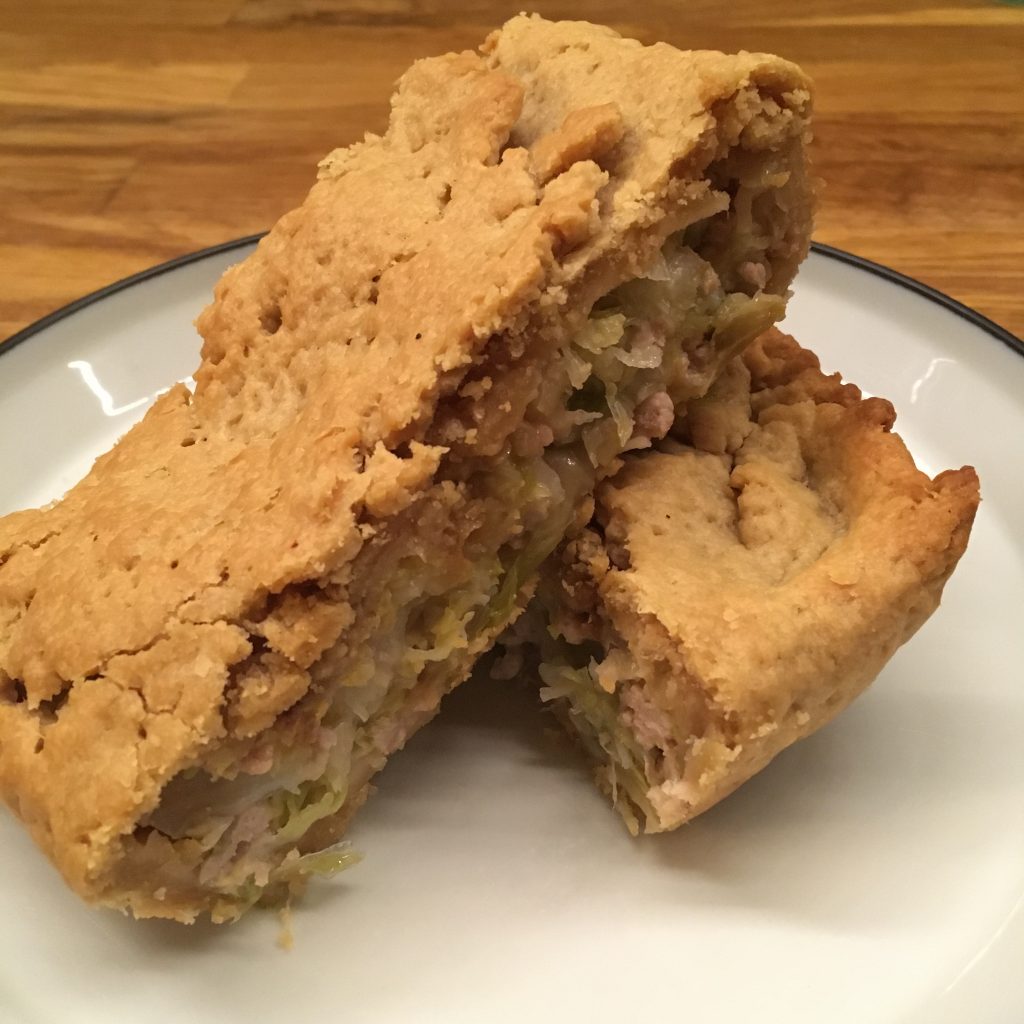
There’s no secret here, I love all sorts of stuffed food: dumplings, ravioli, gyoza, pies and all the others. And I cook some almost every week. Last week I was set to cook an okonomiyaki, I had the Chinese cabbage, the pork meat and dinner was all set. But then, A. reminded me that we had scrambled eggs for breakfast and then an okonomiyaki would mean eggs again (since when does he care???) so I just acknowledged and said, well then, let’s remove the eggs from it and that’s gonna be a pie!!! (I am not the only big fan of pies and dumplings, A. is always OK!)

So here I am now thinking about how to make it happen. And it turned out to be fairly simple and simply delicious. Here is my original recipe.

Okonomiyaki style pie (2 servings as main)

  • For the pie crust
    • 200g of flour
    • 20cl of vegetal oil
    • 10cl of soya sauce
    • Water
  • For the filling
    • 1/2 Chinese cabbage
    • 100g of ground pork or chop filet
    • a handful of katsuobushi flakes

Mix all ingredients for the dough. Add water little by little to obtain a smooth and non sticky dough. Let is rest a bit.

In the meantime, chop the Chinese cabbage and put it in a pan with the meat and cover. Cook at medium heat for 5-10 min, then remove the cover, add the katsuobushi and cook until all the water from the cabbage is gone.

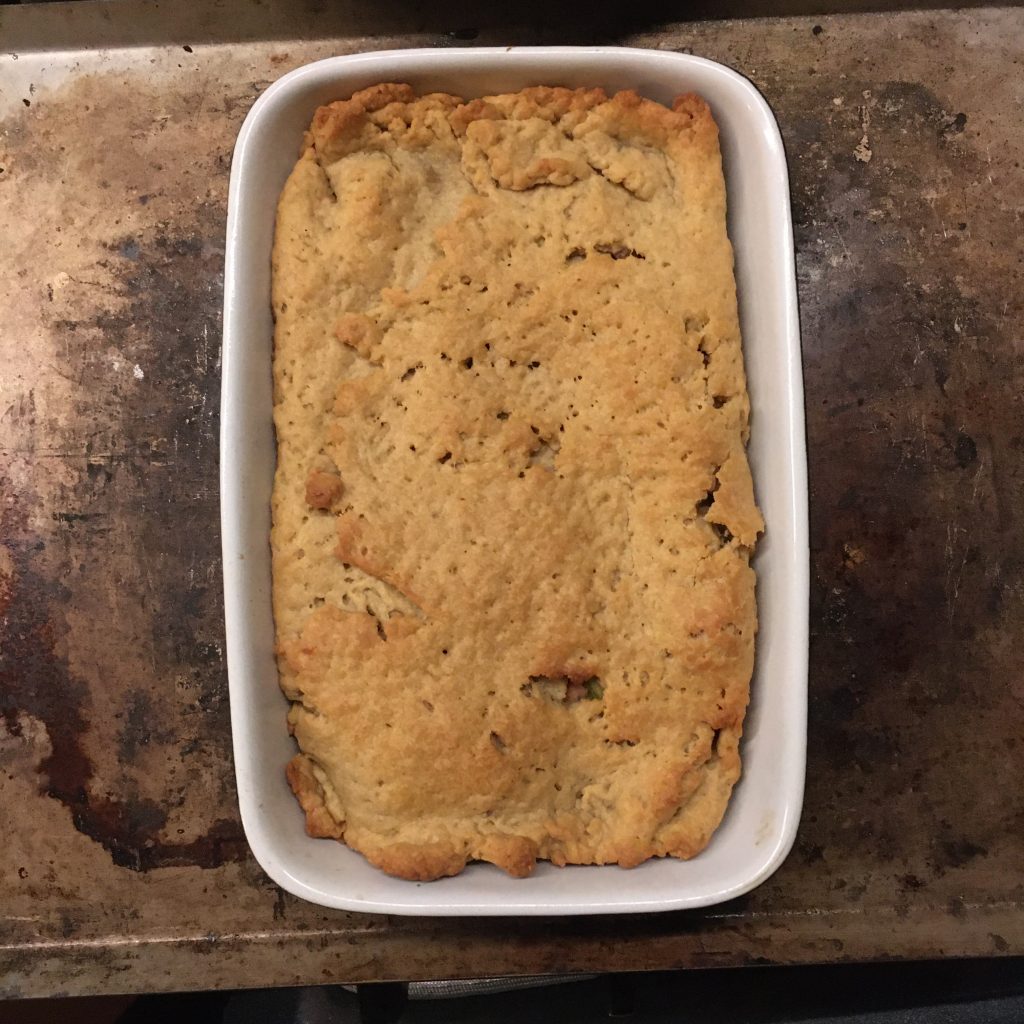
Roll the dough for your pie dish, with amply enough to be able to make the cover by folding it it. Set in your pie dish and fill with the filling, fold the dough to close the pie. Bake at 200 degrees until dough is golden.

That’s it!

Have you ever heard of propagule?

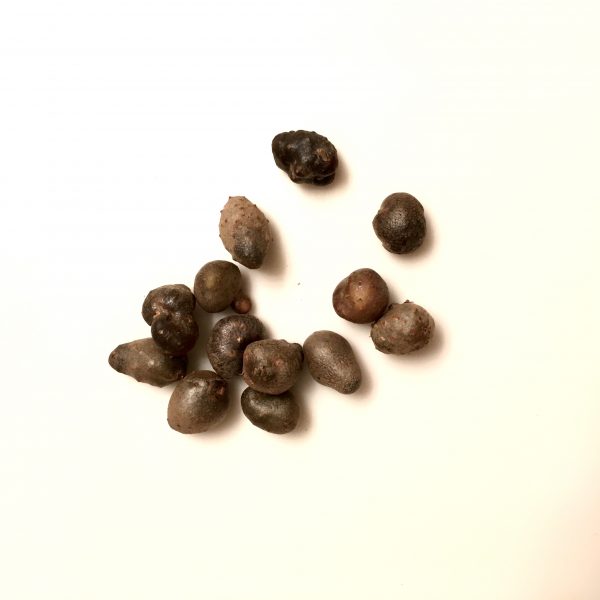
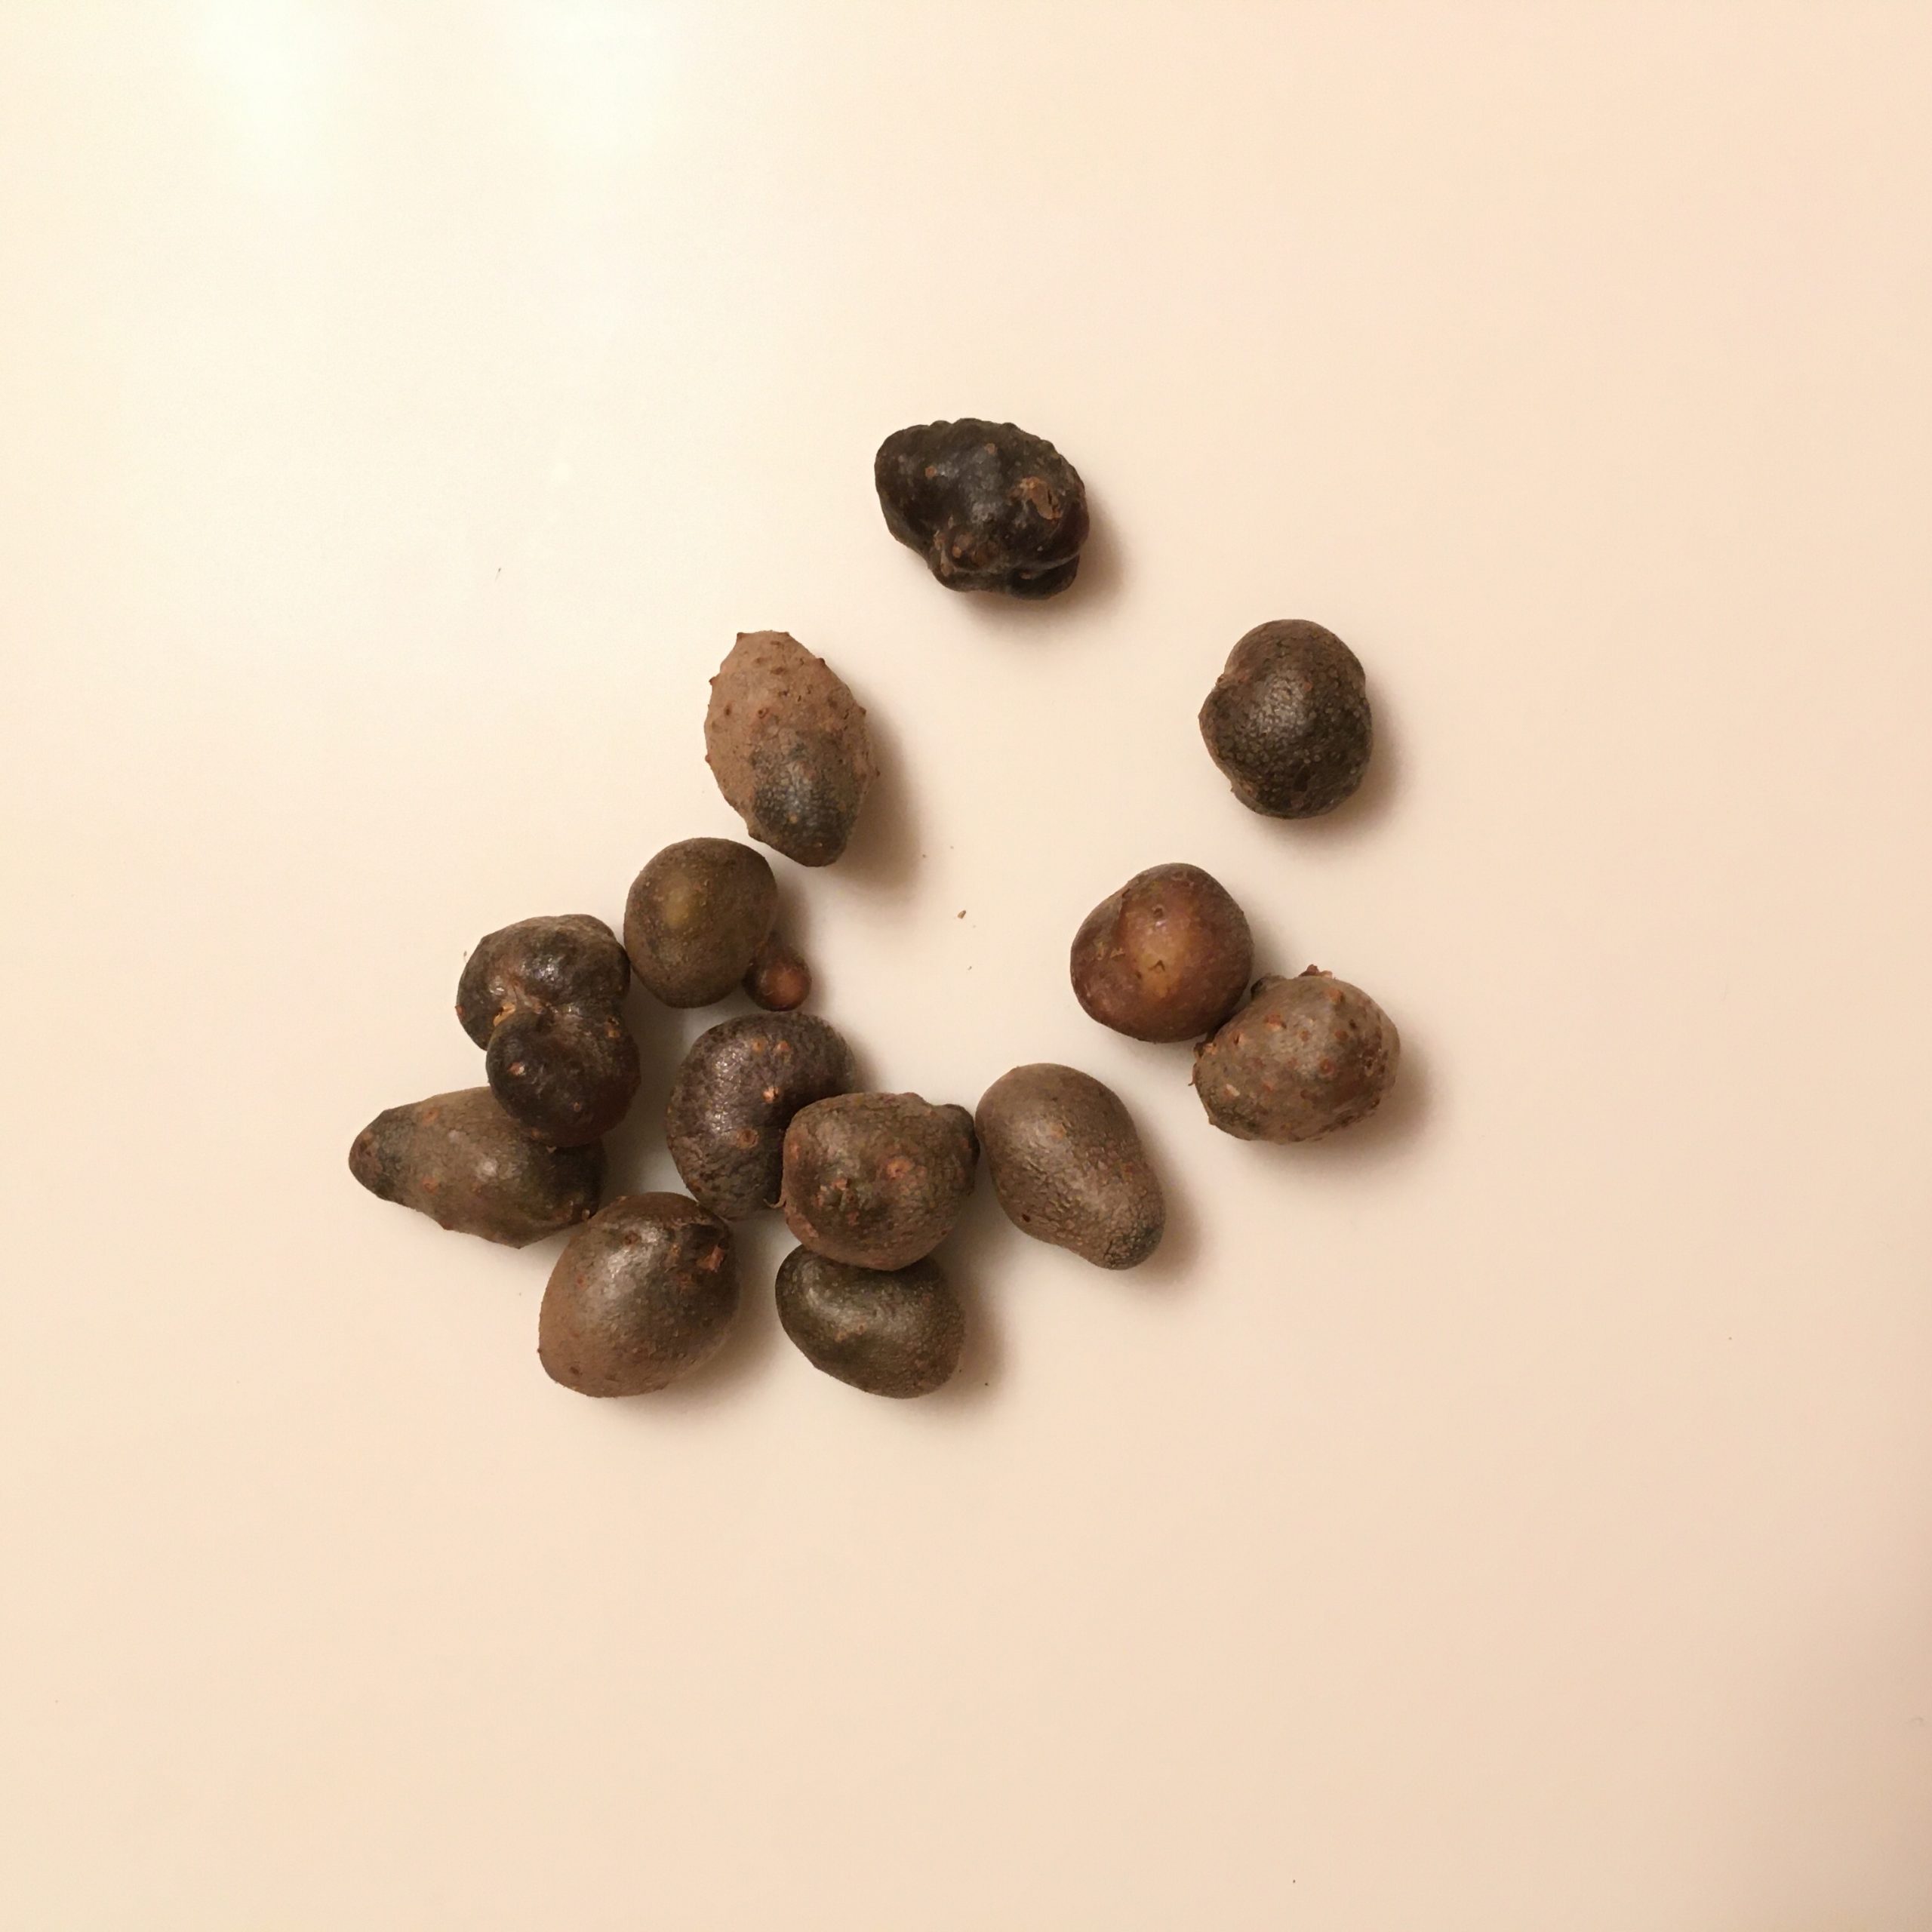
So…if you have read my previous post you may have read that in Kanazawa I bought some mysterious food (I don’t know if we can call it fruit or vegetable…): propagule-ムカゴ-mukago. It looks like a tiny potato with a darker skin. It’s the “fruit” of the Japanese mountain yam-山芋-yamaimo. It wasn’t the first time I saw some but never ventured in trying cooking them before and they are local in Kanazawa, so it made sense for me to try there.

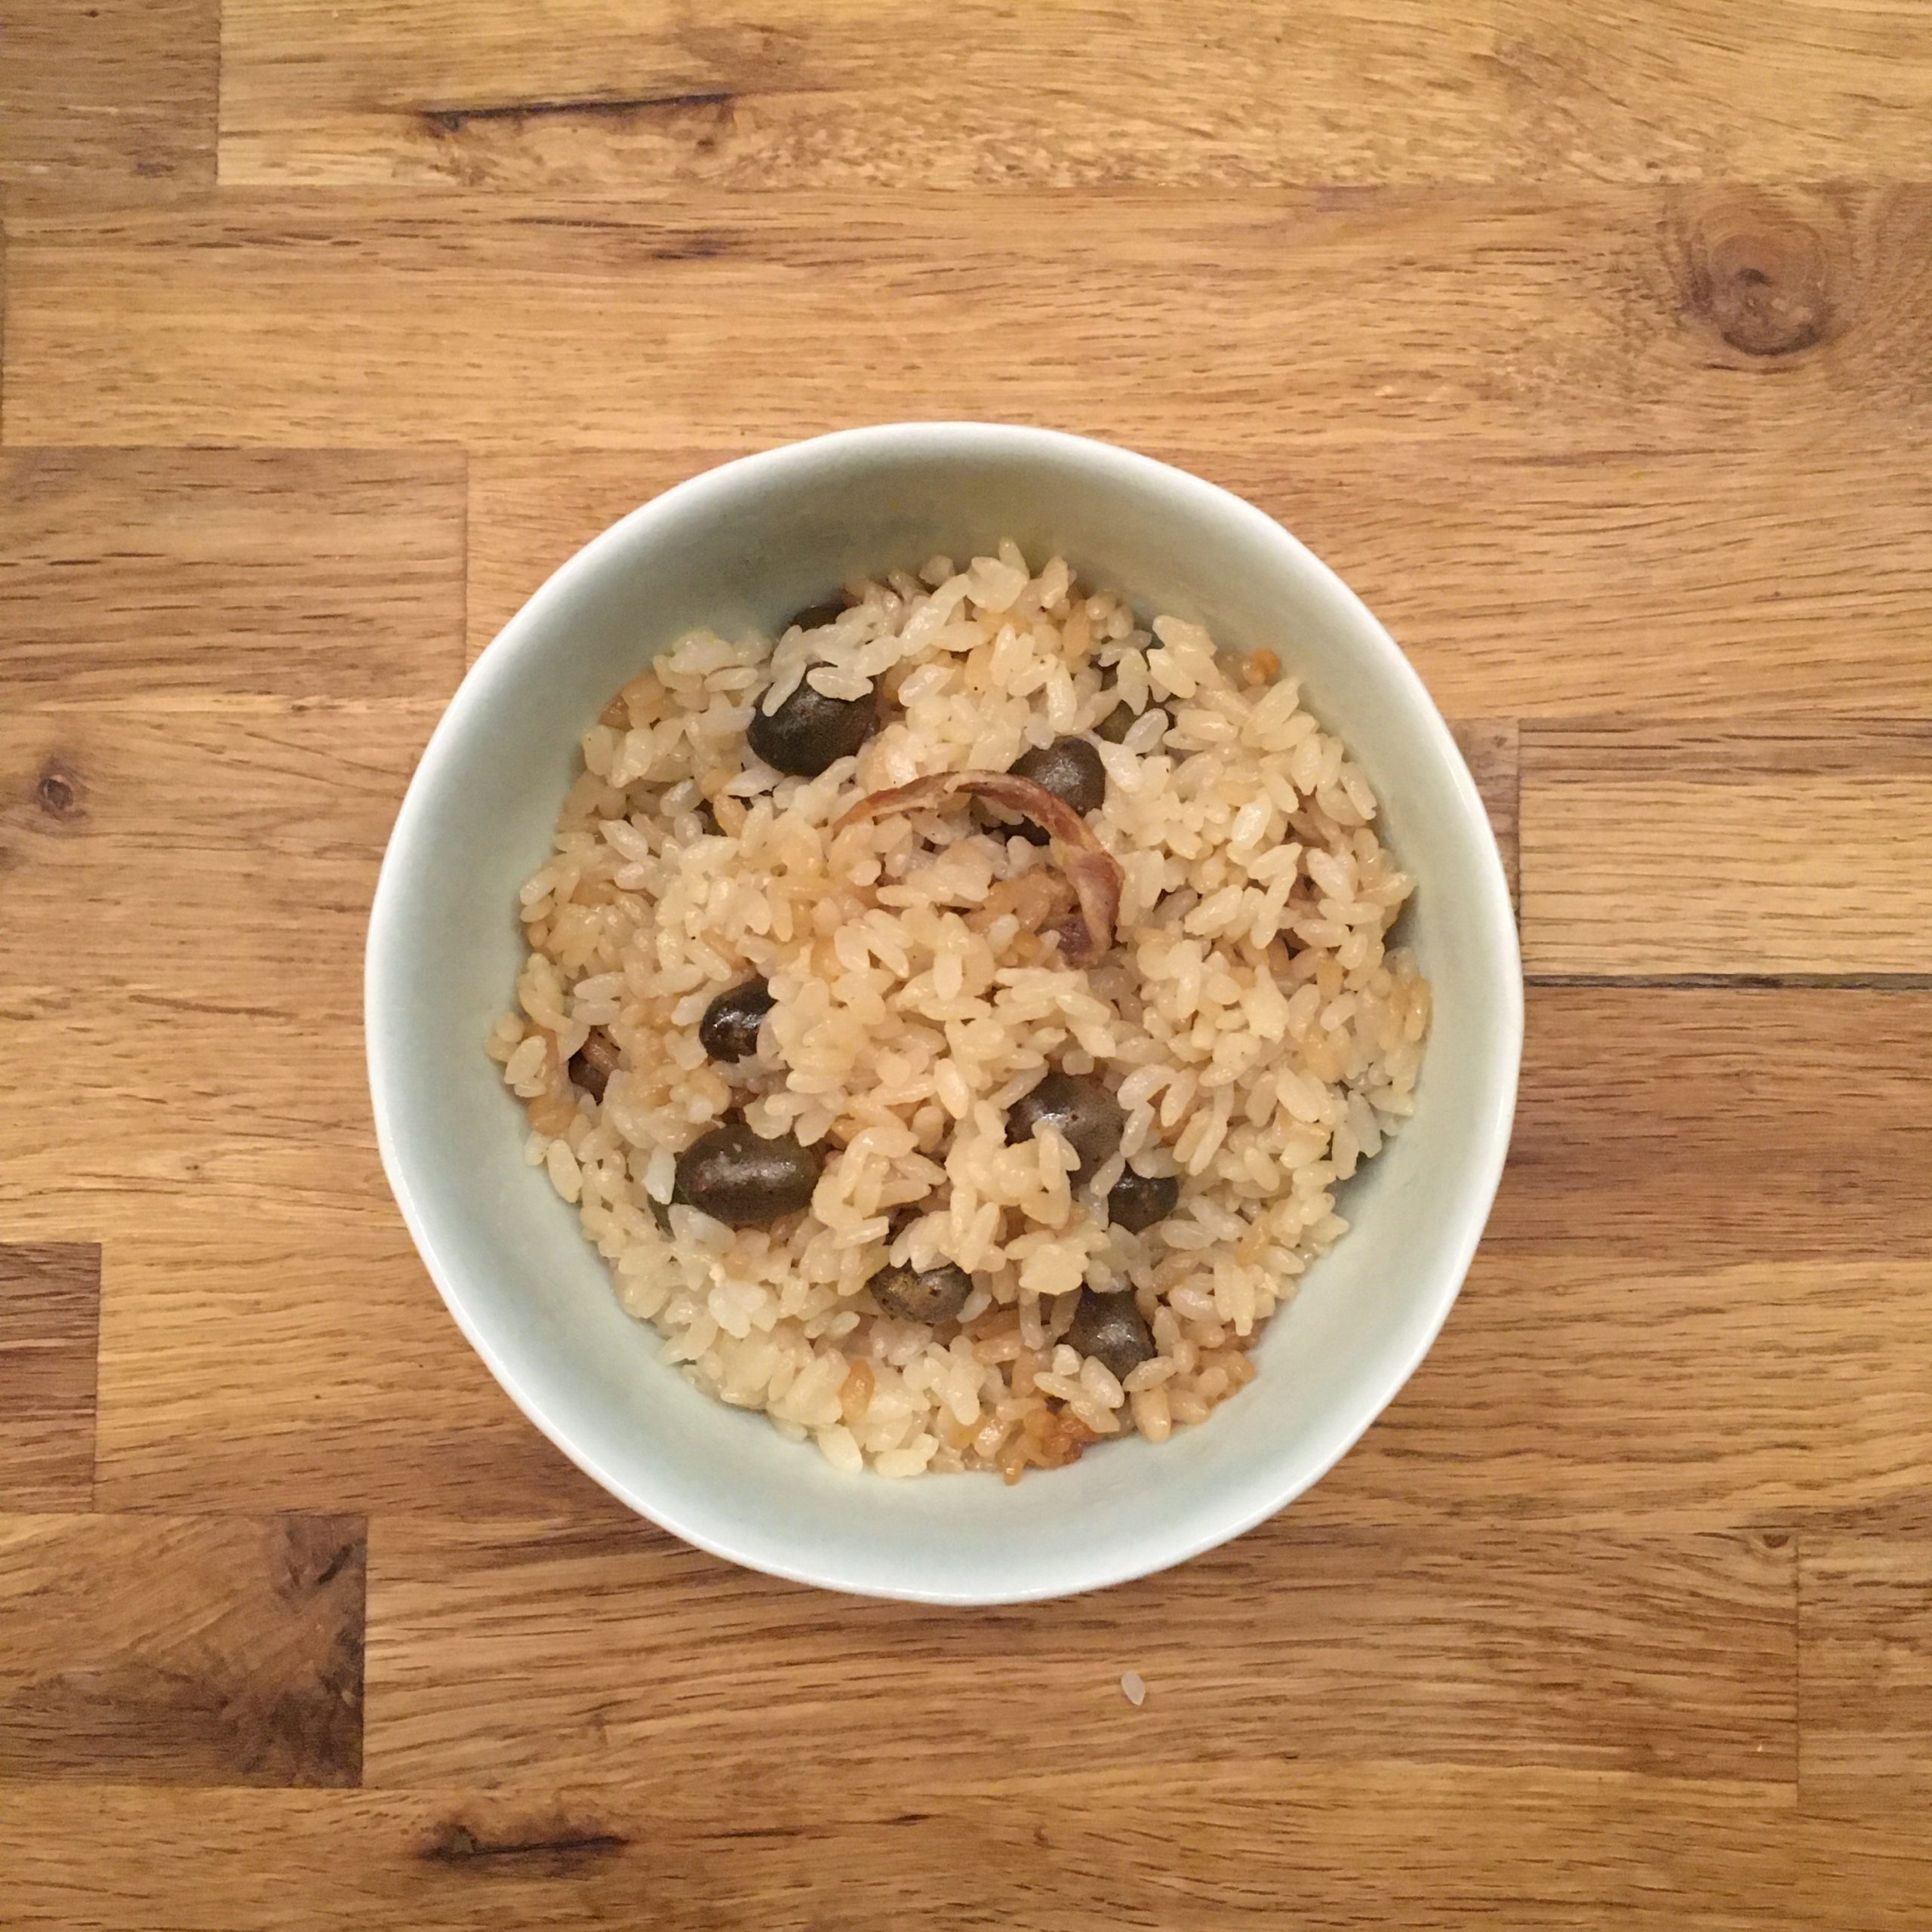
As many of the food in Japan, the first recipe that comes to mind is to cook with rice. Mukago are no exception. I was recommended to cook them with rice and a piece of bacon. That seemed simple enough to try right away. However, recently I have been having a hard time finding good local bacon, the pork is usually imported-輸入-yunyu, and that I don’t buy… so instead I decided to buy fresh pork belly, and cook it with salt and pepper, not exactly the same thing as bacon but close enough and at least it is easy to find local fresh pork.

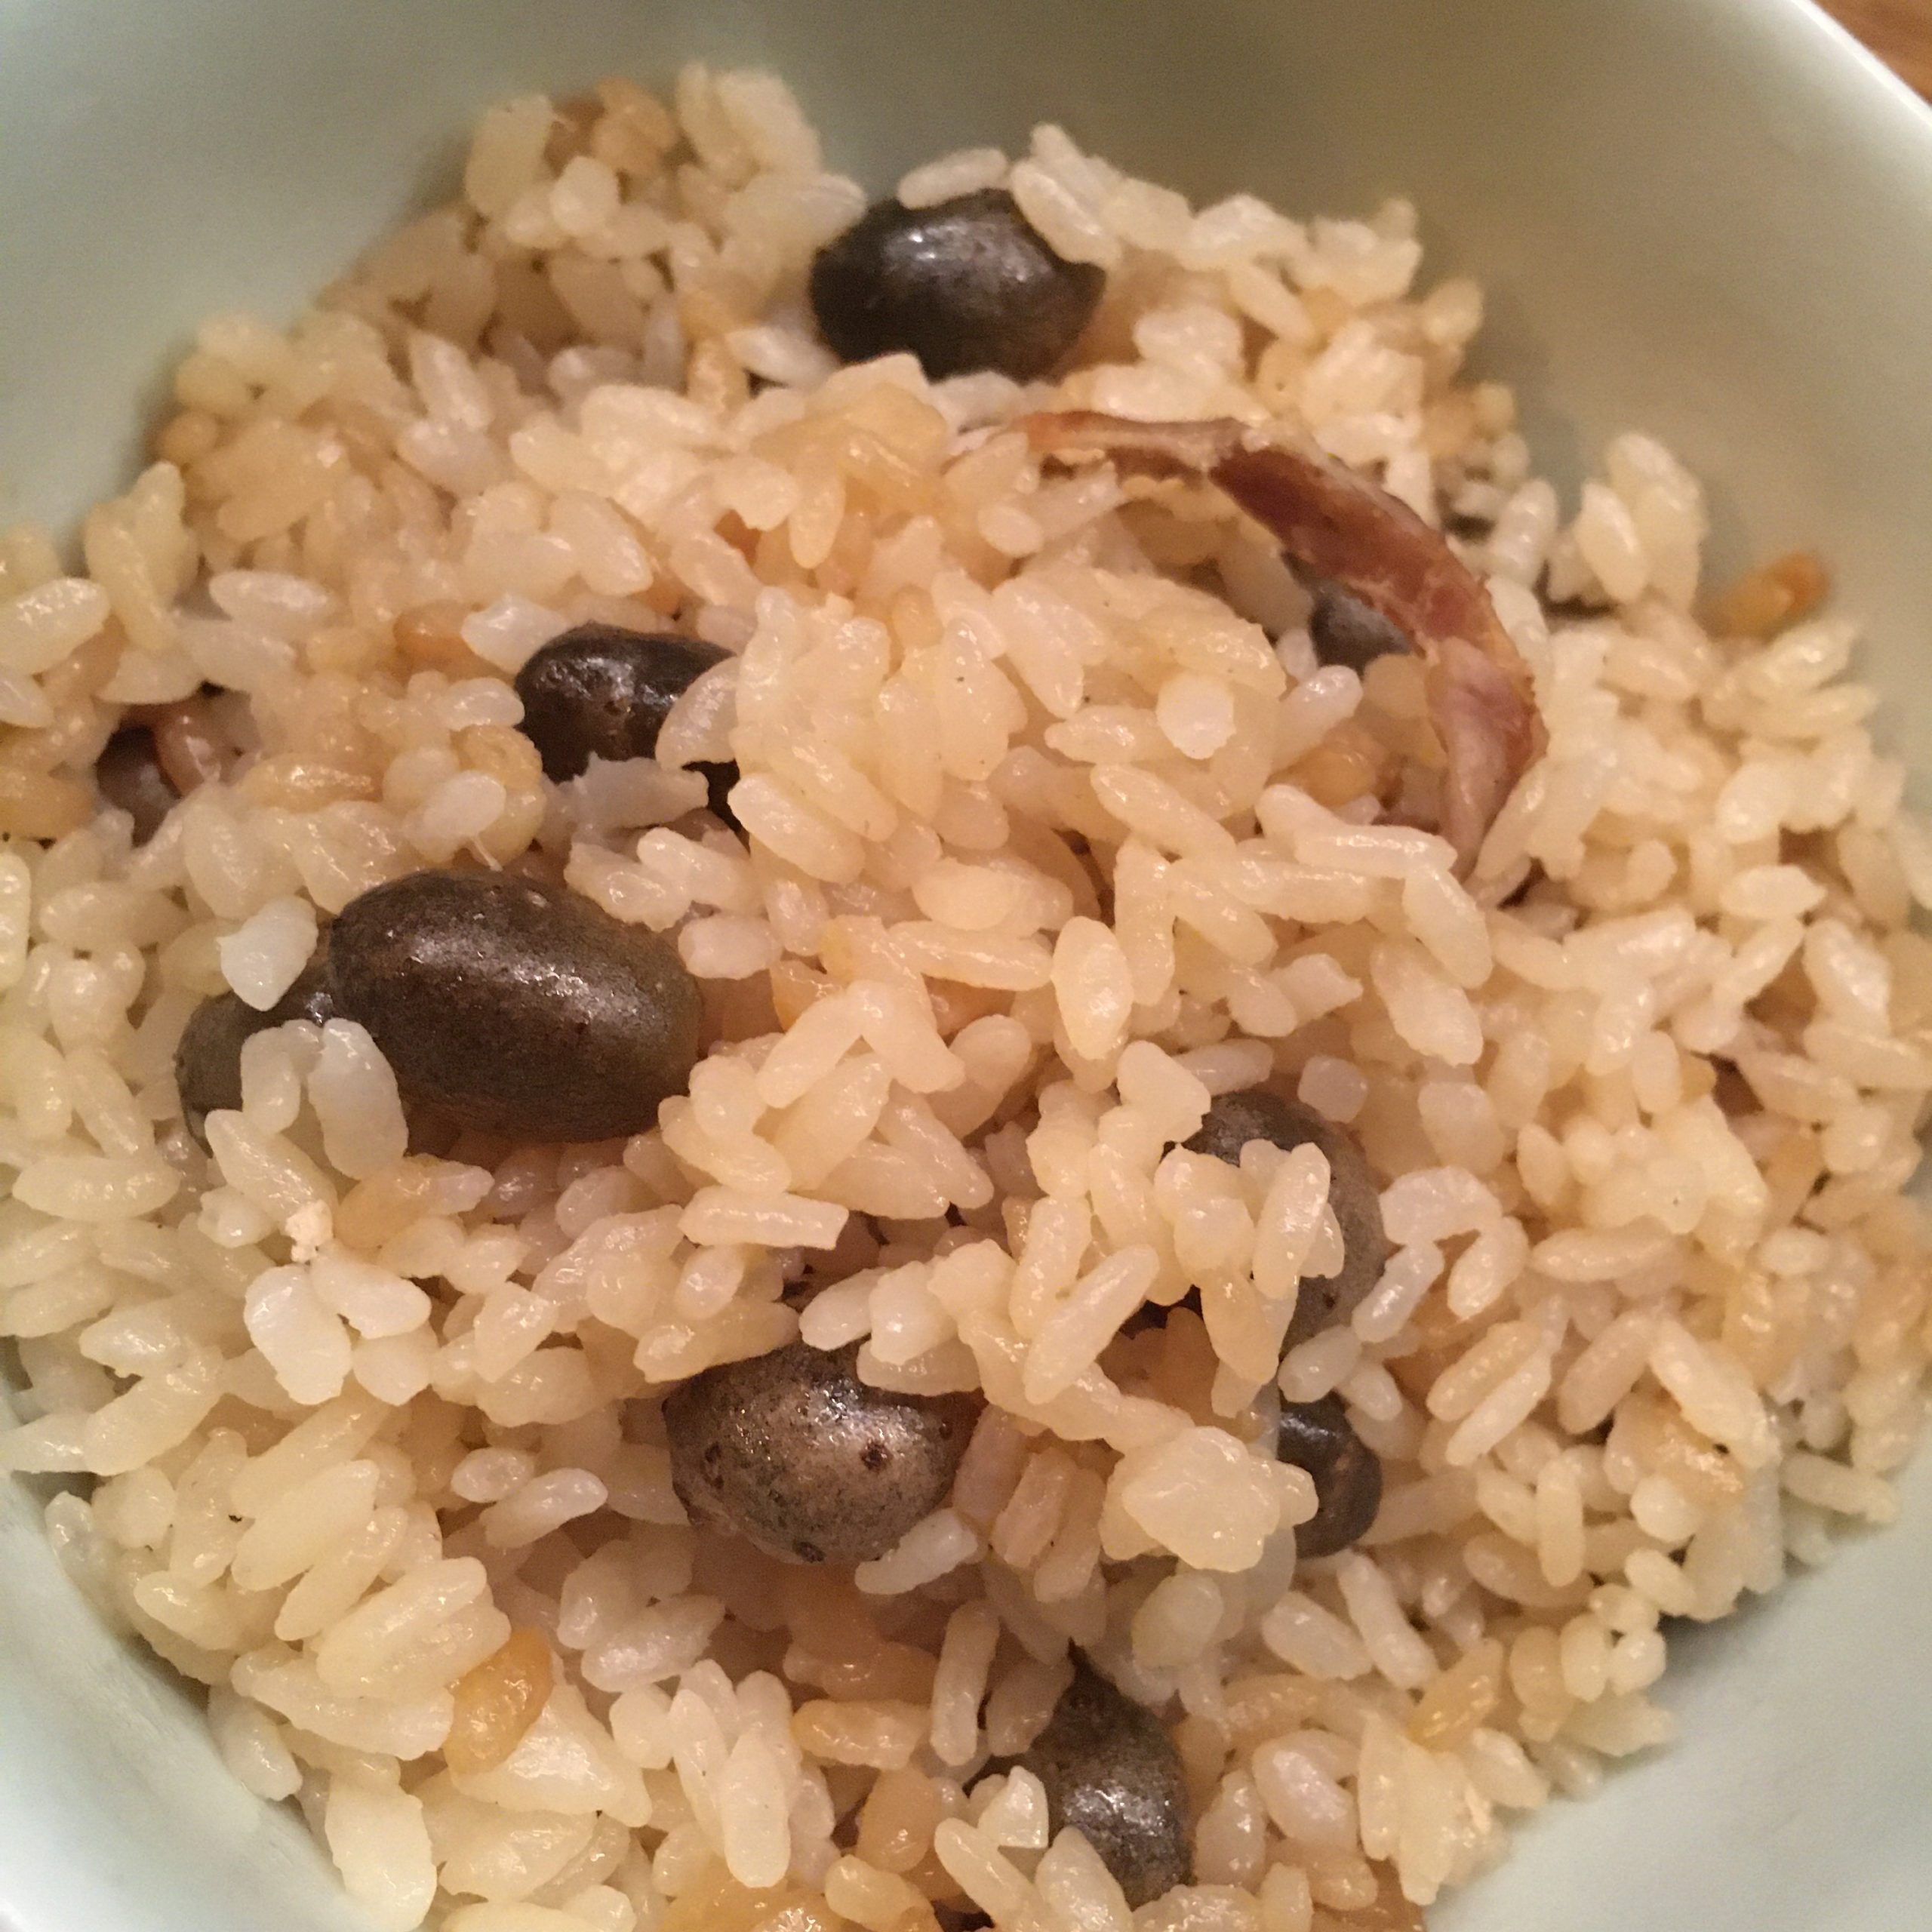
Mukago rice was a huge hit with A., much more than I expected!! Actually mukago are amazingly delicious. They have a very nice complex texture, a very subtle flavor with violet and flowery notes, very sophisticated. I instantly loved them!

I need some thinking and testing to understand in what kind of preparation they could be good. I tried in vegetables stew, but found that their flavors was suffocated by the other vegetables. It could be that rice is their best friend!! I’ll more investigations… in the meantime here is the mukago rice recipe. Enjoy!

Mukago rice ムカゴご飯 (4 servings)

  • 300g (2合-gou)of Japanese rice (I exclusively use Koshihikari from Isumi or Onjuku, but any Japanese rice is ok)
  • 200g of bacon (slice or block)
  • 1cup of mukago

Rinse the mukago.

Wash the rice.

In a large and thick pan or in a rice cooker bowl put all the ingredients. Add 400ml of water and cook. If you use a rice cooker chose the takikomi-炊き込み option if you have one. If you cook in a pan, start at medium heat until the first boil. Then cover and cook at low heat for 30min (check eventually that it’s not too quick nor too slow, and adjust timing, but don’t stir…) then stop heating but let rest for 5more minutes before serving.

Et voila!

A short trip to Kanazawa

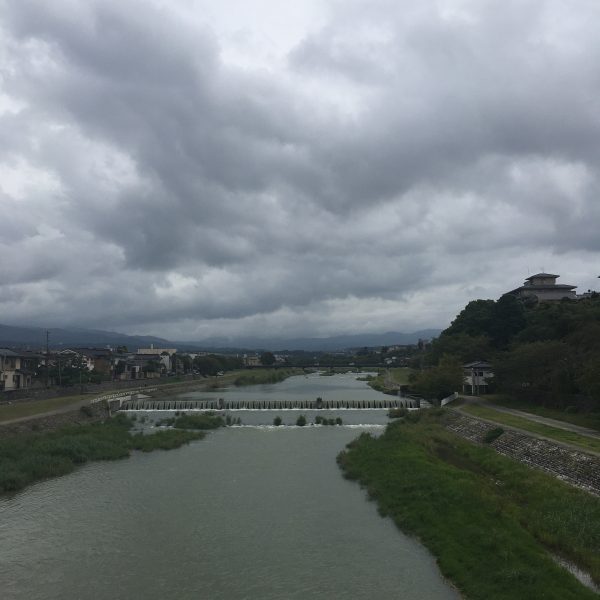
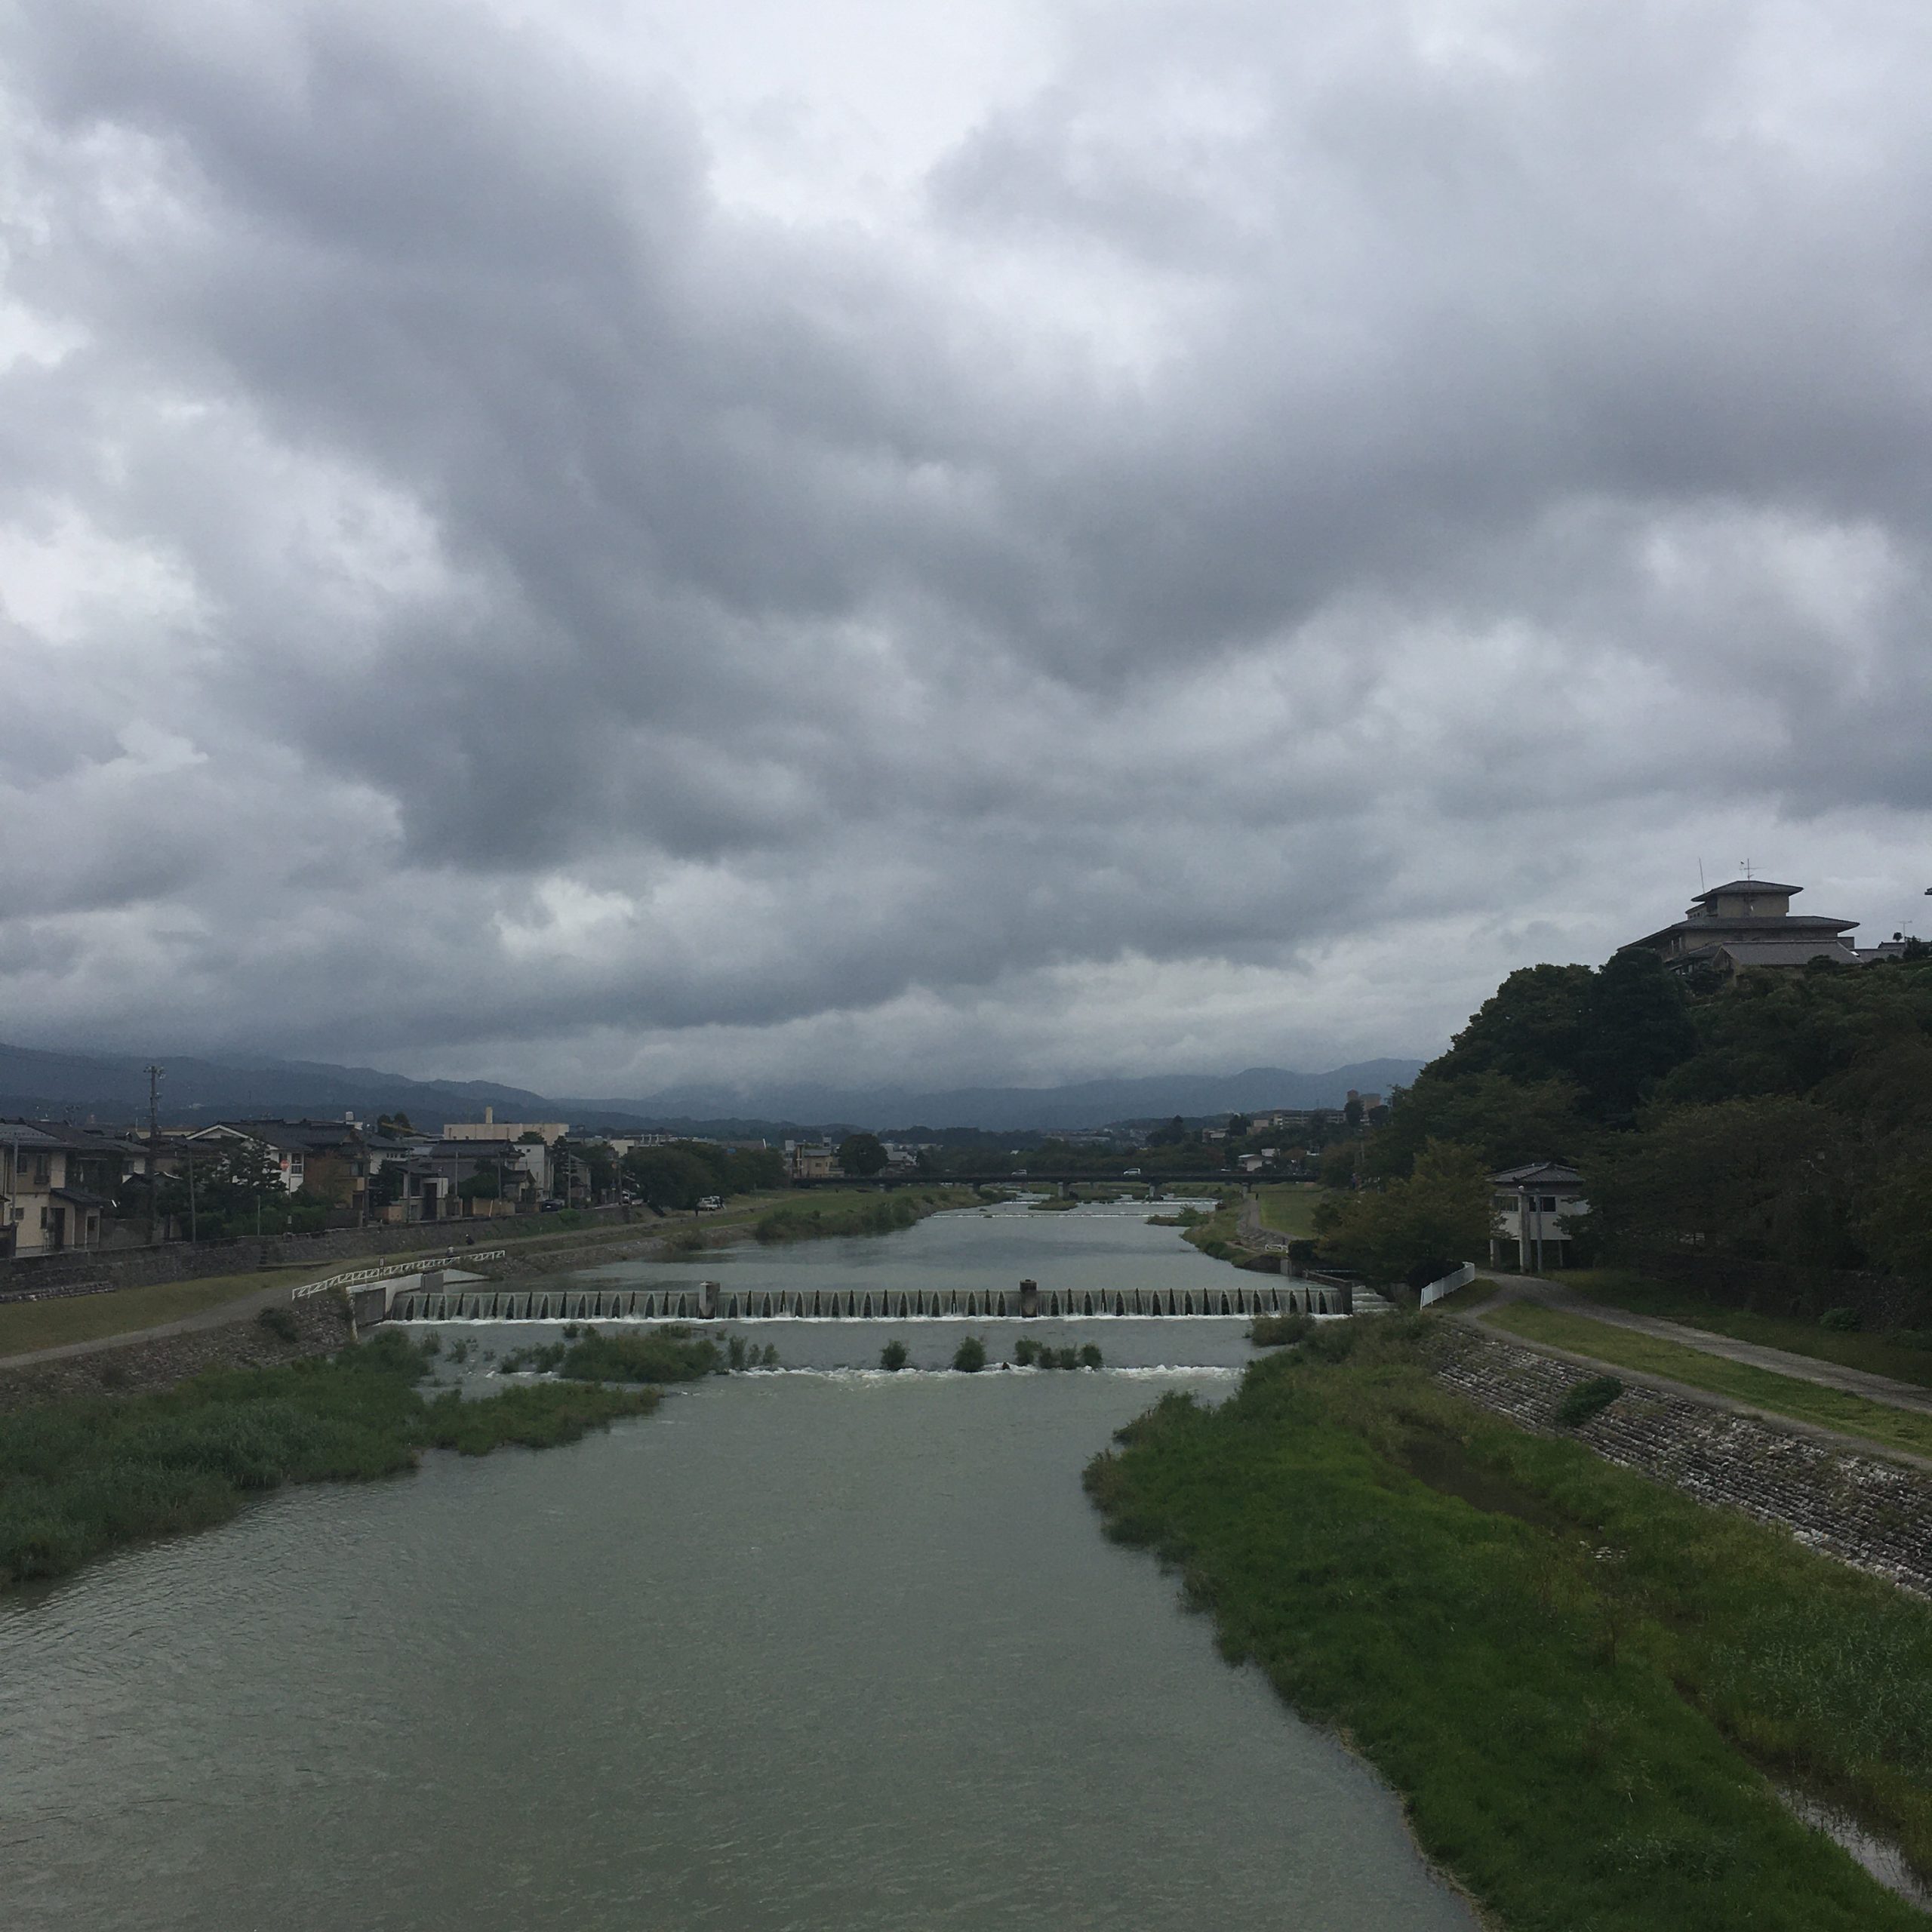
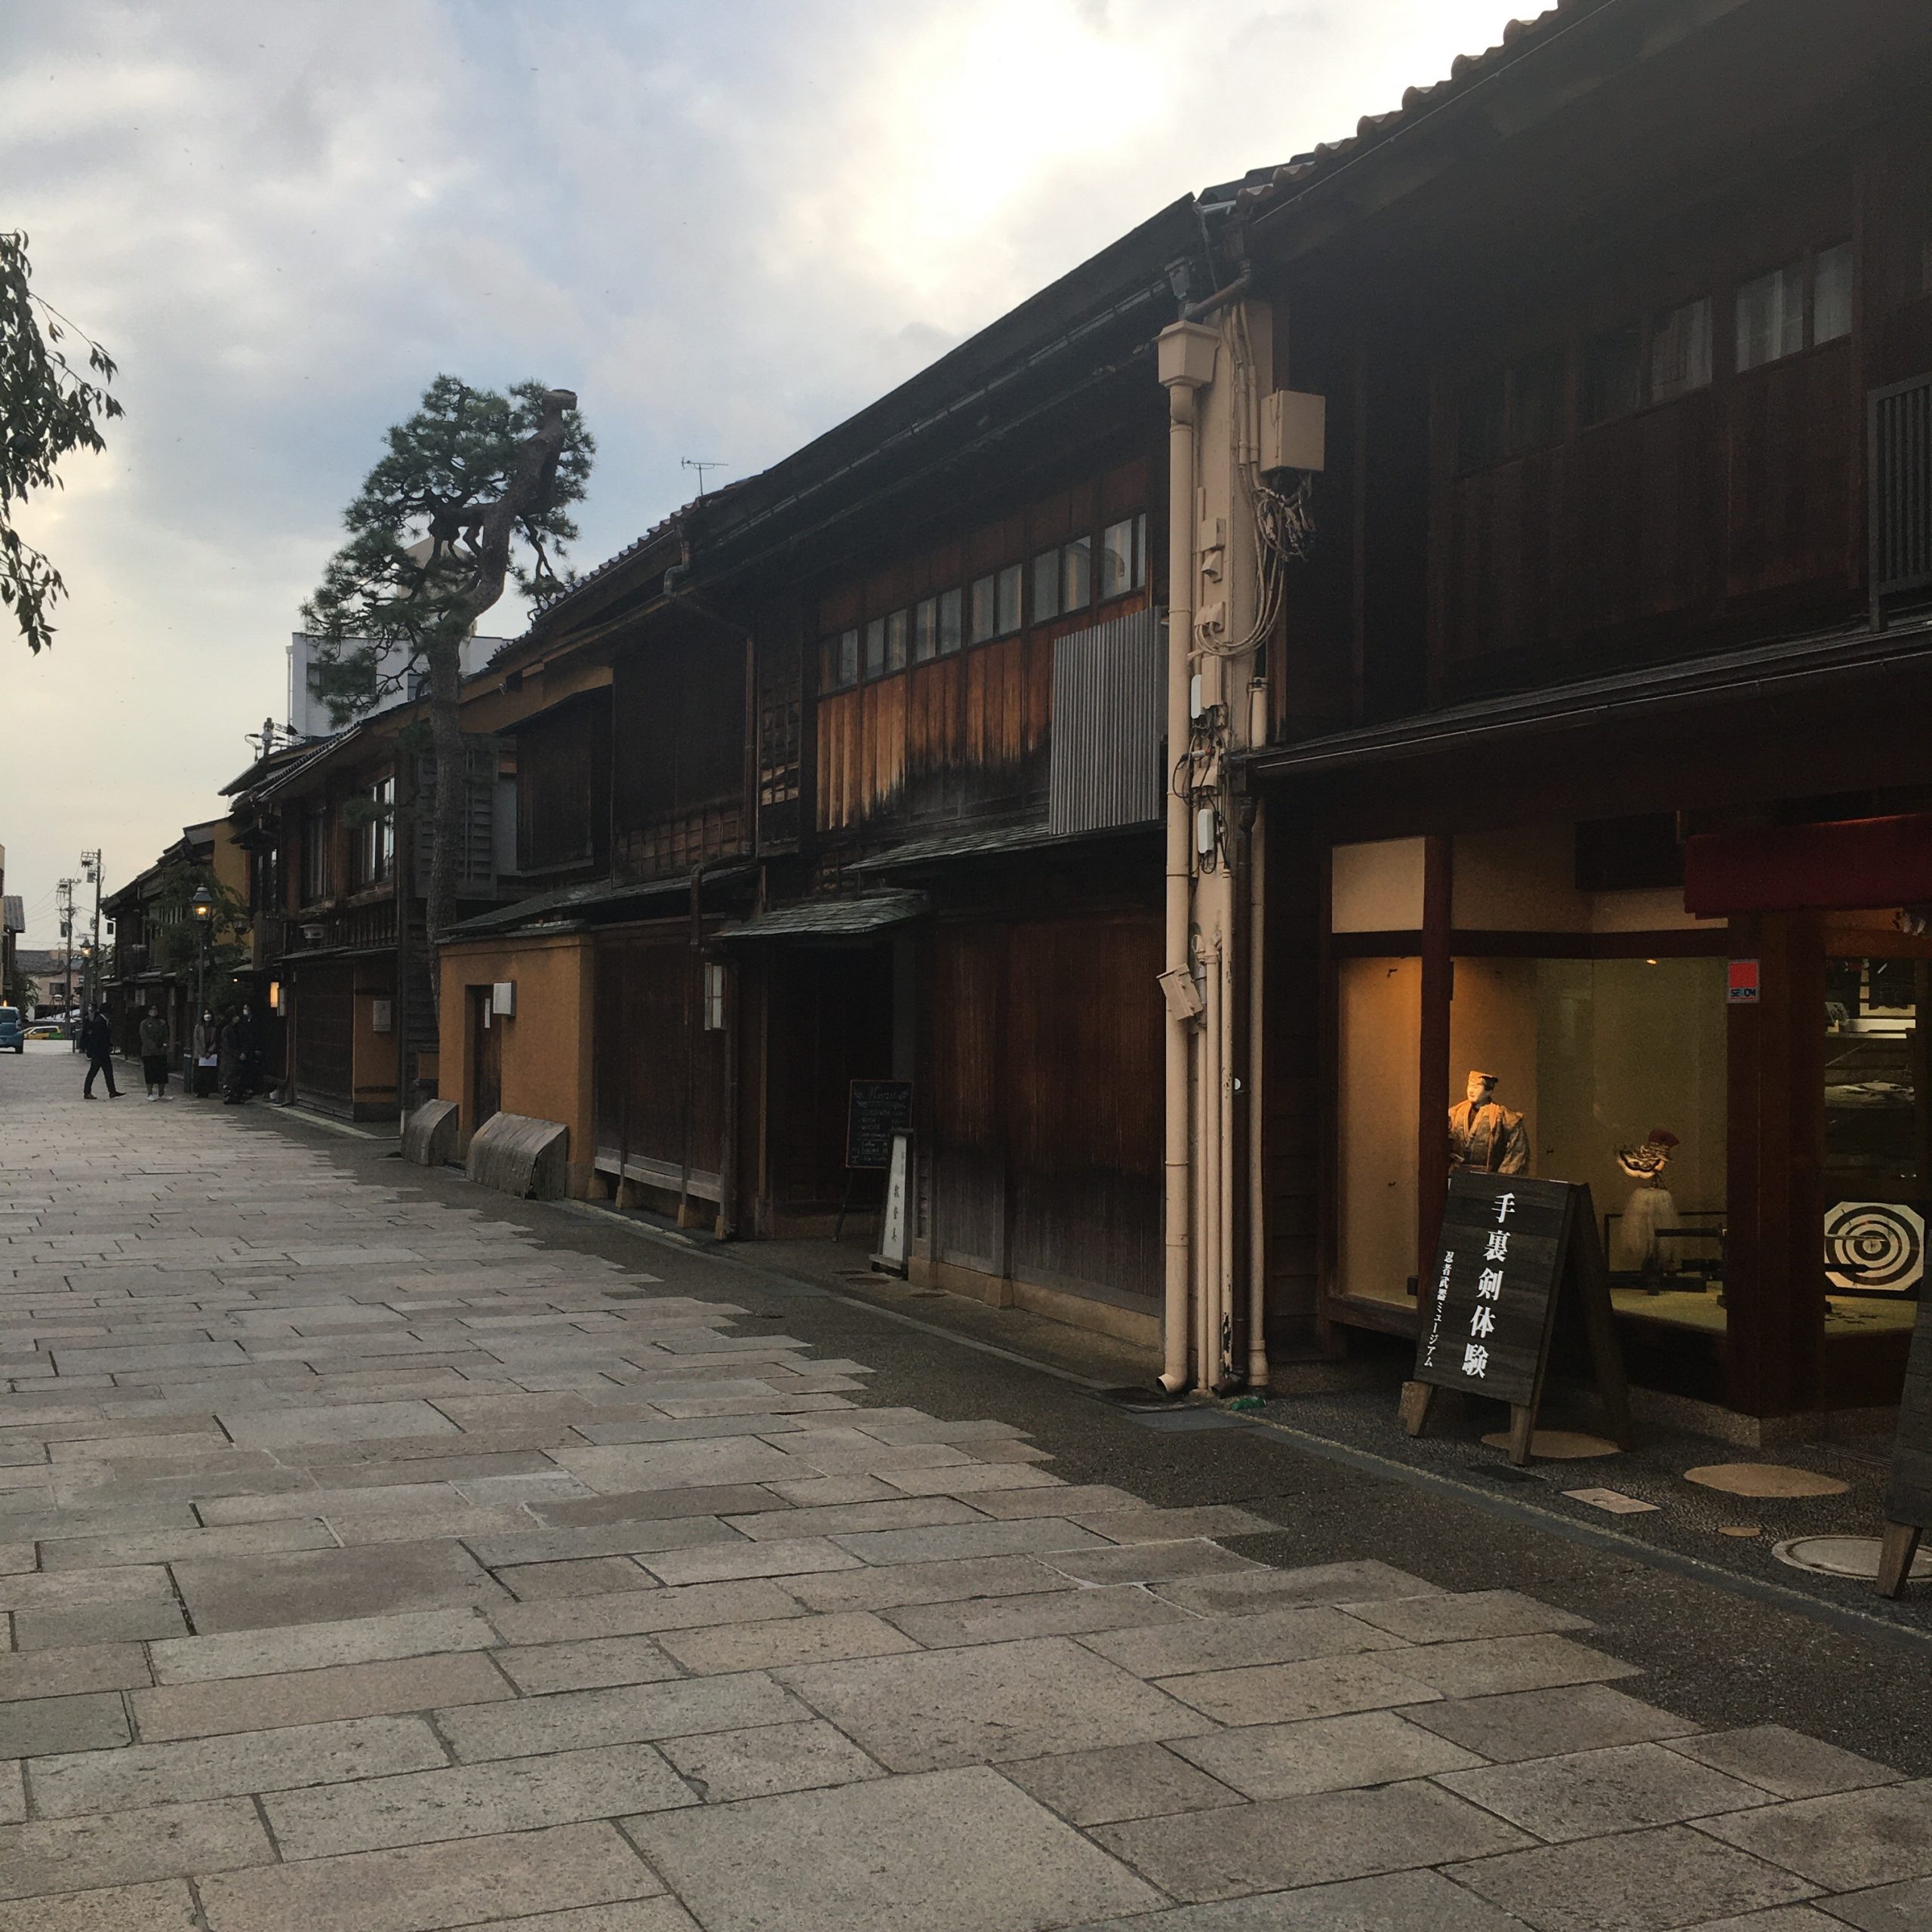
After the heat of the summer and before the crowds of international tourists flock the country again we decided to go for a short trip to Kanazawa. Our last visit was more than 10 years ago, before the Hokuriku shinkansen opened… we drove there and stopped to visit friends and Shirakawa-go at the time and stayed 3-4 days in Kanazawa. But I had a rather fresh memory of the city, the many places we visited already, the atmosphere of a rather rich and refined city. So this time we decided for a rather different program:

1. We rented a house not far from the main market to be able to enjoy all the local and fresh food Kanazawa and Noto offer.

2. We moved by bicycle around the city to expand the explorable territories and just enjoy riding in new surroundings, see further than the stuck in time places, where people actively live and work.

3. We put more focus on the contemporary scene visiting craft galleries and the beautiful 21st century museum for the Yves Klein exhibition chiefly (we skipped the permanent exhibits), since we already visited all the historical sights during our previous visit. And visited also the National craft gallery that moved from Tokyo to Kanazawa a few years ago.

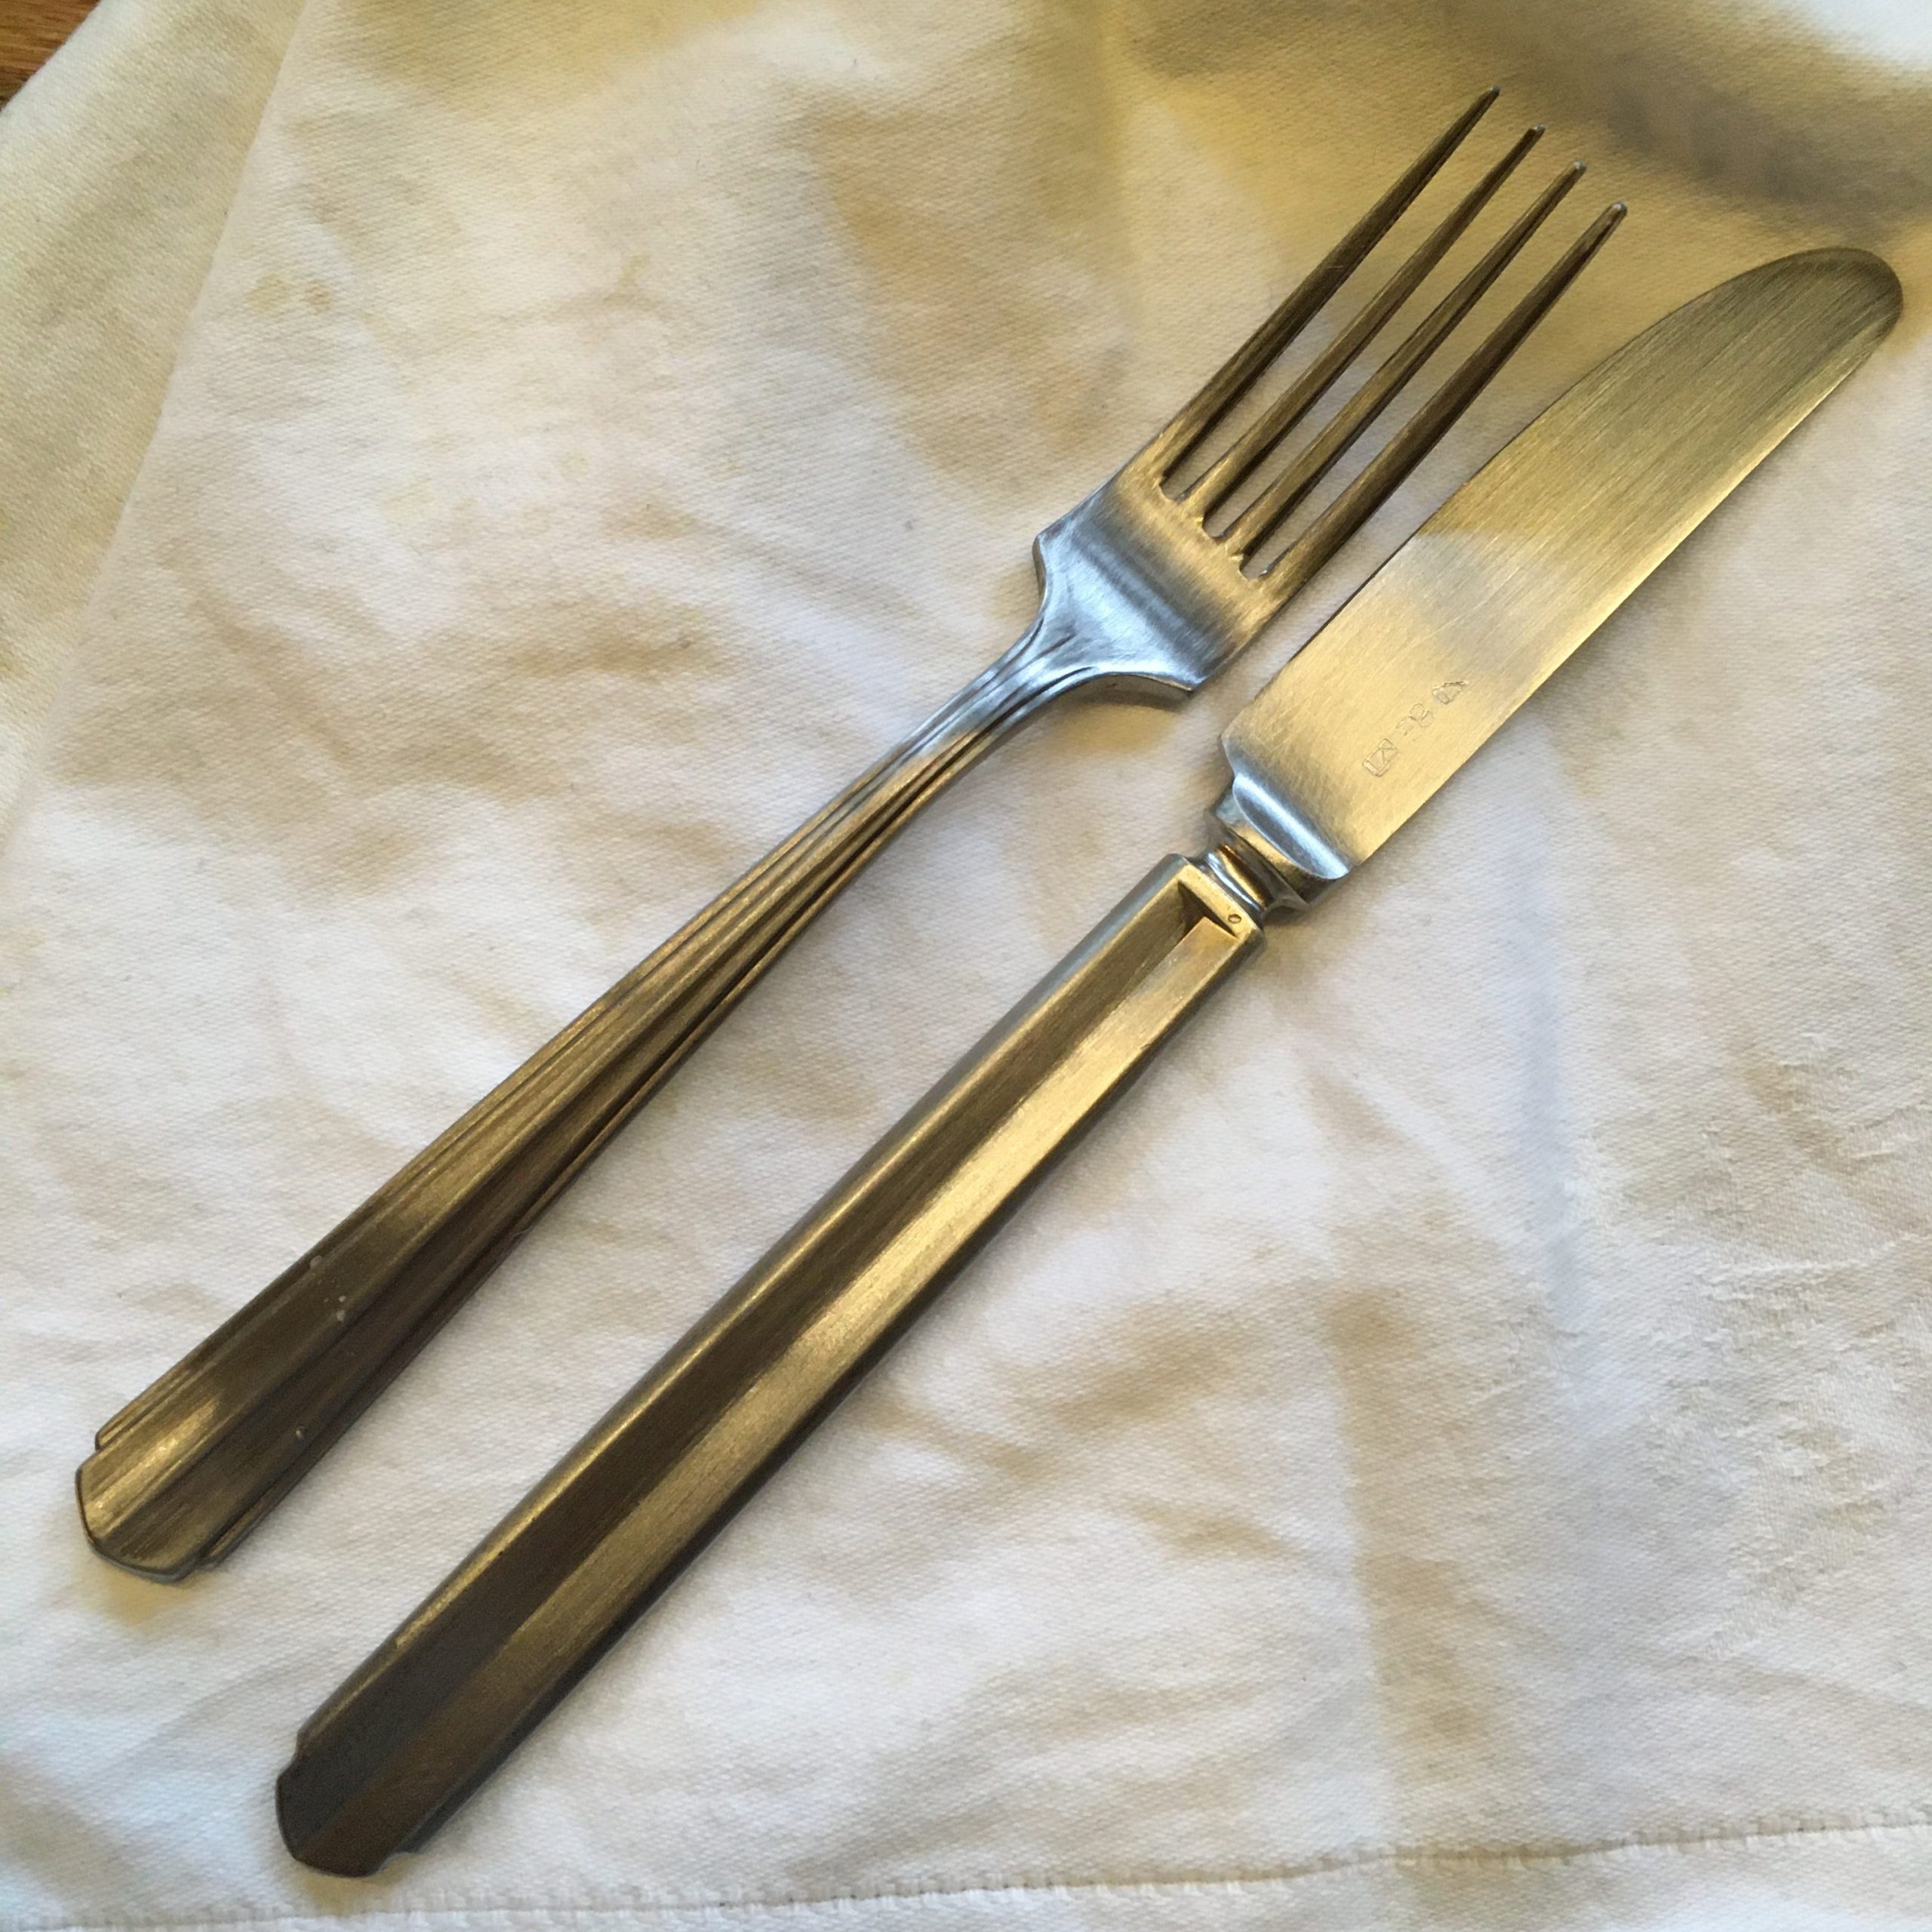
At gallery Kiku & Sayuu we incidentally found the same metal craftwork artists Yuichi Takemata, that we loved the first time we visited and where we had bought order-made spoons. This time we came back with sets of forks and knives. Also discovered Rei Camoy’s work, a great surprise and a new fancy.

Additionally we toured bakeries and cafes, and found the most exquisite bagels to-go and cookies for our breakfast at Hug mitten Works, up north of the city, a fairly uninteresting ride to a typical suburban area, but damn… the bagels were so good that it is my target ideal bagel next time I bake some.

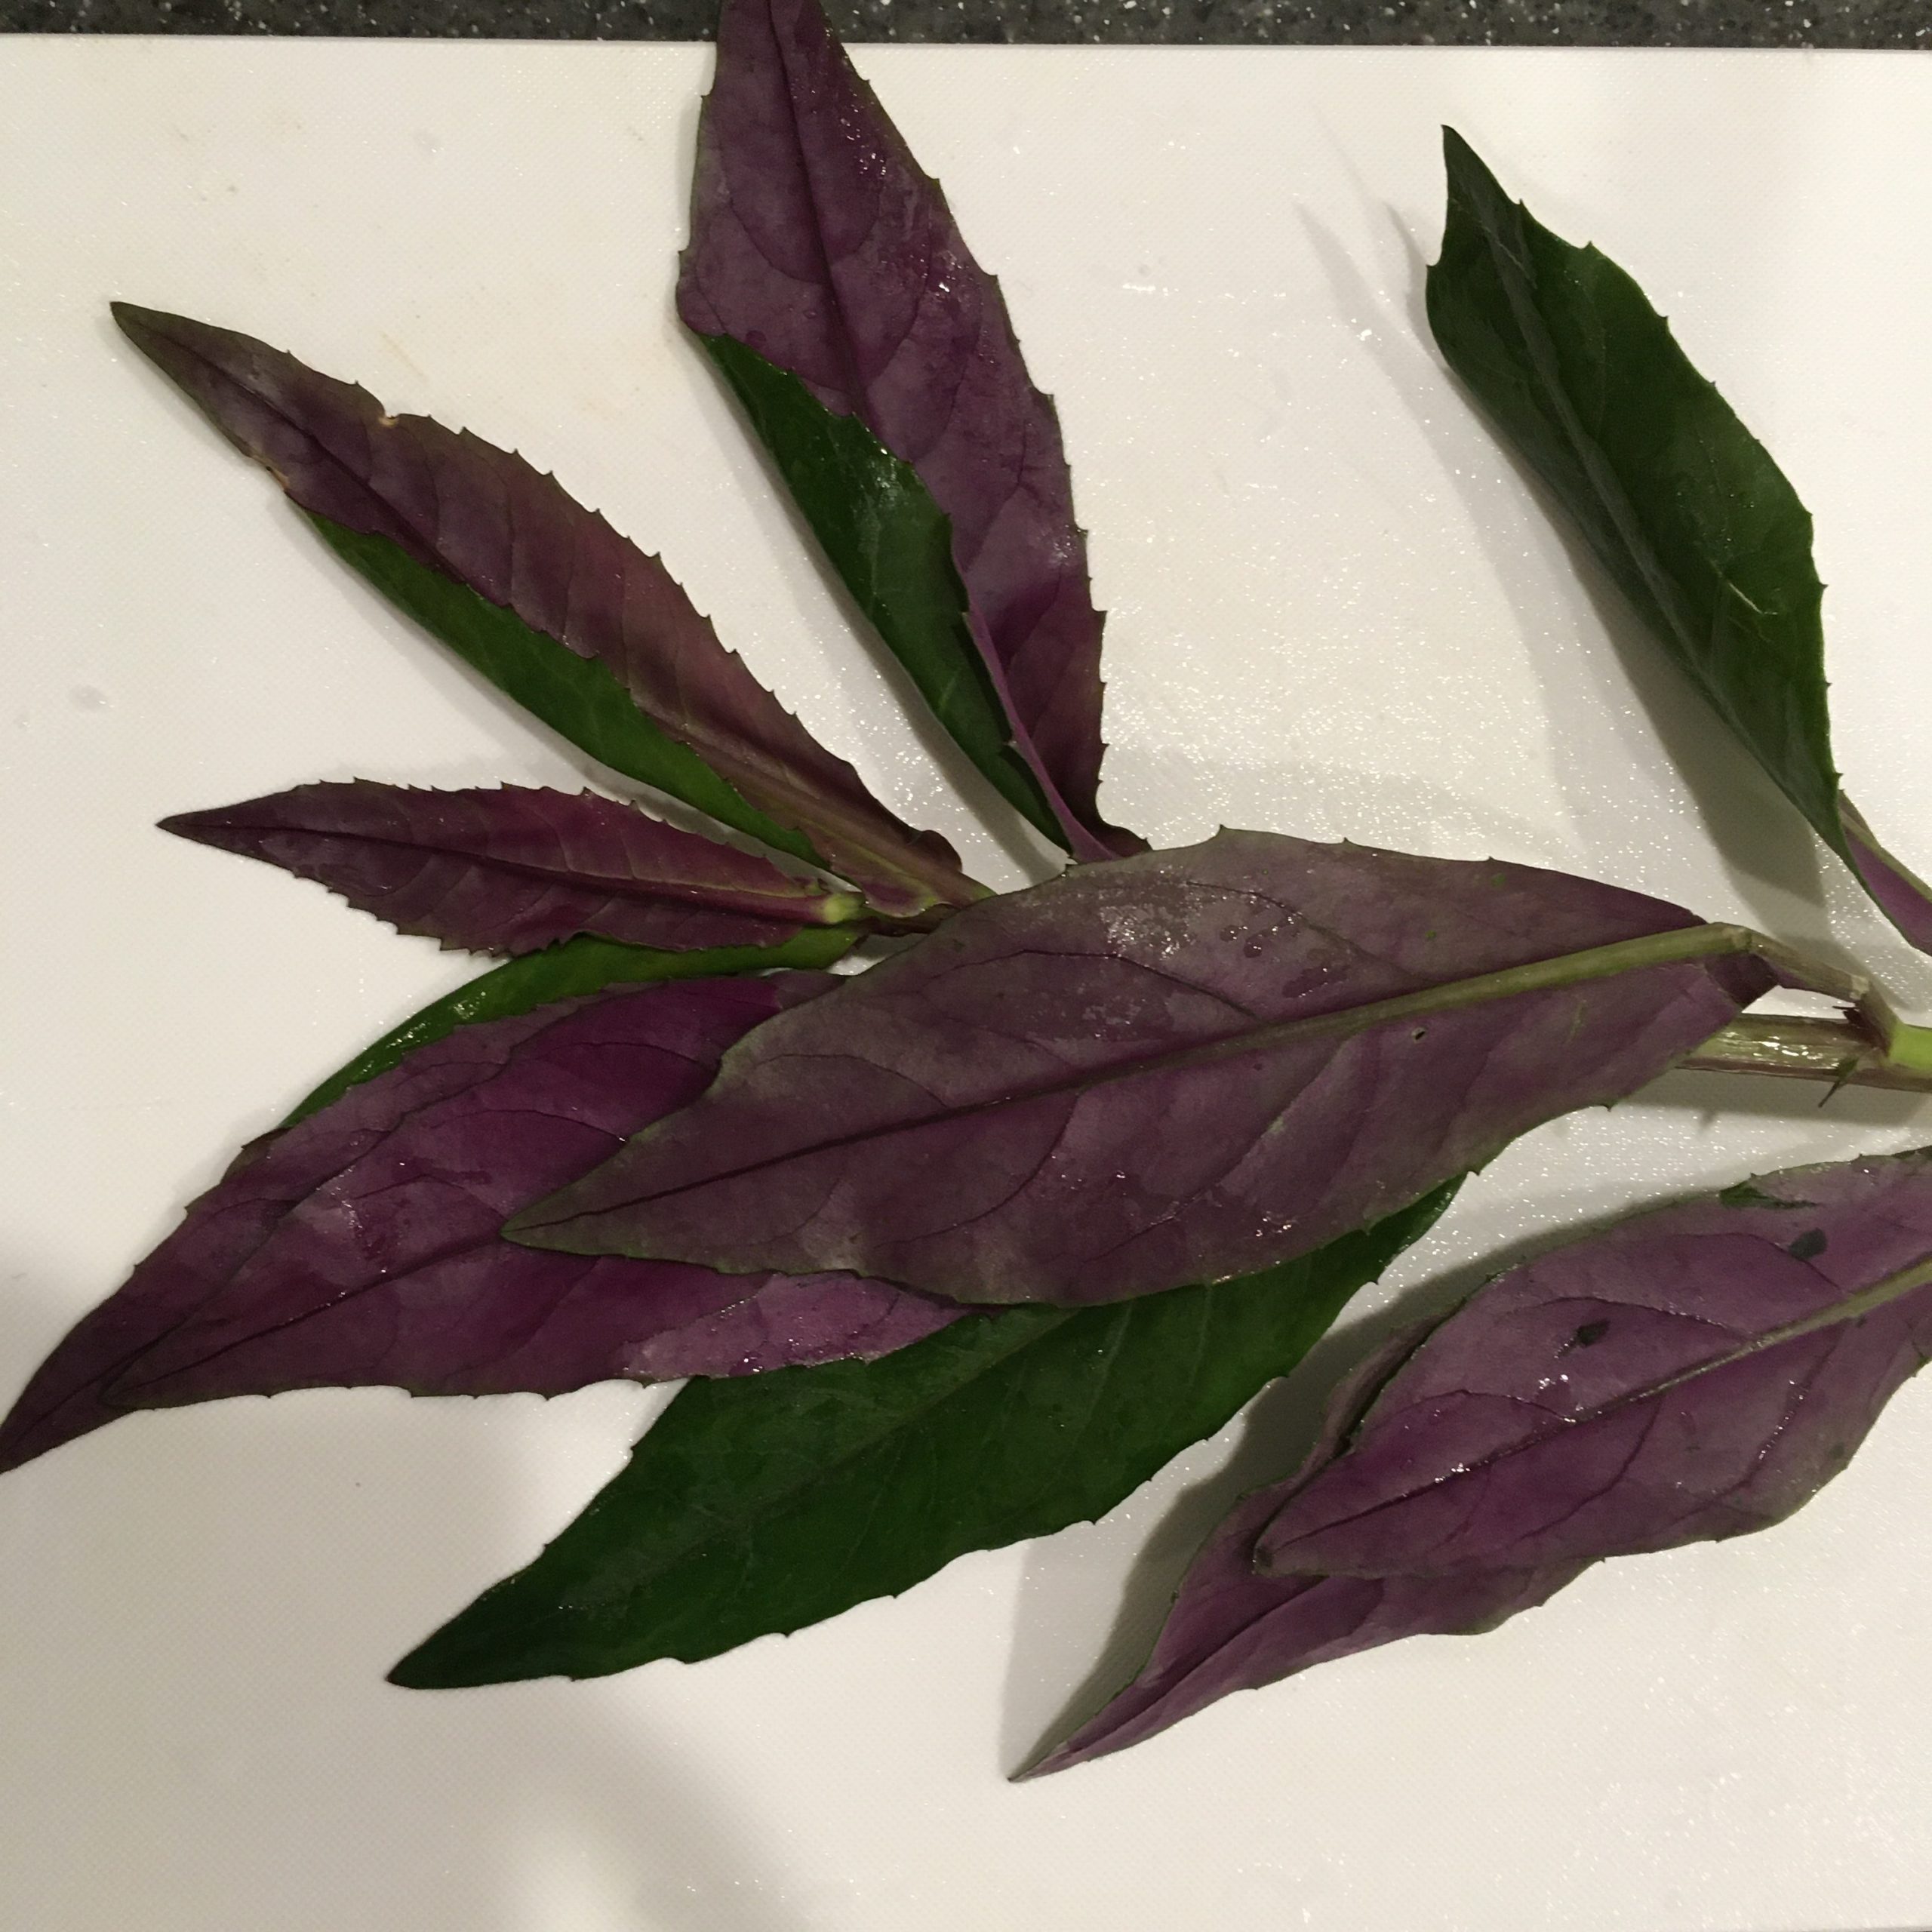
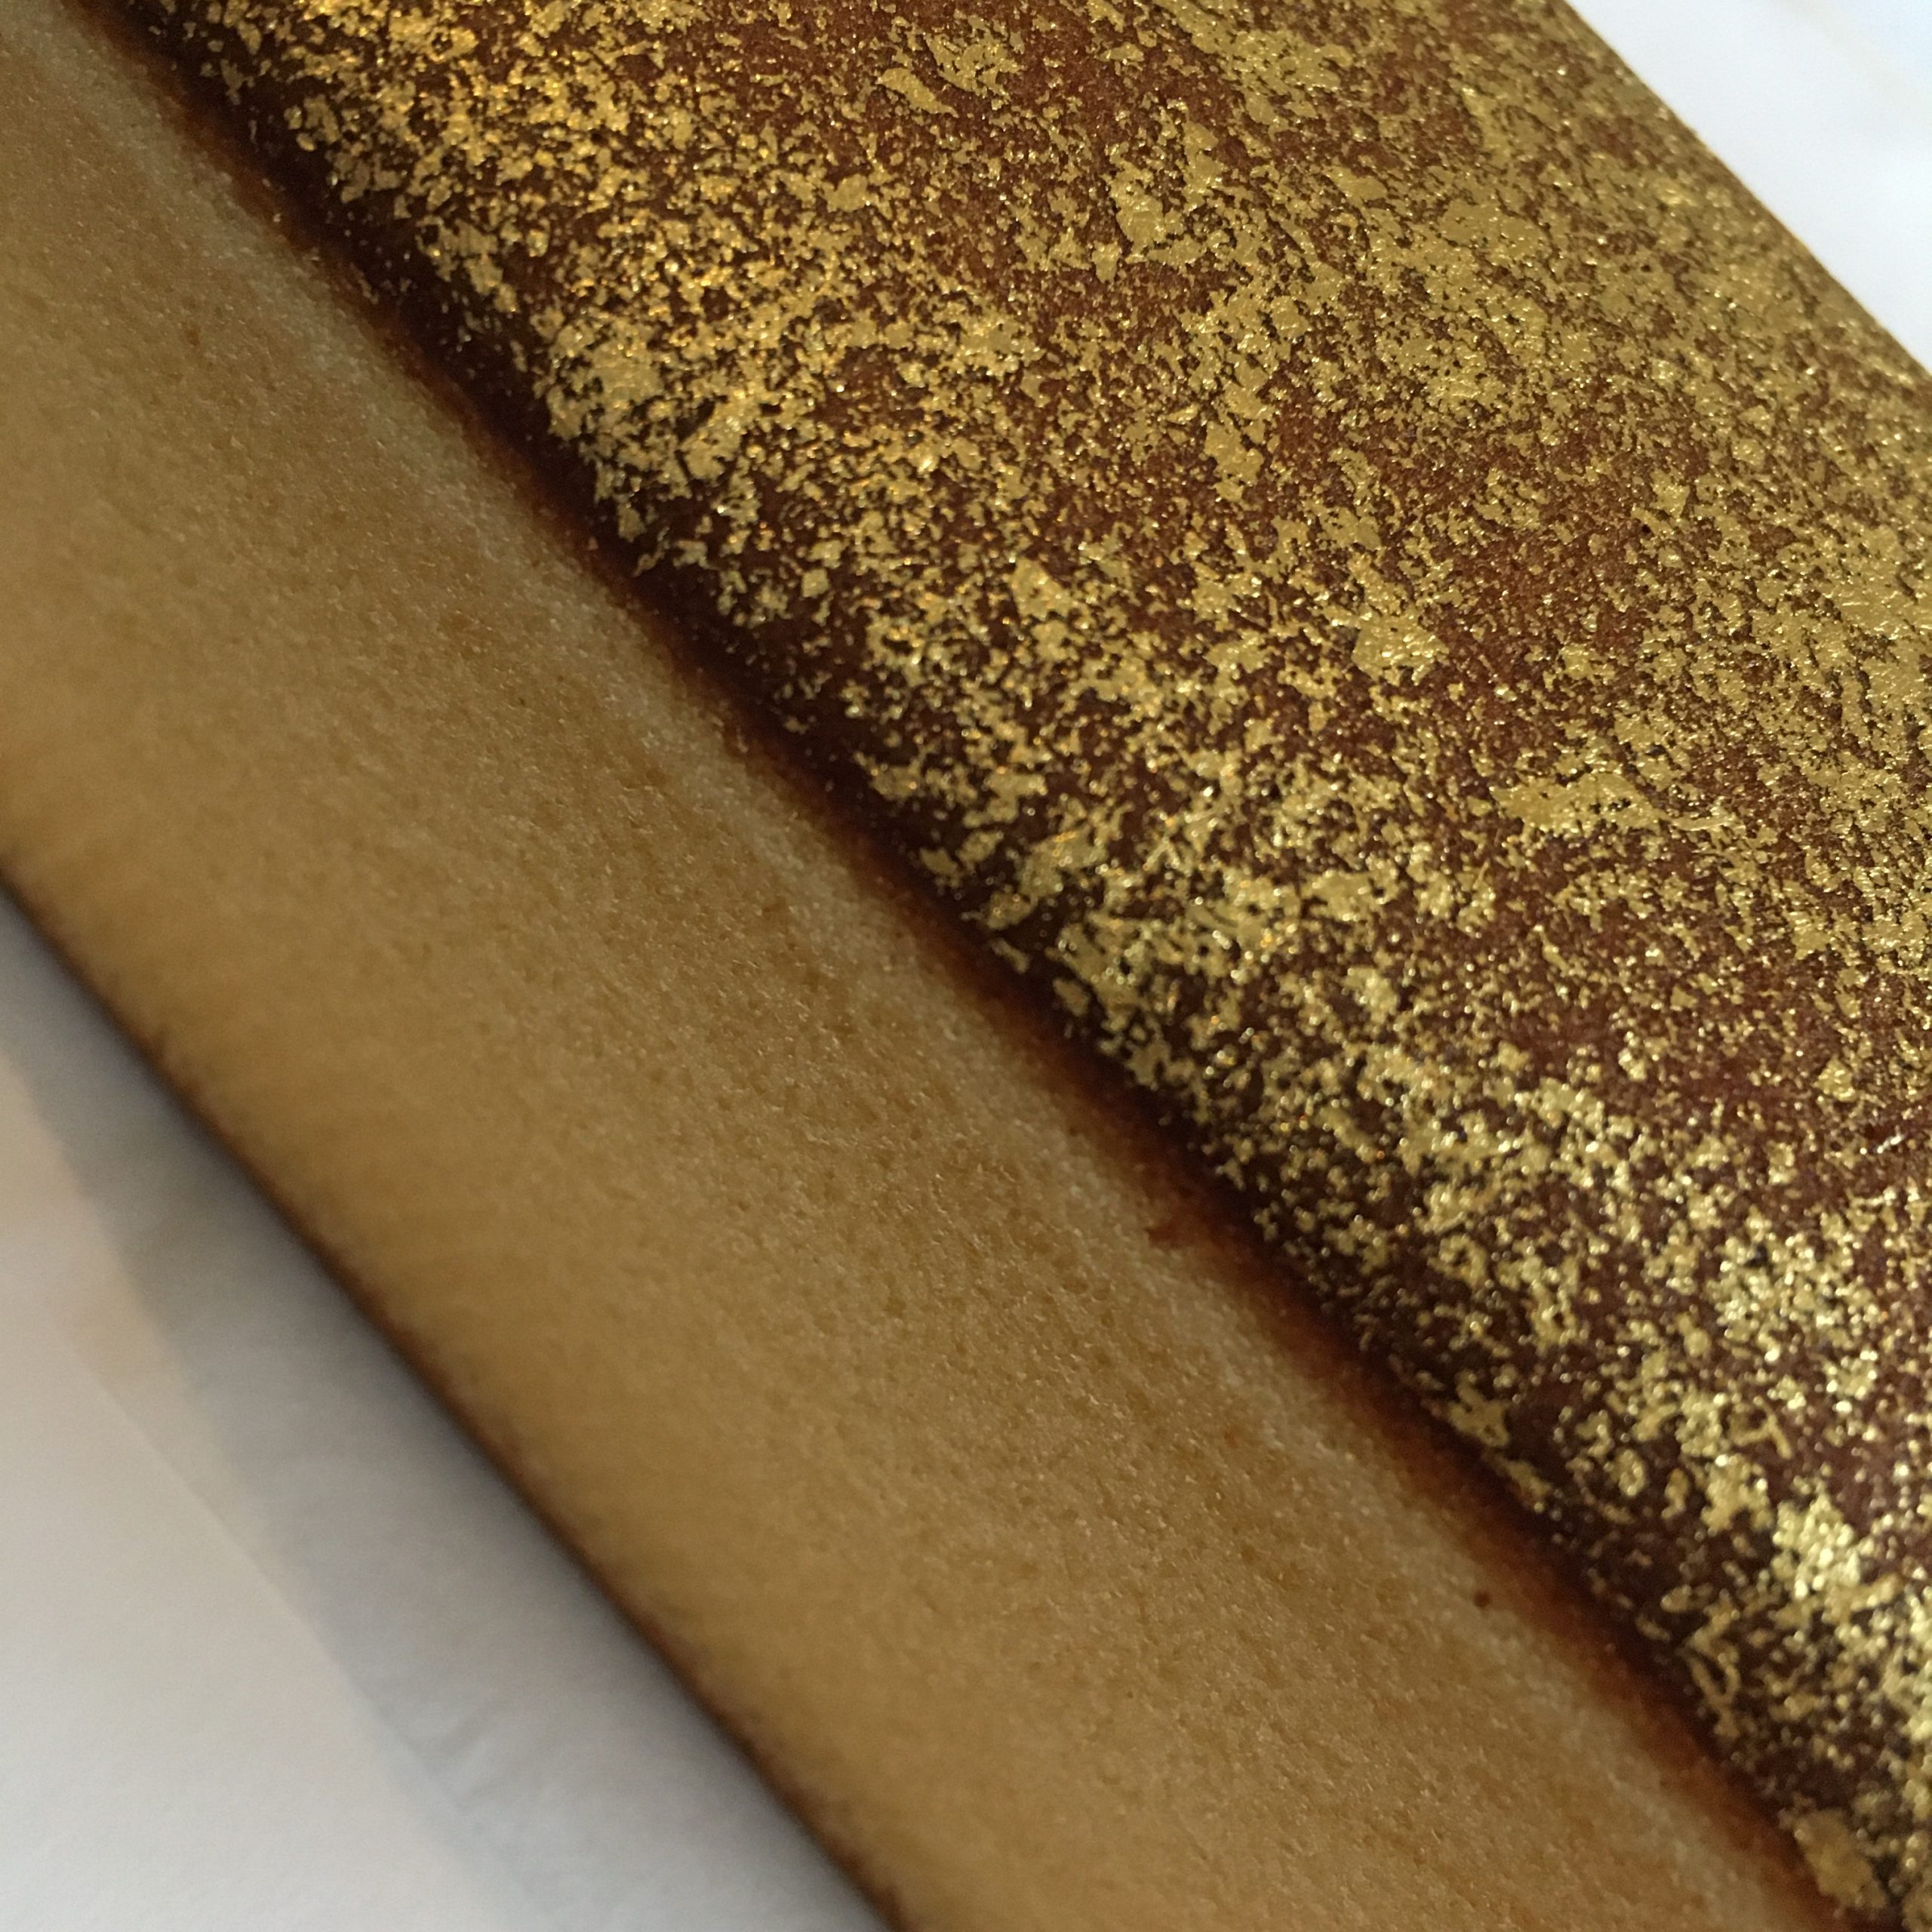
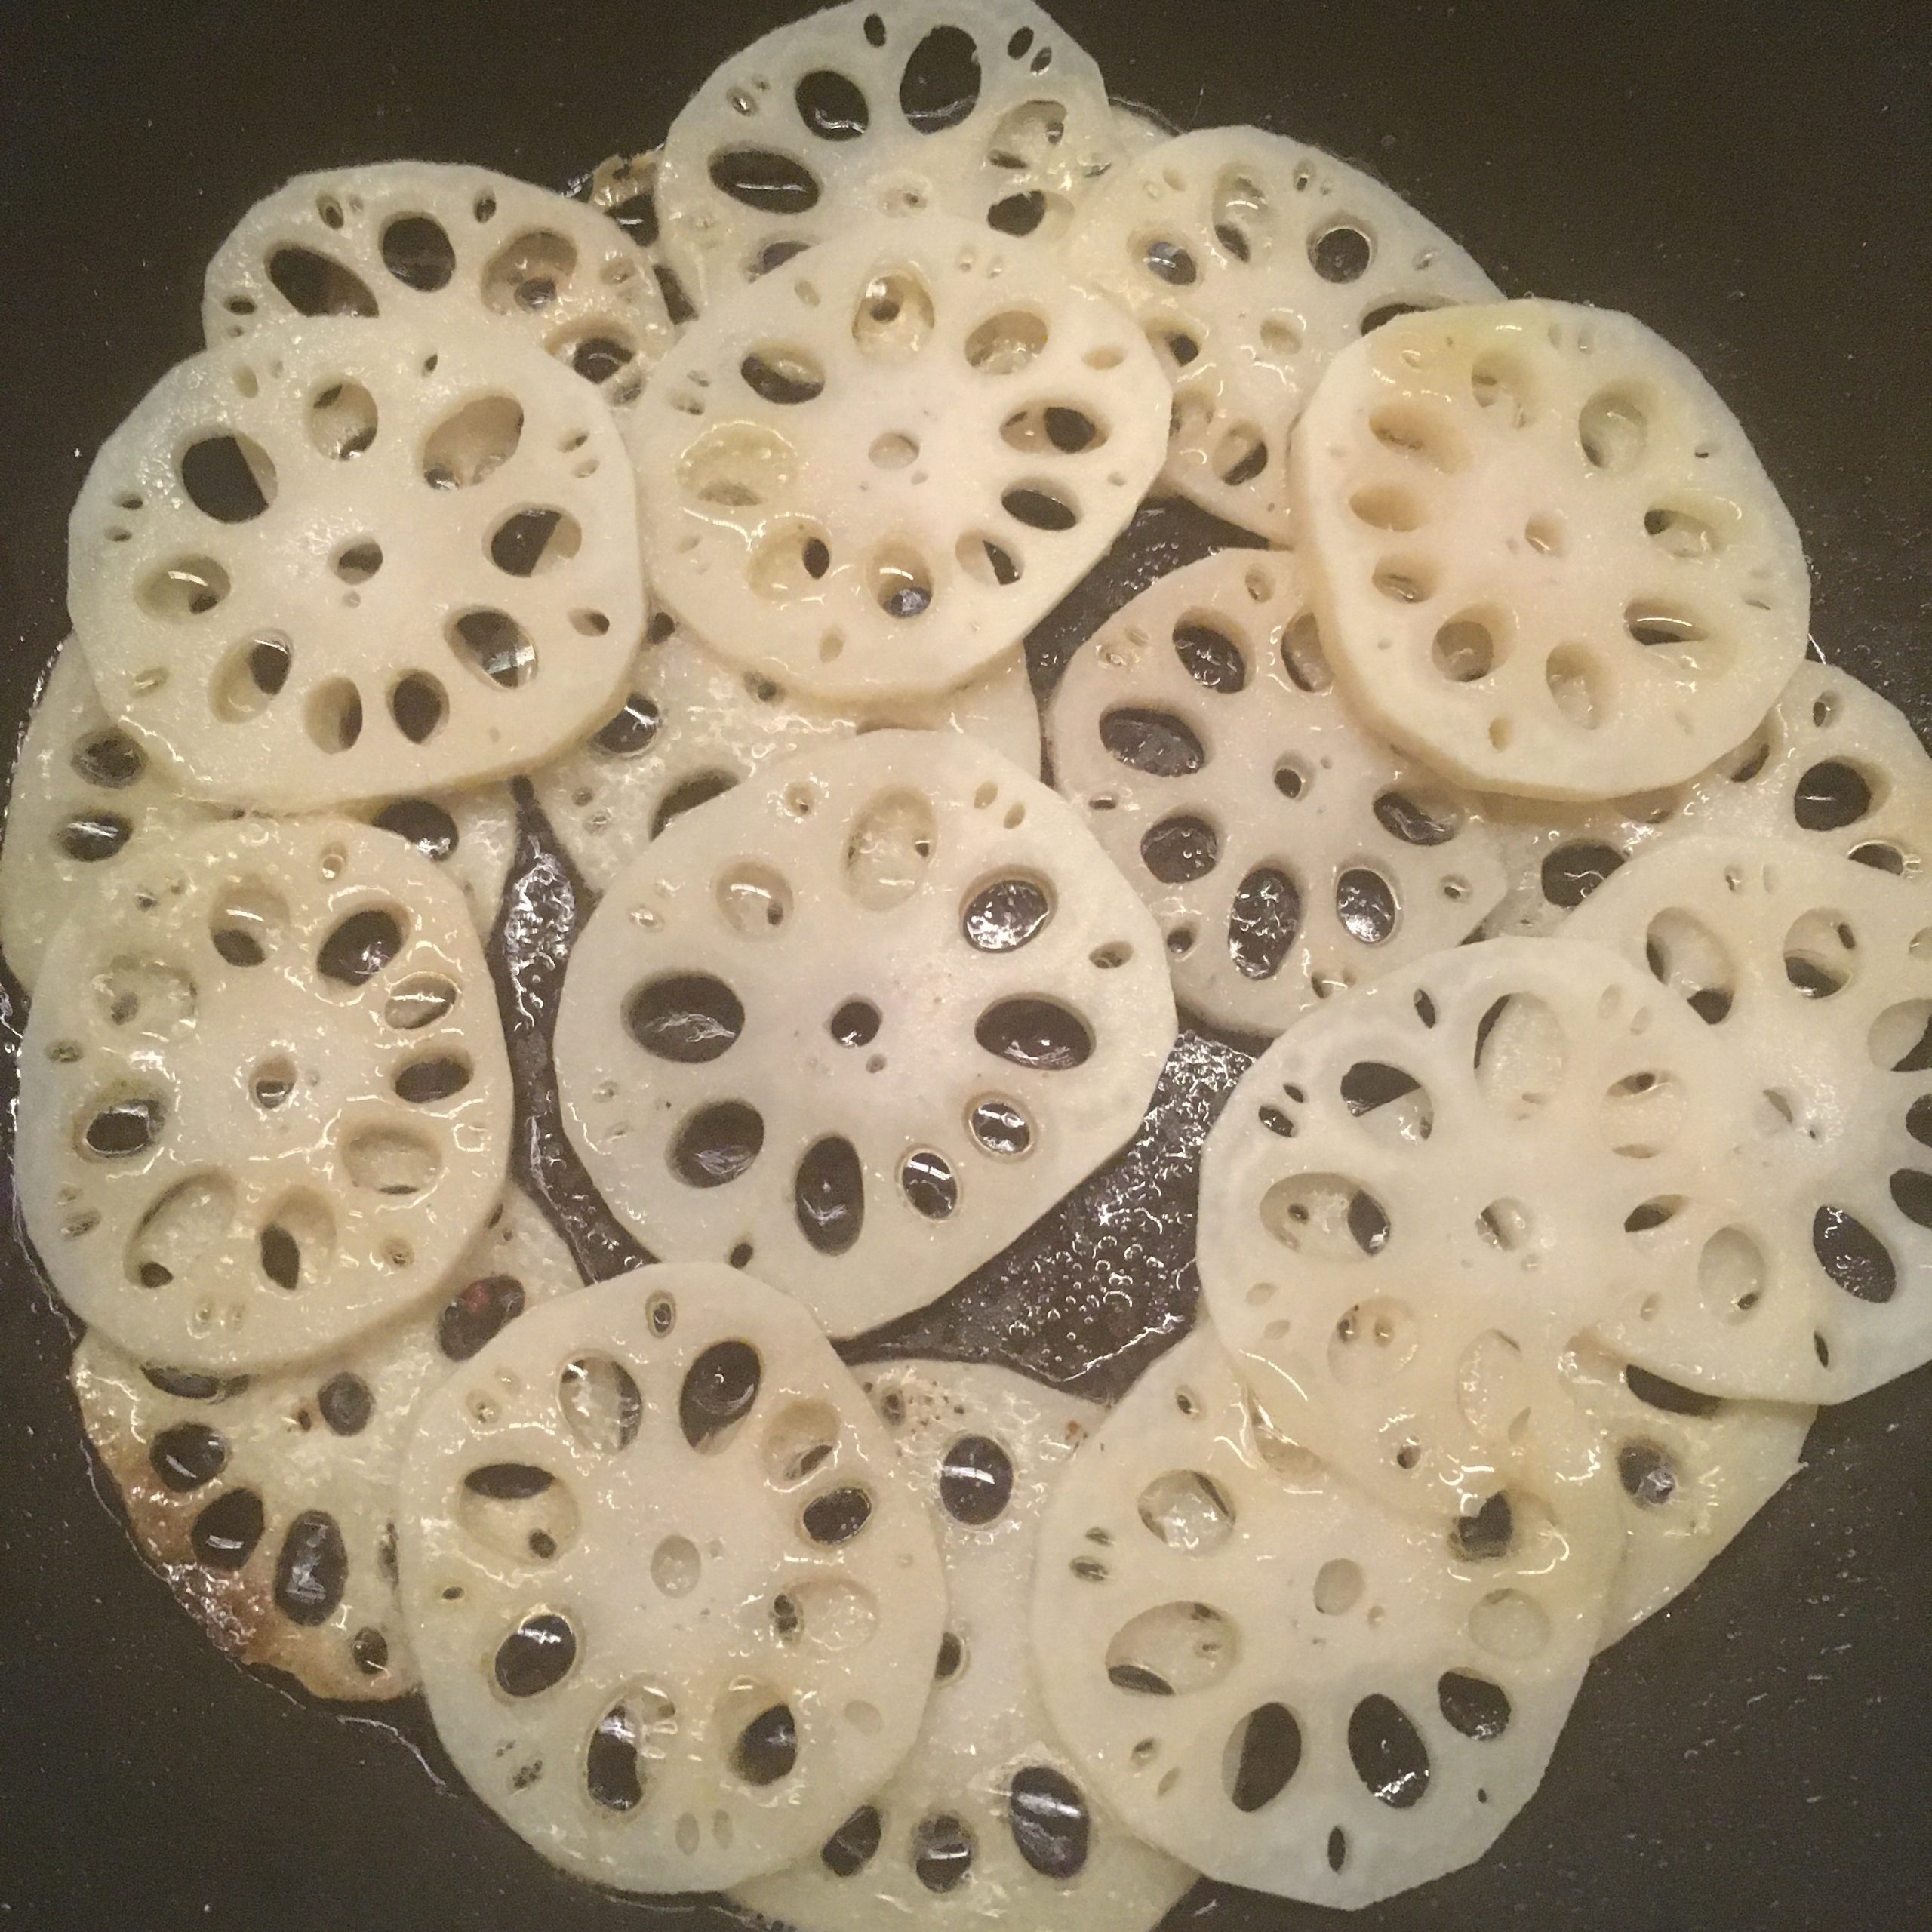
The market was a great fun, local green grocers too, with local products, fresh fish and vegetables. The region is famous for certain greens, such that gynura bicolor – 金時草 – kinjiso, lotus roots – 蓮根 – rencon, and propagule – ムカゴ – mukago (recipe coming soon). And of course, a few local Japanese sweets… we couldn’t resist to have gold leaf covered castella in the city famous for its gold leaf fabrication.

My summer favorite: edamame paste and pasta

The summer is slowly reaching its end and the end of summer vegetables start to arrive such as butternut squash and kabocha, but before the summer ends for real, let’s enjoy a little more the summer vegetables: eggplants, cucumber, edamame and jute mallow…

The endless discoveries

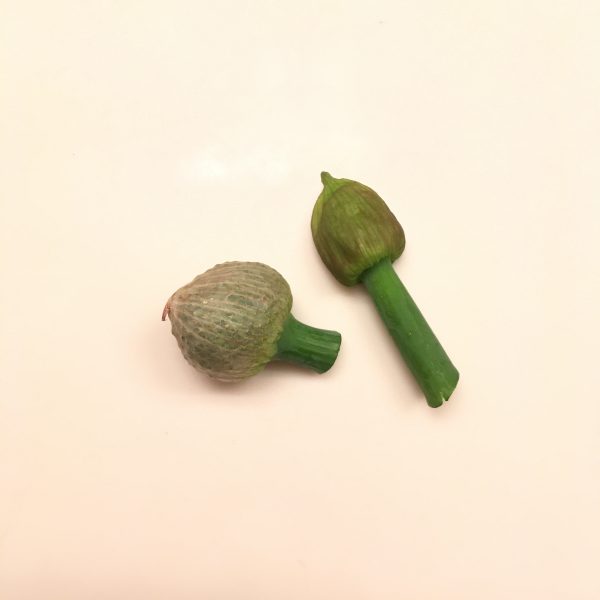
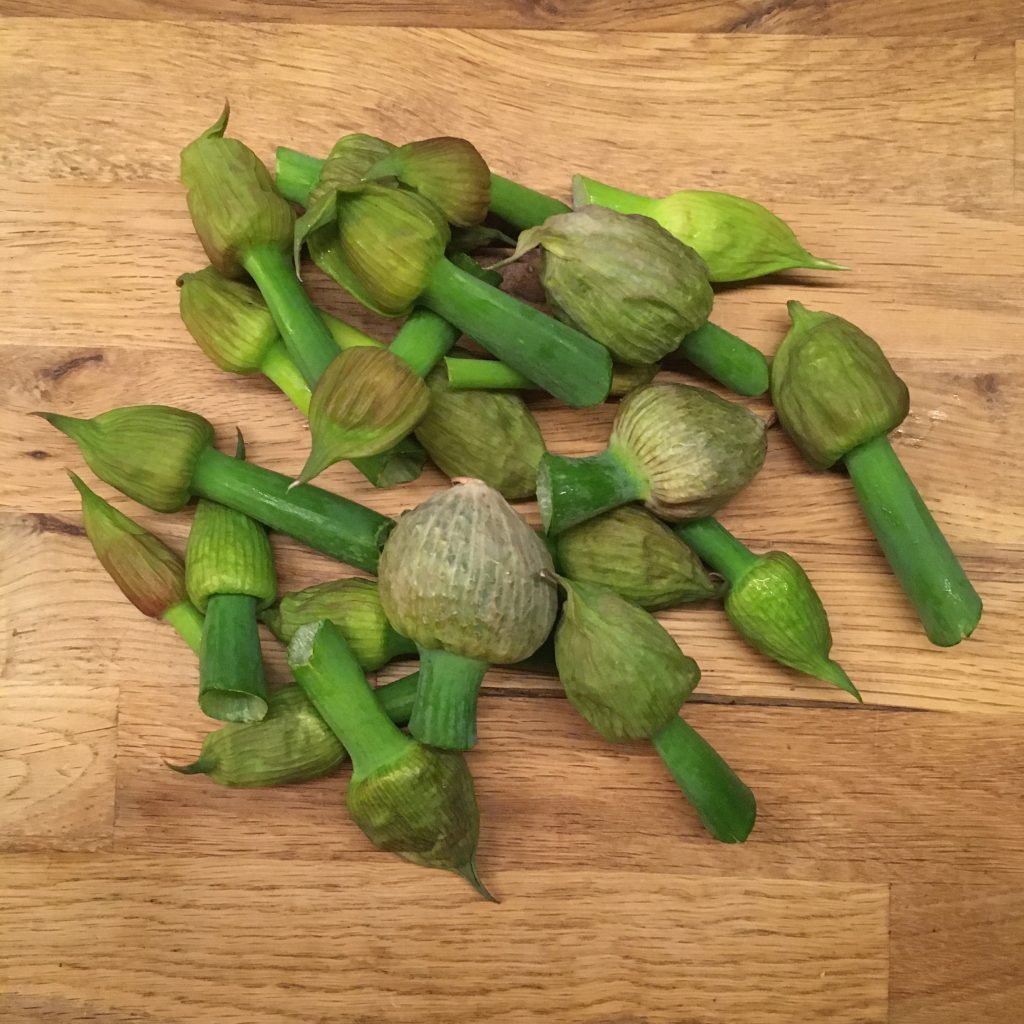
There is no need to go far to discover new things and in particular when it comes to food, there is always something new and curious to discover at the farmers market. You just need to look around and you’ll surely find something you haven’t seen before. This time I found negibosu 葱坊主 leek’s flower buds. You can often spot the beautiful flowers in kitchen gardens in the spring, they are amazing ornaments. But I never guessed that would be edible, and that even you would be able to buy them in the bud version at the farmers market. But it is!

So here I am with my negibosu… I thoughts immediately that tempura would be an appropriate recipe. For some reasons, tempura always work well with any green, even with strong flavors: fukinoto is a good example. But what else… and would actually negibosu be strong in flavors? So I browsed a bit the net. Nothing came out neither in French nor in English but for the fully blossomed leek flowers. It was of no help, so I turned to Japanese and bingo! Negibosu have a significant number of entries in cookpad, more than half of them being…

Tempura of course… hum… not helping much either… digging a bit more I finally found the other classic Japanese recipe to accommodate greens: miso ae. Miso ae, in my opinion, works better with creamy miso, the one I have, that I make, is more granular and won’t work as good… one recipe in the end attracted my attention: a goma ae one. So I decided to go for this one, well, my way though. (and the tempura… just in case!!)

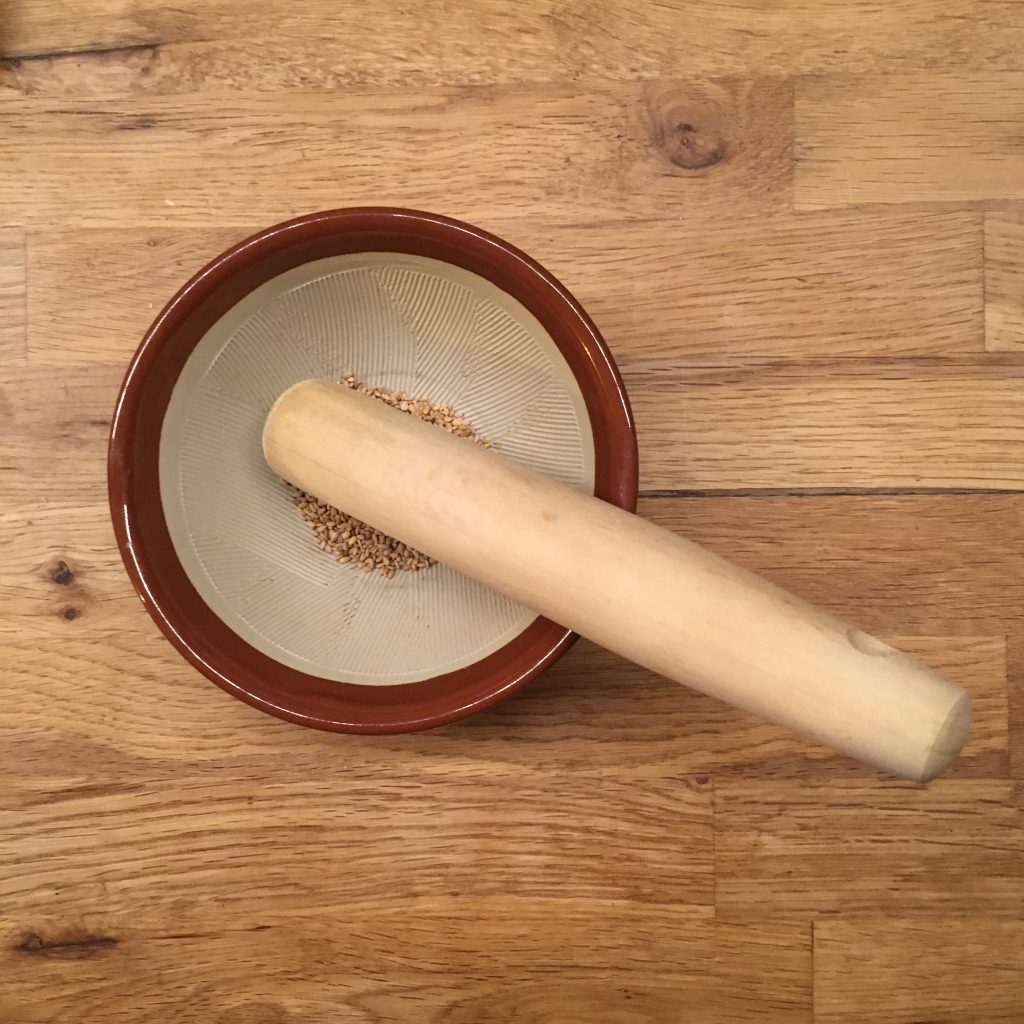
So here’s my recipe of goma ae. Suri goma すり胡麻 is ground sesame powder. It’s very easy to make from the sesame seeds, or to buy already powdered.

Making ground sesame: suri goma

Negibosu goma ae (2 servings)

  • A dozen of leek flower buds
  • 1tbs of sesame seeds
  • 1tbs of soya sauce
  • 1tsp of brown sugar

Wash the negibosu, remove the hard part if any, and blanche for a few minutes. Drain and pat dry.

Blanching negibosu

Once cool enough, cut in tiny bite size.

In a mortar, crush the sesame seeds with a pillar to obtain a paste. Add the sugar and soya sauce and stir. Add to the negibosu, stir and that’s ready!! Yes, it’s that simple and you’ll see it’s delicious!!!! Enjoy!

Final result!!!

Never tired of bamboo shoots

The season for bamboo shoots in Chiba has started just a few weeks ago… juggling between bad weather, and cold days, we went once to search for some with our neighbors but were not lucky enough to find any. Too early for that side of the area. Probably a few wild boar were also quick enough to come before us and dig to pick their own. But it doesn’t matter, we have friends who have friends who have bamboo shoots. And so I ended up with 2 beautiful shoots. I didn’t have time to prepare them in The country, so I took them with us to Tokyo. What a mess to prepare them in my pocket kitchen! But what a reward to eat them!!! I never regret!

This year, after a classic bamboo shoots rice, back then when my parents were visiting, I decided to go with a few different and more creative recipes. I prepared two different recipes. One is a simple sautéed version. So delicious I had to do a second batch! The second is a recipe of steamed buns. Last year I made eagle fern and bamboos shoot ones, but as I am getting better at making buns, I felt it is worth sharing this one!

Both recipes assume that you have a parboiled bamboo shoot. For picking and parboiling look at my earlier post here.

Sautéed bamboo shoots

  • 1 bamboo shoot fresh and parboiled
  • 1tsp of cooking oil
  • salt and pepper as you like

Cut the bamboo shoot in 4 vertically. Slice each quarter. In a fry pan heat the oil. The add the shoots sliced. Cook until golden, flip on the other side, cook until golden. Sprinkle salt and ground pepper and serve immediately.

Steamed buns (make 8 small, perfect for 2 people as main)

  • 150g of flour
  • 1tsp of baking soda
  • 1 pinch of salt
  • Water
  • 1/2 bamboo shoot
  • 100g of pork fillet (leftover are perfect)
  • Soya sauce
  • Mustard

First prepare the dough by mixing the flour, baking soda, salt and add water little by little until obtaining a smooth dough. Put under a wet cloth and let it rest at least 30min. More is better.

Cook the pork filet if not yet cooked. Simply, in a pan with pepper. Then chop finely.

Chop the bamboo shoot in coarse manner. You want chunks to remain as it will bring the contrast between the smooth dough and meat and the crunchy bamboo. However, if too coarse, filling the buns will be hell. So 3-8mm is a good target.

In a bowl mix the chopped bamboo shoot, the pork, add 1tsp of soya sauce and stir well.

Back to the dough now. Cut in 8 pieces. Make balls and roll with a rolling pin into 12-15cm diameter circle. Put a large spoon if filling in and close the dough. I don’t have a very good technique, but it works well when I first fold in two then fold in the orthogonal direction, then I add fold in each quadrant. For this specific recipe instead of cooking them folds up, I flipped them to hold the folds under. Then steam for 15min. Serve with soya sauce and mustard and enjoy!

End of winter recipe

It was 13 years since I left Tokyo University for Tokyo University of Agriculture and Technology, and started my own research lab. The beginnings were hard but the past few years I really reached a stable balance… maybe too much balance… it was time to change… I’m back at the university of Tokyo… and starting from 0 again!!! You may call me crazy but I need some challenges to feel good. So as you can imagine the transition is keeping me busy and I don’t have much time to spend in the kitchen. Even though…

I can’t help spending 10min to prepare something to eat, and improvise a little new recipe with what was in the fridge: tiny potatoes, komatsuna and eggs. The preparation is very simple, it takes just a bit of time to cook it, which is perfect, hands are free to work!!!

Komatsuna jagga 小松菜じゃが (2 servings as full course)

  • 10 small potatoes
  • 3-5 bundles of komatsuna
  • 1 piece of thin aburage
  • 20g of katsuobushi flakes
  • 2tbs of soya sauce
  • 1tsp of oil
  • 2 eggs (optional)

Peel the potatoes and slice them, wash the komatsuna and cut them 2cm long. Slice thinly the aburage. In a greased (with the oil) pan put the potatoes and komatsuna and cook at high heat for 2min. Then add the aburage and cover with water, add the katsuobushi flakes, the soya sauce, and the eggs, stir well and cover. Let cook for 10min or until the potatoes are soft. You can serve as a soup or remove the cover and let the liquid evaporates before serving. Eat hot, because spring may be around the corner, evenings are still cold!!!

Proudly powered by WordPress | Theme: Baskerville 2 by Anders Noren.

Up ↑

Verified by MonsterInsights