How quick…

Not enough time to do all the things I want to do… and in a snap it’s already mid December…

Busy days follow busy days… the excitement of all the things I do leaves me quite resourceless and for the first time in quite a while I feel tired. Tired of so many things undone, tired of running after time, tired because of too little sleep. I am normally a heavy sleeper. If I dont sleep 7-8h I physically can feel it and I am underperforming. For the first time in quite a while I had a nap on Saturday afternoon. It was rainy and cold, perfect to just let it go… Just 20min but my body and my mind were craving for it. It gave me new strength to start again!

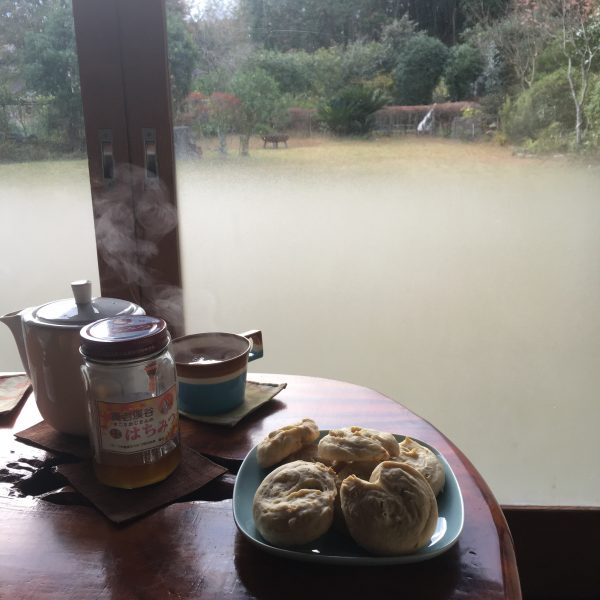
I started by baking pompes a l’huile for ourselves and to give away to friends. December is definitely the time to bake pompes a l’huile, this Provence traditional sweet bread we eat for Christmas. And it’s really easy to make and bake, and so easy to eat, so making several at the same time is probably a good idea!

The recipe is quite simple. I posted it quite some time ago. I made a few variation this time. Used a little less olive oil (believe it or not, I ran out of olive oil!!!) and I used the zest of a tangerine from the garden!

This was a great success! Everyone loves pompe a l’huile!!!
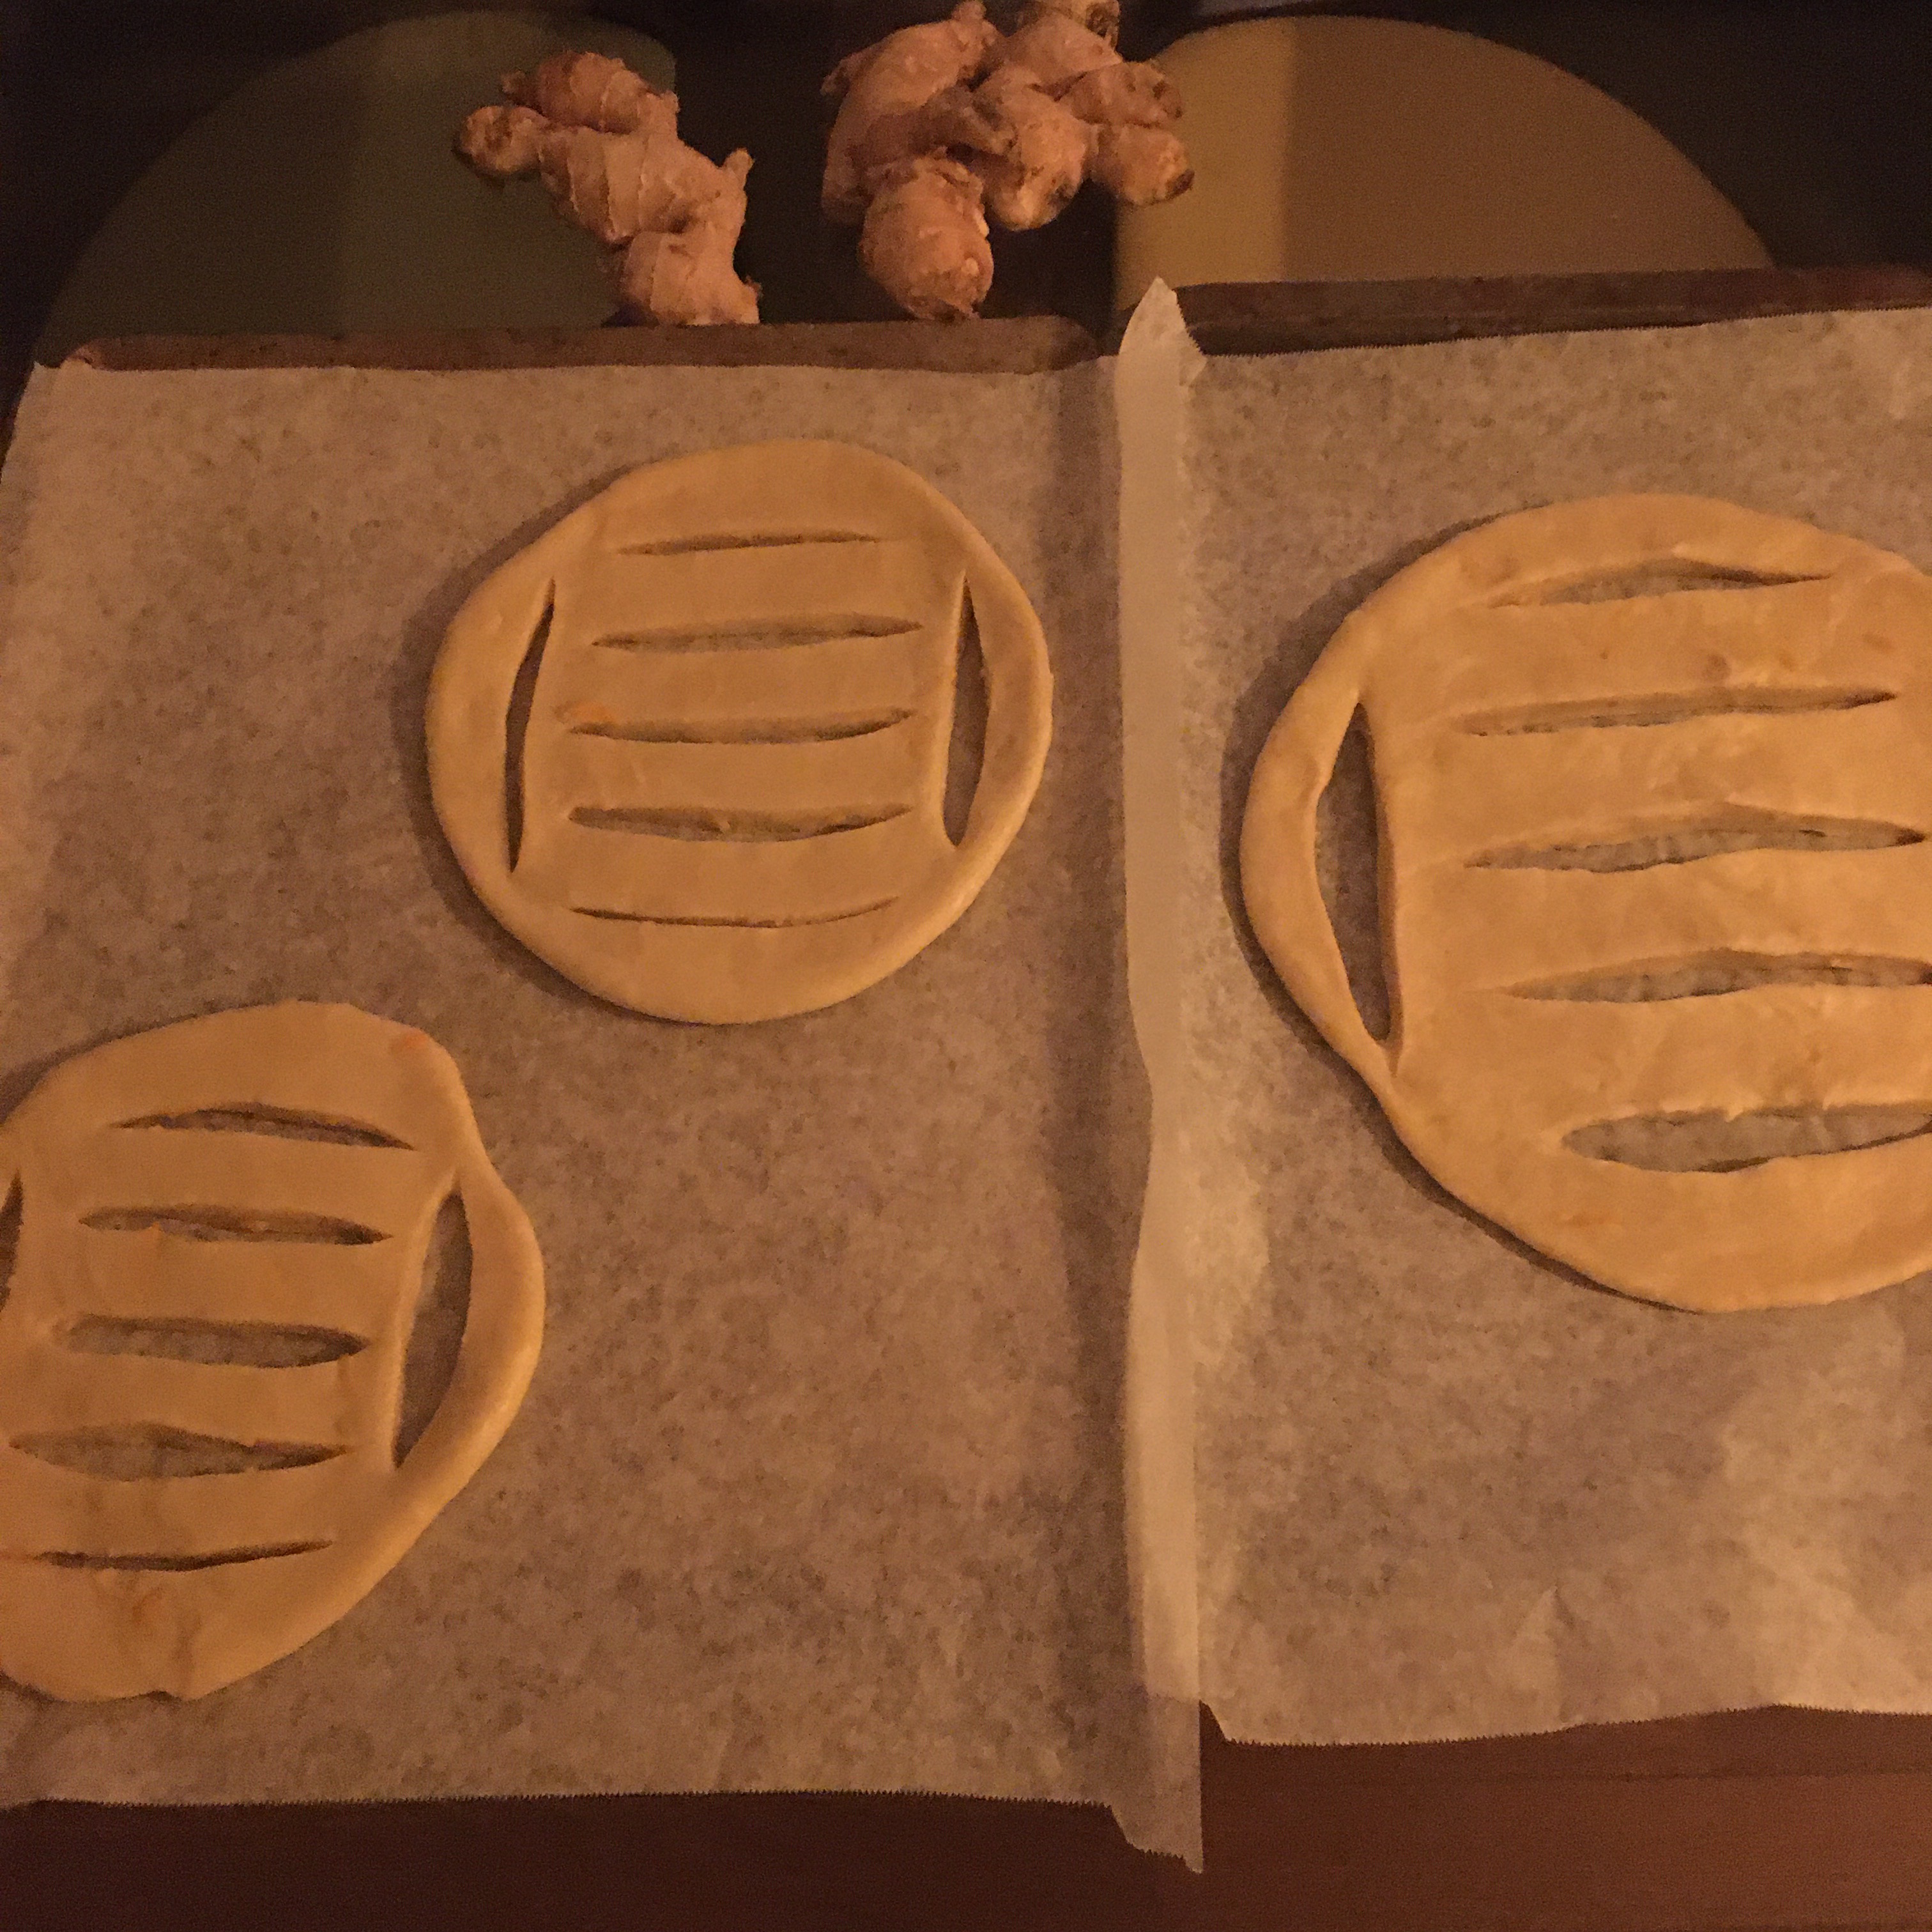
Pompe in the making, proving

Scones forever!!!

There are so many things I love to eat and so few meals and time to eat them all, that I end up forgetting a few things I love. Last weekend I decided to catch up with these. So I prepared avocado rice bowls, quiche and scones. When it comes to scones I usually have in mind something for breakfast or tea-time, but this time, as we went surfing and then were busy fixing things in the house I only get to the kitchen around 18:30… and given the cold weather this weekend it was probably too late for bread. So I decided to prepare scones. And since it was almost time to think of aperitif snacks I went for two recipes.

Both use the same base. One is sweet with yuzu harvested in our garden, the other is savory with pancetta and shiitake. It is very simple and by simply changing the size or shape of the scones it can feel very differently.

Scones

– 180g of flour

– 50g of butter

– 1tsp of baking powder

– a pinch of salt

– milk (quantity will slightly vary depending on flour quality, temperature etc… but usually not more than 200ml)

In a bowl mix the flour, baking powder, and salt. Add the butter cut in small pieces and start kneading. Add milk little by little until the texture is smooth but not sticky. Form a 5cm diameter stick and leave to rest for 30min.

For the yuzu scones:

– 1 yuzu

– 2tbs of brown sugar

– a handful of flour

Wash the yuzu and dice thinly the skin. Add to the dough. Extract the juice roughly and add to the dough. Add a bit of flower if the dough becomes too sticky. Roll 2cm thick, cut to desired shape and size and bake for 12-20min at 180 depending on shape and size.

For the shiitake and pancetta scones:

– 50g of pancetta

– 1 or 2 fresh shiitake

– 1 tsp of salt, pepper

Chop the pancetta, wash and chop the shiitake. In a small pan heated at medium- high heat add the pancetta, stir gently until the fat starts to melt, add the shiitake, and stir once in a while. Cook like this for 5min. Add the cooked pancetta and shiitake to the scone mix, add salt. In really needed add a bit of flour. Add ground pepper generously. Roll 2cm thick, cut to desired shape and size and bake at 180deg for 12-20min depending on size. Enjoy!!!

Actually you may want to add some grated fresh parmigiano in the mixas well…

Gyoza

I cannot hide that I have a thing for stuffed food, for pies and for dumplings… whether they are Italian ravioli, Japanese gyoza, French ravioles, Russian pilmini, Chinese shumai and other little stuffed breads… I simply love them, how the filling is steamed in the little poach and when opened all the captured flavors develop in the mouth. And I enjoy a lot making them with my own prepared filling. You already know how much I love making ravioli, well I also love making gyoza and I want to try other recipes from Asia and eastern Europe. From the scratch, or when I am a little too busy I use gyoza “skin” 皮 that only contains flour and water. Luckily in Japan it is easy to find some (be careful though that most gyoza skin sold in supermarket contains a lot many ingredients to be good, so, as usual look at the label, if there are more than 4 ingredients, pass).

To celebrate the beginning of the cold weather I invented a new filling recipe with seasonal vegetables and that was a very nice try, to reproduce soon.

Here is my recipe!

Early winter gyoza (makes 30 pieces)

– 30 gyoza skins

– 100g of ground pork meat

– 2 sweet potatoes (mine are 15cm long, 3cm wide)

– 2 leeks

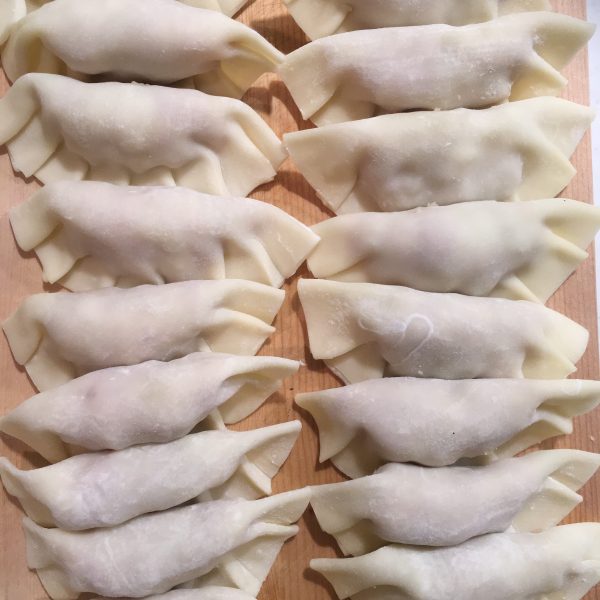
Boil the sweet potatoes with the skin. Once very soft, peel them and crush them in a bowl, add the meat. Chop the leeks and add to filling mixture. Stir well. Now it’s time to prepare the gyoza. In a skin set 1tsp of filling and close it. Repeat until all is gone.

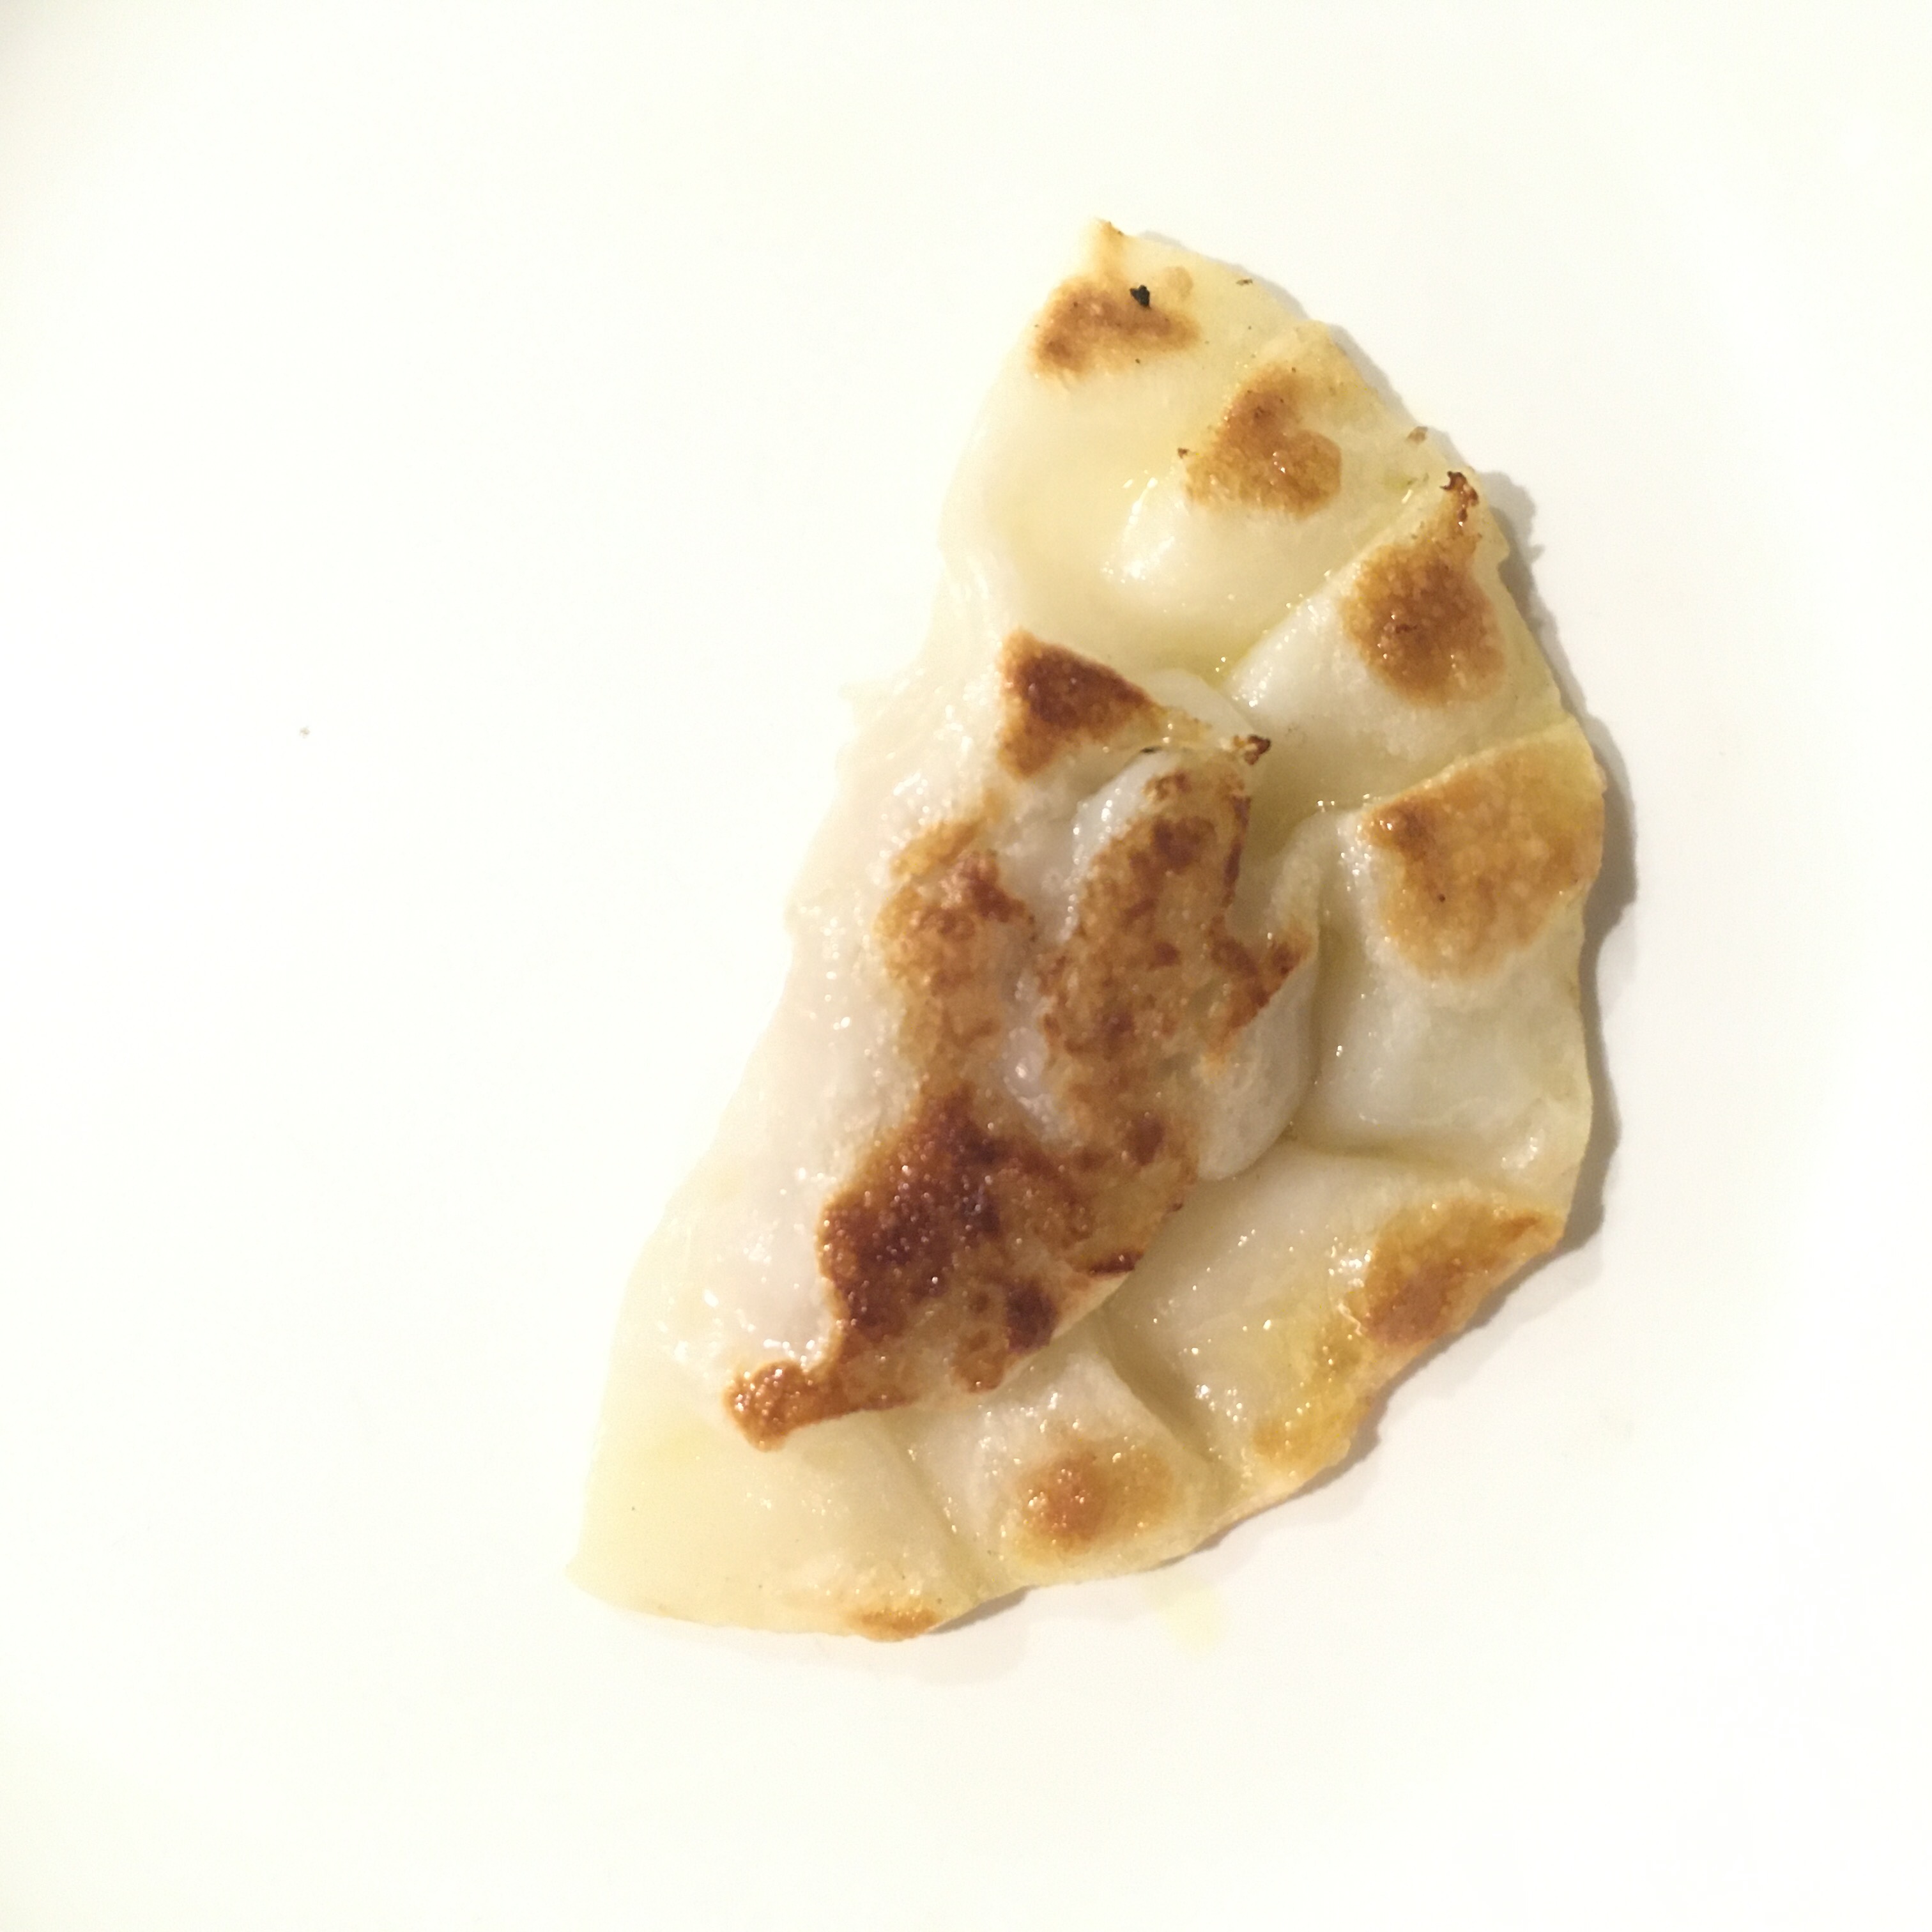
To cook the gyoza, grease a fry pan (I used olive oil) and put the gyoza in, add 1cm of water. Cook under cover for some time until the water is gone, flip the gyoza and when they are golden flip again. Serve hot with soya sauce in which a bit of white vinegar has been added. Enjoy!!!

Stuffed bread

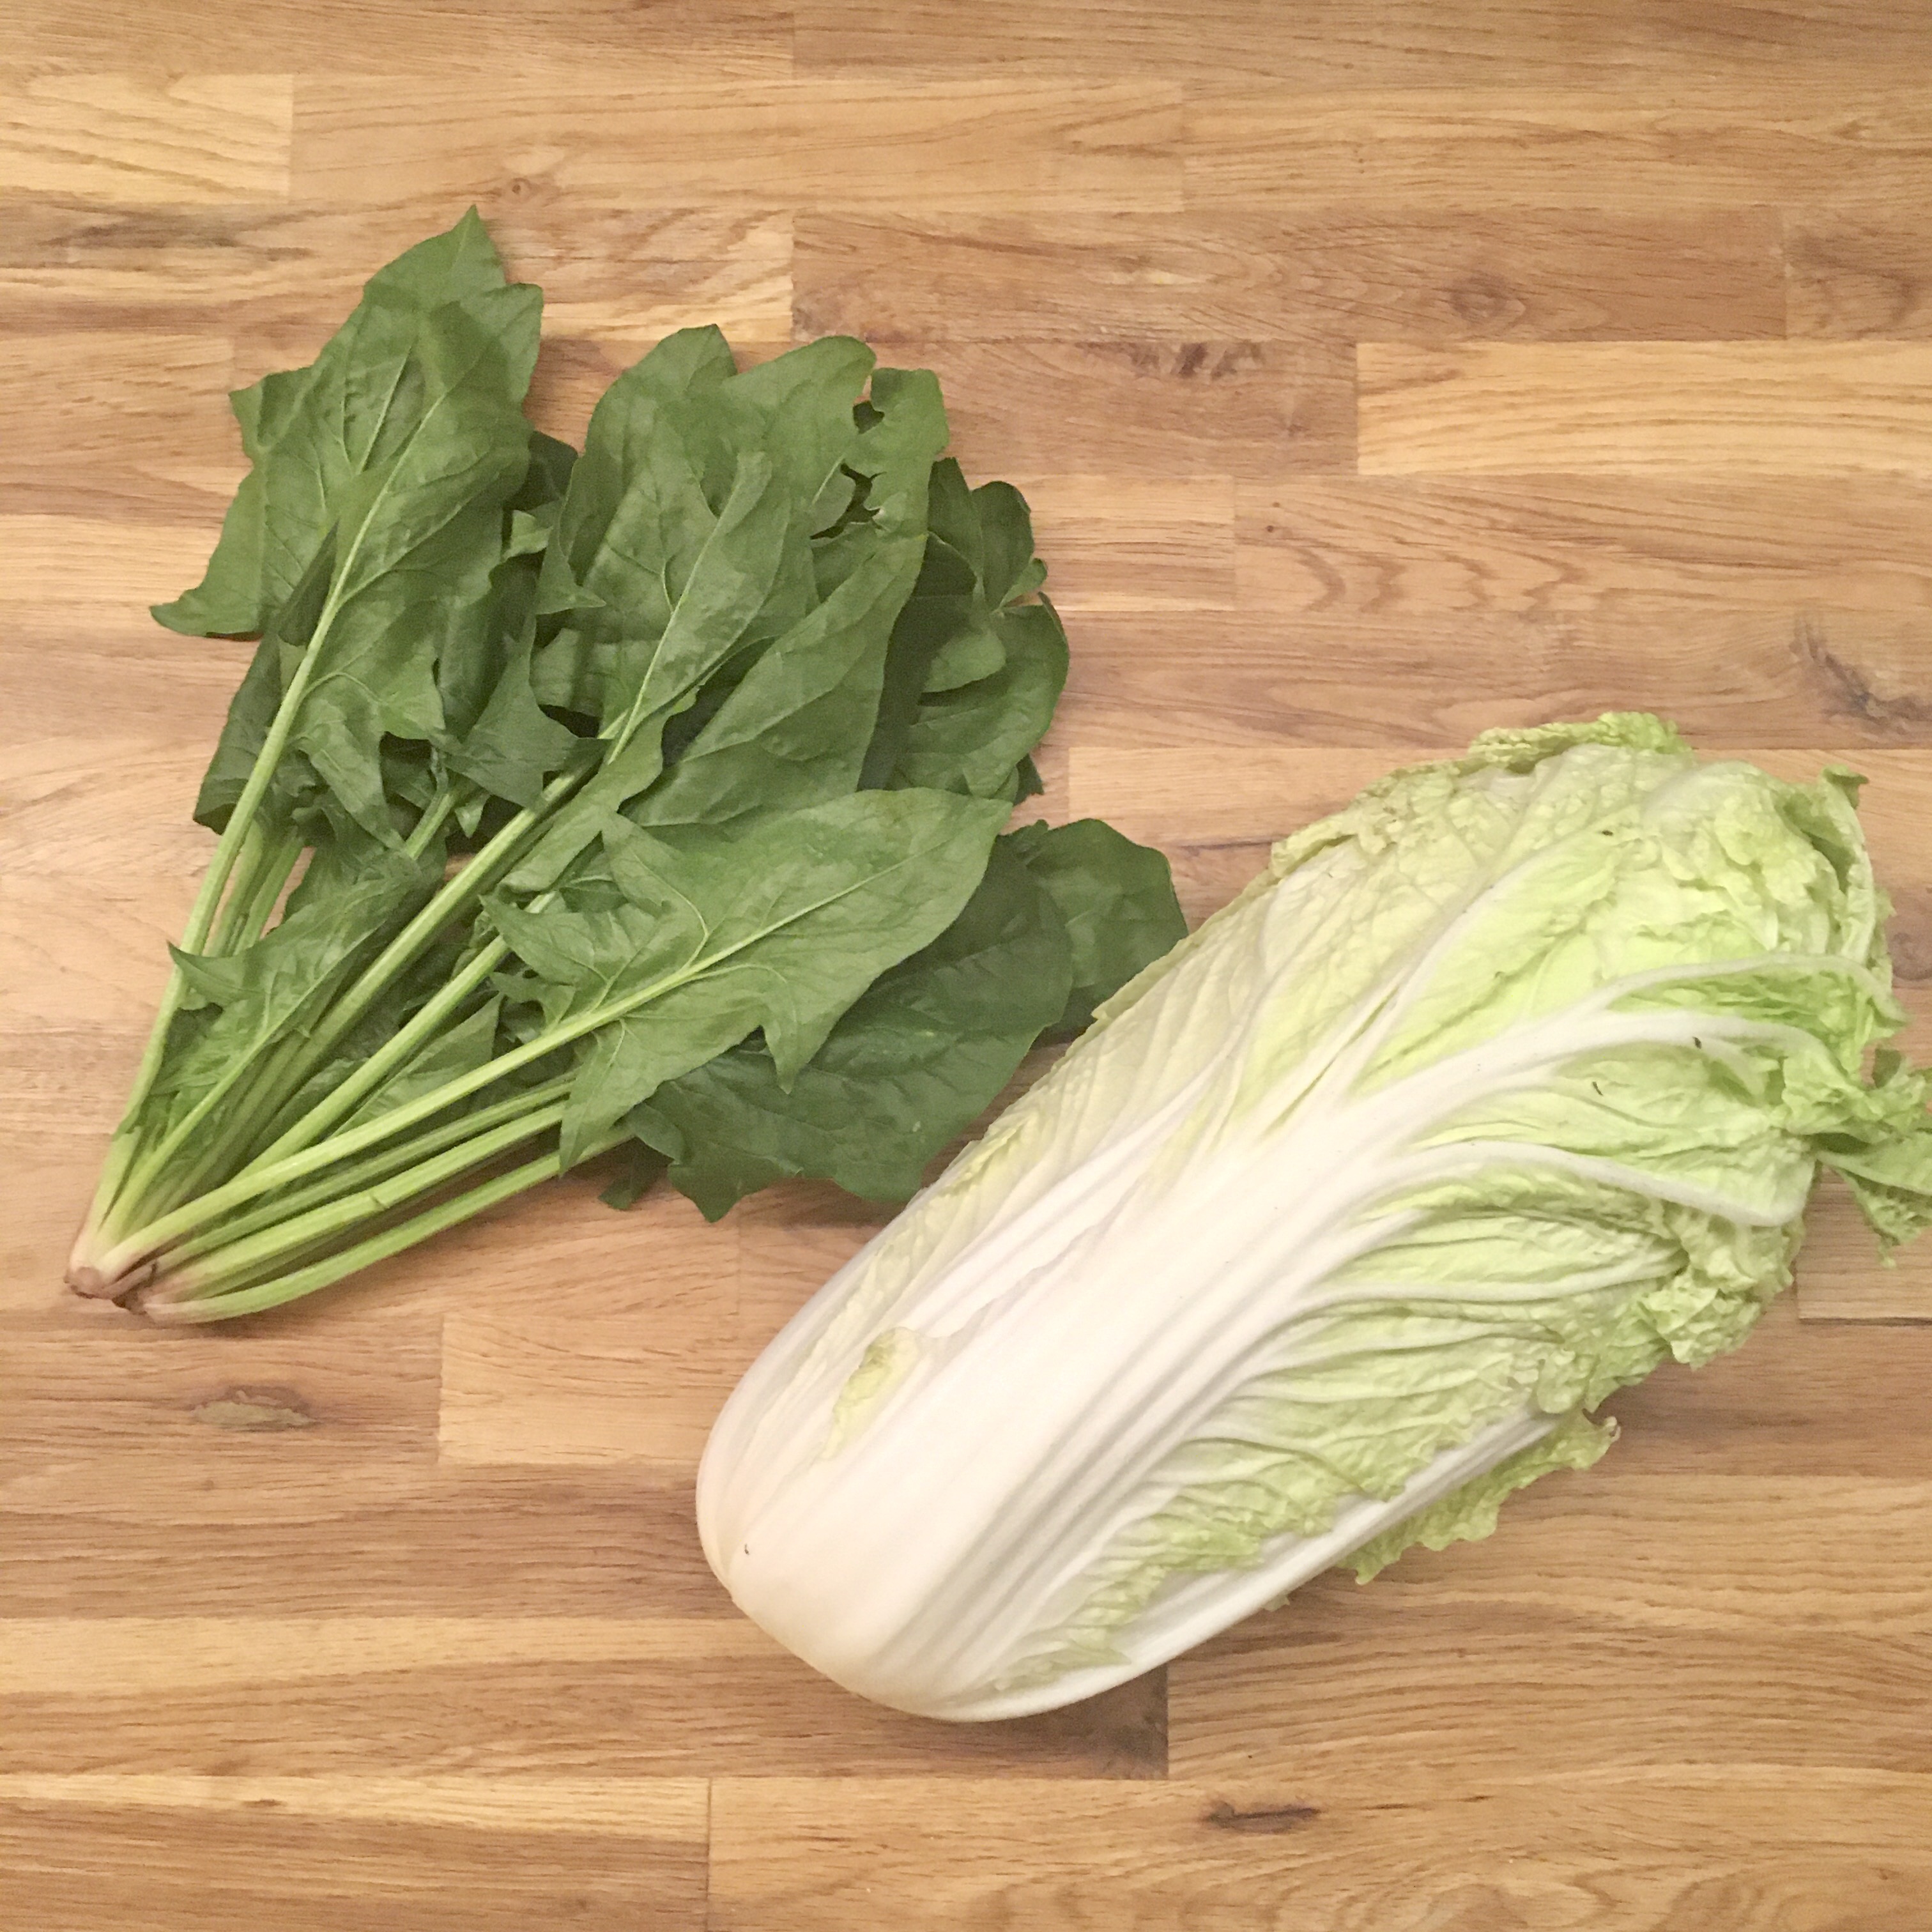
This all started with a picture that I saw on my IG feed one morning from Jul’s kitchen. I’ve been following her for quite some time now. Her recipes always make me want to be in Tuscany and when two years ago (whoa… It seems like ages ago!!!) we actually were thinking about moving to Florence and went there repeatedly I asked her recommendations about places to shop delicious things in Florence and they were gold. Well, just to say that her blog makes me dream of Tuscany… so… back to that picture I saw very likely on my way to work, last winter I guess… it was a savory stuffed pastry… it looked wonderful and I thought about doing some for a long time, but every strictly new recipe requires to mature in my head and to find the proper timing of ingredients and preparation. It’s only the other day that the winter vegetables started to be back in particular the cabbages, the spinaches and that I bought some pork ribs.

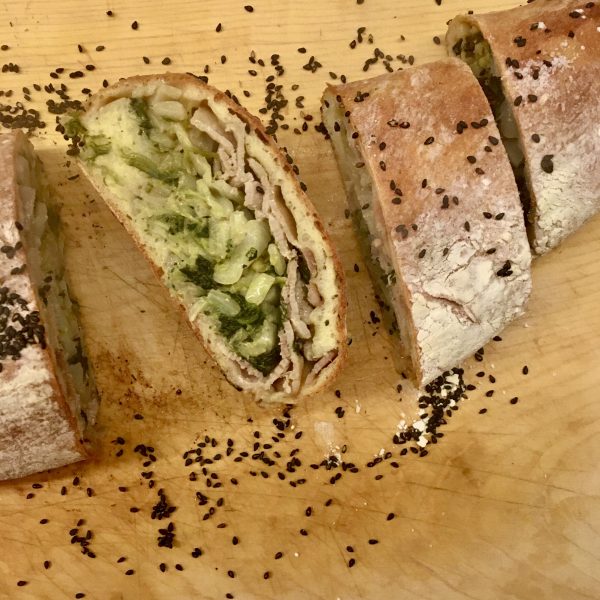
All was finally there to make the stuffed bread. But instead of a pastry dough or a brioche I decided to go with some straight white flour bread dough. The result was a very very delicious and warm meal, perfect for a rainy evening like today. Here is my recipe.

Stuffed bread (2 generous portions)

– 150g of flour

– 10g of salt

– 5 g of yeast

– water

– 1/2 small Chinese cabbage or 1/4 large

– a bundle of spinach

– 150 of pork ribs thinly sliced (豚バラ)

– pepper

– sesame seeds

Prepare the bread dough 1 or 2h before hand: mix the flour, the salt, the yeast, add water little by little and knead until the dough is soft and smooth. Leave to rest in a warm place under a moist cloth for 1 or 2 hours.

In the meantime, in a frypan cook the meat until golden. Wash and pat dry the vegetables.

Roll the dough with a pin, set the meat in the middle, top with the vegetables. Add some pepper. Fold the dough and close it. Flip the bread to have it upside down. Top with sesame seeds. Leave for proving about 30min and then bake at 230deg for 18min. Serve hot!

Yuzu!!!

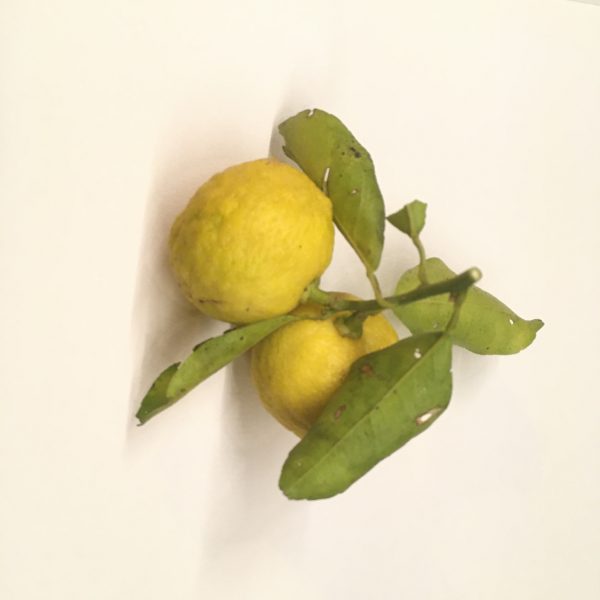
Japan has hundreds of different citrus fruits, strangely few oranges but surely many types of tangerines, lemons, natsumikan, kinkan, kabosu, sudachi, shikwasa… and of course yuzu. Yuzu 柚子 is used either non ripe in September and becomes ripe in the end of October or the beginning of November. It is used a lot in Japanese cuisine, in particular for its skin and its juice, which are both very fragrant and typical.

In our garden we have two tall and big natsumikan trees that took me some time to understand how to eat them, a fairly nice tangerine tree as well. Last year we decided to plant a yuzu tree and a lemon tree to expand our citrus fruit collection with trees that would produce fruits I love to cook. The lemon tree gave some lemons last winter, but it’s only this year that we harvested many yuzus.

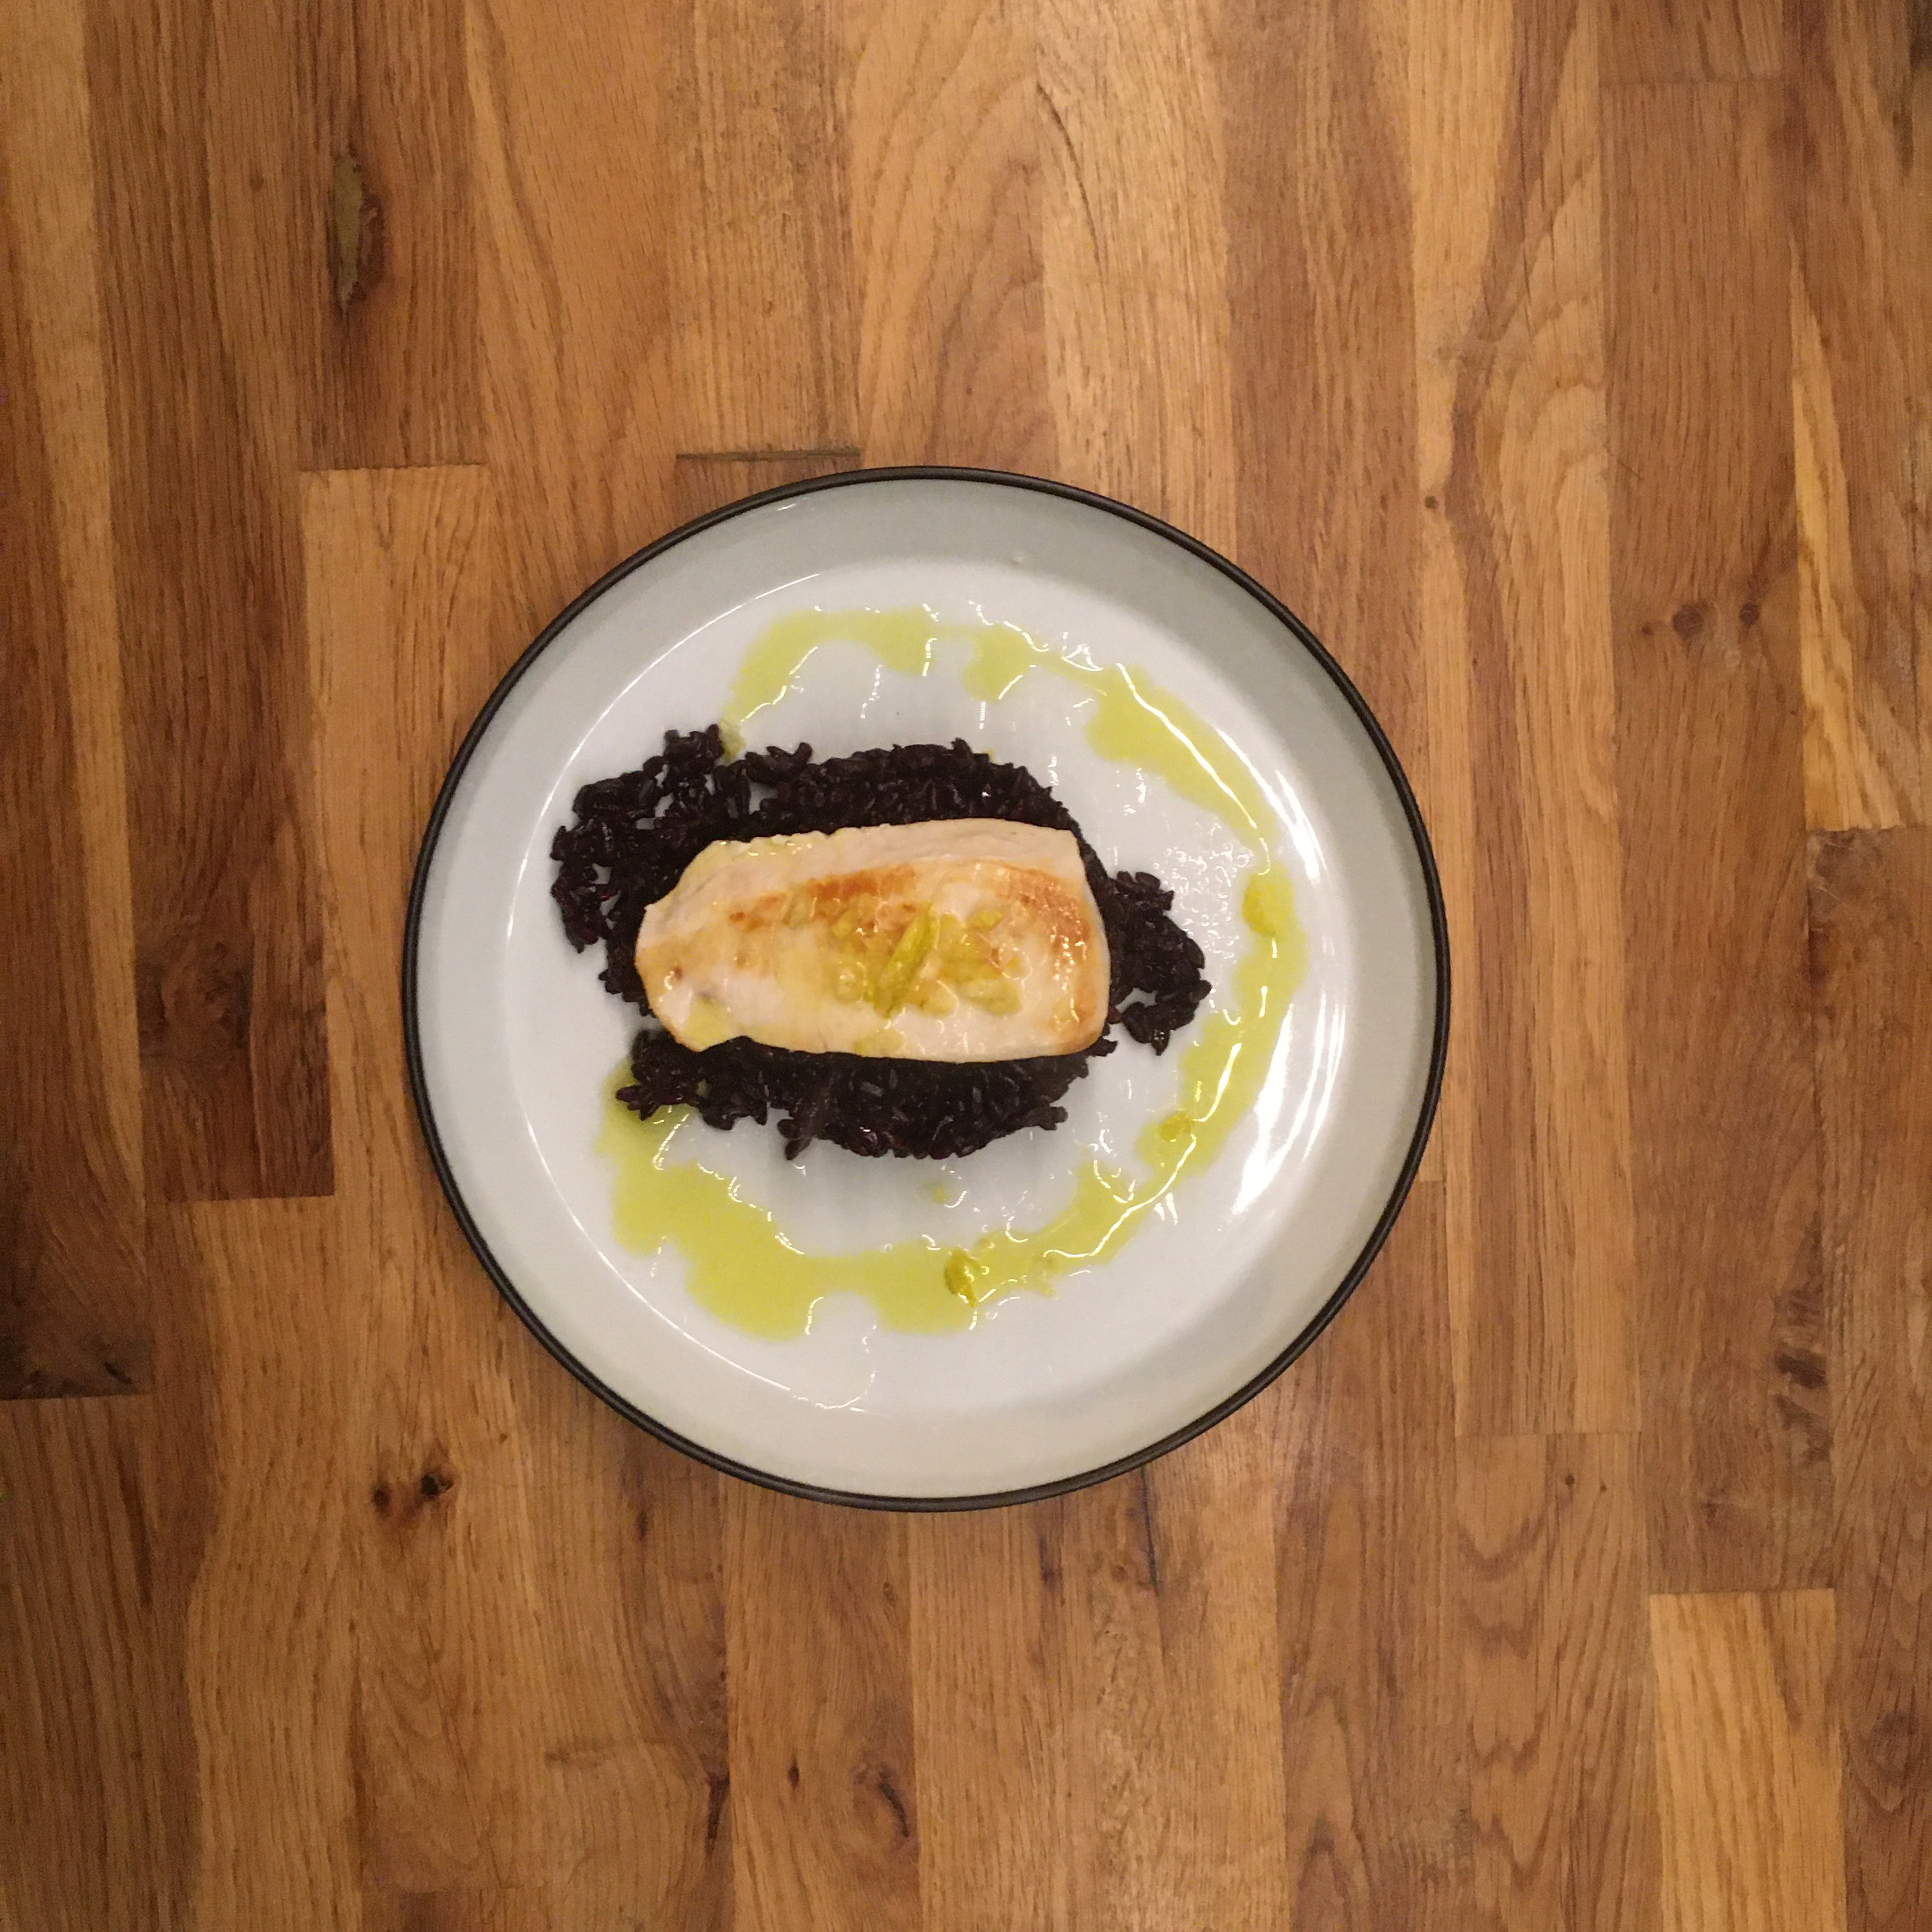
I personally like to use the fresh yuzu from my garden squeezed in hot water with honey. And I really like to use the juice and the skin in savory recipes. There many options but to really enjoy the flavor simple preparations are the best. This time its some black Tuscan rice riso nero venere simply steamed, served with a grilled piece of swordfish, the whole topped with olive oil and yuzu peel chopped very thinly. A bit of salt and that’s it!!!!

How do you like to prepare your yuzu???

Extravagant bread!!!

Last night I asked A. what he would like for breakfast, or more precisely what kind of bread, brioche etc… ans he said I want an extravagant bread!!! But not extravagant because there are fancy things inside… hum… that didn’t really help so I started kneading a 1/3 whole wheat 2/3 white wheat and decided it would be extravagant in the shape…

With the chilly evenings now and our house rather cold I have tested over the years many options for the first rise of my doughs. If like me your house is not very warm (20-25deg) and your dough has difficulty rising and you don’t want to invest in a machine for that or use your oven and waste energy you have three options:

1. Prepare your dough 6 or 4h earlier than usual and give it enough time to rise. This only work is the temperature is higher than 18.

2. Soak the bottom your bowl in a sink or larger bowl filled with warm water (35-45 deg). Change the water once or twice if your house is really cold.

3. If like in Japan (and like me) you have the habit to take a bath in the evening, keep the dough in the warm bathroom. It’s very nice because the air in the bathroom is very humid usually and it doesn’t dry the top of the dough.

Personally option 2 and 3 are my favorite options and they work 100% of the time. I tried many others that I found in cook books and on internet but they were not as good: drying too much the dough, not very efficient, wasting too much unnecessary energy…

So back to the extravagant bread, after a beautiful rise, I shaped it as a ring. Indeed, I find that the ring is a more extravagant shape than the classic shapes, it gives a good balance between crust and crumbs and it bakes evenly. So ring it was! And A. was satisfied with the result!

While the bread was finishing to bake I just went in the garden to pick some tangerines (we have plenty this year) and breakfast was ready!

Have a good Sunday!!!

Oh! And the bread shape was perfect to make sandwiches to go for our picnic on the beach after surfing!!! I just prepared an omelet with plenty of greens and a bit of grilled pork.

Persimmons

When the season for persimmons comes it means that autumn is clearly here and with shorter days, the chilly evenings will be coming soon. And here they are. Not cold enough to tuen the heater on yet, but it’s coming.

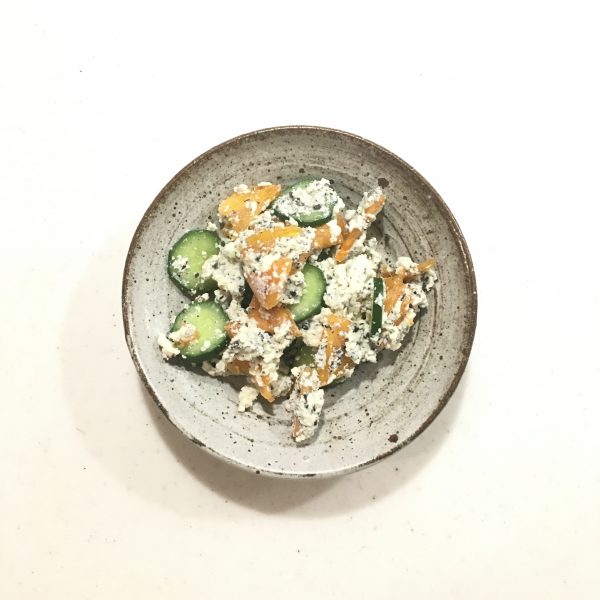
While we are not big fans of raw persimmons, like pretty much everyone in Chiba Sotoboso, we have persimmon trees in our garden, two that give sweet persimmons and one that gives bitter ones. Persimmons are like plums in June, impossible to give away!!! Most people don’t even harvest them and their leave-less branches are decorated with beautiful orange fruits. I our gardens the fruits don’t last long as birds happily eat them and that is great. Still I always harvest a few fruits for us as there is one recipe that is my total preferred way of eating persimmons: tofu ae with cucumber.

So here it is:

Persimmon, cucumber and tofu ae: 

– 1 persimmon not too soft

– 1 Japanese cucumber  

– 1 small block of drained tofu

– 2tbs of sesame seeds

– a bit of salt

Peel and dice the persimmon, slice the cucumber. Grind the sesame seeds, drain very well the tofu* and mix with the salt. Add the persimmon and the cucumber. Stir well and it is ready to serve.

Oh! By the way, I’m testing new mini videos to explain the recipe… checkout below and on IG!!!

* draining tofu is crucial to obtain the perfect creamy consistency. To drain tofu (hard or soft) first press it gently between two boards with a weight on top. Gravity will make it work perfectly for you after 1h. Then in a clean cloth with thin weaving press the tofu to remove the water has shown in the third video below.

http://gentianeetantoine.com/igk/wp-content/uploads/2019/11/video.mov

http://gentianeetantoine.com/igk/wp-content/uploads/2019/11/video-1.mov

http://gentianeetantoine.com/igk/wp-content/uploads/2019/11/video-2.mov

http://gentianeetantoine.com/igk/wp-content/uploads/2019/11/video-3.mov

Kabocha pie

Halloween doesn’t inspire me much for cooking. Too much colors, disgusting appearance… I am not a fan at all and I must say that looking at my IG feed these days was not very attractive. Hopefully it’s passed now… None the less the orange pumpkins and the sweetness of their taste is something that I love, though in Japan we don’t really have the giant pumpkins of North America, we have our little Japanese kabocha all the same delicious, while different in texture.

A Japanese kabocha though rather small is usually something that is big enough to be used for 3 or 4 meals… so when I ended with 1/3 of kabocha that needed to be eaten, I decided to make a pumpkin pie. But since we don’t eat much sweets… except when I flip crepes!! I made a savory and spicy pie. I knew it would be good, but what I didn’t expect is that it would be scrumptiously addictive!!! So… here is my recipe and let me know how you liked it!!

Savory kabocha pie

– 1/3 kabocha

– 25cl of milk

– 2 eggs

– cinnamon, cardamom, nutmeg, salt, pepper

– 50g of whole wheat flour

– 80g of white hard flour

– 4tbs of rice oil

– water

Wash the kabocha, remove the seeds, and a bit of the skin if you find hard spots. Cut in large cube and boil until very soft. Drain.

In the meantime in a bowl mix the flours, the oil and add water little by little while kneading until the dough is soft and smooth. Roll to the size or your pie dish and set.

Turn on the oven to 180deg.

Go back to your kabocha. With a fork mash it, add the milk and the eggs, stir then add the spices to your liking. Stir again. Pour in the pie crust and bake for 45min. Enjoy!!!

Call it cooking… or not

But damn… this was a super delicious combination…

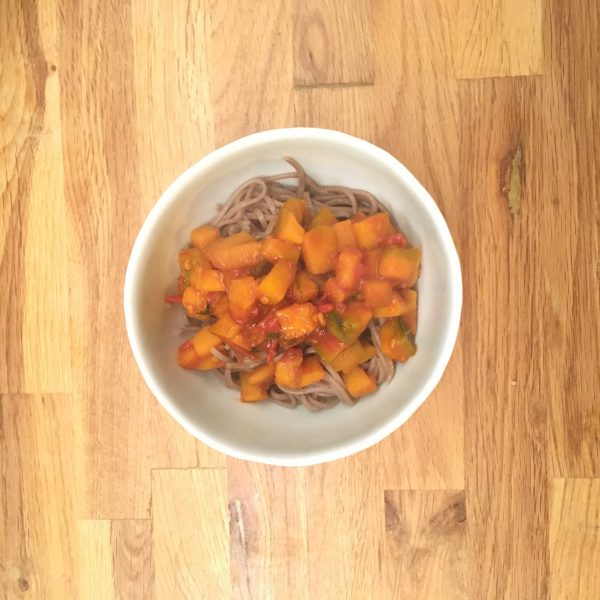
You remember me cooking in apron over my suit right after work? Well I was preparing dinner with the leftover veggies: kabocha and tomatoes. I also picked some fresh parsley in the garden and was thinking about what to do with them when the crave for soba noodles just came. All was decided… And that’s how this recipe of kabocha soba was born. It was so delicious that I really need to share it with you! Moreover because it’s been a while I haven’t shared a proper recipe!!

Kabocha-soba (for two regular servings)

– 125-150g of dry soba noodles (I use 100% buckwheat flour noodles)

– 1/4 kabocha

– 1 large very ripe tomato (if not the season anymore where you are use a tomato preserve without any seasoning)

– a few sprigs of fresh parsley

– 1tsp of soya sauce

– a bit of olive oil

While the water to cook the soba is heated, wash and cut in small cubes (5-10mm) the kabocha. Wash the tomato and dice. In a pan grease with a bit of olive oil, start cooking the vegetables. Add 1/4 cup of water if the tomato is not juicy enough. Cook under cover until the kabocha is soft but not too much. Add the chopped parsley and stop cooking but keep warm. The sauce shouldn’t be liquid or juicy. Just moistened a bit.

Cook the soba as detailed on the package. Serve in bowls. Top with the vegetables, add the soya sauce. Eat immediately and enjoy the perfect balance between the rustic soba flavor, the freshness of the parsley, the sweetness of the tomato and the creaminess of the kabocha, enhanced by the salty taste of the soya sauce!

Proudly powered by WordPress | Theme: Baskerville 2 by Anders Noren.

Up ↑

Verified by MonsterInsights