Butternut squash week day 6

And here is the final recipe for this week of butternut squash!

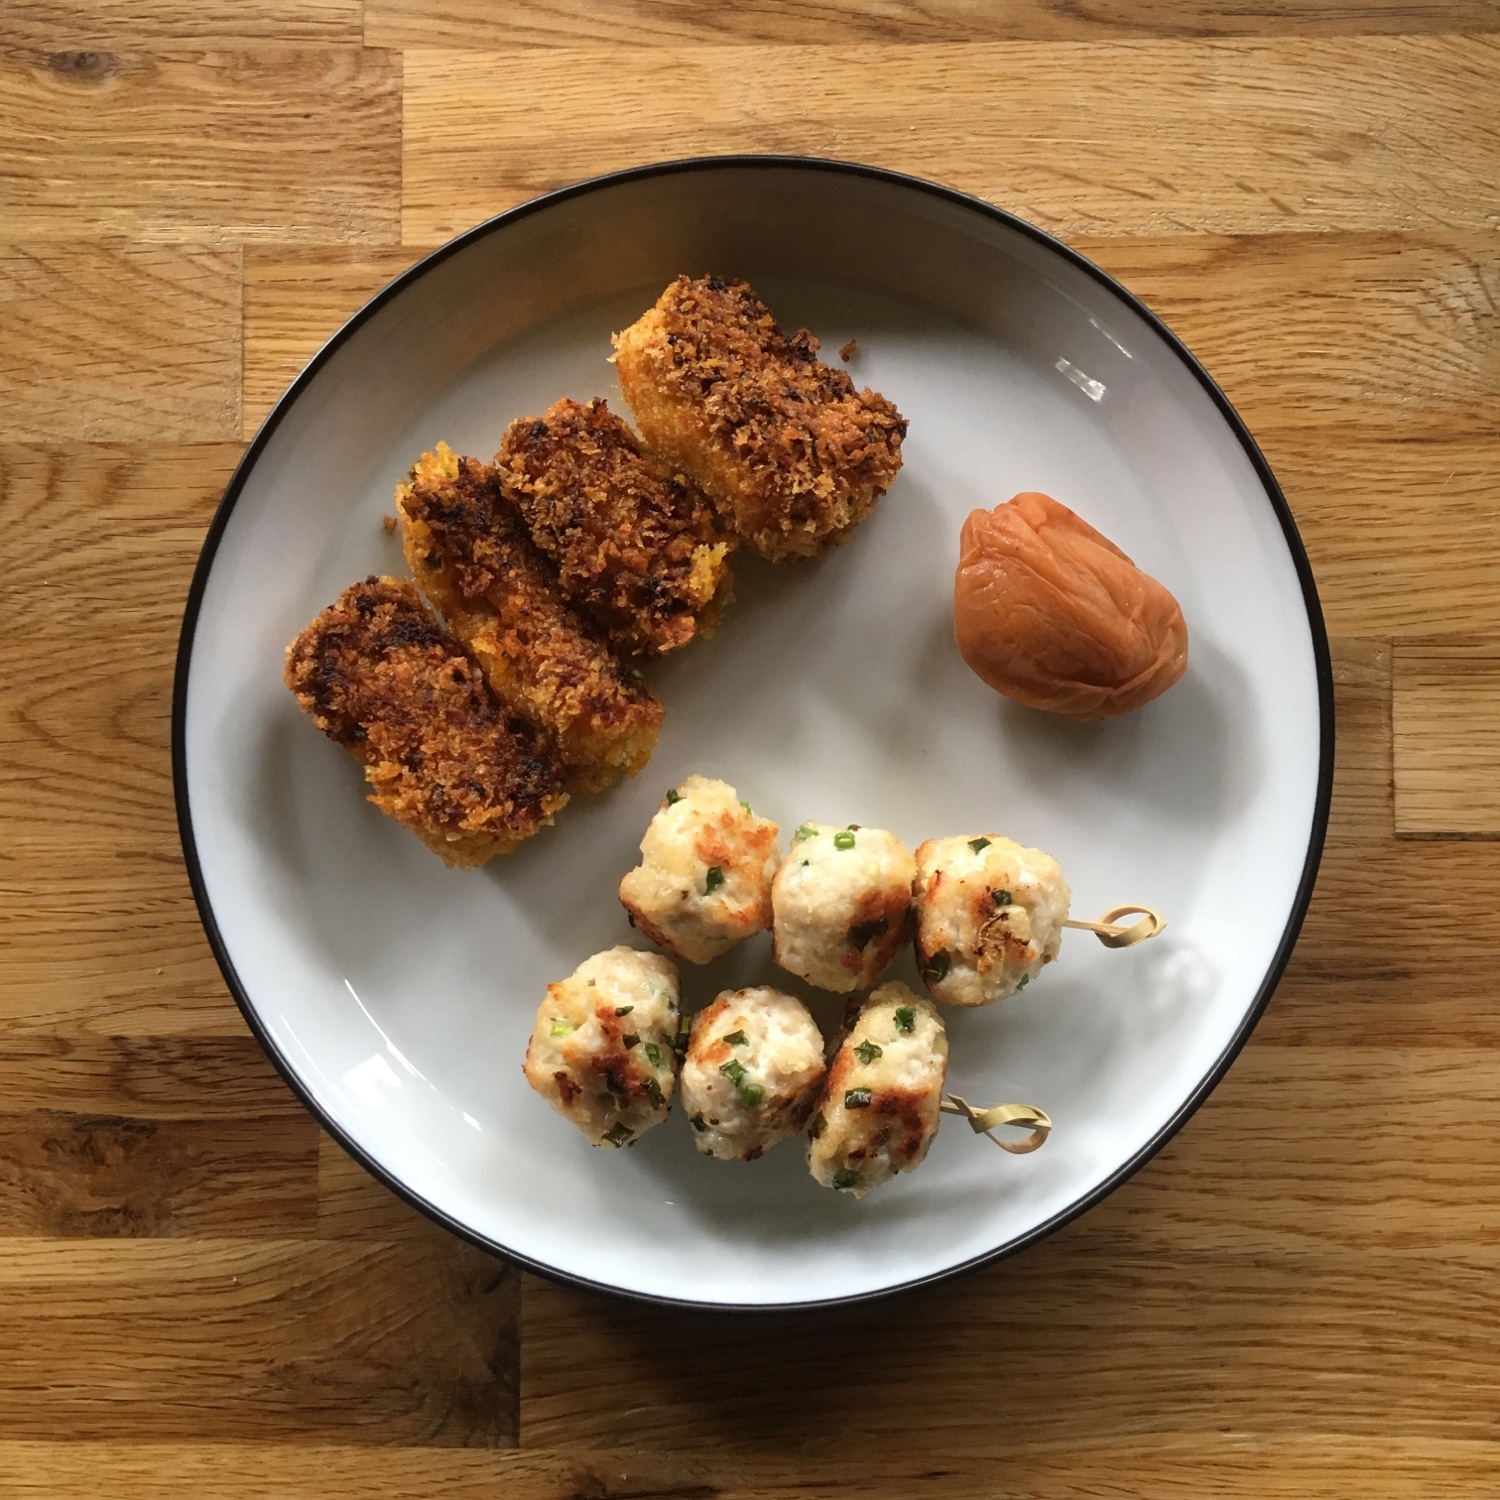
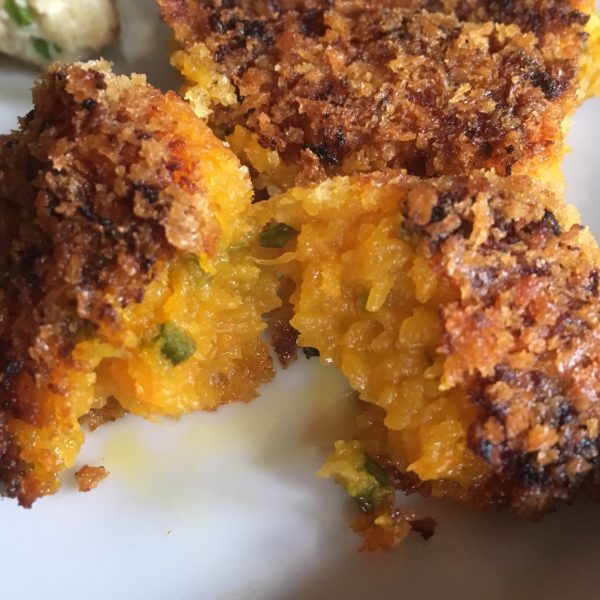
I have opted for a last Japanese style item after the gyoza and the ae. A Japanese classic: croquettes or コロッケ kolokke. Because it should involve deep fry I don’t do much of it, and mine are actually pan fried. I like the contrast between the creamy melting purée inside and the crispy outside of the panko. I served them with ginger and shallots chicken mini meat balls on skewers and a large pickled plum I made last July.

Butternut squash croquettes

For the filling I actually used the same as the gyoza (to be honest, the leftover)

– 100-150g of butternut squash boiled and puréed

– green shallot 小ねぎ

– fresh ginger grated or diced

– panko

– oil for frying

I mix the boiled and puréed butternut squash with the ginger and the green shallot to obtain a thick rather dry homogeneous mixture. In a plate I put the panko and with a spoon I take some purée, make a cylinder, roll in the panko. The number of croquettes you can make and panko you need will depend on the size of the pieces of purée and the moisture in the purée. Heat a fry pan with a few mm of oil in it or a deep fryer. Then put the pieces in one by one. Cook until golden every where. Turn gently if pan frying. Serve and enjoy while hot!
Butternut squash week day 5

Ok… the weekend is here and I’m still cooking butternut squash!!!

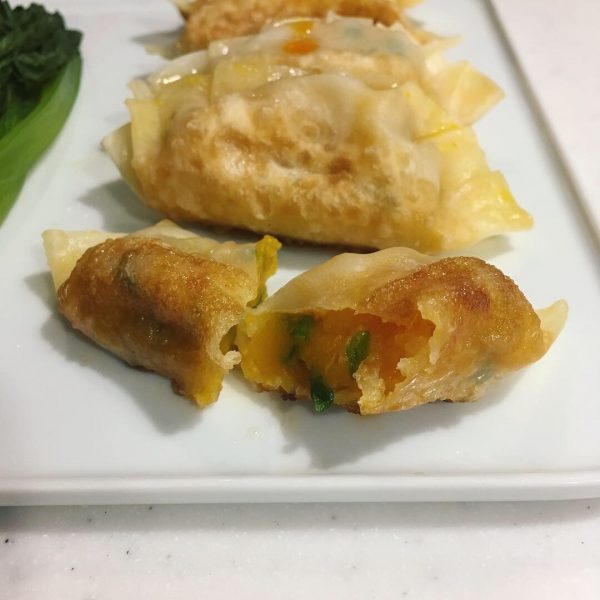
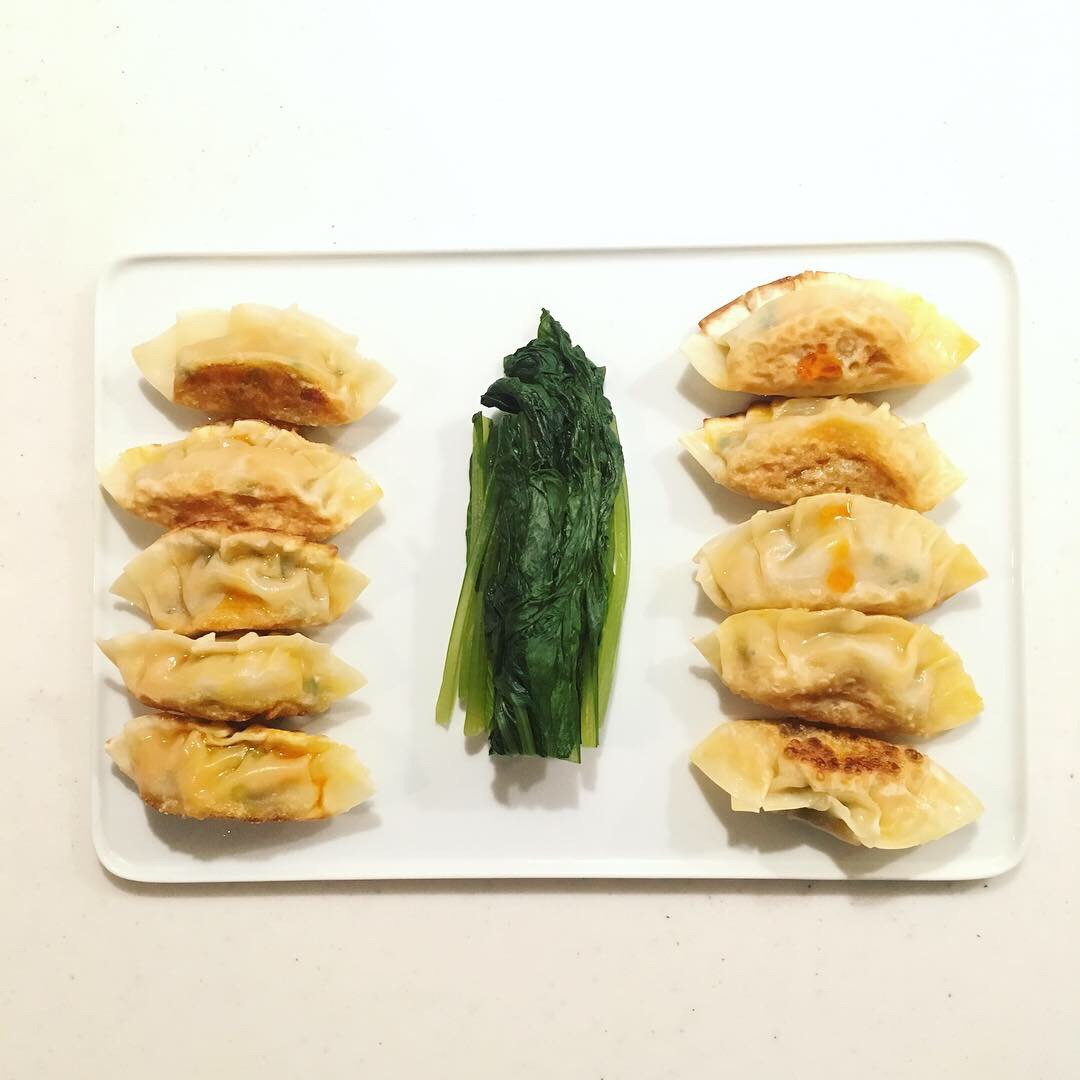
Using it again today in a recipe that is the pure product of my imagination: vegan gyoza. I don’t know why The other day, on my way to the station I had this vision of simple gyoza, filled with a butternut and green shallots and served hot with soya sauce and ra-yu (you know the slightly vinegared and spicy oil that you mix with soya sauce when eating gyoza). So on my way back from work I stopped to buy the shallots, the ra-yu, and gyoza dough because it was already 21:00 I didn’t have boiled my butternut squash yet and making the dough meant eating too late. Making the dough is very simple, just water and flour, but you need to wait 30 to 60min before making small balls and rolling them. So it was out of the question. Luckily it is rather easy to find fresh prepared gyoza “skin” in Japan that has only the basic ingredients. All good supermarkets have some. Here is my recipe below the picture.

Butternut squash gyoza for 20 pieces

– 100g of butternut squash pealed and boiled

– a pack of gyoza skin

– shallots greens 小ねぎ

– soya sauce and ra-yu

– optional: fresh ginger grated

If your butternut squash is not yet pealed and boiled like it was the case for me, start with that. You don’t want to have a filling that is too hot because it makes the forming of the gyoza more difficult: the skin breaks more easily, in particular when hand made.

Drain the butter well and purée it. Wash and chop the shallots green, grat the ginger if you want to use some. Add to the butternut squash purée and stir well. Take a round gyoza skin in the left hand, deep your right index in water and moist the outskirt of the skin. With a spoon set a bit of filling in the middle. Fold in two and start making small pleats to close the gyoza (see the movie below). Then once they are all ready, in a heated pan with a bit of oil and water cook at medium to high heat and flip once until golden on both sides. Serve with greens (I served simple boiled komatsuna) and the soya sauce and ra-yu.

http://gentianeetantoine.com/igk/wp-content/uploads/2018/10/img_7761.mov

Butternut squash week day 3

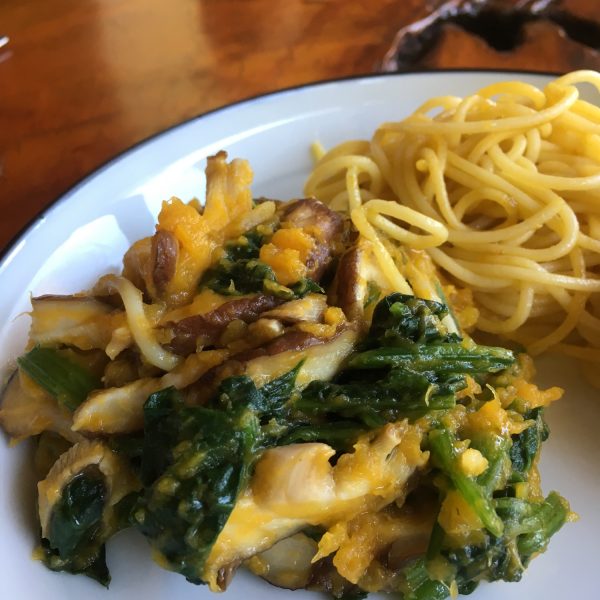
Most of the butternut squash recipe I make are not really Japanese style. Indeed, butternut squash is not really a traditional food in Japan, it’s little cousin the kabocha is more common, with a green skin and a typical taste it is used in many places from traditional cuisine to more contemporary recipes. But butternut squash could also replace kabocha in some more traditional recipes. One recipe idea I like with kabocha is kabocha salad, but it often contains too much mayonnaise. Taking inspiration from a classic Japanese recipe based on tofu I prepared a new butternut squash salad that could also be called butternut squash ae. This recipe uses only 3 ingredients and is very simple while having a great Japanese flair. It is perfect as a side or as a starter, eaten in one plate meal too. Here is my recipe:

Butternut squash ae:

– 125g of butternut squash peeled and boiled

– 3 fresh shiitake

– 100g of spinach

it’s so simple you’ll be impressed!!!

Wash and slice the shiitake, wash and chop the spinach. In a pan cook the spinach and the shiitake until they are soft and just a little moisture remains. Stop heating. Add the butternut squash and purée it while stirring with the other vegetables to obtain an homogeneous texture. Serve and enjoy!!!

Butternut squash week day 1

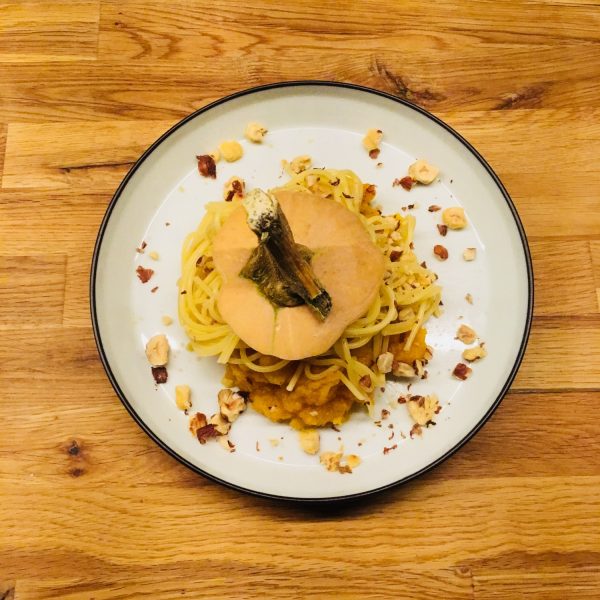
Let’s start this week with a very easy and stunning butternut squash recipe that takes only 12min to make if you use already made pasta. If you want to roll your pasta, depending on how quick you are add that time too. I chose spaghetti for that recipe because I wanted al dente pasta rather than too soft pasta like tagliatelle or parpadelle. I am also inclined to think that long pasta brings a better balance…

Butternut squash and hazelnut pasta (2 servings)

– 120g of long pasta (spaghetti…)

– 120g-150g of butternut squash pealed

– a handful of hazelnuts

– olive oil

– salt and pepper

In a small pan boil some water and boil the pealed butternut cut in large chunks under cover until soft. In the mean time boil a large pan of water for the pasta and start boiling the pasta. In a small frypan roast the hazelnuts. When the butternut is soft, remove the water and with a wooden spoon, spatula or a fork purée the butternut squash, add olive oil, salt and pepper. By then the hazelnuts should be roasted, crunch roughly in a mortar with a pestle. Add half of the hazelnuts to the butternut squash purée. Keep the rest for plating. When the pasta are cooked al dente, drain. In the plates, serve the butternut squash purée, add the pasta on top, a but of olive oil, salt and pepper and then top with some hazelnuts. Enjoy right away!

Myoga

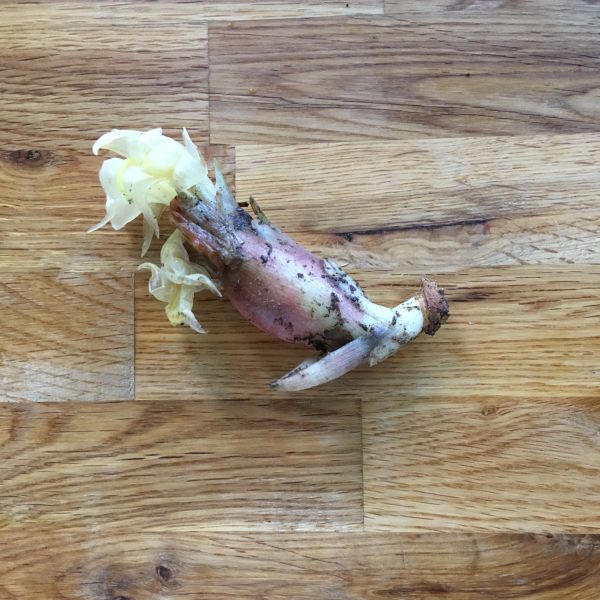
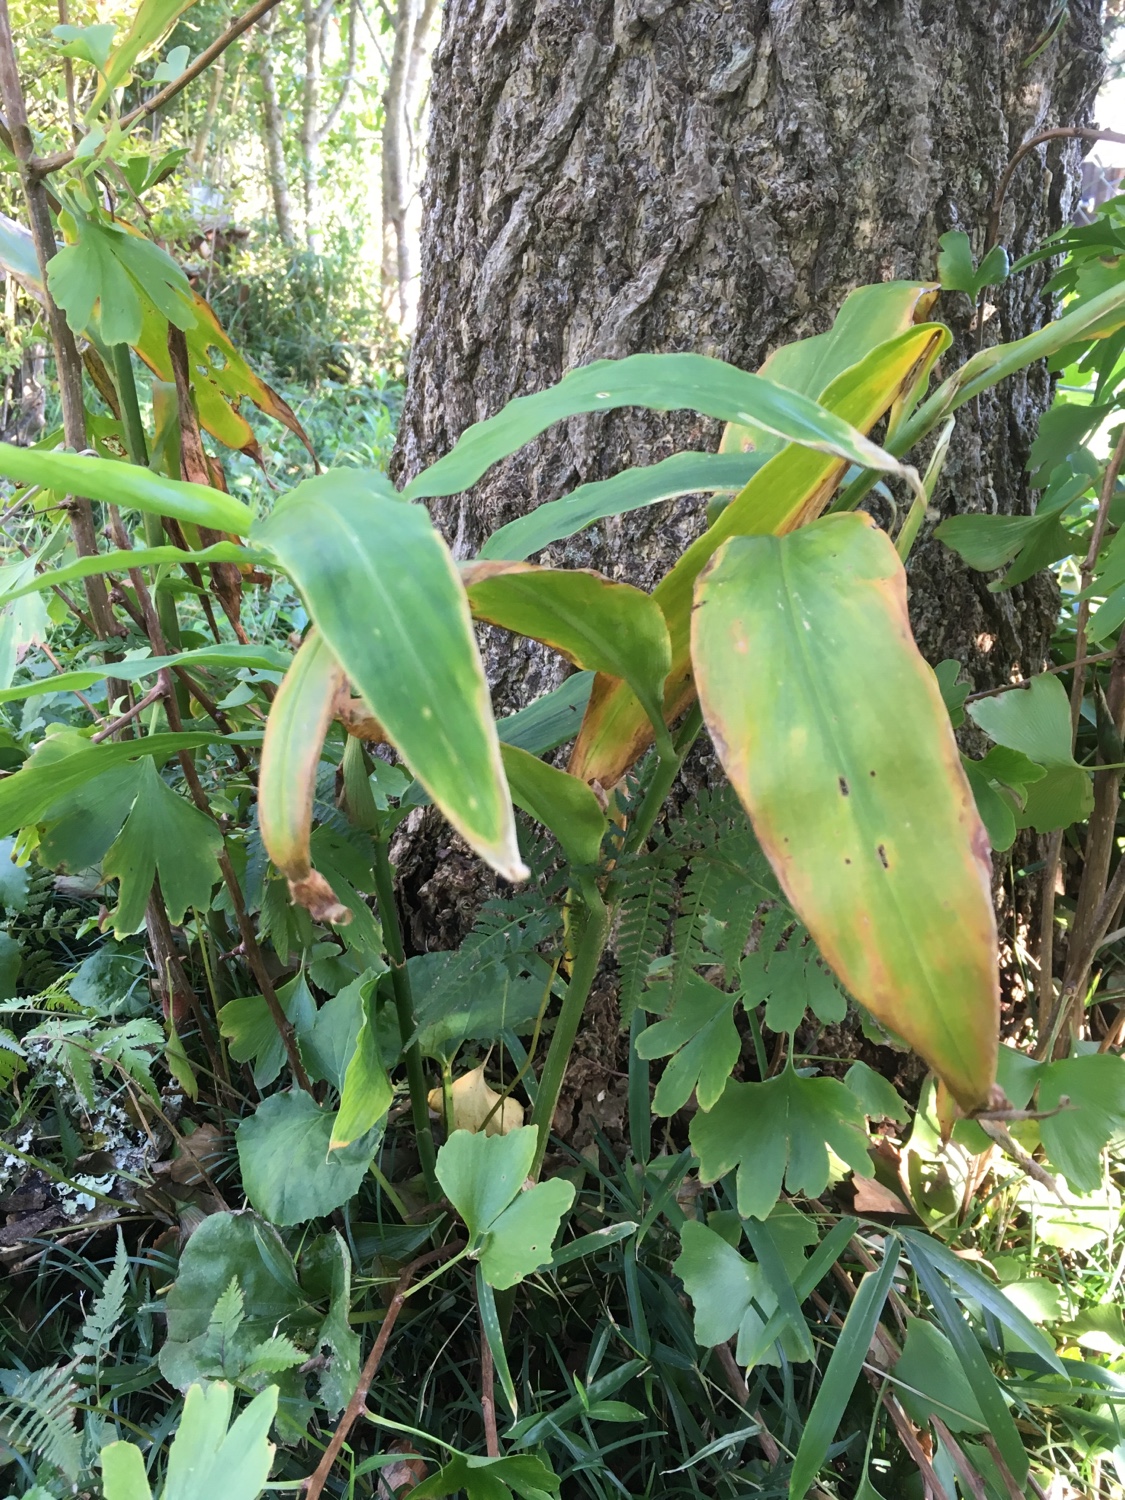
Now is the season for harvesting myoga, this little very fragrant plant, delicious eaten with silky tofu and soya sauce or in miso soup. Two weeks ago when I met with our old neighbor she told me that their used to be plenty of myoga in our garden, but I never found any. So after identifying the leaves I went and browsed the garden and found indeed quite a few spots with similar leaves, but nothing like the edible part of the myoga, though I dug around. I was quite disappointed… So when she came again this morning I asked her to show me how to pick myoga. And what I discovered is that myoga plants are gendered and in our garden now we have mainly only male plants… so we found only one myoga with an edible part. The part that is edible is actually the flower, or rather the bud or the stem of the flower. But it doesn’t grow on the plant, it grows independently on the ground about 15cm away from the leafy part. And it has a lovely flower with very thin petals.

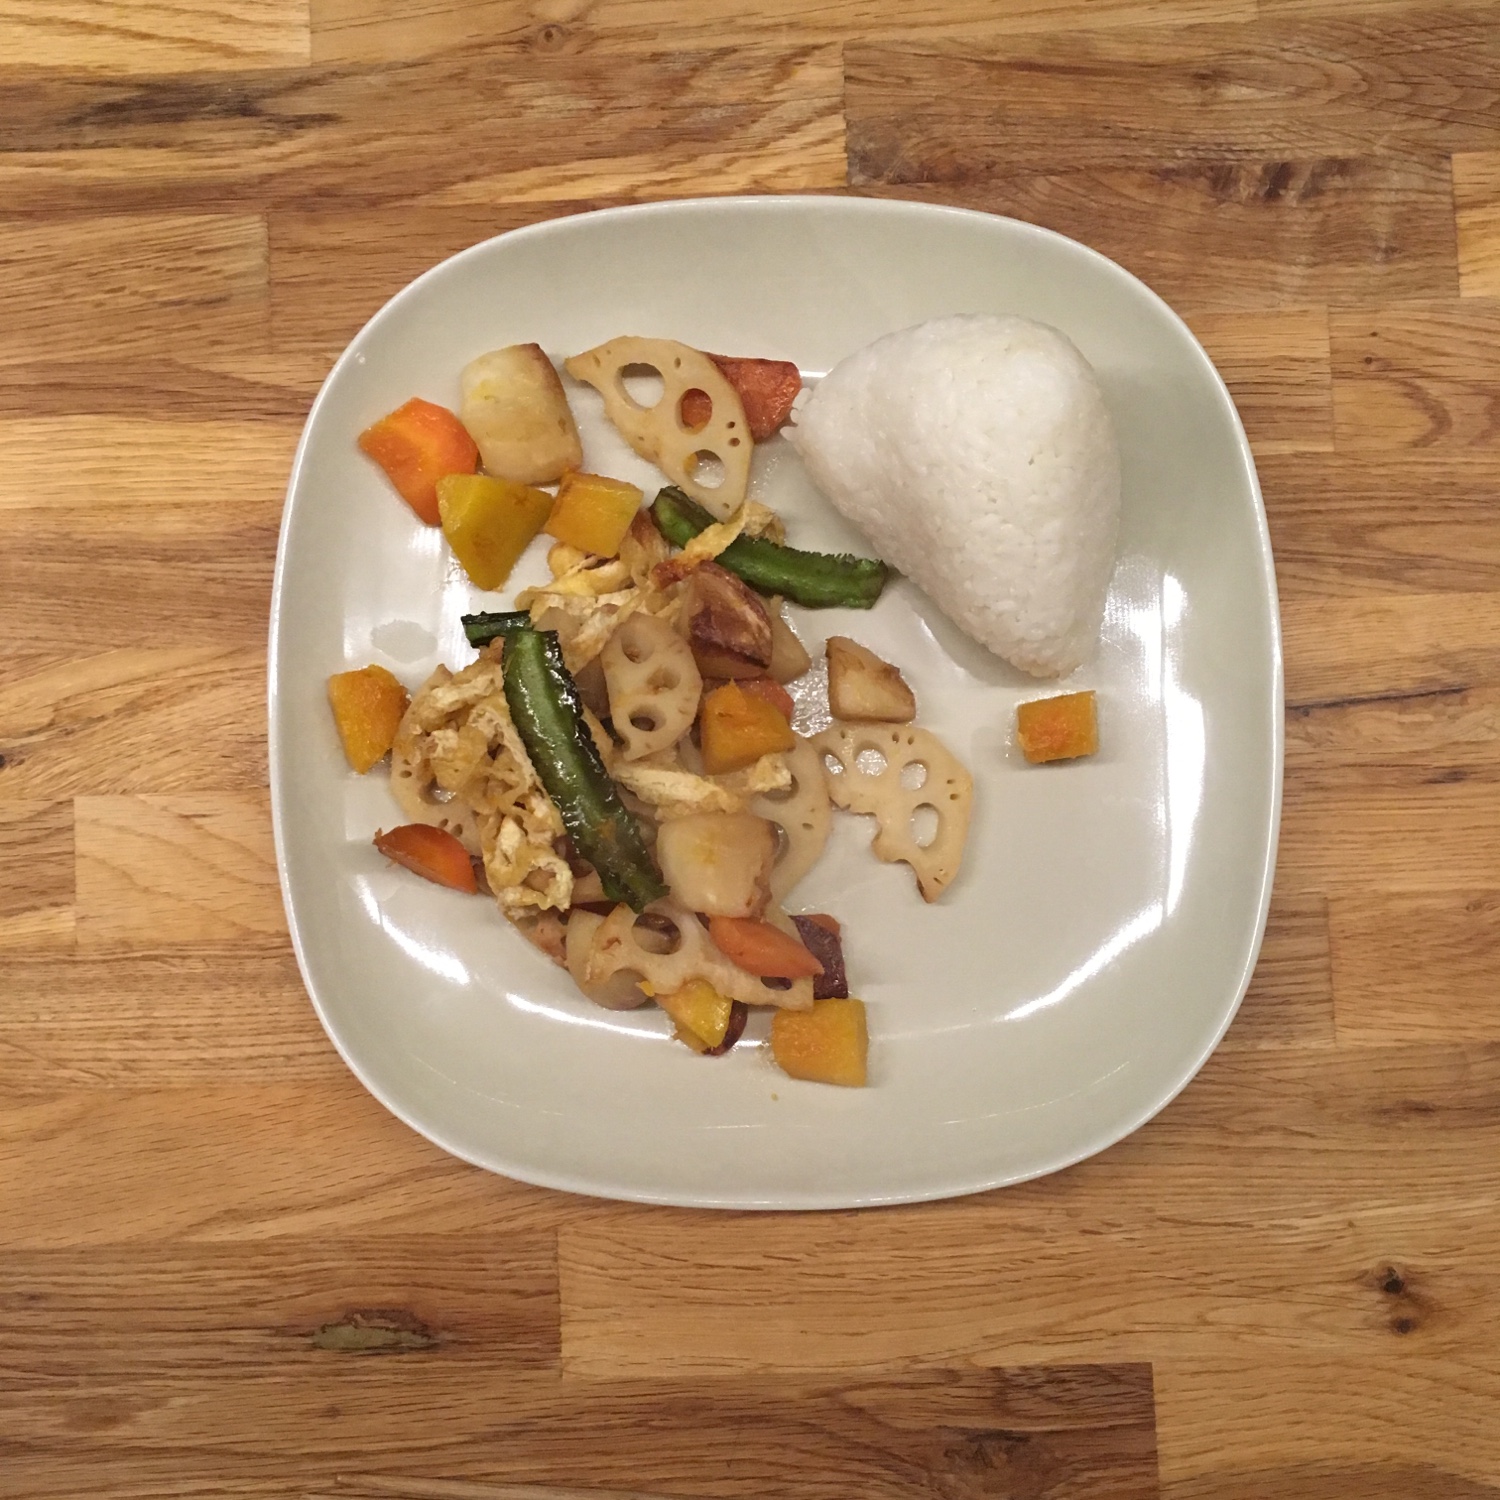
Myoga has a very typical flavor that is one of the important flavor in Japanese food. I love eating it in miso soup or with tofu, but also pickled and in vegetables mixes. That’s what it has served for today. A pot of autumn veggies roasted in a pan and with a bit of white soya sauce and thin slice of aburage, and served with rice. Here onigiri filled with red shiso miso.

Really simple and very tasty!

Butternut squash love

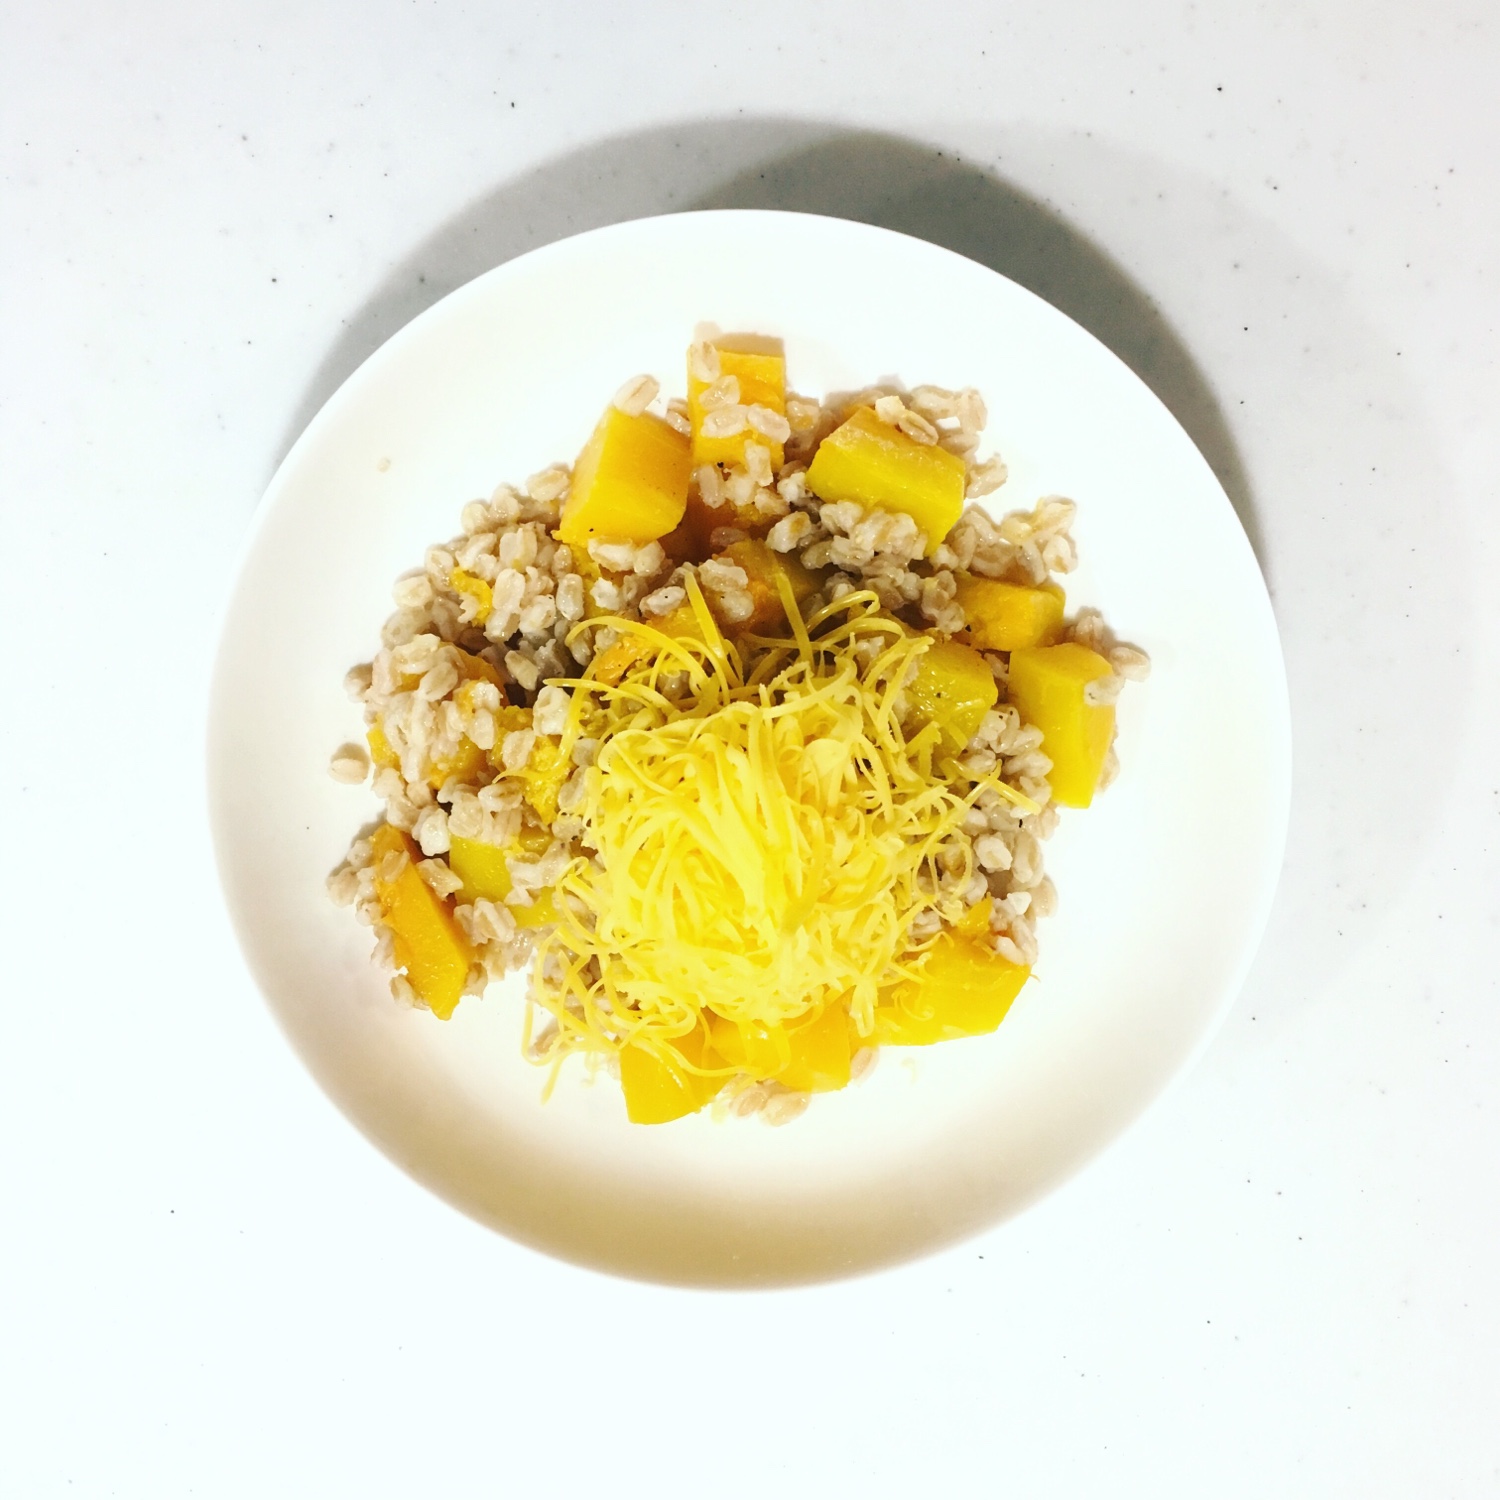
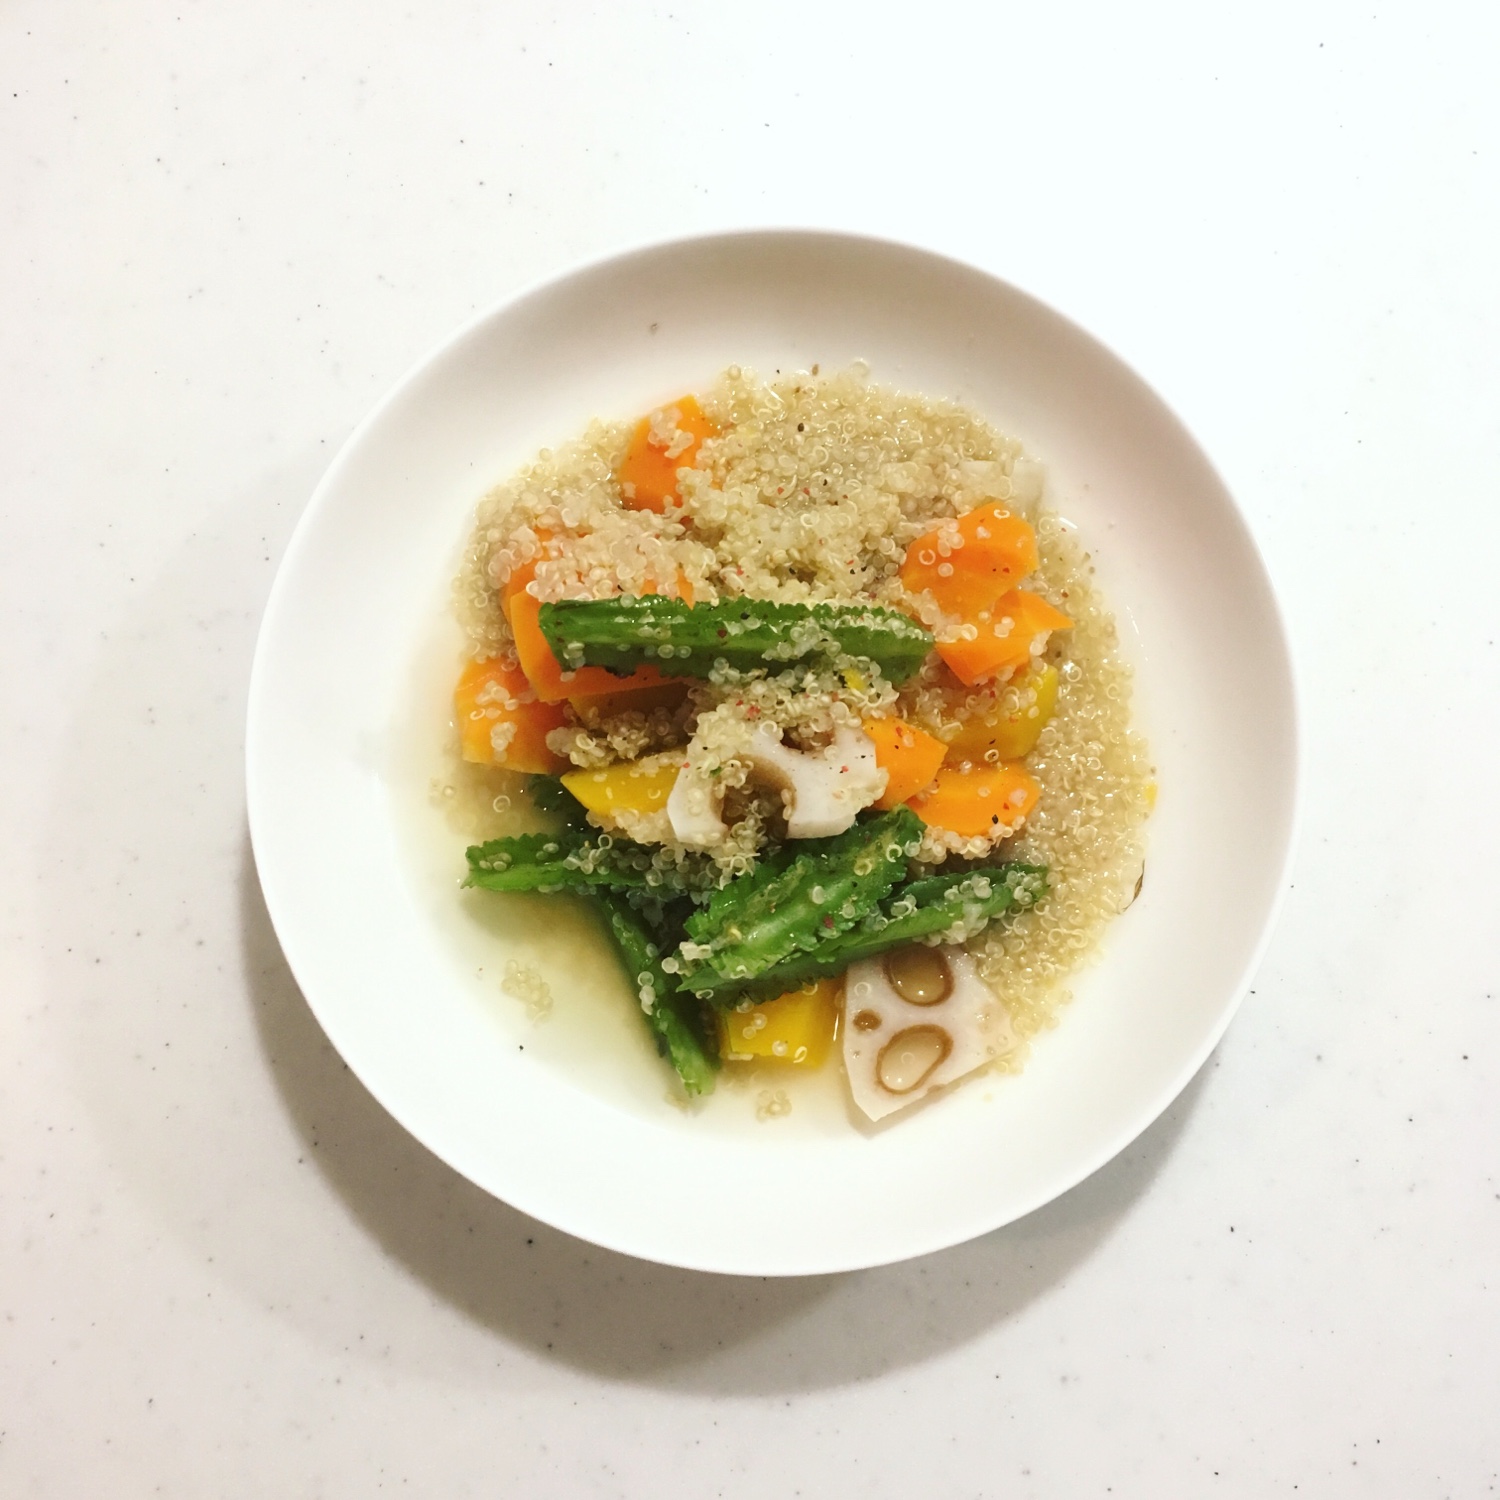
Since the very first I saw this season I have bought butternut squash every week and I am not yet tired of it. Whether it is with Japanese rice, risotto, faro, pasta or quinoa, it is always great. In jumbo ravioli also it is perfect. I love the taste and the texture and I love it because it cooks super quickly, it keeps quite long even after cut open. It is the perfect ingredient for me this week since A. is away on business and I cook only for myself. Oh! And I was forgetting that it suits very well melty cheese be it cheddar, Parmigiano or gruyère.

So I’ve tried faro risotto style pure and simple. Topped with plenty of grated red cheddar. For that I first boiled the faro a bit before cooking the butternut squash in olive oil and added the faro.

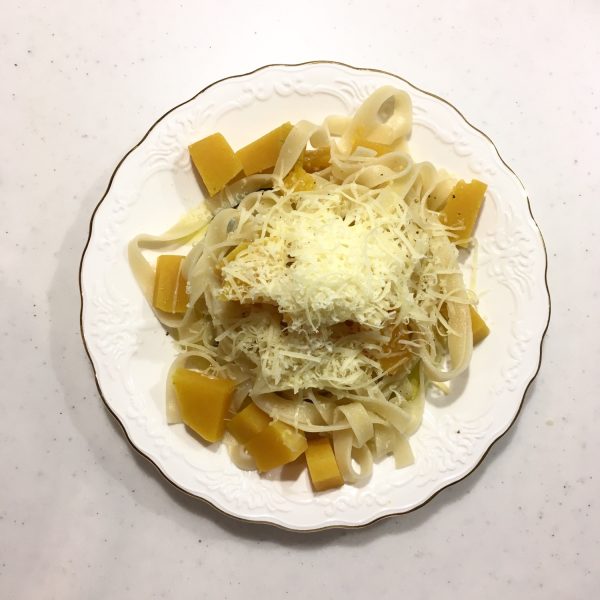
I did tagliatelle with butternut squash, when it was really late and needed to eat quickly. For that I added the butternut squash cut in bites to the boiling water of the pasta 5min before they were supposed to be done. Topped with grated Parmigiano and a bit of olive oil.

And finally I added it to some quinoa soup, a recipe that over the years has been a classic of the chilly season. I just tossed the quinoa with a carrot, a piece of lotus root, chunks of butternut squash and winged beans in gently boiling water, in order of cooking time. Added some curcuma, salt and pepper and ate all warm.

There are still a few more recipes I want to try with butternut squash, but it will be next week until I buy a new one…

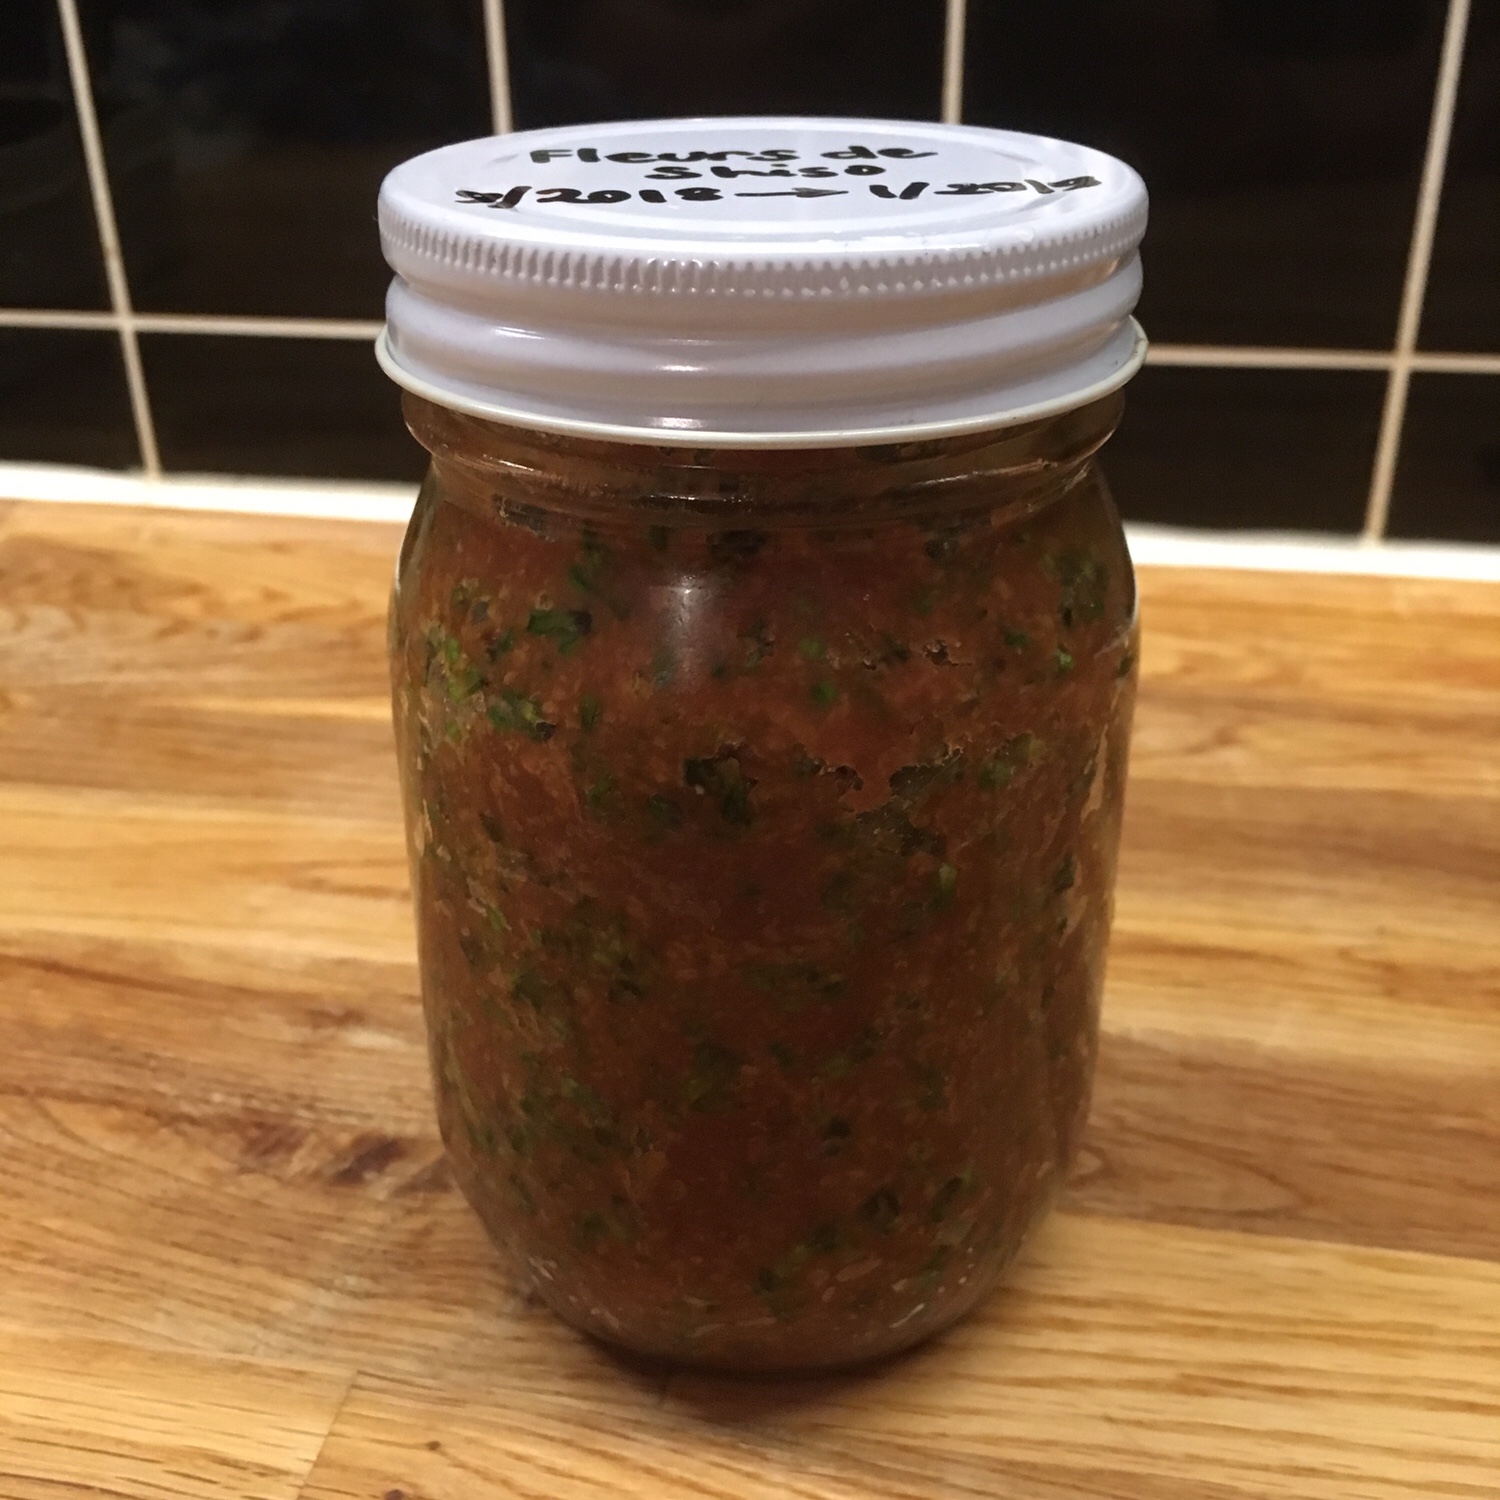
Shiso fruits in miso

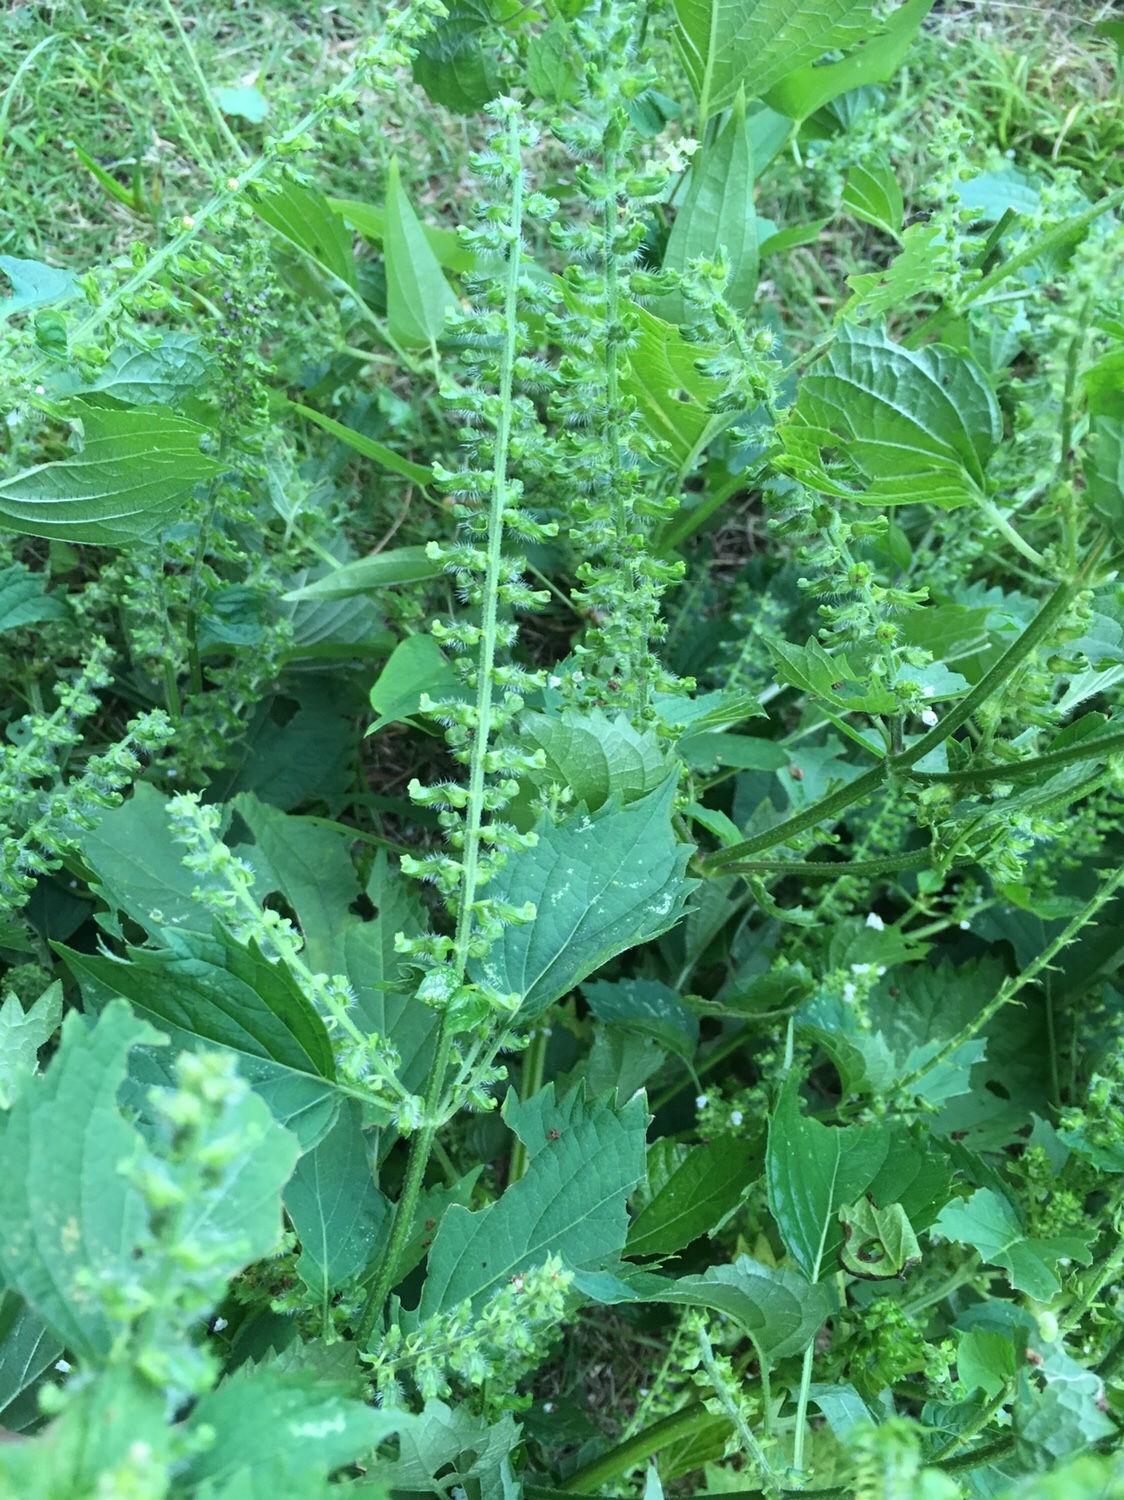
Shiso or perilla, is this little green plant which vibrant green leave you usually would see served with sashimi. In Japan it is used in many more than that and it’s not just about the leaves, it’s also about the flowers and the fruits. It is not a small tiny plant too, it can be the size of a small bush and it grows like weed, you have one or two the first year and by the next it already triples, and soon you will have to remove half of it!!! Shiso grows easily in the garden but you can also grow it in a planter on your balcony. Leaves are good raw chopped in salads, in omelette, with rice… in tempura too. The flowers are purple and great to decorate and are edible. And the fruits then?

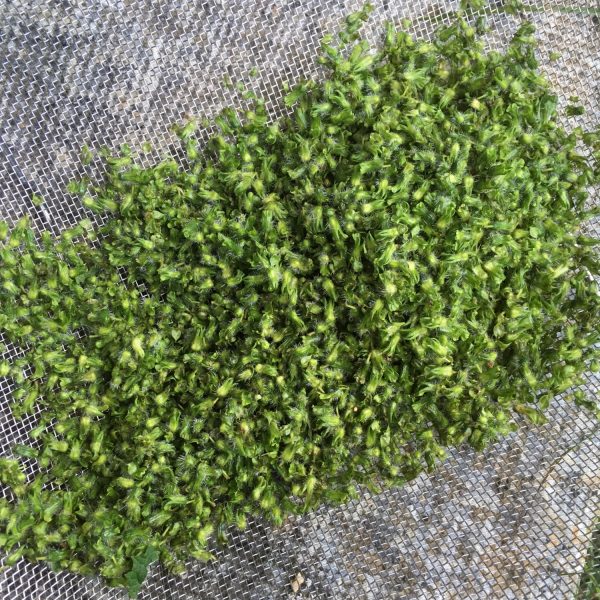
They look like very very tiny fresh hazelnuts and grow on the branch after the flowers. They are in season in September and the best ways to eat them are either tempura, omelette just like the leaves, or in miso (by far my favorite). It is very very easy to prepare. But you won’t be able to eat your preparation until January of the following year!

Shiso in miso:

– shiso in branch with fruits (probably not on sales anywhere so you may need to grow your own shiso)

– regular natural miso

In terms of proportion you need in volume a ratio of 2/1 for shiso fruits and miso.

Pull the fruits from the branch (use gloves otherwise you’ll have brown fingers hard to wash out!!). Wash them and dry them with a kitchen clothe. In a bowl stir the miso and the fruit well to obtain an homogeneous paste. Put in a jar, close the lid and keep refrigerated until January, then you can eat! Perfect to eat with plain onigiri, daikon sticks… to bring a bit of the warm taste in the cold winter!!

Osmanthus fragrans syrup

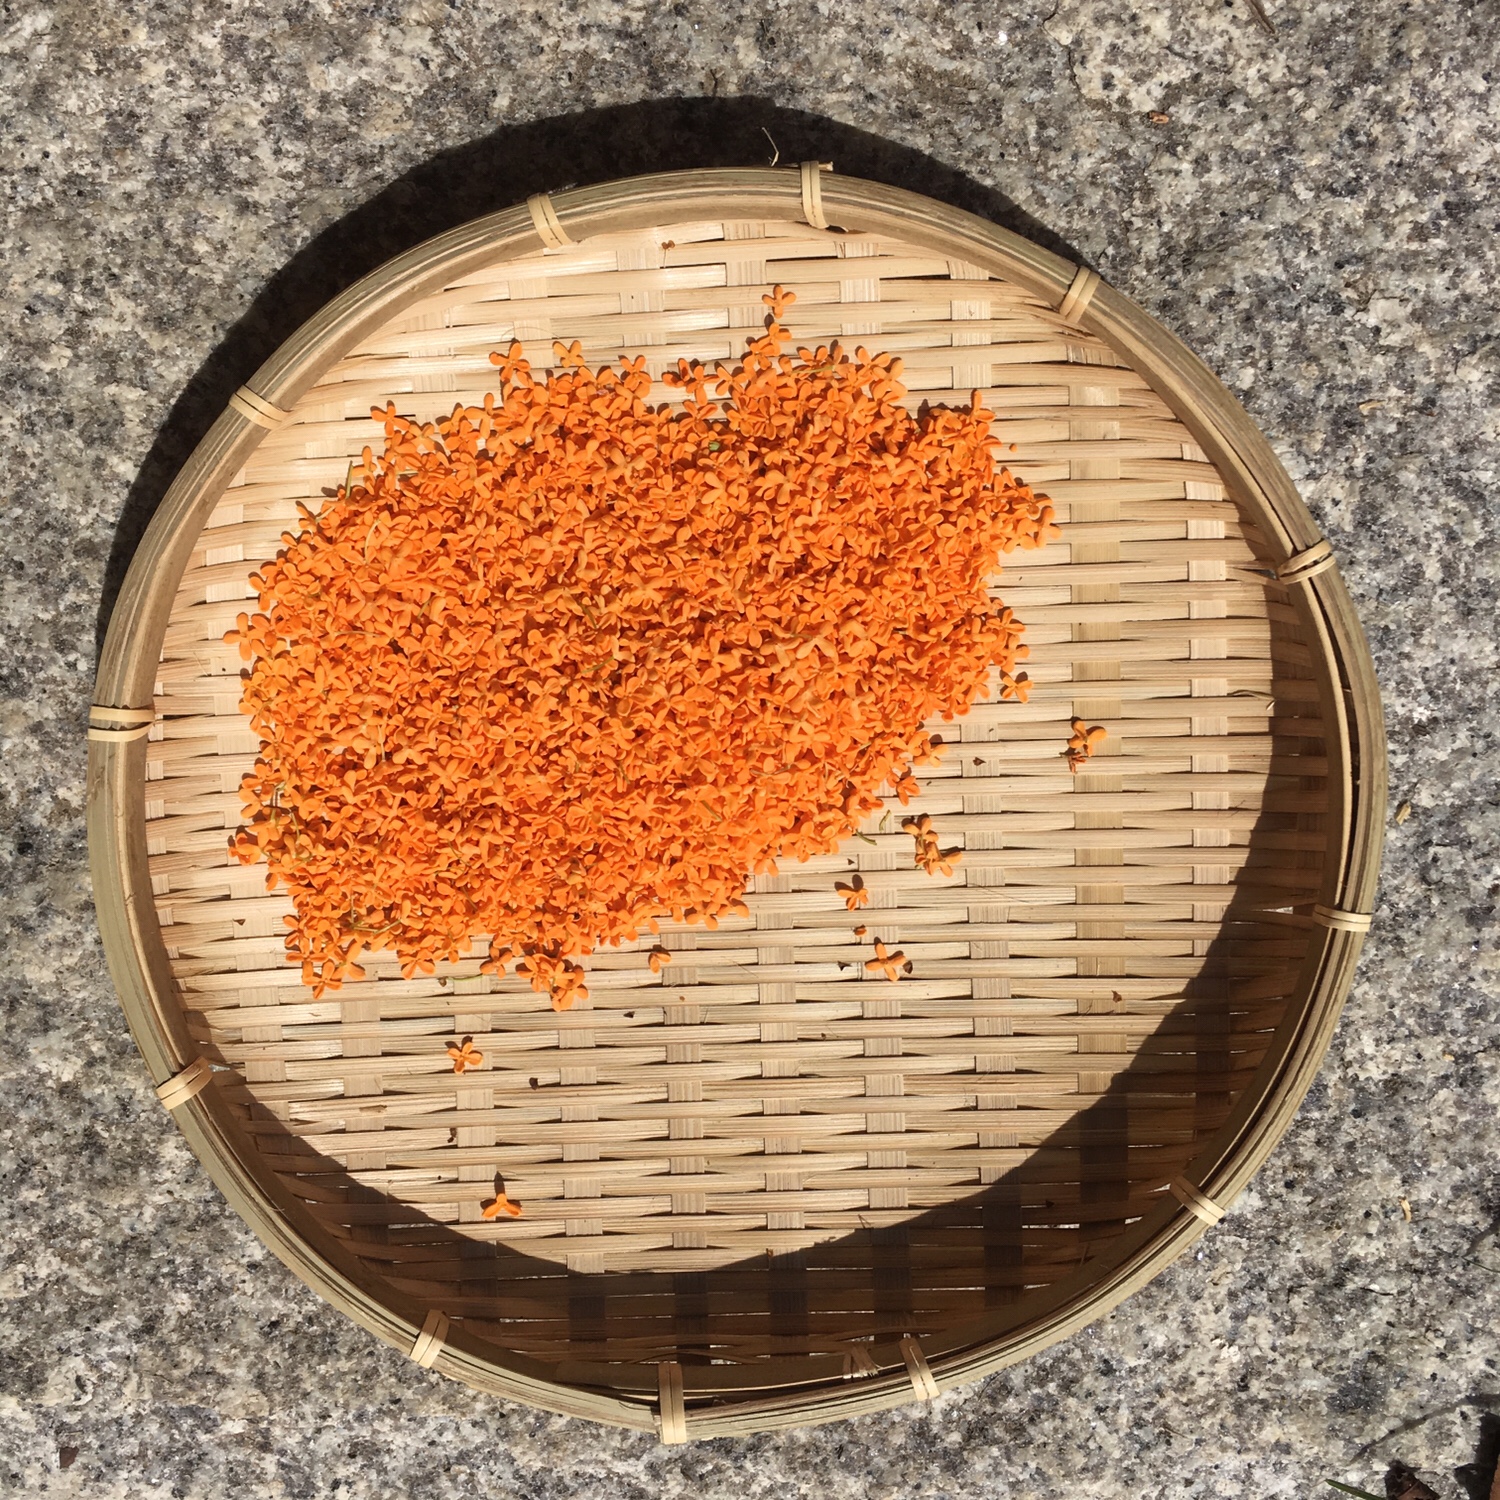
In the garden, blooming in September we have about 5 or 6 osmanthus fragans or 金木犀 kinmokusei in Japanese . First I didn’t know what it was and I was just charmed by the lovely smell coming from these very tiny orange flowers. It blooms when crape myrtle サルスベリ sarusuberi flowers start to finish, and before the beginning of camelia 椿 tsubaki, or fall colors. Last year I heard from a friend the name of the tree and that it is possible to eat the flowers. But when I learned about that the flowers had already faded and I couldn’t try. But this year I didn’t miss it! When the smell started in the garden I prepared the ingredients and gears for making syrup and finally today I harvested the flowers. It is really nice to harvest these small flowers. It’s quite easy and it smells so good! Collecting 100g like the recipe requires took about 1h. Because we have so many trees we didn’t need a ladder, just reaching for flowers at our height on several trees.

Then making the syrup is quite easy though a little tedious.

Osmanthus frangans flowers syrup (1L)

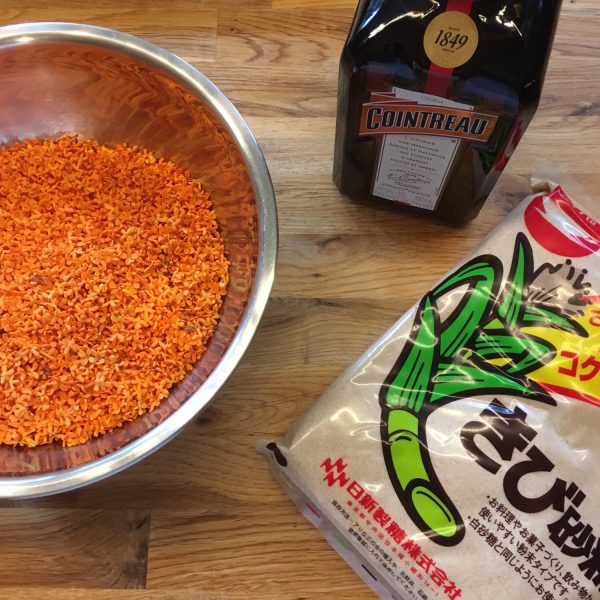
– 100g of flowers of Osmanthus fragans

– 600g of sugar (I used brown cane sugar)

– 600ml of water (for the syrup)

– 150ml of Cointreau or other Grand Marnier (it’s for washing the flowers, so no alcohol remains in the final product)

The first thing and most tedious step is to clean the flowers. Remove the stems of the flower as much as possible, to keep only the petals. In a metal net or strainer, 20g by 20g of petal, shake gently to remove dirt and small undesirable parts. Then in a large bowl of water add the flowers and 75ml of Cointreau or Grand Marnier and move gently the flowers in to clean them further and remove small bugs… strain in the metal net and do it a second time with again 75ml of Cointreau or Grand Marnier. Keep the flowers in the strainer for 20 to 30min to drain.

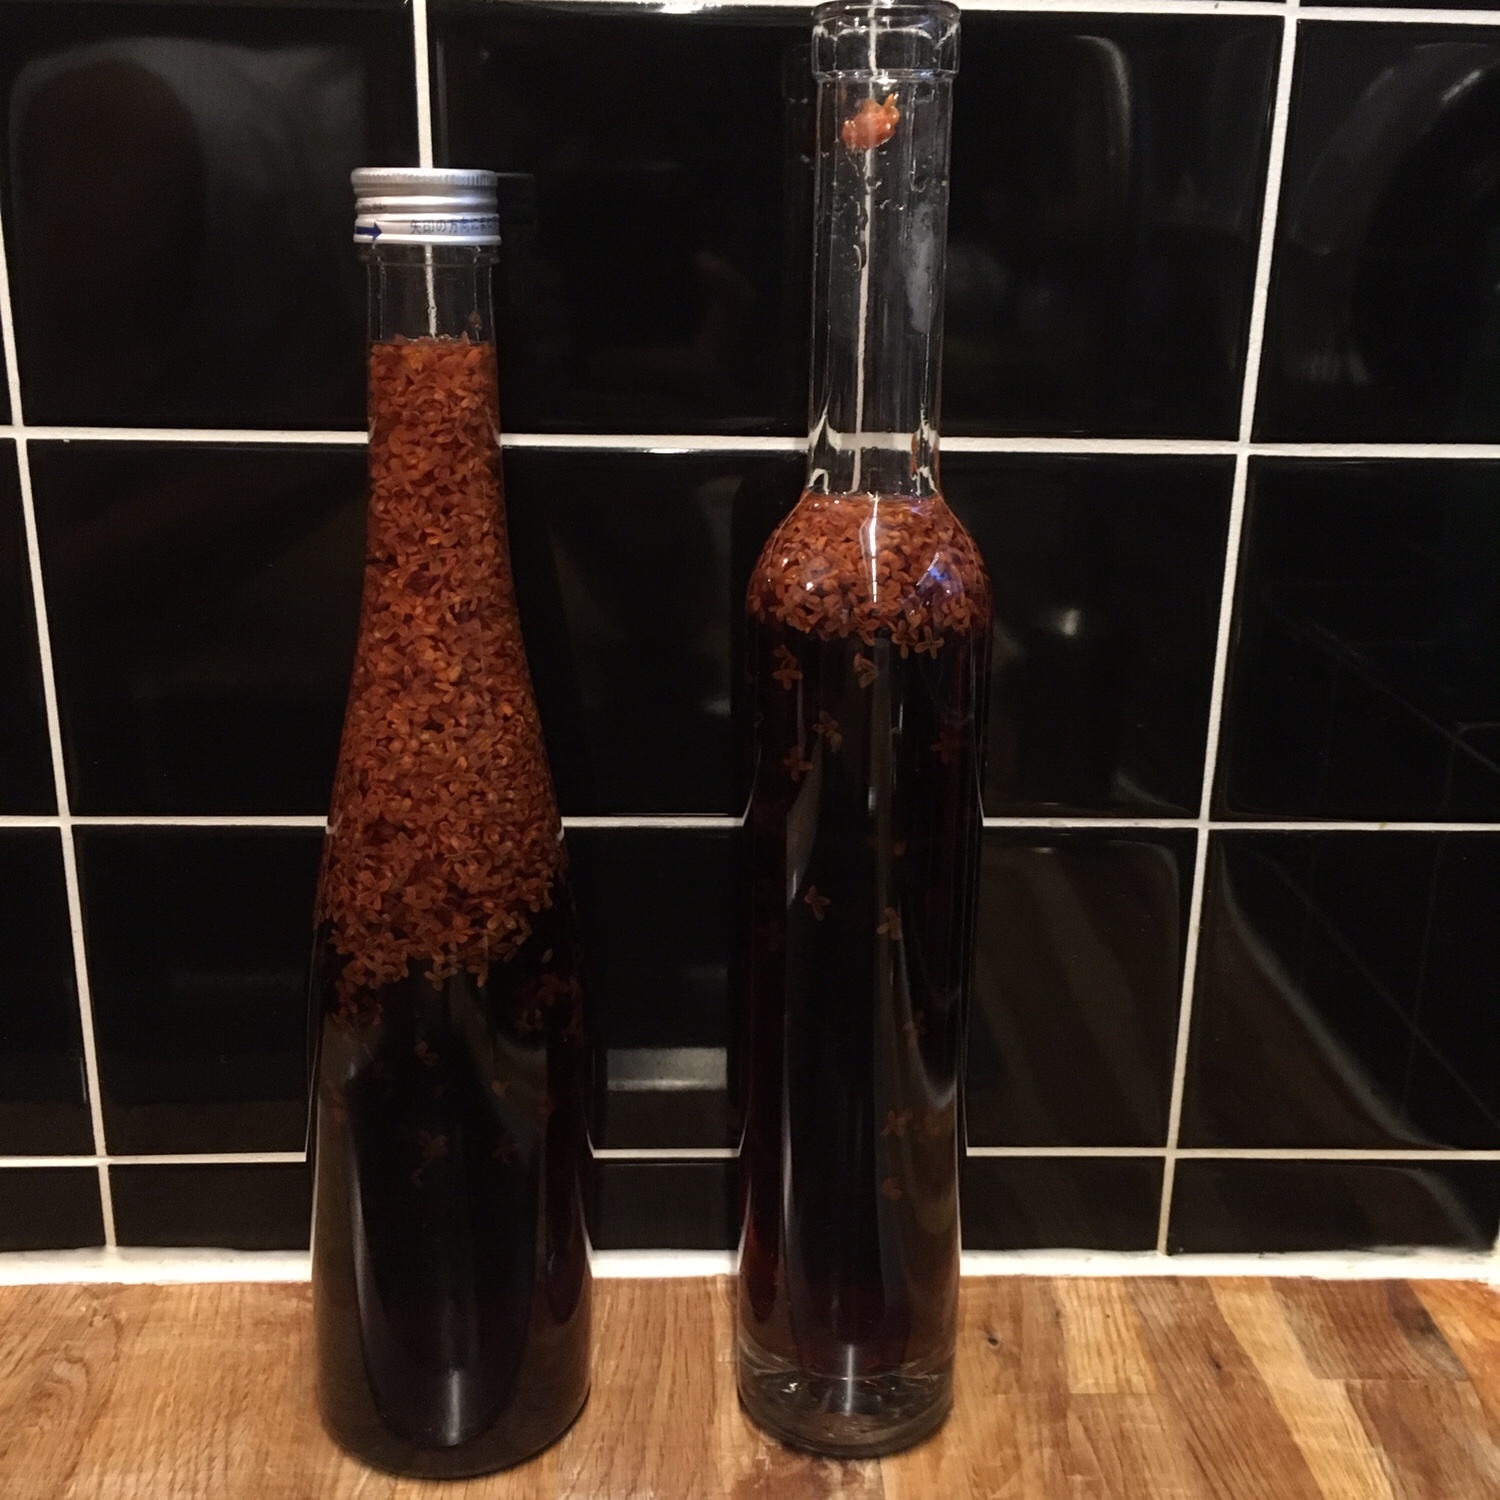
In a large pan add the water and the sugar and bring to boil, add then the cleaned flowers, and once it boils again lower the heat and gently stir for 5minutes. And stop the fire and let cool down naturally. Prepare the containers by sterilizing them. Once the syrup has cooled down bring to a boil a second time, and stop the fire right away and pour in the containers. It’s ready!

The very last of the summer

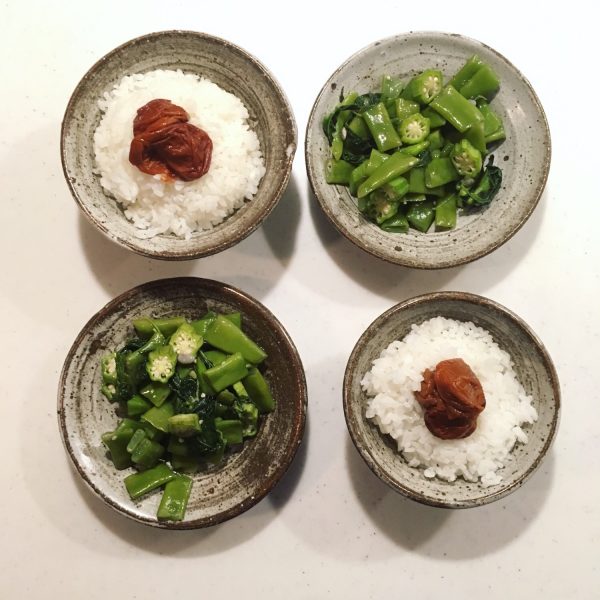
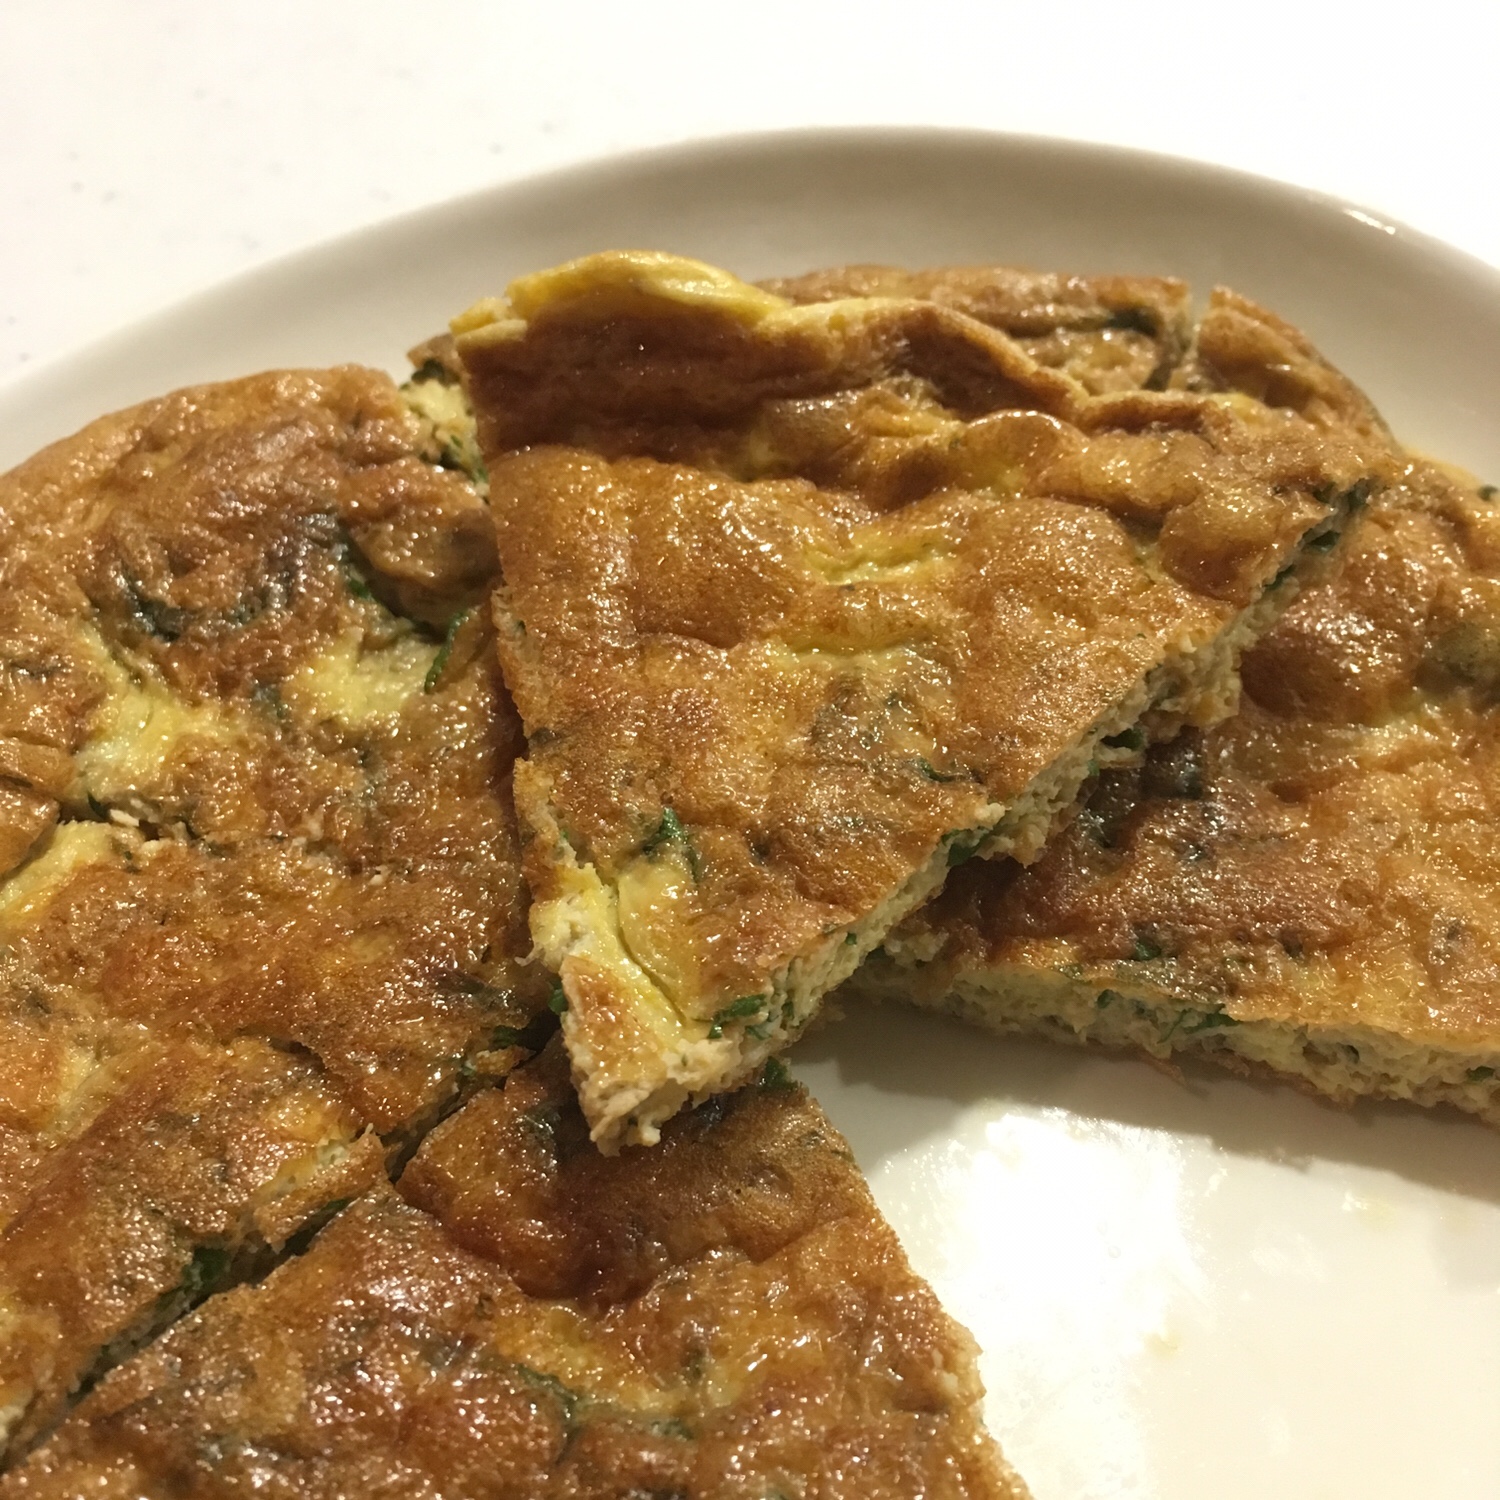
After a day of rain this week the weather as turned from end summer to early autumn. The cicadas voice is getting harder to hear and the wind gets chilly in the evening. Even though I am slowly shifting to autumn vegetables, tomatoes and eggplants have my favors to hold the summer a little bit longer, and when I saw these broad beans I couldn’t help taking them and prepare a meal that would still feels like summer. I chose for that a Japanese classic preparation boiling them in a dashi of konbu, just enough so that when they were cooked the liquid was alsmost gone (katsuobushi, or a mix of both is also perfect) and added okra sliced and jute mallow. I finished with light colored shoyu. Served it with rice and umeboshi and an omelette with finely chopped green shiso.

The Indian summer can start now!

Proudly powered by WordPress | Theme: Baskerville 2 by Anders Noren.

Up ↑

Verified by MonsterInsights