Fougasse

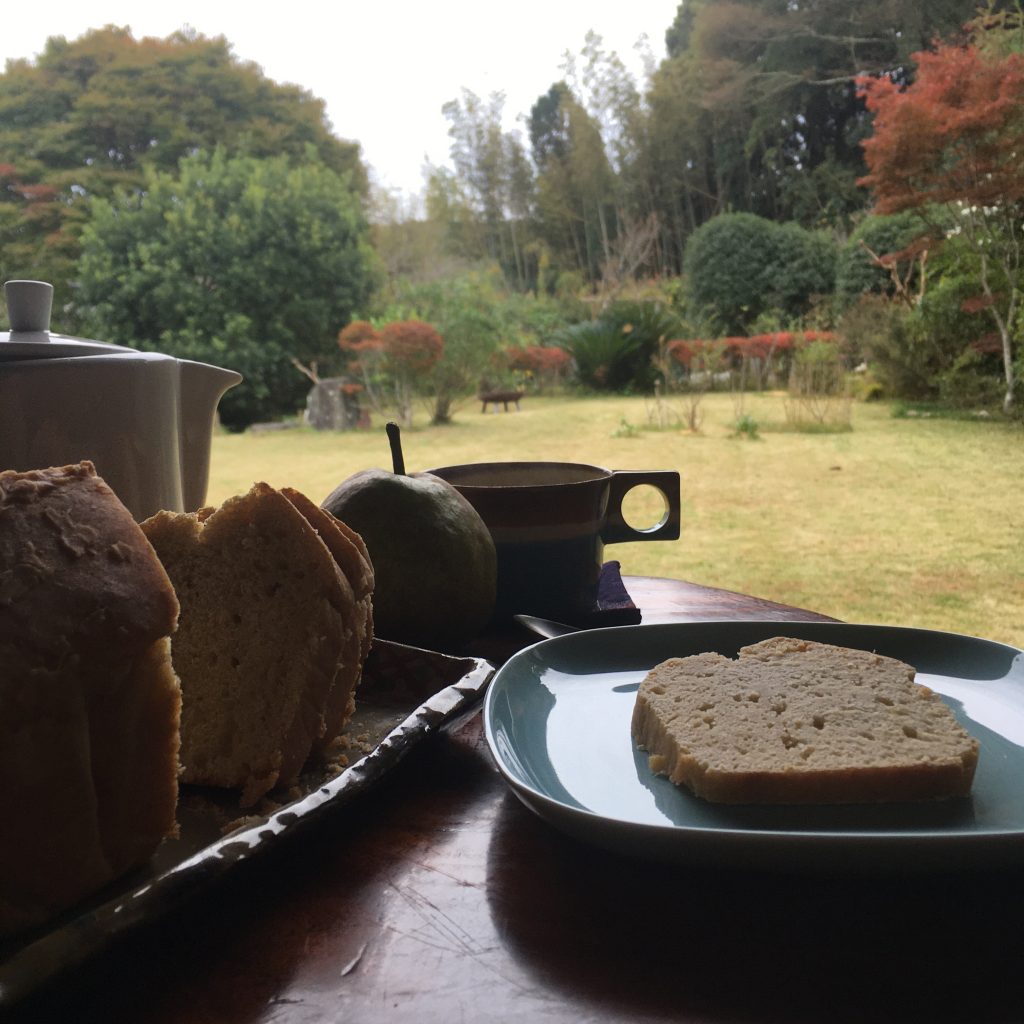
When I was a child, my mum would come to pick us at school for lunch, then we would walk to the car and somedays, on the way stop to buy some bread at Mr. Richard bread shop. And one bread in particular, fougasse. His signature fougasse unless most other bread shop was not the one with olives, or whatever else you can put in, it was the simplest plain fougasse, and instead of the classic shape it would little hearts cuts and you could pull the little hearts of bread. We lived to eat the little hearts on the way back to the car, and even more when the bread was still warm!!

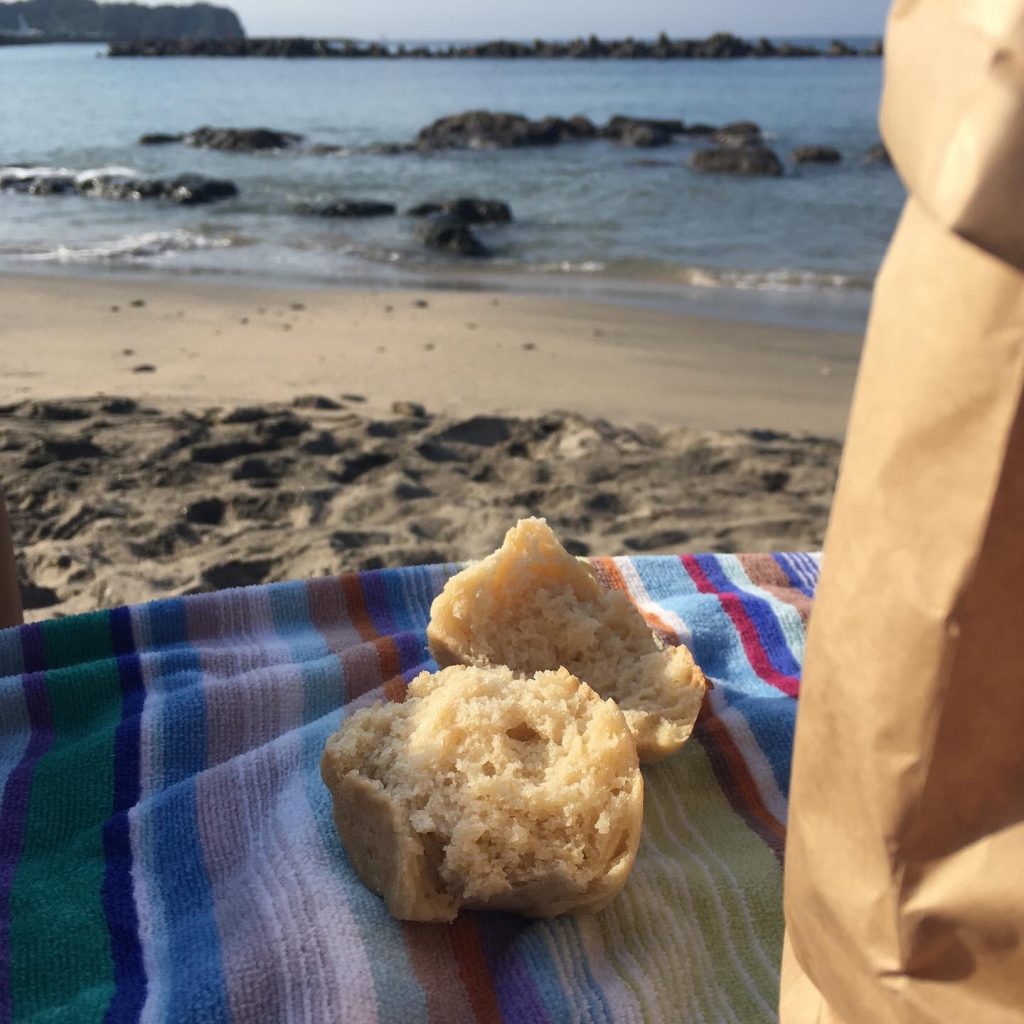
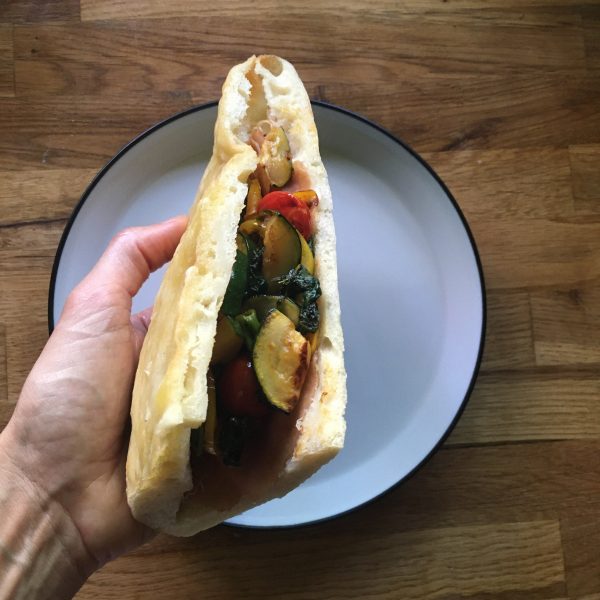
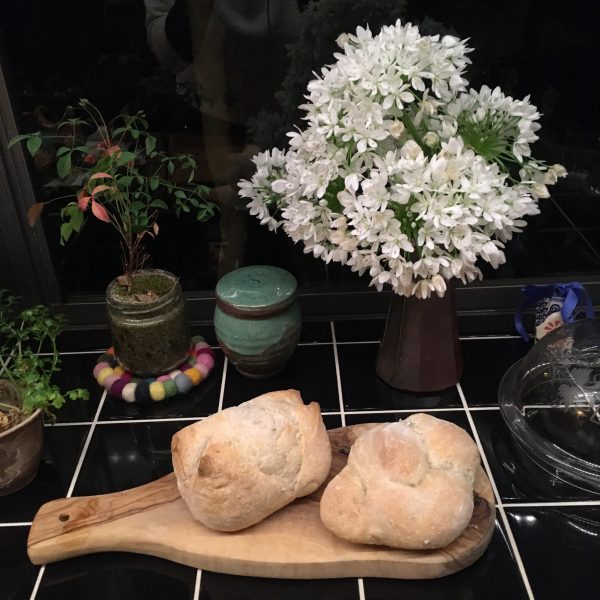
While fougasse is eaten all year round, I like to have some ready in the summer. It makes the perfect meal with some fresh vegetables and a piece of grilled fish. And it is even more perfect when you have it ready when you get back home after a surfing session at sunset. I love to go surfing on Sunday evening after 17:30, when most day trippers are leaving and you get the ocean for just you, your friends and a couple of regulars. I love driving back home at dusk, seeing the sky becoming purple and the rice paddies turning yellow. And then I am hungry and the fougasse and a fresh cucumber from the garden are waiting to be eaten!

Fougasse

  • 250g of flour
  • 20g of olive oil plus some for the finish
  • 20-30g of sourdough starter
  • 8g of salt
  • 70g of water (may need adjustment depending on flour and sourdough)

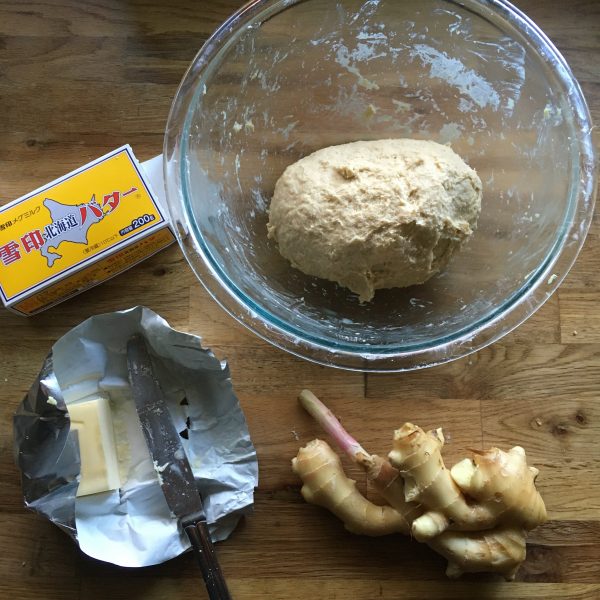
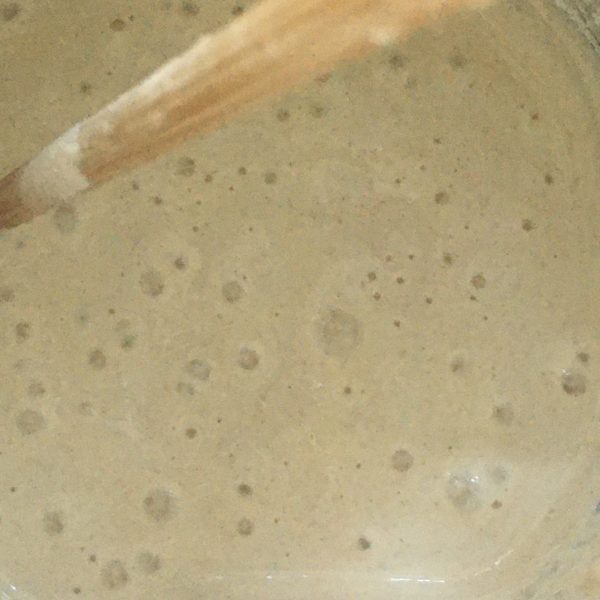
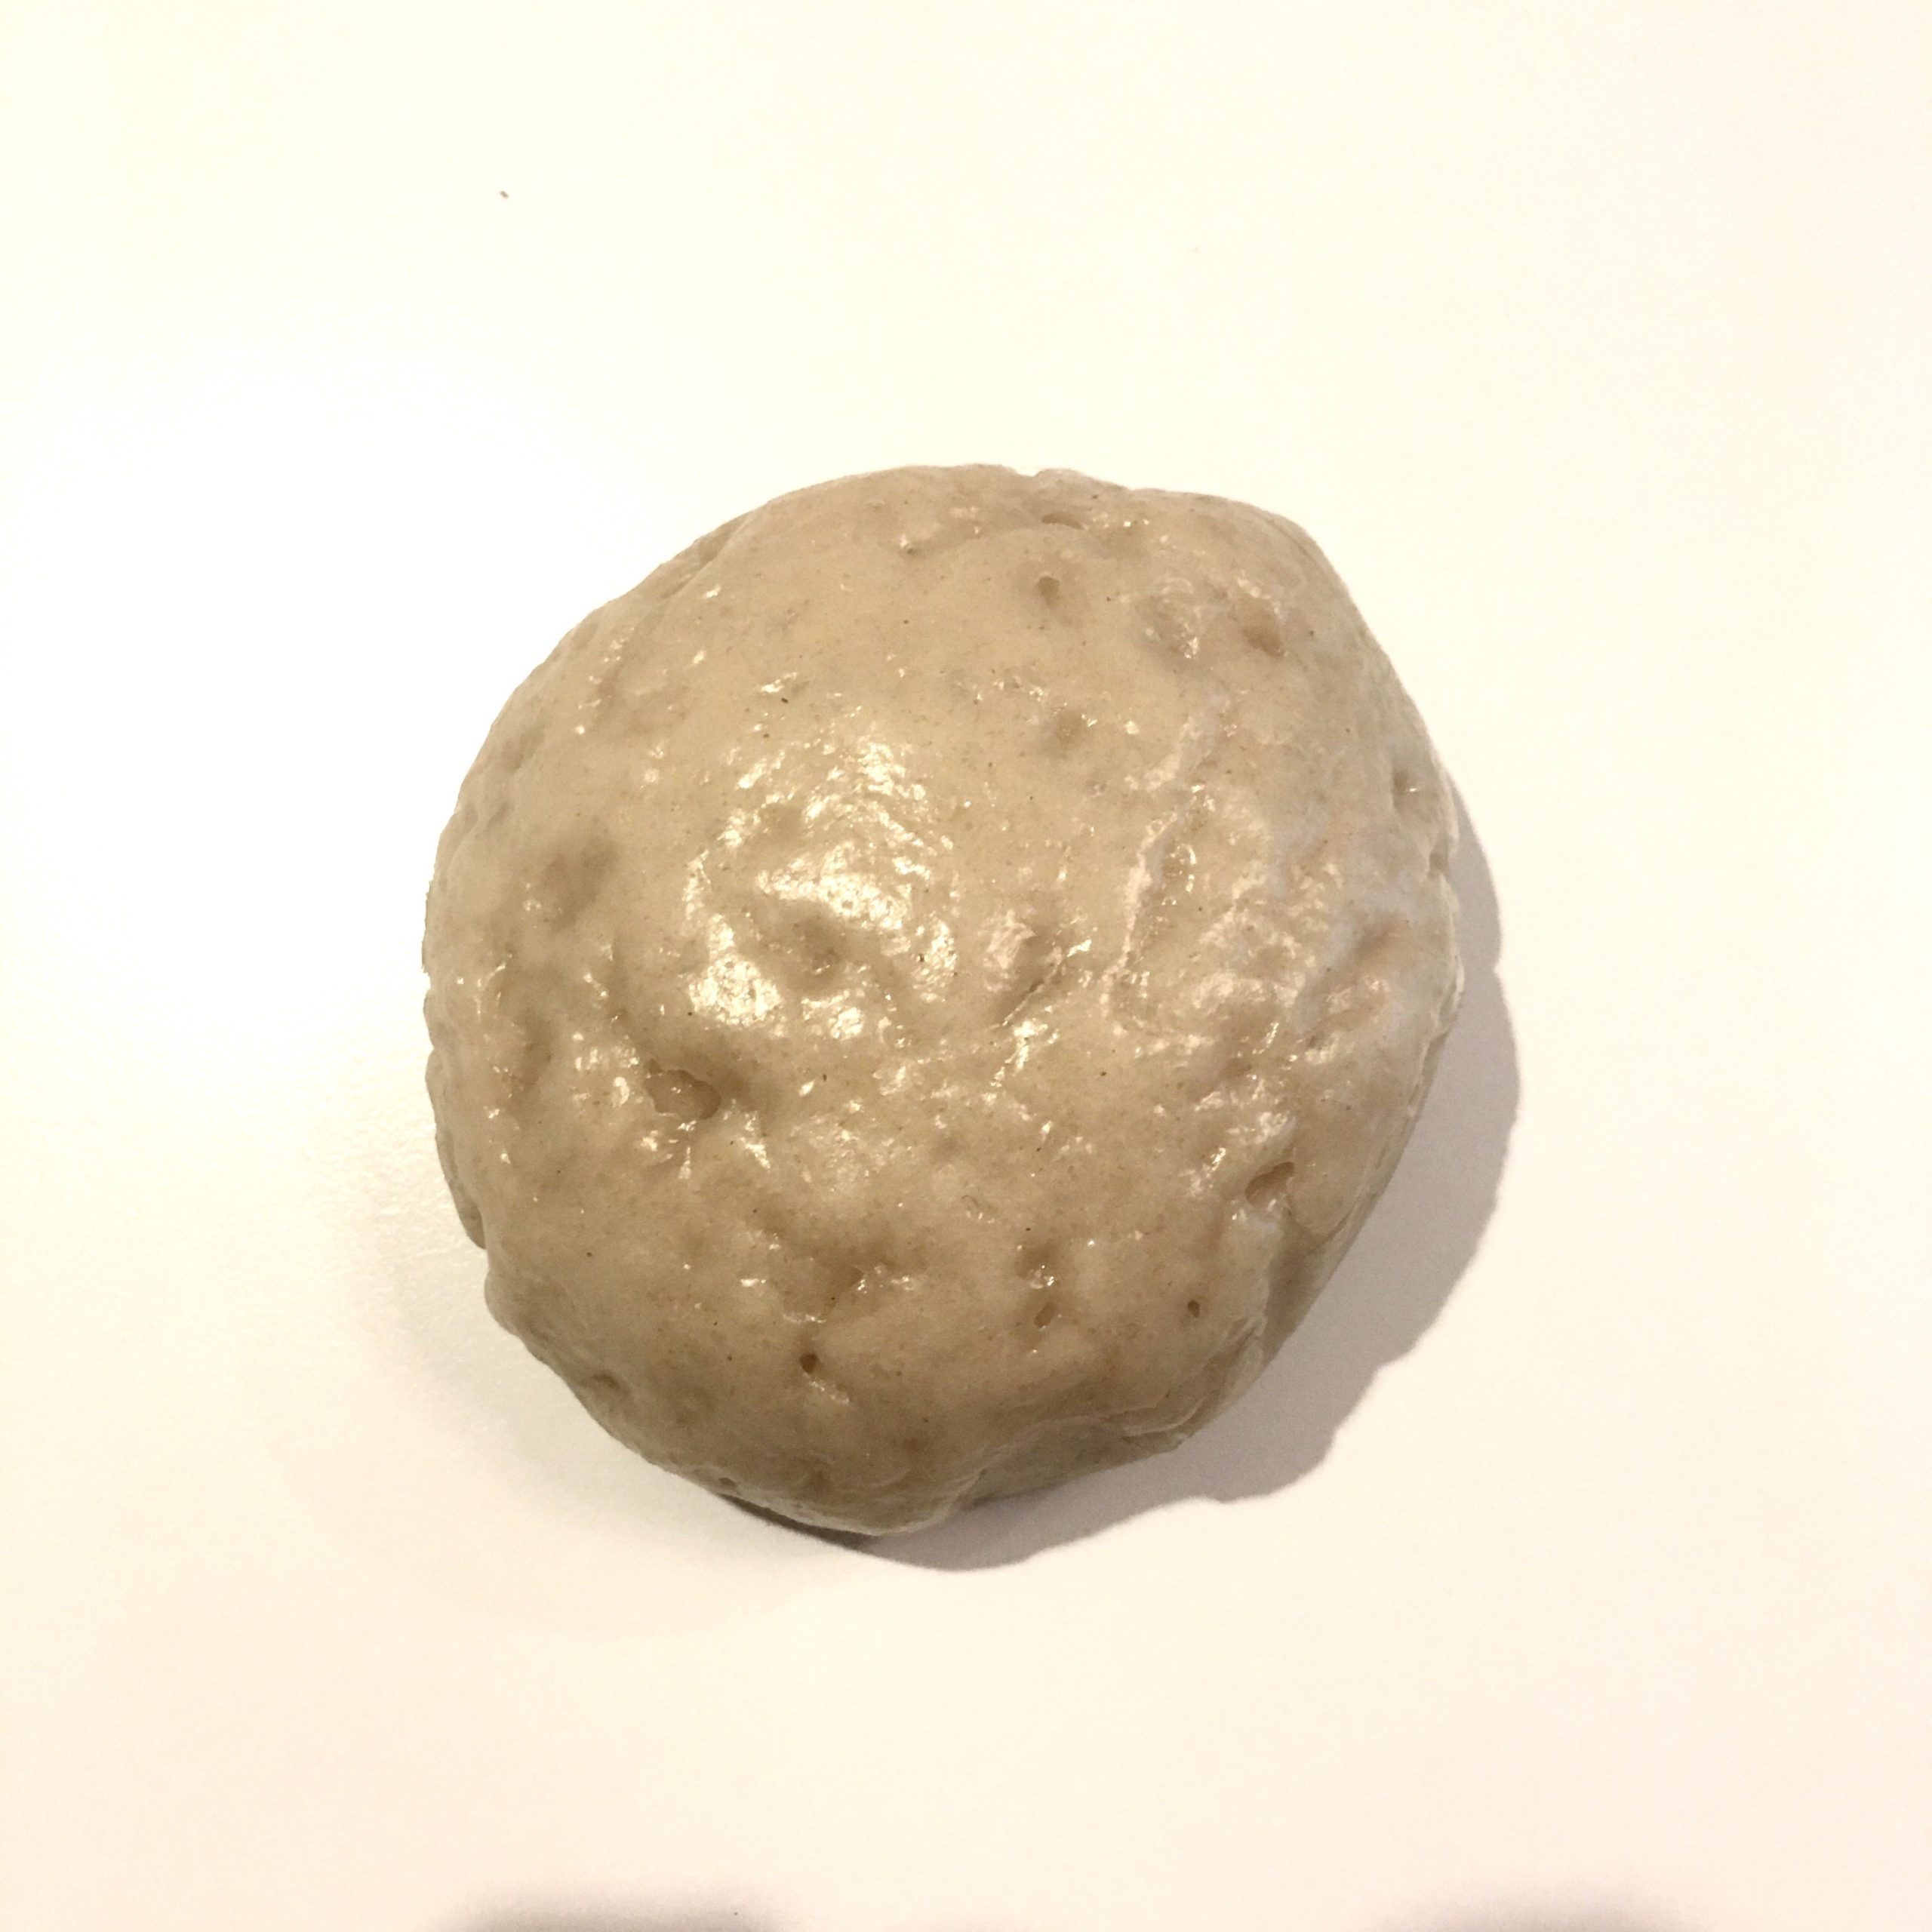
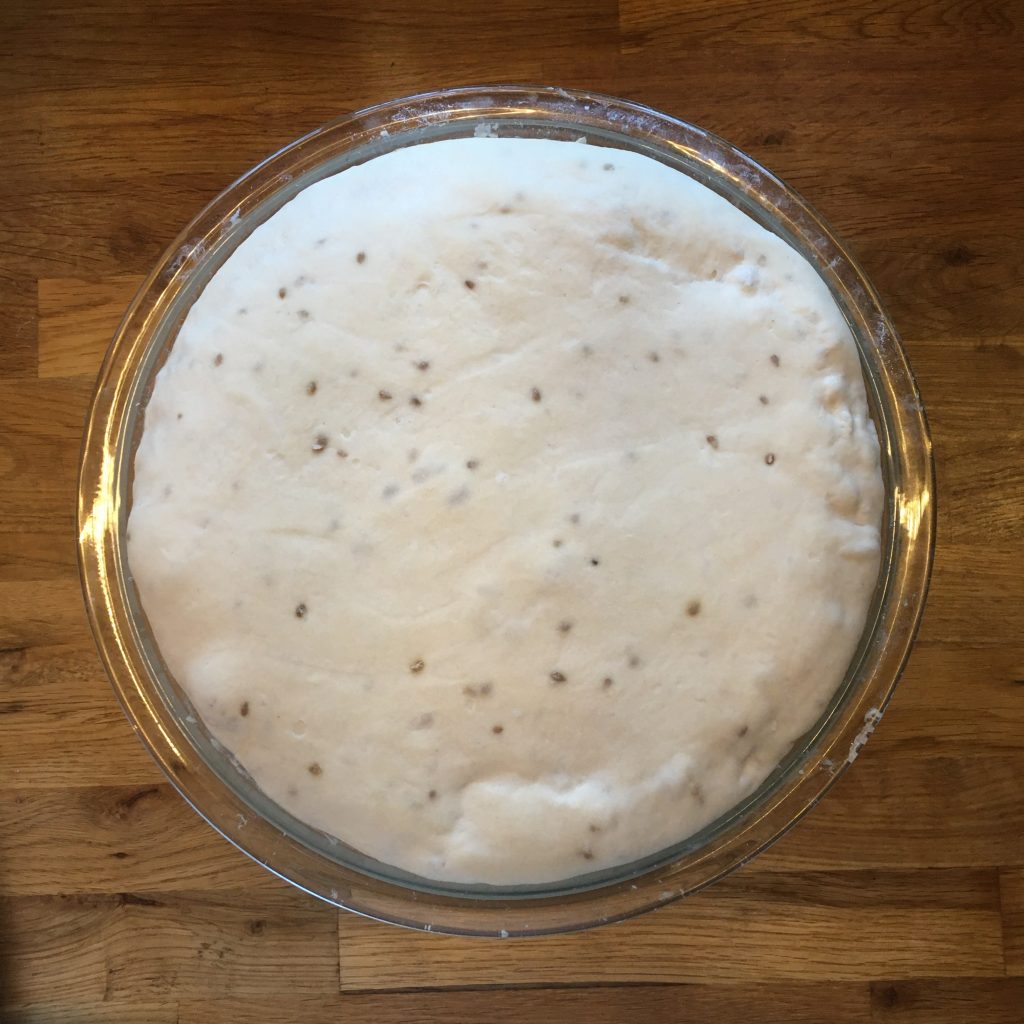
Mix all the ingredients and knead lightly. If the dough is too dry add a bit of water, if too wet a bit of flour. The dough must be rather hard and have not much moisture.

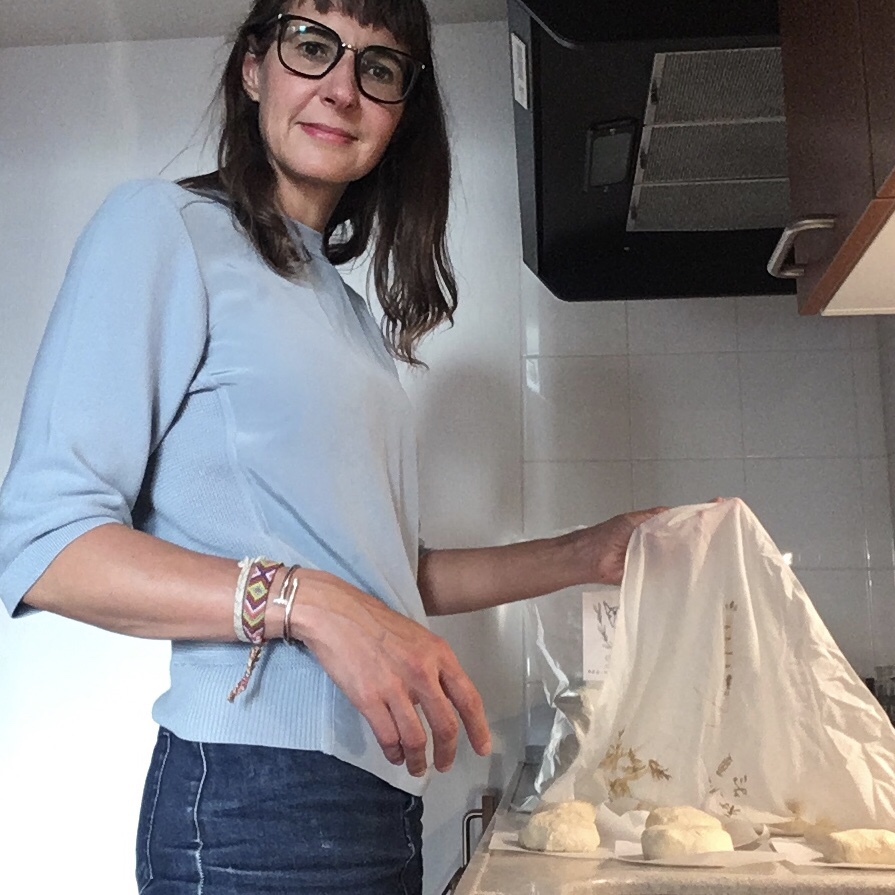
Wait a few hours until it has grown.

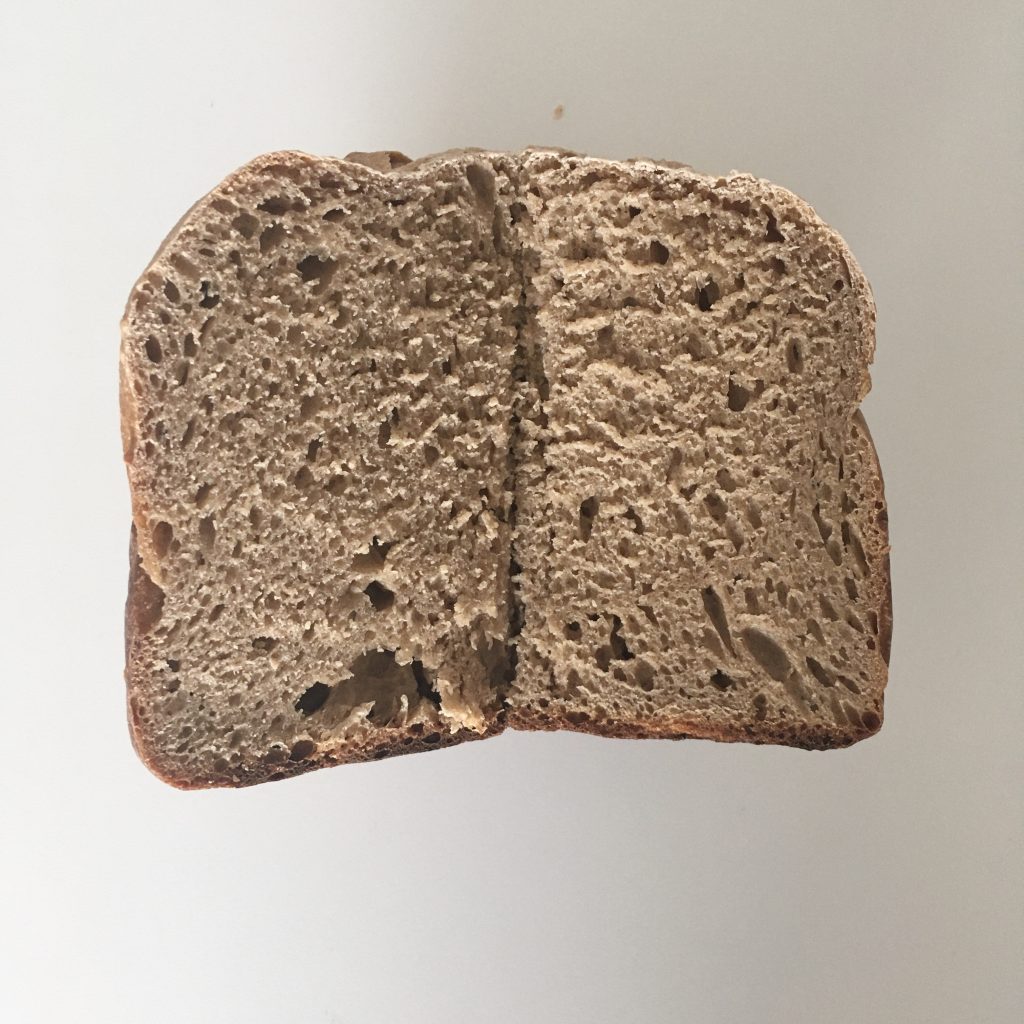
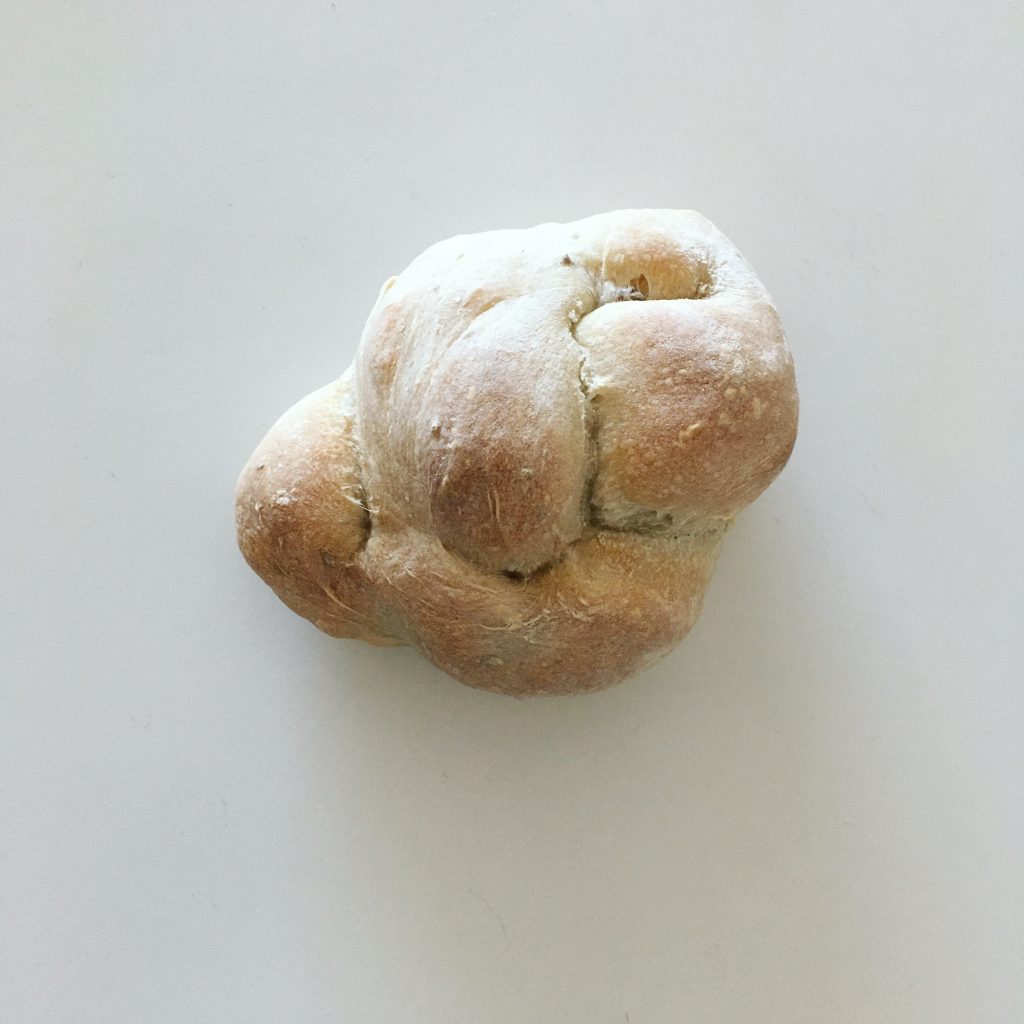
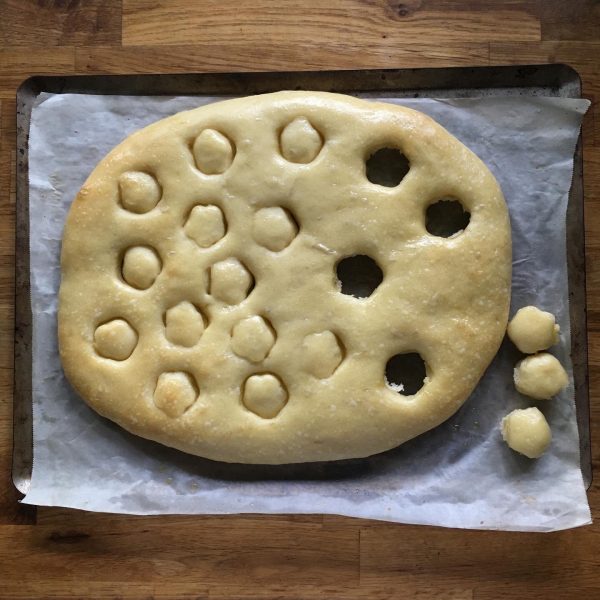
Then flatten the ball with the hand and wait 15 minutes. After that, roll the dough with a cooking pin to obtain an oblong shape of about 2-3cm thick. With a shaped cutter of the shape you want, I chose plum because I didn’t have hearts like Mr. Richard’s fougasse, cut a few places with the design you fancy.

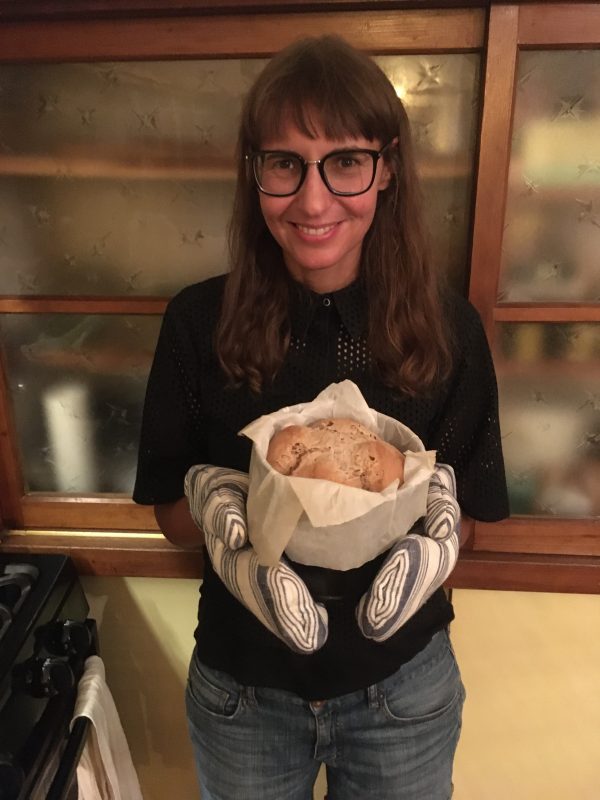
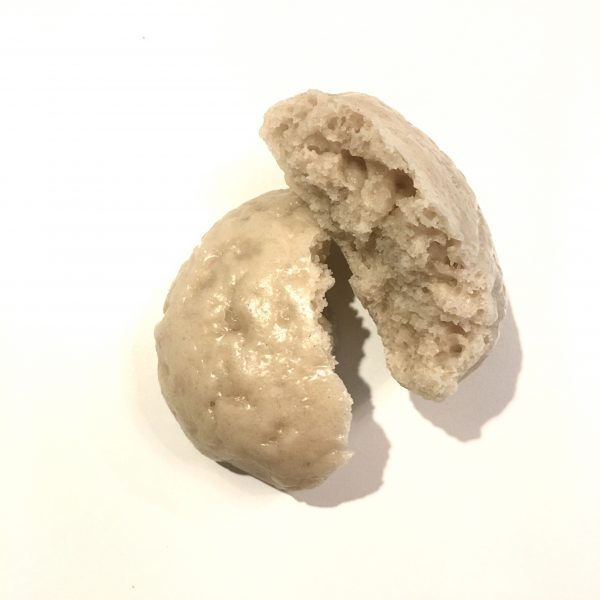
Bake at 230deg for 15min or until golden. When out of the oven spread a layer of olive oil with a brush.

Fresh ginger

Just after myoga, fresh ginger season is starting. Both plants may look very similar, but in ginger we eat the root mainly. Unfortunately we don’t have ginger growing in our garden yet, so I usually buy fresh ginger at the farmers market. I’m big fan of candied ginger, and prepared some sometimes, but so far I didn’t get time. Work has been really busy, and everyday is full from morning to evening, if not with work, with surfing, gardening and trying to get familiar with Pistache. Progresses in any of the above are really slow: I’m getting better at spinning but it’s not quite yet very nice… the new garden soil is slowly shaping up, very slowly… and the cat… hum she’s around a lot but it is still too early to get anywhere close…

Pistache

All that to say that I didn’t make candied ginger, but instead used the fragrant roots for honey drinks, and for a delicious brioche. The drinks are easy, I just peel and slice thinly the root. Add a tablespoon of honey and top with hot water. For the brioche, the recipe is below.

Hot ginger

Ginger and lemon brioche

  • 400g of flour
  • 3 eggs
  • 100g of butter
  • 50g of brown sugar
  • 100g of fresh sourdough
  • 1 root of fresh ginger grated with its juice too or ginger powder
  • The zest and juice of one lemon or lemon extract

Mix all ingredients in a bowl and knead until smooth and soft. Leave for as much as it needs to grow. That will depends on the room temperature. Once the sourdough has clearly worked, flatten the dough, wait 15min and shape (I used a cake dish). Leave for another 1h or 2 before baking at 200deg for 40min or until golden.

Breakfast with the ginger and lemon brioche

Happy birthday Lois!

A year ago after many years of hesitation, I finally decided to prepare my first sourdough: Lois. Since then we’ve been living and working together to make breads, pizze, brioches, buns and the like, for the best and a few times the worst, but I must say that I am very happy with it.

Lois is a sourdough that behaves well. Seeing so many pictures on IG and www of sourdough overflowing really got me worried, as I hate the kitchen to be a mess, to throw away food, and waste time and energy cleaning a catastrophe that could have been avoided. Kept in a large enough bin has always prevented it from happening and that’s good news! I think also Lois may not be a very very active sourdough, even in a large bin only a few times I could see it grow quite dramatically, otherwise, it looks much more like some kind of pale mousse.

But when it comes to working, it is a steady and stable worker, regardless of the temperatures and the seasons, and I can’t stand the taste of yeast now. The richness of the sourdough flavor is really unique and it evolves with time, making the kitchen smell good as soon as the bread is out of the oven!

So you understand now, I will continue to cherish Lois.

Sourdough milk brioche on the beach

Milk bread

I use to make a lot of fancy breads for breakfast, brioches, viennois bread, milk breads, sugar breads… but since I started using my sourdough Lois, almost a year ago, and was learning how it works, I focused on breads with less ingredients. Yet, milk breads for breakfast are really delicious. And since we now have milk in the fridge 4 days a week or so, I really wanted to make milk breads with milk and sourdough. Originally I planned to do a white flour milk bread but I soon realized that I had no more white flour and all I had was whole wheat flour, so it would be whole wheat milk breads. And rather than making several small breads that dry out rapidly I opted for a giant version that I baked in my panettone mold.

The result was a very soft and mildly sweet bread with a beautiful crumb. so let me share my recipe.

Whole wheat flour mills bread

  • 350g of whole wheat flour
  • 200ml of milk
  • 100g of sourdough
  • 40g of brown sugar
  • 8g of salt
  • Eventually a bit of water

Note that the above quantities are indications. They may need adjustment depending on the type of flour, the humidity in the air, and your liking.

In a bowl put all the ingredients but the water and knead. If the dough is too dry add a bit of water, or milk. Knead until the dough is smooth.

Let rest at room temperature for 4h or until the dough is significantly more voluminous.

I used a panettone mold lined with cooking paper to shape the bread. Made two cuts on top and waited 1h before baking at 200degrees for 40min (I used a bamboos stick to test if the core was well done). Adjust the baking time to the size and shape of your breads.

That’s it!

Too much routine

I need to go outside of my comfort zone in the cuisine… but I don’t know how…

Making ravioli, pancakes, scones, quiches, breads etc… has become such a routine and is so effortless that I miss the challenge. Because, yes indeed, I am a challenger. Whether it’s at work, on the court, in the ocean, or in front of my sewing machine I like challenges. That’s how I ended up registering to a bodyboard school last year and I still enjoy learning to ride waves better and to spin on my board! That’s why I enjoy sewing (and here the challenge is massive!!!) . But recently cooking has been more functional than challenging. Even the steam buns, the bread in a pan etc… are now basically classics and I rush them between two meetings!!

Since my main source of inspiration : experience and local sourcing during our trips has dried up in the past 18months, I have decided to use my imagination and my recollections of some our trips. First stop: Firenze of course! I remembered these gigantic sandwiches they would sell in something resembling focaccia (scaccia in Florence) and I never tried because it is just too gigantic and there was too much fat left on the ham (I have always hated meat fat) and since I just bought some prosciutto it was the perfect timing. So I baked a plain focaccia, and decided that we would have a savory breakfast.

Trying a new type of breakfast: focaccia, prosciutto and fresh tomatoes and peach…

And then because I made a rather giant focaccia we went for it again for lunch, this time in a real panino version with grilled vegetables. (Top picture)…

It wasn’t much but it was a change. Not yet far away from the comfort zone, but new enough!!!

I’ll keep searching my memories!

Sourdough rescue 🚑

Just as I was talking very proudly of my sourdough in my last post, it has decided to scare me like crazy by almost dying…

Indeed, I used it over the weekend to make some delicious giant campagne bread, and I found it Monday morning inert and unresponsive. Probably the lack of food and warmer temperatures it’s not been used to but the diagnosis is still unclear. It was smelling perfectly fine and I feed it as I should except that bubbles didn’t come out and texture was rather unusual. So I started to worry and panic. I devised a rescue plan of the rather large amount of sourdough starter I had. First, I split it in two, one in a dough the rest in intensive care: food every 1.5 hours for 12 hours, lots of love and mixing.

It was breaking my heart to imagine I’ve let it die, but after 9h of intensive care, the starter showed a few bubbles… it was going to be ok!

The dough… well it stayed doing nothing for 12h and then after 24h it finally was doing something. Except that in the meantime we left the country and were back to Tokyo, where I still don’t have an oven. So there were a few options: flat breads in a pan, bread in a skillet, or steamed bread. I opted for the latter and was planning to make stuffed steamed breads, except that work was too busy and I didn’t have time to prepare the filling. So I simply prepared 8 balls of dough, and after work I steamed them to obtain round little breads that we enjoyed with a mix of peas, asparagus, chopped pork filet and onions from the garden and soya sauce, that would have been the perfect seasonal filling, but it ended up outside as a side. When cooking while working one needs to be flexible…

The filling that ended up a side…

So not only did I rescued my sourdough, but we had delicious little buns to eat!!!

Whole wheat bread

Having a nice loaf of bread waiting for you for breakfast is one of the many reasons I started making bread. Controlling what is inside and where ingredients come from is also as much important. I have had a hard time finding nice flour, I started with using flour I would bring back from France and shifted to Japanese flour, but honestly finding organic or chemical free local flour has been quite a challenge. And when I finally found it (アオヤギ製粉), discussing with the owner to see if they provide me with whole wheat flour, he told me there will be no harvest for the next 3 years because they need to replace some of their equipment… huge deception… so I order pretty much all their stock to support them (hoping it would enable them to fix their equipment faster) and be sure I would have enough for a year (that’s how long I think I can keep it in the Japanese weather). But I am pretty sure I won’t, now that I realized I use about 5kg of flour per month!!!! So I have turned back to the more commercial organic flour I’ve been finding at the supermarket, made in Japan but sold in tiny 500g bags (and this is the big size, the normal being 300g!!!). But at least there is some whole wheat flour which makes me happy. Indeed one of my favorite bread is pumpernickel and the other is a rich whole wheat bread with nuts, seeds, raisins etc… very dense, energetic and delicious! It reminds me some of the breads we often had at home, toasted with butter. So let me share my recipe.

Some of my flour stock… 20kg of flour is basically 4 months of bread making and pasta, quiche, scones, crepes…

Energy packed bread

  • 500g of whole wheat flour
  • 10g of salt
  • 150g of sourdough
  • 30g of brown sugar
  • 70g of sultanas
  • 70g of whole hazelnut
  • 30g of pumpkin seeds
  • You can add more but I like it that way….
  • Water

In a large bowl mix together the flour, the sourdough, the salt and sugar. Add water as needed when kneading to obtain a soft slightly wet dough. Then add the nuts, seeds, sultanas. Knead to obtain an homogeneous mixture. Leave to rest for 6 to 24h depending on temperatures. After it has grown, shape it and leave again for another 2-3h. Bake 30 min at 230deg.

Eagle fern x bamboo shoot

Well well, the two main protagonists of these past two weeks in the kitchen, are not only delicious alone, but also prepared together. A classic Japanese recipe would be to simmer them individually and then combine them with a bit of red pepper 🌶 and soya sauce. I personally usually pass on the red pepper but this recipe is simple and delicious. Here with brown rice, scrambled eggs and salad.

But really from the start I had something in mind using both combined… something that I love making with whatever is in season: steamed dumplings, of course!!!!

With the beginning of the new fiscal year, school term and the abundance of work in the garden, the surf season… I’ve been pretty busy! But dumplings don’t require that much time to make and they are always a feast. My idea was to combine chopped warabi and takenoko, with coarse ground pork filet, soya sauce and fill some sourdough dough with it, and steam. So that’s exactly what I did and it was soooo delicious I regretted it was our last takenoko!!! So if you still have a chance to get fresh takenoko and warabi I can only but recommend you try! I need mote practice to fold my dumplings beautifully but the taste is here!!!

Anise bread

Anise, fennel, star anise, and also cumin, carvi seeds and caraway seeds are some of my favorite seasoning seeds. Maybe because I grew up in the south of France where fennel grew everywhere on the path sides and it was so easy to harvest while admiring the beautiful shape of the flowers and the little white snails that would gather on the stems, that I used to call “colimaçon” but are in fact “caragouille rosee”, and chewing a piece of flower… or because of my grand mother homemade pastis, this very distinctive drink made from anise and also typical from the region. My mother would use ample fennel to stuff a fish we would have fished, and bake it with potatoes and tomatoes. A dish every one loved very much.

Funnily, in Japan this is not something so common. And I hardly have seen fennel growing anywhere in the wild. Maybe some areas do have some, or my eyes haven’t been opened enough. So most of the fennel and anise I use is either coming from my parents, or bought from the grocery. Recently I have bought quite a bit more often than usual, probably since we’ve been to Malta, to make Qagħaq tal-Ħmira… so I decided to use them to make straightforward anise seeds breads. Less elaborated than the Maltese breads and I was very very much please with the result. I must say that it is thanks to a very healthy sourdough and warmer temperatures. It goes like below for the recipe and I hope you will enjoy!

Anise breads

  • 300g of flour
  • 80g of sourdough
  • 1tsp of salt
  • Water
  • 1tbs of anise seeds

The recipe is simple as can be. In a large bowl mix the sourdough the flower, the salt. Add water little by little and knead to obtain a smooth dough. Add the anise seeds and knead a little further.

Let rest under a wet clothe until the dough grows. Mine was really growing happily.

When quite fluffy move to a flat surface dusted with flour. Flatten the dough gently with your palm. Cut into 6 pieces. Make 6 balls. Then flatten and cut three ribbons and braid then. Leave to rest for an hour then bake at 240deg until golden.

Proudly powered by WordPress | Theme: Baskerville 2 by Anders Noren.

Up ↑

Verified by MonsterInsights