Here we are, spring is here, cherry trees are finishing blooming in a snap. Last week it was pink all over, now it’s new green 新緑 shinryoku everywhere. Everything is so early this year that it feels like it took me by surprise. And spring means not only flowers everywhere in the garden, the jonquils, the snowdrops, the peach trees, and all the others, it means also the spring vegetables and with them the incomparable bamboo shoots or takenoko 筍.
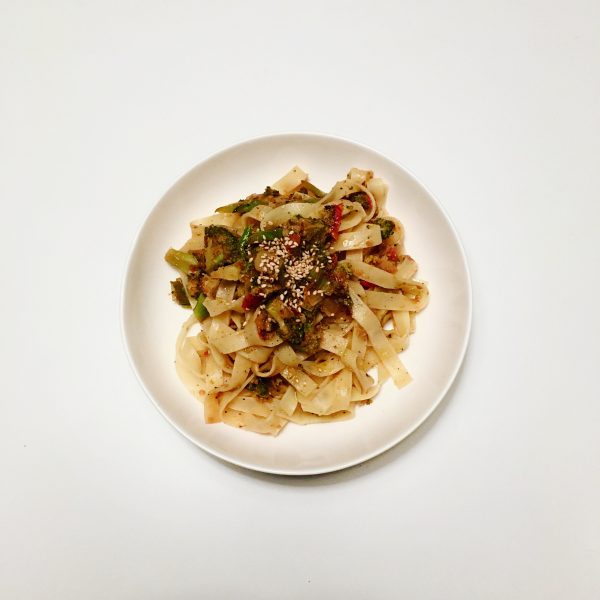
Cooking them is fun and I love creating new recipe with bamboo shoots. I have already posted many recipes in the past and love rediscovering them or testing some others. But beware, the season is short so it’s not like you can take all the time you want. They’re here and in a snap they are way too high and big and no longer good to eat.
What is fun with bamboo shoots is to go and pick them. Bamboos grow pretty much anywhere and in abundance so picking bamboo shoots is rather easy. The point is that you want fresh and soft ones that have pointed out so it looks like a little green/brownish plant so eyes need to get used to spot them, but them accommodate really quickly. Once spotted with pickaxe and a shovel you need to clean around to uncover the hidden part until the very first red spots on the root. And then cut with a firm and clean cut. Return the soil in place and search for the next one.
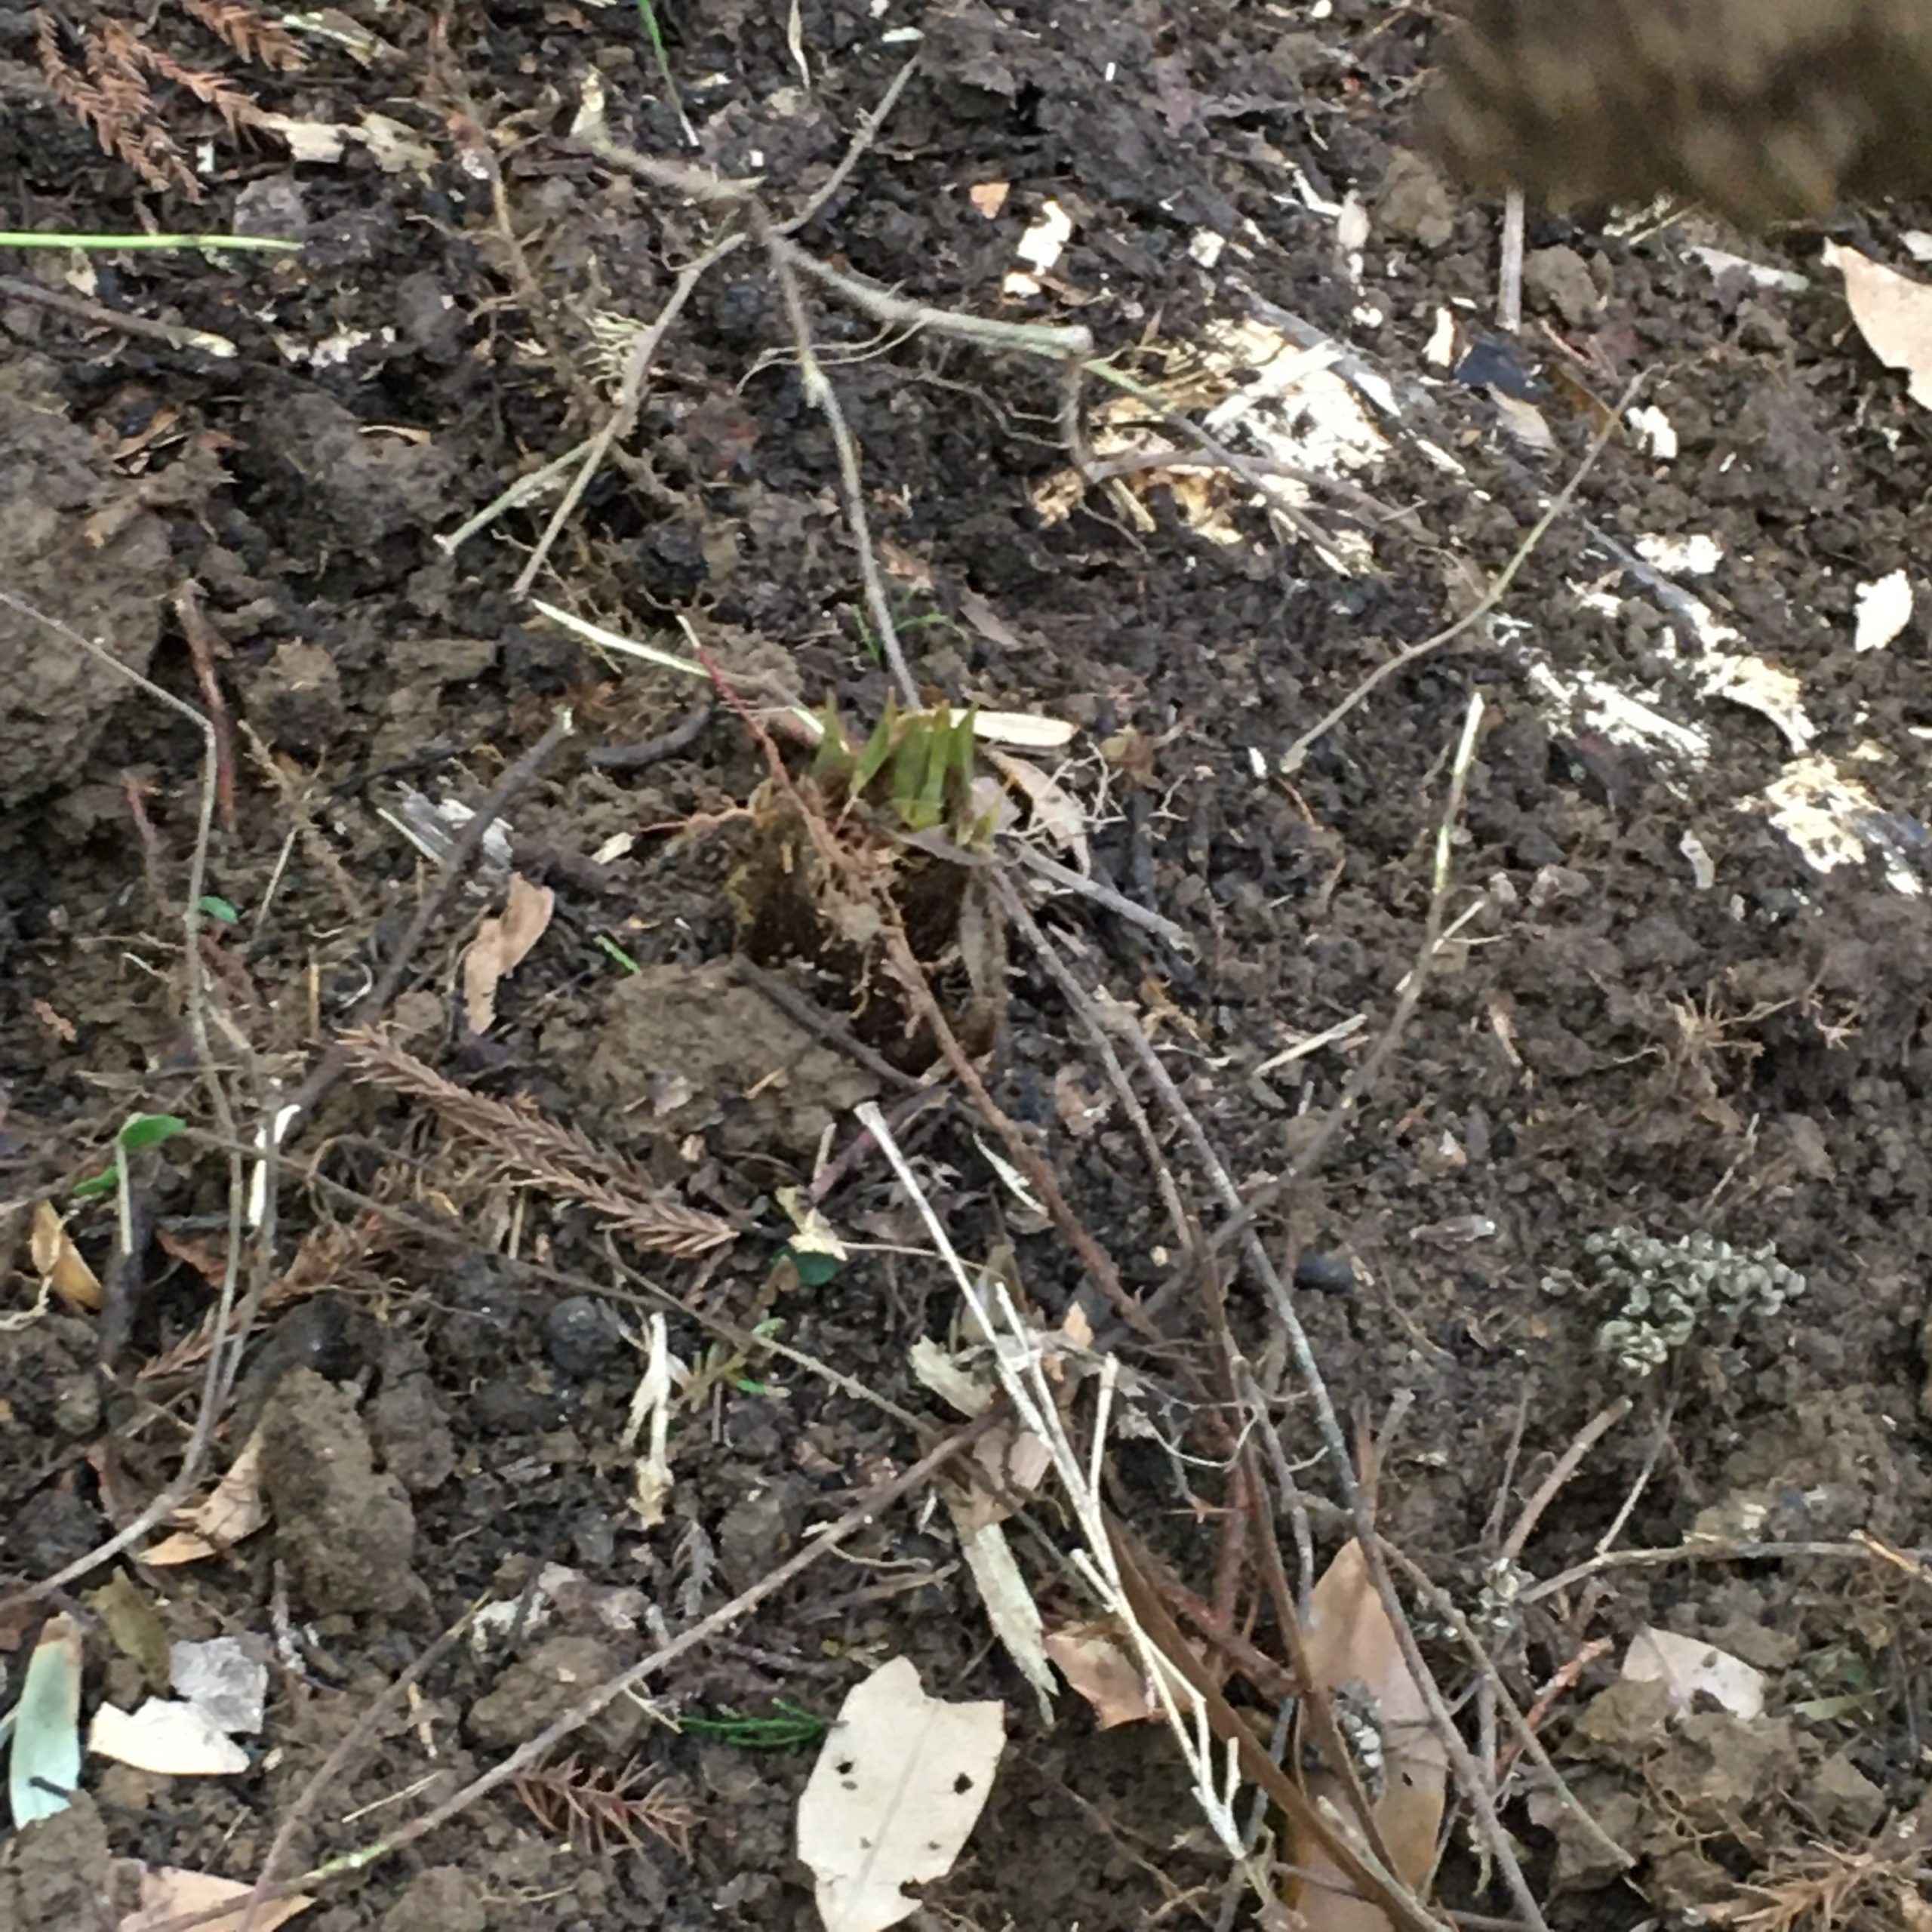
Find the bamboo shoot 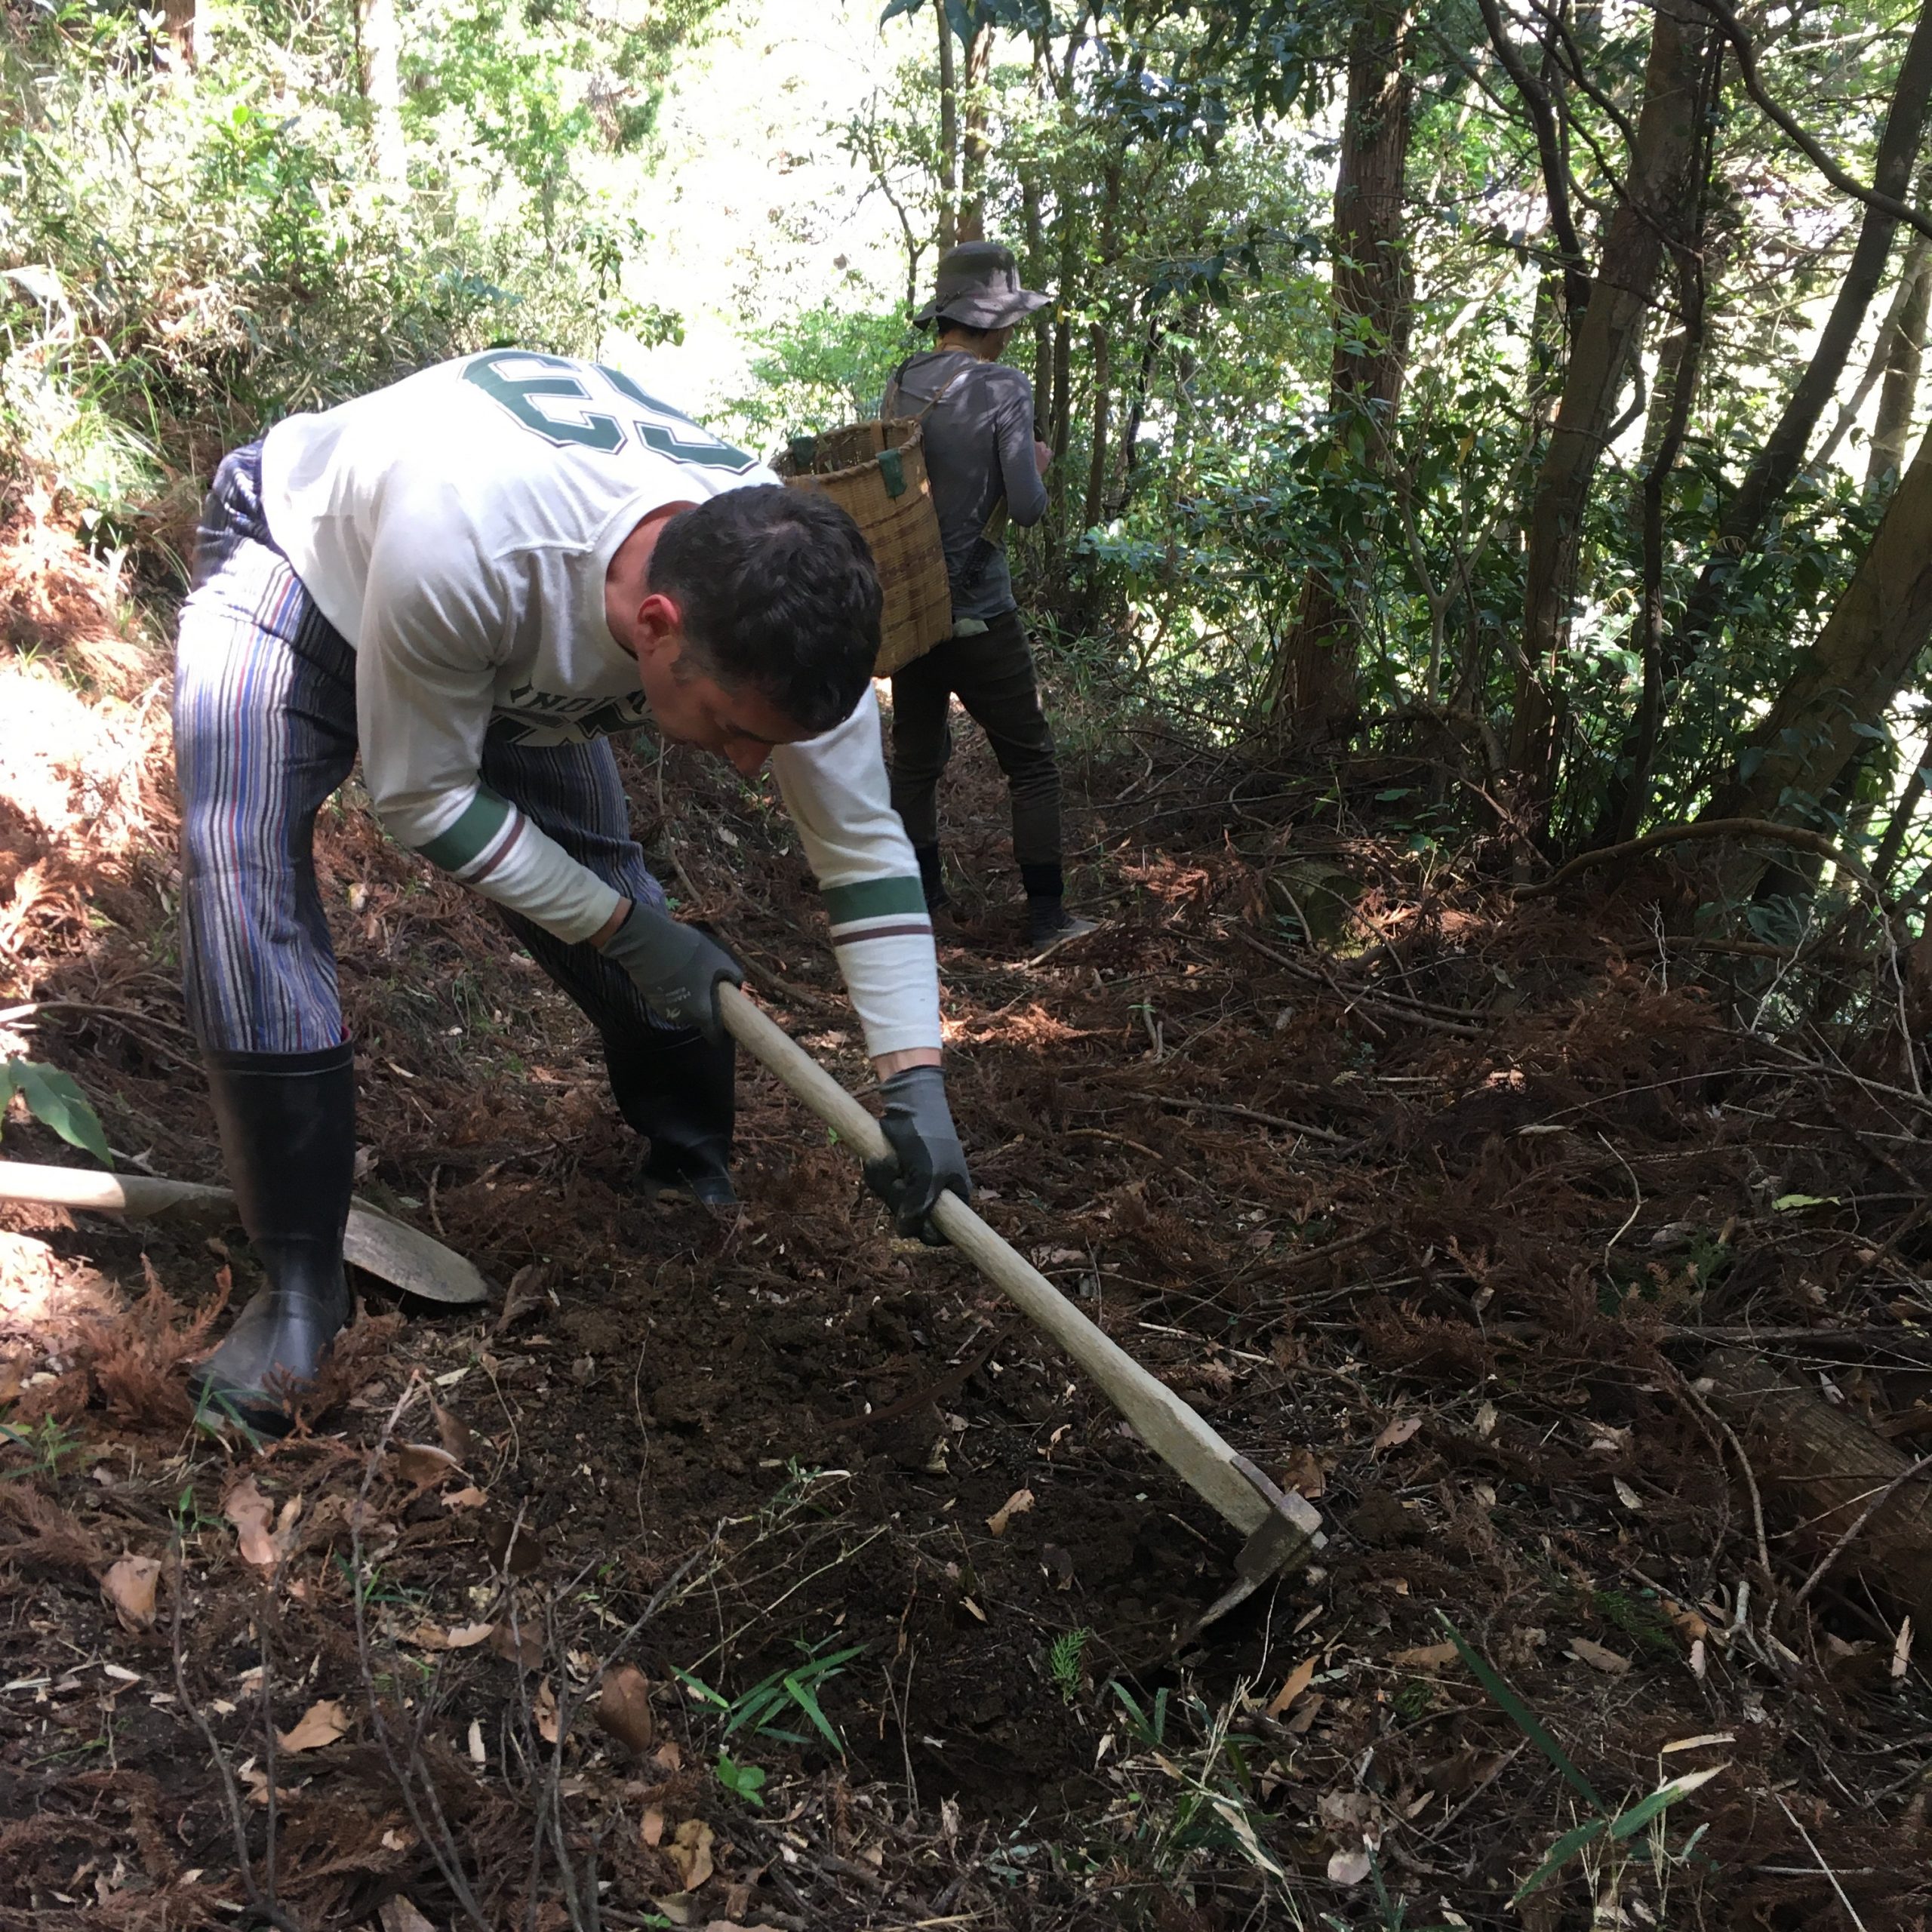
Cleaning around 
More cleaning around 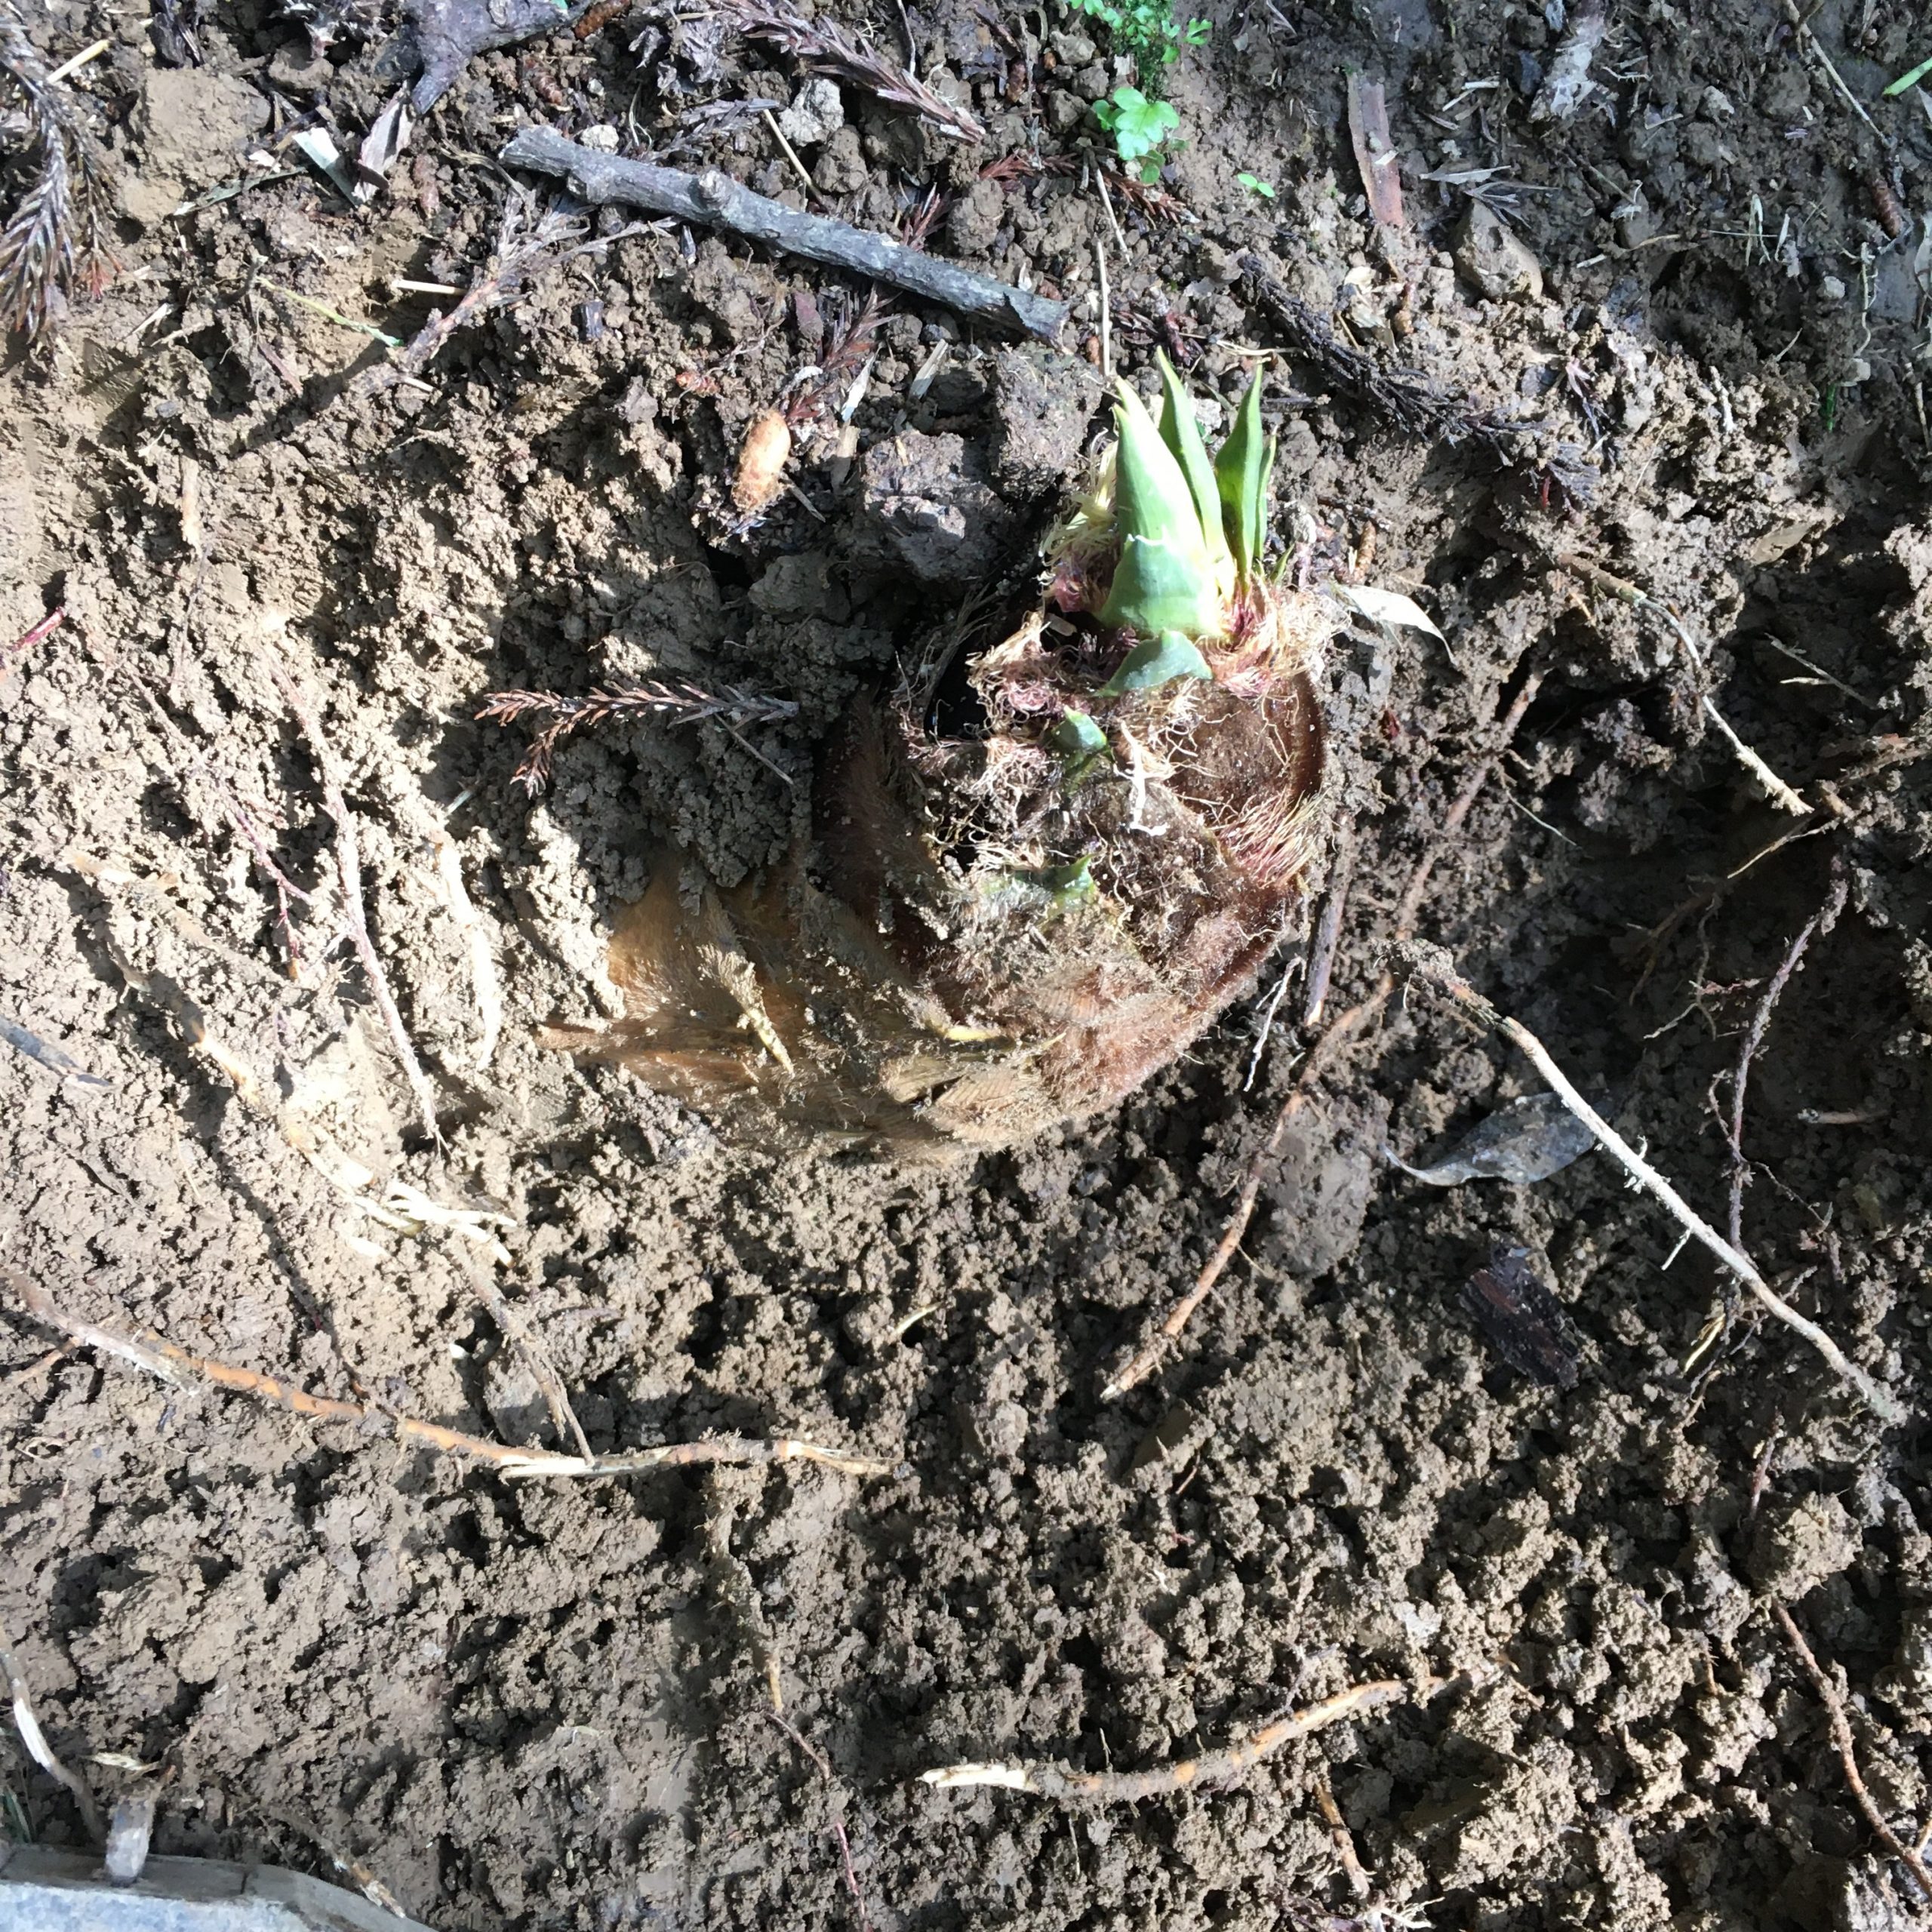
Ready to pick 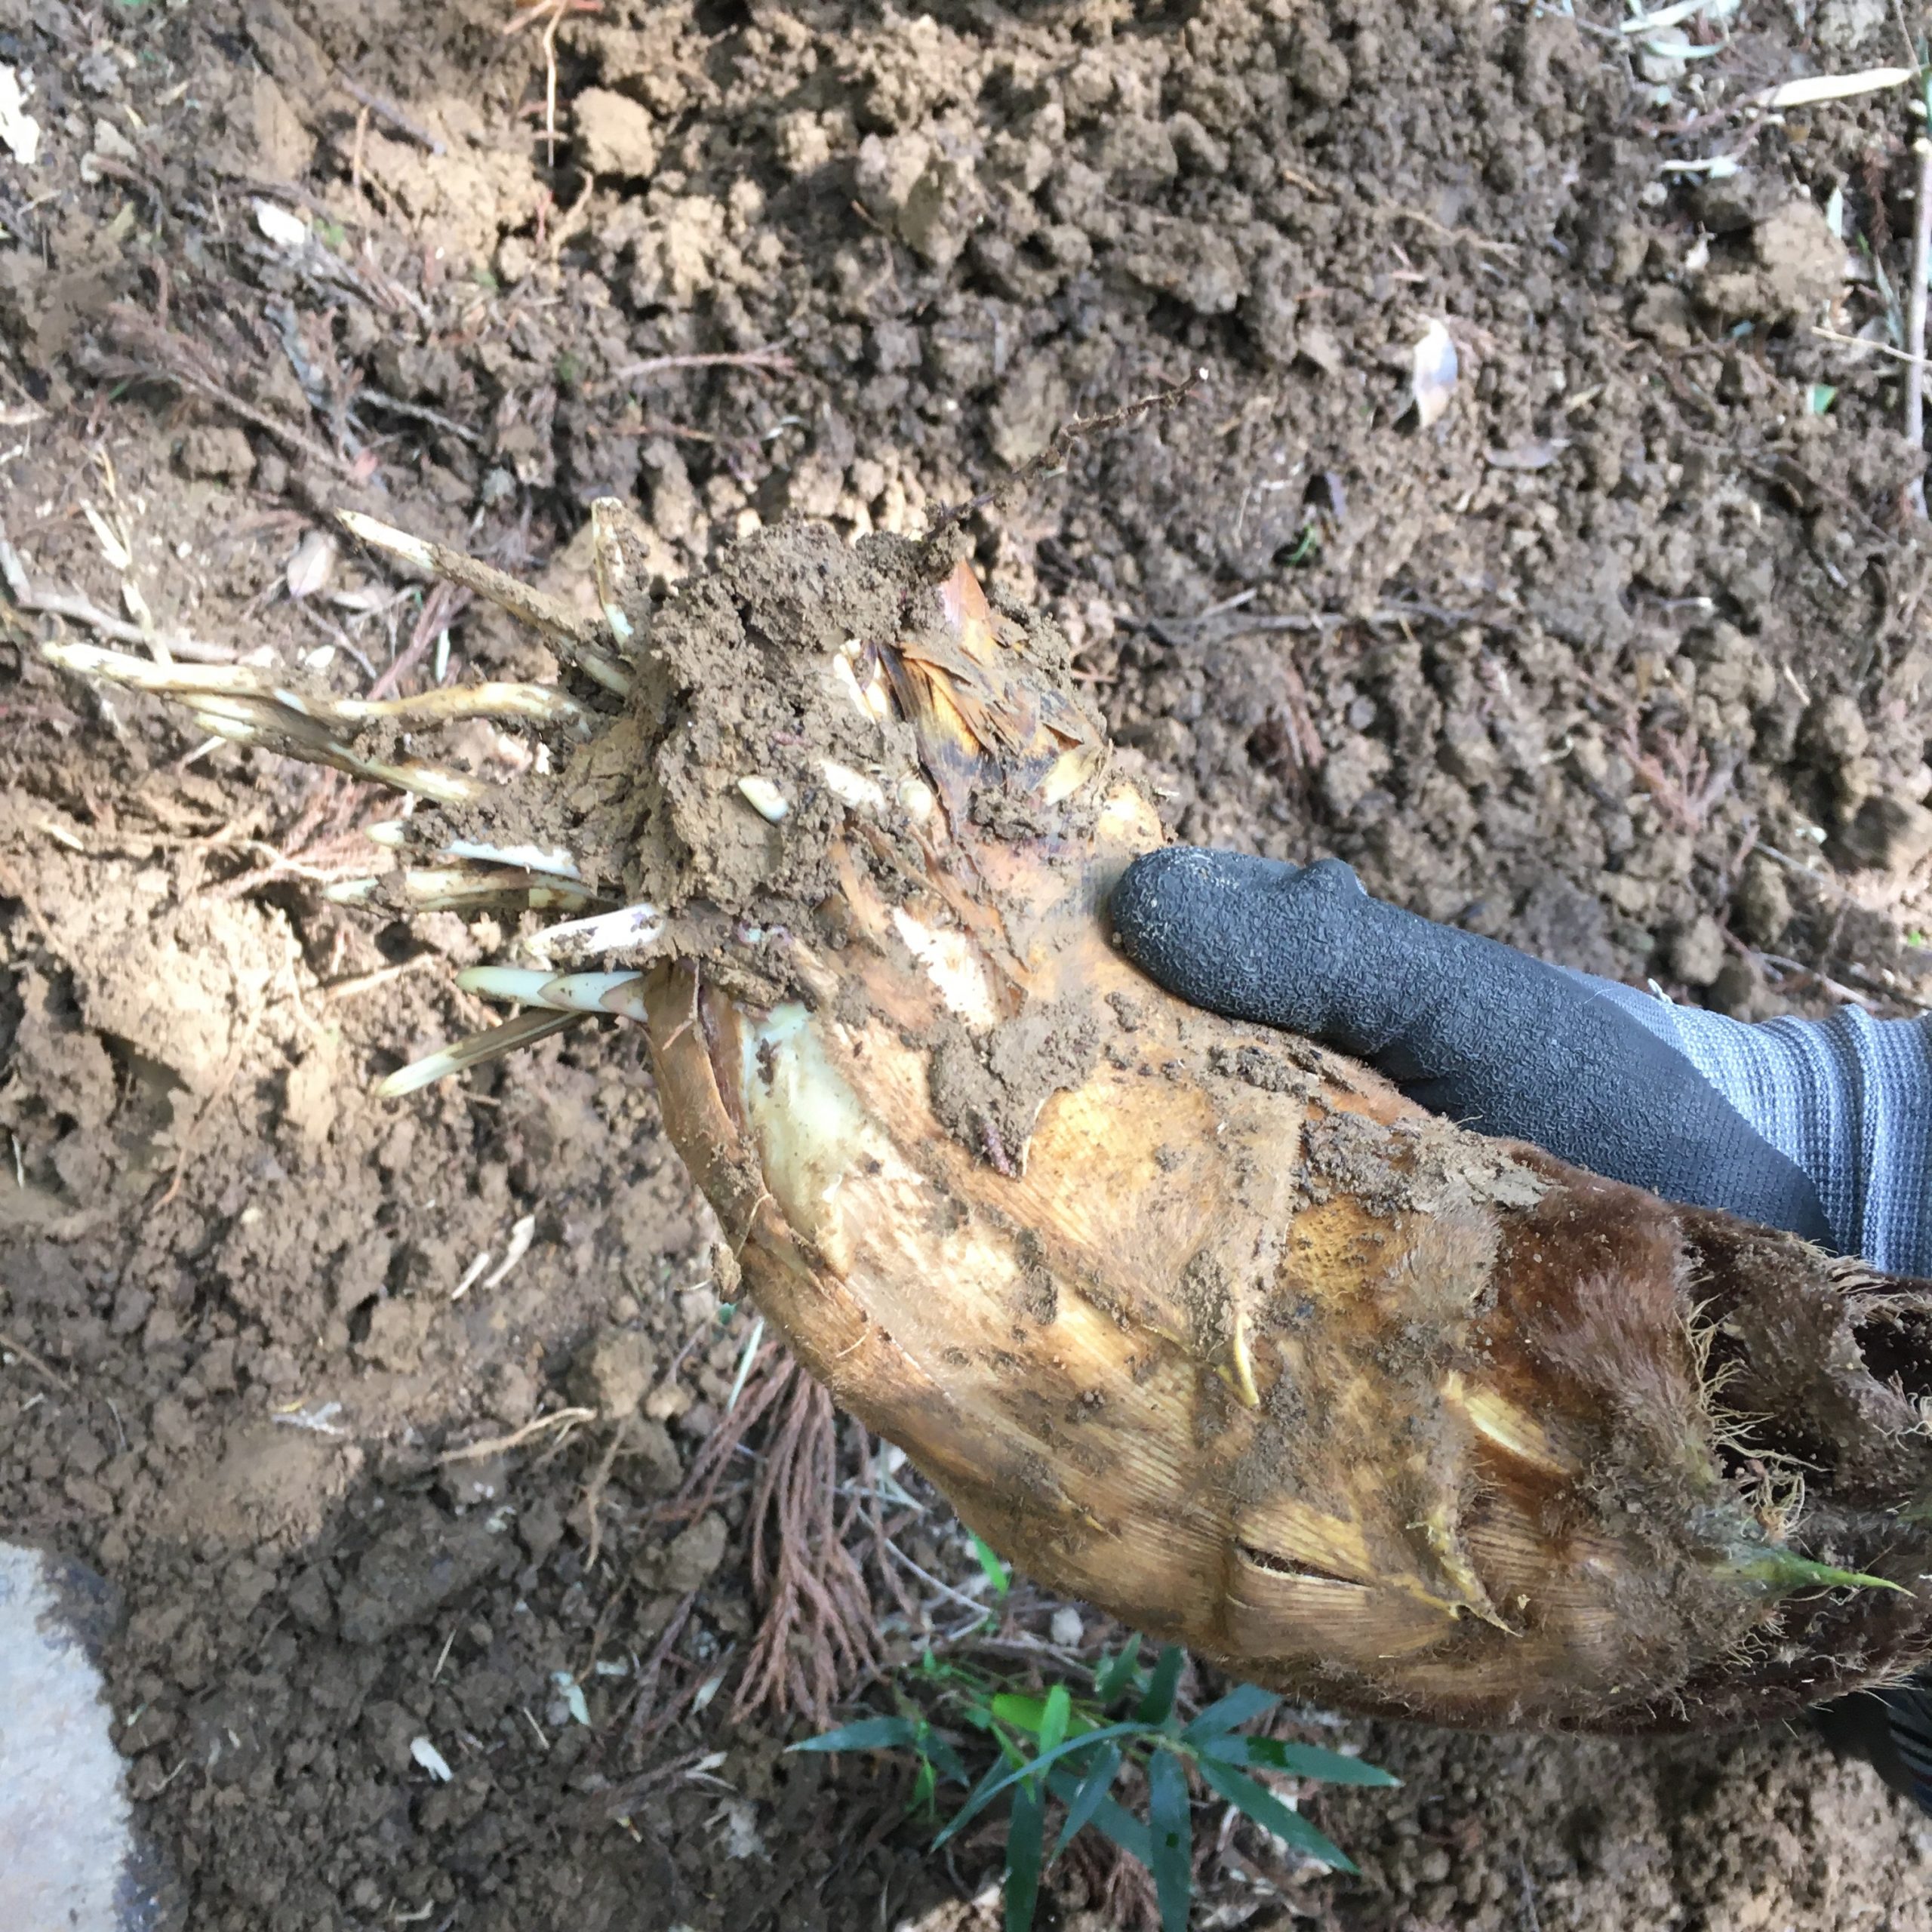
Yes!!! Got one!!!
Of course said that way it’s rather simple, but you compete in finding bamboo shoots with wild boars and they are really greedy! So they only leave those hard to find, under monticules of earth and fallen leaves, on the steep sides etc… Then the bamboo shoots are often entangled with other roots that you don’t want to damage making it really a puzzle to find where to dig and cut. But that’s part of the fun!
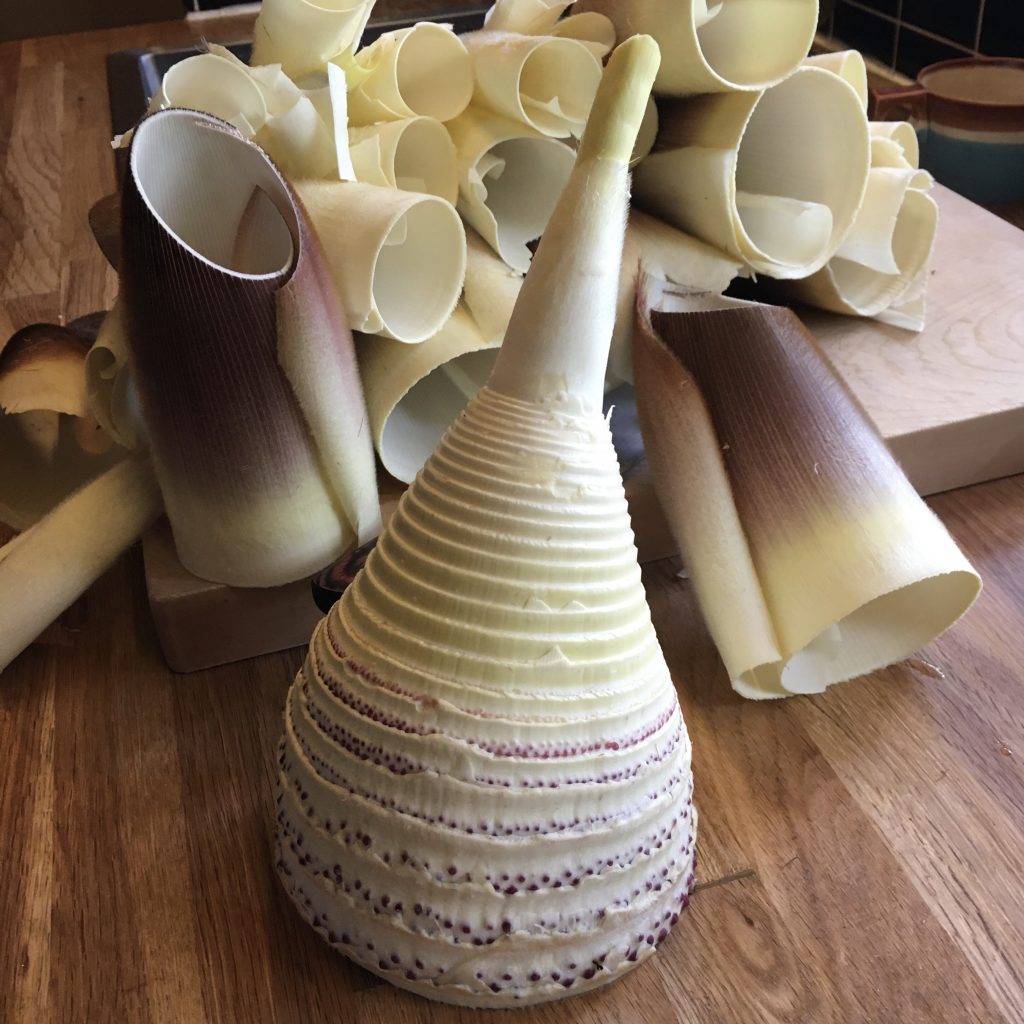
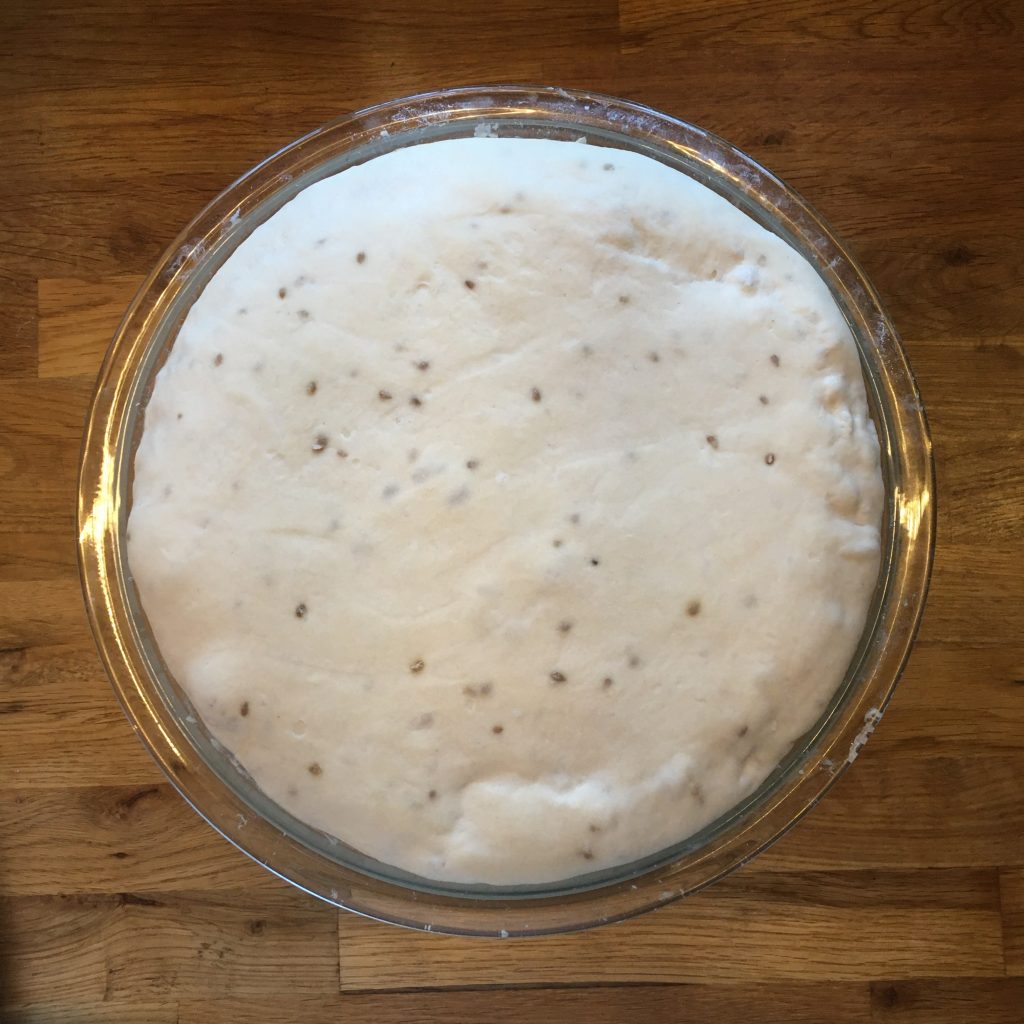
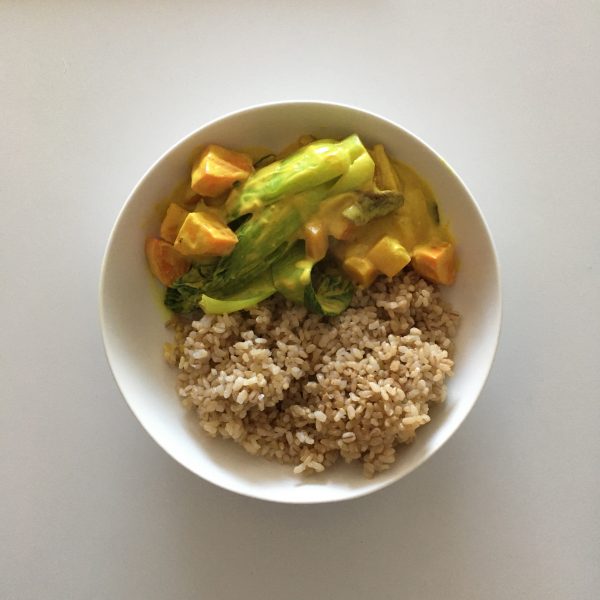
Once you have a nice bamboo shoot to prepare in the kitchen, the first thing to do is to remove the many layers of the soft and furry skin that wrap delicately the shoot. It’s a bit tedious but still important. Then boil your shoot in ample water added with rice first wash water or nuka. Boil at low heat until soft… it can take up to 2 or 3 hours. Pick with a tooth pick to test. And then only you have a bamboo shoot you can prepare for the many recipes. I am working on a few new and a few classic recipes right now, so hopefully in the coming days you should discover some!!!