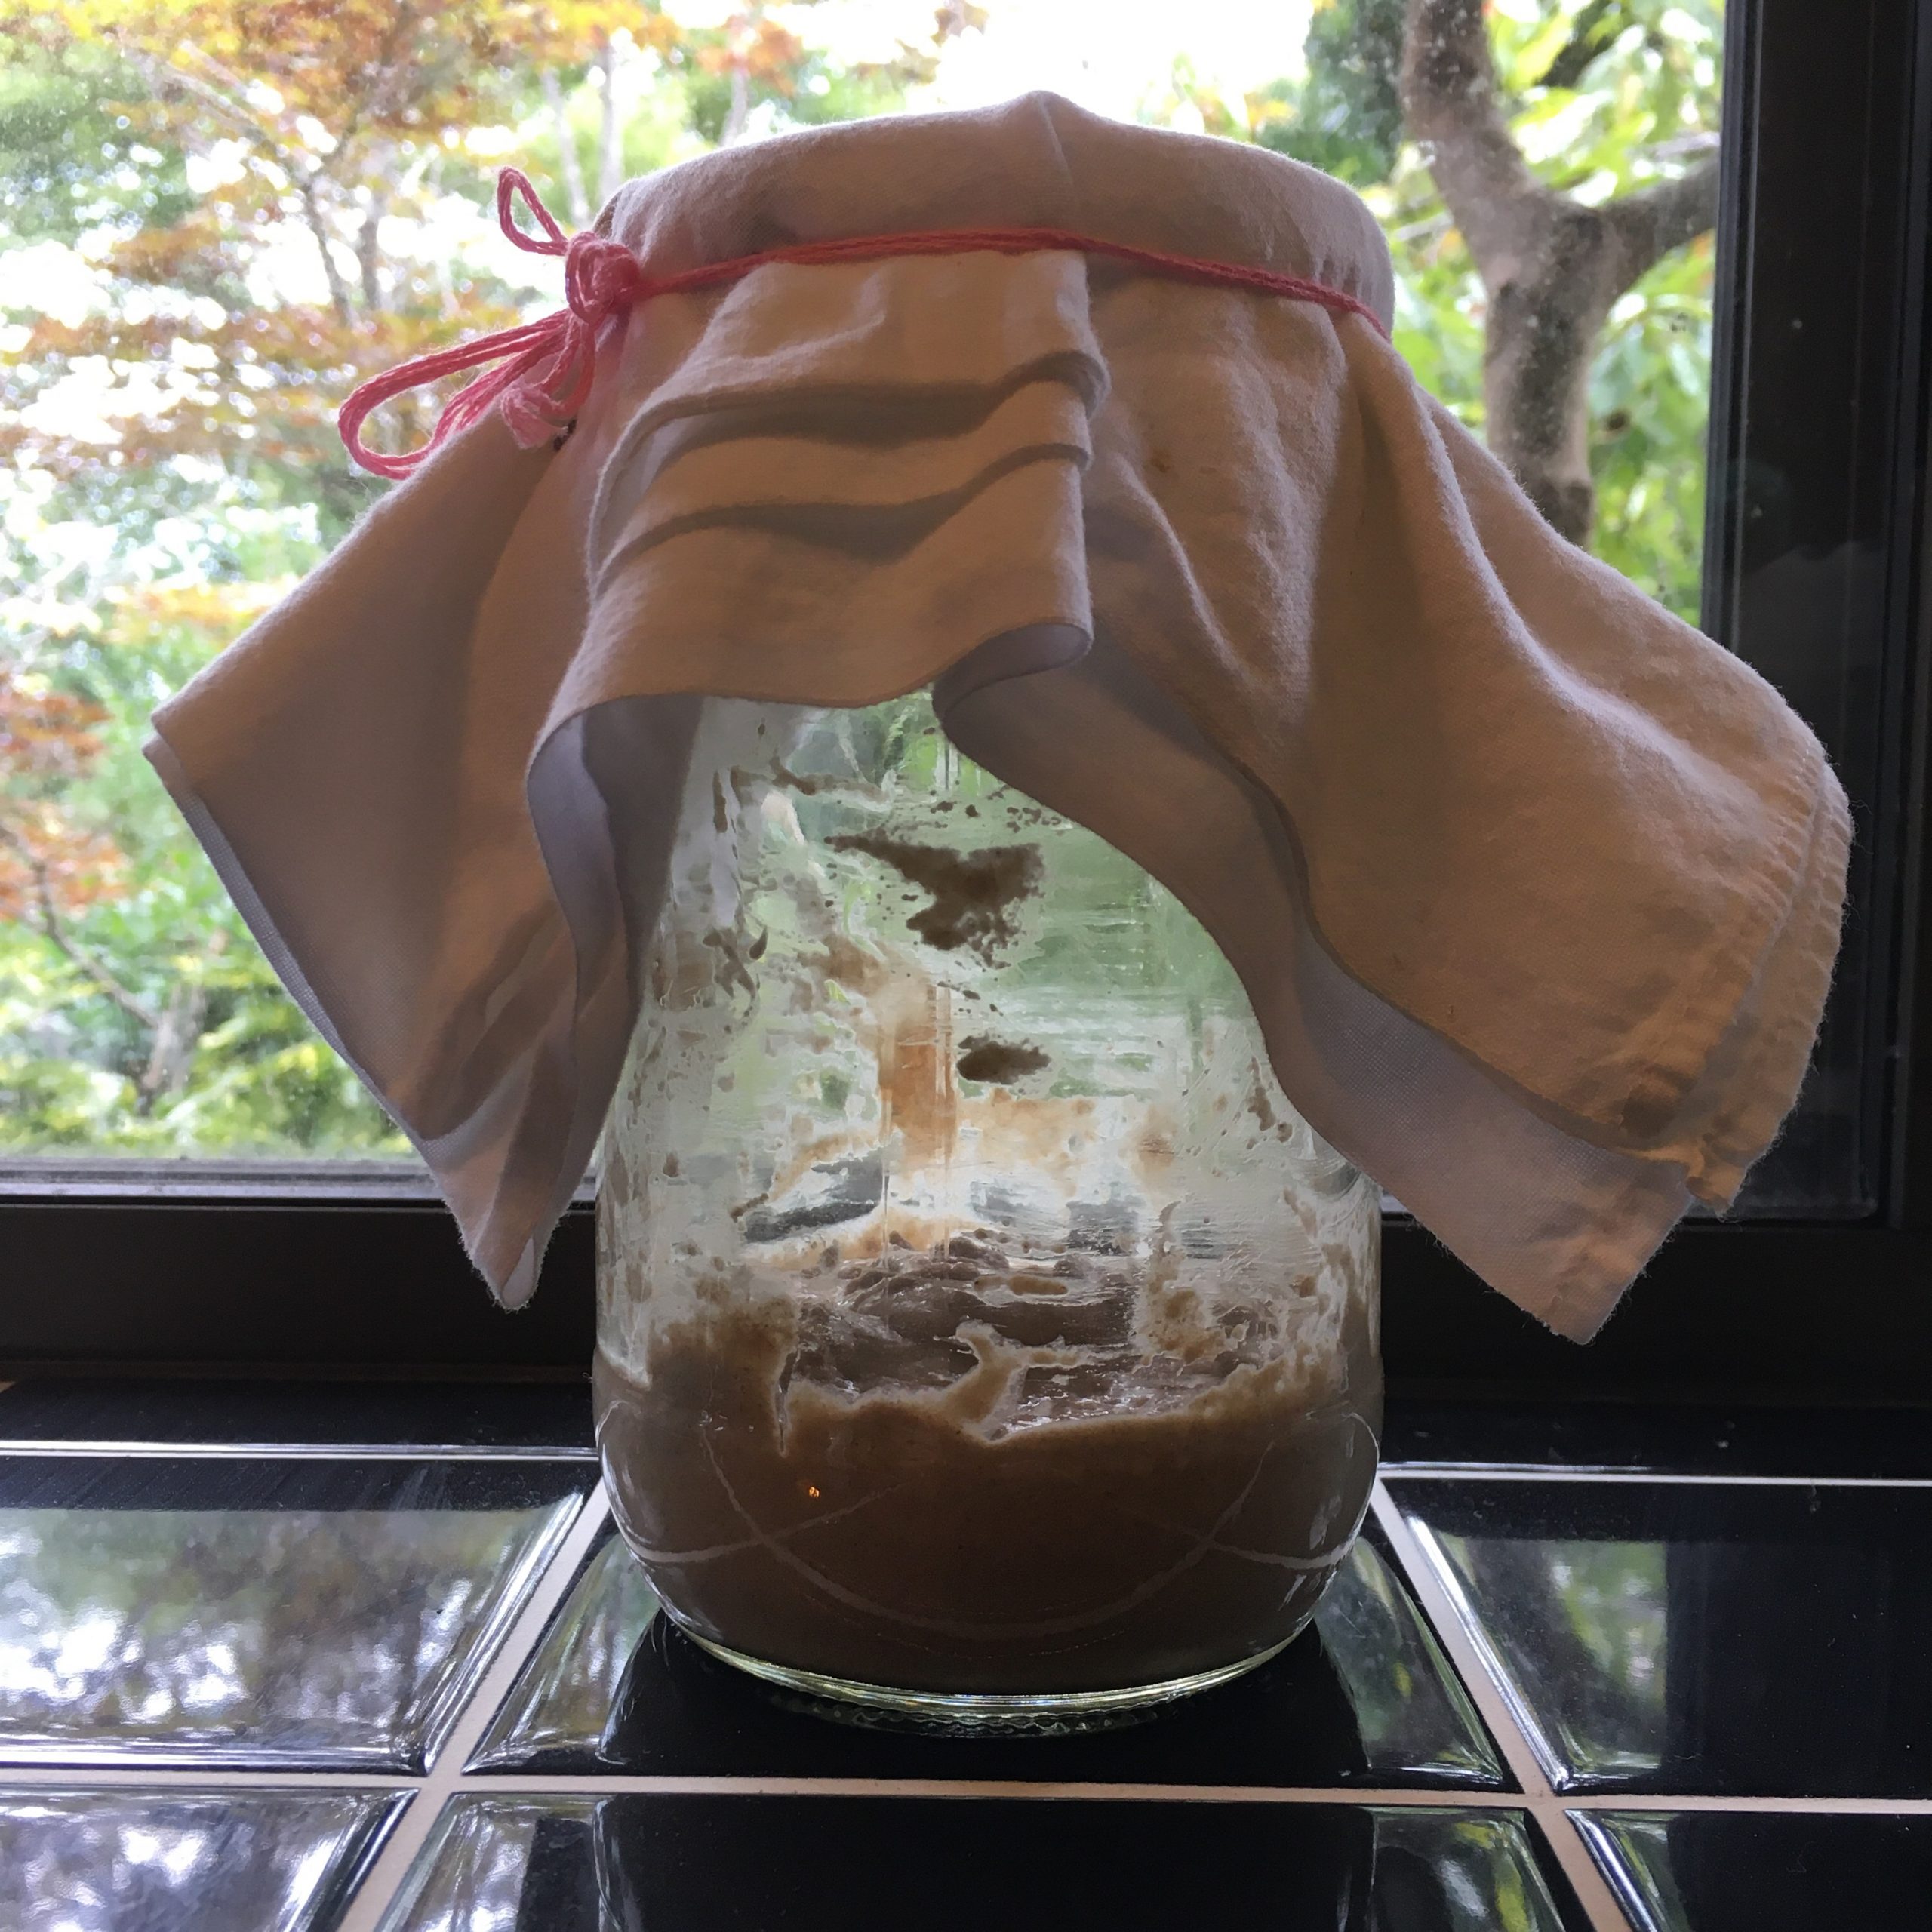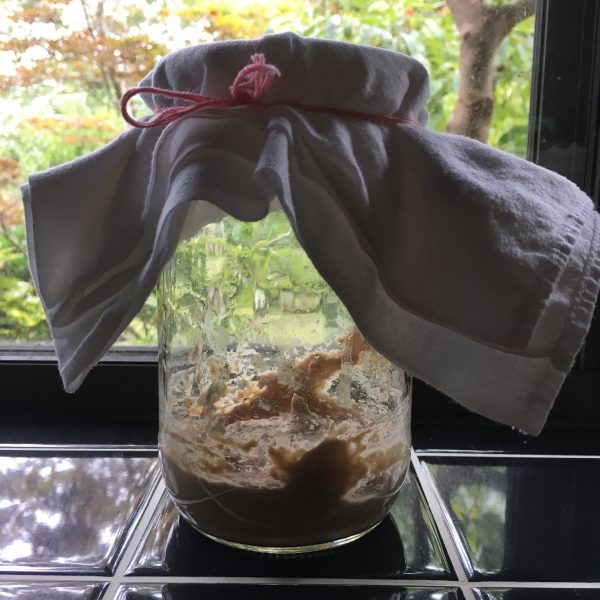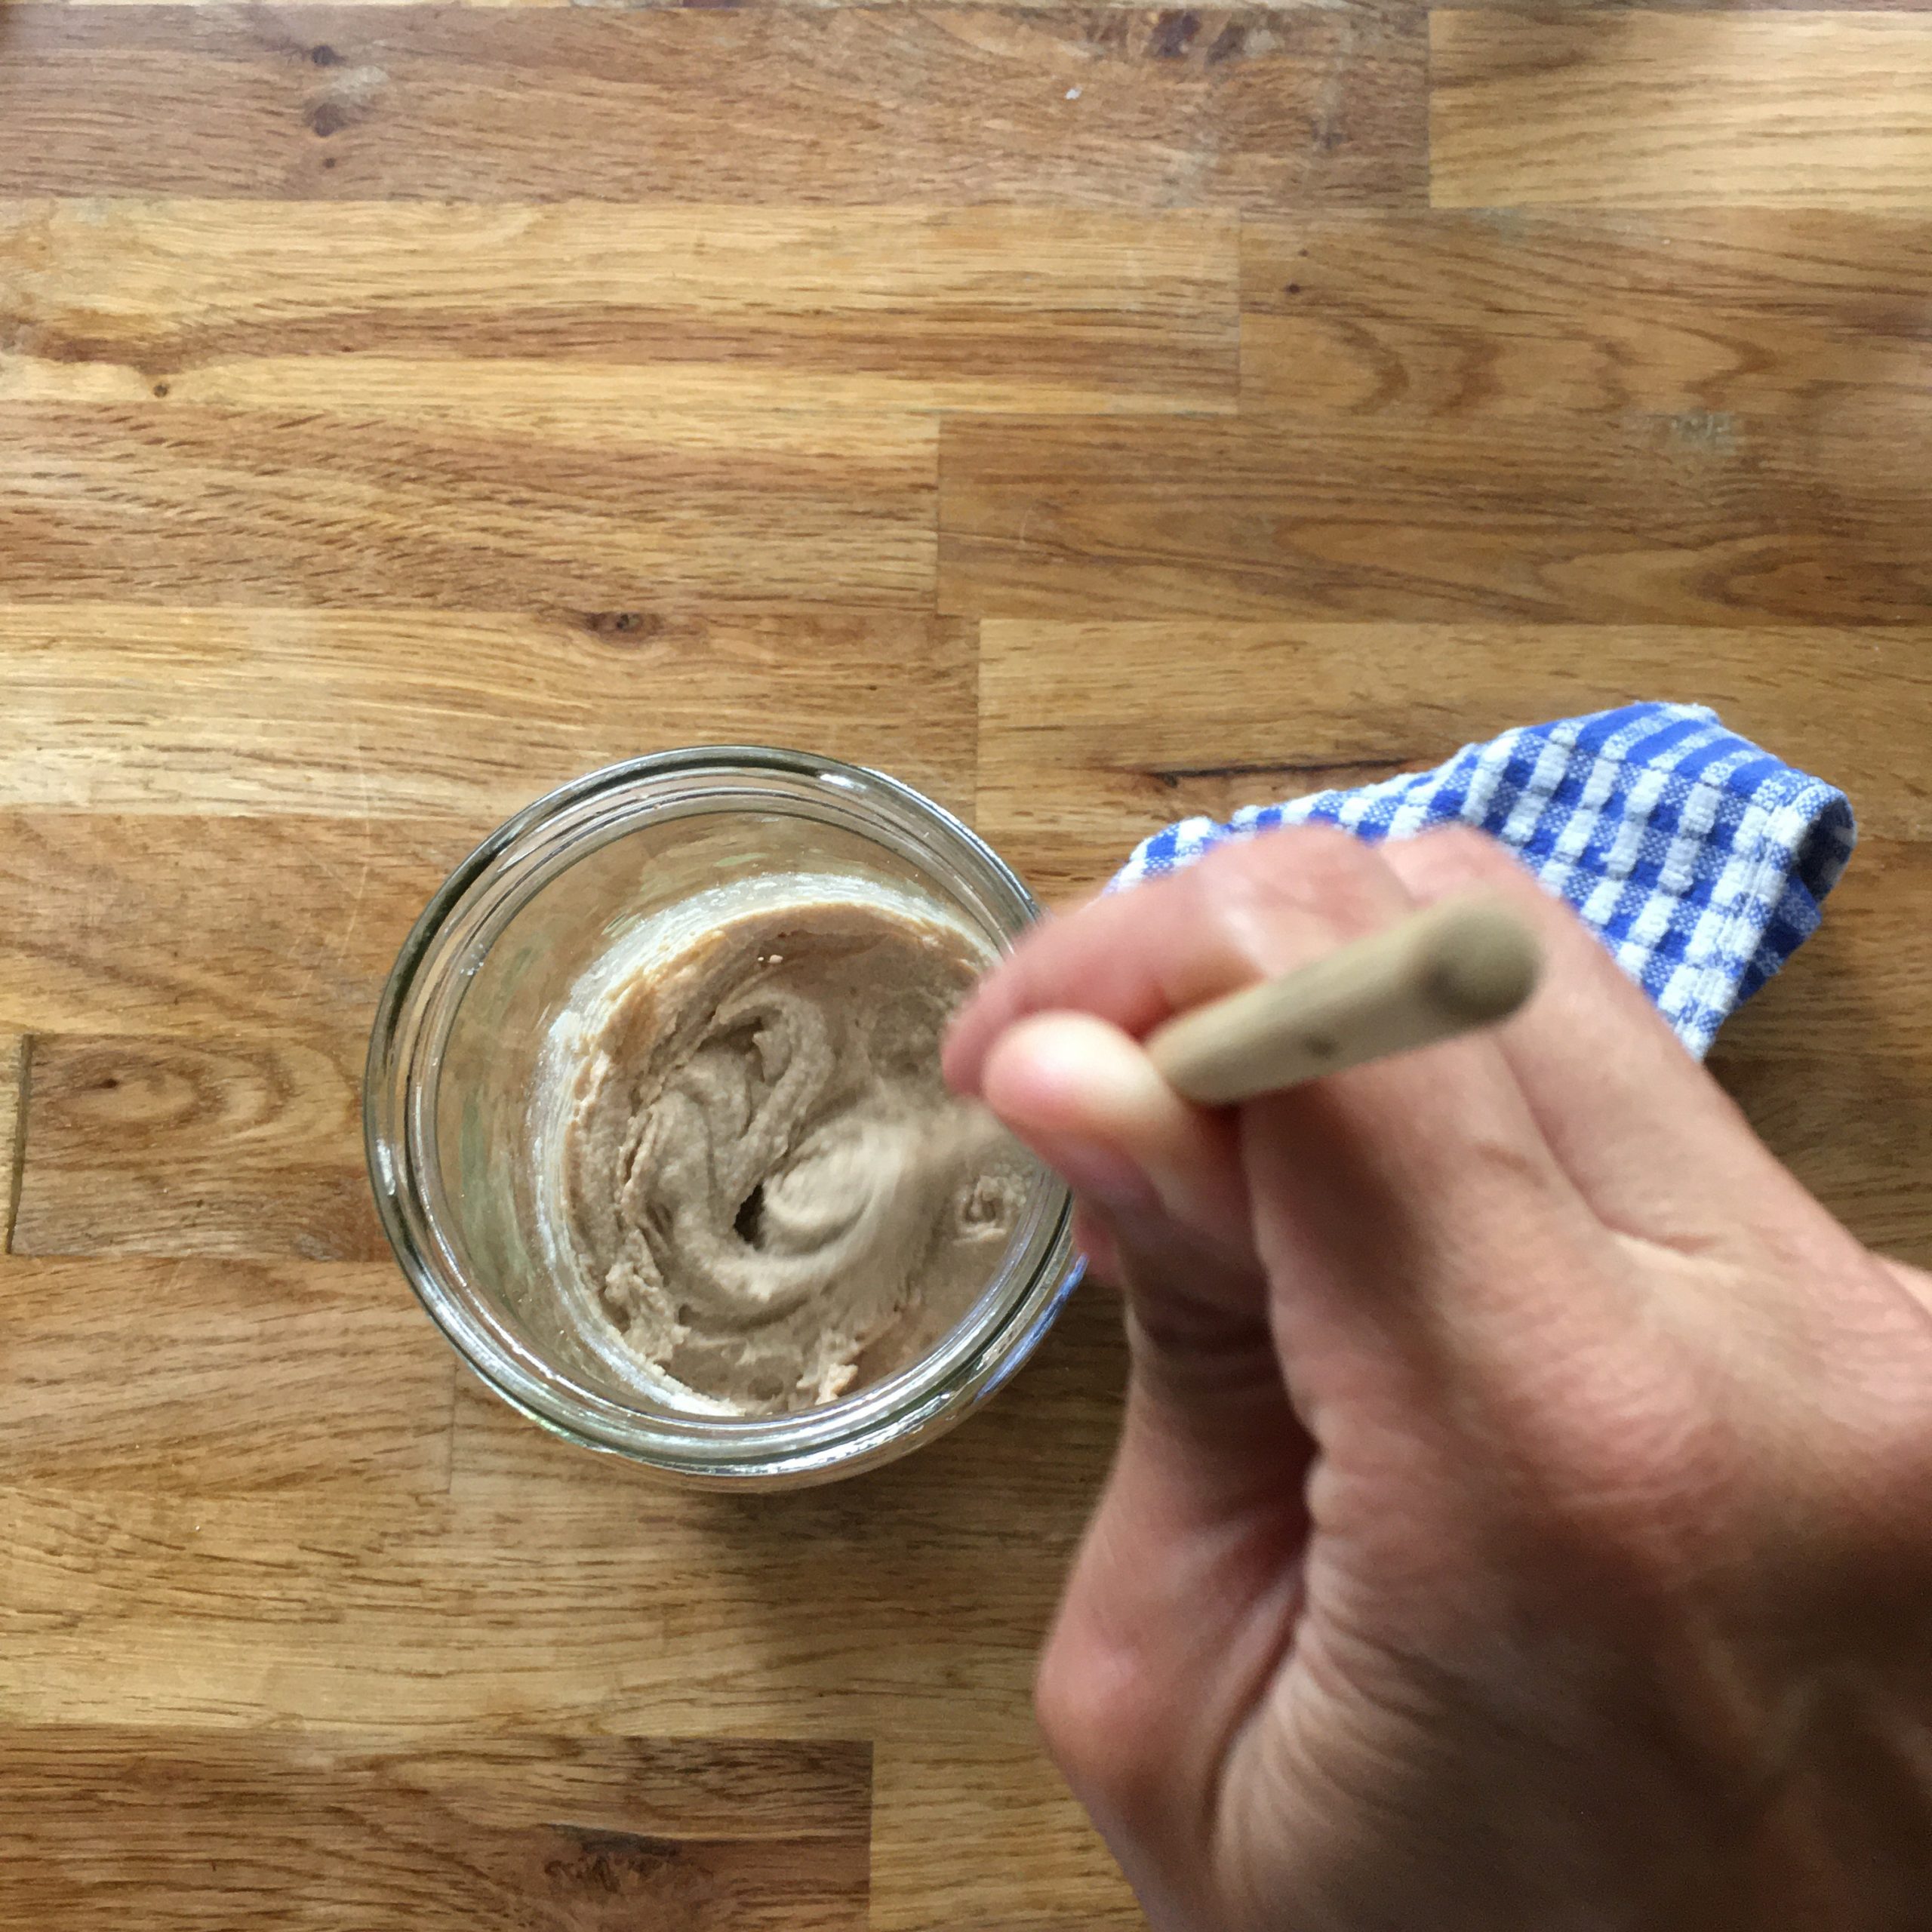
After the slightly difficult beginnings with my sourdough starter Lois, it’s been almost 2months and we have reached a nice cruising speed, I use it all the time now. I’m still a bit surprised that my starter hasn’t done any crazy bubbling so far, on the contrary, it’s been behaving very very well, doing regular foaming but to a reasonable volume, and when in need for food it smells a nice apple flavour.
Cooking bread with my sourdough starter at first was quite tedious, with the impression of starting from the scratch, in particular, I had to relearn how the proving and rising worked, cooking at higher temperatures, with many of my first breads that just imploded when baking, ending up with big cracks on the bottom rather than on the top, or being too dense. I also needed a bit of adjustment with the flour I was using. I am still searching for a steady supply of organic local flour (and I will make a post as soon as I find something that is worth mentioning). The ones I have used during the summer are now out of stock and it seems unsure when they will have stock again. Together with searching for supply, I steadily continued and learned from my mistakes, and now they are all fixed or so, and I have started to obtain a regular shape and beautiful crusts with fluffy crumble on a regular basis. I started playing again with whole wheat, wheat bran,nuts etc… In the end, it seems that lower room temperature and longer times work very well for my sourdough starter. That to say that the sourdough adventure is a beautiful one and the flavour of the breads are uncomparable with those made with yeast (dry or fresh), so even if it took me so long to make up my mind, that it is a hassle to travel with my sourdough back and force between Tokyo and Ohara, it is just a new habit. And if while in Tokyo I use little of the sourdough for baking (until I get my kitchen redone with an oven…), but the one thing that I find really amazing is to use the extra sourdough I have for flat breads and for pancakes. It brings the flavour to a new level, something quite addictive.
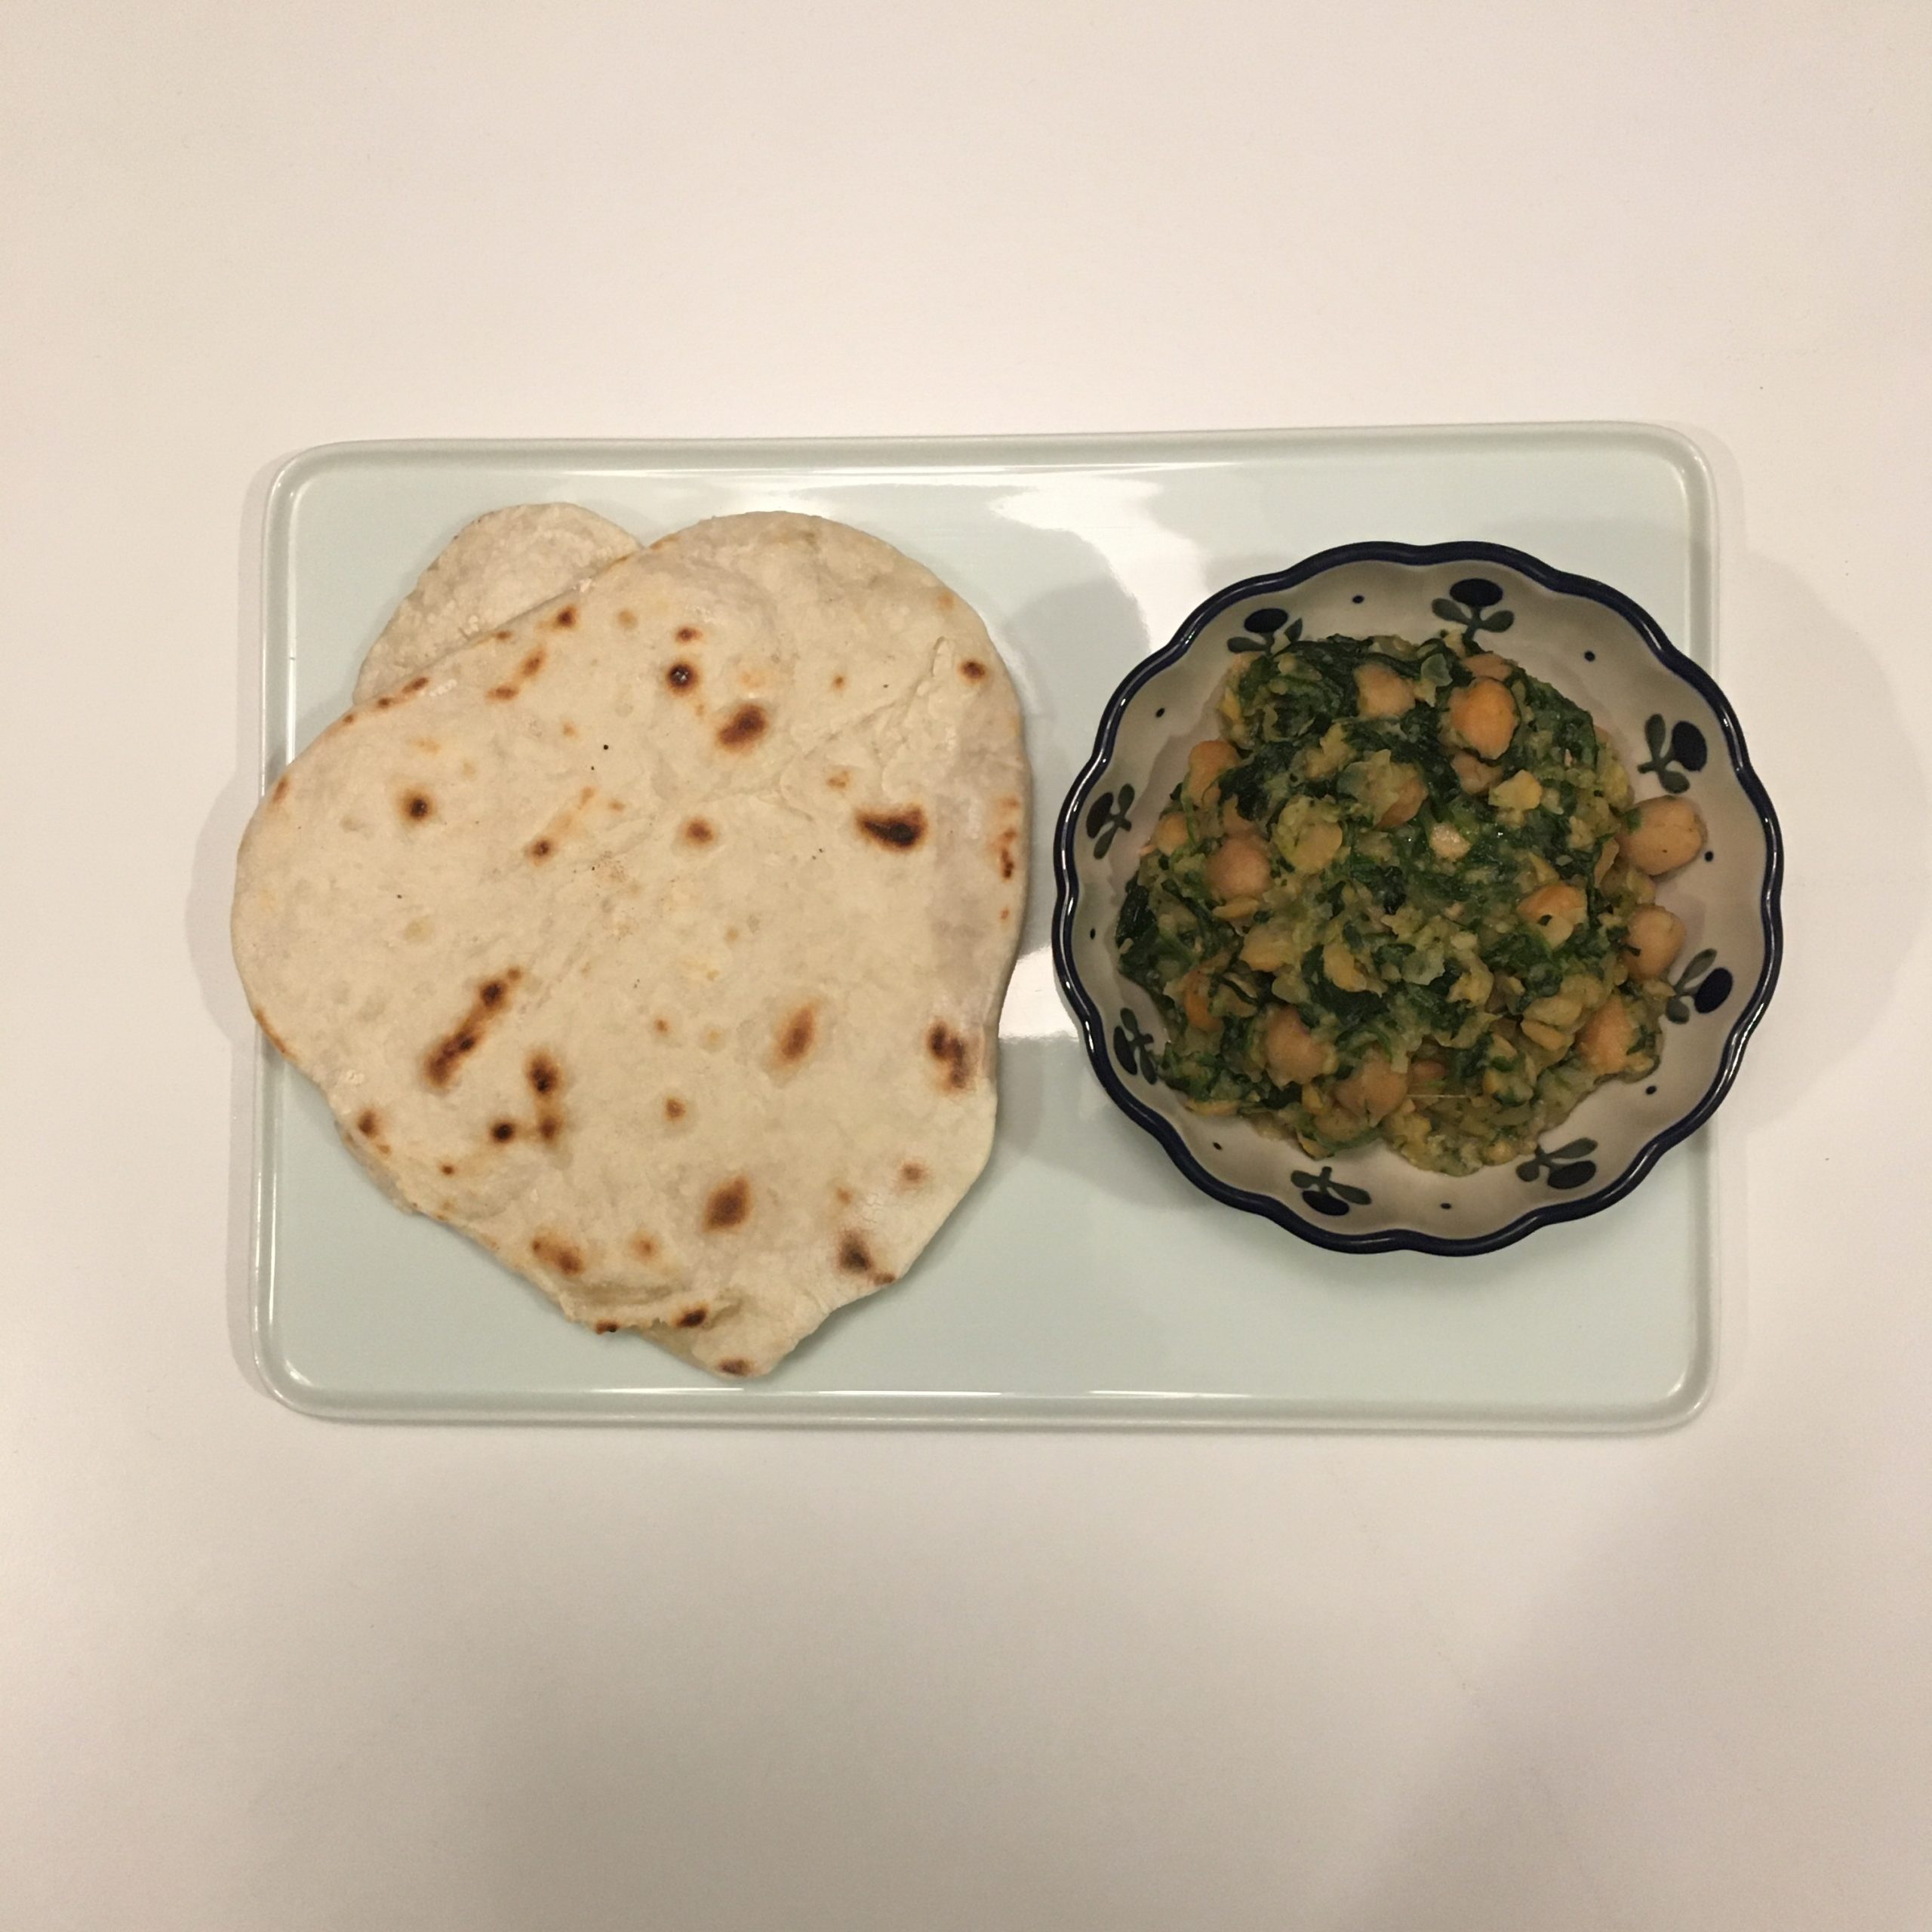
Flat breads 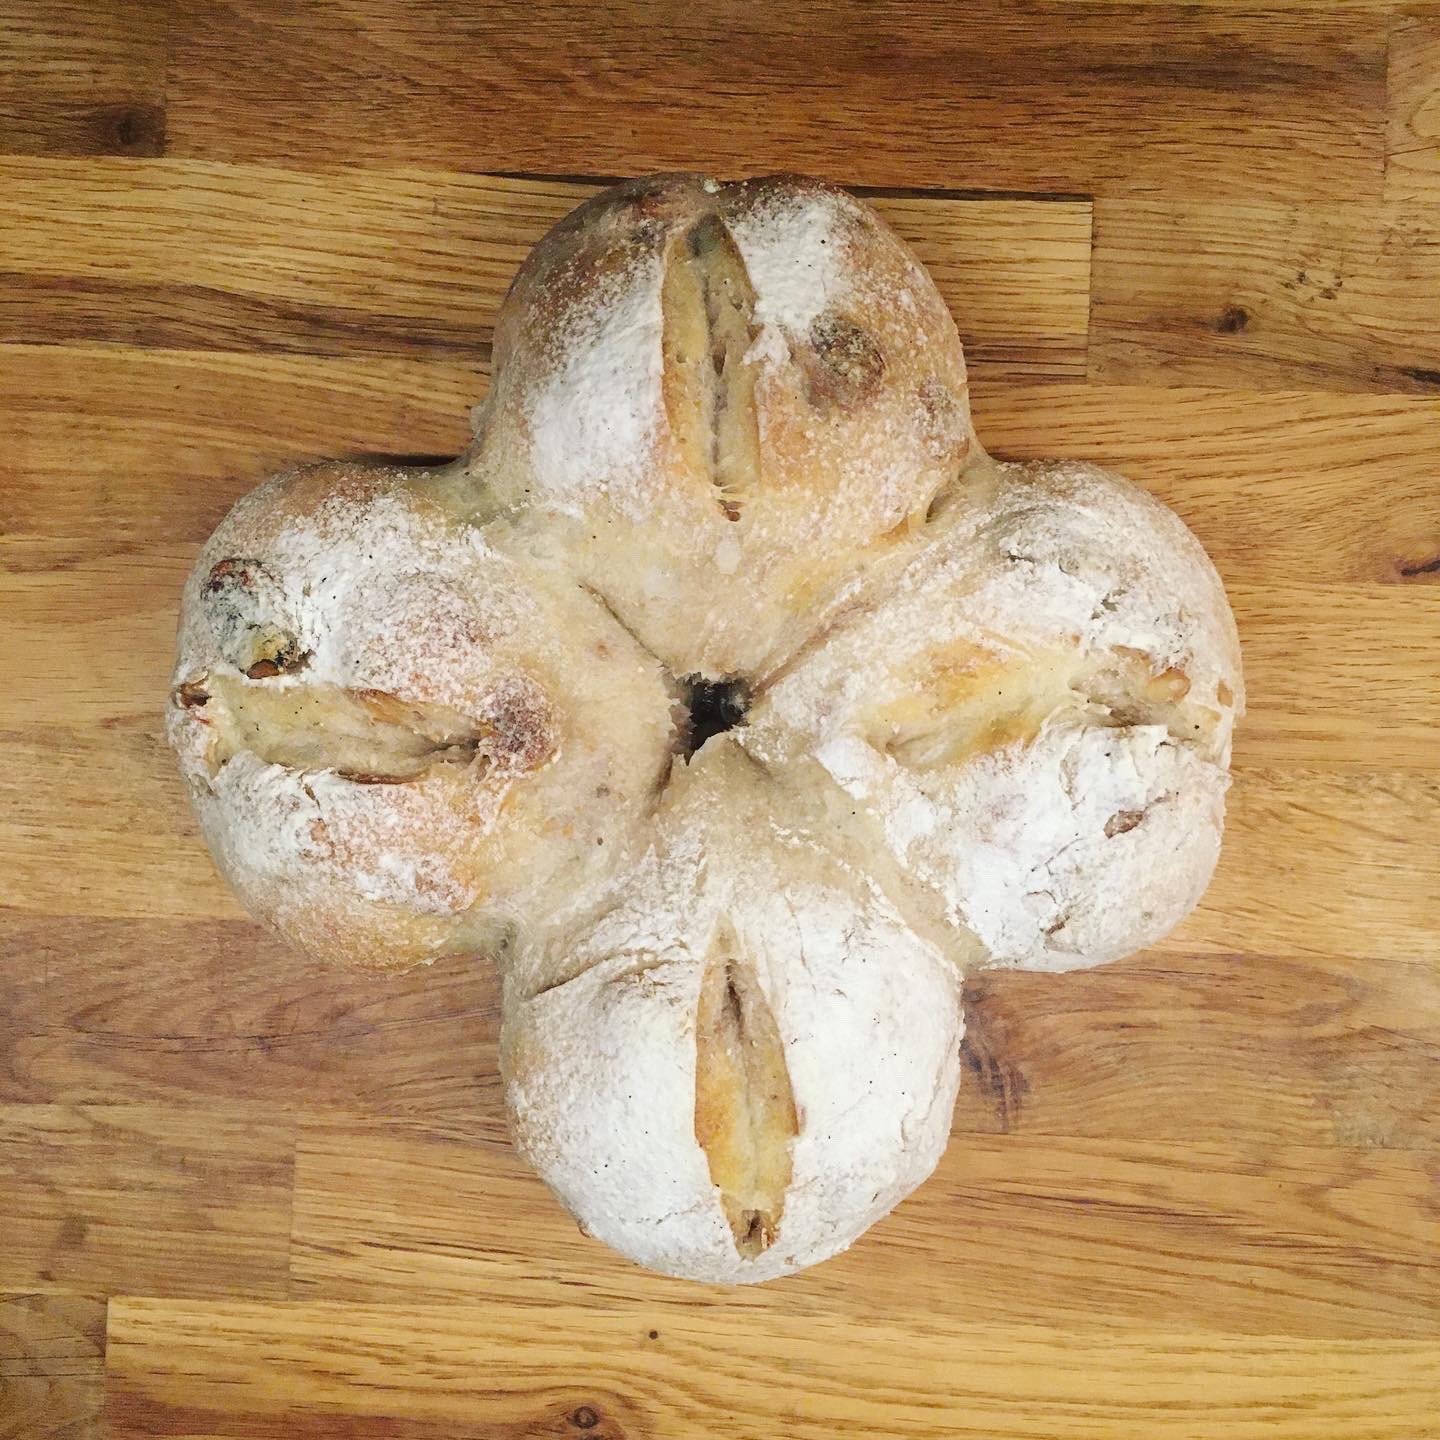
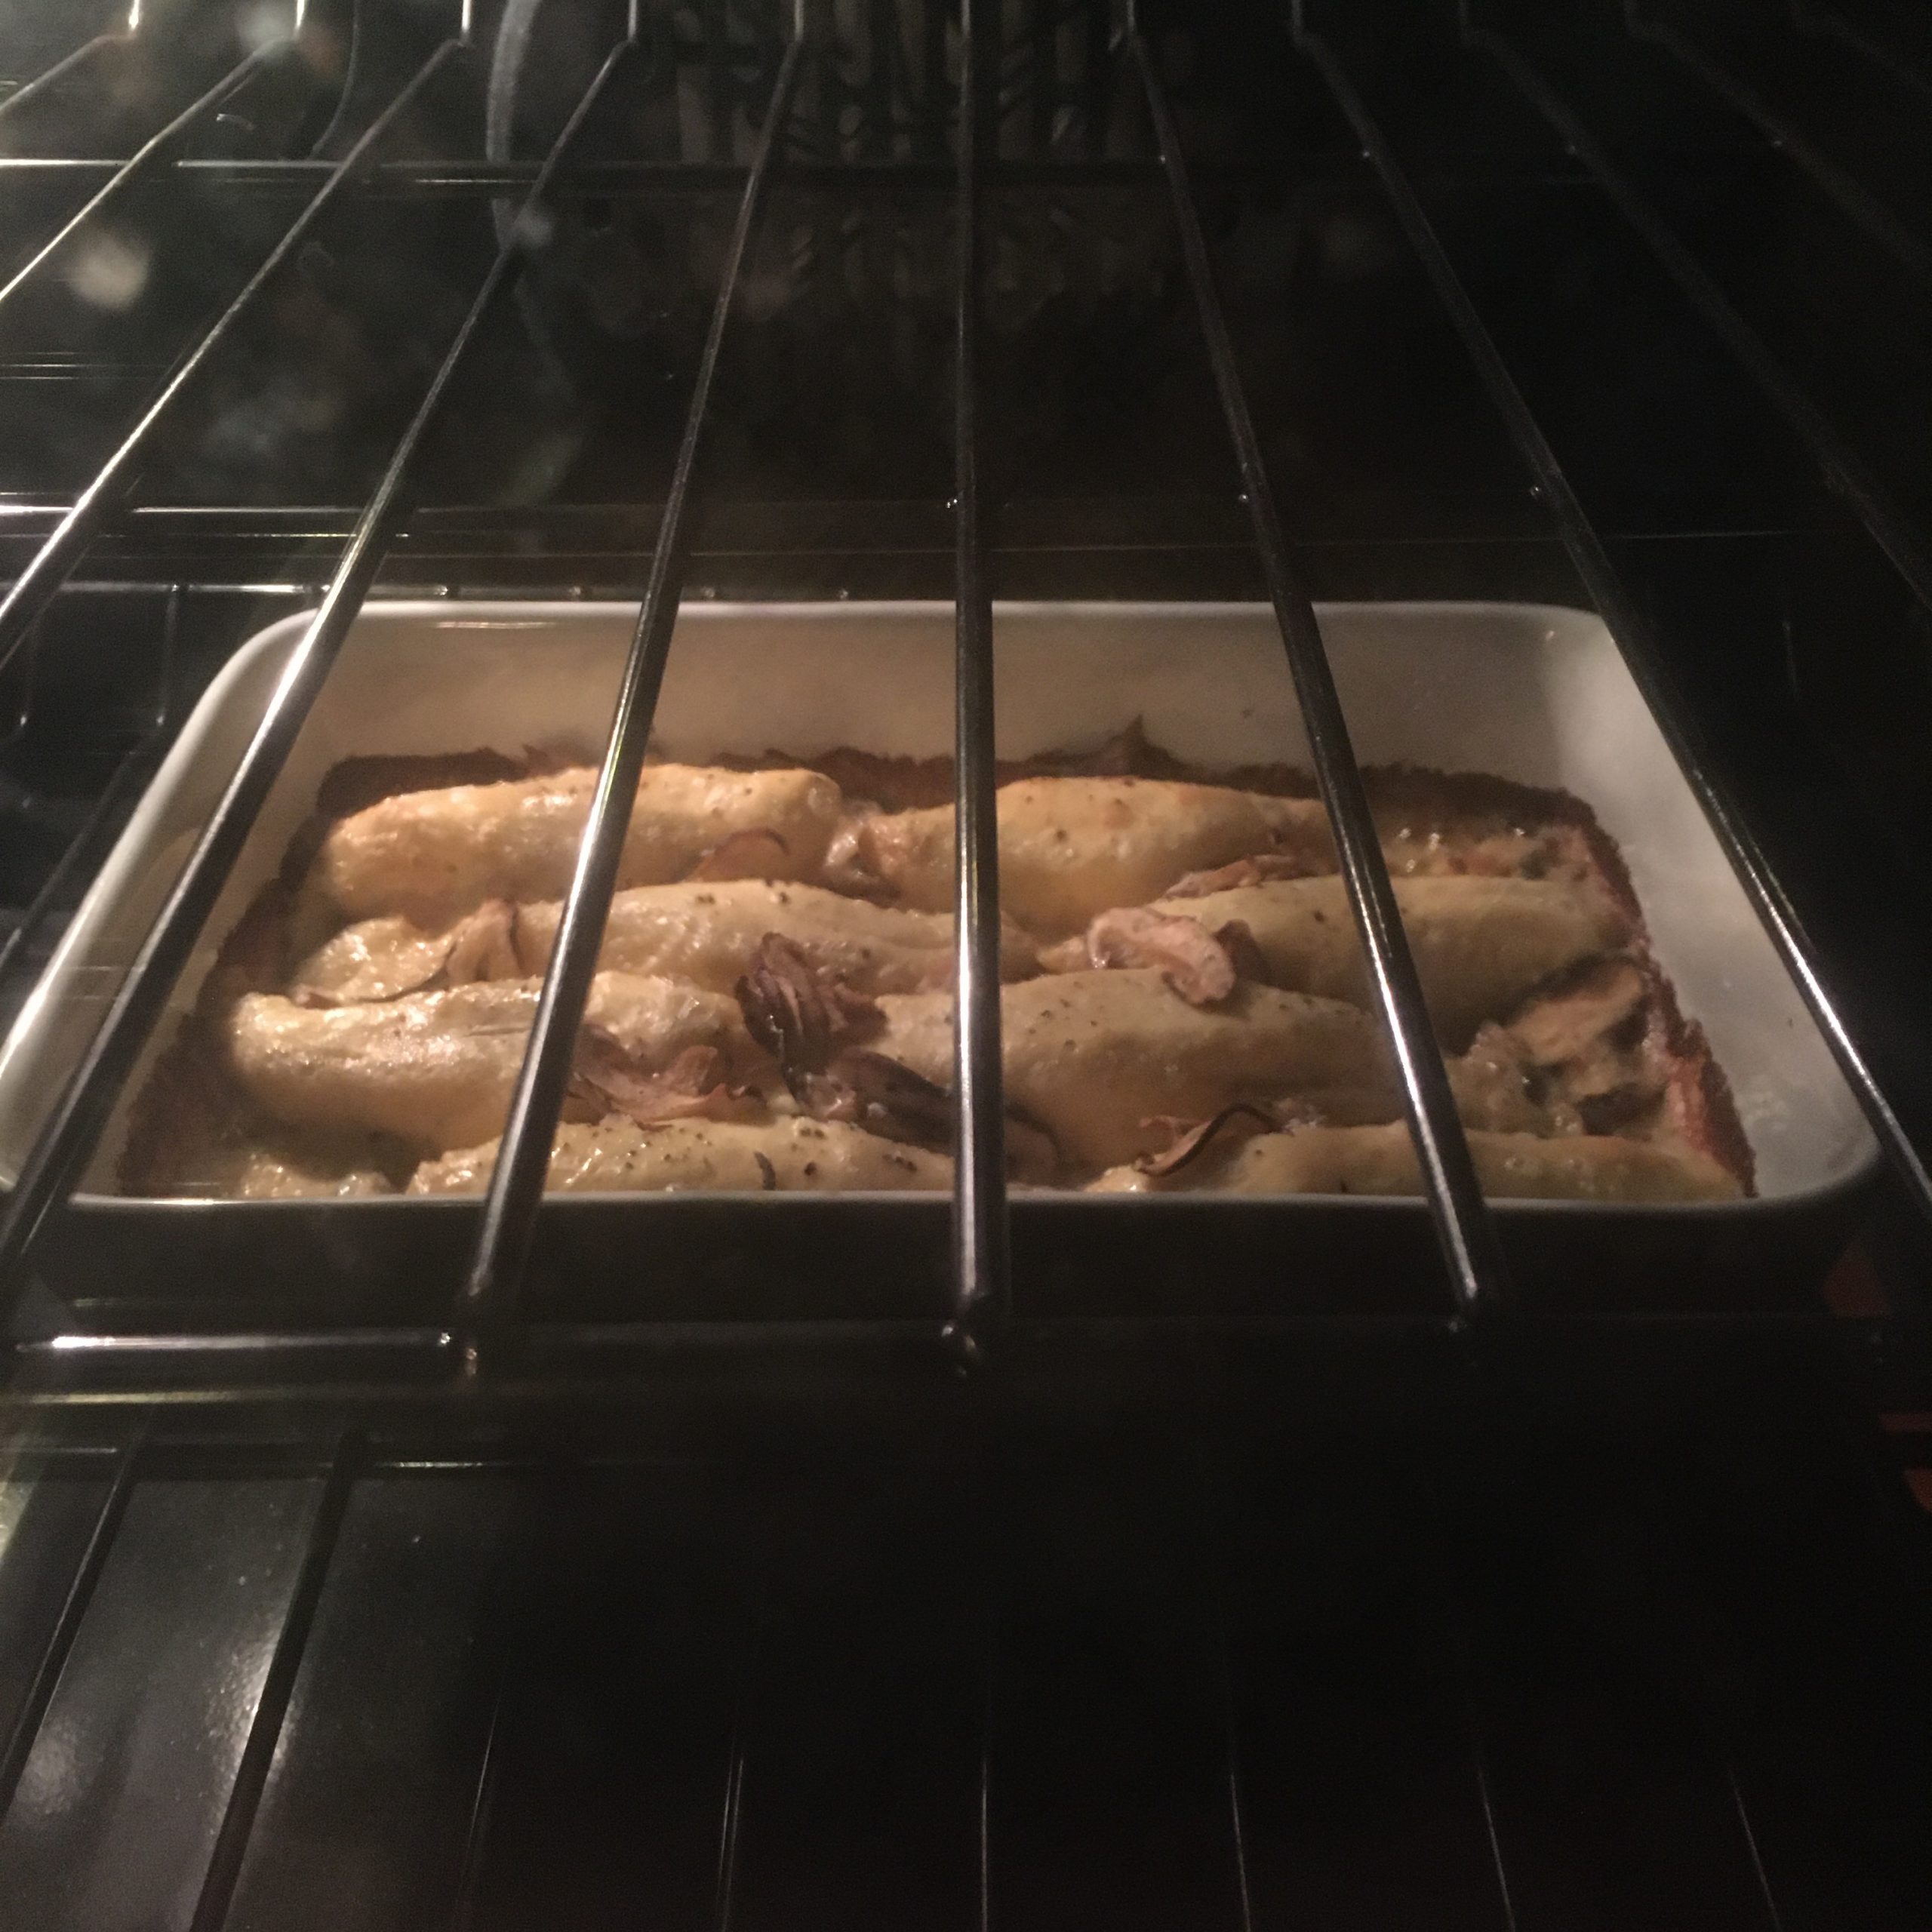
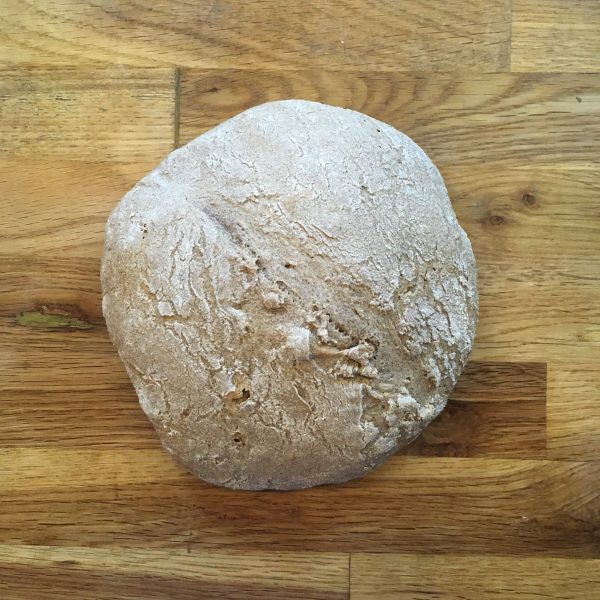
Hazelnut and walnut bread 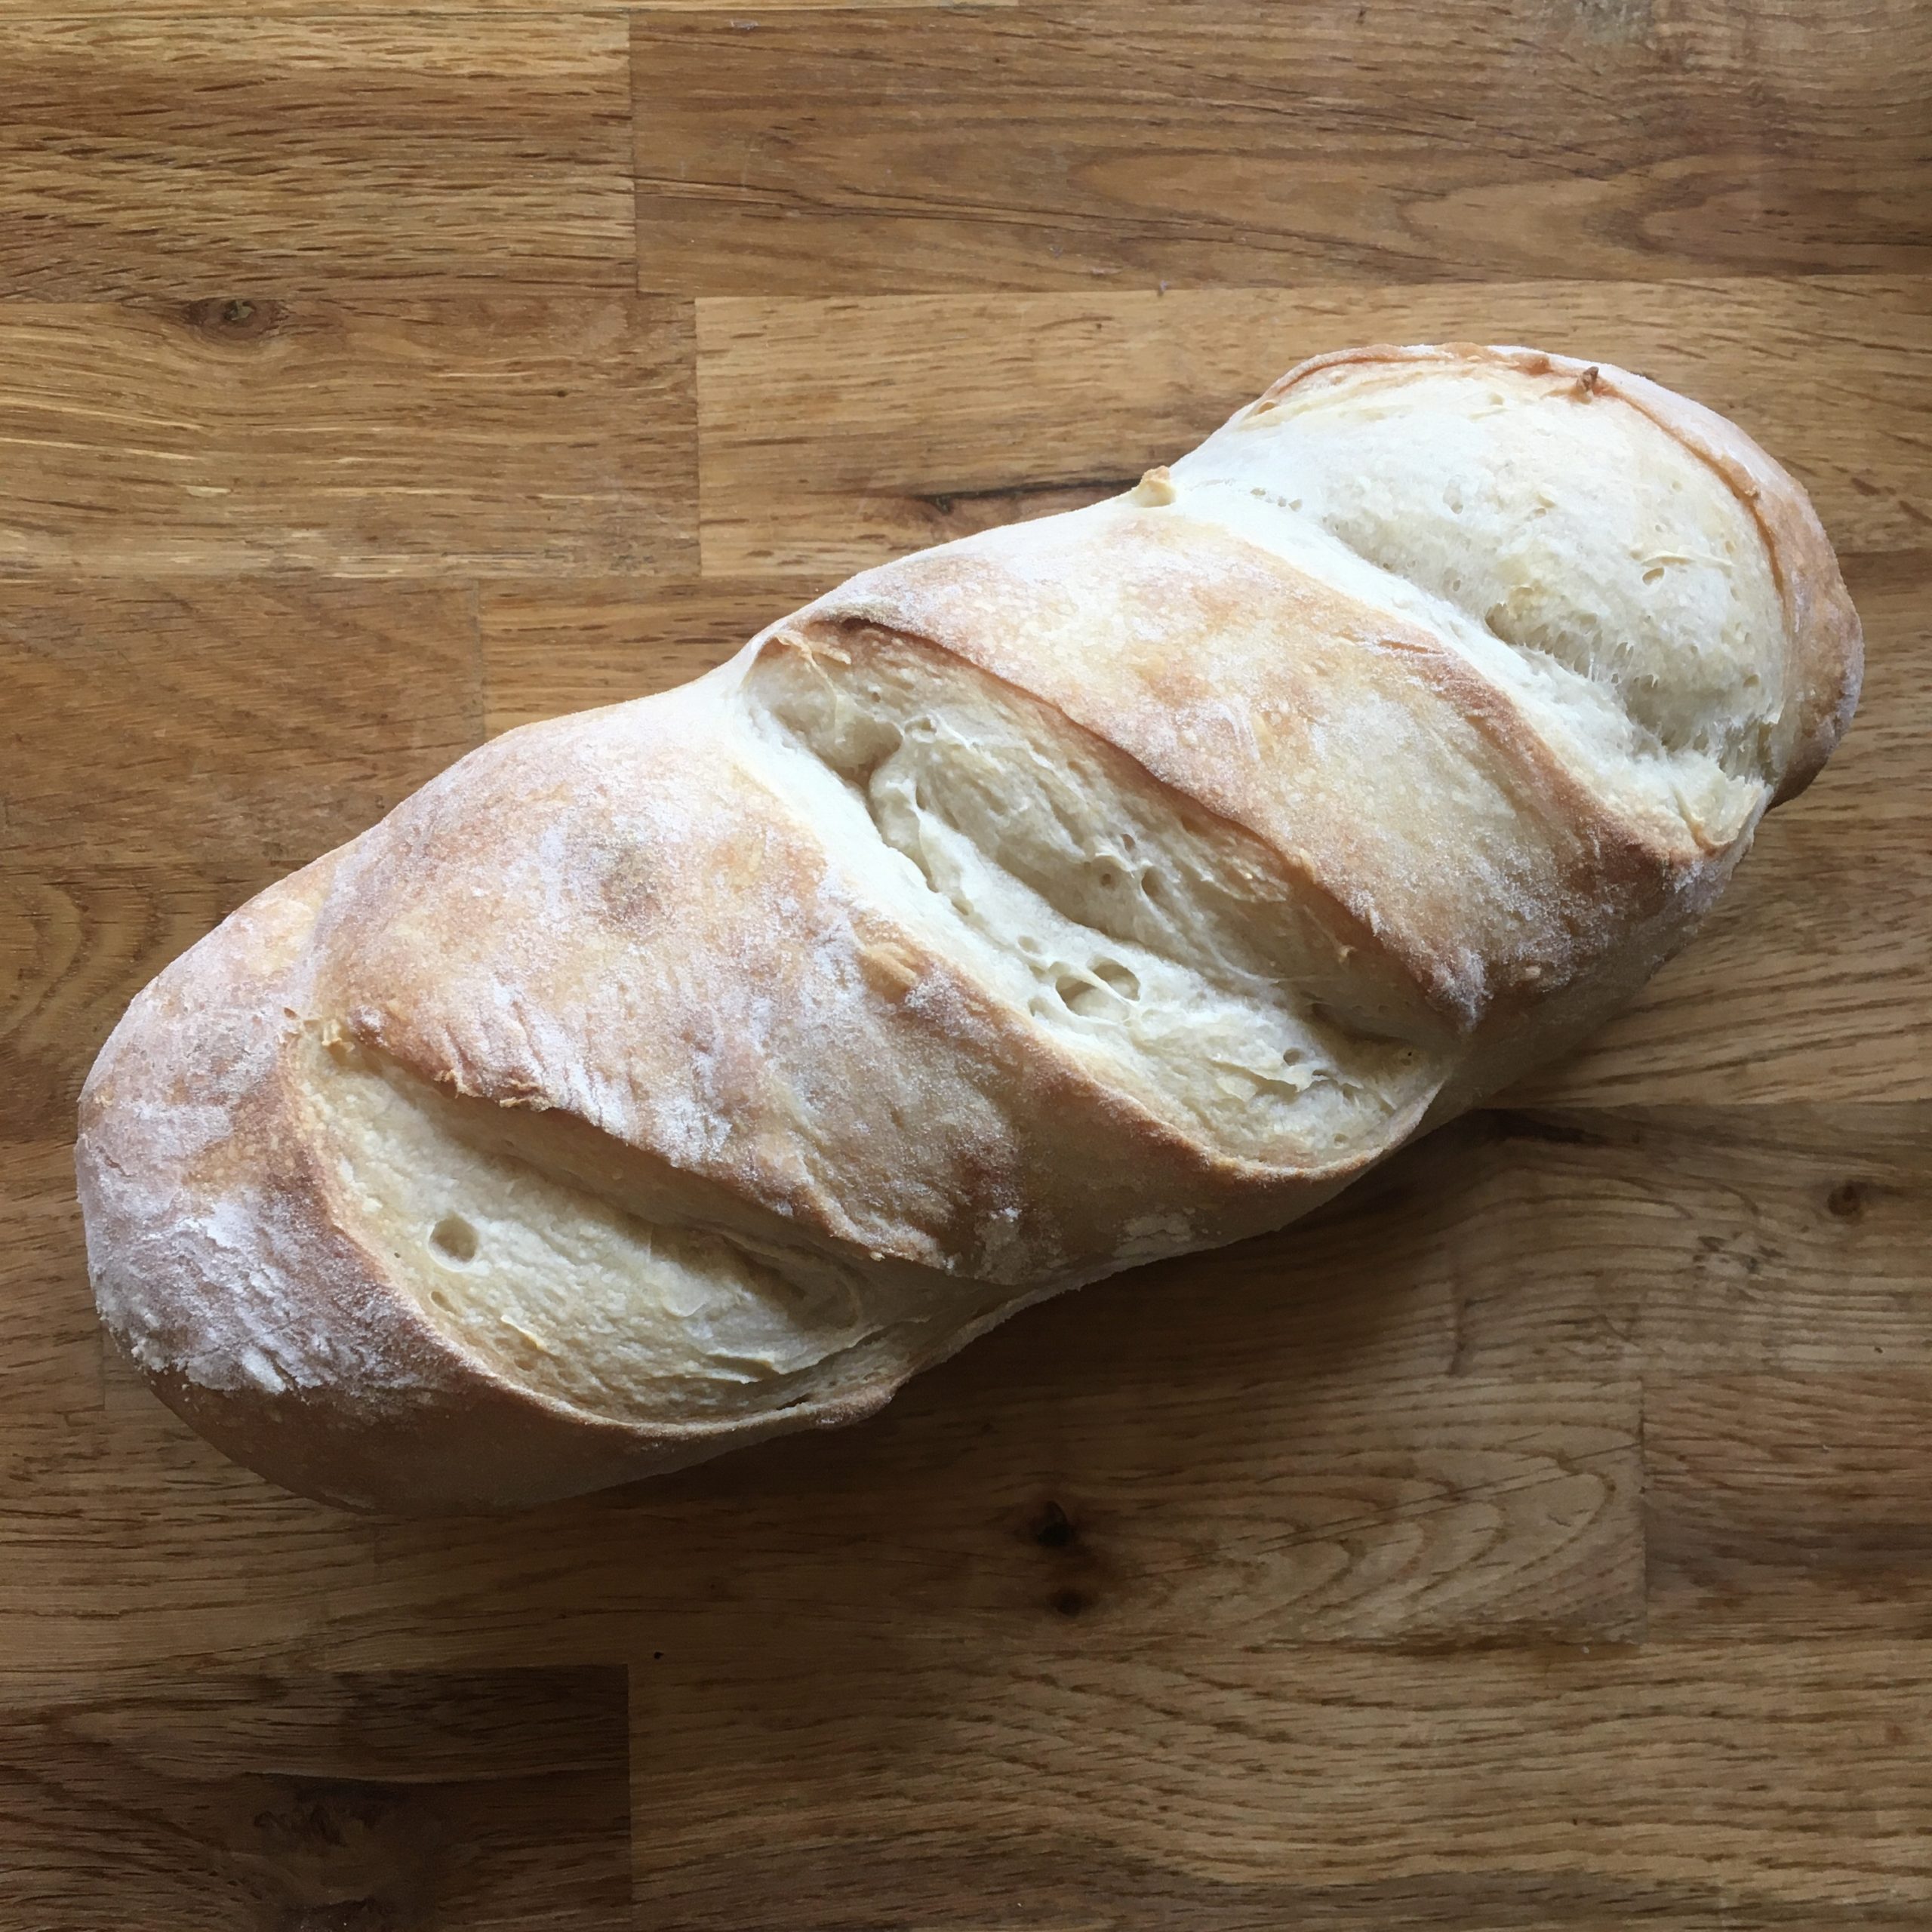
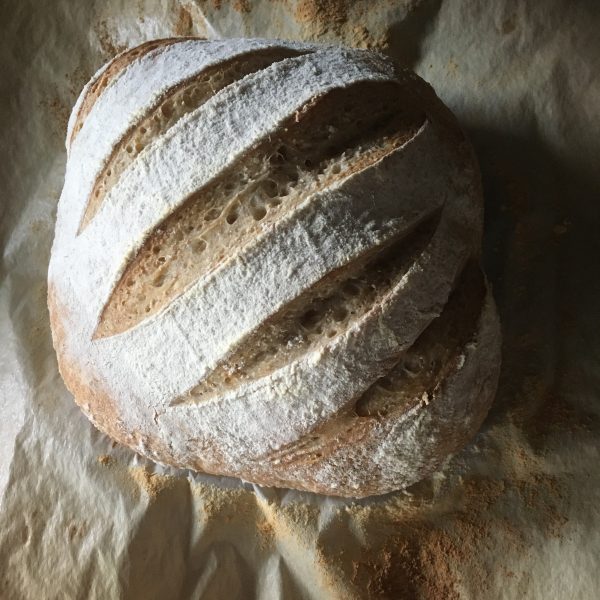
Plain white bread
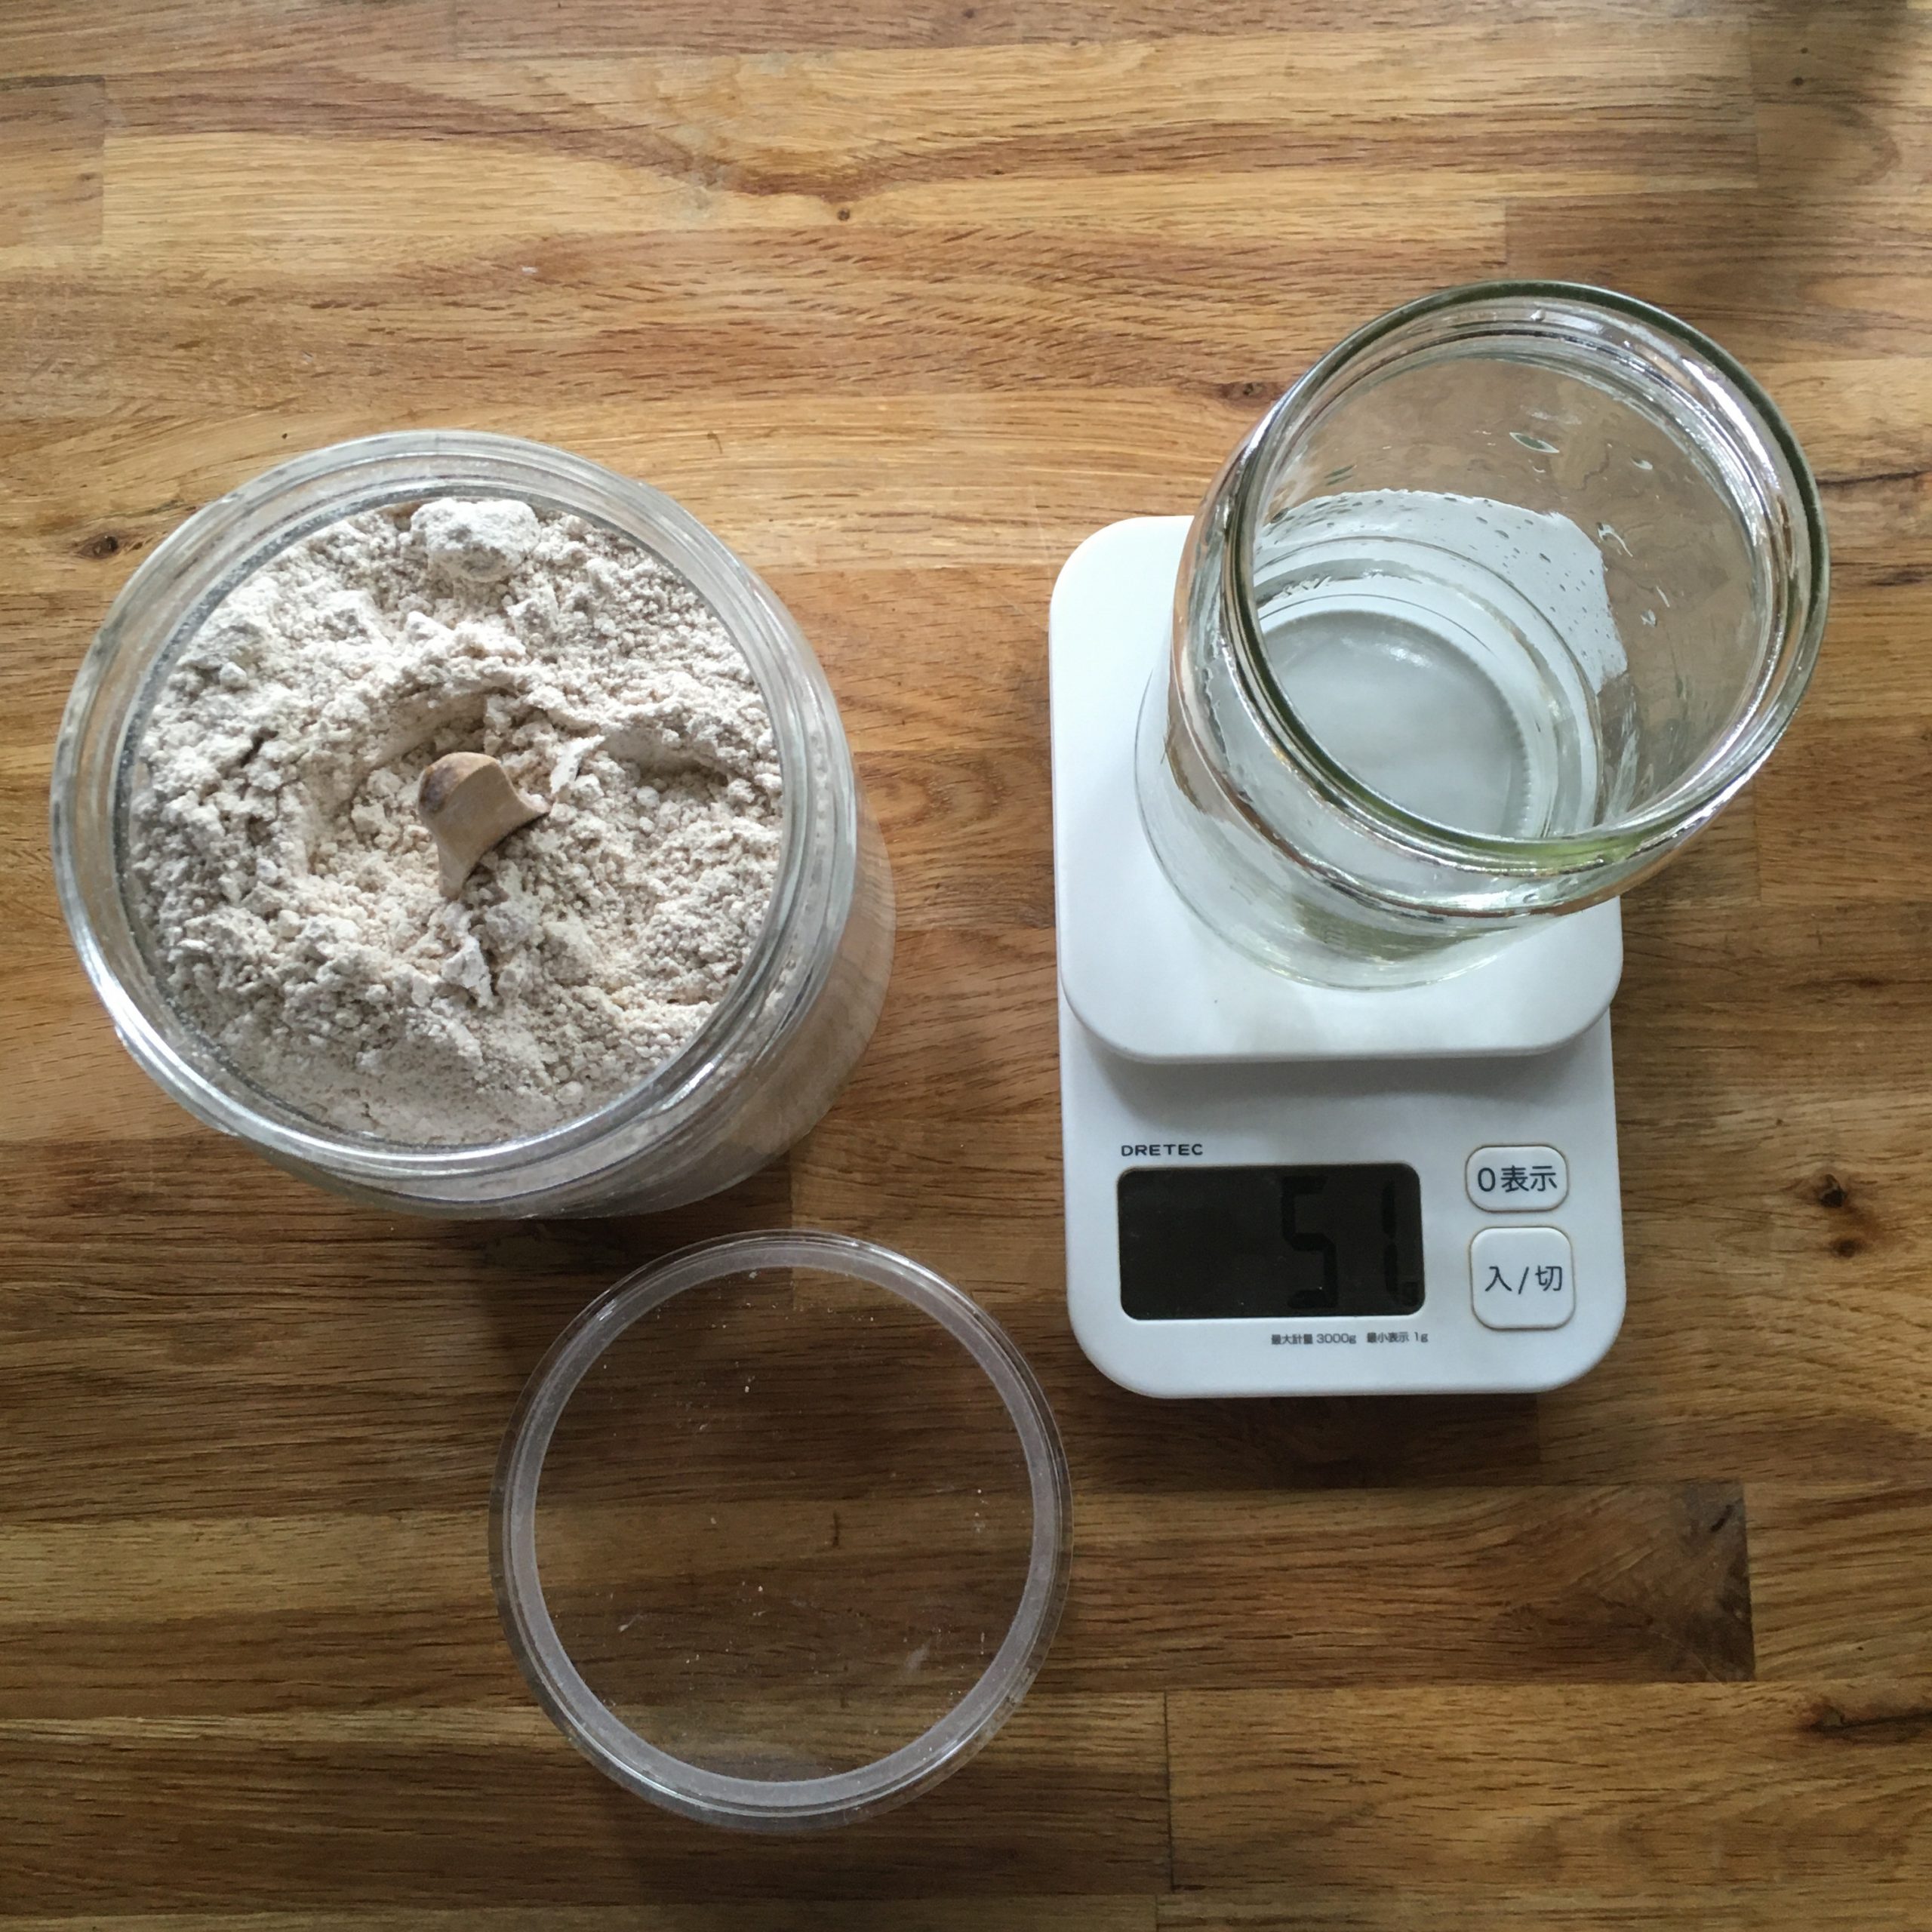
So if you have a sourdough starter that you don’t use much for bread baking like me, I highly recommend you continue feeding it every day and use it for anything that needs flour and water. If you have other tricks to use your sourdough please let me know I am curious about other uses. Indeed Lois is quite gluttonous and in 4 days it gets quite voluminous!
Actually I have already starting giving parts of it away to friends so if you are interested in a stable sourdough starter, please let me know!