Yama udo

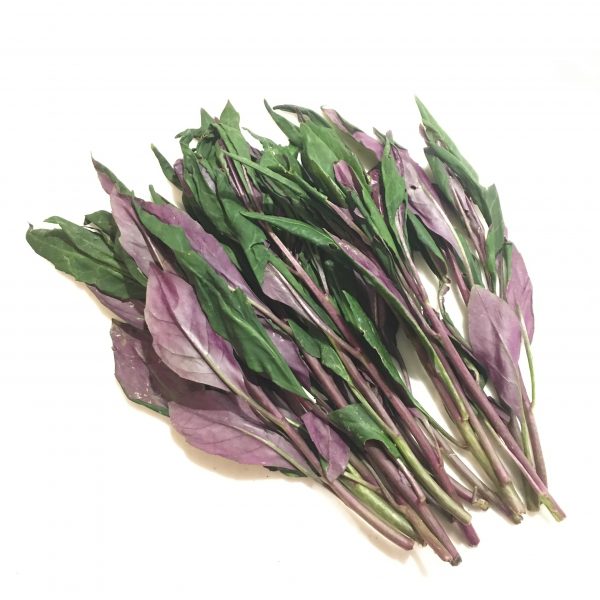
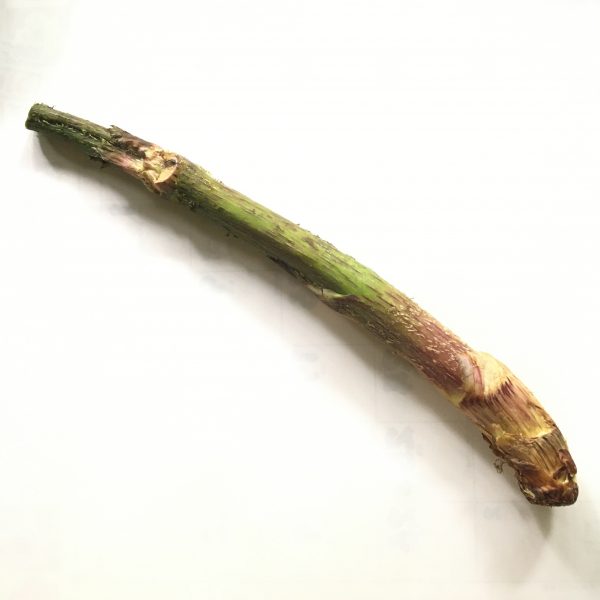
One of the wild spring green I like to cook is udo or rather yama udo ヤマウドウ. It is a kind of long stick that likes to grow on steep road sides and is very easy to prepare, with a distinctive taste but not strong such that of fukinoto. One preparation that is really easy is with miso in miso ae. Usually I would blanched it to soften it a bit and remove its bitterness or tartness, but I realized while doing a bit of reading, that vinegar water would work as well, which for the lemon-miso ae I wanted to make was more than perfect. Indeed, while I am waiting for my lemon tree to bear fruits (I lost all last year in early strong winds and heavy rains), I found some delicious lemons at the local market. Hence, recently there has been a lot of lemon in my recipe, the lemon cake, lemon pancakes, lemon pasta… The vinegar miso ae is taken to a new level of rich flavors with the addition of the lemon. It works the same way as yuzu miso. That said my recipe today is really super simple, and if you can’t go to pick yama udo yourself or find some, you can try with regular udo. Its taste is much milder but that works very nicely too. And if there is no udo where you live, try with wild asparagus or green asparagus, that will work fine as well.

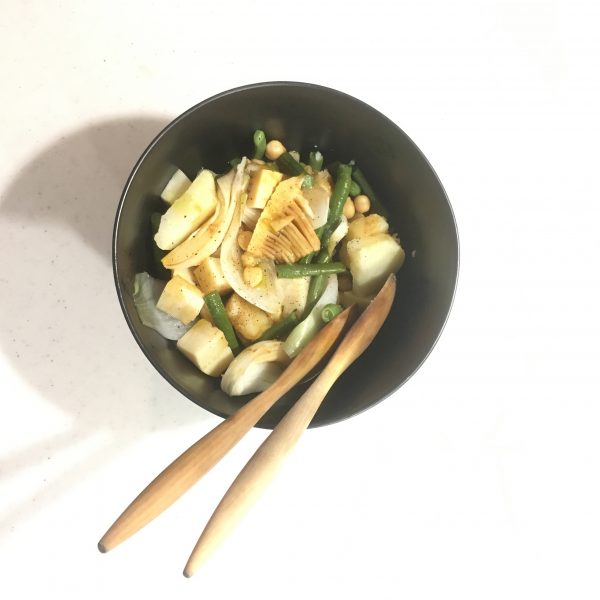
Yama udo with lemon miso ae (2 servings as side)

  • 1 udo
  • 2tsp of miso (I used my homemade miso)
  • 3tsp of vinegar (I used rice vinegar)
  • 1tsp of sugar
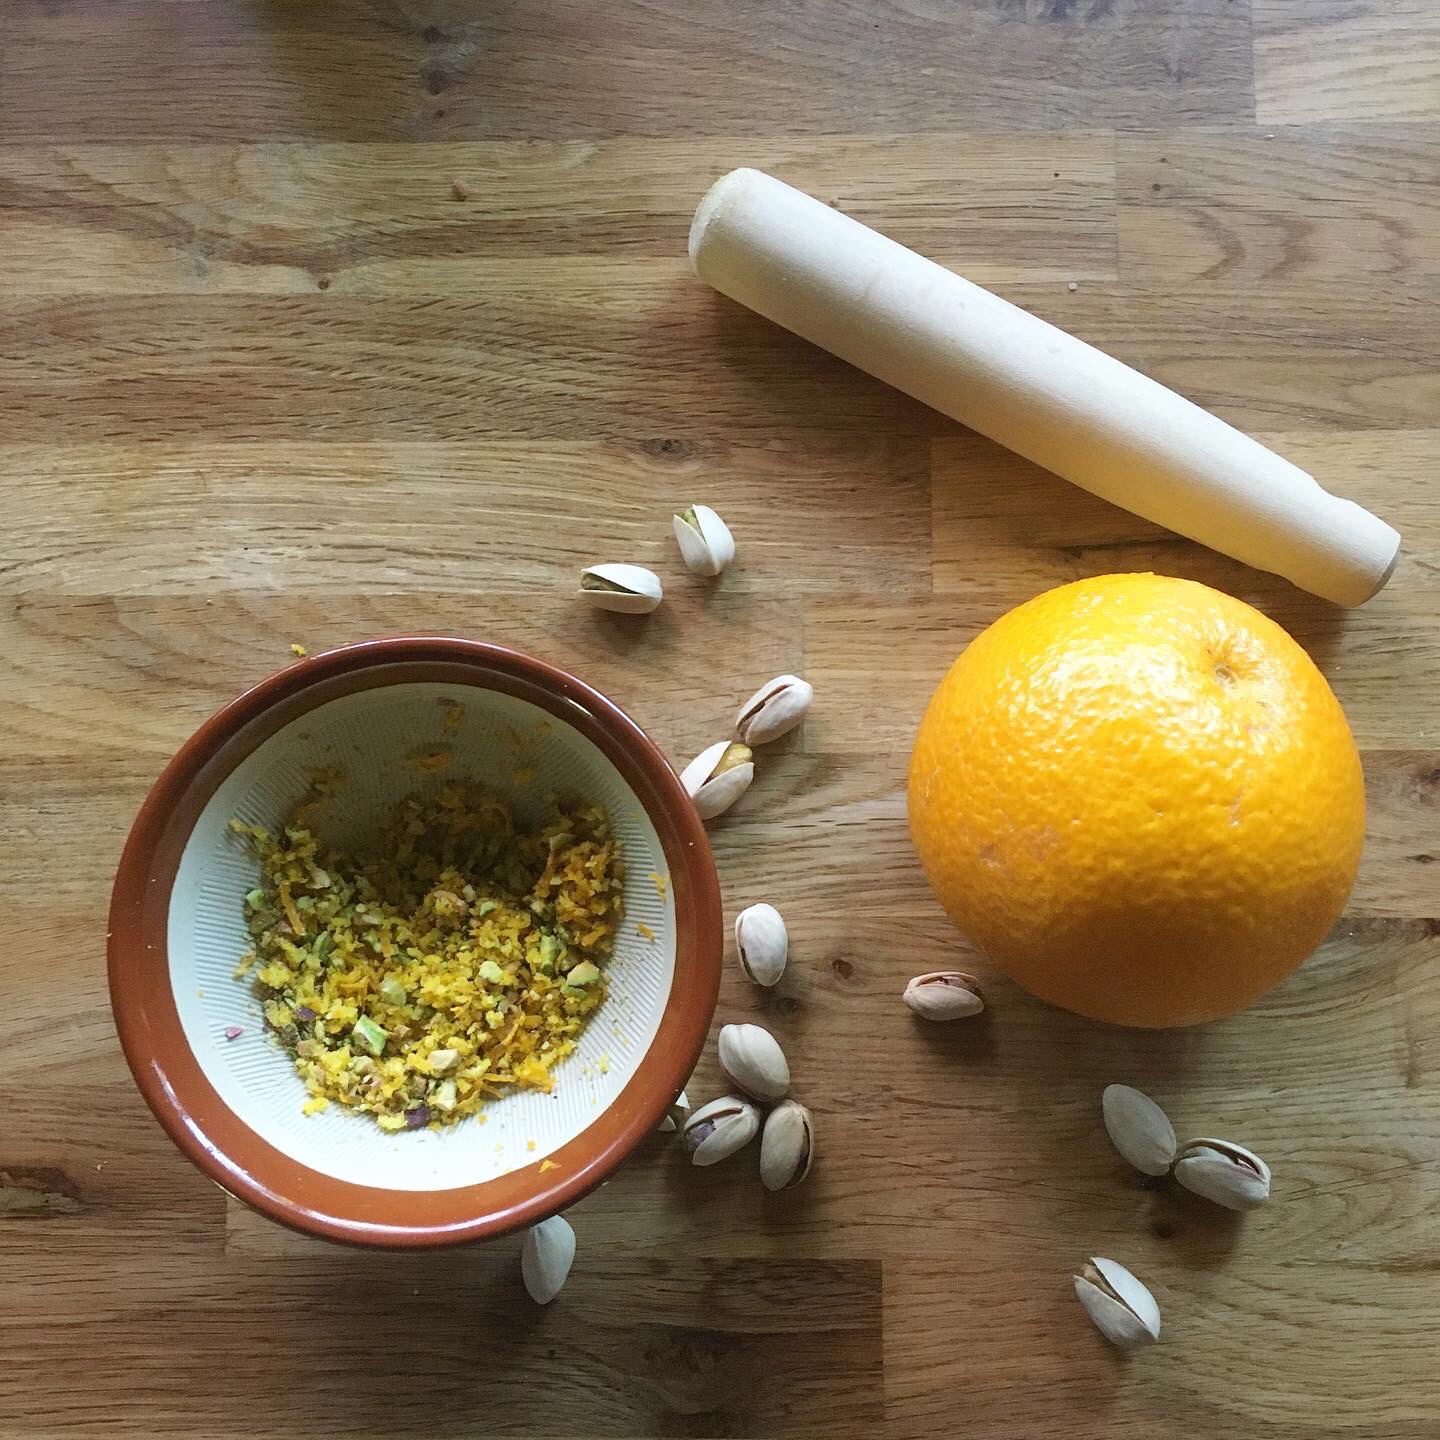
  • a little bit of lemon zest
  • a little of lemon juice (about 1tsp)

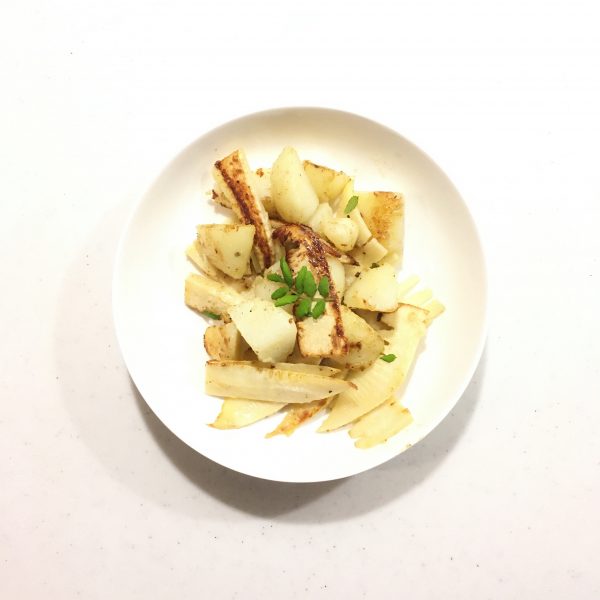
Peel the udo and cut in 3cm long pieces. Then slice vertically with about 2-3mm thick, then make sticks. Set in a bowl with water and 2tbs of vinegar for 15min.

In the meantime, in a bowl, mix the miso, 1tbs of vinegar and the rest of the ingredients. Stir well.

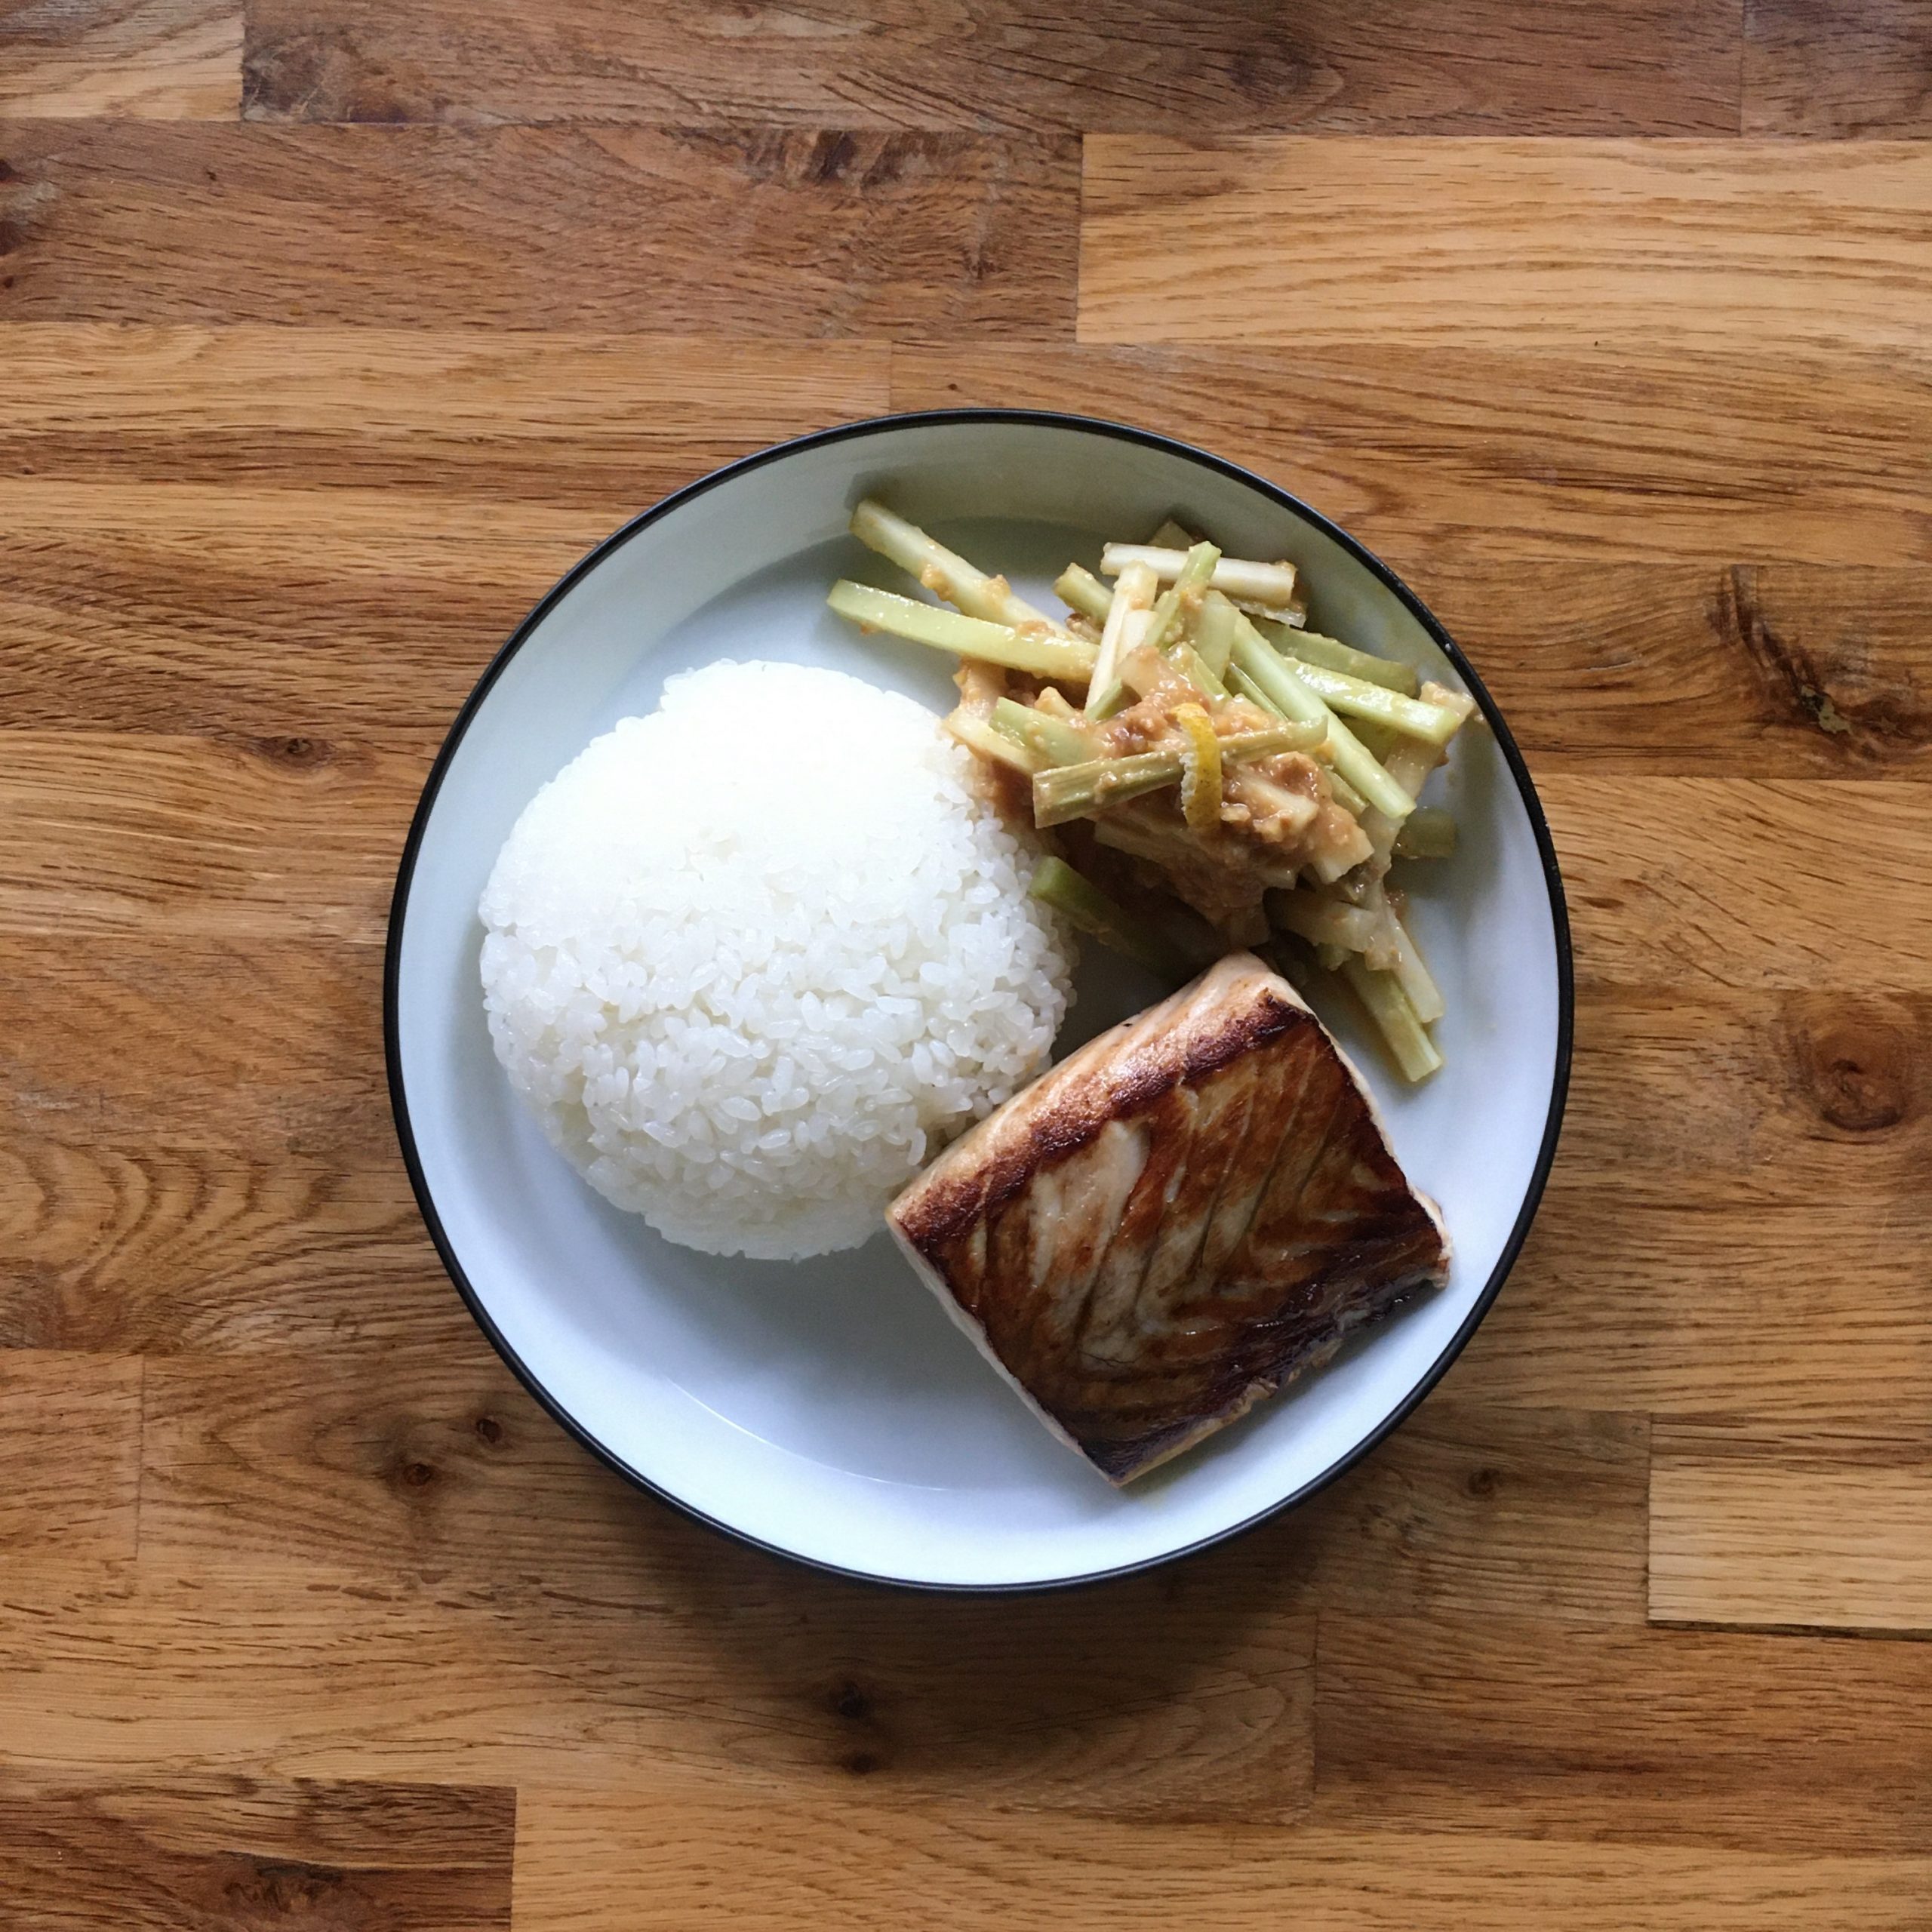
Drain well the udo and add to the miso mix. Stir well and serve. That’s it, really simple isn’t it?

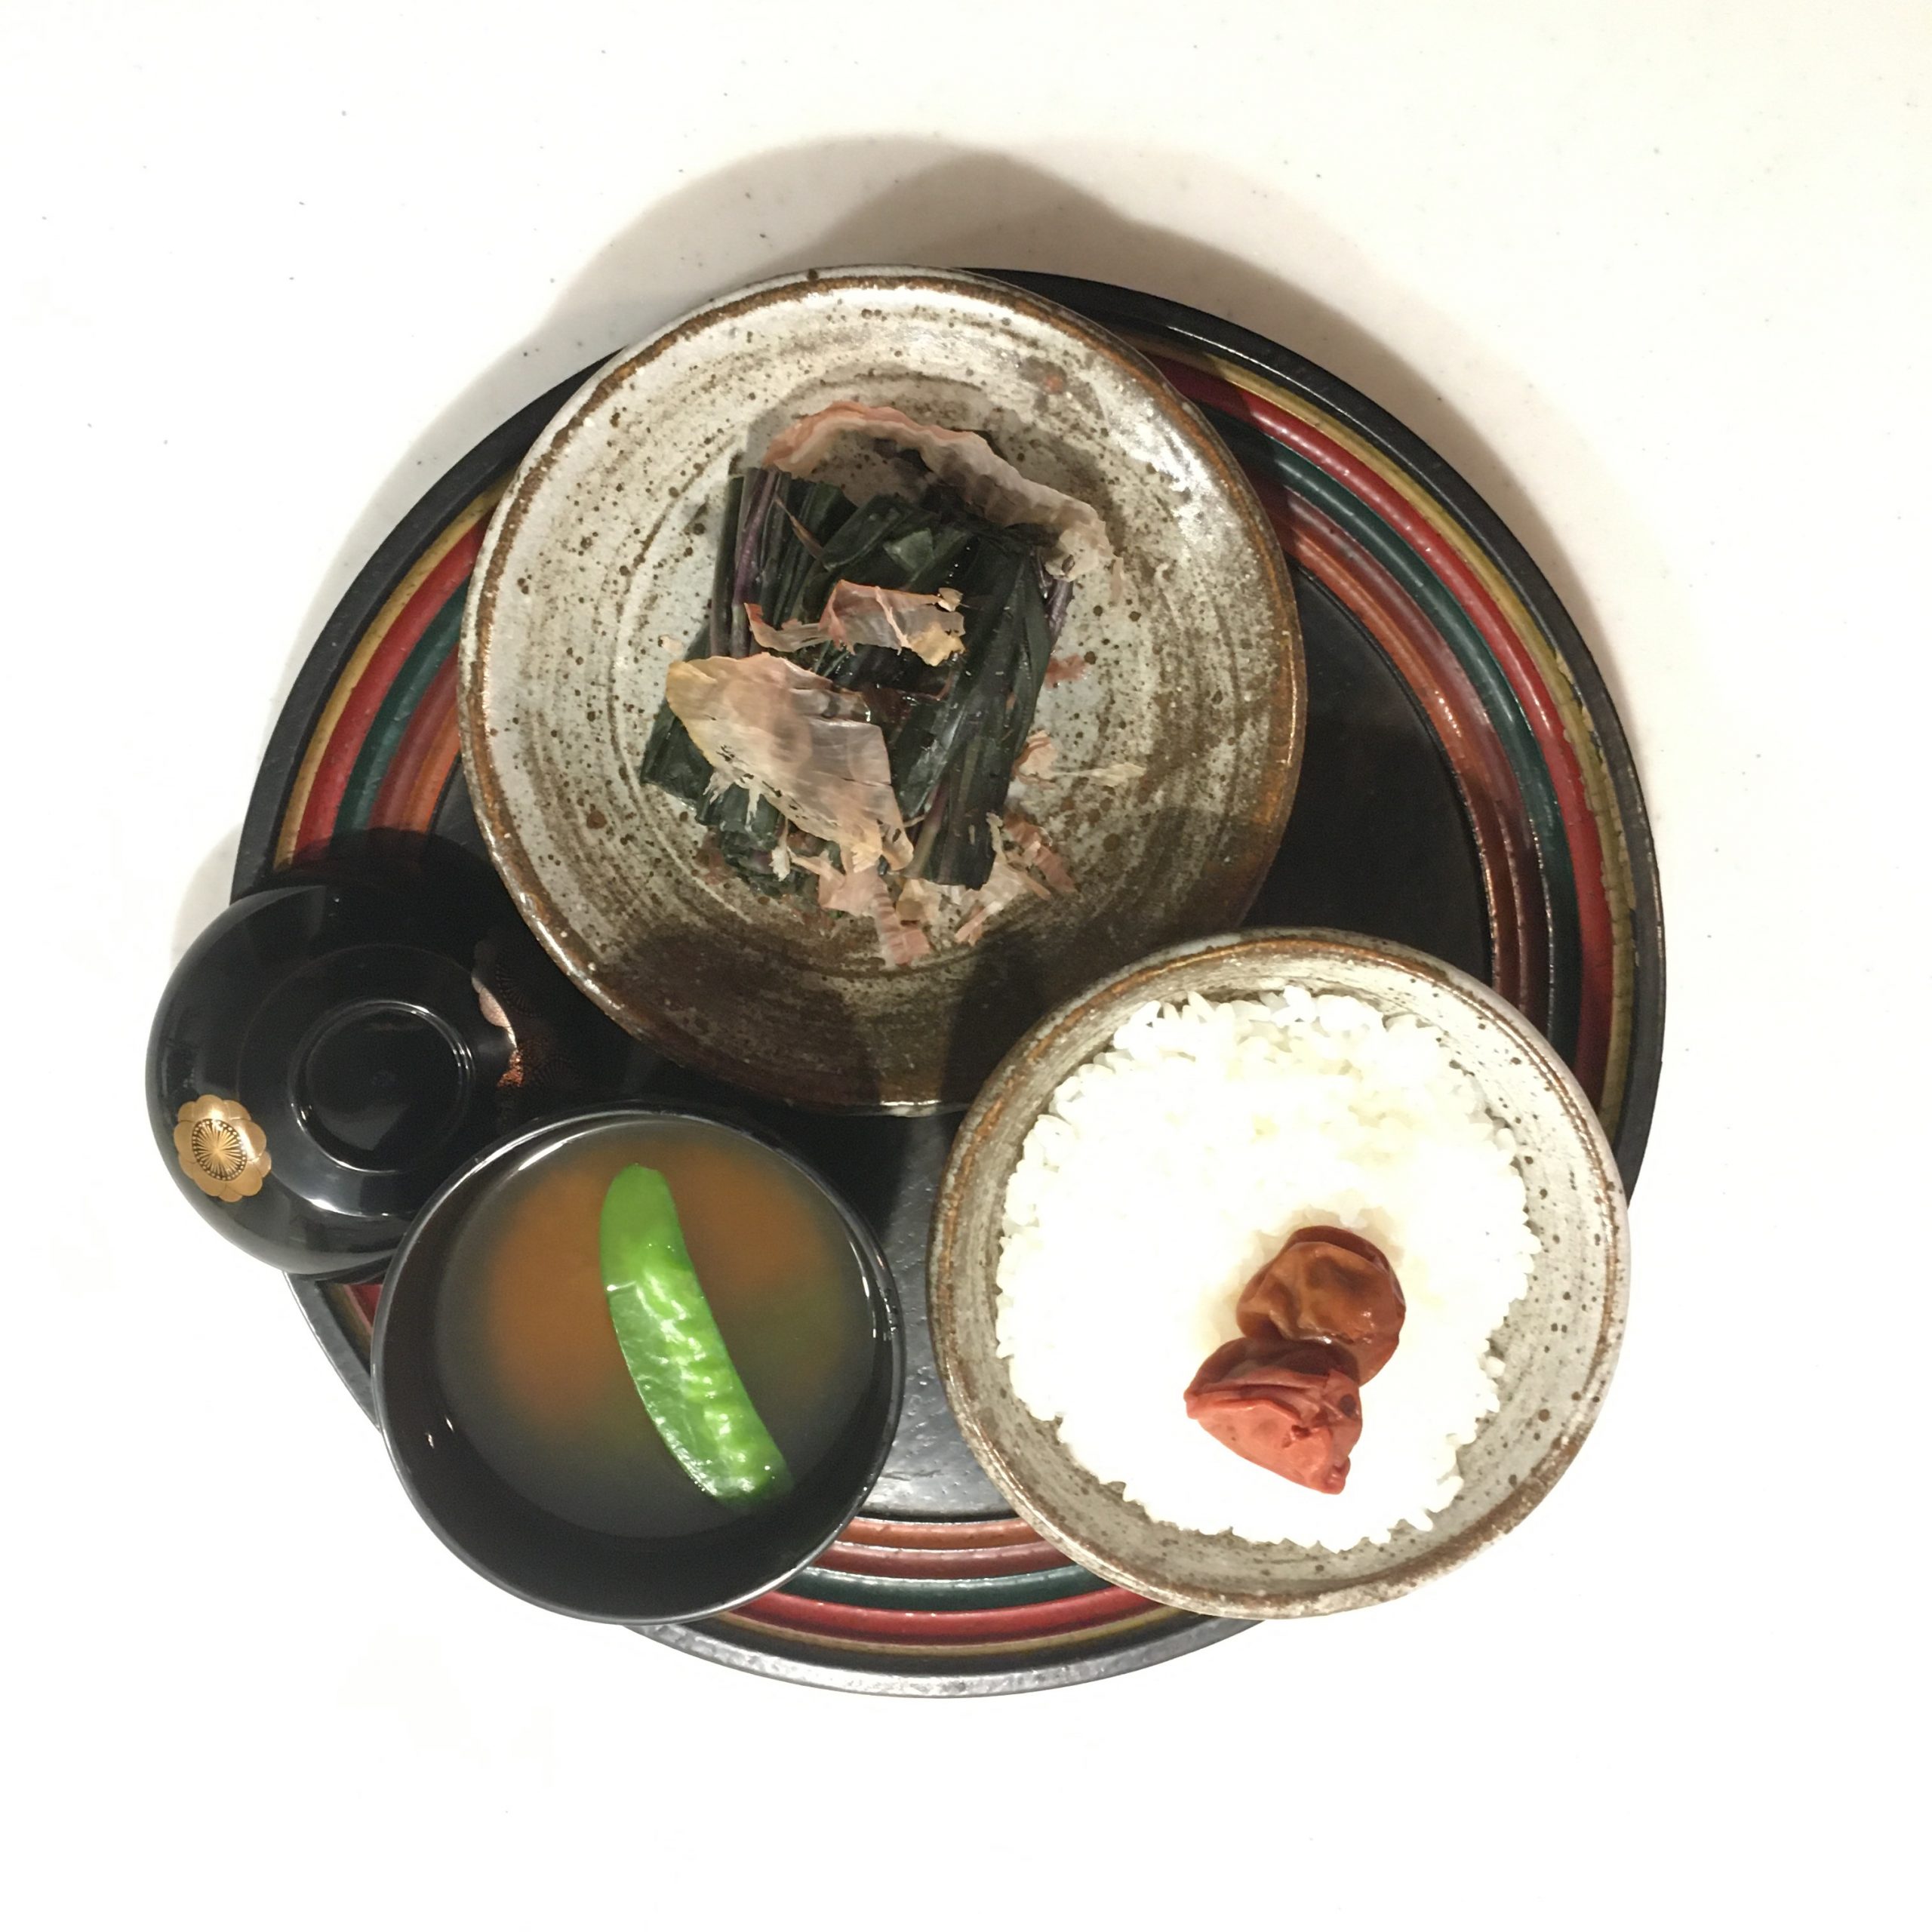
I served it with grilled sawara (Japanese Spanish mackerel) and plain white rice.

Green peas

I love spring greens and new vegetables, but among them I love green peas more than the others probably. I love the taste and texture, the color and the versatility, but I also love to shell them, I’ve always had. I remember as a child how many times I helped my mother or my grand mother doing it… it’s the season when days become longer and warmer, the approaching end of the school year…

In Japan green peas are not sold by the kilo, rather in tiny amount, and used as a small green touch in rice or here and there. You don’t eat a plate of green peas… so it has always got me a little frustrated to only have a handful of green peas. Japanese prefer them snap peas, which I love too… but it’s not the same.

So when our British friend came to enjoy tea in our garden and arrives with 3 kilos of green peas he just harvested in his garden, I was as happy as could be!!! First because I wanted to eat green peas so badly, may be because the Maltese pastizzi were too good, and I haven’t found any yet at the local farmers, and because now I could play with peas for real!!!

Despite the classic recipes I love to make with green peas, I wanted to test new things… May be pastizzi themself if I manage to make a good puff pastry… but also I had some cornmeal sitting in my fridge (remember I keep most things in my fridge to avoid pest) and I wanted to cook something with it… a bit of digging in recipes with cornmeal made me lean towards croquettes, and adding peas and spices was the next thing that I found would be nice… or here is what I did plus a few recommendations to make them even better…

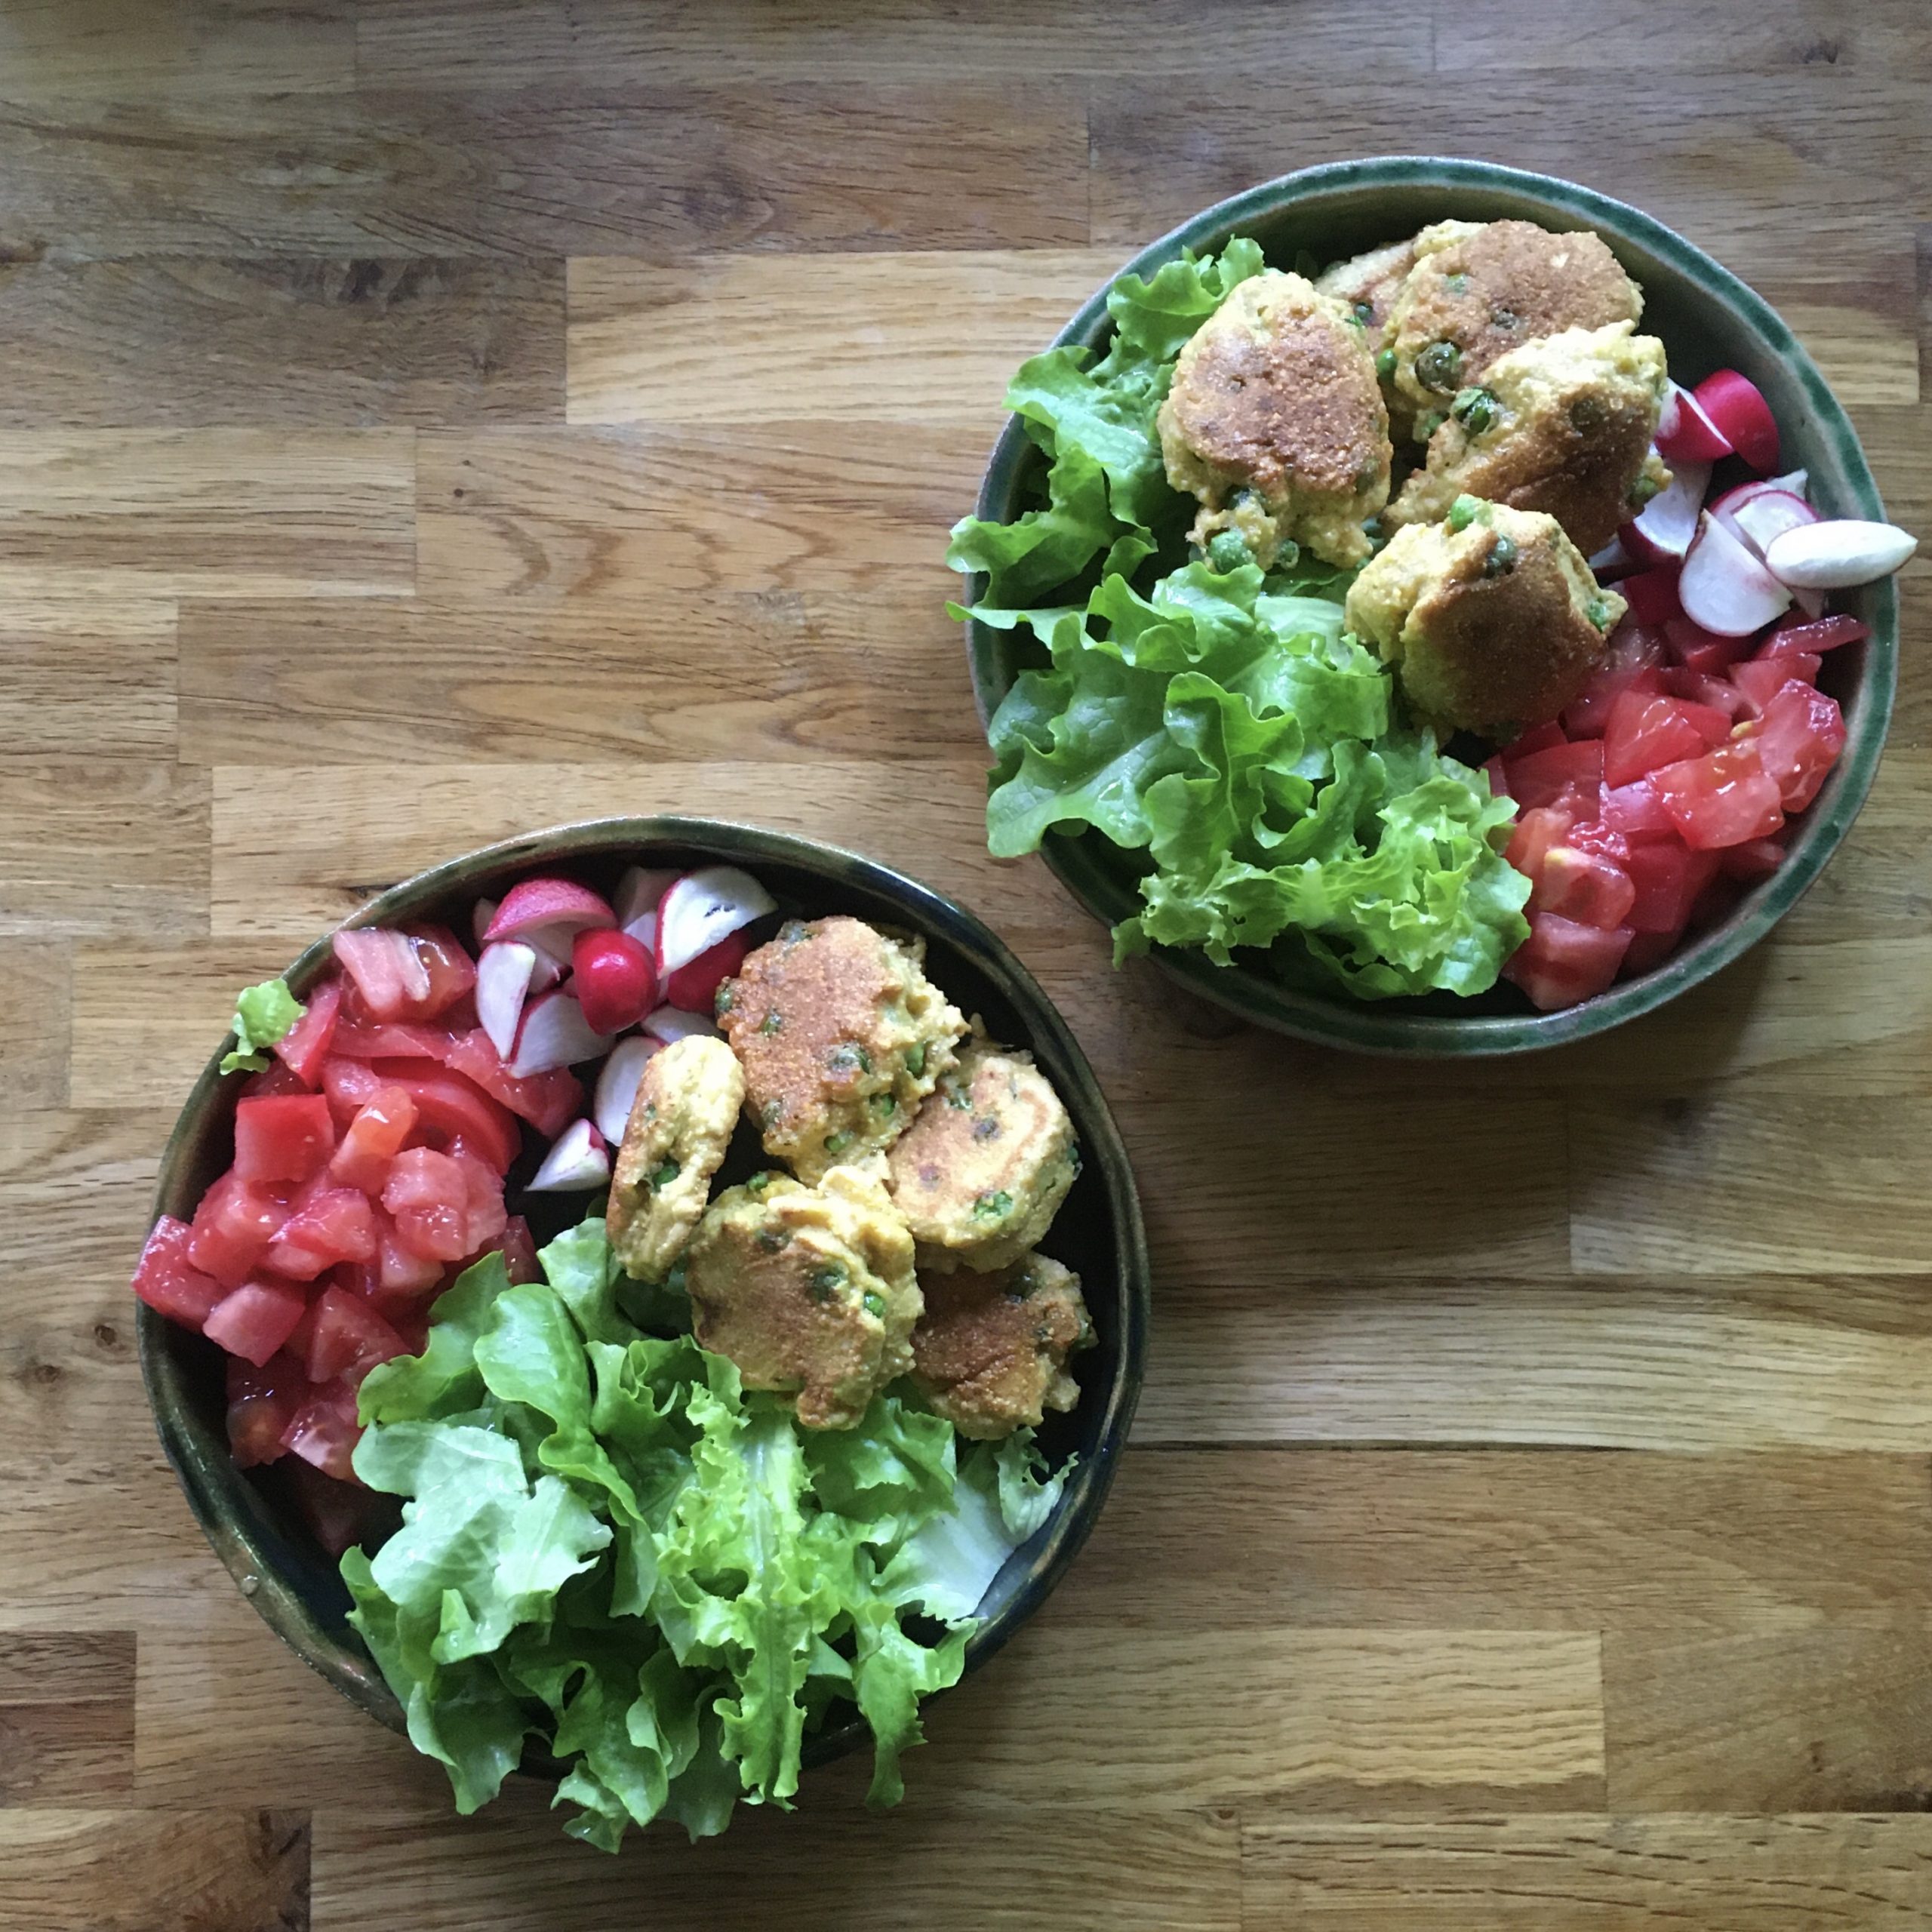
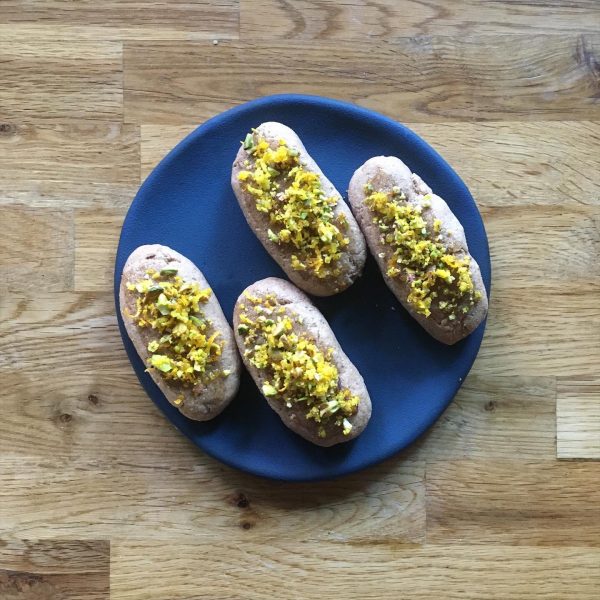
Cornmeal and green peas spicy croquettes
– 100g of green peas, shelled
– 150g of cornmeal
– water
– ground cumin
– a pinch of ground clove
– salt and pepper
– a bit of oil to cook the croquettes

In a bowl add the cornmeal and a bit of water and let rest while you shell the peas. This will soften the cornmeal and avoid the croquettes to be too dry. Then add the peas and add water a bit to obtain a paste rather sticky and hard. Add the spices, stir well and heat the greased pan. With two tea spoons set the dough in small mounts in the pan and cook until golden, then flip and repeat. You can either eat like this or make a tomato sauce or a yogurt sauce to dip them…


Have a good day!

Inspiration from the kitchen garden

The fancy of a beautiful kitchen garden, abundant in vegetables, berries, herbs and flowers that I’ve always had, may be because both my grand fathers had beautiful ones… may have been just a dream. The kitchen garden we created last year and that gave some beautiful potatoes, peas and peanuts last summer, didn’t deliver up to my expectations. While I was very excited about the harvest, most of the plants didn’t produce anything, didn’t grow or just died… instead of being a place like the rest of the garden, of surprises and enjoyment, it’s been a place of great frustration. In most of the places in our garden, things and edibles grow almost unattended: plums, citrus fruits, spring wild vegetables, shiitake.., but in the kitchen garden, regardless of my constant efforts, things are not working as they ought… I know I am totally inexperienced and I am learning, but I found my efforts completely vain. My onions that I shall harvest now are too small, the celeriac that was supposed to grow this winter is only starting now to finally grow, even my seedlings don’t really go well. The soil should be good and I make a lot of efforts… but I am slow at learning and not so many chances once I missed a season.

Luckily the winter was rather warm and none of the herbs froze, so I still have abundant parsley, fennel tops, and celery branch, mint and rosemary, sansho too. So while it is frustrating not to harvest properly what I had planted, at least these ones surviving for more than a year now are a great source of inspiration in their scarcity. While being simple, they add a great flavor to simple ingredients, more particularly on Friday evening when we arrive, that the fridge is close to being empty and we are starving. They help me twist a simple recipe into something new, great, fresh and green.

My last idea was an olive oil sautéed new potatoes pot to which I added celery and parsley freshly cut in the garden. That was divine.

To boost cooking time I cut the potatoes thinly, and cook them in a bit of olive oil. Then add the celery washed and chopped, stir. Finally toss in the chopped parsley. Salt and pepper and all set for dinner. So no mater how irritating or saddening it is to work in my kitchen garden, I will continue learning and trying, because even for a few parsley leaves or a handful of peanuts… it is worth the effort, as the pleasure of going down there and thinking of the next recipe counter balances everything else.

May be one day, in a far future, I’ll finally manage to obtain one of these beautifully curated kitchen garden where colorful flowers and perfectly grown vegetables are lined and create an amazement of the eyes and the promise of a generous and rustic taste.

Bamboo shoot again!

We are moving in our new apartment tomorrow, but getting everything ready and working doesn’t mean not cooking, we have to eat 😉 Luckily we are only moving vertically so it’s quite easy to go and meet with the workers in between two online meetings, and anyway we decided not to do a lot of renovations first rather wait to see how we live in that new place. Our main idea was that since we spend most of our week days at work and most of our weekends in the countryside, our Tokyo apartment was oversized, so we wanted a downsizing. Few people want to move to a smaller place but we did. So we found a smaller version without a guest room we decided to move… well that was before Corona and simultaneous telework, so maybe not the most judicious timing… but one has to take opportunities when they come!

What does moving has to do with bamboo shoots??? Nothing… it’s spring, the soft pink of the sakura season is over and made way to the bright pink and fuchsia azaleas, and bamboos are growing growing growing. I even saw some in Kitanomaru park during one of my daily walks. But as I said before, the season is very short, so it’s better to enjoy them without delay.

I presented in the past some bamboo shoot recipes but this week I came with a few more ideas and wanted to share them with you. Both recipe today are mixing Mediterranean and Japanese cuisine, and the key is a fragrant olive oil. The first one is a chickpeas and tomatoes ragu, the second is more of a leftover type of recipe. Indeed, because we’re moving I decided to empty the fridge and the pantry as much as I could. And because we’re moving also and our view won’t be as dramatic as the actual one I shoot a few more times my lunch plate with a view…

Chickpeas and bamboo shoots ragu

– 1/2 bamboo shoot

– 2 cups of boiled chickpeas

– 1 large ripe tomato

– a few capers

– fragrant olive oil

– salt and pepper

Prepare the bamboo shoot as usual by boiling it in rice water fir as long as it needs to be soft (a tooth pick should easily enter.

Boil the chickpeas.

Wash the tomato. In a large pan generously oiled with a good olive oil add the tomato roughly cut. Cook until you obtain a smooth tomato sauce. Add salt and pepper and the capers, the chickpeas, and the sliced bamboo shoots. Stir and add a bit if olive oil, serve and eat warm or cold. That’s it!!!

Leftover bamboo salad

– 1/4 of bamboo shoot boiled

– a handful of boiled chickpeas

– 2 large boiled potatoes

– 1/2 new onion blanched

– a handful of boiled green beans

– fragrant olive oil

– 1tbs of soya sauce

Cut the bamboo, the potatoes, the onion and the green beans, dress in a bowl. Add the chickpeas, the soya sauce, sone olive oil, stir gently and eat!!!

Isn’t that super easy???

Kwarezimal, my way

When we decided to go to Malta last winter I didn’t know what to expect… the history of the island is so much different than this of the neighbouring places such as Sicily and Greece… I imagined that the landscapes and the culture would overwhelm me with beauty and mystery but I didn’t expect that the Maltese food would have such a strong impact on me and on my cooking. More than the food, in general, it’s been breads, pastries and sweets that completely bewitched me. The mix of spices: clove and cinnamon more than any, the citrus fruits, the almonds, pistachios and hazelnuts, the dates, figs and honey… well I am still under the charm and cloves have made their way back to my pantry. When we were in Valetta our friends had in mind to test many of the pastizzi, so we stopped at several places to taste some and ended up rather full, but the kids didn’t seem that full, or the adults eat all the pastizzi and left nothing to them… ??? and so when after hours of walking up and down the city we stopped at caffe Cordina, they ordered some sweets. A. ordered Kwarezimal. At first, I wasn’t much interested in them but after a pause, my appetite was back and when she offered me to try I couldn’t resist. The small pastries attracted me, with the crushed nuts topping and the promise of a taste of honey. And yes, as soon as I had a piece in my mouth, there was something else on my to-do list of things to bake when back home. The one thing special at caffe Cordina is that their Kwarezimal is made from hazelnut powder and all the recipes I found afterwards were made with almond powder. The good point for me, it’s that it is a lot easier to find almond powder than hazelnut powder in Tokyo, the bad point is that the Kwarezimal I made didn’t match my experience at caffe Cordina, but it’s a good reason to try again with hazelnut powder, would I find some!

None the less the almond base treat was truly delicious. I used a combination of recipes I found on the internet to make my Kwarezimal and I was very happy with the results. Having eaten Kwarezimal only once in my life I cannot claim that they were true to the Maltese taste, but at least taste-wise and texture-wise it was delicious. So let me share my recipe here because not only it is delicious but it is super simple to make and vegan: no butter, no egg and no yeast or baking powder… I think it could easily become an energy bar for active days!

Kwarezimal (makes 8 pieces)

– 150g of almond powder (or hazelnut powder)

– 100g of flour

– 60g of brown sugar

– 1tsp of orange blossom flower

– 1tsp of cocoa powder

– 1tsp of cinnamon

– 1tsp of clove

– 1/2tsp of cardamom

– the zest of half an orange or any other citrus fruit

For the topping:

– a handful of crushed pistachio

– some zest of citrus fruit

– 3tsp of honey

Pre-heat the oven to 180 while mixing all the ingredients (but those for the topping) together. Add a bit of water if needed until you obtain a very dense and not too sticky dough. Cut in 8 and make oblong shapes slightly flatten on top (easier for the topping!). Set on cooking paper in the oven for 20minutes. As soon as out of the oven, spread the honey on top of each Kwarezimal, sprinkle the crushed nuts and zest. Let cool down before enjoying (it’s hard to wait, it smells so good!!!!!).

Gynura bicolor – 金時草

Riding our bicycles has given us a new perspective on the neighborhood. Circling a 15km radius from home we have discovered a few new things and stopped at new places that we may have driven through many times bit didn’t really stopped by. When you cycle it’s easy to take a small street or a narrow passageway, to stop, turn back and get a bit lost… every detour is a discovery, and a surprise.

The new beach walk & ride path between Ohara beach and Misakichoizumi park

Riding we discovered a nice swamp, a reclining Buddha in a tiny temple, a new ride along the beach, a busy surfing spot, an old house with a beautiful park enclosed by walls… we also stopped for shopping in a few places: cheeses and fromage blanc at fromagerie Haru, fish at Onjuku, and vegetables at local organic place. That’s where I found these beautiful purple and dark green leaves I didn’t know about. And as usual a locally grown green I don’t know must go in my basket! So here I am with this gynusa bicolor (which name I didn’t know until a few minutes ago). Of course I always ask the local people what they do with a vegetable I don’t know and try it that way first. She said with soya sauce and okaka… which I understood as blanched and then seasoned with soya sauce and katsuobushi. And so that’s what I tried. And that was really very very delicious. So I bought some again today and I will test it again ;)!!!

Have a good weekend!

Bamboo shoot

The short season of this delicious and subtle vegetable has started and it’s time to enjoy it now!!! Usually I would only cook it on the weekend because it requires a very long boiling, but thanks to telework this is something I can cook any day now! That’s the one good thing of working from home! Though with my new rythme since January I was already able to prepare recipes that require a longer cooking time, now I can take it to the next level: bread, Japanese brown rice, slow cooking, and bamboo shoots!!!

To celebrate that I came up with a new recipe: sautéed bamboo shoots and potatoes with olive oil and sansho. Sansho and bamboo shoot are a Japanese classic assortment, olive oil and potatoes more of a south-east French one. I mixed the two ideas. After boiling your bamboo shoot until tender, slice it. Boil a few potatoes, cut them and toss them in a pan with olive oil. Add the bamboo shoot slices and cook at high heat while stirring gently once in a while. Add a bit of salt, serve and top with fresh sansho leaves. Enjoy spring in your plate!!!
If you don’t have sansho you can use katsuobushi flakes… that’s also a great match to both potatoes and bamboo shoots!
Have a great day!

Croissants!!!

I use to hunt down the best croissants in Tokyo, I found some, but best shops making the best croissants change over time… Recently we went nearby our place at the factory, and they have probably close to the best pain au chocolat but definitely not the best croissants… and a space that maybe perfect for a gloomy morning but not for a bright sunny day, I preferred the park nearby.

Pain au chocolat from factory

Knowing that finding delicious croissants in Tokyo, you can imagine that in Isumi it is a bit of challenge. Grain makes delicious croissants and pains au chocolat but they open too late to have freshly baked croissants in the morning. The only option was that I tried making some again. Indeed after three or four miserable attempts in the past years, I decided that an ugly weekend would be the perfect timing for another attempt. And that’s just what we got: pouring rain for almost 2 days and strong winds, notwithstanding a drop in temperature back to a modest 5.

Instead of testing again a recipe I had in my books and didn’t work for me, I chose to go online and pick a video tutorial. After watching a few I picked the video by Domi patiss, because it was neither too short, nor too long, because her croissants look really fluffy and delicious, and she had a few hints that made sense to me. I followed her recipe almost to the letter except for quantities and I must say that for the first time I managed to make croissants that both have the taste and appearance of croissants from a boulanger… They were delicious!!!

So here is what I did… there is a lot of waiting/resting time, so it took 24h to make the croissants, but the actual “action” time is always very short. The video by Domi patiss is in French but quite visual to understand the folding and rolling tips she gives.

Croissants (make 6-8 pieces)

– 250g of flour

– 70g of water

– 60g of milk

– 6g of fresh yeast

– 7g of salt

– 20g of brown sugar

– 10g + 110g of butter

In a large bowl I mix the flour, the sugar, the salt, add the water, the milk, the yeast and 10g of butter. I knead until smooth, roll into a 25 by 15cm rectangle, wrap not too tight and set in the fridge for 12h at least. The dough should raise during that time.

http://gentianeetantoine.com/igk/wp-content/uploads/2020/03/video-1.mov

Then I roll it onto a rectangle of about 25cm by 50cm. Cut the 110g of butter (cold) in thin slices and cover half of the dough. Flip the other half on top and roll again to obtain the same size again. Fold in four, wrap and refrigerate for 1h.

Roll again to the same size or larger and fold in three this time. Refrigerate for another hour.

Finally roll again to the same size. Cut the edges to make apparent the feuilletage. Cut 6-8 triangles, roll them into croissant, set for another hour to rest at room temperature.

Apply an egg batter on the croissants and bake at 210deg for 15min or until perfectly golden. Enjoy!!!

Eclairs & choux

Why while the recipe is always a lot simpler than I remember, I prepare eclair only once every 2 or 3 years???… These and millefeuilles are probably my favorite French traditional patisseries, with strawberry tart. (I don’t count simple fruit tarts, cobblers, and crumbles… they do not really count!!! 😉 What the three have in common is a delicious custard, and I love custard… with vanilla, cocoa, macha…

While my puff pastry is never really good, I have never been presumptuous enough to make an attempt at baking millefeuilles, but eclairs, choux are perfectly at the level of my abilities. And each time I am decided to make some, each time I prepare myself for a tedious task, and each time I am surprised by how quick and easy it was!!! And wonder why really I don’t make some more often!!!

I always use the same recipe that I wrote sometime ago here, beware that the custard ingredients quantities fill about 2/3 of the choux, so if you want to fill all of them, you need to multiply by 1.3 the custard quantities or use 2/3 of the pate a choux ingredients. I use these quantities because sometime a choux doesn’t bake with the perfect shape, and because A. and I like to test the choux out of the oven! And I realized it is always almost at the same time of year I make it and only when we have friends visiting!!! The recipe makes quite a lot of them actually so that may explain the second point… as it is better not to keep them more than 24h!!! They are so much better fresh!

Have a good day!

Proudly powered by WordPress | Theme: Baskerville 2 by Anders Noren.

Up ↑

Verified by MonsterInsights