Birthday lemon cakes are my favorite!!!

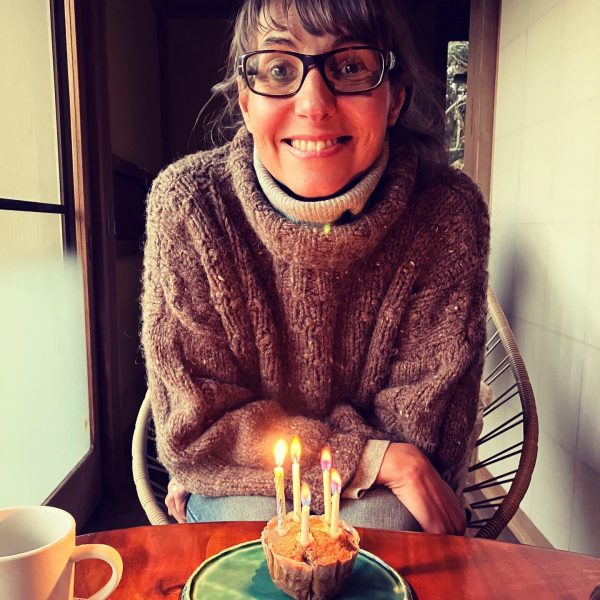
Here we are, Christmas is passed and new year not yet there, and it’s exactly the time for my birthday.

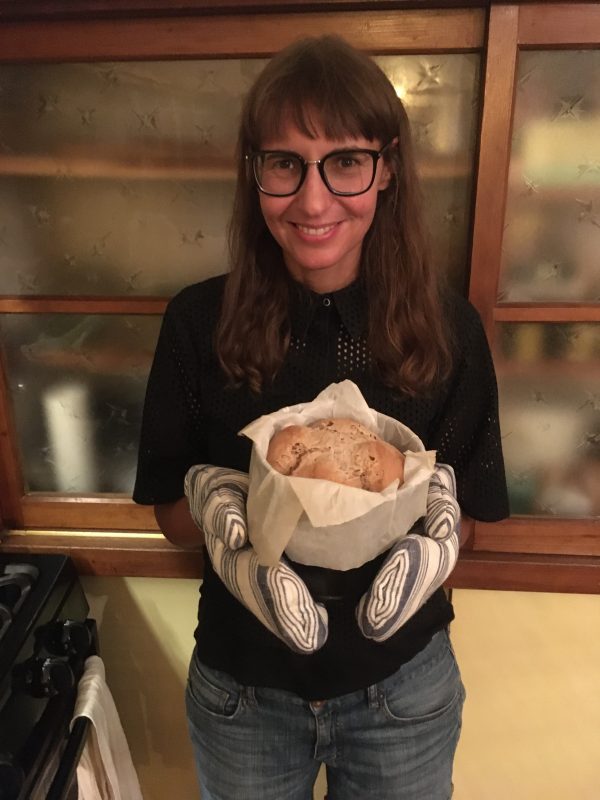
Almost as a tradition, A. went horse riding with me, which is a big challenge for him who feels a little uncomfortable on the back of a horse. And then he baked me a cake!

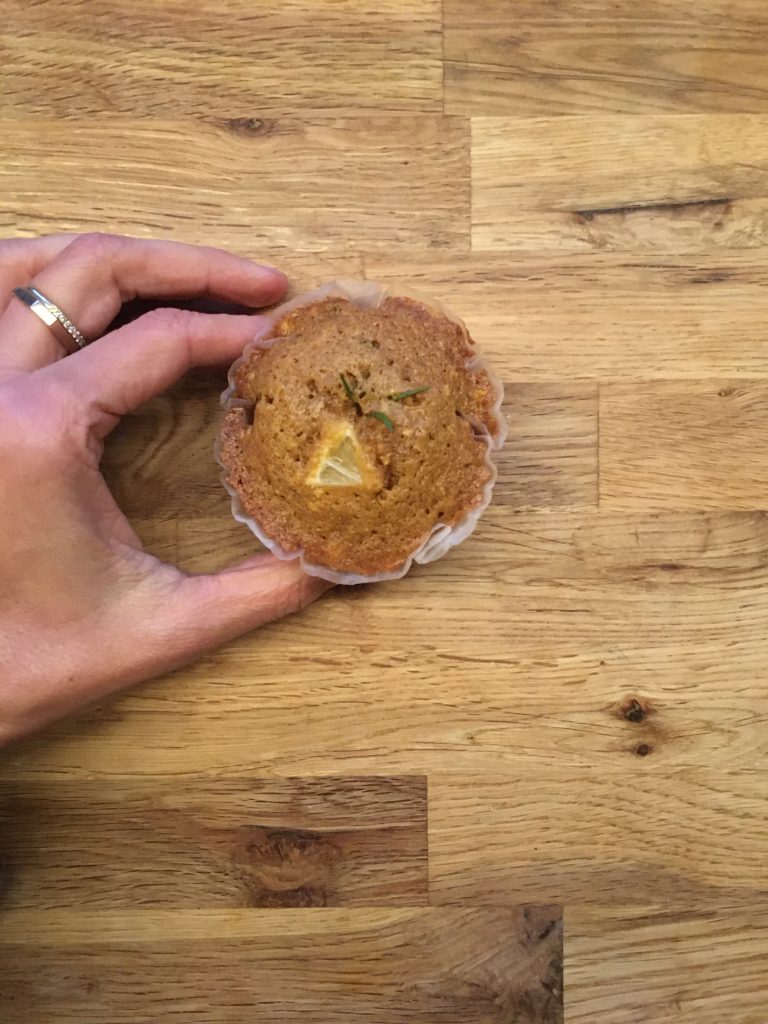
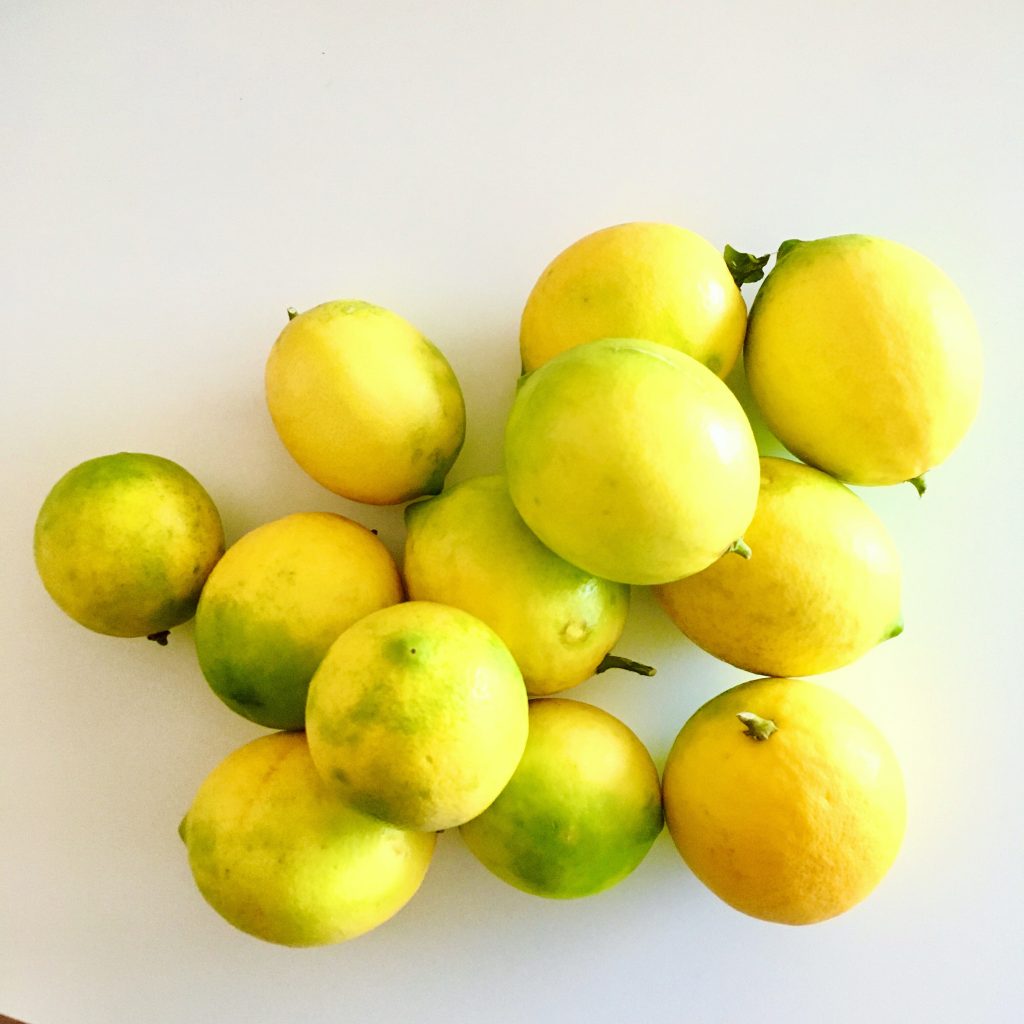
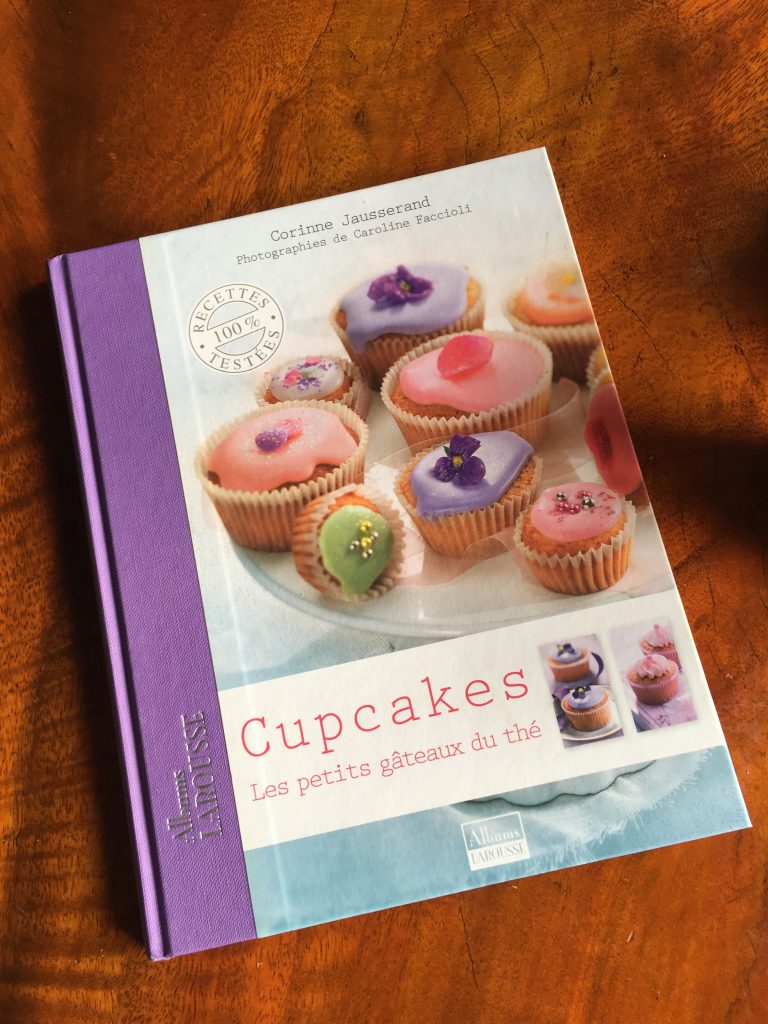
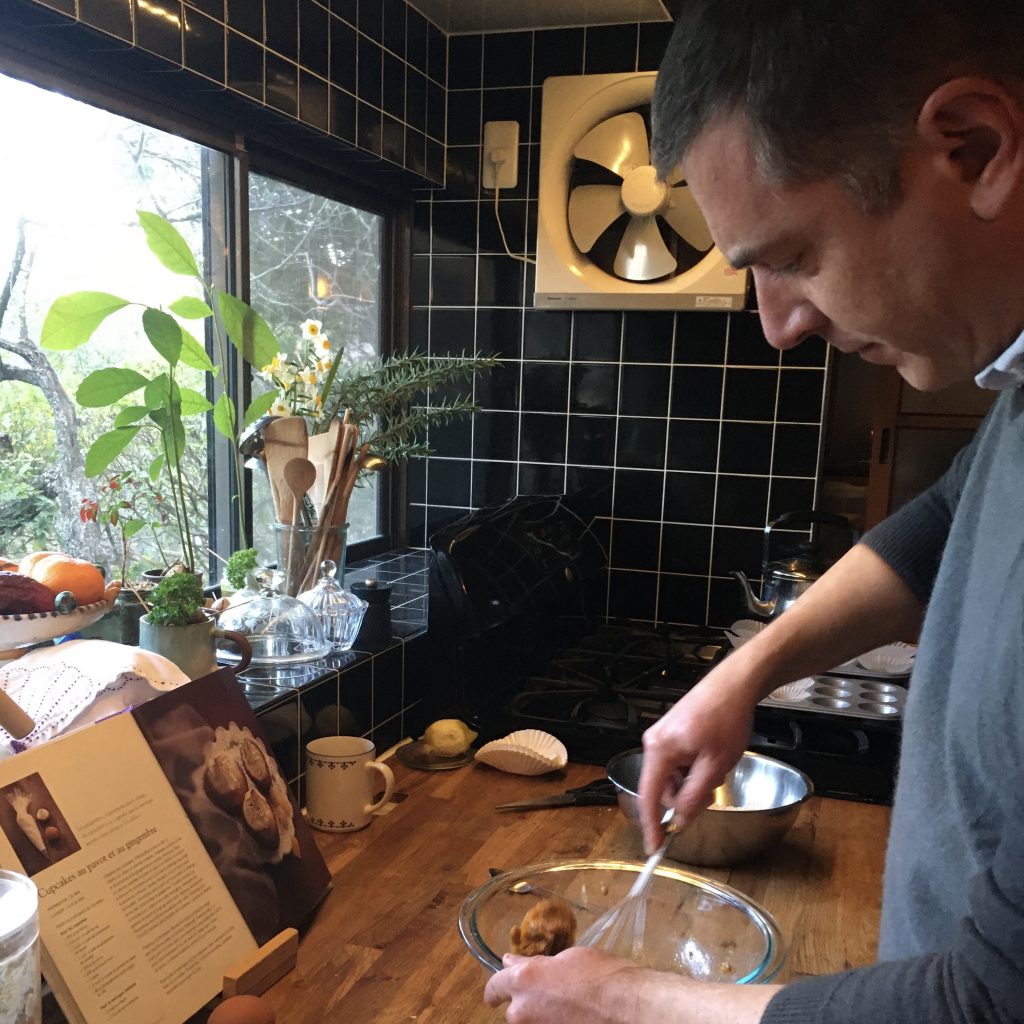
It’s the seasonal for citrus fruits and I love citrus cakes, and for a few months we have patiently and lovingly followed the growth of a single lemon on our tree. Our lemon tree, planted 5 years ago is struggling to adjust and we have very very little fruits if none, so one, wasn’t so bad. And on my birthday we picked it for a lemon cake recipe. As we have explored over the years many recipes with lemons for my birthday, it was hard to decide which recipe to choose (A. agrees to cook if there is a solid recipe to follow by the letter). With our rosemaries growing wildly and needing a trim, I decided that it would be rosemary and lemon cake, and we opted for a cupcake base. A long time ago my mother in law offered me a book about cupcakes and it’s been years I didn’t opened it, but I immediately thought about it to find a recipe for A..

I used the poppy and ginger recipe, replaced the ginger by lemon zest and poppy by rosemary, I also added a pinch of baking powder in the dough when A. was not looking, I was worried that the baking soda wouldn’t give fluff enough…

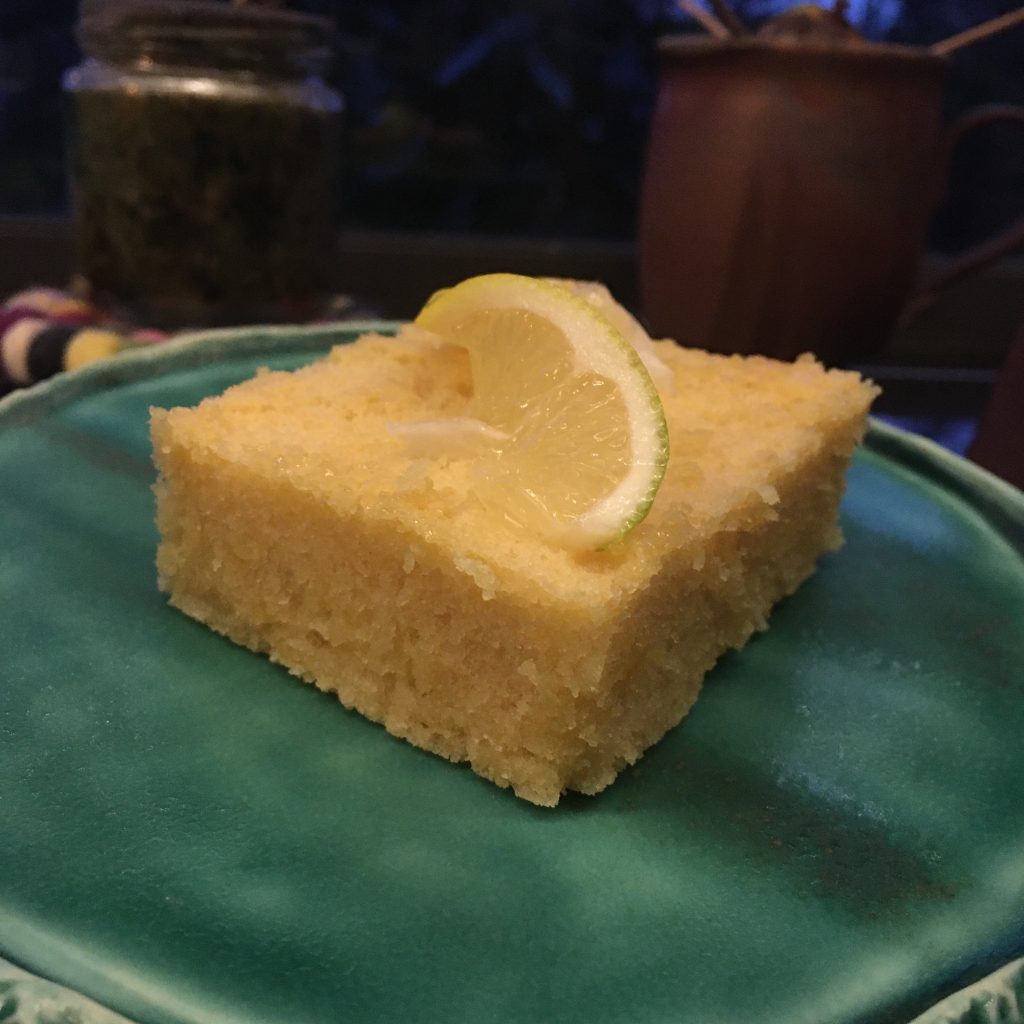
The result was damn good! I must admit that if I were to do the recipe I would have used a little less butter, but A. followed the recipe and it was great!! So here is our recipe. Oh… we didn’t do any glazing but lemon glazing could have worked well too.

Lemon and rosemary cupcakes (makes 6)

  • 100g of flour
  • 100g of sugar
  • 100g of butter
  • 2 eggs
  • 1/2 tsp of baking soda
  • 1/4 tsp of salt
  • a pinch of baking powder
  • 1 lemon (zest only, unless you do the glazing, for which you will want the juice)
  • 1 branch of rosemary

Preheat the oven to 180deg.

In one bowl mix the flour, the salt, the baking soda and the baking powder. Add the lemon zest and chop the rosemary leaves. Stir well.

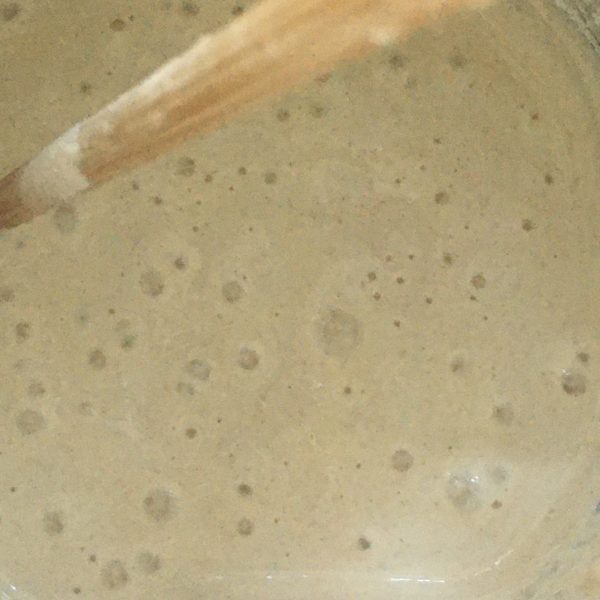
In another bowl mix together the butter and the sugar (using your hands is the best tool). Add one egg and stir well with a whisk, add the second egg and stir again to obtain a creamy mixture. Add in the flour mix through a sifter, little by little while stirring. The lemon zest and rosemary may get stuck, so don’t forget them in the sifter!!! Add them too to the mix and stir.

Prepare 6 medium size muffin or cupcake papers and fill to 2/3 with the mix. We added a little branch of rosemary and a tiny pieces of lemon on top but that is optional.

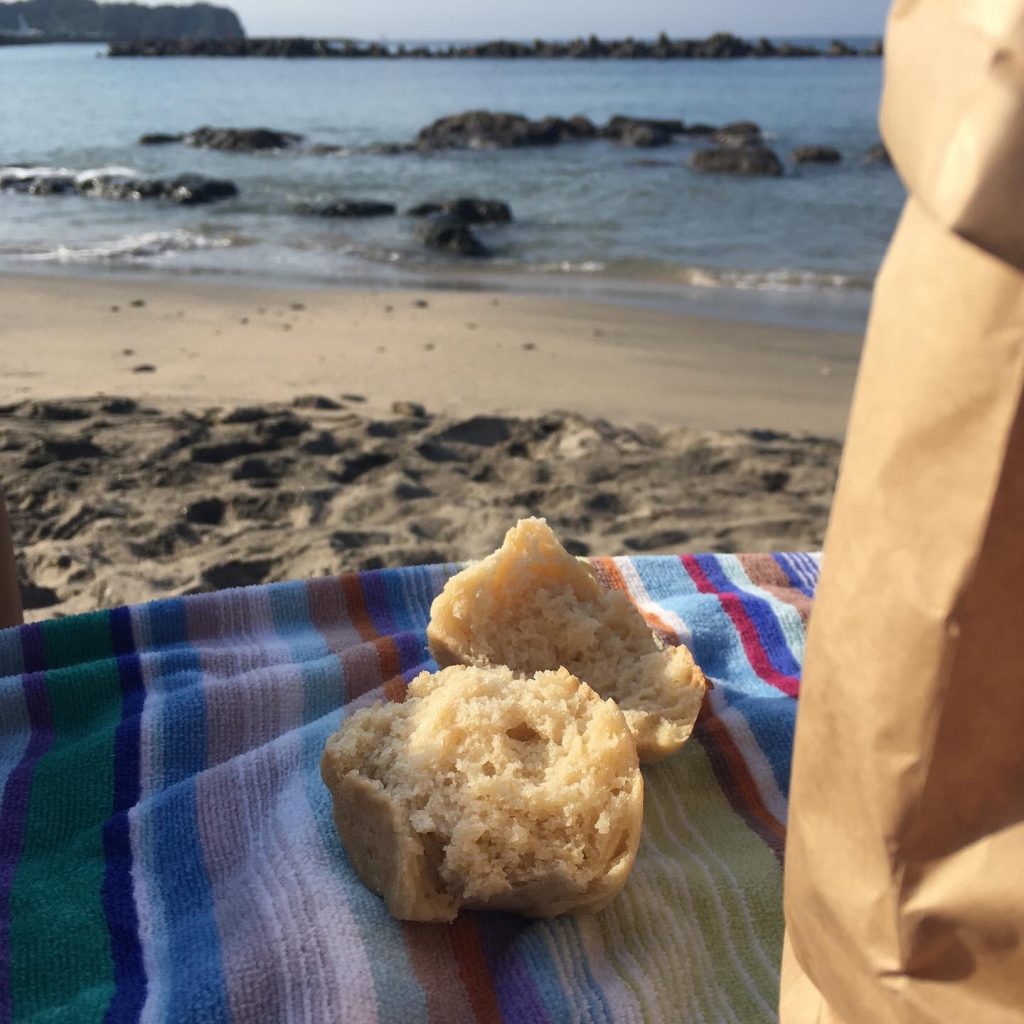
Bake in the oven until perfectly cooked (clean pick comes out when picked). It took 25min for us.

If you want to glaze them prepare a mix of lemon juice and icing sugar. Otherwise enjoy just as they are. I served them with hot lemon using up the rest of the lemon.

In love with scones again!

It’s been months I didn’t bake scones. Last year at the same period I was making some probably once or twice a week and then I suddenly stopped… Why? I don’t think I even know the answer… but today, for a change, instead of making crepes for tea-time after our tennis game, I was in the mood for scones. Maybe because it was not late and I had time, and because I already had my hands dirty as I was kneading dough to make bread for tomorrow. Yes… with the cold temperatures it’s about 24 hour or more I need to obtain good rises.

So, hop hop! Here I am, moving my hands from one bowl to the other and starting preparing scone dough. I have now a zero failure recipe, that is really simple. After mixing flour, baking powder and a bit of sugar, I knead with just a bit of butter (1/5 or 1/6 of the flour weight at most) and I use milk, only milk, to moisten the dough, added little by little until I have just the right consistency, just a bit sticky. But really just a bit! Then I roll the dough on a piece of parchment paper to 1cm high and cut them. I made bite size scones. I bake at 200degrees for 15 minutes. And what I like the most with scones is to eat them straight from the oven. Today I chose cream cheese to top them. And I am in love with scones again. Great! Because I made an extra batch for breakfast tomorrow!!!

I hope you love lemons!!!

As much as I do!!! I’ve always loved lemons, and lemon juice. In France and in Italy when every one goes to the cafe to have an expresso, I would either have a freshly squeezed lemon, when it’s cold in winter, with some hot water in it. That’s really something I love about cafes, and that, with freshly squeezed orange, is probably the only fresh thing you can have.

Our lemon tree this year had a lot of flowers but none went to maturity so we’ll have no fruits. So when my secretary sent me a giant box filled with giant lemons from her garden, I can only be thankful, and super happy. Who doesn’t love no chemical at all grown vegetables or fruits???

It took me a bit of time to think about what to cook… I love lemon tarts, lemon cakes, lemon squares… but I wanted to try something else… so while sipping hot lemon, I browsed the net for some recipes and found a lemon brownie recipe. Buttery and sweet, that would be a hit with A. No doubt!

Except that the recipe I found was a little odd: they didn’t say when to put the sugar, the proportion of butter was just too much and all sounded a bit awkward, so while using a classic chocolate recipe I came up with my own lemon brownie recipe, and it was great (lucky I cut the butter by a fourth, it is already very buttery!!!)

Enjoy! It is really super easy!!!

Lemon brownie (makes a large pie dish for at least 6 pieces)

  • 180g of flour
  • 150g of sugar
  • 150g of butter
  • 4 eggs
  • The zest of one large lemon or two small
  • The juice of one large juicy lemon or two smaller or less juicy
  • A pinch of sal
  • A pinch of baking soda

Melt the butter. In a large bowl mix the flour, the salt, the baking soda and the lemon zest, add the butter and stir.

In another bowl, whisk the eggs, the sugar and the lemon juice. Add to the previous bowl and stir. Set in a buttered and floured pie dish to have about 1.5cm thickness.

Bake 30min at 180degrees. That’s it!!!

Happy birthday Lois!

A year ago after many years of hesitation, I finally decided to prepare my first sourdough: Lois. Since then we’ve been living and working together to make breads, pizze, brioches, buns and the like, for the best and a few times the worst, but I must say that I am very happy with it.

Lois is a sourdough that behaves well. Seeing so many pictures on IG and www of sourdough overflowing really got me worried, as I hate the kitchen to be a mess, to throw away food, and waste time and energy cleaning a catastrophe that could have been avoided. Kept in a large enough bin has always prevented it from happening and that’s good news! I think also Lois may not be a very very active sourdough, even in a large bin only a few times I could see it grow quite dramatically, otherwise, it looks much more like some kind of pale mousse.

But when it comes to working, it is a steady and stable worker, regardless of the temperatures and the seasons, and I can’t stand the taste of yeast now. The richness of the sourdough flavor is really unique and it evolves with time, making the kitchen smell good as soon as the bread is out of the oven!

So you understand now, I will continue to cherish Lois.

Sourdough milk brioche on the beach

Milk bread

I use to make a lot of fancy breads for breakfast, brioches, viennois bread, milk breads, sugar breads… but since I started using my sourdough Lois, almost a year ago, and was learning how it works, I focused on breads with less ingredients. Yet, milk breads for breakfast are really delicious. And since we now have milk in the fridge 4 days a week or so, I really wanted to make milk breads with milk and sourdough. Originally I planned to do a white flour milk bread but I soon realized that I had no more white flour and all I had was whole wheat flour, so it would be whole wheat milk breads. And rather than making several small breads that dry out rapidly I opted for a giant version that I baked in my panettone mold.

The result was a very soft and mildly sweet bread with a beautiful crumb. so let me share my recipe.

Whole wheat flour mills bread

  • 350g of whole wheat flour
  • 200ml of milk
  • 100g of sourdough
  • 40g of brown sugar
  • 8g of salt
  • Eventually a bit of water

Note that the above quantities are indications. They may need adjustment depending on the type of flour, the humidity in the air, and your liking.

In a bowl put all the ingredients but the water and knead. If the dough is too dry add a bit of water, or milk. Knead until the dough is smooth.

Let rest at room temperature for 4h or until the dough is significantly more voluminous.

I used a panettone mold lined with cooking paper to shape the bread. Made two cuts on top and waited 1h before baking at 200degrees for 40min (I used a bamboos stick to test if the core was well done). Adjust the baking time to the size and shape of your breads.

That’s it!

Yuzu-choco cookies

Sudden rainy and chilly days, after some really warm and sunny weeks call for some sweetness… and since we’ve recently planted a yuzu (and also a lemon) tree in the garden, to broaden our range of homemade citrus fruits, I’ve started to harvest a few yuzu fruits. It’s late for the yuzu season but they are none the less delicious and juicy. That’s how the idea of making yuzu cookies came from. The recipe I used for my cookies is rater simple, and you can add whatever pleases you inside.

So here is my yuzu-cholate cookies recipe. If you cannot find fresh yuzu, you can replace by dry yuzu peels rehydrated, or orange.

Yuzu-chocolate cookies

– 110g of butter (at room temperature)

– 150g of flour

– 40g of sugar

– 1 tea spoon of baking powder

– the juice of 1/2 yuzu and the peel of 1/4 yuzu

– 50g of dark cooking chocolate

– a pinch of salt

Mix the flour, sugar, baking powder, salt, add the butter and knead well. Add the yuzu juice, cut the peel in tiny pieces and add. Knead a little more. With a knife cut roughly the chocolate in chunks, add and knead. Keep refrigerated for 20min (or 10min in the freezer). Preheat the oven to 180deg. Make small balls of dough and squeeze them flat on baking paper. Bake until golden or hard enough. Cooking time should ne around 10min but it depends on the actual size and thickness of the cookies.

After baking the cookies until golden at 180 degrees I kept them in a cool dry place before eating them.

Proudly powered by WordPress | Theme: Baskerville 2 by Anders Noren.

Up ↑

Verified by MonsterInsights