Chestnut flour pancake 2-ways

Funnily Japanese are very found of chestnuts 栗 kuri, and the fall comes with all sort of chestnut preparations savory and sweet. The most famous is probably 栗ご飯 kurigohan (rice with chestnut) or 栗の渋皮煮 kuri no shibukawa ni (boiled chestnut in syrup). The use of chestnut flour though is more restricted, and often limited to some mochi preparations. So finding chestnut flour in Japan is not an easy task… luckily my parents once in a while send me a package from France, and chestnut flour, and green lentils are often on my order list!!! To be honest, I’ve never seen chestnut flour in any of our trips to the mountains in Japan, or in regions where they might produce some, though I always stop at local shops and markets or farmers cooperatives.

So this recipe may not be the most local one, but for me it is something that I really love in autumn. It is naturally very sweet, yet flavorful. It reminds me of Cevennes, Corsica or Tuscany. It is rustic yet refined because so rare now.

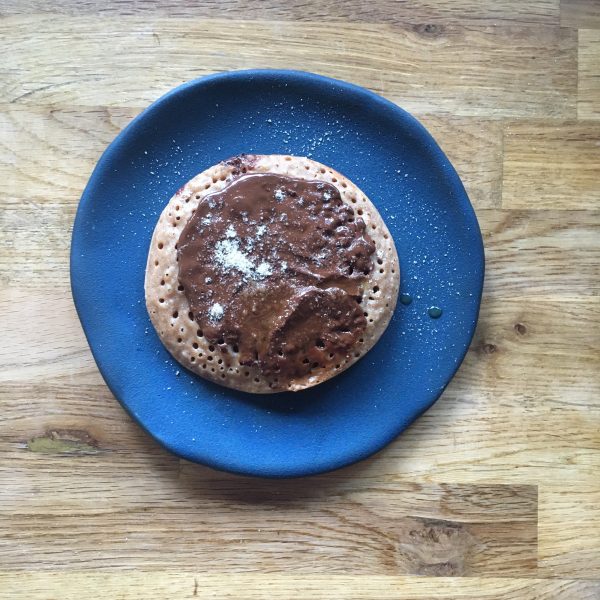
Chestnut pancakes

  • 100g of chestnut flour
  • 50g of wheat flour
  • 1tsp of baking powder
  • 1 egg
  • water

Simple as it is to make pancakes… simply mix all the ingredients to obtain a silky but thick dough by adding water little by little. Cook in a non-sticky fry pan. I use a small-medium one and made one at a time for the savory ones, and made two at once for the sweet ones.

For the savory ones, I cooked in a pan with a bit of olive oil: mushrooms (nameko for their beautiful color!), kabocha and komatsuna. Add cheese from Takahide farm for me and sausages from Isumi for A..

For the sweet ones I topped with dark chocolate, melted in the last minute of cooking, a sprinkle of brown sugar and a splash of olive oil.
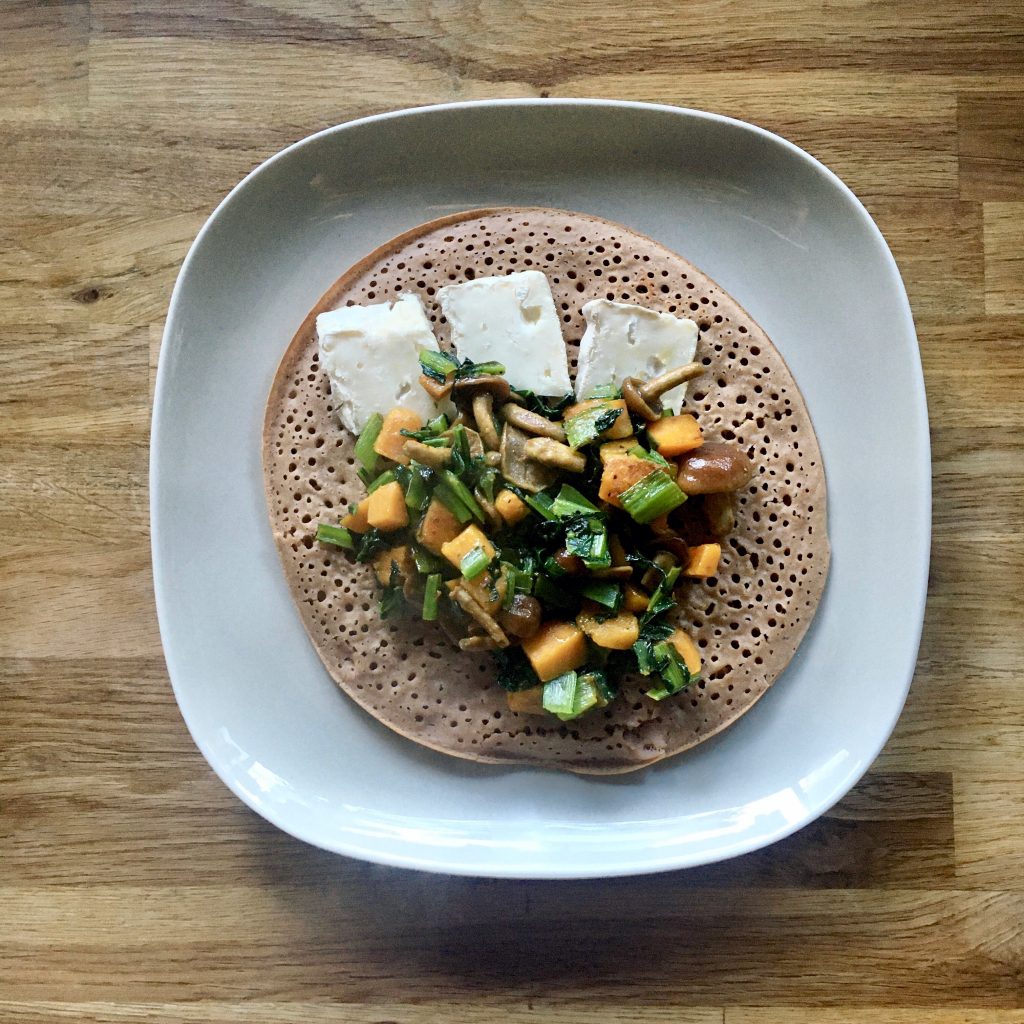
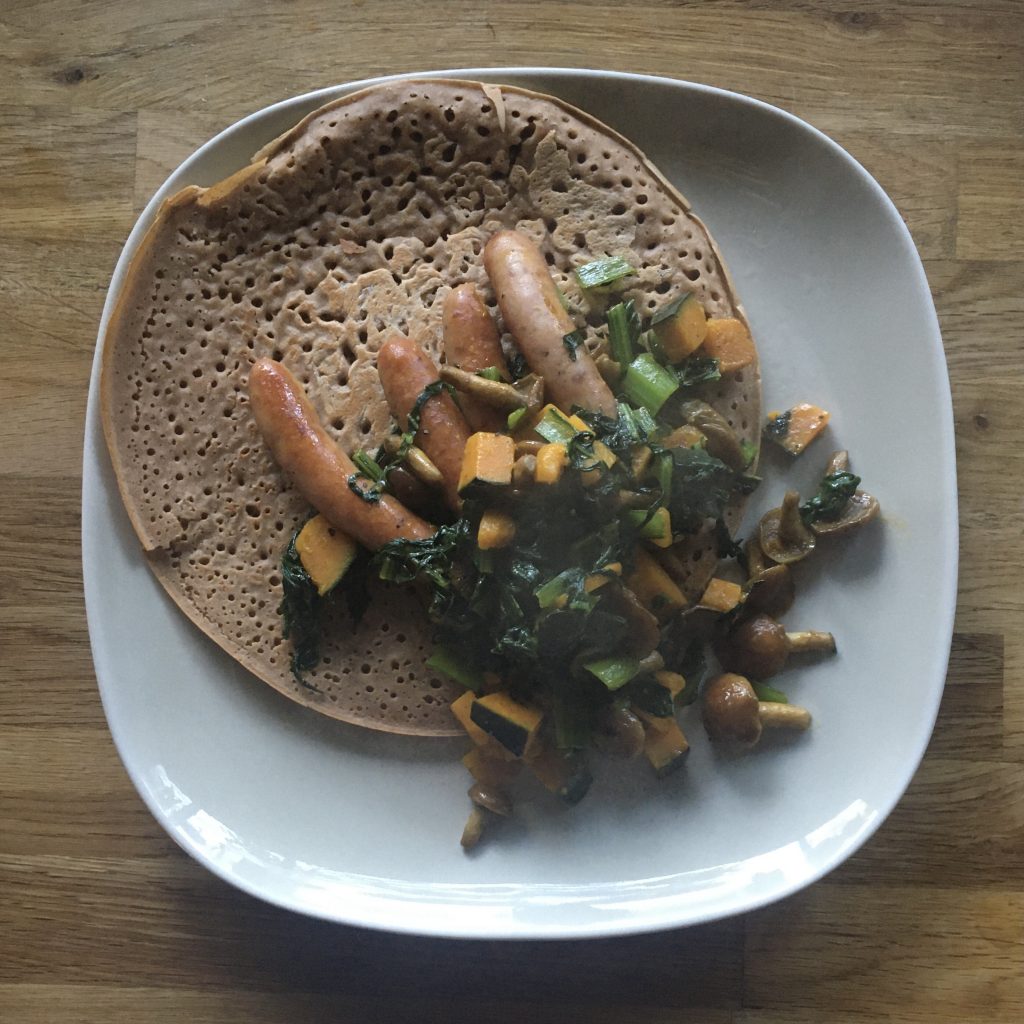
Cheese version for she
Sausages version for he

Soup and bread…

What is more comforting than a warm soup when you have spent the whole day outside and the temperature have suddenly dropped? Every year I am shocked by the sudden change of the temperatures in Japan in autumn. There is always one day in November when you start the day wearing tea shirts and short pants, and go swimming in the morning and then turn on the heater and cashmere sweat pants and sweater in the evening are more than necessary. When this time comes, I crave for warm vegetables soups. A. always complains as he prefers them to be velouté. I love any style, but rarely bother using the blender, and prefer listen to A.’s complaint… 😉

One thing that I love with soup is when they come with croutons, but I also have amazing memories of rural vegetables soup with fresh sourdough bread eaten at Mme Fages’s place in Mas Saint Chely. Something that I would be so happy to have, warming up near the fireplace after a mushroom hunt in the cold. That and her chocolate mousse!

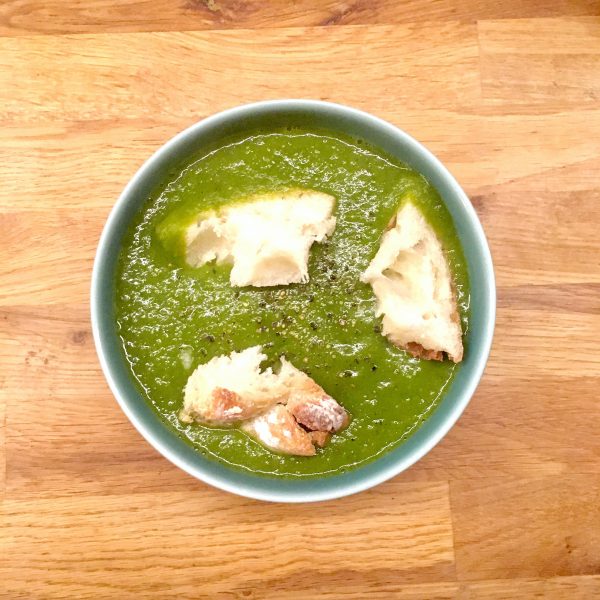
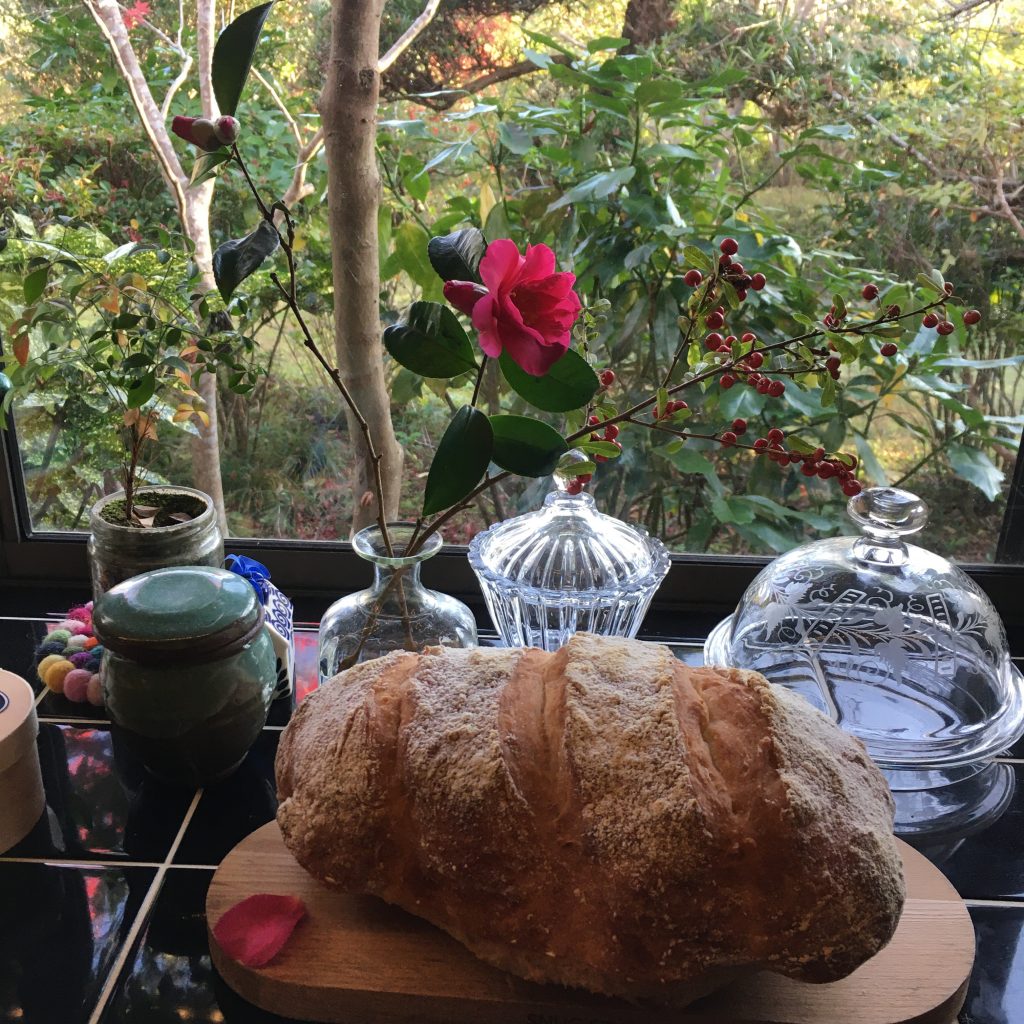
Now that I have Lois and make only sourdough bread, it was perfect for this kind of very simple dinner: a piece of bread remaining from breakfast, many vegetables waiting too long their turn to be prepared, a pan with the juice of a long cooked piece of pork. That’s what this soup is made of, and here is the recipe.

Vegetables soup and bread (2 servings)

  • 1/2 sweet potato
  • A piece of kabocha (3cm slice)
  • 1 little turnip
  • 1 carrot
  • 2 bundles of komatsuna or spinach
  • Water, salt and pepper
  • Bouillon of your choice, mine comes from the pan in which I slowly cooked a piece of pork
  • 2 generous slices of sourdough bread

In the pan I cooked the pork I add about 600ml of water and heat. I wash, peel and chop the vegetables and add them to the bouillon in order: carrot, turnip, sweet potato, kabocha, greens. I cook at medium heat until the vegetables are soft or mushy. Add salt and pepper. Blend and serve. Top with the bread roughly cut, and eat right away.

No need for butter, olive oil, no nothing.

Omurice – オムライス

I am lucky to work with one of my students on the development of a system that proposes variations to things someone do depending on preferences… for developing such a system we decided to chose a concrete example, and the first idea that came to our mind was a system that could help you in making new recipes by trying adding popular ingredients. And to do a first real life experiment we needed something easy enough to prepare and with many possible variations. We picked omurice. The whole time we were meeting and discussing it reminded me how much I live omurice, and how little I cook it.

I also remembered that a long long time ago I promised to post the recipe of this popular wa-yo 和洋 recipe. But for some reason it seems I never did… so let’s fix this right now!!!

First of all let’s talk wa-yo food a bit. While Japan opened to the west for many things in the 19th century, it had continually had this very specific way of not copying but adapting to its own taste or resources the cultural elements of another civilization, such that in the end it creates a genuine Japanese part of culture. Food has many examples: curry-rice, castella, dorayaki, and omurice. It seems to be born in a cafe in Ginza in the early 20th century.

The first time I heard about omurice was when reading one of Murakami Ryu‘s novel: “coin lockers babies”. The translation and the way it was presented was that of a rice omelette. In my mind I imagined a batter of eggs with cooked rice in it, cooked in a frypan. How far from the truth I was!!! Omurice is a simple preparation for sure but with many variations. Each place that serves om-rice has its own recipe. It consists in three parts: the rice, the omelette and the sauce.

The rice: usually plain white rice, but can be also sautéed with green peas (my favorite) and small bit of pork… tomato sauce or tomato ketchup can also be added to the rice to give it a nice pink color. Mushrooms, chicken are also other options.

The omelette: it can be a rather straightforward omelette, or a more runny one, or something like very runny scrambled eggs. Usually plain. It is nice to have it a bit runny in any case as it mixes well with the rice.

The sauce: that’s where most of the creativity is, and often too much for me. One popular sauce in fancy om-rice recipe is the demiglass sauce デミグラスソース, made from red wine, beef consommé etc… but my ultimate favorite is just a splash of tomato ketchup. The simplest the better.

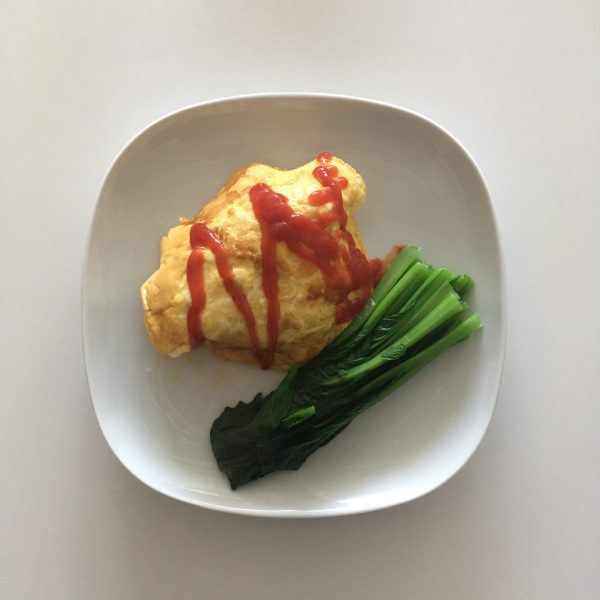
This time, I made omurice with brown rice and that was super delicious. A runny omelette on one side with 2eggs, a splash of tomato ketchup, and a side of blanched komatsuna.

Burdock – 牛蒡

With the fall, burdock 牛蒡 gobou is back in season. This long root that looks like a salsifis but is firm and ressembles in texture artichokes, and a bit in taste too… is a classic flavor in Japanese cuisine. Probably because of a rather country style strong flavor and its fibrous texture, it often appears in simple recipes with other strongly flavored ingredients: chilly pepper in kinpira for example, or in very small quantities. Given that a burdock root is quite big, and one can keep for rather long, it is a very handy vegetable!!!

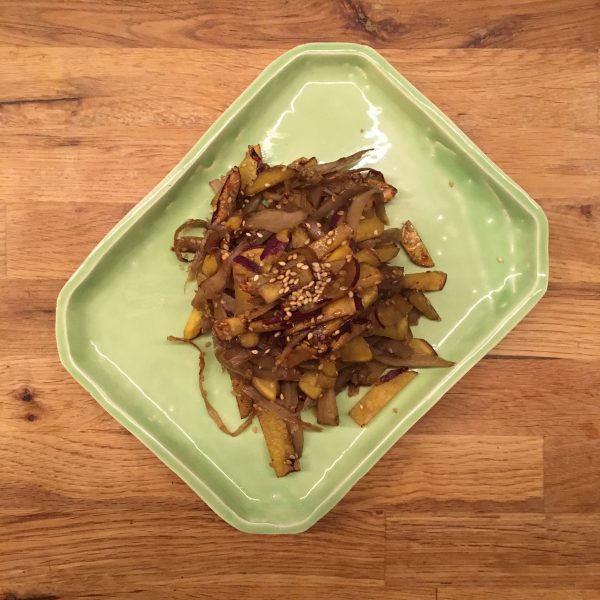
I love to cook it in different preparations. Creamy soup is one of my favorite but it takes quite some time and requires a blender. Last night I came up with a simple recipe that mixes daigaku imo recipe inspiration with gobou in a light version. I’ll talk about daigaku imo later… The recipe with burdock is really simple and super tasty. It is perfect with a bowl of rice or whatever you like.

Burdock & sweet potato (2 servings)

  • 1/2 burdock
  • 1 sweet potato not too big (fits in the palm)
  • 2tbs of sesame seeds
  • 1tbs of sesame oil
  • 2tbs of soya sauce
  • 1tsp of sugar

Wash and peel the burdock. With a peeler make kind of gobou flakes. Boil in water until it softens. About 15min probably. Drain. Wash the sweet potato and cut in sticks not too big.

In a pan greased with the sesame oil, start cooking the sweet potato. Add the burdock drained. Stir well. When the sweet potato changes to darker yellow or golden, add the sugar the soya sauce, and the sesame seeds, stir well again. Cook another 2 minutes while stirring. And serve. Eat warm or chilled.

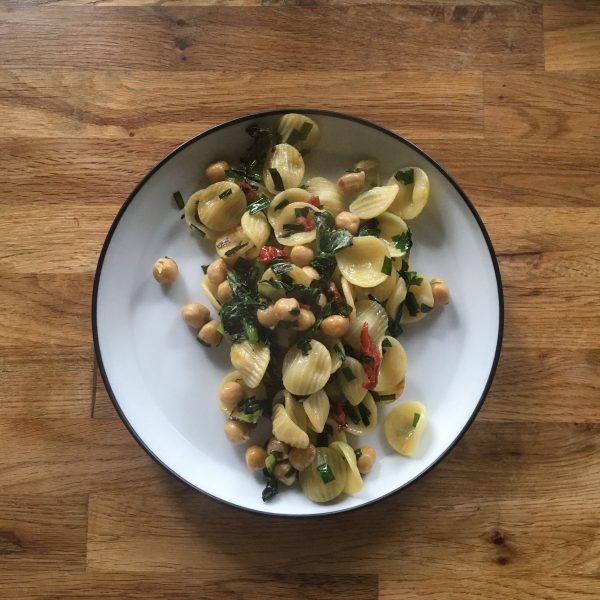
Chickpeas and orrecchiete, an heresy?

There are culinary rules I grew up with that are long lived… Such that we don’t eat bread with pasta, potatoes or rice, or we don’t potatoes with pasta or rice, or rice with pasta… basically one and only one source of carbs is enough for one meal. A. would confirm that pasta and rice are definitely not a good mix, despite the famous dish called Turk(o) rice from Nagasaki, that to be honest seems more like a terrible mix… Indeed, a long long time ago, I was working on the weekend and really busy and I didn’t have much time to prepare A. a lunch. At that time, probably the last time after the incident, I was using a bit the freezer to freeze some leftovers to use in cases of emergency, and I was sure I had a bit of pork ground meat there, so I told him to boil himself some pasta, add the meat and enjoy! But the meat wasn’t meat, it was brown rice, and apparently spaghetti with brown rice was a terrible mix (more so when you’re a meat eater and you think you will have pork…!!!)

Sorry mum, but there are rules that I discovered can be broken and lead to delicious preparations such as having potatoes in curry rice, or sweet potato rice, or potato ravioli. And that’s how mixing chickpeas and pasta came to my mind… But not all pasta would work the same and I found that Orecchiette would be great for their little cup shape would be the perfect size for that of chickpeas. I knew they would made a great pair and they did. Perfect for a nutritious lunch after 2 hours in the ocean surfing and body boarding and before another 2-3 hours in the garden trimming trees. Yes, weekend in the country are very active and warm and comforting food is much necessary to face the elements.

For the recipe I used a Mediterranean variation of flavors, I used some greens (I used turnip tops, but it can be anything green and leafy: spinach, chard…), a fragrant Italian olive oil and a few chopped Maltese dried tomatoes, ample pepper. So here is the detailed recipe, I hope you’ll enjoy it.

Orecchiette and chickpeas (for 2 servings)

  • 125g of dried orecchiette, boiled
  • 70-90g of boiled chickpeas (a small cup)
  • a nice bundle of green of your choice and in season: spinach, radish tops, turnip tops, chard or whatever you like
  • 2-4 dried tomatoes depending on the size. Mine are giant sun dried tomatoes I brought back from Malta
  • deliciously fragrant olive oil as much as you like
  • black pepper freshly ground

Prepare you chickpeas the day before if they are dry. and boil them until tender. If your pasta aren’t boiled yet boil them.

Wash and chop roughly the green. In a large pan or wok, put a bit of olive oil, and at low to medium heat soften the greens in the oil. when soft enough and brightly colored, add the pasta and the peas and stir well. to obtain a well balance mix of all the ingredients. Chop the dry tomatoes, and stir again, still cooking at medium heat. Add a last splash of olive oil, ground black pepper and serve. That’s it! Simple isn’t it?

Completely in love with my sourdough 🤍🤍🤍

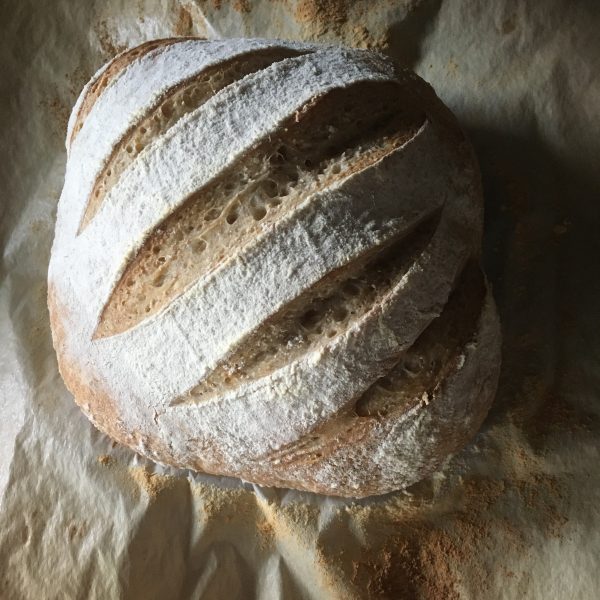
After the slightly difficult beginnings with my sourdough starter Lois, it’s been almost 2months and we have reached a nice cruising speed, I use it all the time now. I’m still a bit surprised that my starter hasn’t done any crazy bubbling so far, on the contrary, it’s been behaving very very well, doing regular foaming but to a reasonable volume, and when in need for food it smells a nice apple flavour.

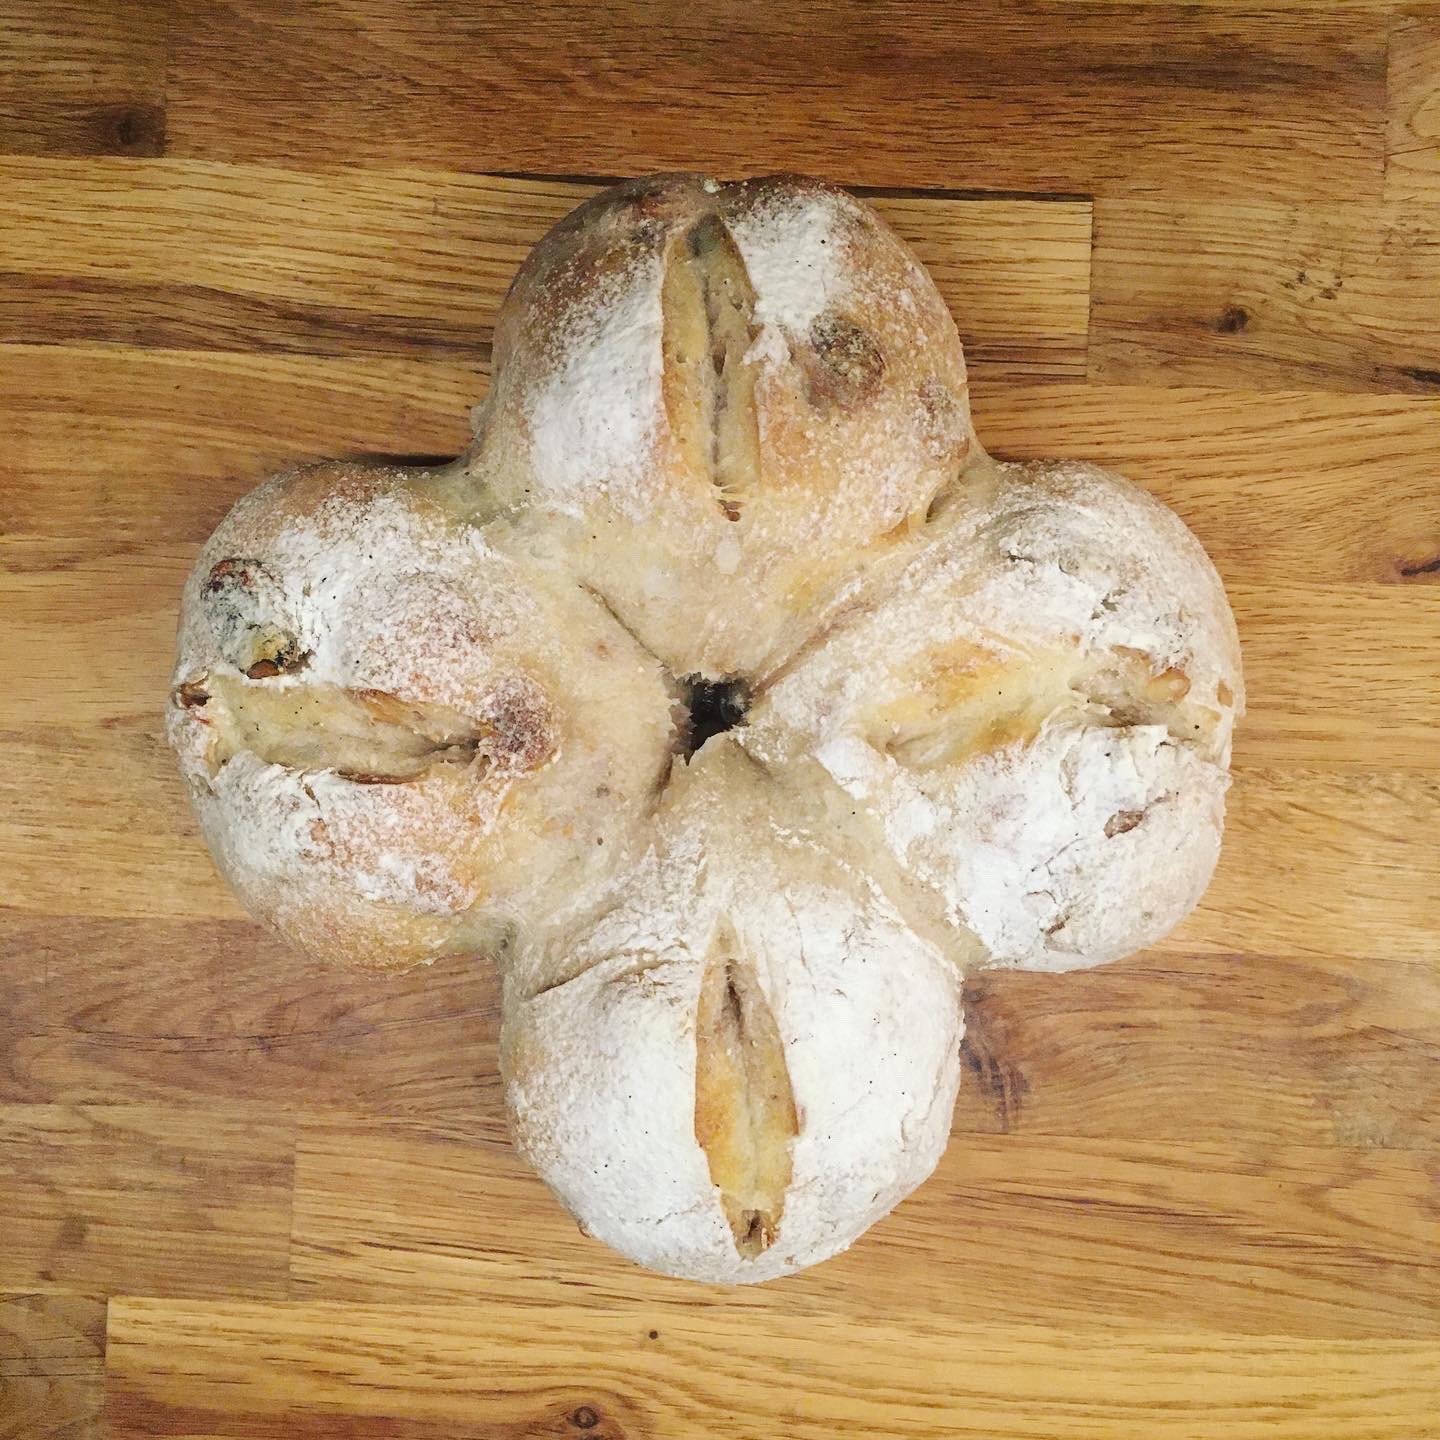
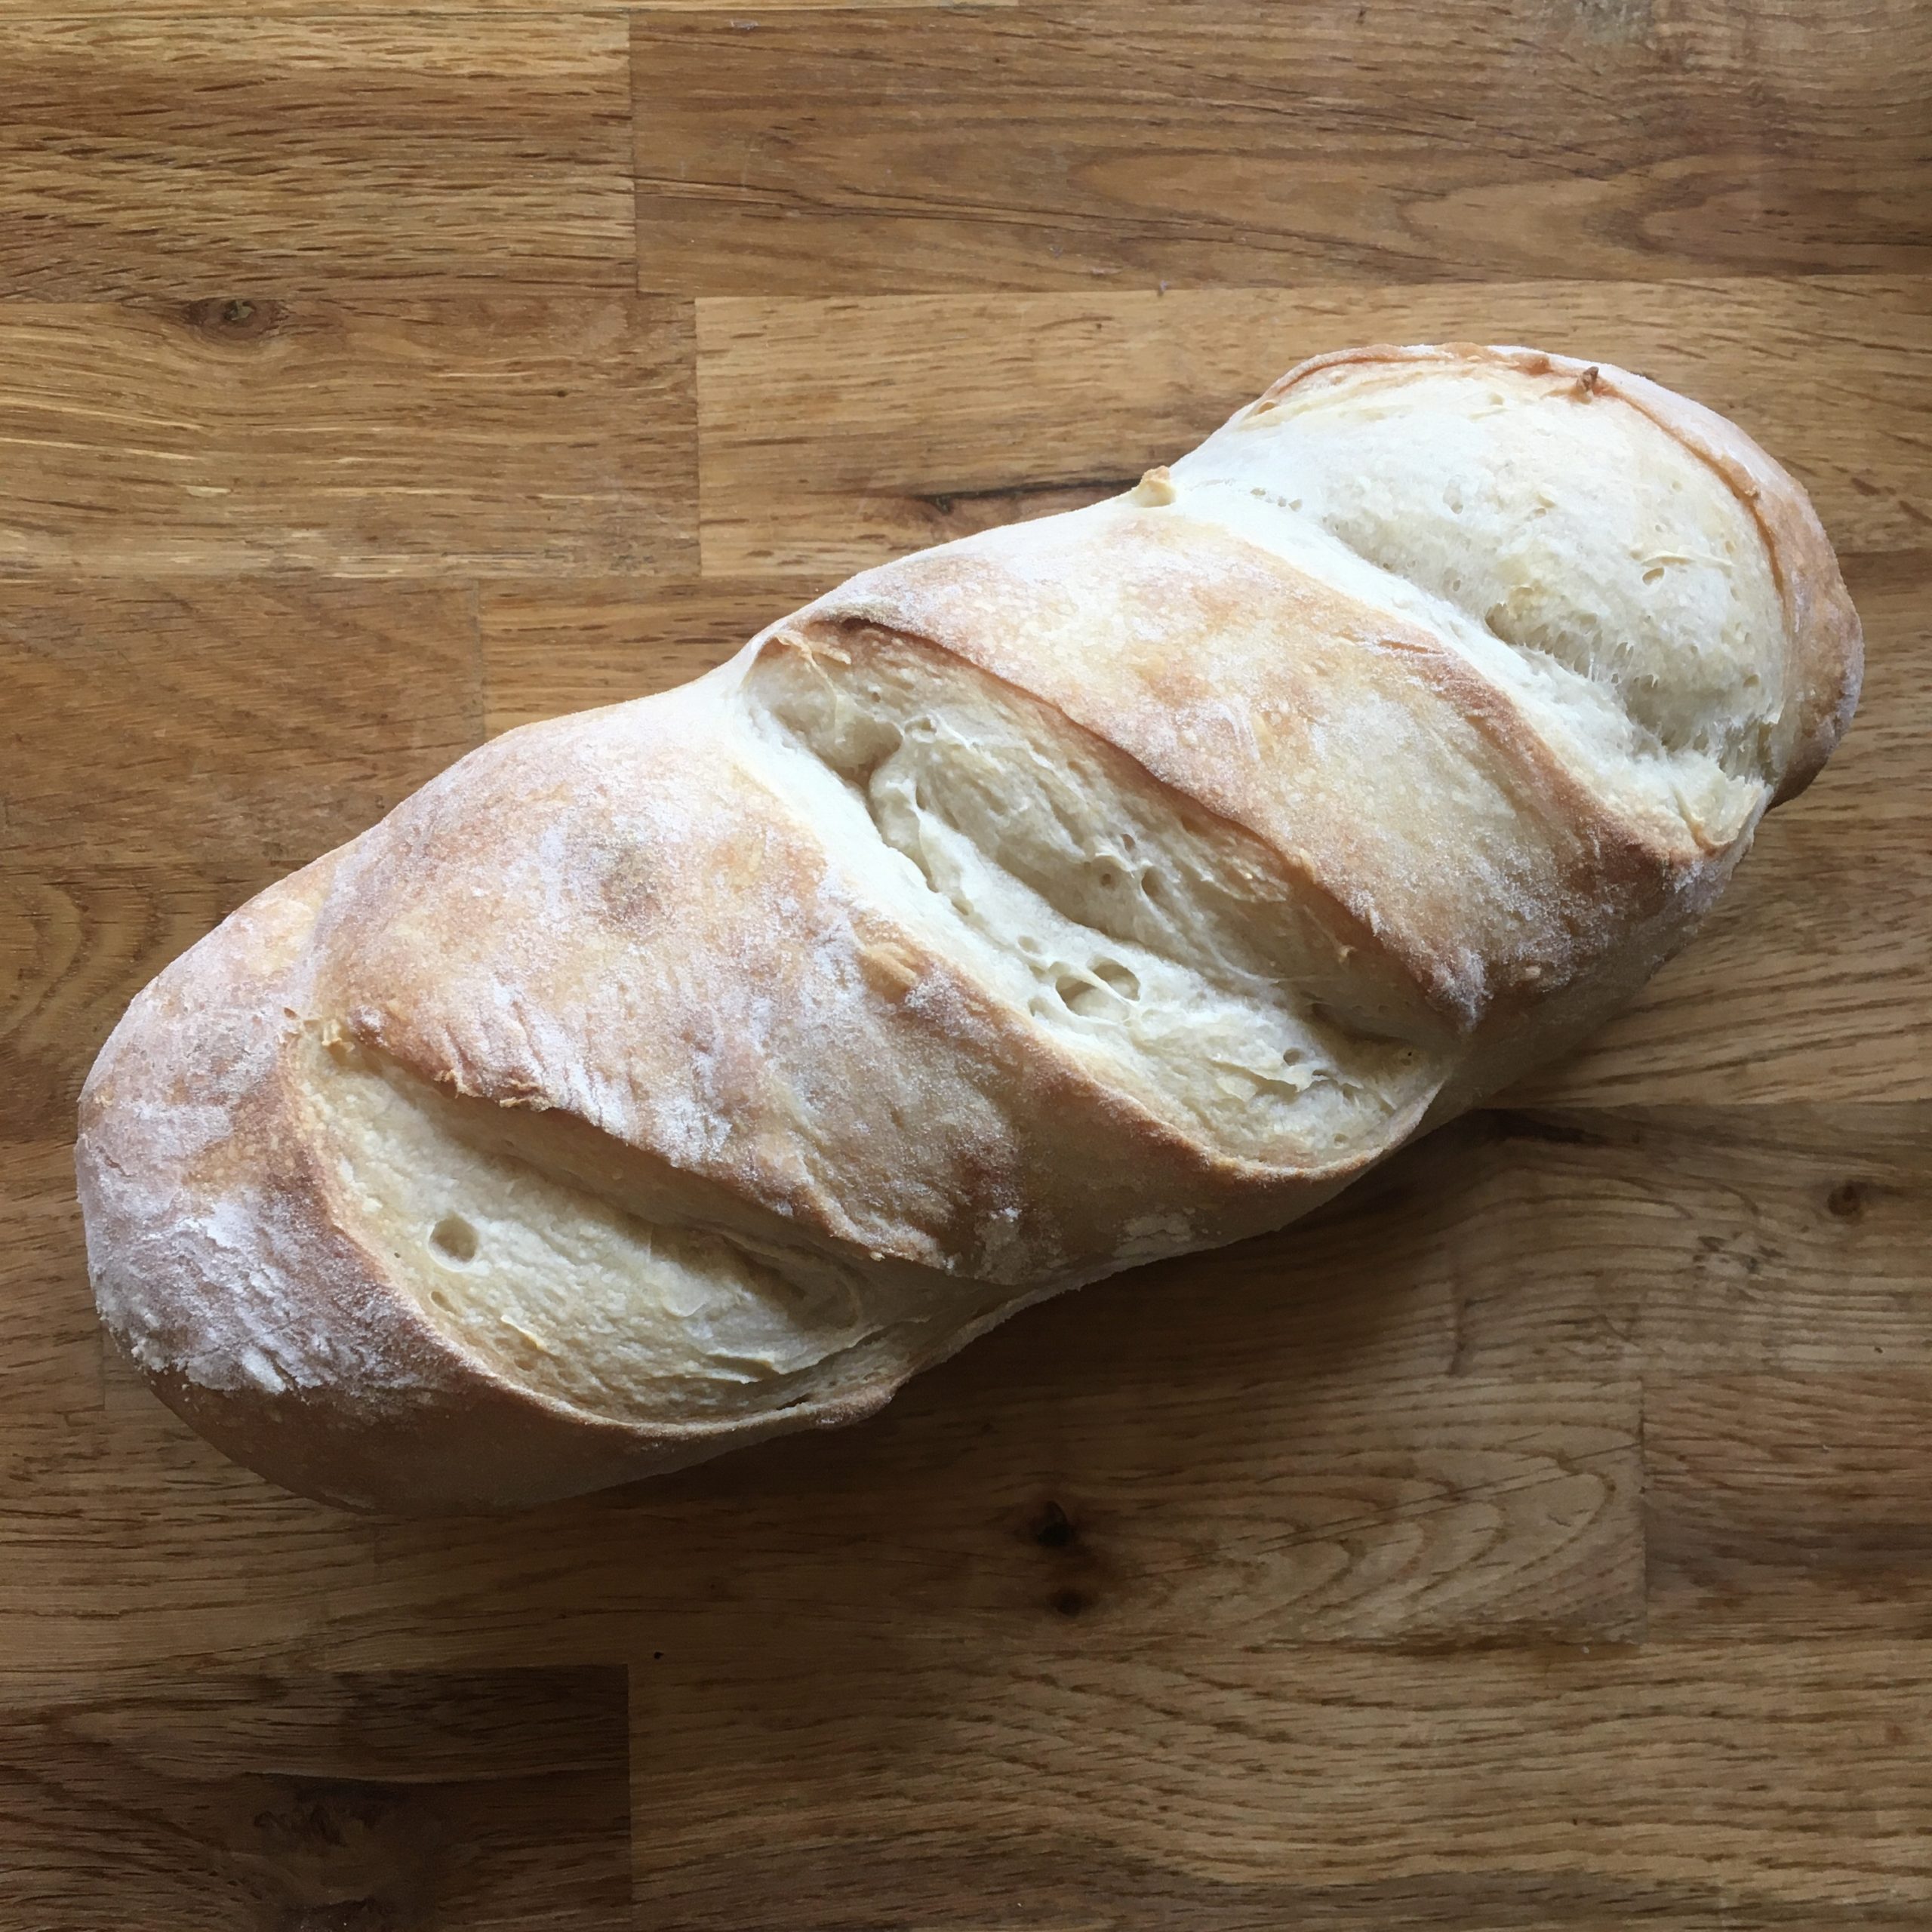
Cooking bread with my sourdough starter at first was quite tedious, with the impression of starting from the scratch, in particular, I had to relearn how the proving and rising worked, cooking at higher temperatures, with many of my first breads that just imploded when baking, ending up with big cracks on the bottom rather than on the top, or being too dense. I also needed a bit of adjustment with the flour I was using. I am still searching for a steady supply of organic local flour (and I will make a post as soon as I find something that is worth mentioning). The ones I have used during the summer are now out of stock and it seems unsure when they will have stock again. Together with searching for supply, I steadily continued and learned from my mistakes, and now they are all fixed or so, and I have started to obtain a regular shape and beautiful crusts with fluffy crumble on a regular basis. I started playing again with whole wheat, wheat bran,nuts etc… In the end, it seems that lower room temperature and longer times work very well for my sourdough starter. That to say that the sourdough adventure is a beautiful one and the flavour of the breads are uncomparable with those made with yeast (dry or fresh), so even if it took me so long to make up my mind, that it is a hassle to travel with my sourdough back and force between Tokyo and Ohara, it is just a new habit. And if while in Tokyo I use little of the sourdough for baking (until I get my kitchen redone with an oven…), but the one thing that I find really amazing is to use the extra sourdough I have for flat breads and for pancakes. It brings the flavour to a new level, something quite addictive.

So if you have a sourdough starter that you don’t use much for bread baking like me, I highly recommend you continue feeding it every day and use it for anything that needs flour and water. If you have other tricks to use your sourdough please let me know I am curious about other uses. Indeed Lois is quite gluttonous and in 4 days it gets quite voluminous!
Actually I have already starting giving parts of it away to friends so if you are interested in a stable sourdough starter, please let me know!

Negimiso – ネギ味噌

There are plenty ways of eating miso in Japanese cuisine: miso soup of course but not only! I have quite a lot of miso remaining from the past years I made some and in 2-3 months the miso I made last year will be ready, so it is time to start emptying a few pots.

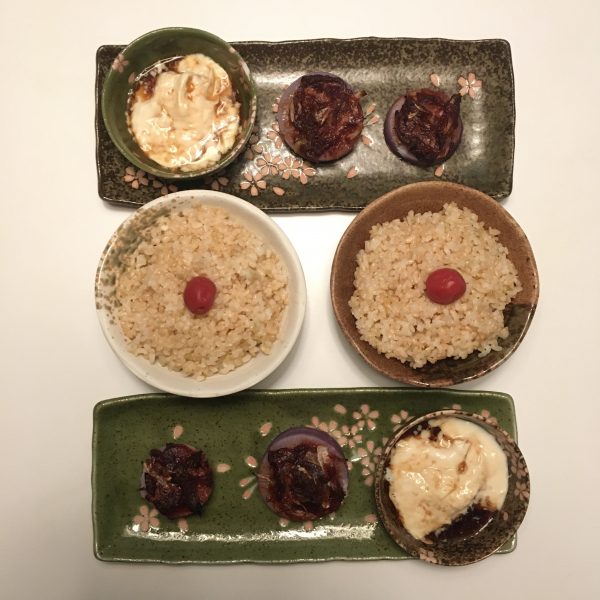
One thing I like very much is grilled miso, either on onigiri or on vegetables. Turnips and daikon are great for that, and the season is now starting. So when I bought a cute purple daikon at the farmers market, I decided it would be eaten with miso. Normally it would have been plain miso but I happened to have bought also leeks, and it reminded me that there is a nice recipe called negimiso ネギ味噌 of miso with leek, and I decided to make some. Negimiso can be eaten as a dip, or as I did here, to be grilled with rice or vegetables. It is really delicious and easy to prepare. Here is my recipe. You may find others with more ingredients, but this one fit my liking: no uncooked sake, and no mirin.

Negimiso

  • 1/2 leek
  • 2tbs of miso
  • 1tsp of sesame oil or flavorless vegetal oil
  • 1tsp of sugar
  • Optional: a bit of katsuobushi

Cut thinly the leek and cook it at low heat in a pan with the oil until soft bug not golden. In a bowl mix the miso, the sugar and the katsuobushi. Add the leek. Stir well. It’s ready!!!

Now to use like me, you need a piece of daikon and dashi of your choice. Peel the daikon and cut 2-3cm slices. Boil them in dashi until soft. Drain and pat dry, spread negimiso on top and grill until the top starts to become golden brown. Enjoy! Alternatively replace the boiled daikon by plain onigiri.

Quenelles…

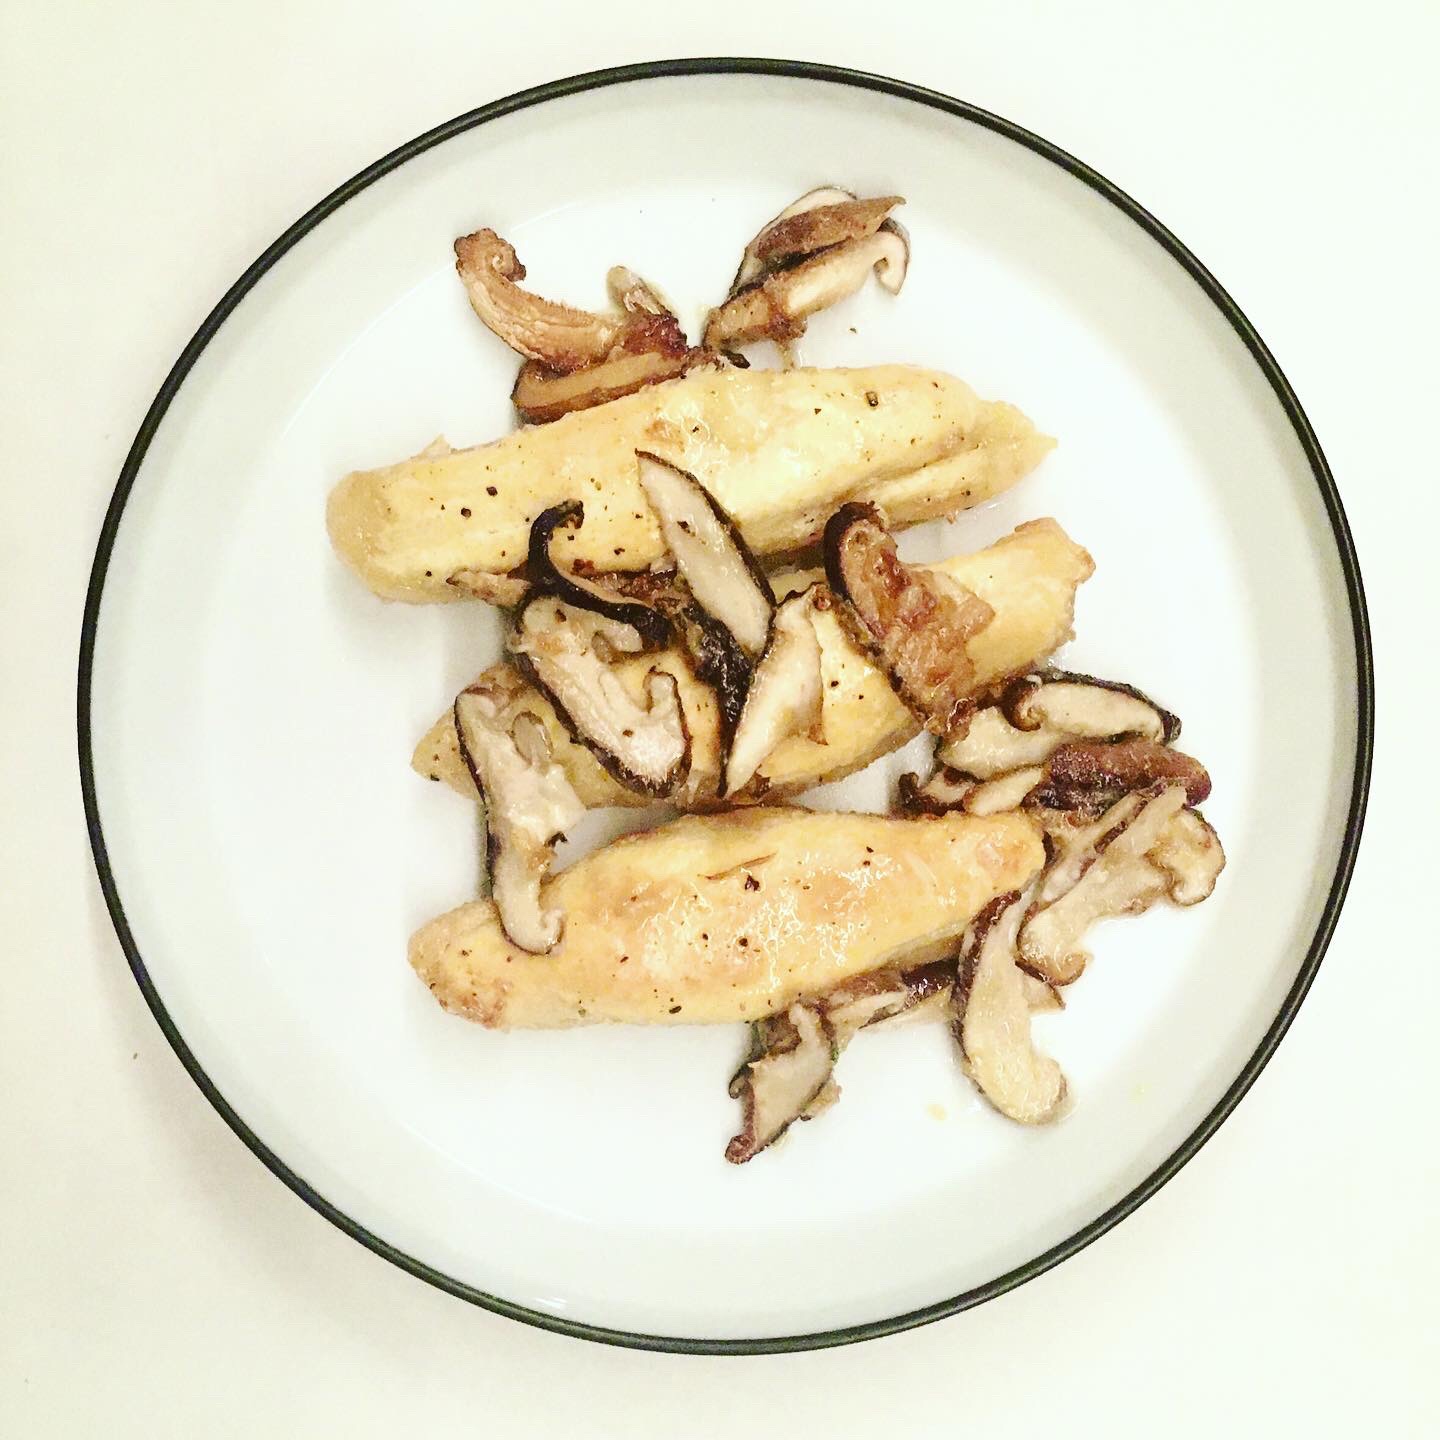
That’s something I haven’t cooked for 4 years!!! Can you believe that??? The last time I made some was for that post back in 2016!!! And then… nothing… strange enough because (1) I like quenelle very much, (2) it’s not difficult to make, (3) it requires only simple ingredients I always have in the pantry… So with the weather getting chillier it was a good time for turning the oven on more than usual.

I used the recipe from my previous post and slightly adjusted it, it is for regular quenelles, they don’t become very fluffy… I still don’t know how to make them fluffier, I need to work on it. But even not fluffy it tastes great. This time also I used fresh cream, but I realized once again (I rarely use cream so I have a tendency to forget) that Japanese fresh cream sold in supermarkets is not very good for oven cooking, it dries out and only the fat remains, which looks buttery and not creamy anymore… Milk to cook the quenelles first and adding the cream later is probably a better solution…

Still here is the recipe adjusted.

Quenelles (2-3 servings)

For the quenelles

  • 150 flour
  • 2 eggs
  • 50g of butter
  • a pinch of salt and nutmeg

For the sauce

  • 6 large shiitake or the equivalent of other simple mushrooms
  • 4tsp of fresh cream (if you like it) or olive oil can work…
  • 1 cup of milk
  • salt and pepper

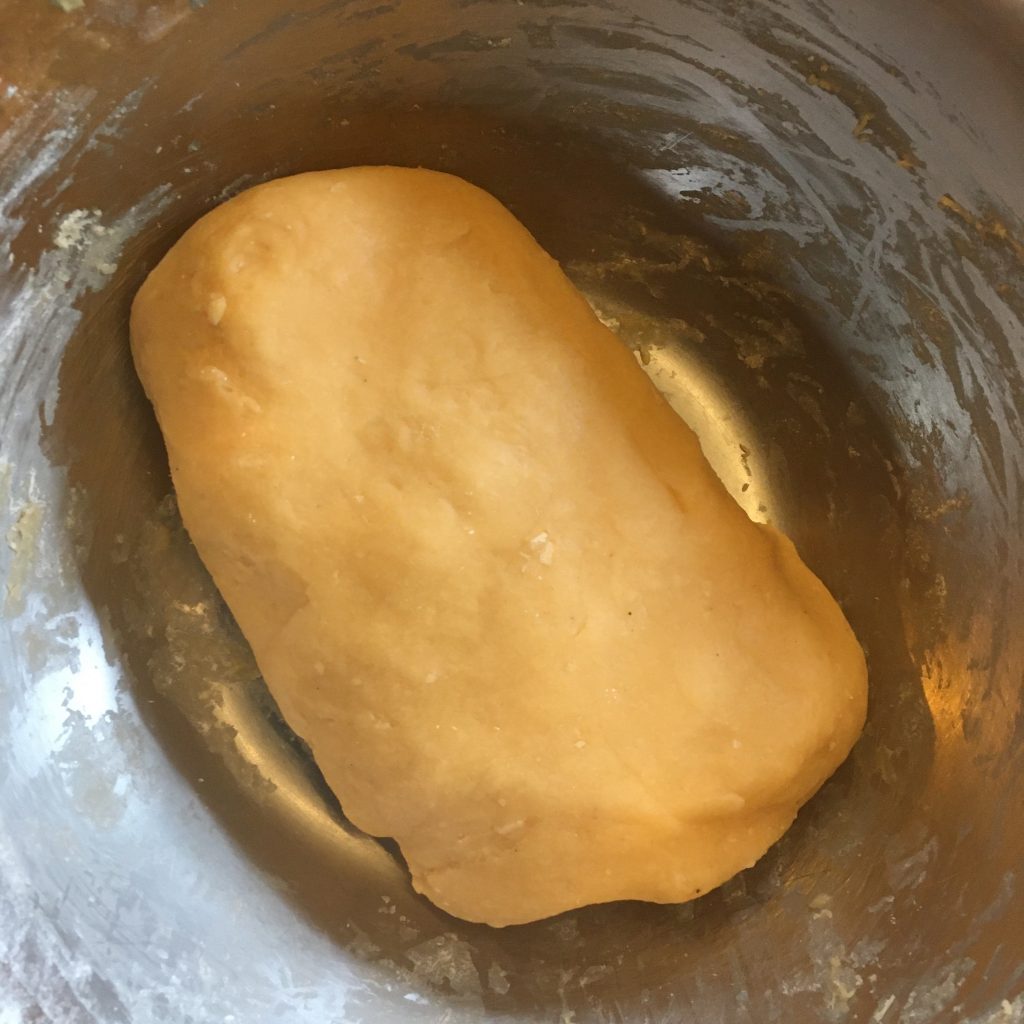
In a pan the butter. Heat until the butter has melted. Add the flour, and cook at low heat for 8min. If you have a hard time mixing in all the flour add a few drops of water.

The final dough after cooking and smoothing

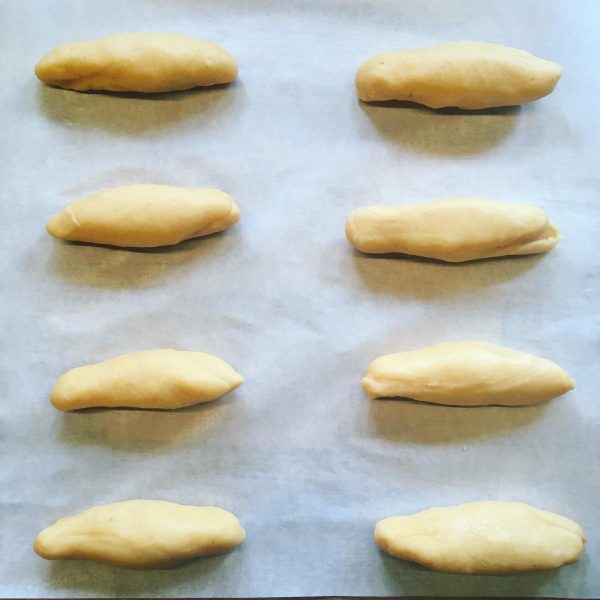
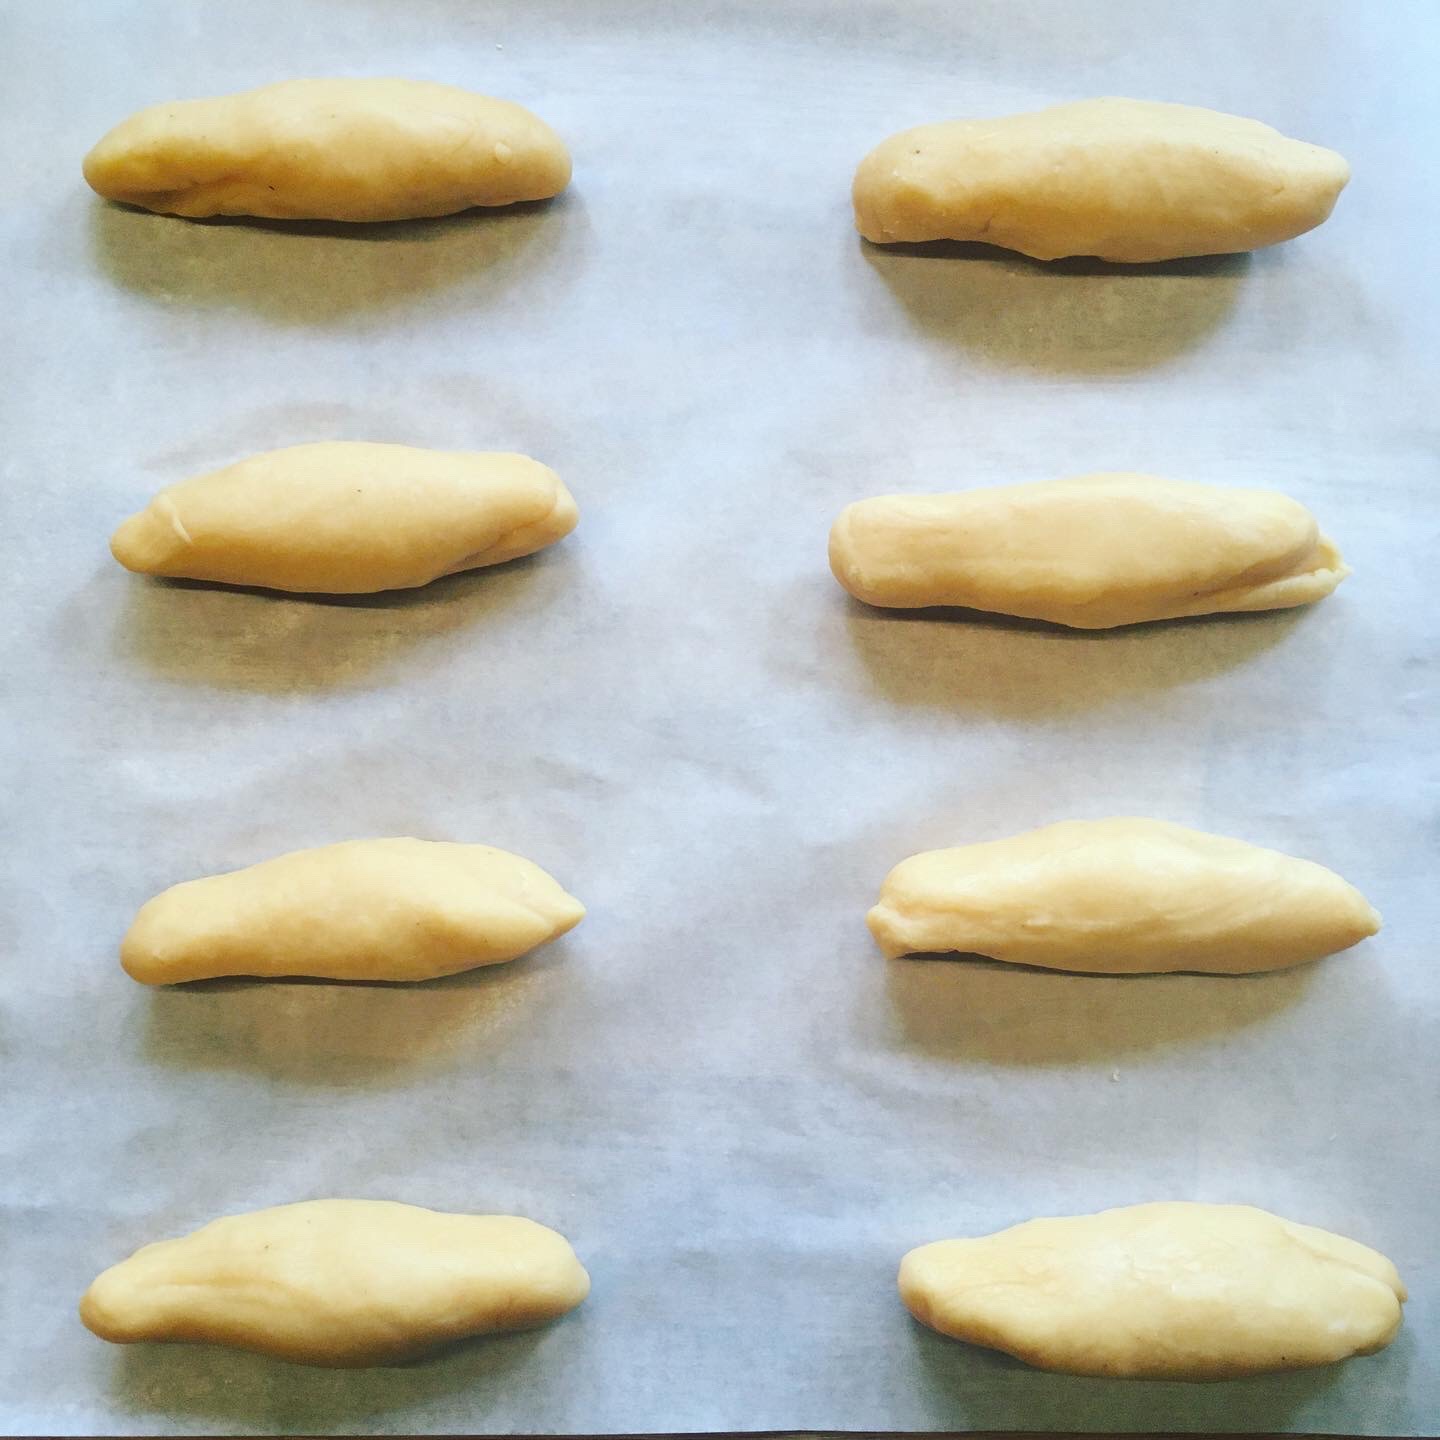
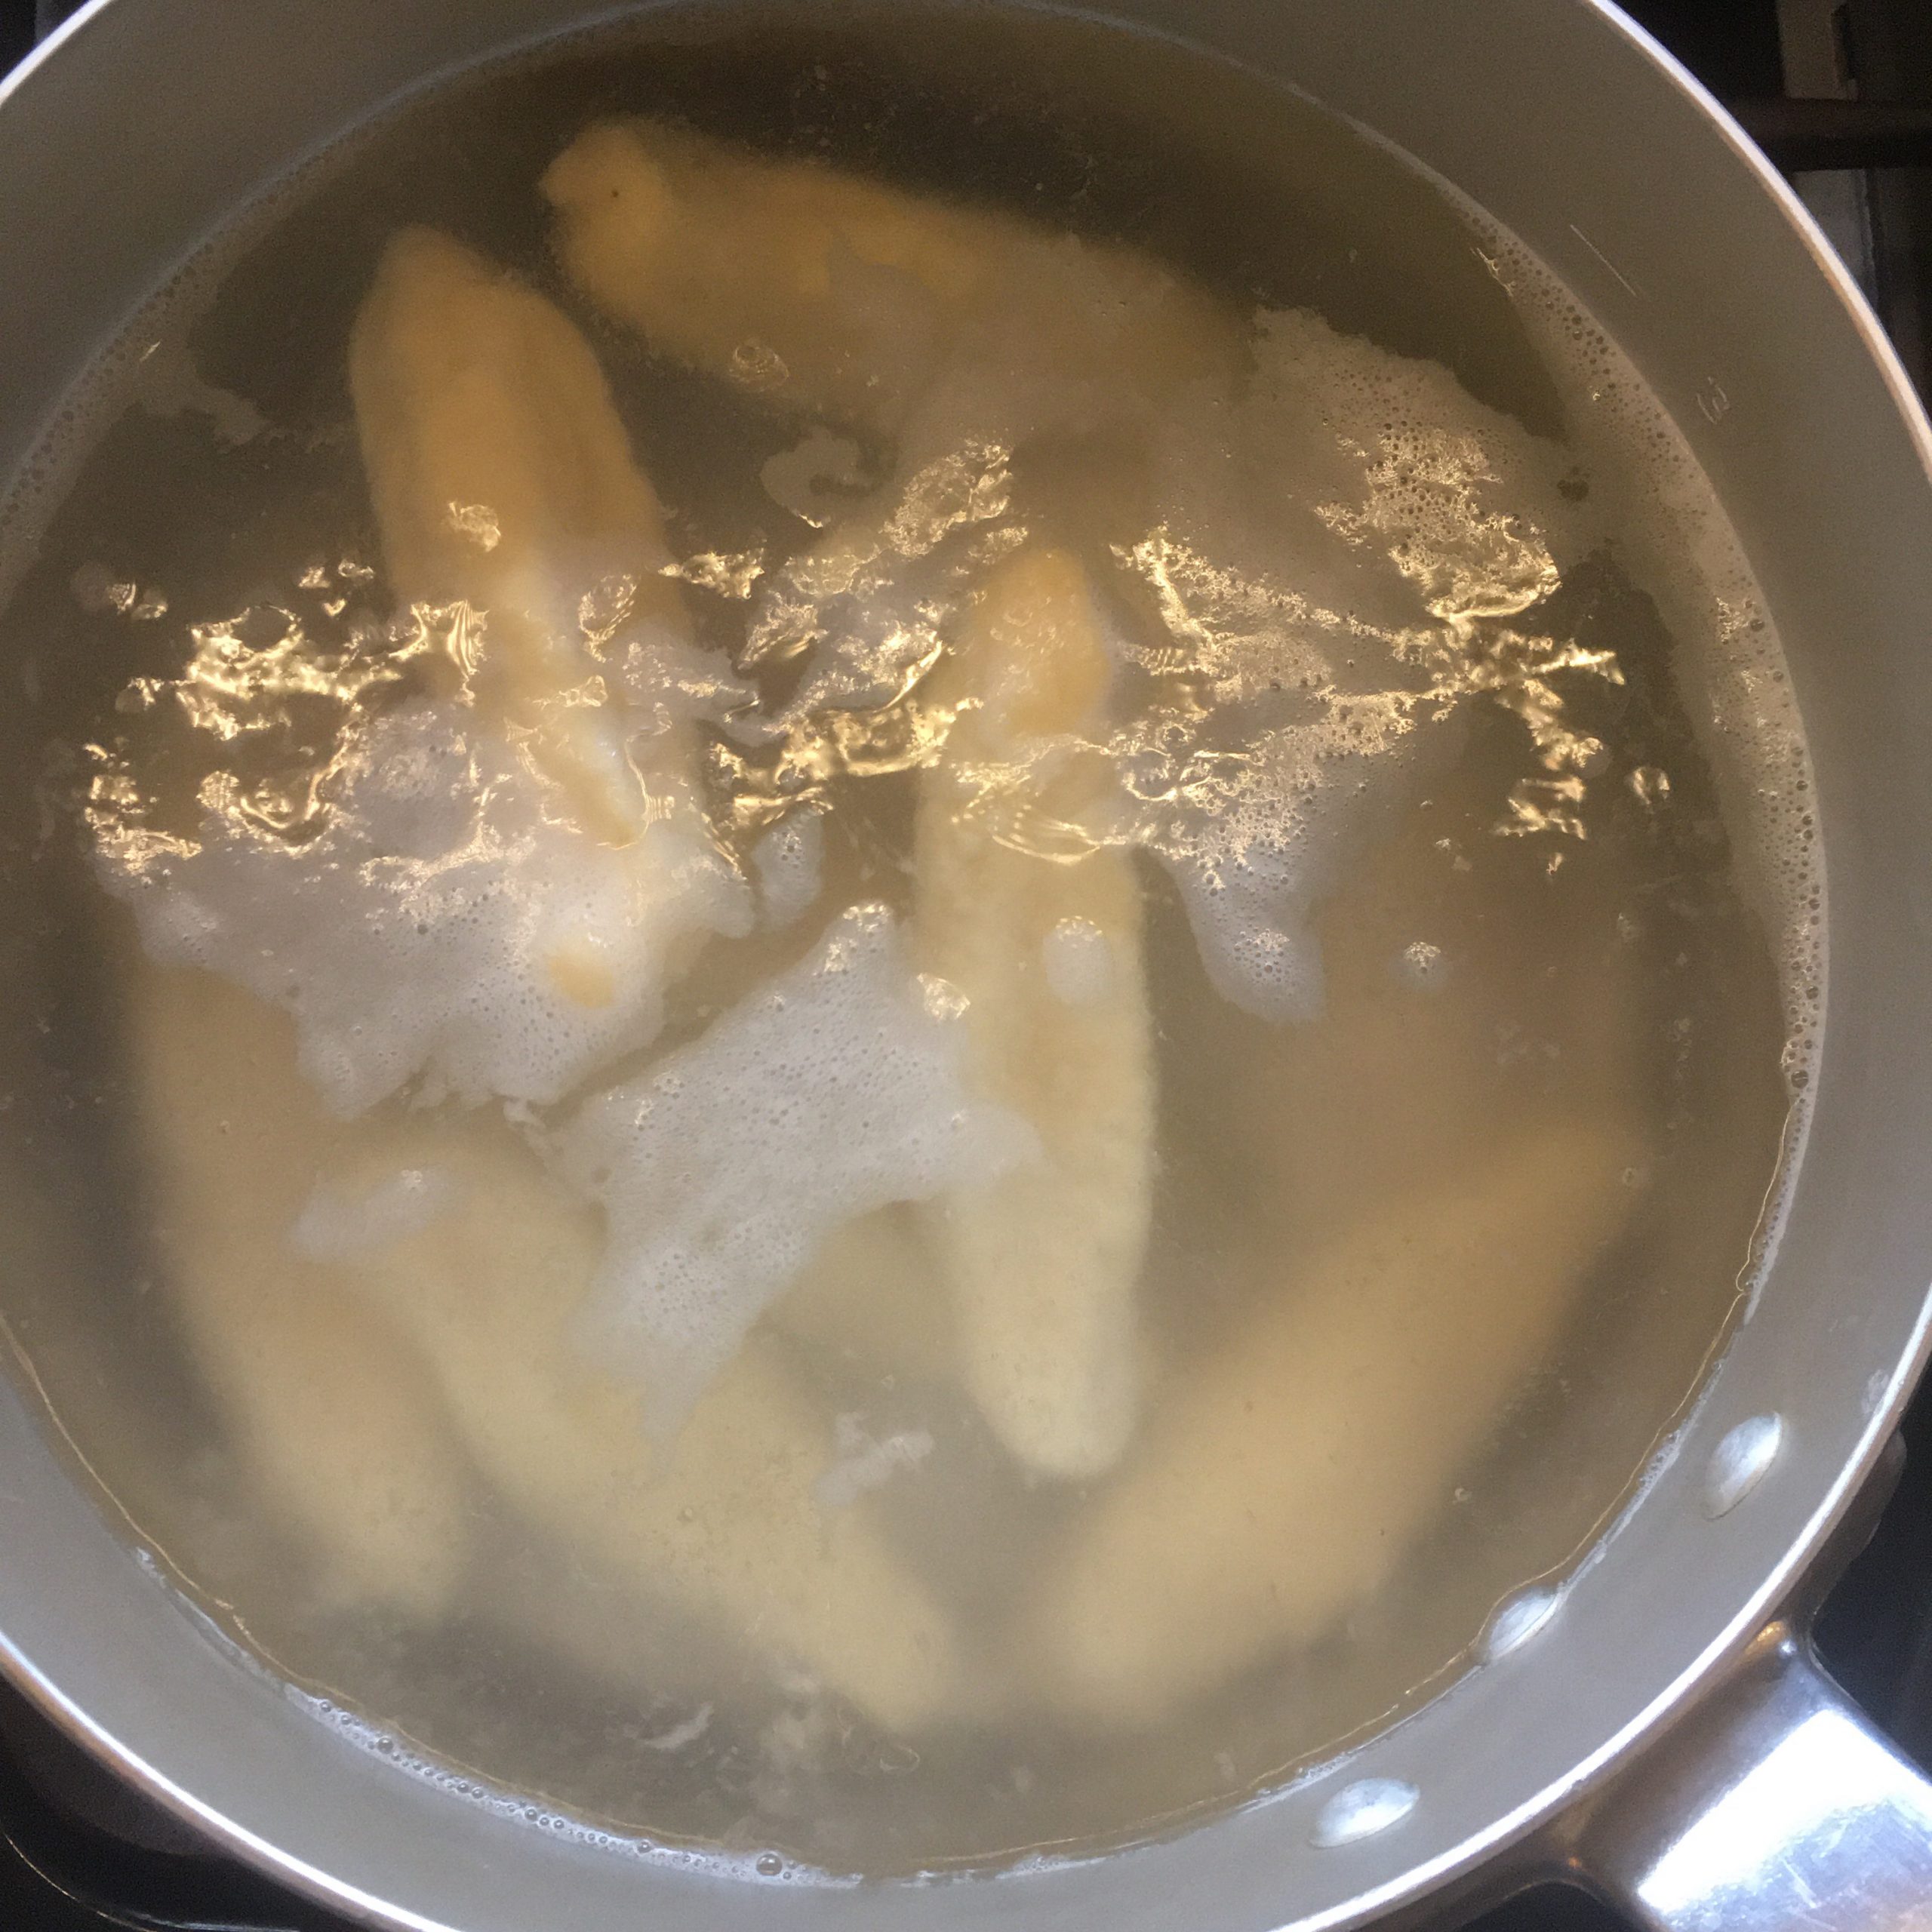
Cool down a bit and add the eggs, the salt, the nutmeg, and stir well. You should obtain a smooth dought that doesn’t stick. If it sticks add a little more flour, if too dry add a bit of water. Cut the dough in 8 pieces and form the quenelles as shown in the picture below. Boil a large amount of water and poach the quenelles until they float.

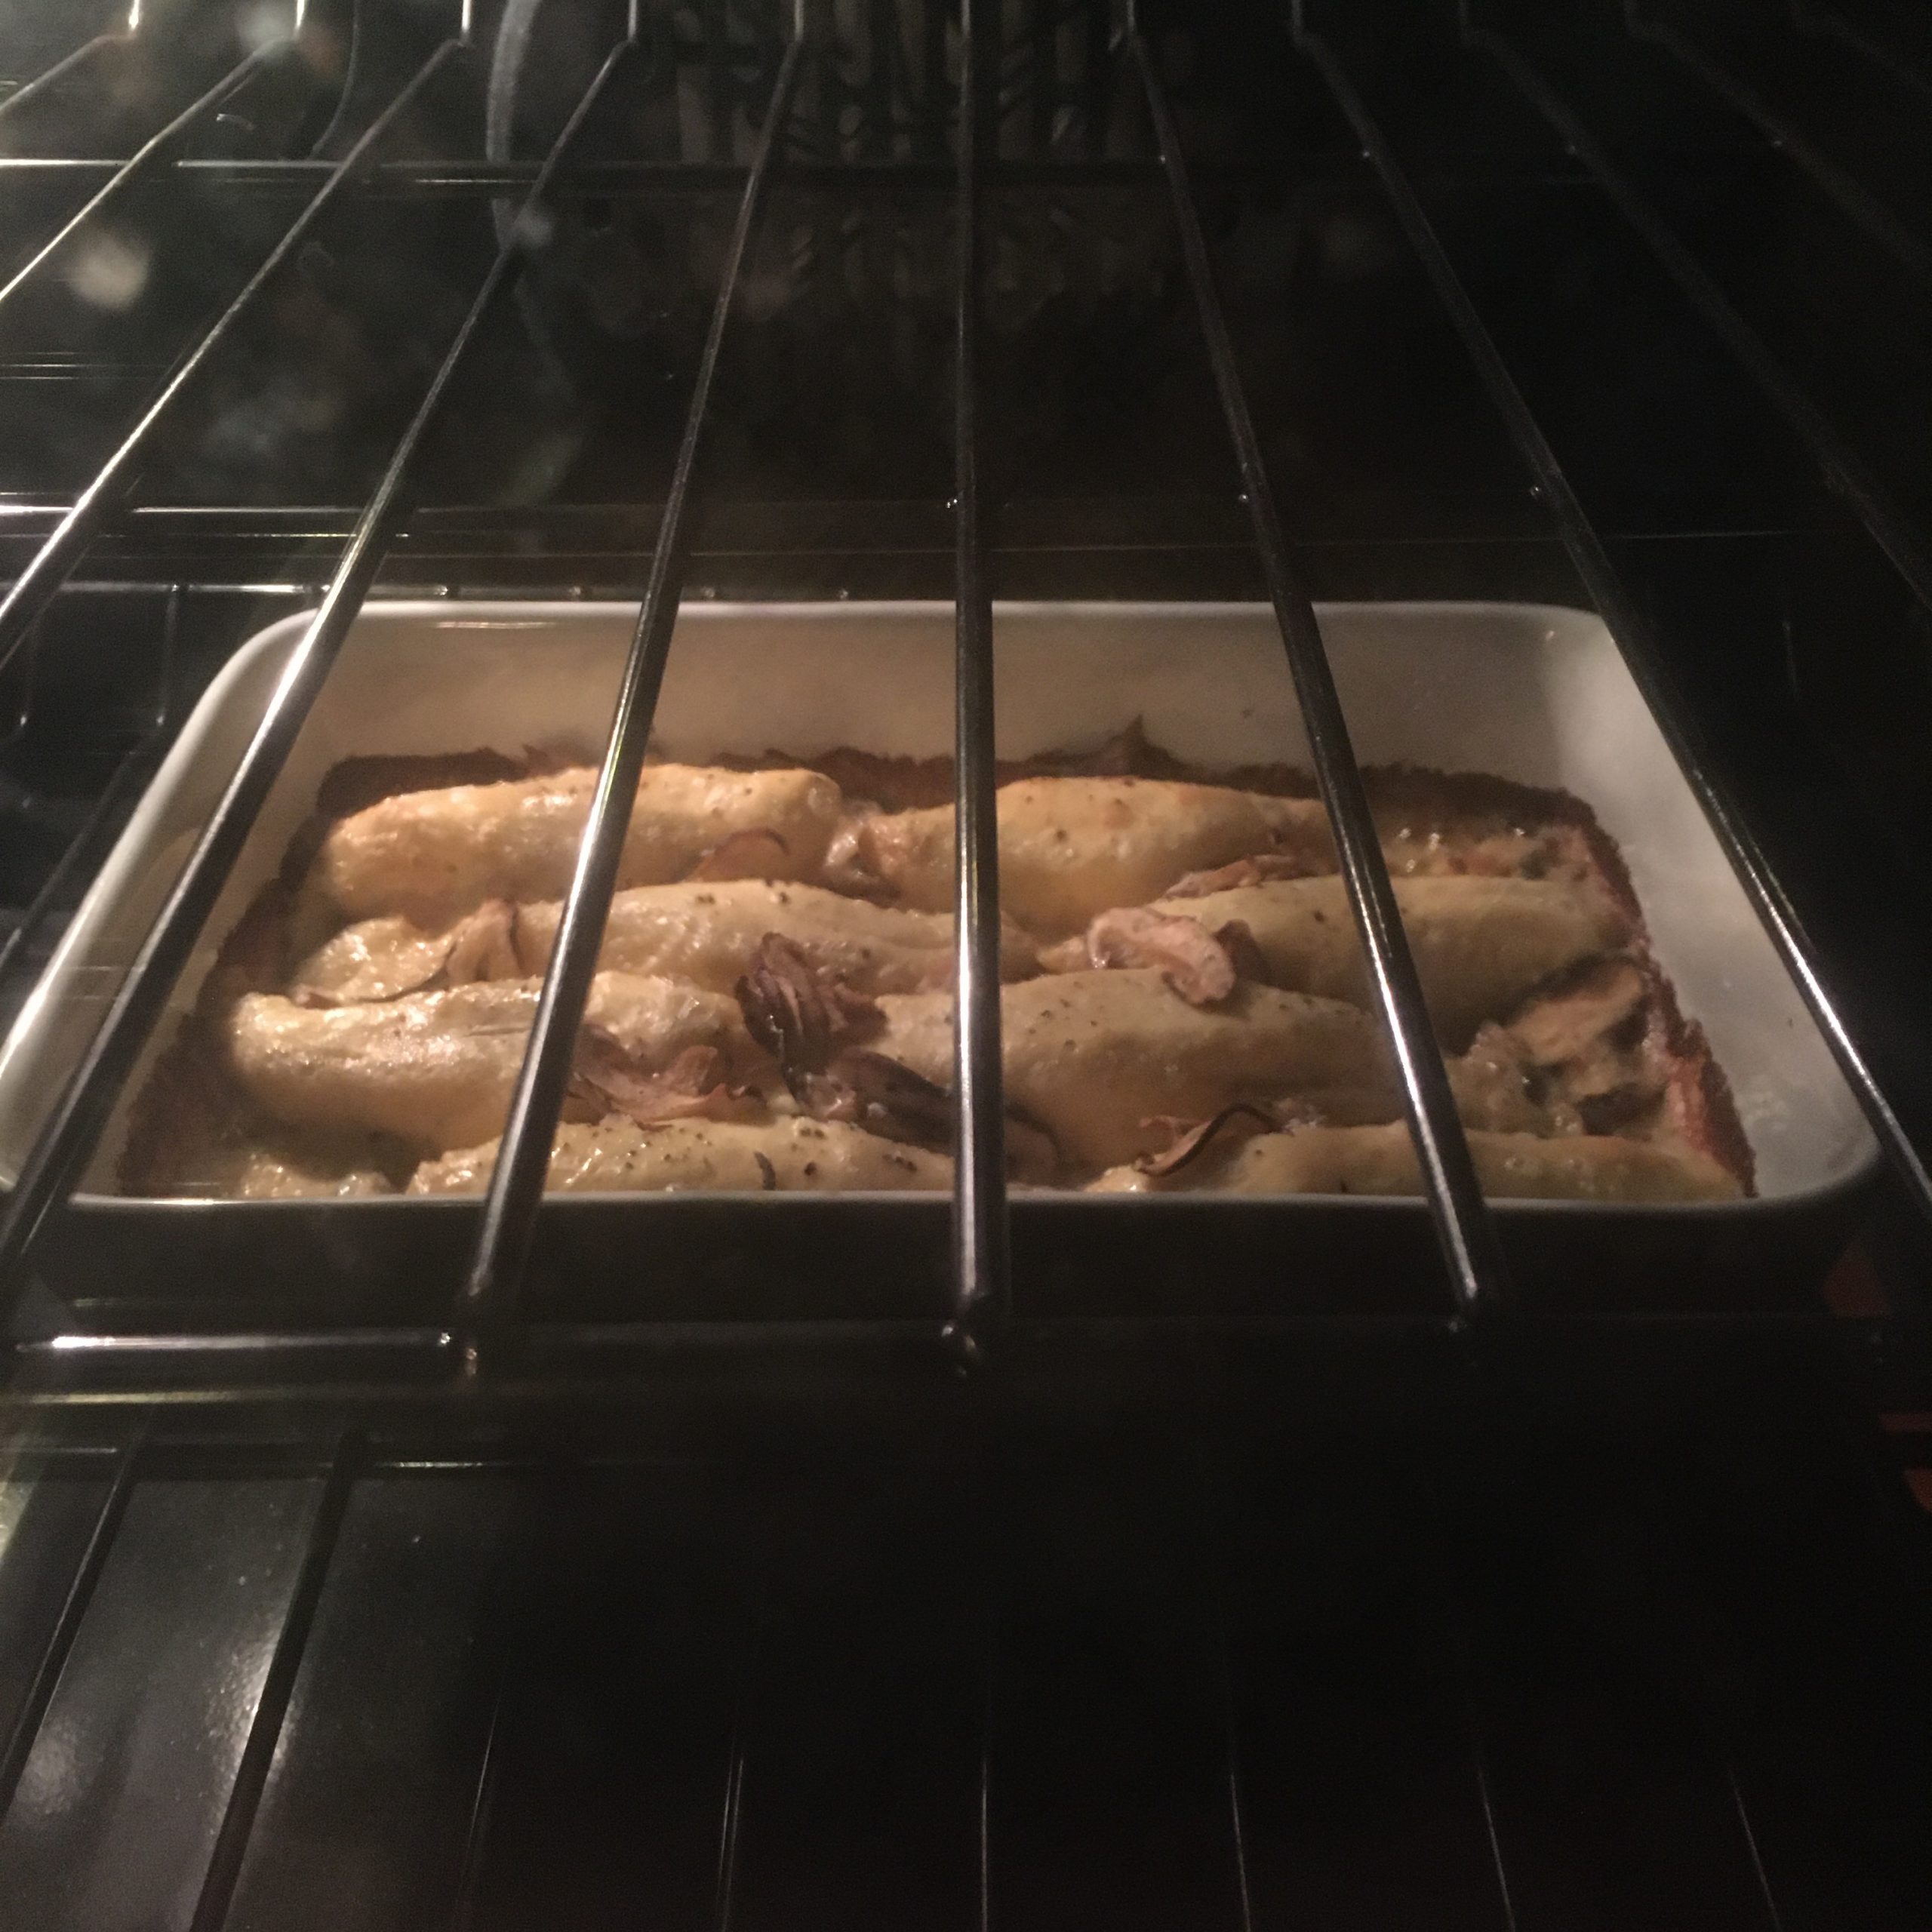
Set in an oven dish, add the milk. Wash and slice the mushrooms, add to the whole. If you use fresh cream (not Japanese) add it now. Add salt and generously add pepper. Pre heat the oven at 200 degrees. And bake for 30min. At 20min add the cream (if you use Japanese cream). They get golden brownish on the top when ready. Serve and eat immediately.

A twisted “nimono” recipe

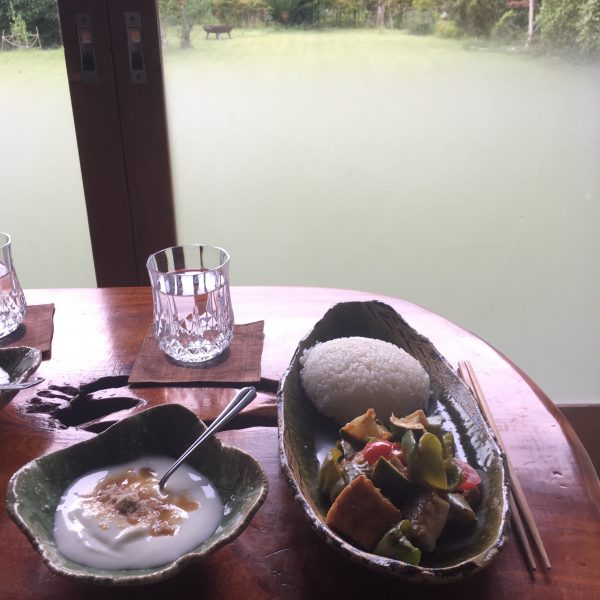
I love nimono, that is not new… I learned how to make them right with Japanese cookbooks and when I was going to cha-kaiseki classes, but for some reasons, I often wrongly thought that it takes time to make a nimono dish, and so not cook some as often as I should. But as my cooking evolves with time and changes subtly every month, every year, nimono has been more and more often on the menu. Enough often for me to test twisted versions of nimono, using different ingredients for flavouring and always managing to get it right. I also understood clearly that it can be really quick to make depending on the ingredients chosen. One ingredient that goes really well with nimono is green bell peppers. They fit perfectly the recipe and also are a good match with any white fish. And for white fish, we are lucky, in Ohara it is easy to find delicious local fresh ones: snappers of all sorts, sea bass, flounder…
As I don’t often cook with sake, I recently replaced the sake in the classic recipe by my ume-dashi pickled soya sauce. It adds a bit of sourness and a delicious flavour and when in season I love to add a few slices of lime, or of green yuzu, or any other green citrus fruit. So here is my twisted nimono recipe for a simple Japanese preparation that everyone can make!

Twisted nimono recipe (for 2 servings)

  • a nice piece of fresh white fish
  • 4~6 green bell peppers depending on size (red, yellow, orange can work as well but not as good…)
  • 1/2 lime or 1 green yuzu…
  • 2tbs of soya sauce, better ume pickled in soya sauce
  • 1tsp of cooking oil
  • 1/2 cup of water

Wash and cut in rough pieces the bell peppers. Cut the citrus fruit in large pieces. Clean the fish and cut in large byte size. In a wok or pan, heat the cooking oil, add the fish and wait until half cooked, add the bell peppers. stir gently. Add the soya sauce, the water and the citrus fruit. Cook at medium-high heat until the liquid starts to reduce significantly and thicken a bit. Stop here the cooking and serve not too hot, with some white rice ideally.

Proudly powered by WordPress | Theme: Baskerville 2 by Anders Noren.

Up ↑

Verified by MonsterInsights