Artichokes are not common in Japan. You would never see fresh ones in a supermarket unless you go to the expat supermarkets in Hiroo or Azabu. And there, they are imported from who knows where and super expensive, while not very good…
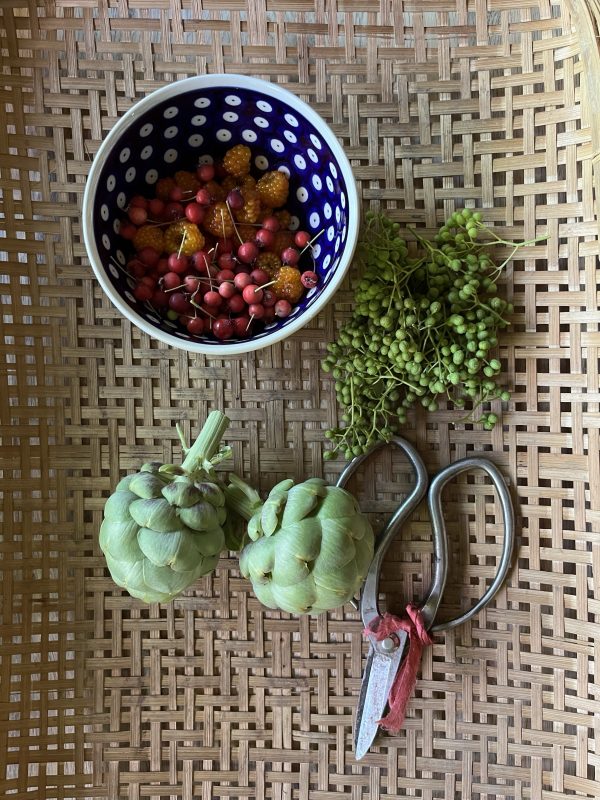
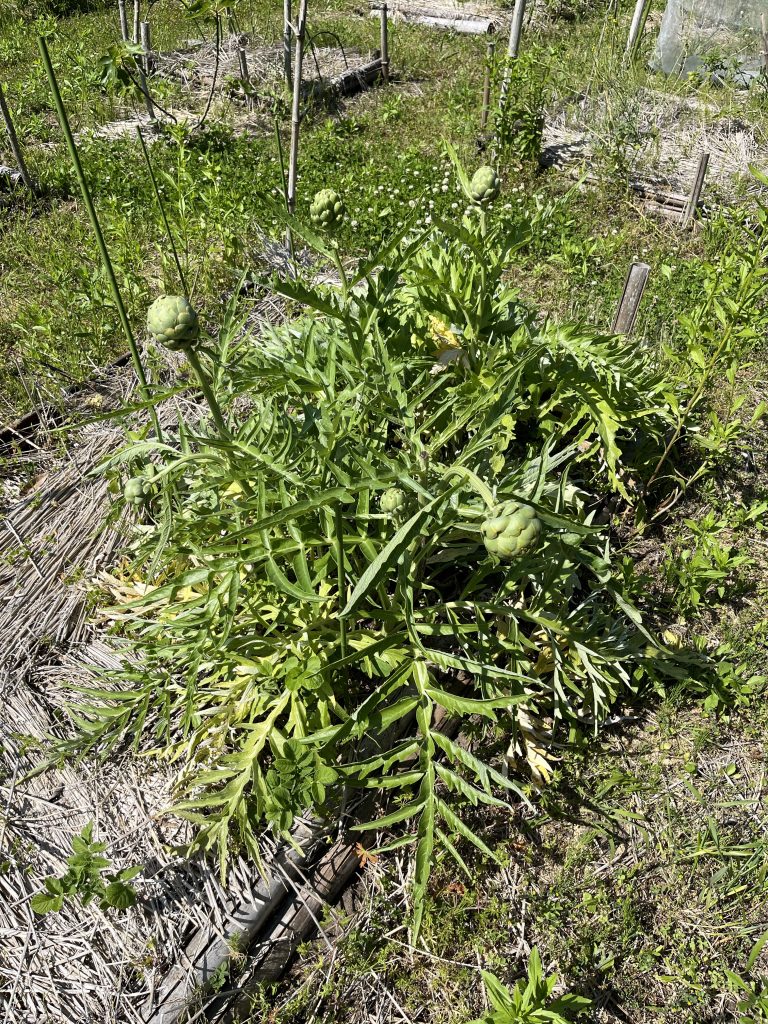
So a few years ago I decided to plant some in the kitchen garden. The first year was only leaves… the second year I harvested three tiny artichokes, and this year, the third, I finally start to have a decent supply of two artichokes per week!! They are not as big and creamy as I expected but they are tasteful. And I love that they grow year after year without having to be replanted.
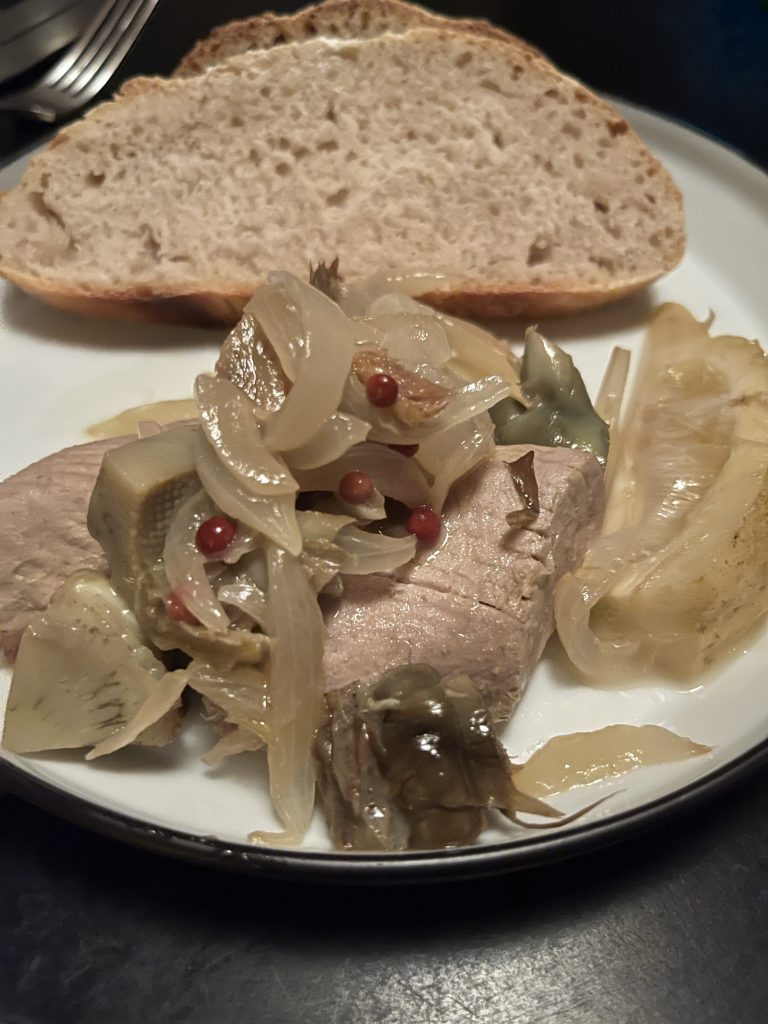
Now with this constant little supply I needed to come up with some recipe, and with the last lemons on the tree, I came up with this recipe of neither barigoule, neither greek style, but my style lemon artichokes. It is super easy and so delicious, the perfect side dish for grilled tuna, swordfish or just with a slice of sourdough bread.
Lemon artichokes (2 servings)
- 4 artichokes
- 1/2 lemon
- 2 large onions
- Olive oil
- Salt, pepper and red pepper
Remove the bottom leaves of the artichokes, cut the top and cut in four. Remove the hair.
In a pan heat some olive oil, add the onions chopped very coarsely. Stir until they have softened. Add the artichokes, the lemon cut in four, salt, pepper and red pepper, cover with water and let simmer at medium heat until the liquid is almost gone.
It’s ready and delicious hot or at room temperature.